Well, here it is. Finally a little time to update.
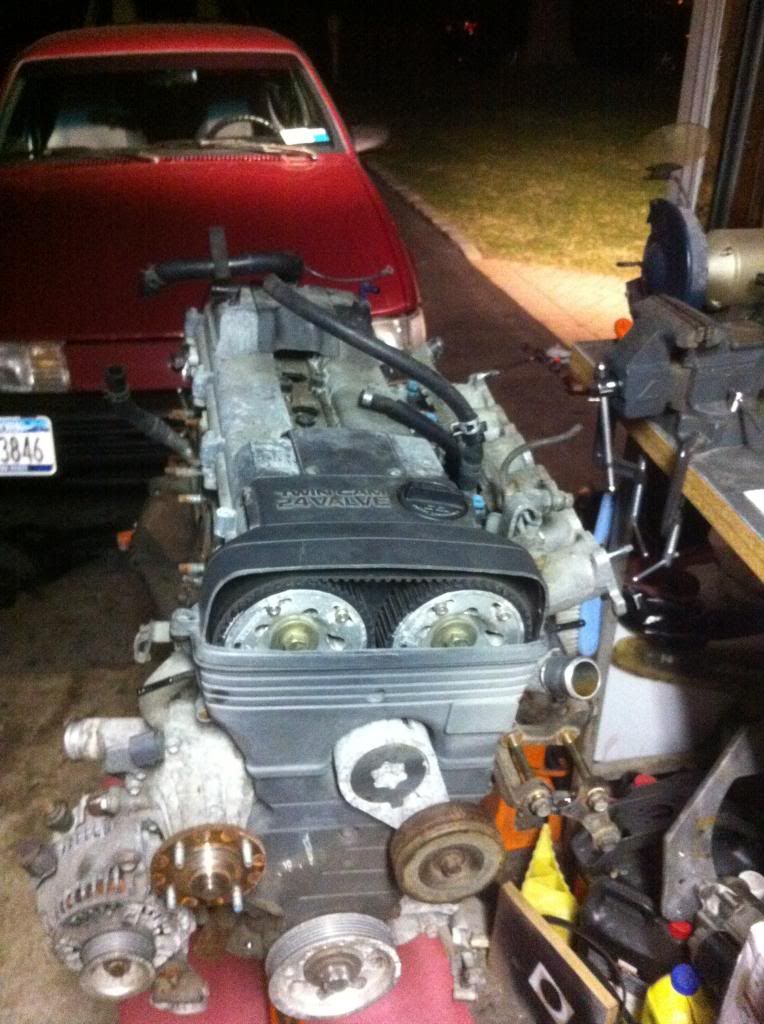
After the 7M Bit the dust, I picked up a 2JZGE. Looked like this.
I started order a bunch of parts. Once i started getting them in i was tearing down the motor to get it off to the machine shop. I got the short block pulled apart and up to the machine shop for a quick hone and inspection. I let them order the rings, bearings and everything else to make sure it would be right.
I held onto the head because i had some plans for it before i got it off to the machine shop for a Valve Job.
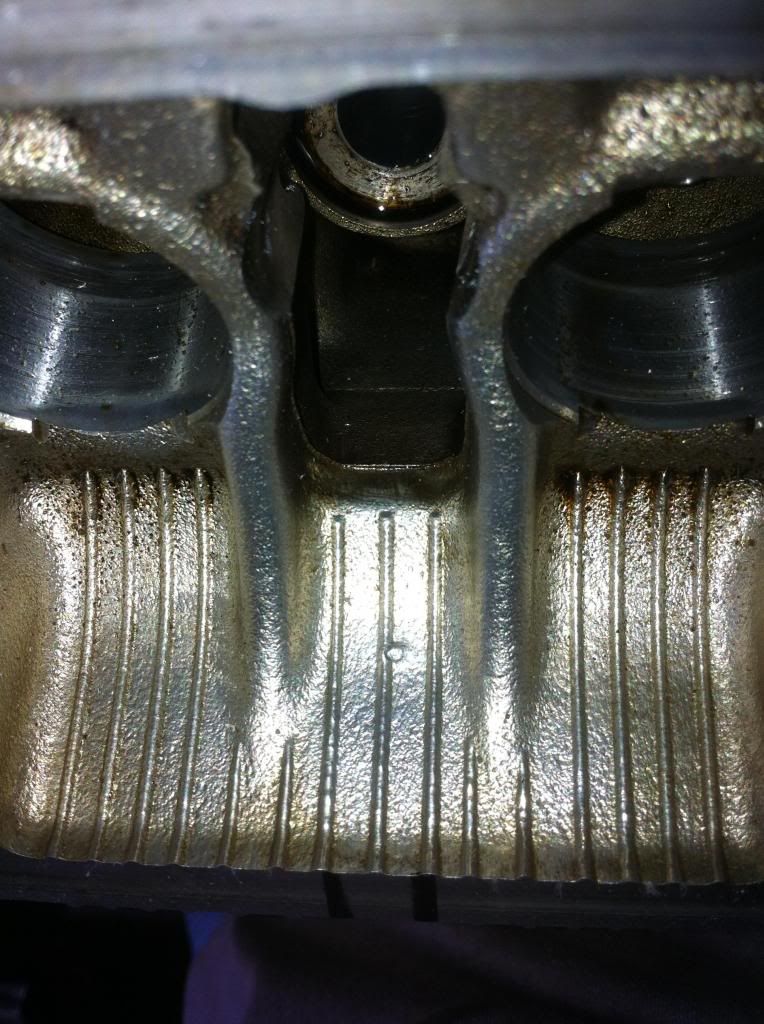
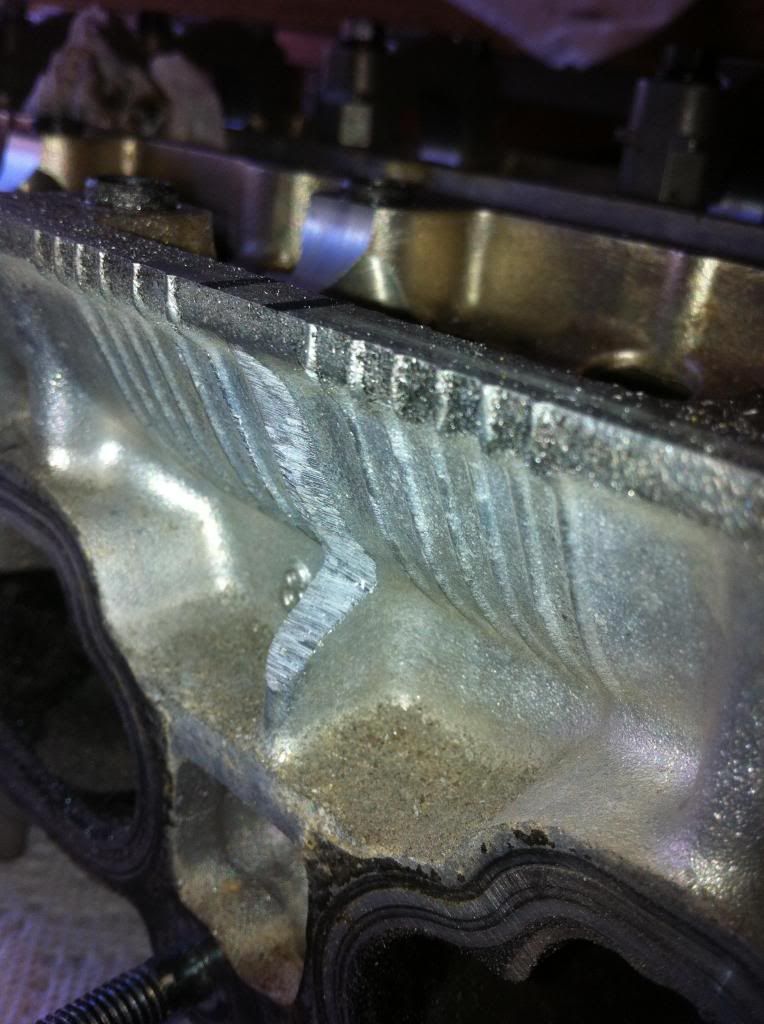
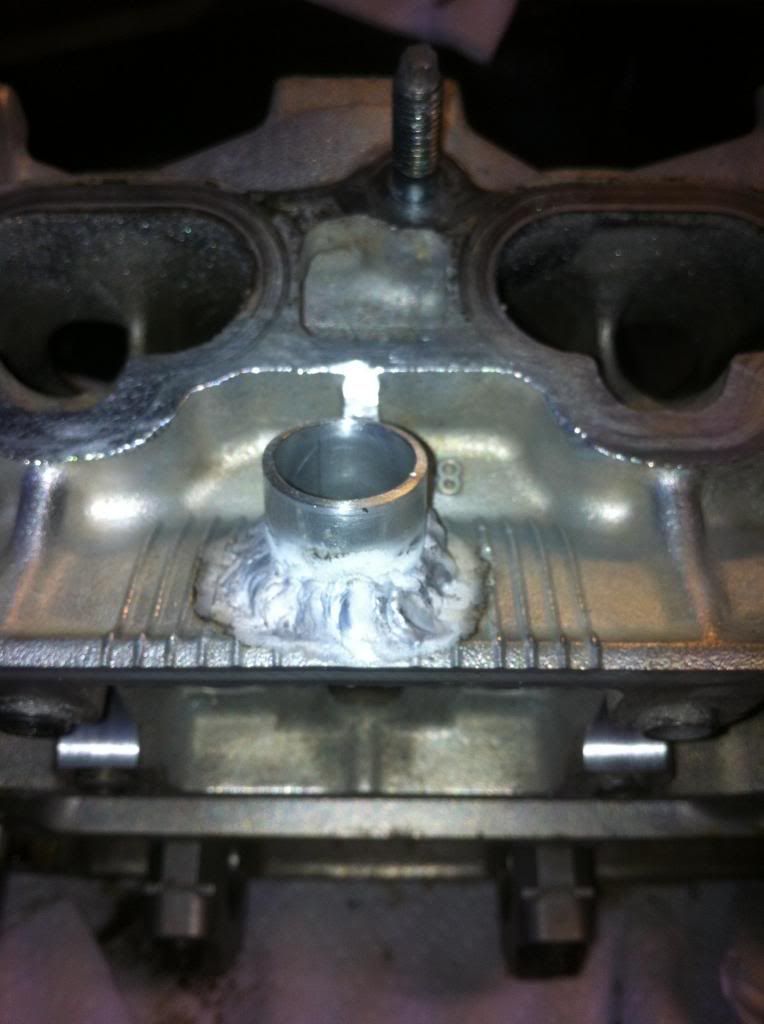
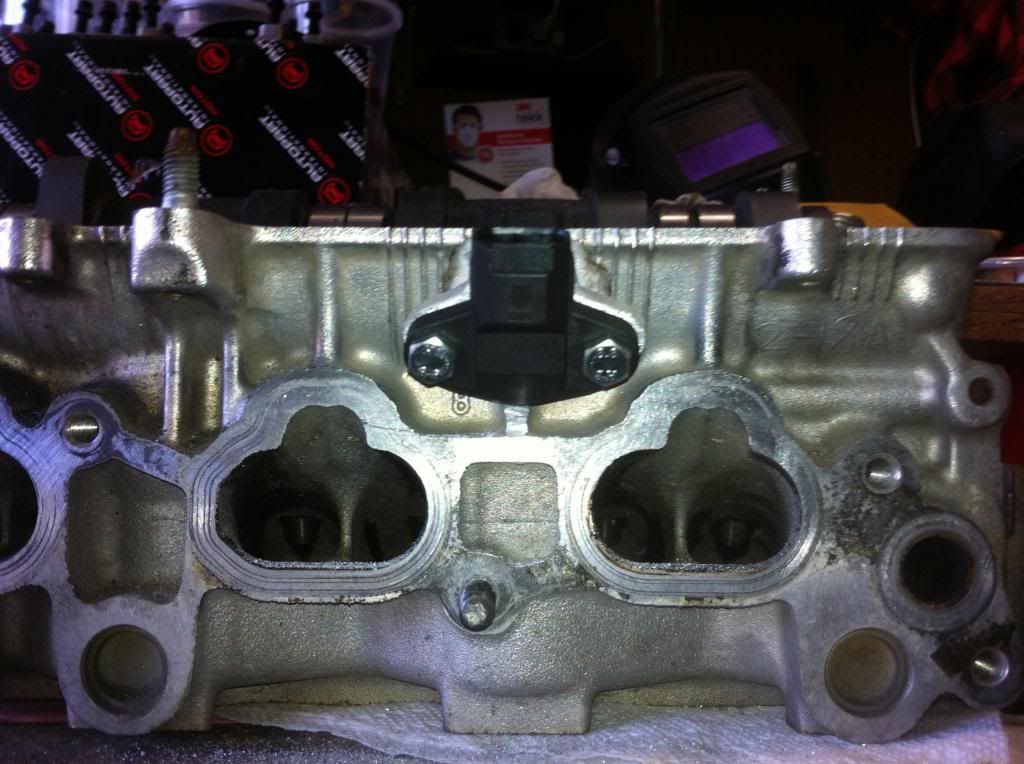
I decided i didnt want that 1960's distributor hanging off the side of the head, so i had to do some customization.
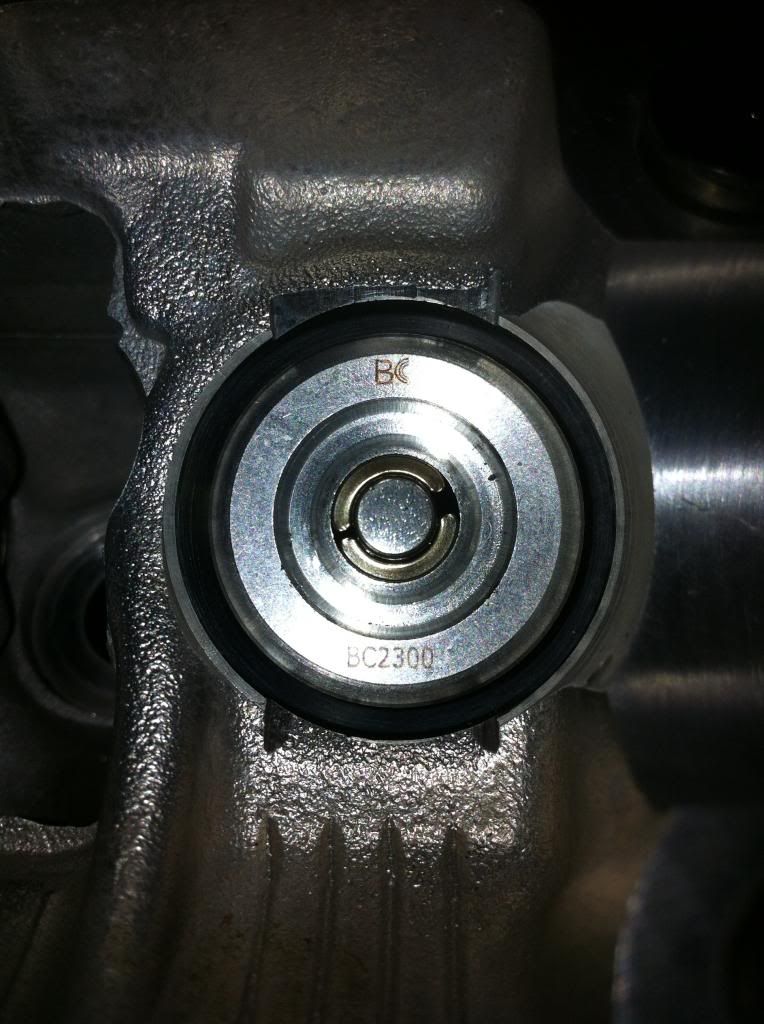
I ordered a TT CPS sensor so i could measure it. I also ordered TT Cams, specifically BC272's with the matching BC Springs and retainer kit.
After some measuring and very precise figuring, i knew what had to be done. Ill let the pictures tell the story.

'Nuff Said :naughty:
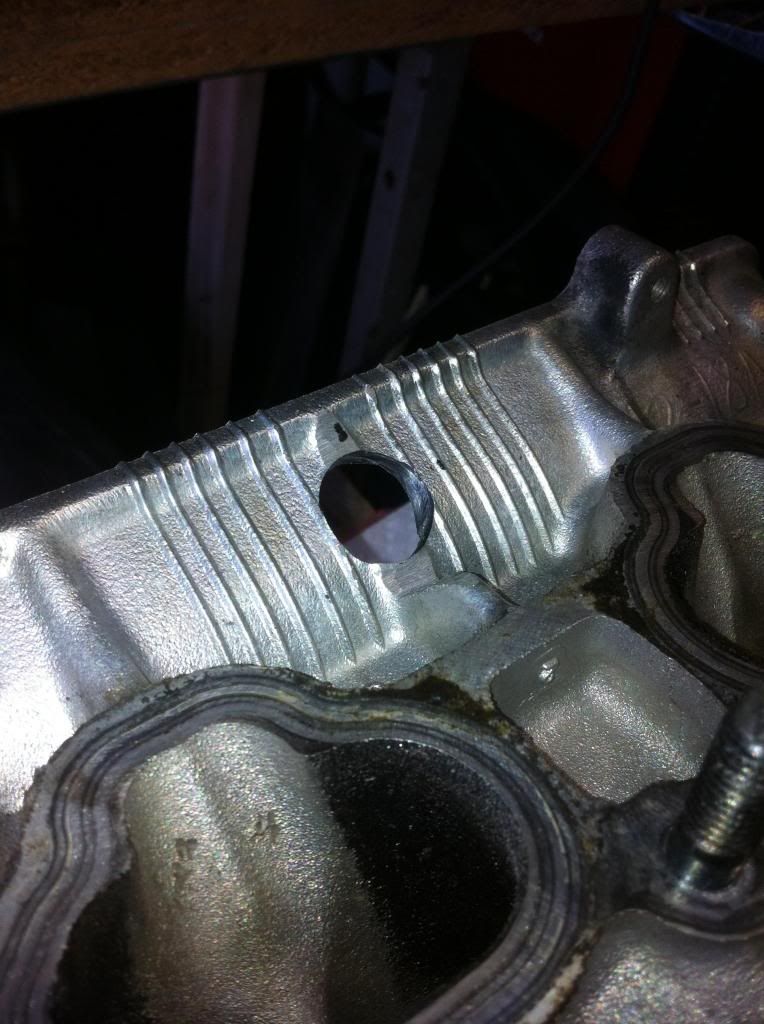
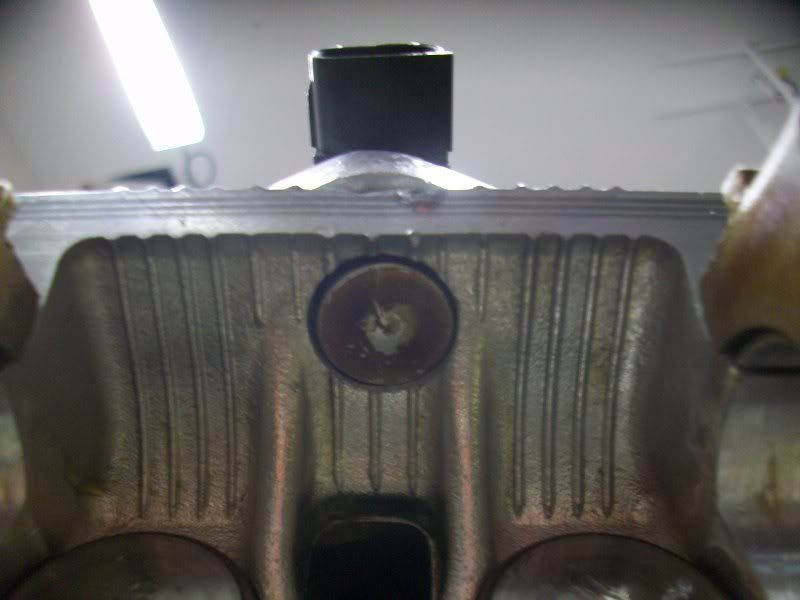
Also took this opportunity to block off the EGR.
Now that i had my head done it was off to the machine shop.
After the head was modified and at the machine shop i had other business to attend to. The top of the motor was squared away but the bottom still wasnt quite ready for a turbo. Little more elbow grease and a little more time under the helmet left me with this.
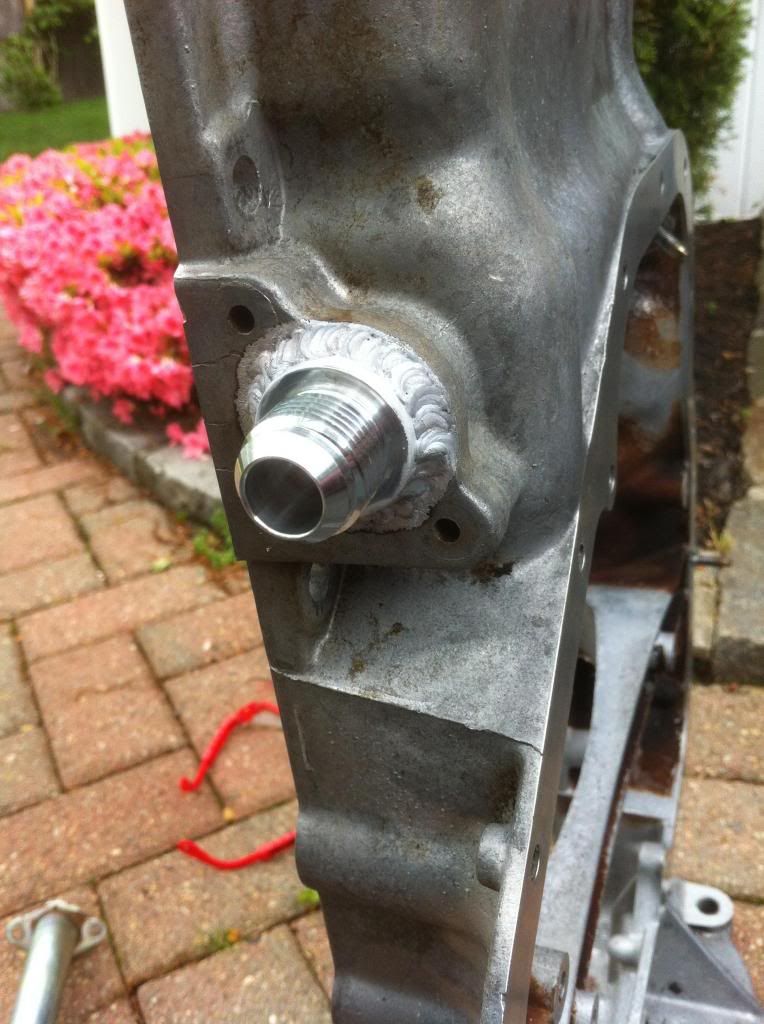
While i had the pan out, i knew i wanted to be able to keep an eye on the oil temps so i also went ahead and did this.
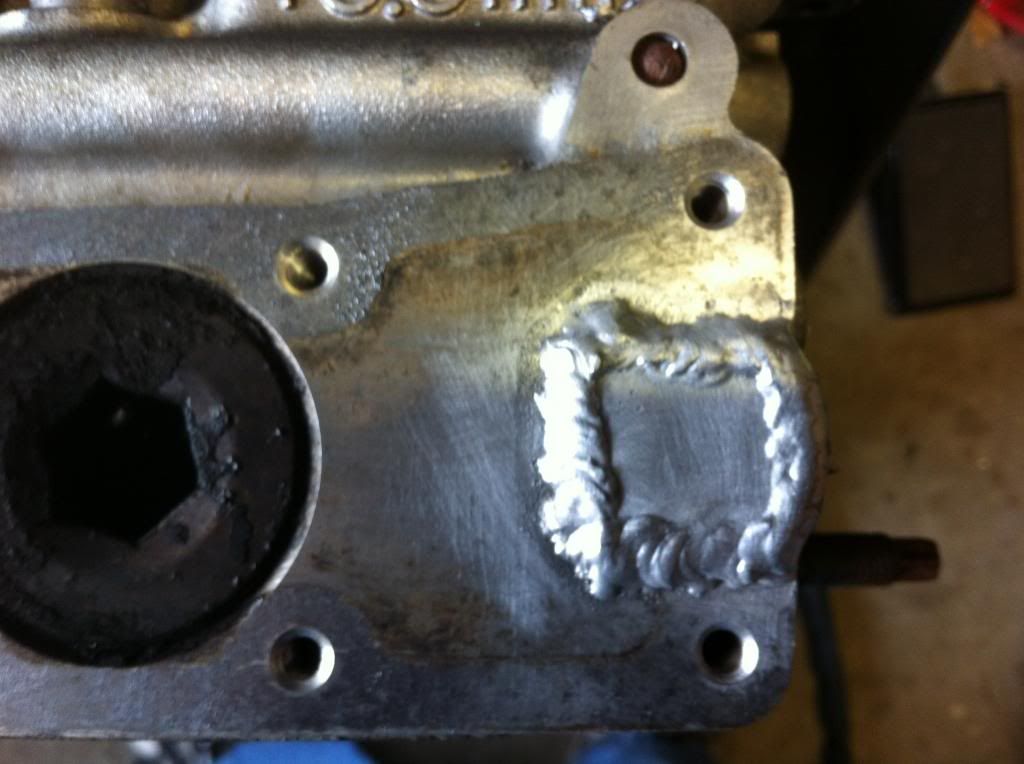
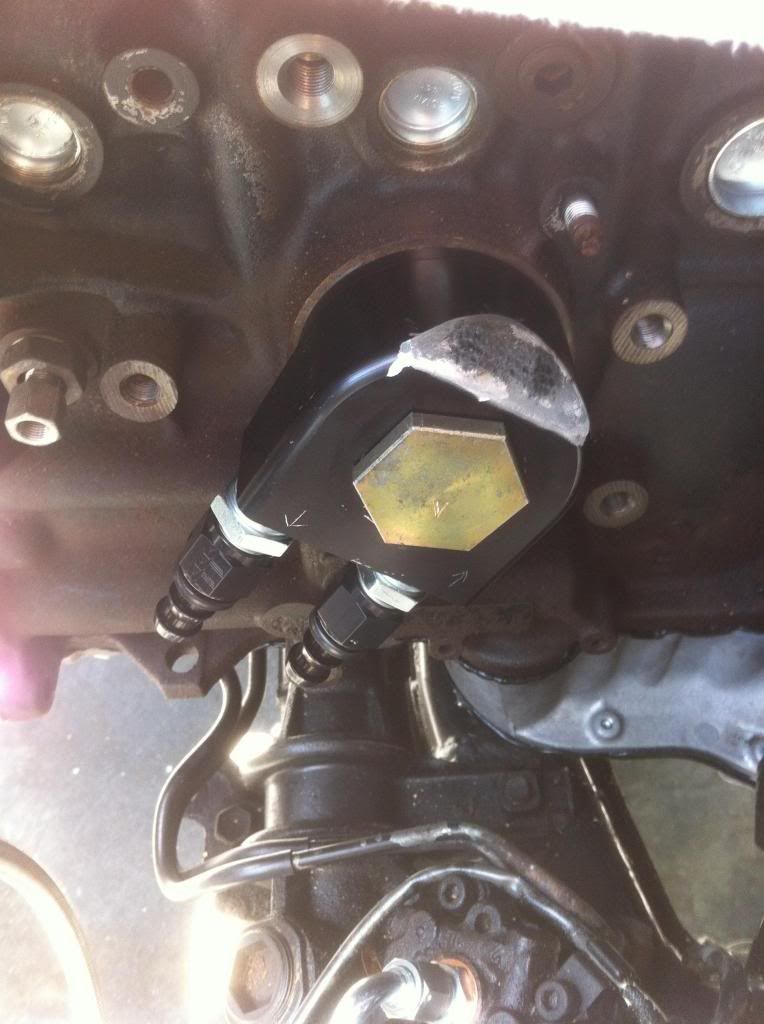
Now that the head and the pan were all set there was only one more thing to do to have all my provisions for the turbo. I had to figure out my oil feed. I really didnt like the stock 2JZ oil filter angle adapter jammy, so i decided i wasn't going to use it. I sourced myself a threaded tube from ebay that was long enough to use the same adapter from the 7m.
In those pictures the motors in the car, but it wasnt when i got the parts.
Back to the oil feed. I couldnt run the "Lexus bolt" because i wasnt running the stock oil filter housing. Instead, back to the welding table.
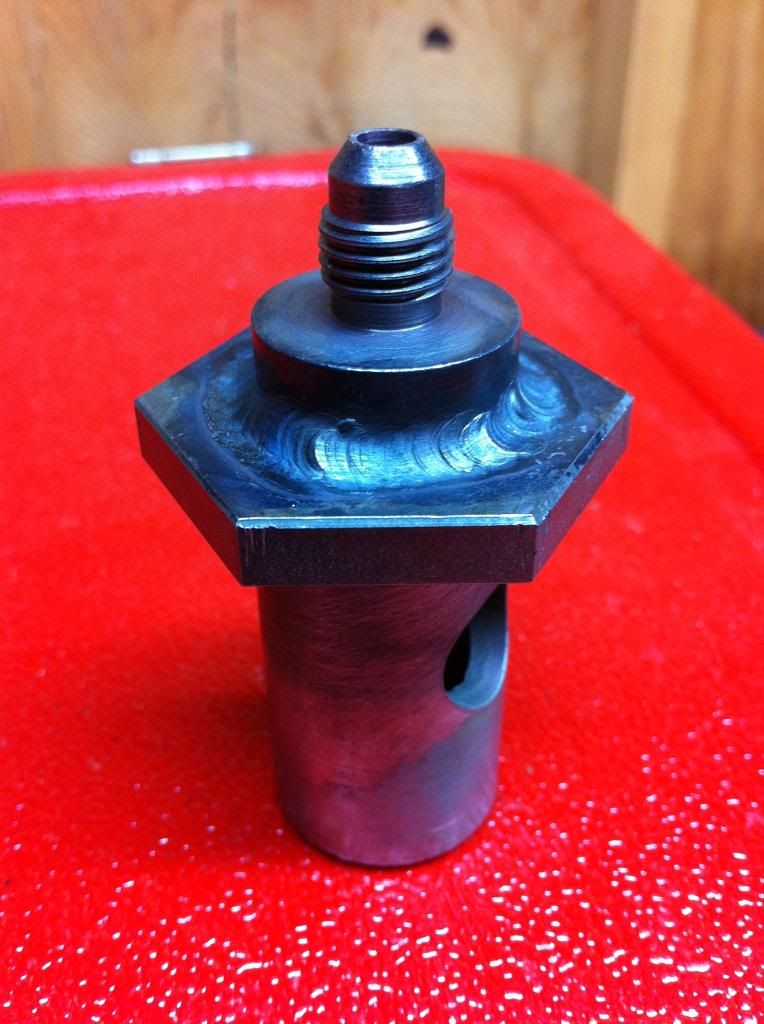
Problem Solved.
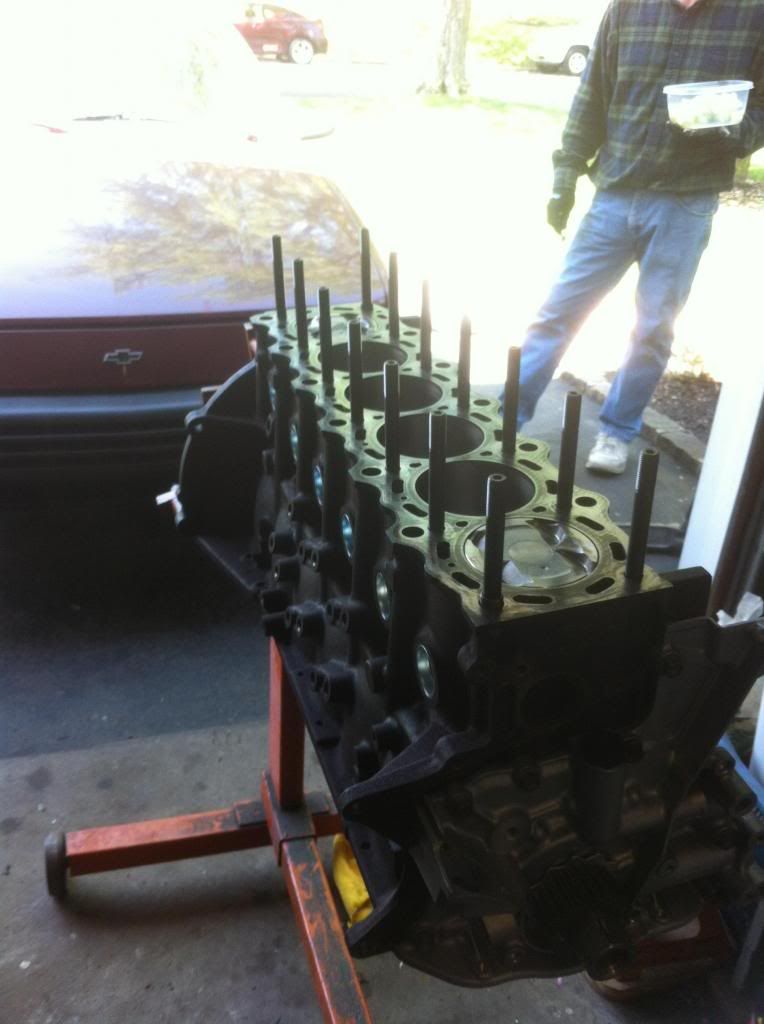
Once i got all that figured out it was time to assemble the short block. The stock rotating assembly went back together perfectly. Installed some brand new ARP Head Studs to make sure the Cometic gasket gets a good squeeze.
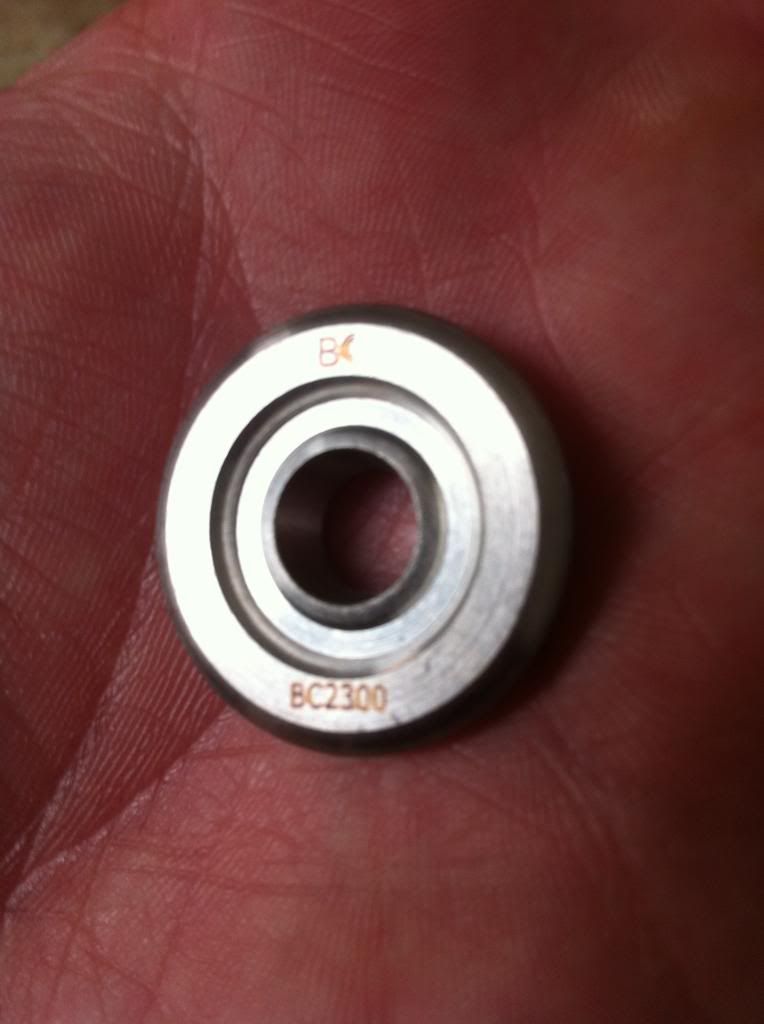
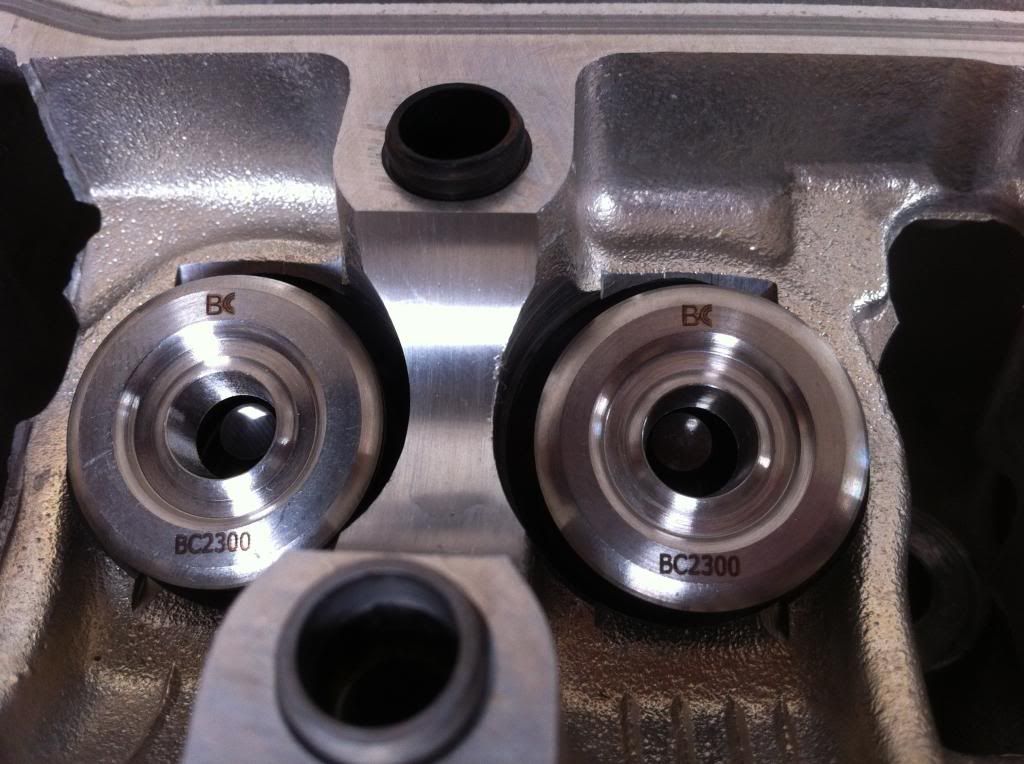
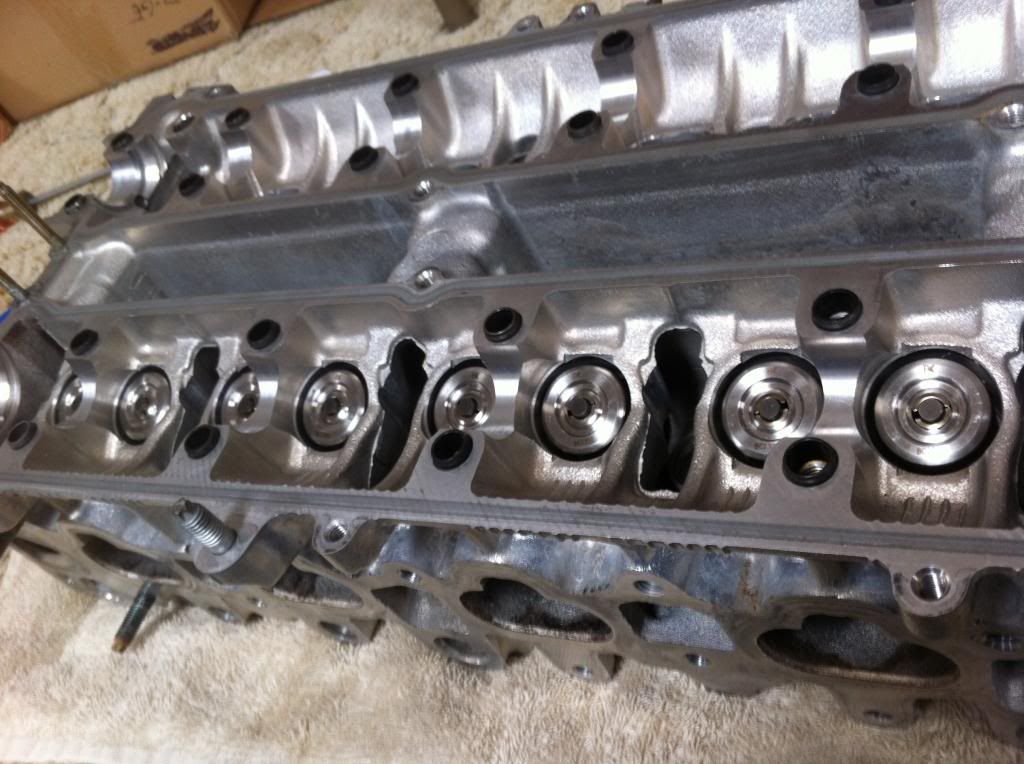
It was about now that i got my head back from the machine shop ready to go. Popped in the valves with brand new toyota valve seals and topped it off with teh BC Spring and retainers.
Popped the cams in and ordered a few new shims to get my clearances right. Damn that was a pain in the ass. Im dreading checking it again to make sure nothing settled to bad. Its a terrible job.
After the clearances were good it was time to convert my short block into a long block and degree in the new cams and install the TT lower timing gear!
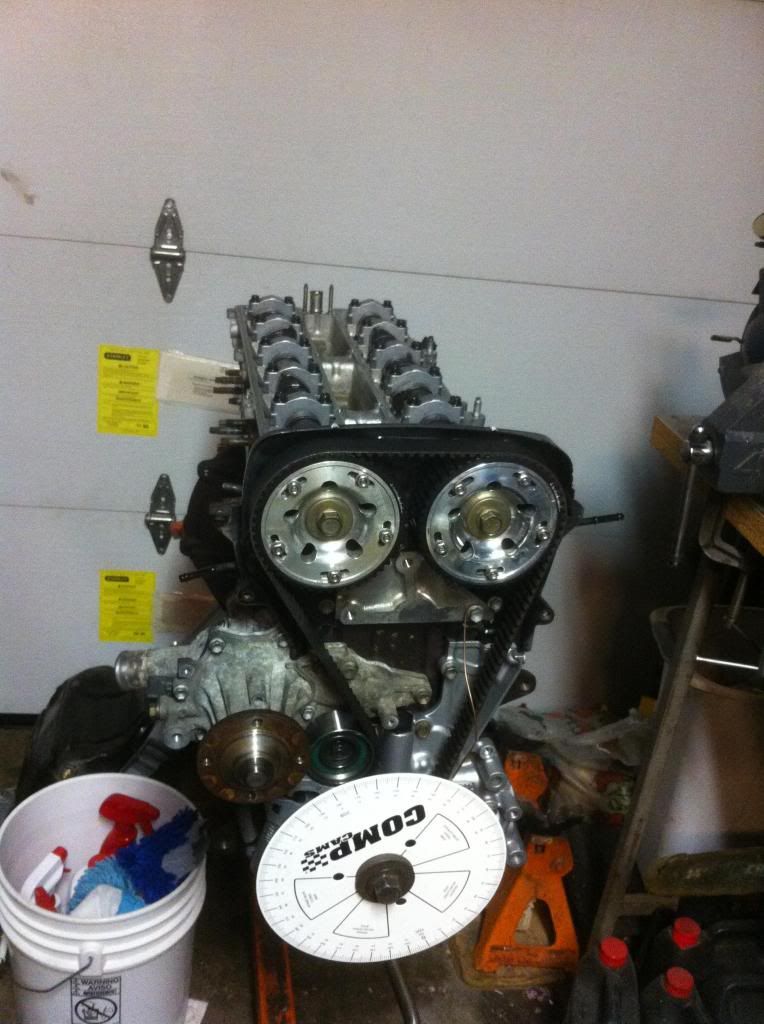
Starting to look like a motor again!
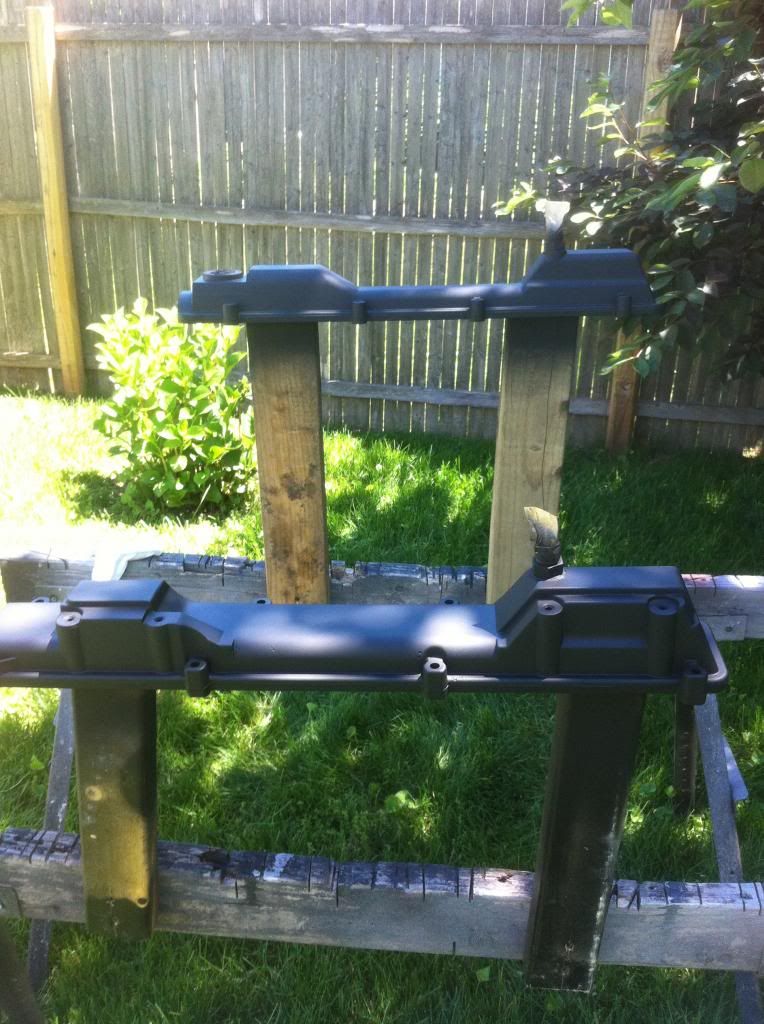
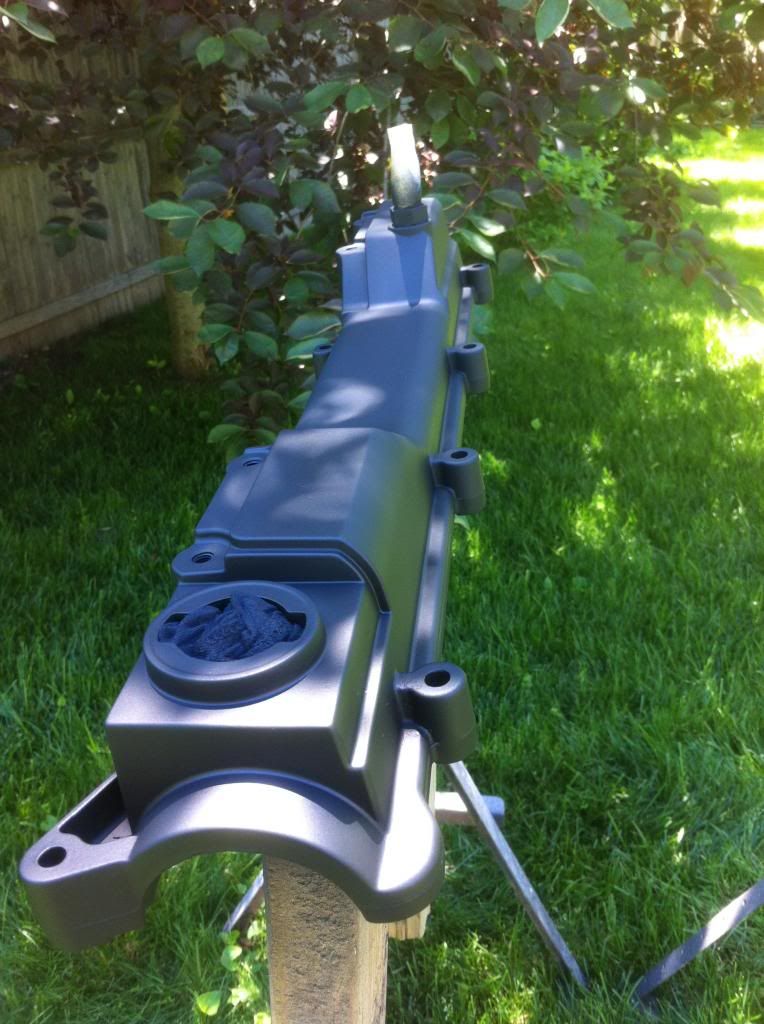
I Painted all the old plastic covers up so they would look sweet when everything is together. Also painted the valve covers with a nice metallic black.

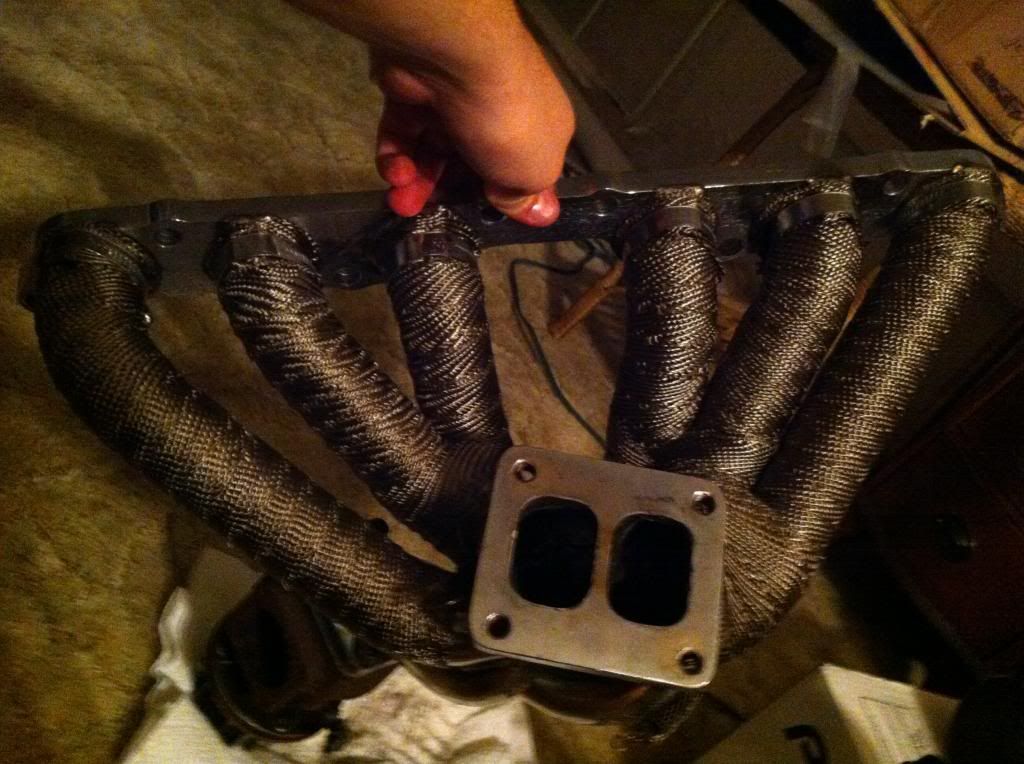
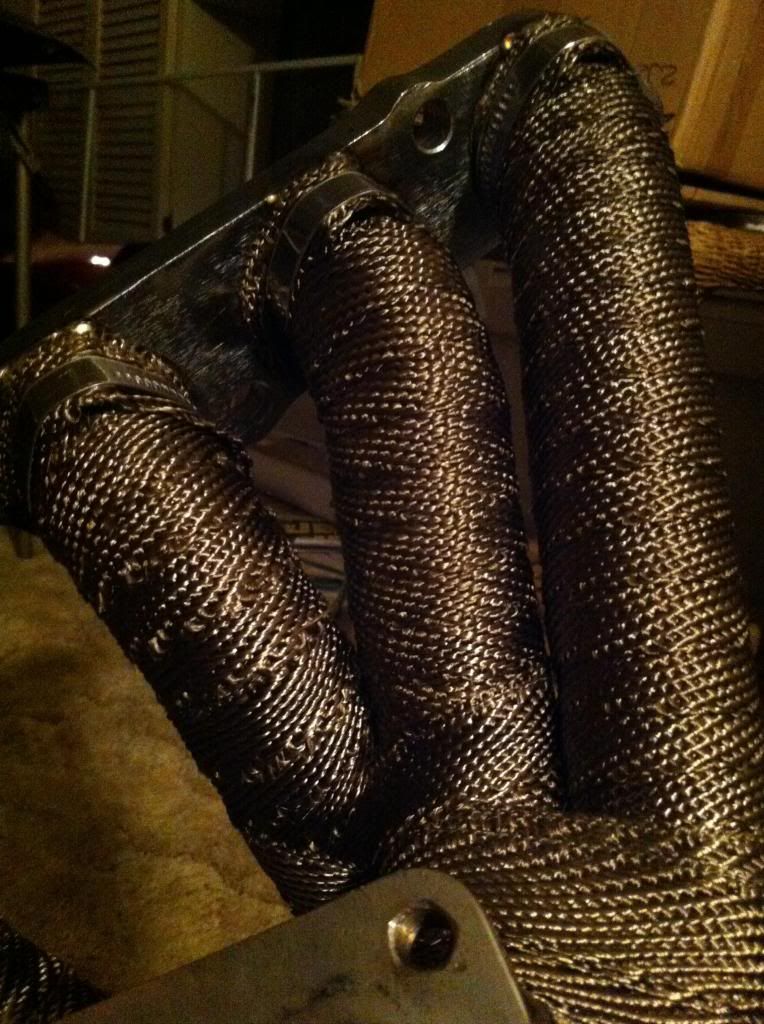
Got the new Exhaust manifold and the new DEI Titanium Wrap. Gotta say, this stuff is awesome. Nowhere near as itchy as the regular fiberglass stuff.
You herd that Ian? No more ITCHY!!!!:biglaugh:
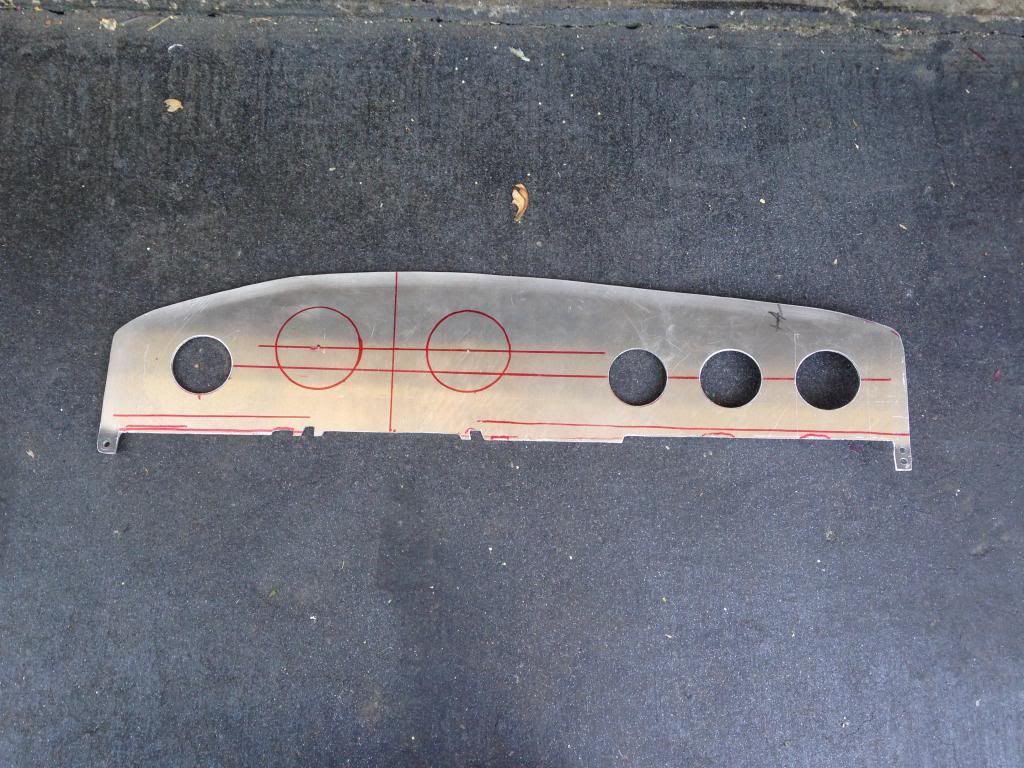
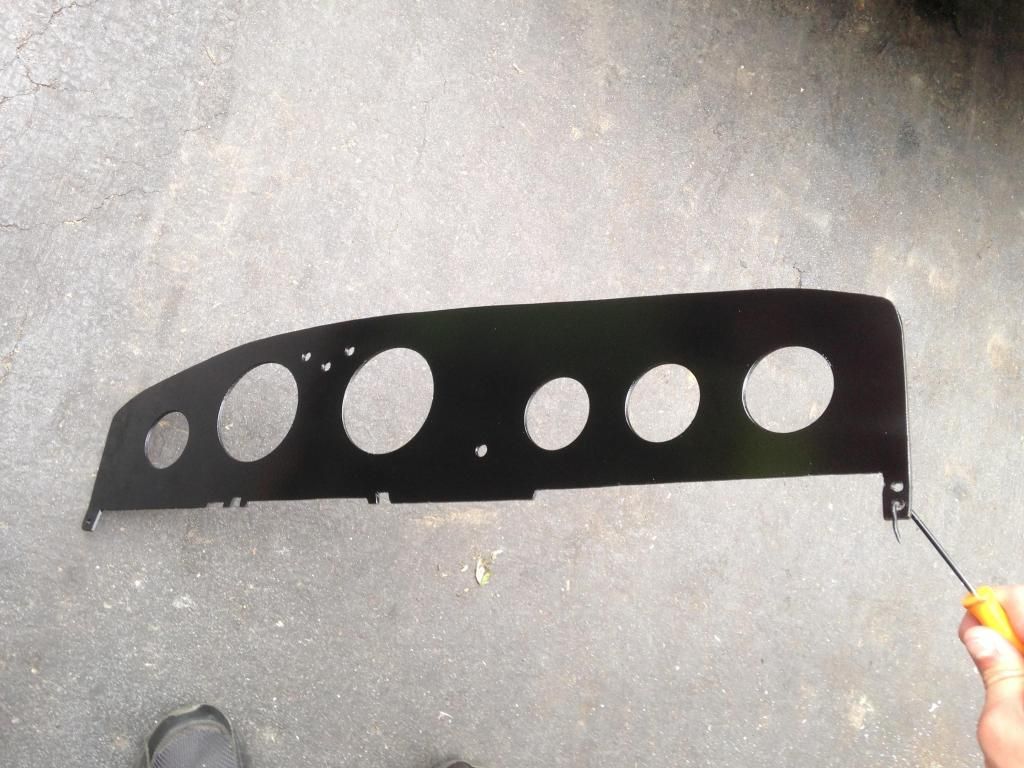
Then i had to cut out the new plate for the ATI GM trans adaptor for the TH350. The pics for that are in a previous post.
After all that i finally got around to getting the motor in! YAY!
Then i had to make the intake manifold, Again pictures are in a previous post.
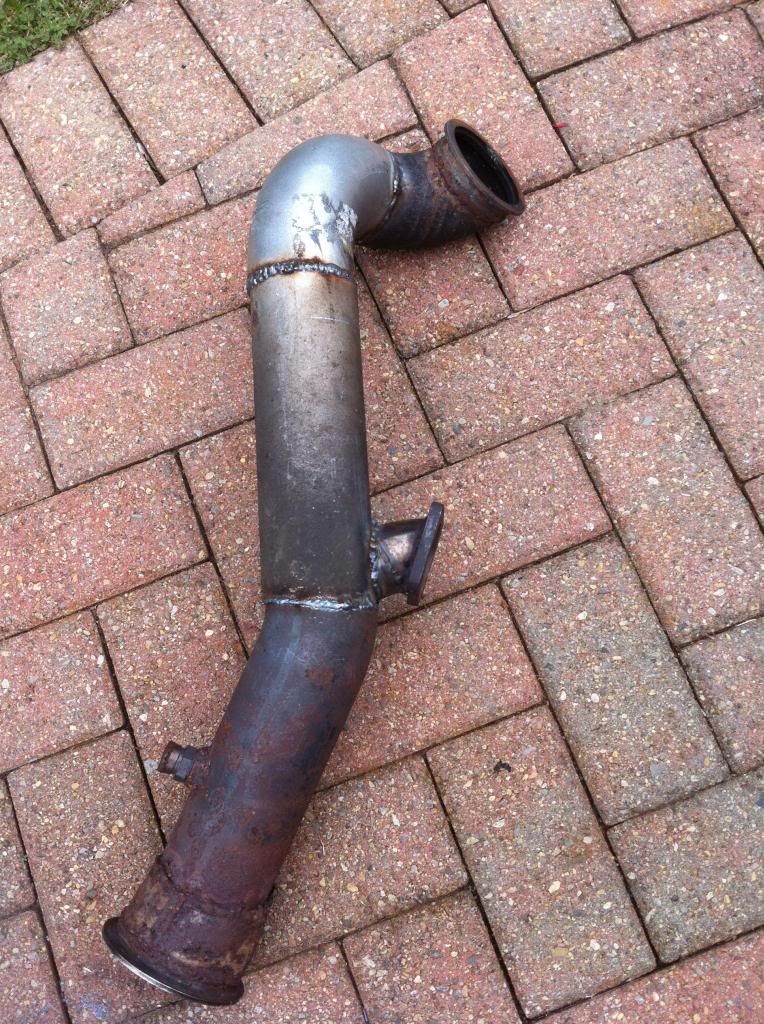
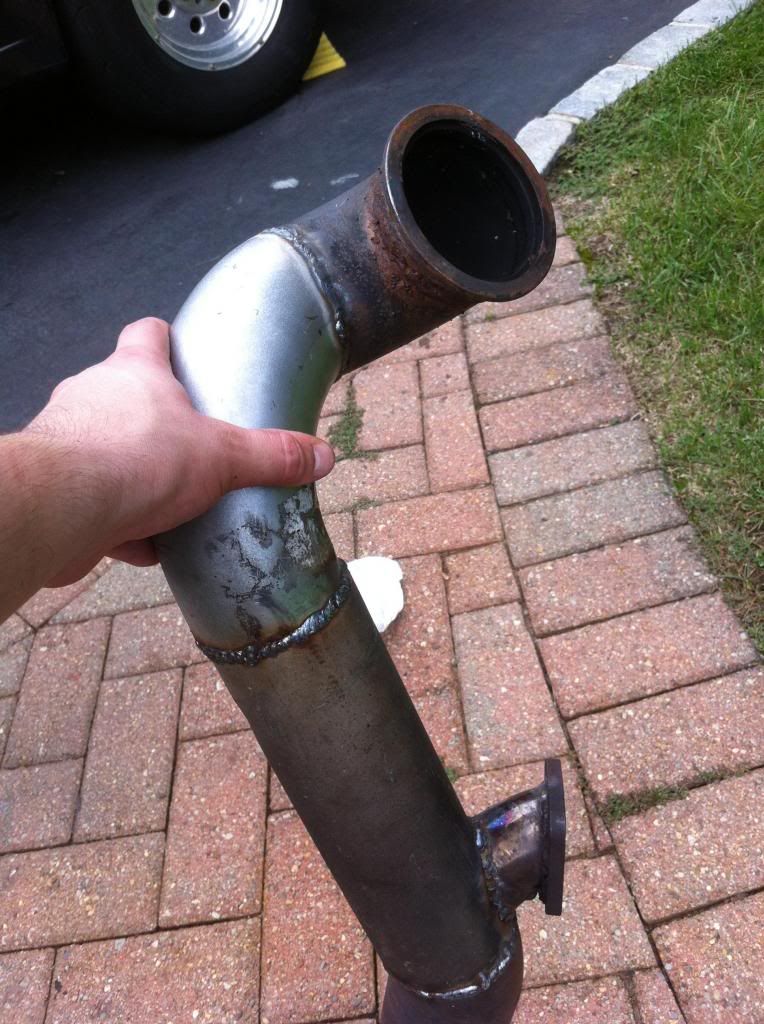
Because of the new motor with the new manifold the turbo was in a different spot and the manifold had a different design so i had to make a new downpipe. This time i recirculated the wastegate. Its really quiet now. Im glad i did it this way.
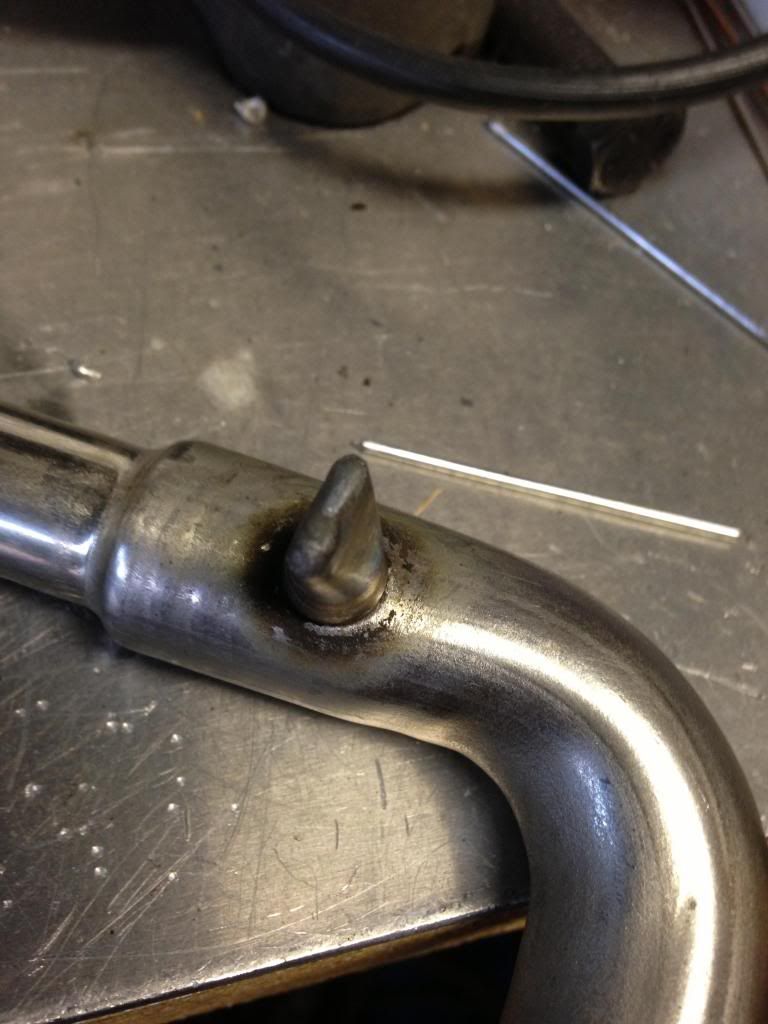
I also didnt like the nipple on the coolant bypass tube that normally goes to the throttlebody or something, so once again, back under the helmet.

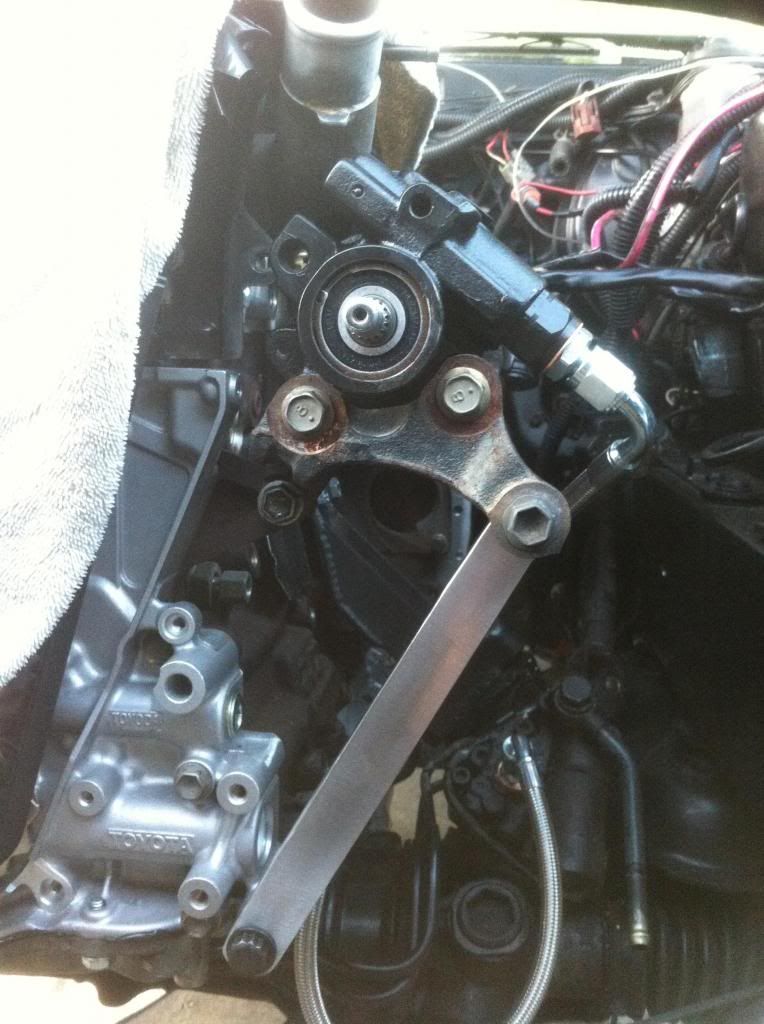
I then was at the issue of the power steering pump not having the AC compressor bracket to bolt to so i put some of the 1/2 inch aluminum plate i cut off the GM trans adaptor to use by making a link to stabilize the PS pump.

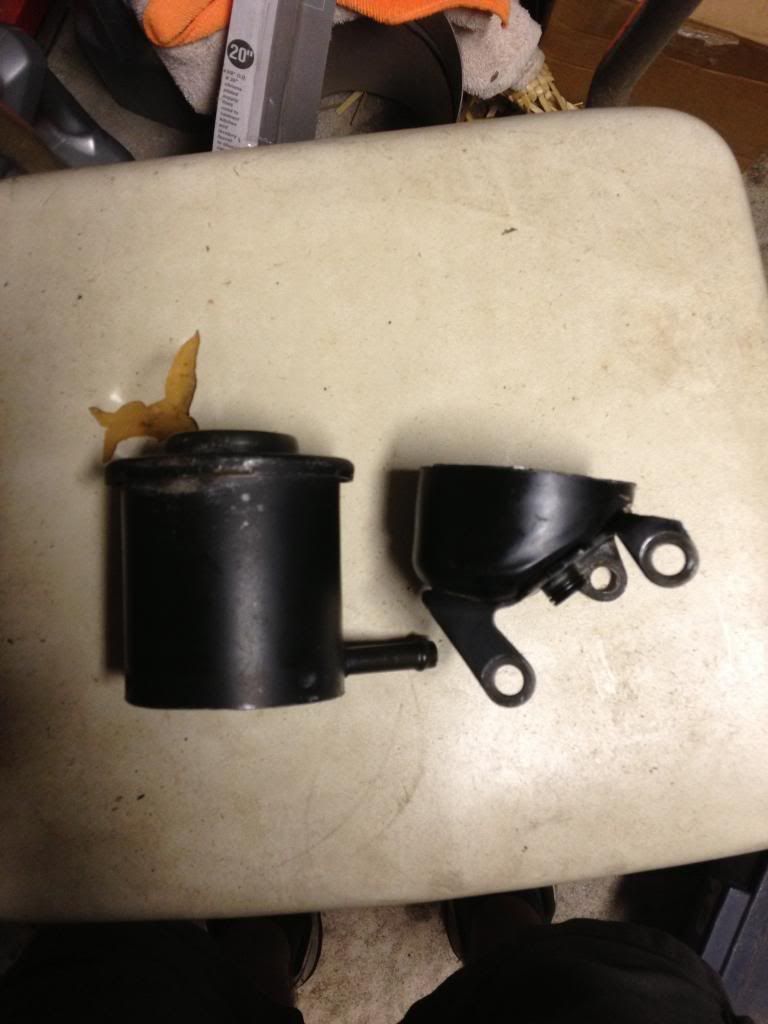
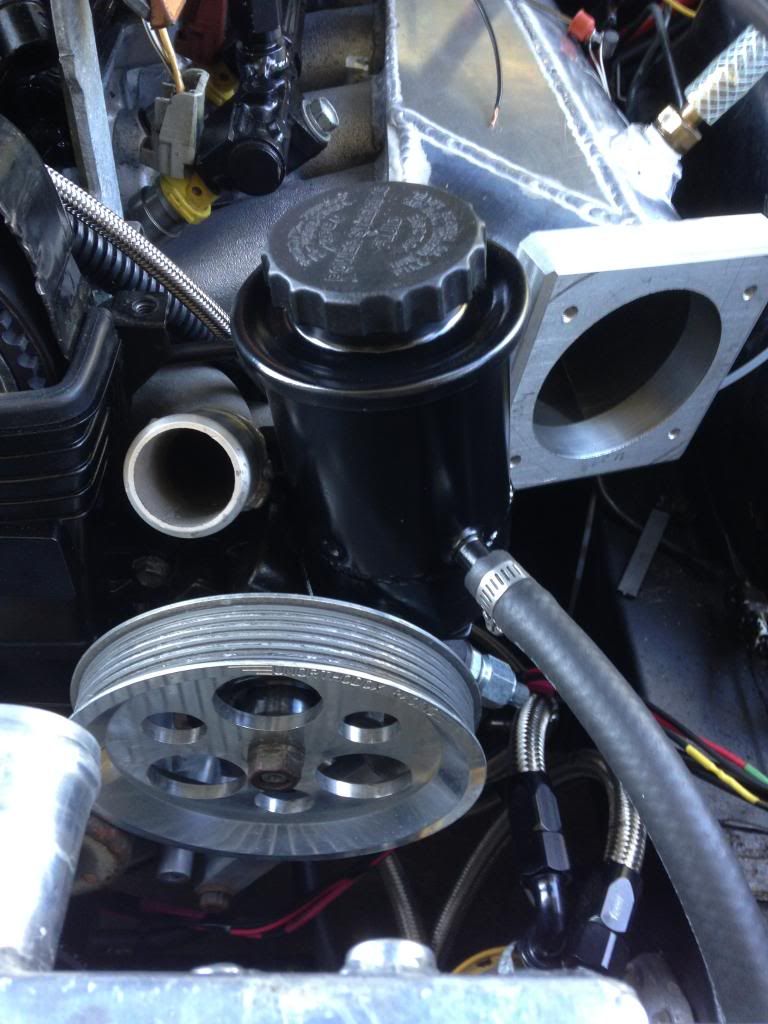
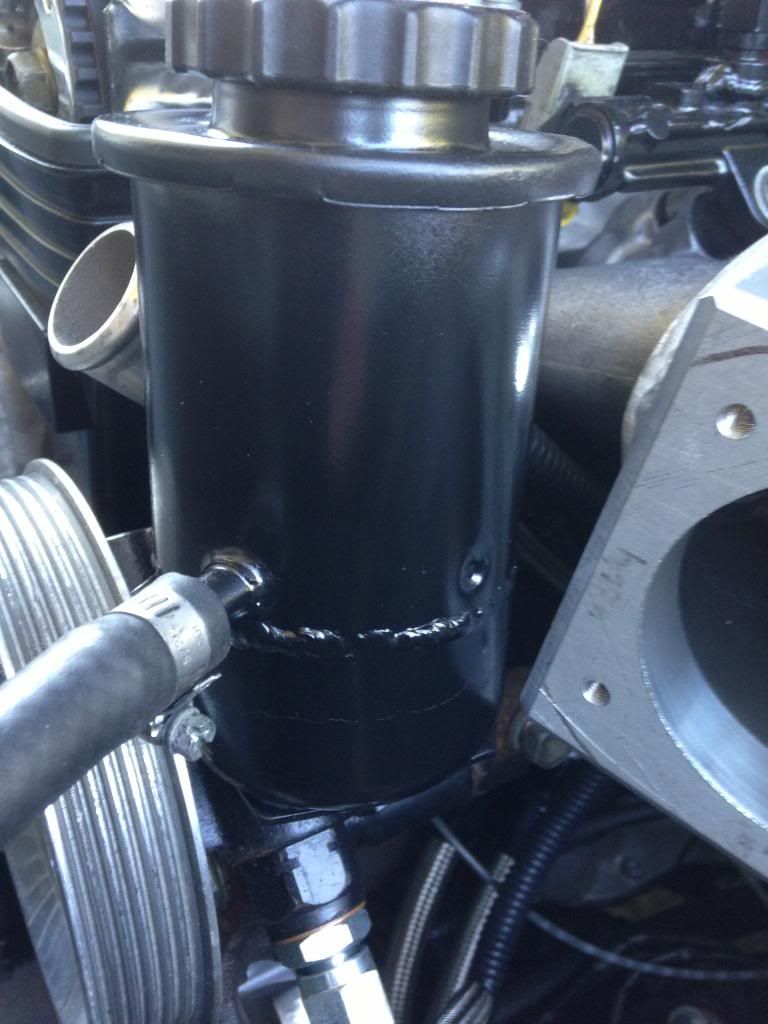
After gettig the pump installed i didnt account for enough clearance to the manifold for the reservior. The way it was set up, the return tube pointed straight into the throttle body flange.
Once again the fix is at the welding table. I cut the reservior in half and cleaned in REALLY good and then welded it back together so the tube was pointing more forward.
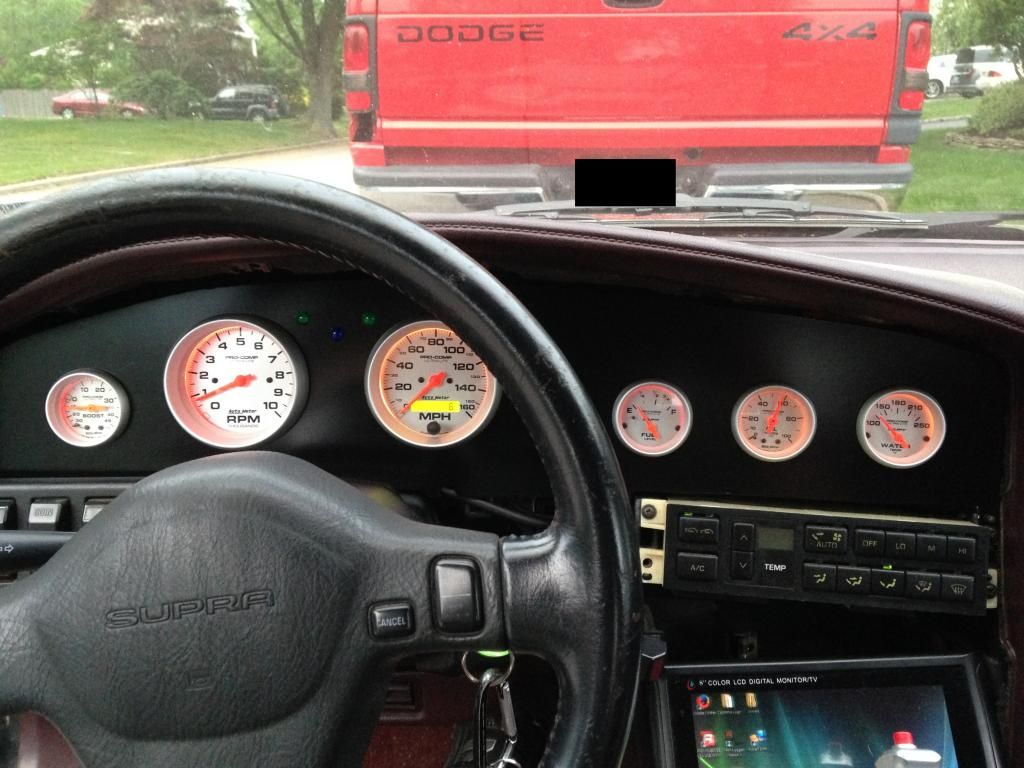
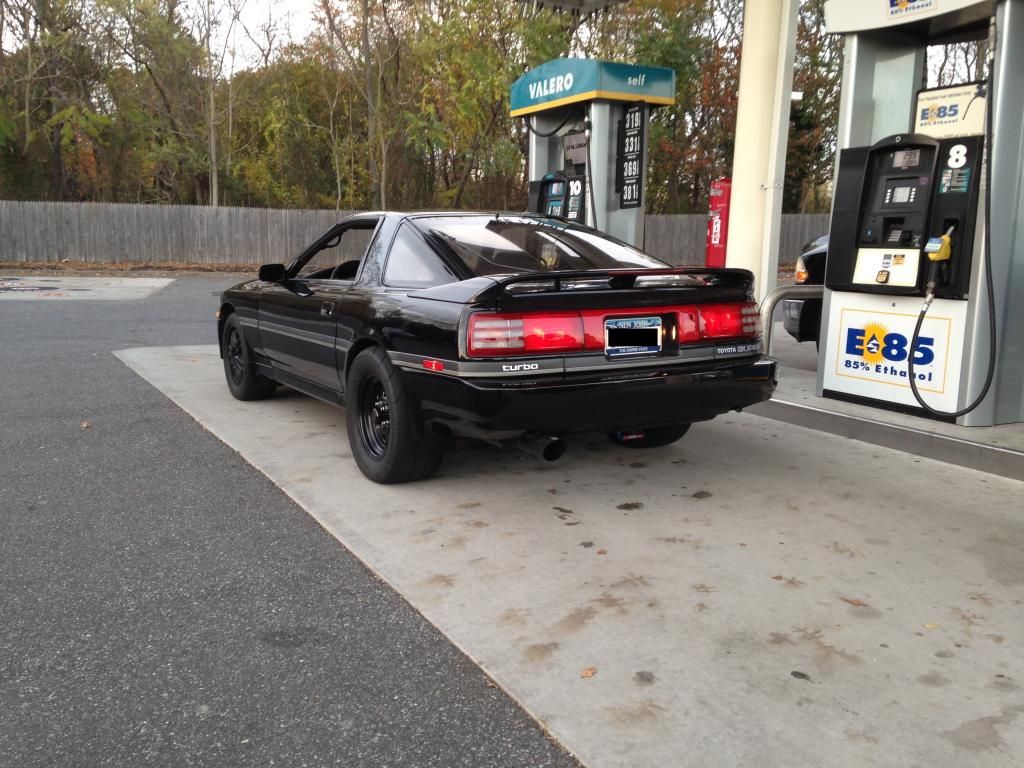
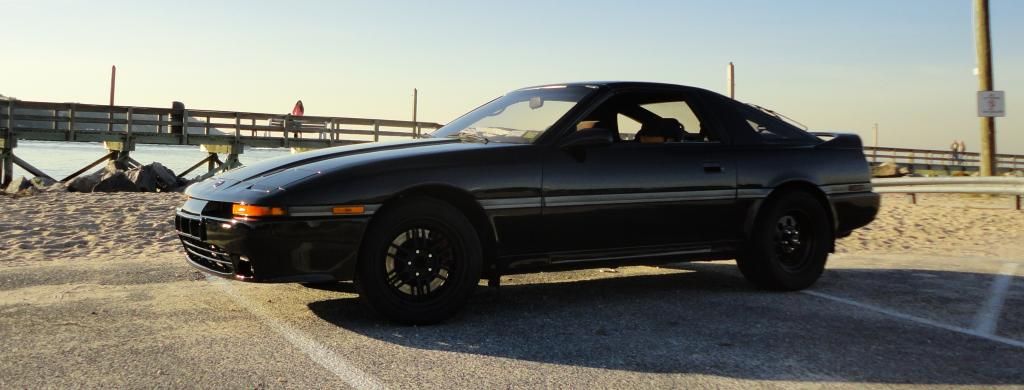
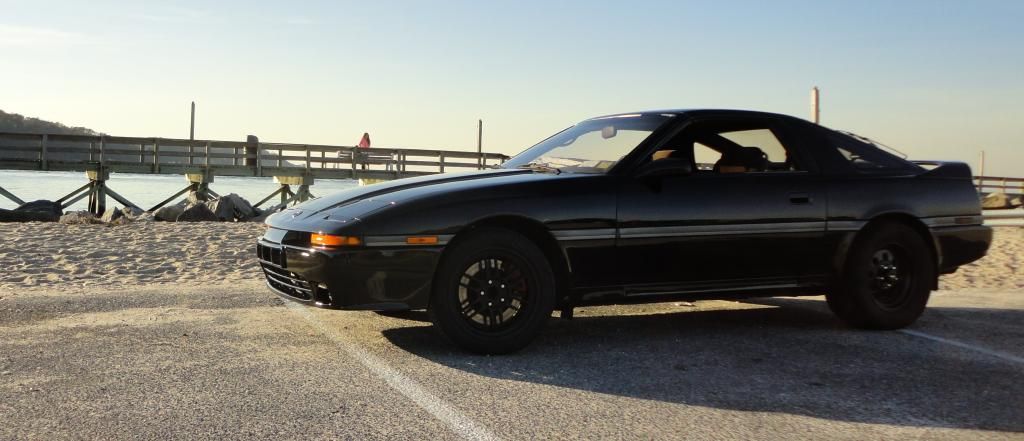
At first it looked like this after being for the most part done.
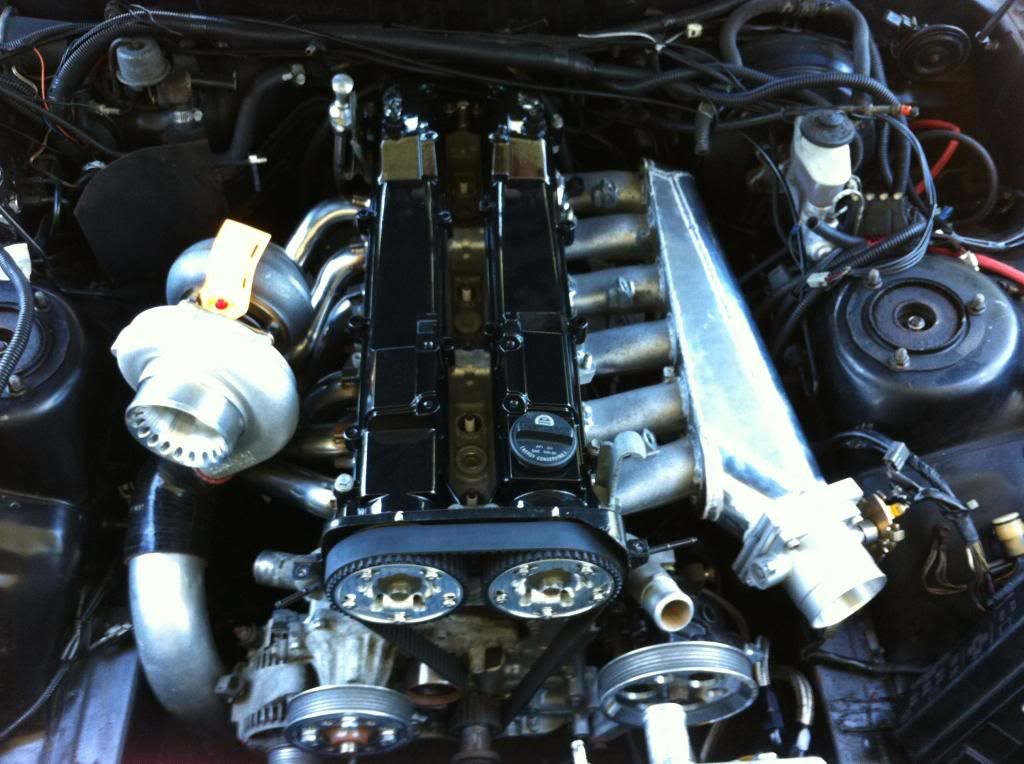
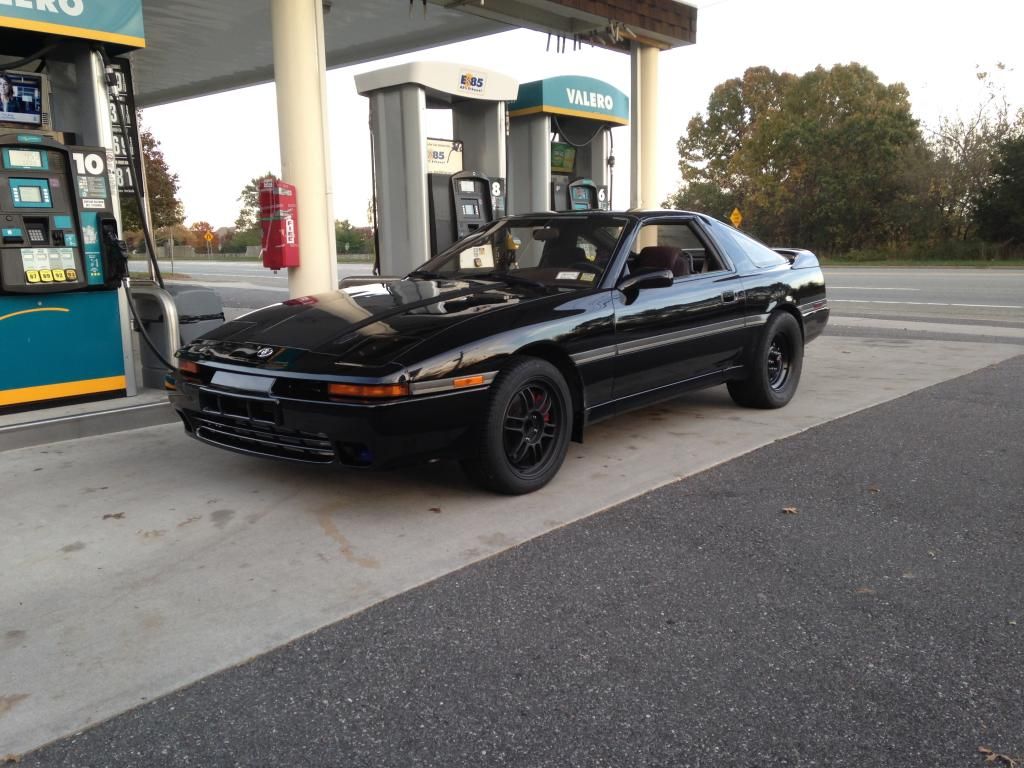
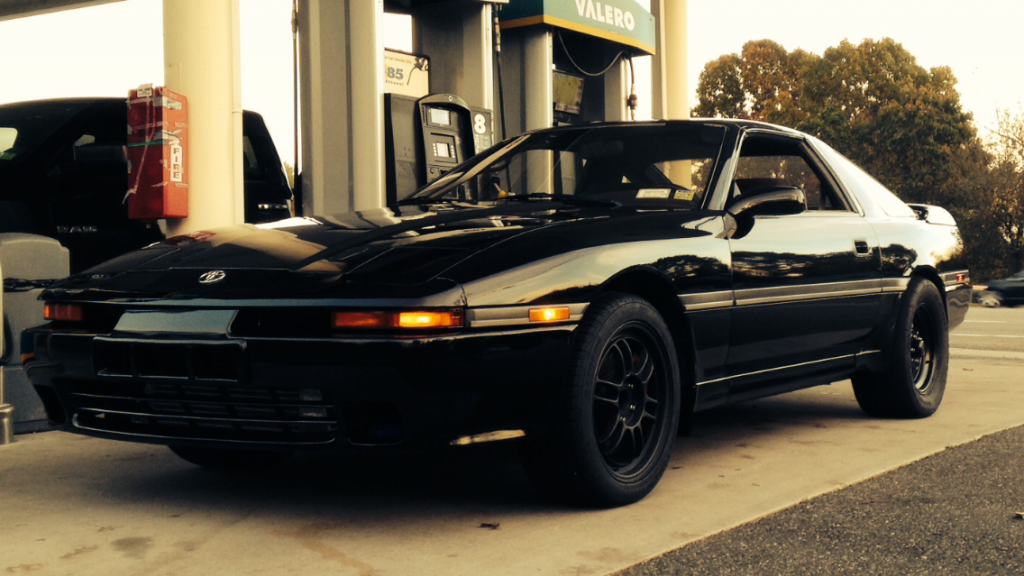
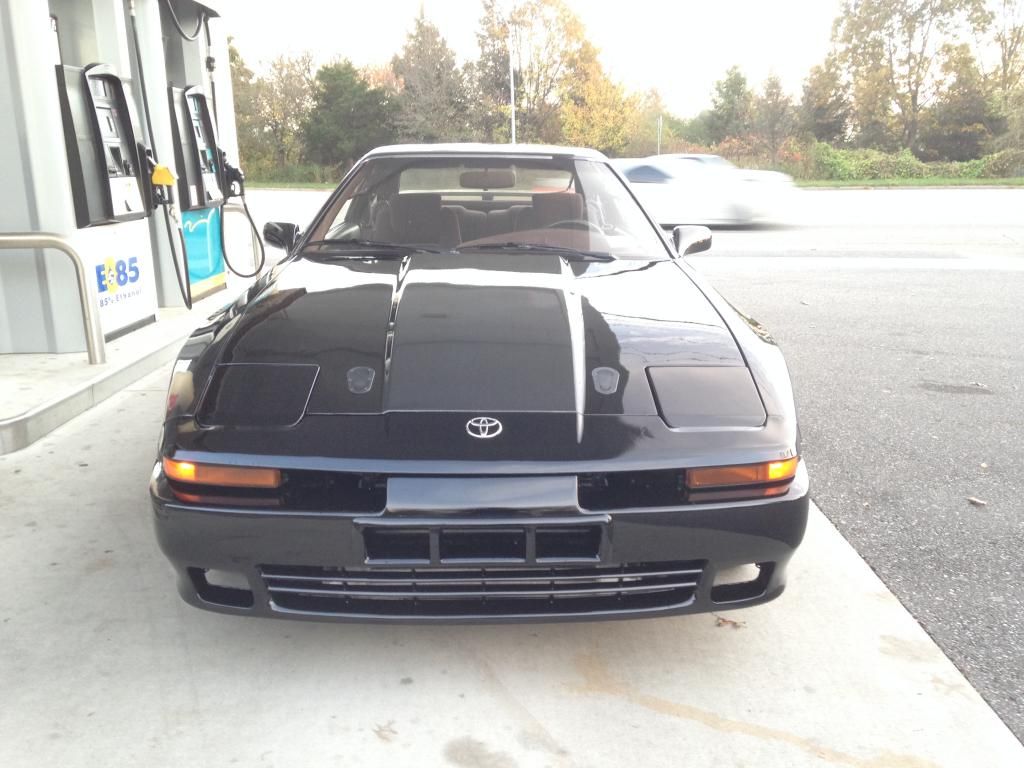
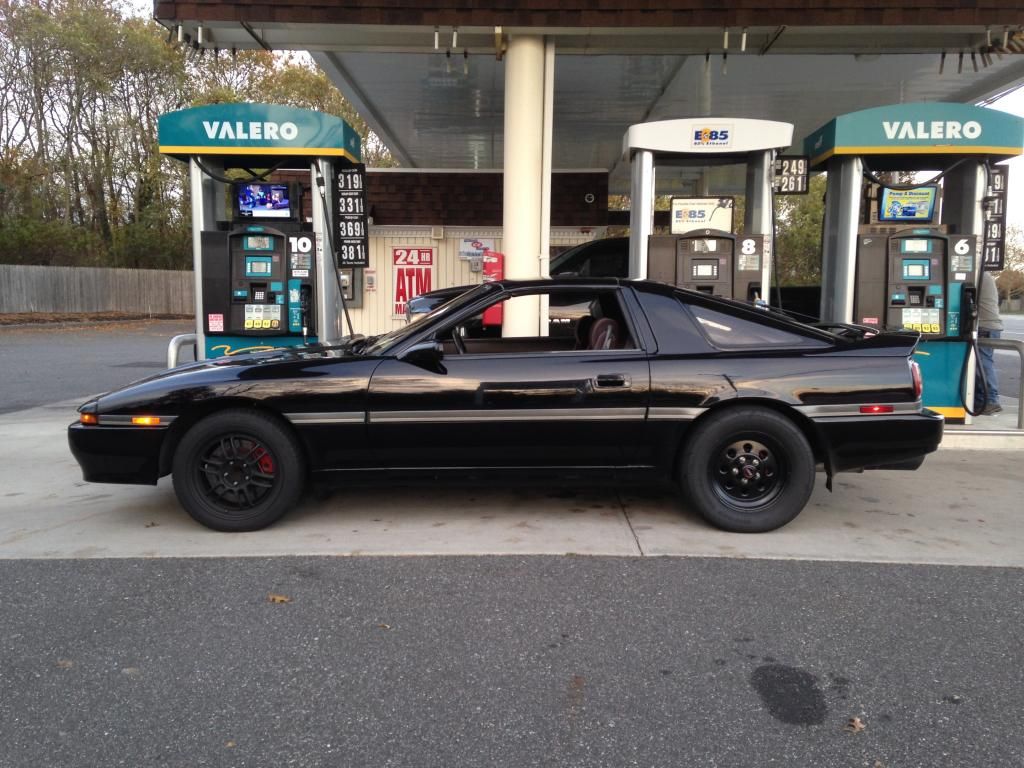
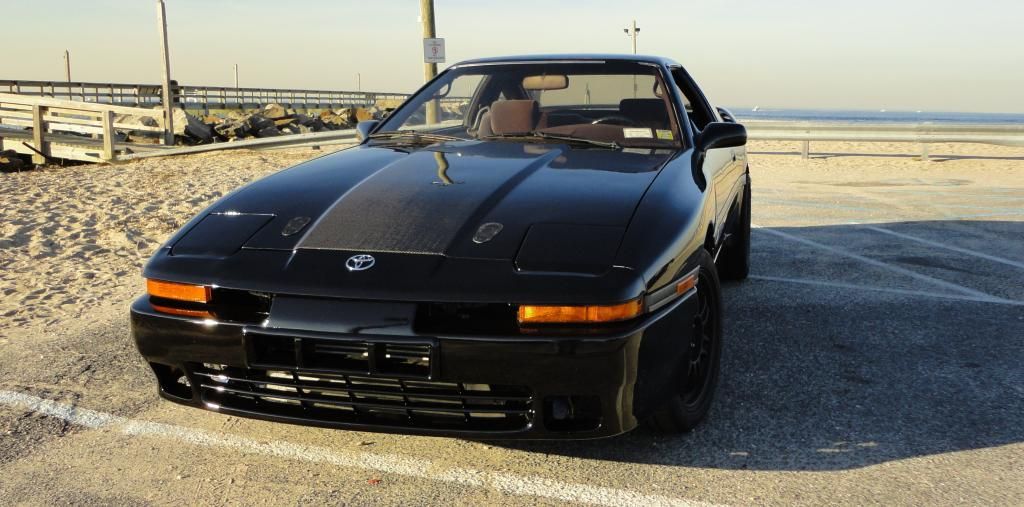
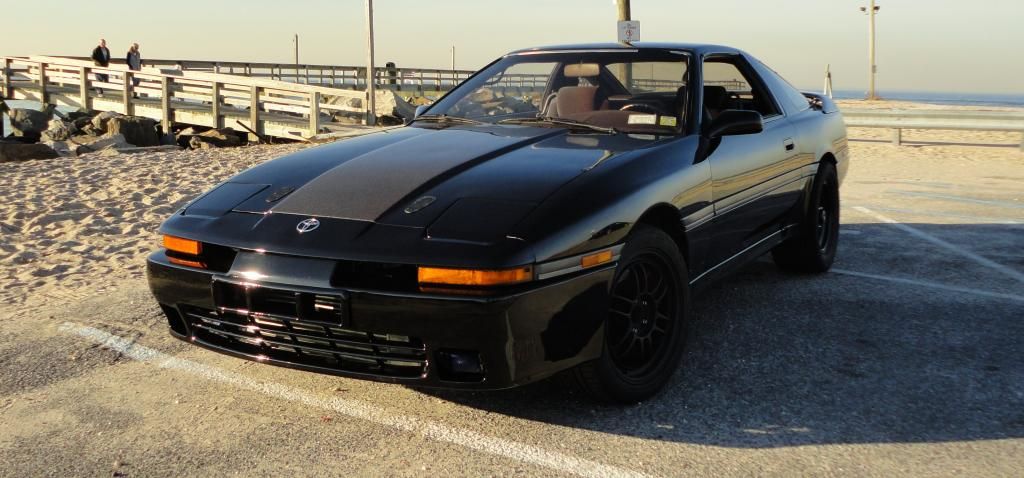
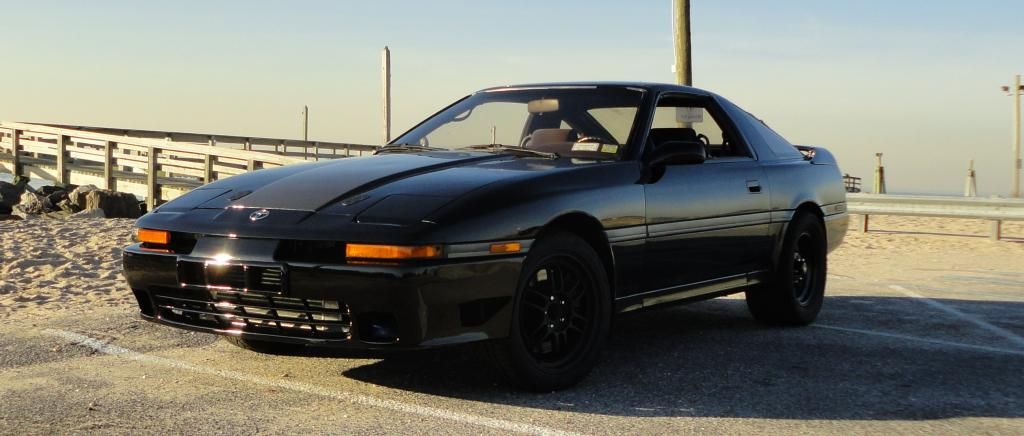
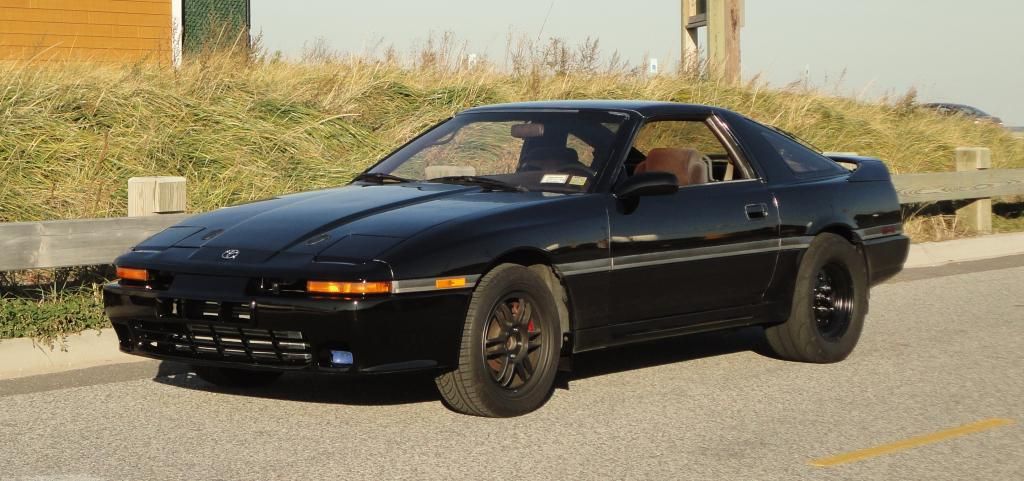
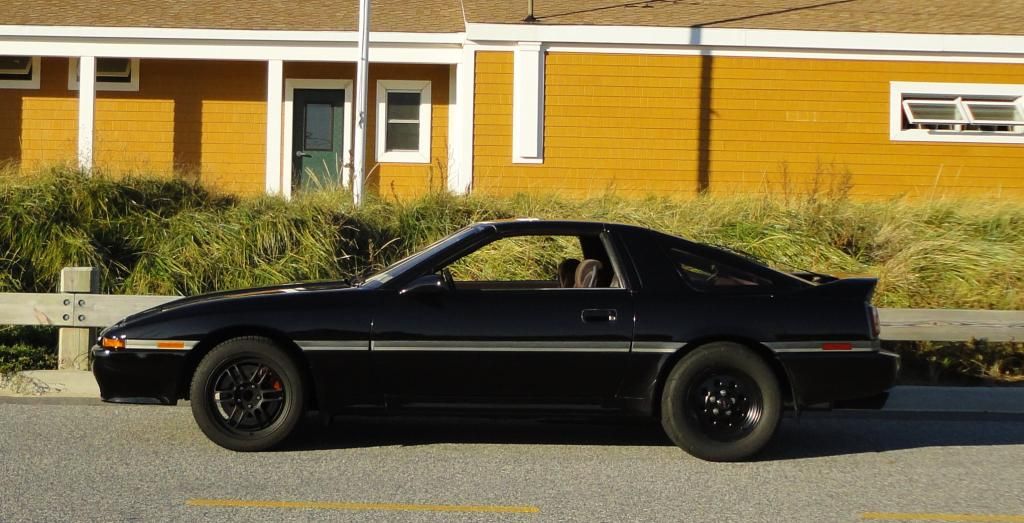
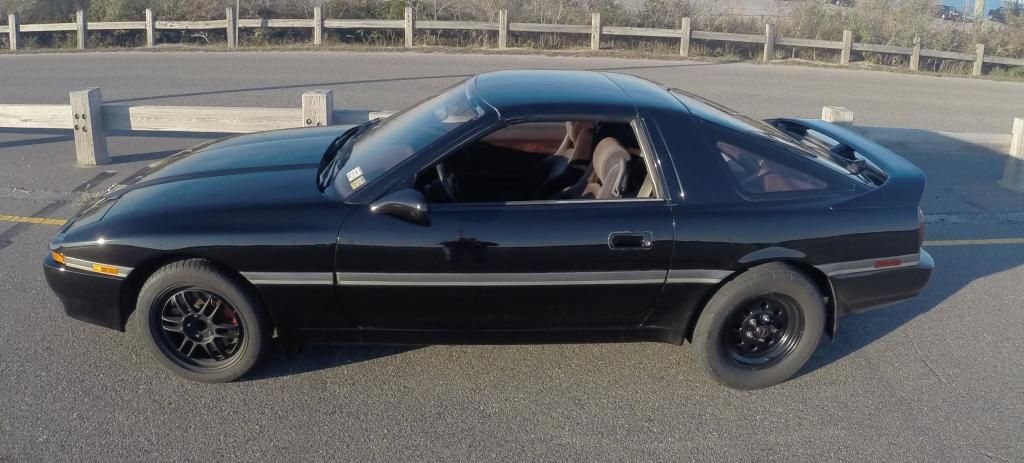
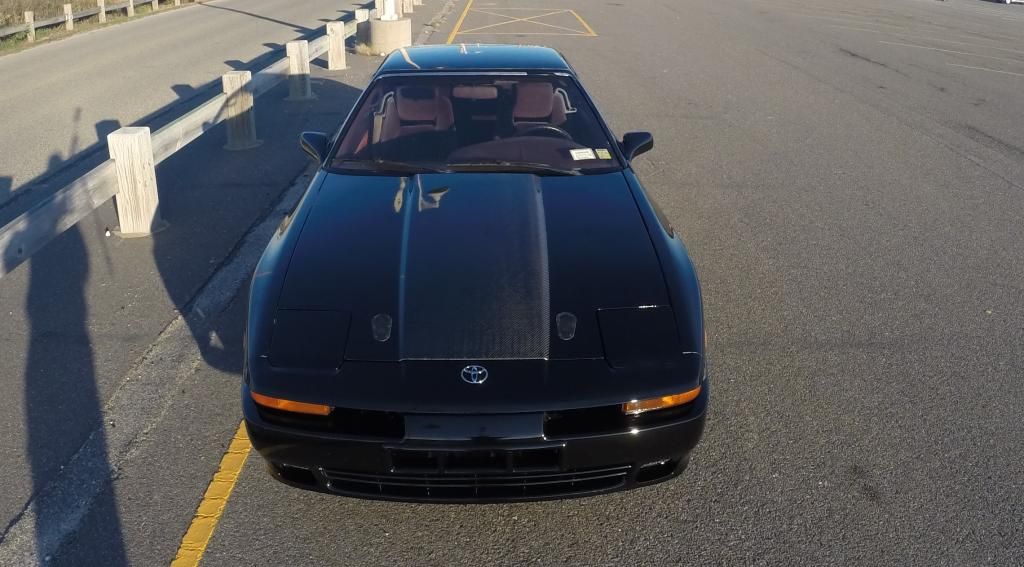
Now after little tweaks/paint/love it looks like this.

Theres probably a few typos in there, but this post is so long i really cant stand to keep proofreading it so im leaving it as is. :aigo:
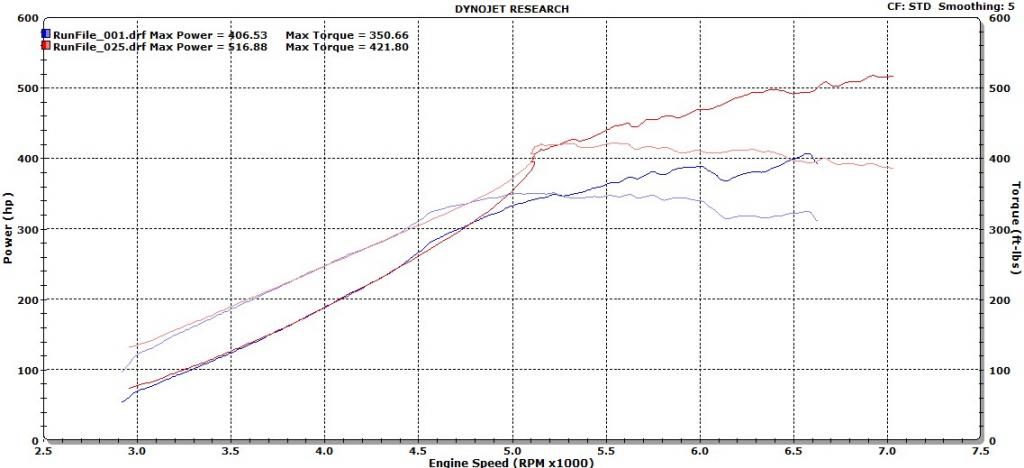
Theres a few more pics of updates but thats for another day. For now, its pretty up to date!! AND IT RUNS SWEEEEEEEEEEEEEET! Vids, coming soon.
:love:
After the 7M Bit the dust, I picked up a 2JZGE. Looked like this.
I started order a bunch of parts. Once i started getting them in i was tearing down the motor to get it off to the machine shop. I got the short block pulled apart and up to the machine shop for a quick hone and inspection. I let them order the rings, bearings and everything else to make sure it would be right.
I held onto the head because i had some plans for it before i got it off to the machine shop for a Valve Job.
I decided i didnt want that 1960's distributor hanging off the side of the head, so i had to do some customization.
I ordered a TT CPS sensor so i could measure it. I also ordered TT Cams, specifically BC272's with the matching BC Springs and retainer kit.
After some measuring and very precise figuring, i knew what had to be done. Ill let the pictures tell the story.
'Nuff Said :naughty:
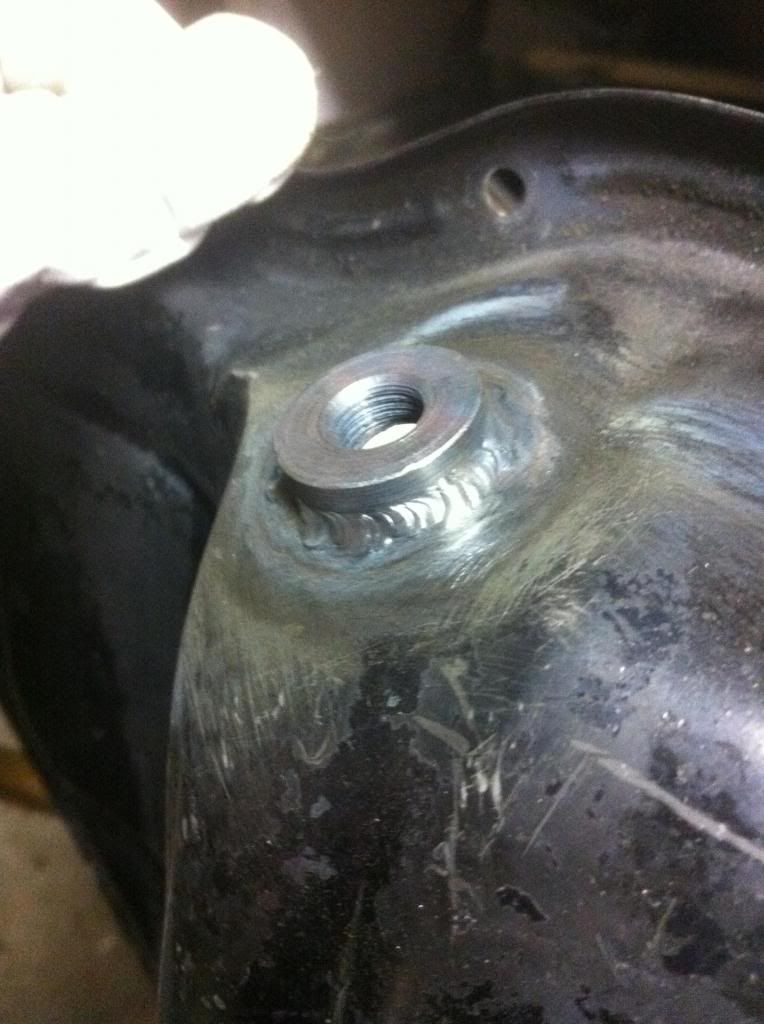
Also took this opportunity to block off the EGR.
Now that i had my head done it was off to the machine shop.
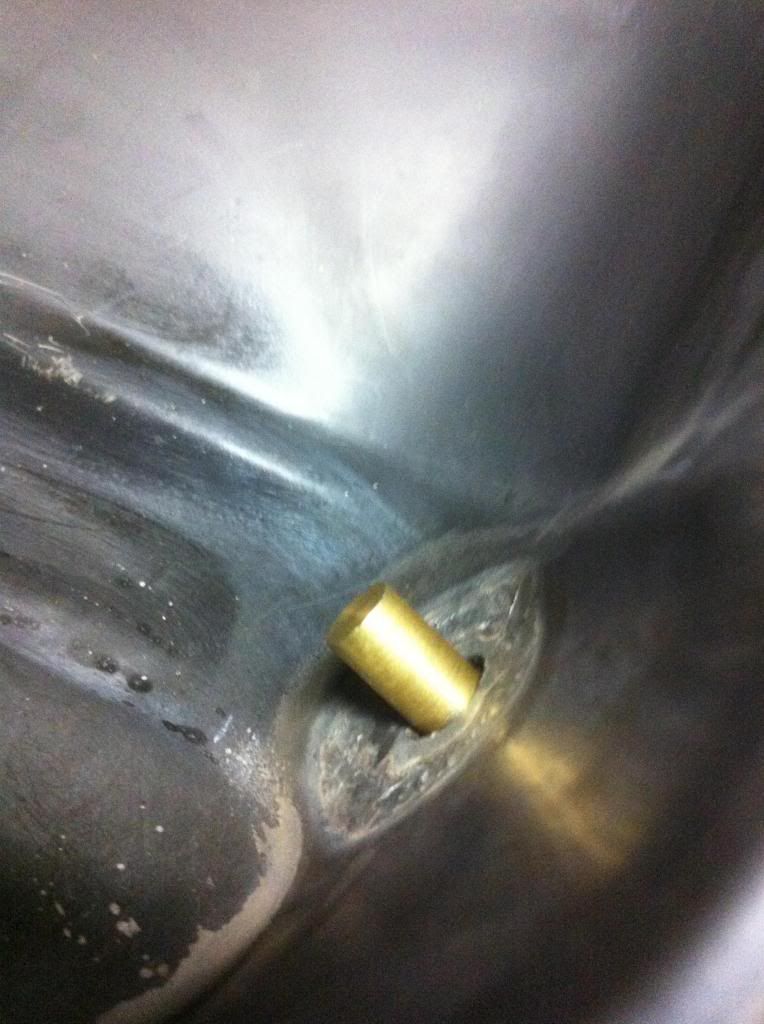
After the head was modified and at the machine shop i had other business to attend to. The top of the motor was squared away but the bottom still wasnt quite ready for a turbo. Little more elbow grease and a little more time under the helmet left me with this.
While i had the pan out, i knew i wanted to be able to keep an eye on the oil temps so i also went ahead and did this.
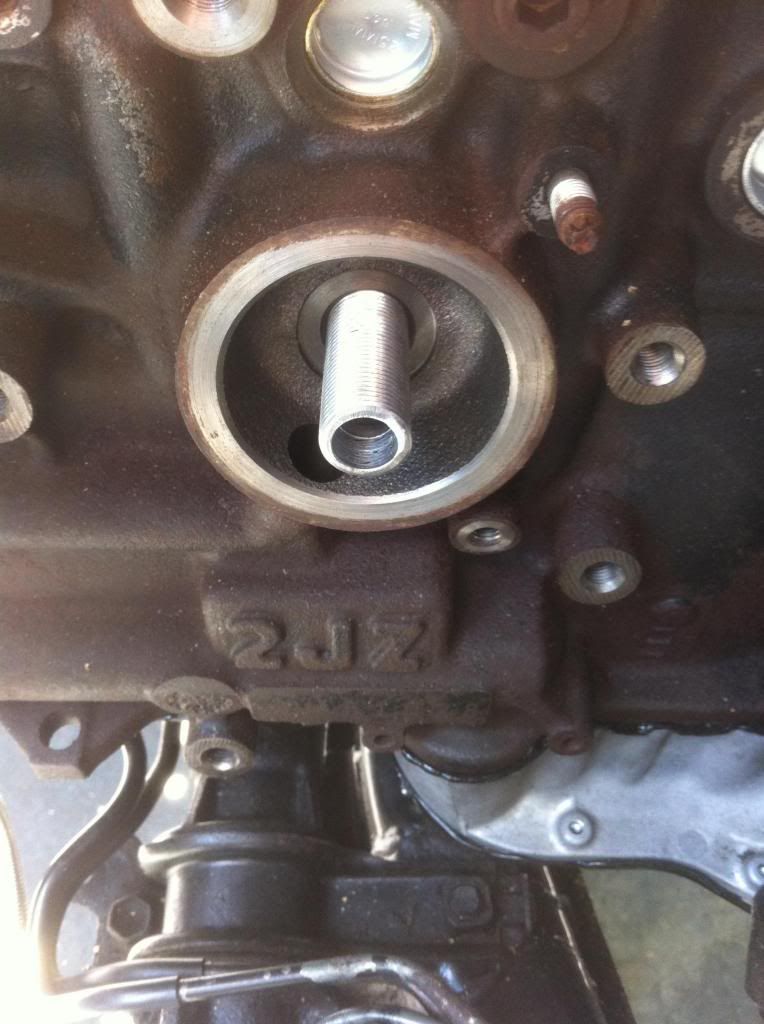
Now that the head and the pan were all set there was only one more thing to do to have all my provisions for the turbo. I had to figure out my oil feed. I really didnt like the stock 2JZ oil filter angle adapter jammy, so i decided i wasn't going to use it. I sourced myself a threaded tube from ebay that was long enough to use the same adapter from the 7m.
In those pictures the motors in the car, but it wasnt when i got the parts.
Back to the oil feed. I couldnt run the "Lexus bolt" because i wasnt running the stock oil filter housing. Instead, back to the welding table.
Problem Solved.
Once i got all that figured out it was time to assemble the short block. The stock rotating assembly went back together perfectly. Installed some brand new ARP Head Studs to make sure the Cometic gasket gets a good squeeze.
It was about now that i got my head back from the machine shop ready to go. Popped in the valves with brand new toyota valve seals and topped it off with teh BC Spring and retainers.
Popped the cams in and ordered a few new shims to get my clearances right. Damn that was a pain in the ass. Im dreading checking it again to make sure nothing settled to bad. Its a terrible job.
After the clearances were good it was time to convert my short block into a long block and degree in the new cams and install the TT lower timing gear!
Starting to look like a motor again!
I Painted all the old plastic covers up so they would look sweet when everything is together. Also painted the valve covers with a nice metallic black.
Got the new Exhaust manifold and the new DEI Titanium Wrap. Gotta say, this stuff is awesome. Nowhere near as itchy as the regular fiberglass stuff.
You herd that Ian? No more ITCHY!!!!:biglaugh:
Then i had to cut out the new plate for the ATI GM trans adaptor for the TH350. The pics for that are in a previous post.
After all that i finally got around to getting the motor in! YAY!
Then i had to make the intake manifold, Again pictures are in a previous post.
Because of the new motor with the new manifold the turbo was in a different spot and the manifold had a different design so i had to make a new downpipe. This time i recirculated the wastegate. Its really quiet now. Im glad i did it this way.
I also didnt like the nipple on the coolant bypass tube that normally goes to the throttlebody or something, so once again, back under the helmet.
I then was at the issue of the power steering pump not having the AC compressor bracket to bolt to so i put some of the 1/2 inch aluminum plate i cut off the GM trans adaptor to use by making a link to stabilize the PS pump.
After gettig the pump installed i didnt account for enough clearance to the manifold for the reservior. The way it was set up, the return tube pointed straight into the throttle body flange.
Once again the fix is at the welding table. I cut the reservior in half and cleaned in REALLY good and then welded it back together so the tube was pointing more forward.
At first it looked like this after being for the most part done.
Now after little tweaks/paint/love it looks like this.
Theres probably a few typos in there, but this post is so long i really cant stand to keep proofreading it so im leaving it as is. :aigo:
Theres a few more pics of updates but thats for another day. For now, its pretty up to date!! AND IT RUNS SWEEEEEEEEEEEEEET! Vids, coming soon.
:love: