Chunks' Build

TurboStreetCar

Formerly Nosechunks
Feb 25, 2006
2,776
3
38
Long Island, Ny
About time i start getting a build thread to put all my pictures up on.

Click here to jump to the 2JZ Swap

Cliffs in Post 5 :biglaugh:
Specs in Post #29
Vids in post #122


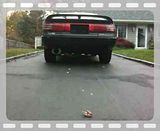
History: Bought the car just about 5 years ago now, for 300 dollars. The paint was shot and the motor was less the desirable. The paint was black code 206 i believe, the black with the red metallic flake.

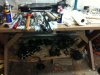
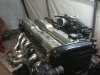
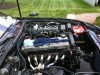
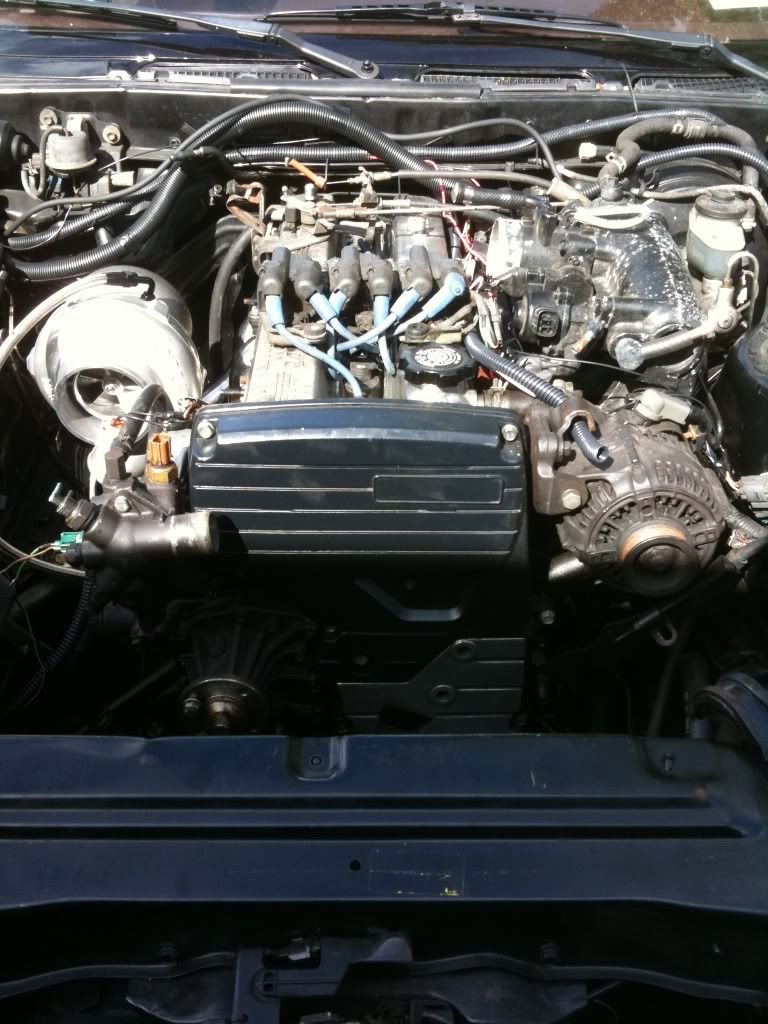
The engine was partialy disassembles with the valve covers removed and the timing belt off. I believe the previous owner was going to attempt a rebuild but didnt have quite the know how to accomplish it, getting half way threw and throwing in the towel. Figuring what the hell, i wanted to rebuild with forged internals anyway lets bolt it together and see what happens.

I sourced a couple of N/A Valve covers from a guy at my job, threw on the timing belt and tried to start it. it sputtered at first being that it hadn't ran in about a year, but finally fired up. The motor ran pretty well but of course there must have been a reason for the attempted rebuild, of course rod knock.

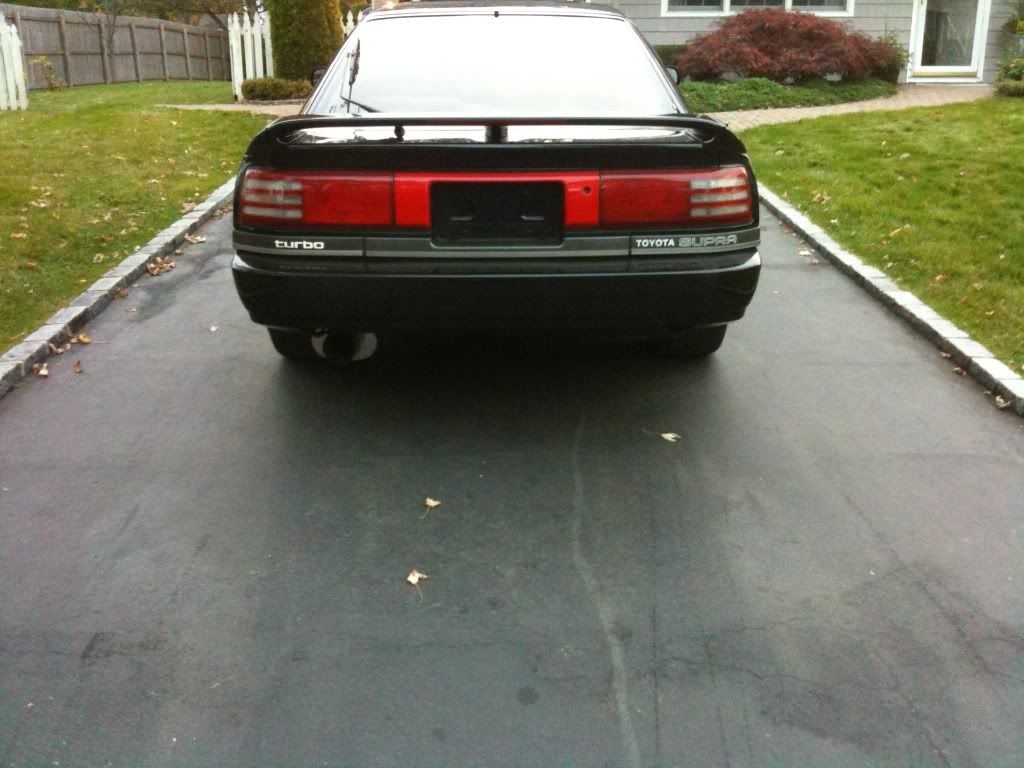
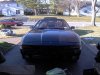
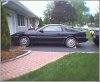
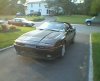
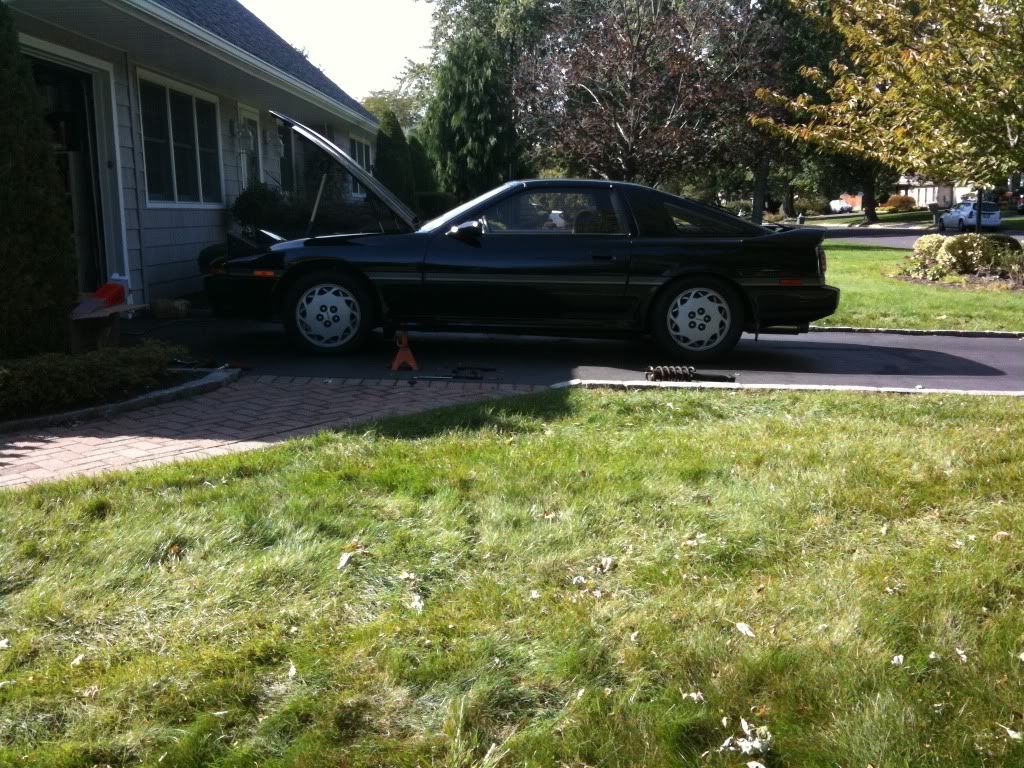
I had bought the car in the beginning of the summer of 2005. After buying the car me and my dad preped the car for paint and had it painted by a local shop.

More to come later.

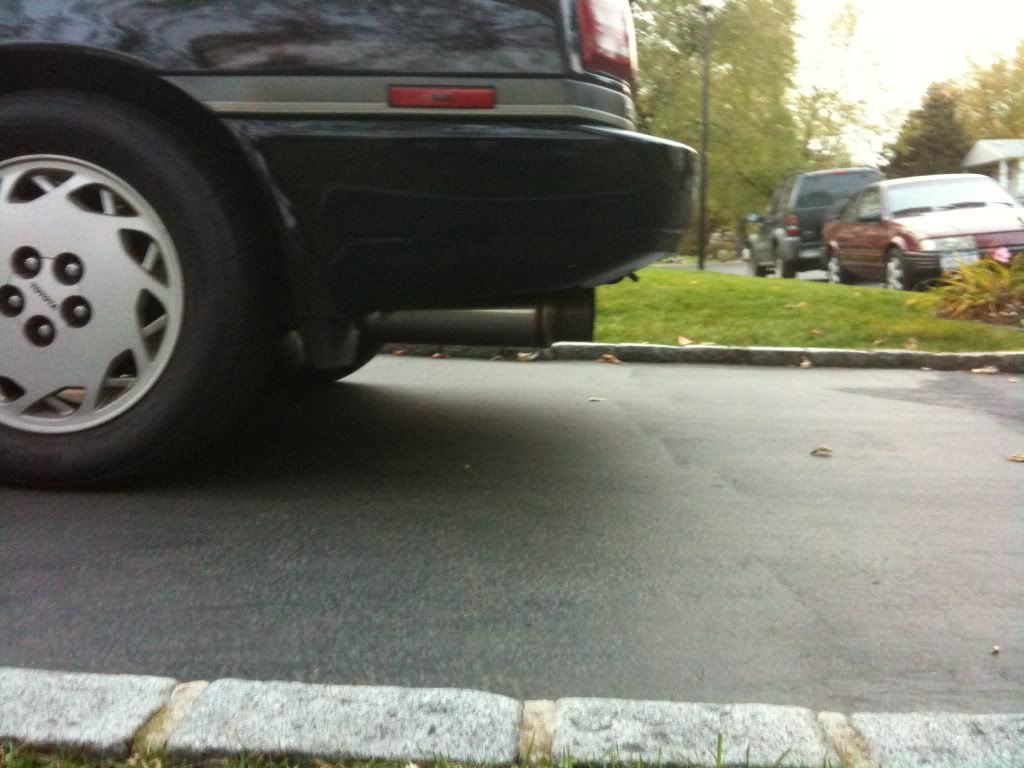
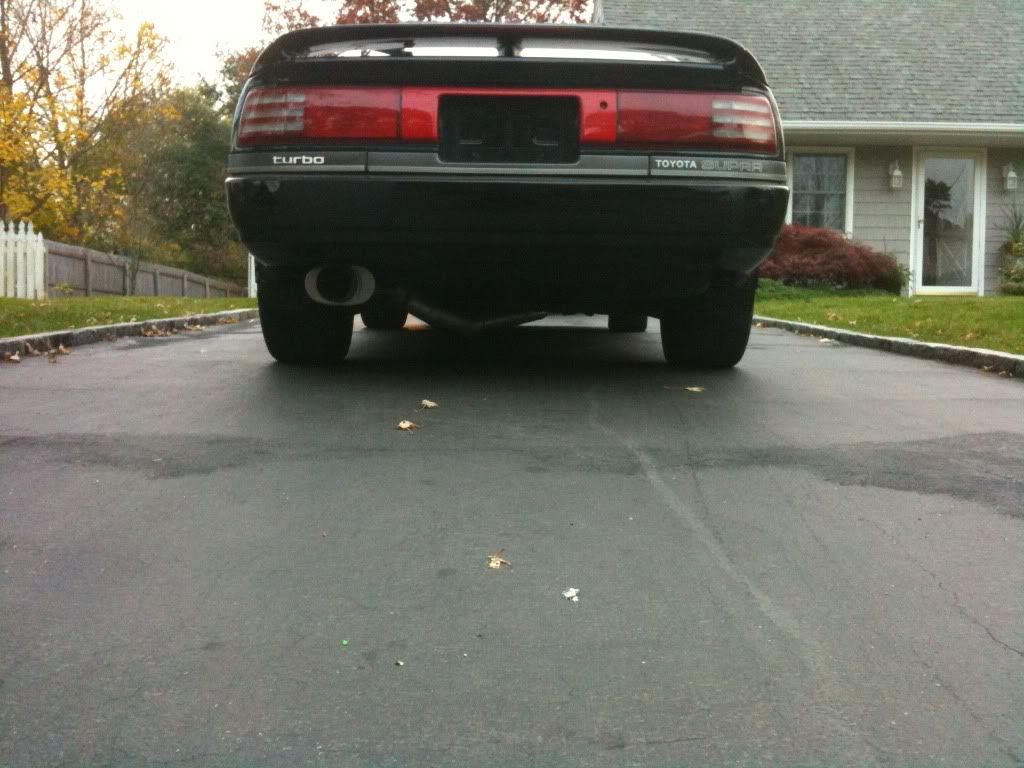
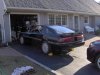
After paint the car looked like this:
 

Attachments

  • IM000059.jpg
    IM000059.jpg
    276.6 KB · Views: 195
  • IM000057.jpg
    IM000057.jpg
    246.5 KB · Views: 216
Last edited:

TurboStreetCar

Formerly Nosechunks
Feb 25, 2006
2,776
3
38
Long Island, Ny
History continued: After The car was painted I decided it would be a good time to start focusing on the mechanical aspects of the car.

The parts lacking was the rod knocking motor, sloppy balljoints and the typical old parts that needed upgrading/replacing, not to mentio it didn't have quite the power I was looking for.

I pulled the motor towards the end of the season for the big rebuild. Dropped the parts off at a reputable machine shop and in a little bit I was ready to pick up the pieces of my motor. The head, block and timing cover surfaces were machined for the Cometic headgasket. The cylinders were fitted for a set of Ross pistons, complete valve job and crank polish.

The motor went back together really smooth. Had to order a few shims for the valve clearances and also ordered a new OEM Toyota oil pump and OEM Toyota gasket set to top it all off. While I had the engine and tranny out I replaced the springs in the accumulators with steel bars. And welded the motor mounts solid. The motor started up quick and ran great from the start. I employed the hard break in process.

I bought a Zeitronix wideband, MAFT GENII, HKS drop in intercooler and a set of front lower balljoints. Also got new rubber all the way around ad sprayed the wheels factory silver to freshen them up. Installed the MAFT, the wideband and the intercooler. The maft took some tuning to get it running correctly and then took a little practice to get it dialed in. Since it raised the fuel cut a bit I settled on 10psi of boost.

The combination of the tuning and the intercooler had made a huge difference in the way the car performed. I had brought the car to Englishtown Raceway with a bunc of other guys from the "other forum" andmanaged a best of 13.8 with a 2.0 60'.

This pretty much leads up to where I'm at now. During the build process, I forgot a crucial step. I forgot to put FIPG on the surface of the deck where the timing cover meets the front of the block. The motor was leaking about a quart of oil a day. This led to me pulling the engine out to fix the leak. After pulling the engine slot of other "might aswell" mods came into play like a 3krpm stall converter, and a set of Eagle rods from Suprarich (Thanks dude). With all of that came a big prolem of funds. So for three years roughy this car had been sitting in my back yard in a tent waiting for the moment where it all comes together.

Recently with the help of Aaron from Driftmotion and Summit racing I have purchased about. Three to four thousand dollars worth of standalone, fuel system, exhaust manifold and wastegate. Including the help of Modular turbo for my Master power T-70 (thanks everyone involved). I'm getting very close to the point of putting it all together and have a runnig car again.

More will be to follow especially pictures of all the new gear.
 
Last edited:

TurboStreetCar

Formerly Nosechunks
Feb 25, 2006
2,776
3
38
Long Island, Ny
Some Pictures From the Begining till now.

p1417175_1.jpg

p1417175_2.jpg

p1417175_3.jpg


Going from left to right, the third and fourth are pictures of the car in recieved condition, i know the quality is horrible, but yes the hood was that faded, it was borderline white.
 

Attachments

  • 1-2shiftrod.jpg
    1-2shiftrod.jpg
    53.6 KB · Views: 178
  • IM000065.jpg
    IM000065.jpg
    38.9 KB · Views: 191
  • driversidejustgotit.jpg
    driversidejustgotit.jpg
    22.4 KB · Views: 194
  • frontside.jpg
    frontside.jpg
    14.7 KB · Views: 180
  • burnout.jpg
    burnout.jpg
    33.2 KB · Views: 183
Last edited:

TurboStreetCar

Formerly Nosechunks
Feb 25, 2006
2,776
3
38
Long Island, Ny
Huge Masterpower Turbo, and Excuse the single polished valve cover, i only had time to do one and it was more of an experiment to see how it would work. haha. Picture of the Stinger 8860 ready to go in.

Thanks Driftmotion and Modularturbo for all the parts!!!!
 

Attachments

  • IMG_0347.jpg
    IMG_0347.jpg
    248.3 KB · Views: 248
  • IMG_0140.jpg
    IMG_0140.jpg
    224.5 KB · Views: 192
  • IMG_0349.jpg
    IMG_0349.jpg
    201.7 KB · Views: 316
  • IMG_0311.jpg
    IMG_0311.jpg
    262.8 KB · Views: 832
  • IMG_0312.jpg
    IMG_0312.jpg
    237.8 KB · Views: 195
Last edited:

TurboStreetCar

Formerly Nosechunks
Feb 25, 2006
2,776
3
38
Long Island, Ny
Cliffs: Bought the car a long time ago, Got it painted, Drove it for a year with rod knock, rebuilt it, ran 13.8 at E-Town, took it back apart and ran out of money till 3 years later ending up here now.

Today i pulled the car around to the front yard to ready the install of the motor and tranny to try to fire it up. Took some pictures that ill put up a little later.
 

TurboStreetCar

Formerly Nosechunks
Feb 25, 2006
2,776
3
38
Long Island, Ny
As of today i do, still not running yet though.

I got the engine in today and wired everything up for the EMS 8860. The car sat for so long i think my fuel pump is shot. I have power on the power lead, and continuity to grond on the ground lead but still nothing from the pump.

Though i never payed attention can you hear the stock pump at 12 volts? I wouldnt Imagine you wont.

ITS IN!!!!
 

Attachments

  • IMG_0432.jpg
    IMG_0432.jpg
    264.9 KB · Views: 213

TurboStreetCar

Formerly Nosechunks
Feb 25, 2006
2,776
3
38
Long Island, Ny
HUGE PROGRESS! Its in, its running, Stock Pump took a dump. Installed a walbro.

p1438677_1.jpg

p1438677_2.jpg

p1438677_3.jpg


After i got it running i made a nice 3 to 3.5 inch downpipe, followed by a 3.5 inch to 4 inch exhaust. Bought a 4 inch magnaflow muffler to finish it off.
p1438677_4.jpg

p1438677_5.jpg


After making the exhaust it became apparent my stock springs were not going to cut it because i had about an inch of clearance bertween the exhaust and the street. I looked around for some stock springs and picked some up from RockPaperSwoRD here on the forums (Thanks Again Dude) and put them on some brand new KYB GR2's.

As it sits now with the magnaflow muffler.
p1438677_6.jpg


I have been driving it around and i got it tuned for 10psi of boost, then i finally got my new tranny back. I pulled the motor out and installed the new tranny along with the 3000 stall converter from SIP (Thanks Rich!) And while the motor was out i took off the turbo and manifold so i could wrap it up.

SSAC 321 Mani
p1438677_7.jpg


Started wrapping
p1438677_8.jpg


Almost done
p1438677_9.jpg


And i have stainless wrap ties for it i just used the wire ties to hold it while i was wrapping.

I also ordered the fittings and hoses for the fuel system
p1438677_10.jpg
 
Last edited:

TurboStreetCar

Formerly Nosechunks
Feb 25, 2006
2,776
3
38
Long Island, Ny
Thanks, So far the manifold was done with exactly 50 feet of 1 inch thick wrap. I guess the way i did it worked out perfect. Just today i got in another 50 foot roll of 2 inch thick to finish up the collector area of manifold and wrap the downpipe. I also have the same brand 2000 degree silicone spraypaint to final coat it and seal it.

Fuel fittings all lined up haha, very bored late at night.

p1439133_1.jpg


Also installed a 3KGT ignitor as i had a very bad missing problem while using the stock ignitor with the 8860. Pulled the pins from the factory connectors and inserted them onto the pins of the new ignitor, they fit very tight. Mounted nicely to the stock mount.

p1439133_2.jpg

p1439133_3.jpg
 

TurboStreetCar

Formerly Nosechunks
Feb 25, 2006
2,776
3
38
Long Island, Ny
TODAY: Mounted the oil coolers to the radiator.

p1439435_1.jpg

p1439435_2.jpg

p1439435_3.jpg

p1439435_4.jpg


Used wire tie straps, and 1/4 inch rubber grommets in between the coolers and the radiator to keep a little air space, Then used stainless washers on the fan side to keep the head from pulling threw the fins. The stainless washers are large enough to contact the tubes of the radiator so they cant pull threw.

The wire ties arent really tight, the grommets allow them just enough tension to hold the coolers securely in place but not to tight where i would worry about damage to the radiator.
 

TurboStreetCar

Formerly Nosechunks
Feb 25, 2006
2,776
3
38
Long Island, Ny
Finished wrapping the exhaust manifold. Used a 50 foot roll of 1 inch and about 10 or so feet of 2 inch wrap. I used the black color Cool It Brand wrap.

p1464928_1.jpg

p1464928_2.jpg


The biggest difference i noticed was how much quieter the car got. It completely deadened the noise the Tubular header produces.

Finished the 4 inch exhaust and hangers.

p1464928_3.jpg

p1464928_4.jpg

p1464928_5.jpg


Little Video clip of the Note at Idle. :naughty:


Ordered a Supra Stick V4 so i can have a fully functional transmission, Came in today. Thanks Latent Solutions!!!!

p1464928_7.jpg


Ill be installing that tomorrow!
 

TurboStreetCar

Formerly Nosechunks
Feb 25, 2006
2,776
3
38
Long Island, Ny
Cant wait to get it in, Today was horrible with tons of rain and at times snow, or else it would have been in today!! (well, yesterday now):evil2:

I wore gloves though while wrapping, Though i still got it in my arms a bit. Its been done for a few weeks now, just haven't had a chance to post up the pics. Busy with work and stuff.
 

IJ.

Grumpy Old Man
Mar 30, 2005
38,728
0
0
61
I come from a land down under
nosechunks;1465076 said:
Cant wait to get it in, Today was horrible with tons of rain and at times snow, or else it would have been in today!! (well, yesterday now):evil2:

I wore gloves though while wrapping, Though i still got it in my arms a bit.

LMAO I unwrapped part of mine Friday and am still itchy, this crap sucks!
 

TurboStreetCar

Formerly Nosechunks
Feb 25, 2006
2,776
3
38
Long Island, Ny
IJ.;1465078 said:
LMAO I unwrapped part of mine Friday and am still itchy, this crap sucks!

Yes is does, glad im done with the manifold, passing it threw the tubes was a nightmare! Next is the down pipe. But at the moment with the SSAC manifold i have, i rotated the waste gate flange 90 degrees but now the outlet of the waste gate is so close to the down pipe i dont think i could get a dump tube on it. :aigo:

I need to figure that out before i wrap the down pipe because i dont want a flame/hot expanding gases lighting the (what will be) paint soaked fiberglass wrap on fire.

I think i could fit a hard bend off of it, but right now its not of high priority, I want to get everything else buttoned up before i take on the little things.

Did you notice the muffling effect that wrapping the manifold has? Or did you wrap from the get go? The difference was huge, when i first started it i though something was wrong untill i realized what it was.