
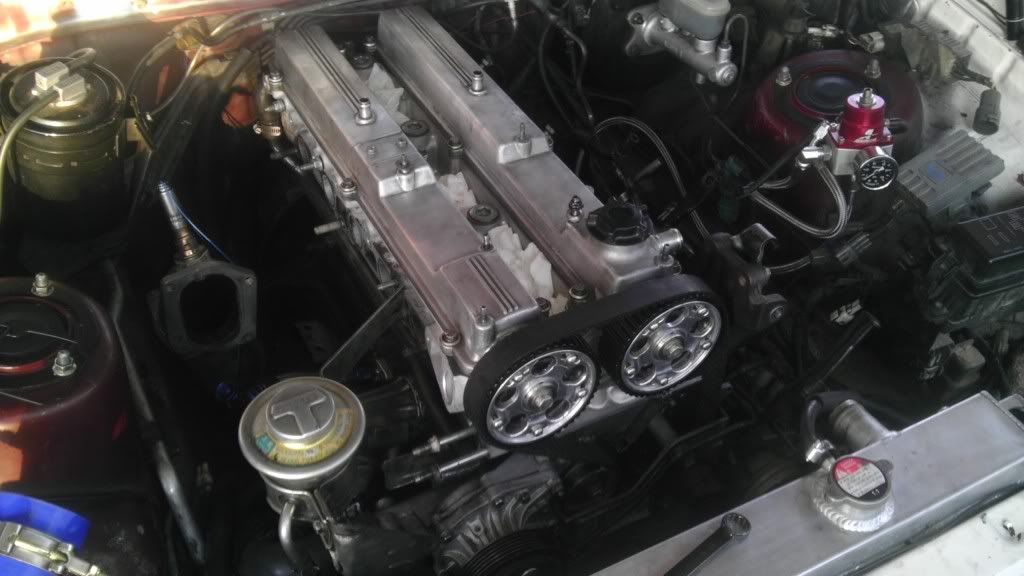
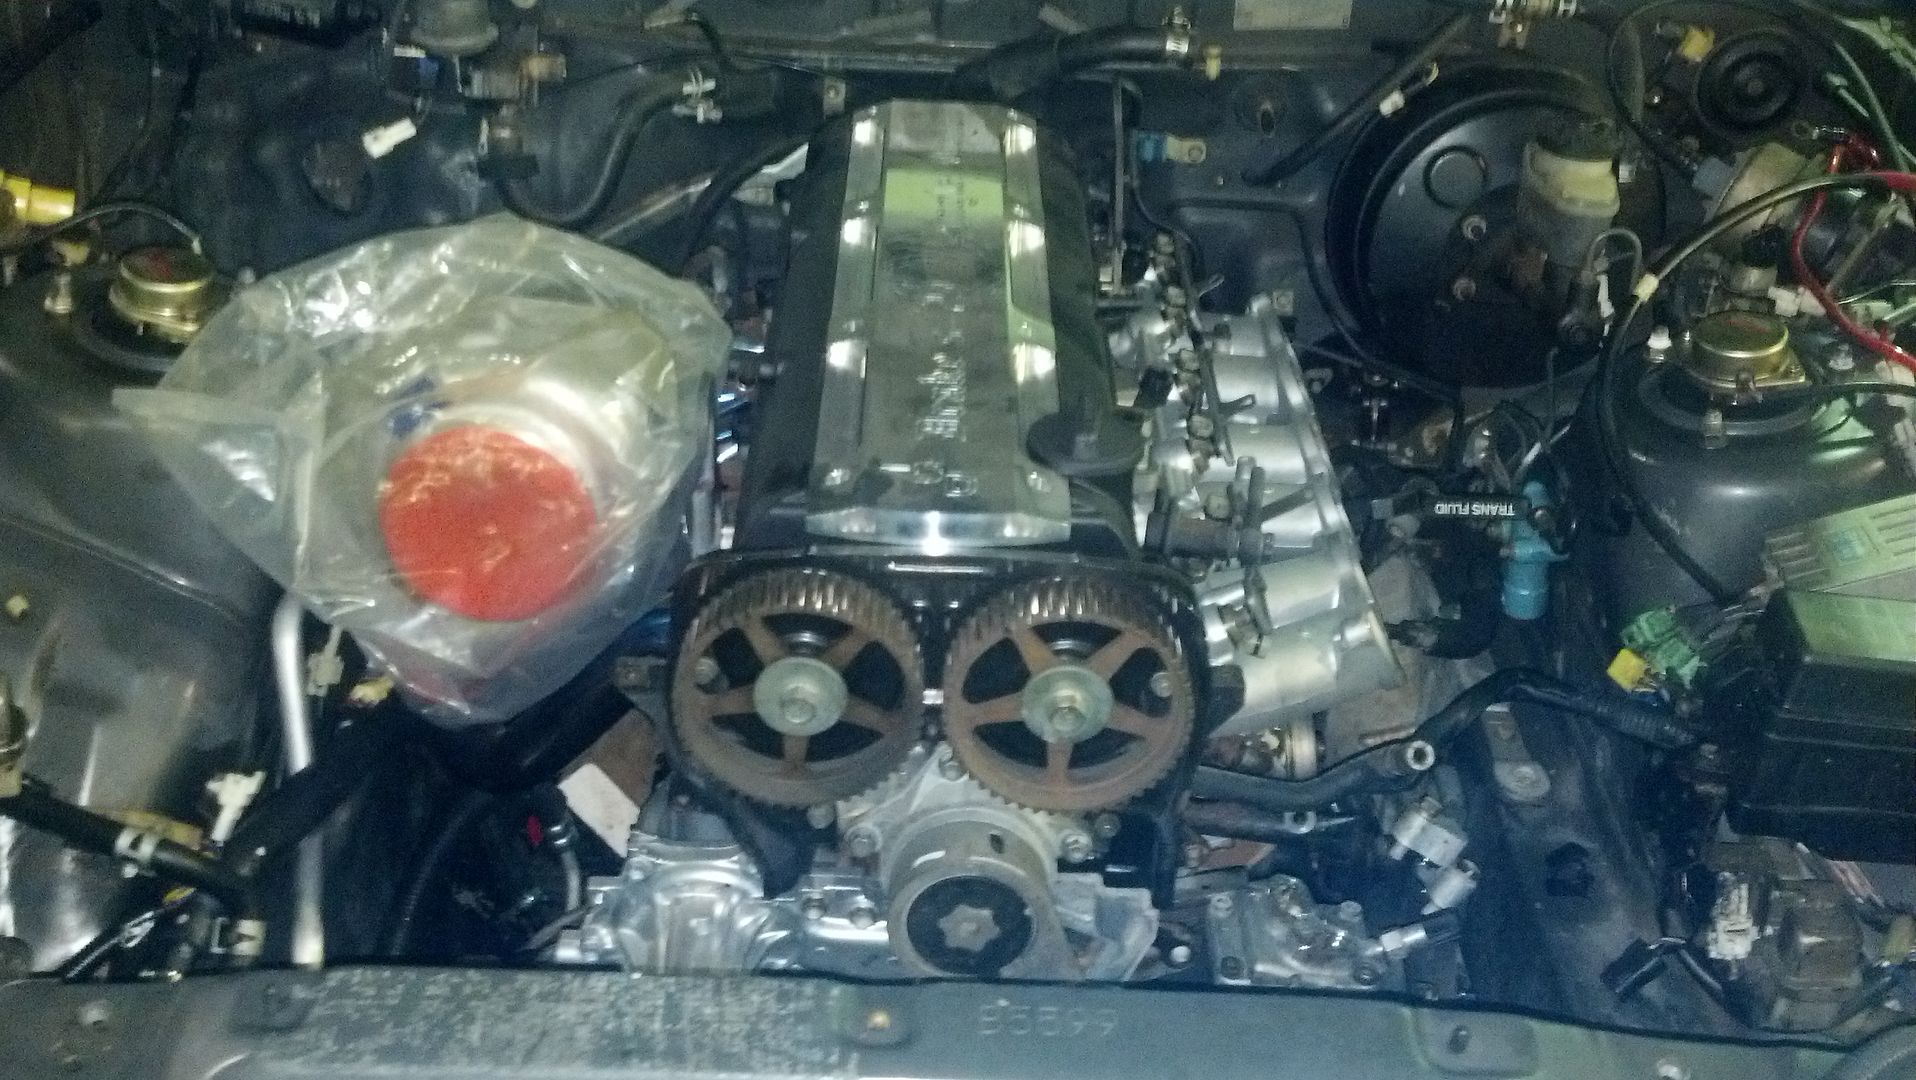
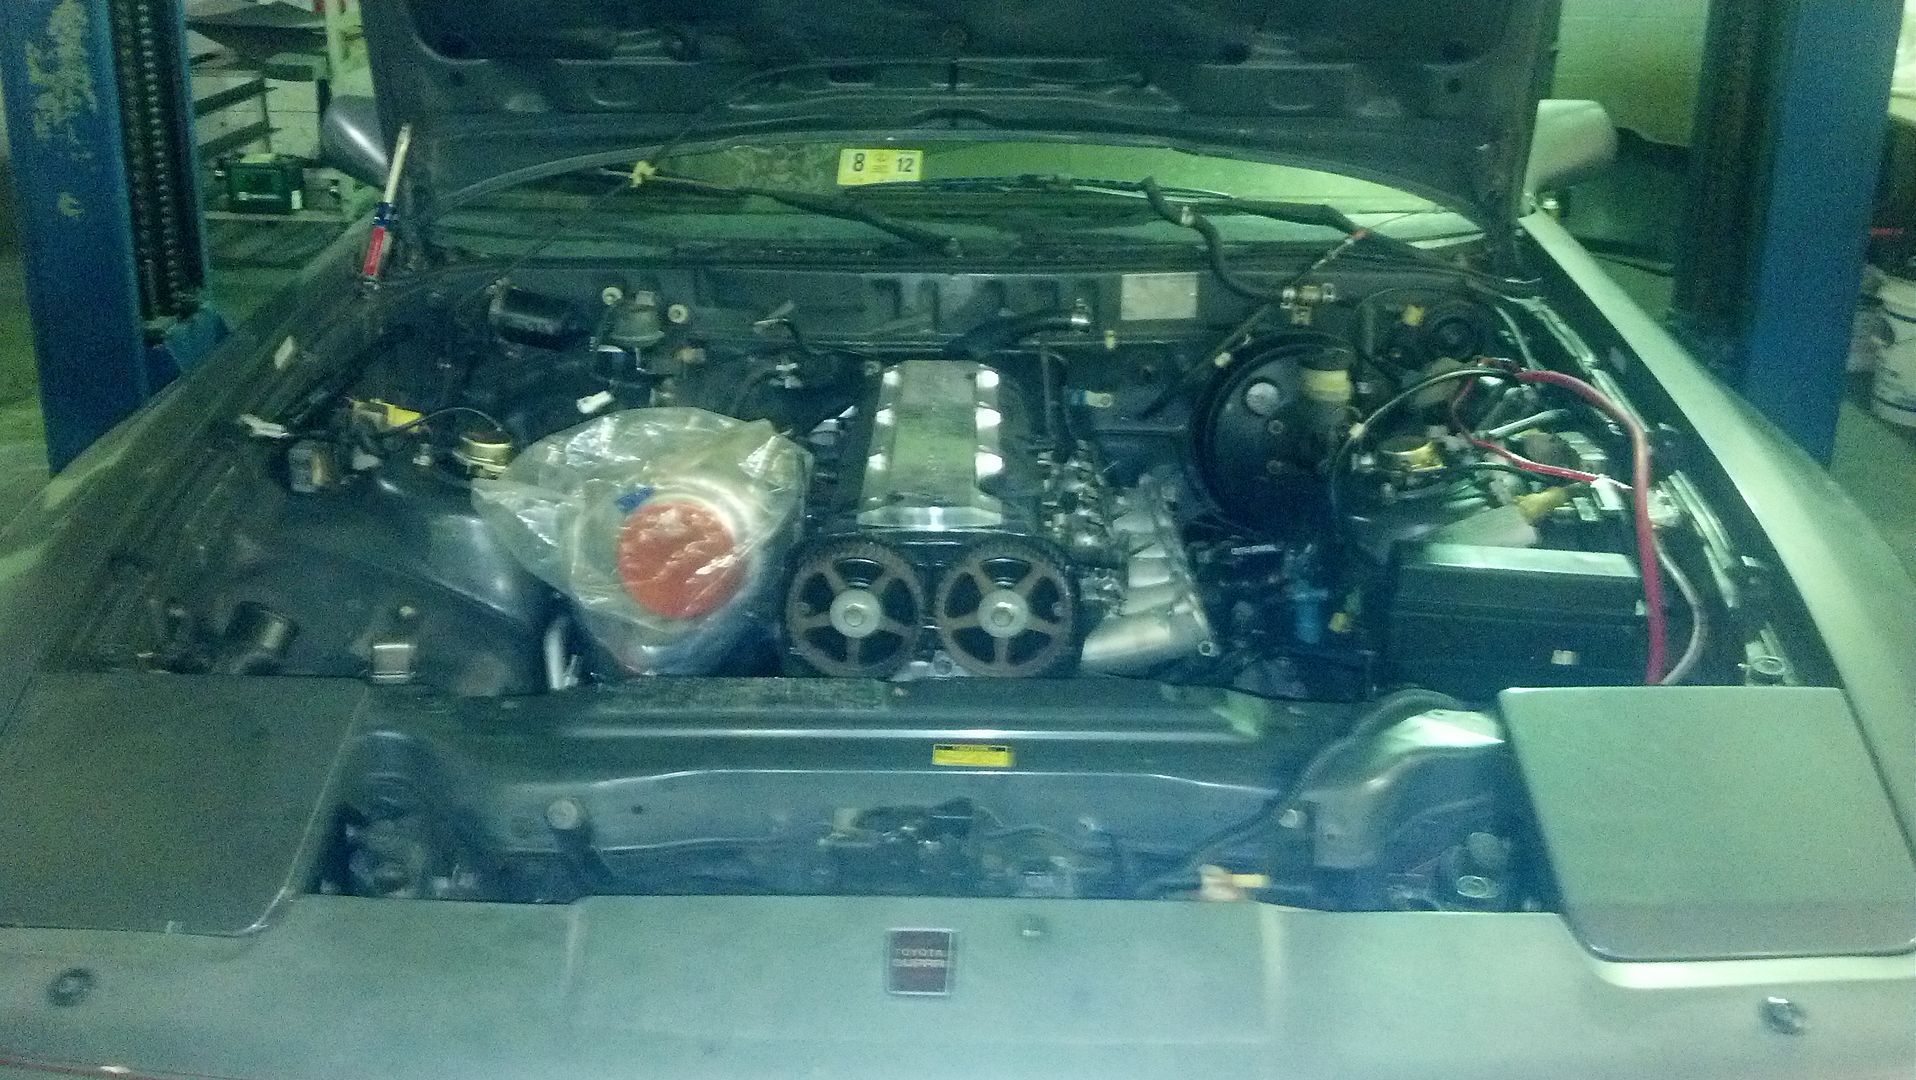
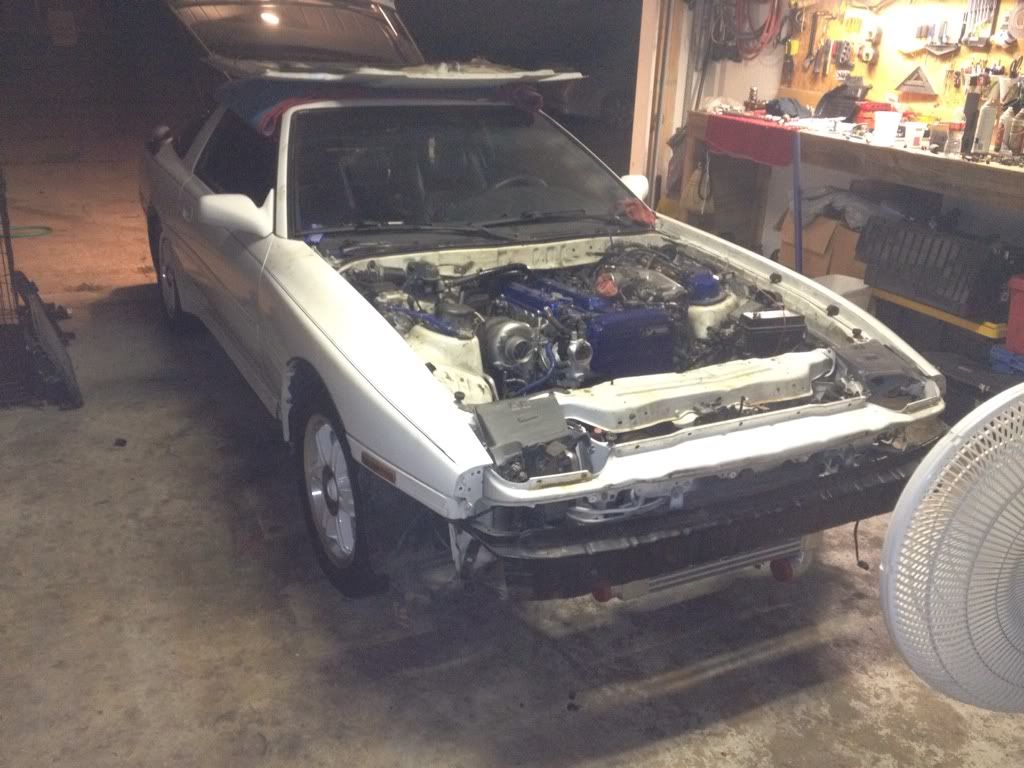
cleaned the new head up, swapped all the intake and exhaust studs from my old head to my new one, relocated my oil cooler because of the drifmotion intercooler kit, and last but not least, got rained on as i started to clean up my work area
What did you do to your supra today? Pics
- Thread starter boostinsupra
- Start date
You are using an out of date browser. It may not display this or other websites correctly.
You should upgrade or use an alternative browser.
You should upgrade or use an alternative browser.
Finally put the mechanical oil tester gauge on after work -- we have BANGIN' oil pressure, so looks like it's either the BRAND NEW sender I installed, or the gauge in the cluster. *shrug* Oh well, I was planning on running an aftermarket pressure gauge anyway...lol. It's just nice to know that I didn't fuck anything up on the build (that I see YET), so I guess I'll be driving her to work tomorrow... w00t!
got my aem afpr, lines, waiting for fittings. heat wrapped my intercooler pipes. Monday is when i install more aggressive brake pads, install my ebrake cable which snapped. and this month, im going to cut all my suspension arms and replace with new ones (front lower control arms, rear camber and rear toe arms.) with polyurethane bushings
Gotta start somewhere man.Emeraldage;1844594 said:You guys did all this cool stuff. I replaced my dash lights! Suck on that one.
")
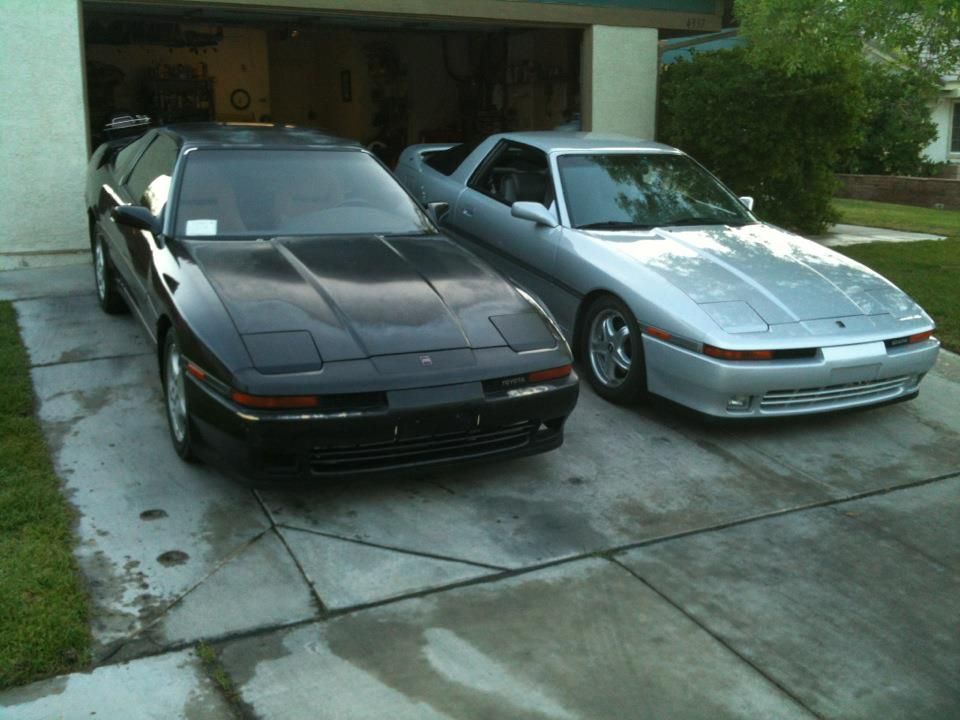
I put on the Nitto NT05's, cleaned up the engine bay of the dust with a rag, washed the windows off with my secret "water bottle and a rag" technique. Then I drove to my parents house to pick up the video camera they have, and found out that the gas station by their house has E85 now.
Took a bit of getting used to the stickier tires. They're also heavier, so it takes a bit more effort to get the car moving... Will install the boost controller this afternoon, but found out that the track is out this weekend. Not really working for anyone but me, and I don't want to drive 200 miles away to beat on my car without anyone else I know with me... never know when something will break unfortunately.
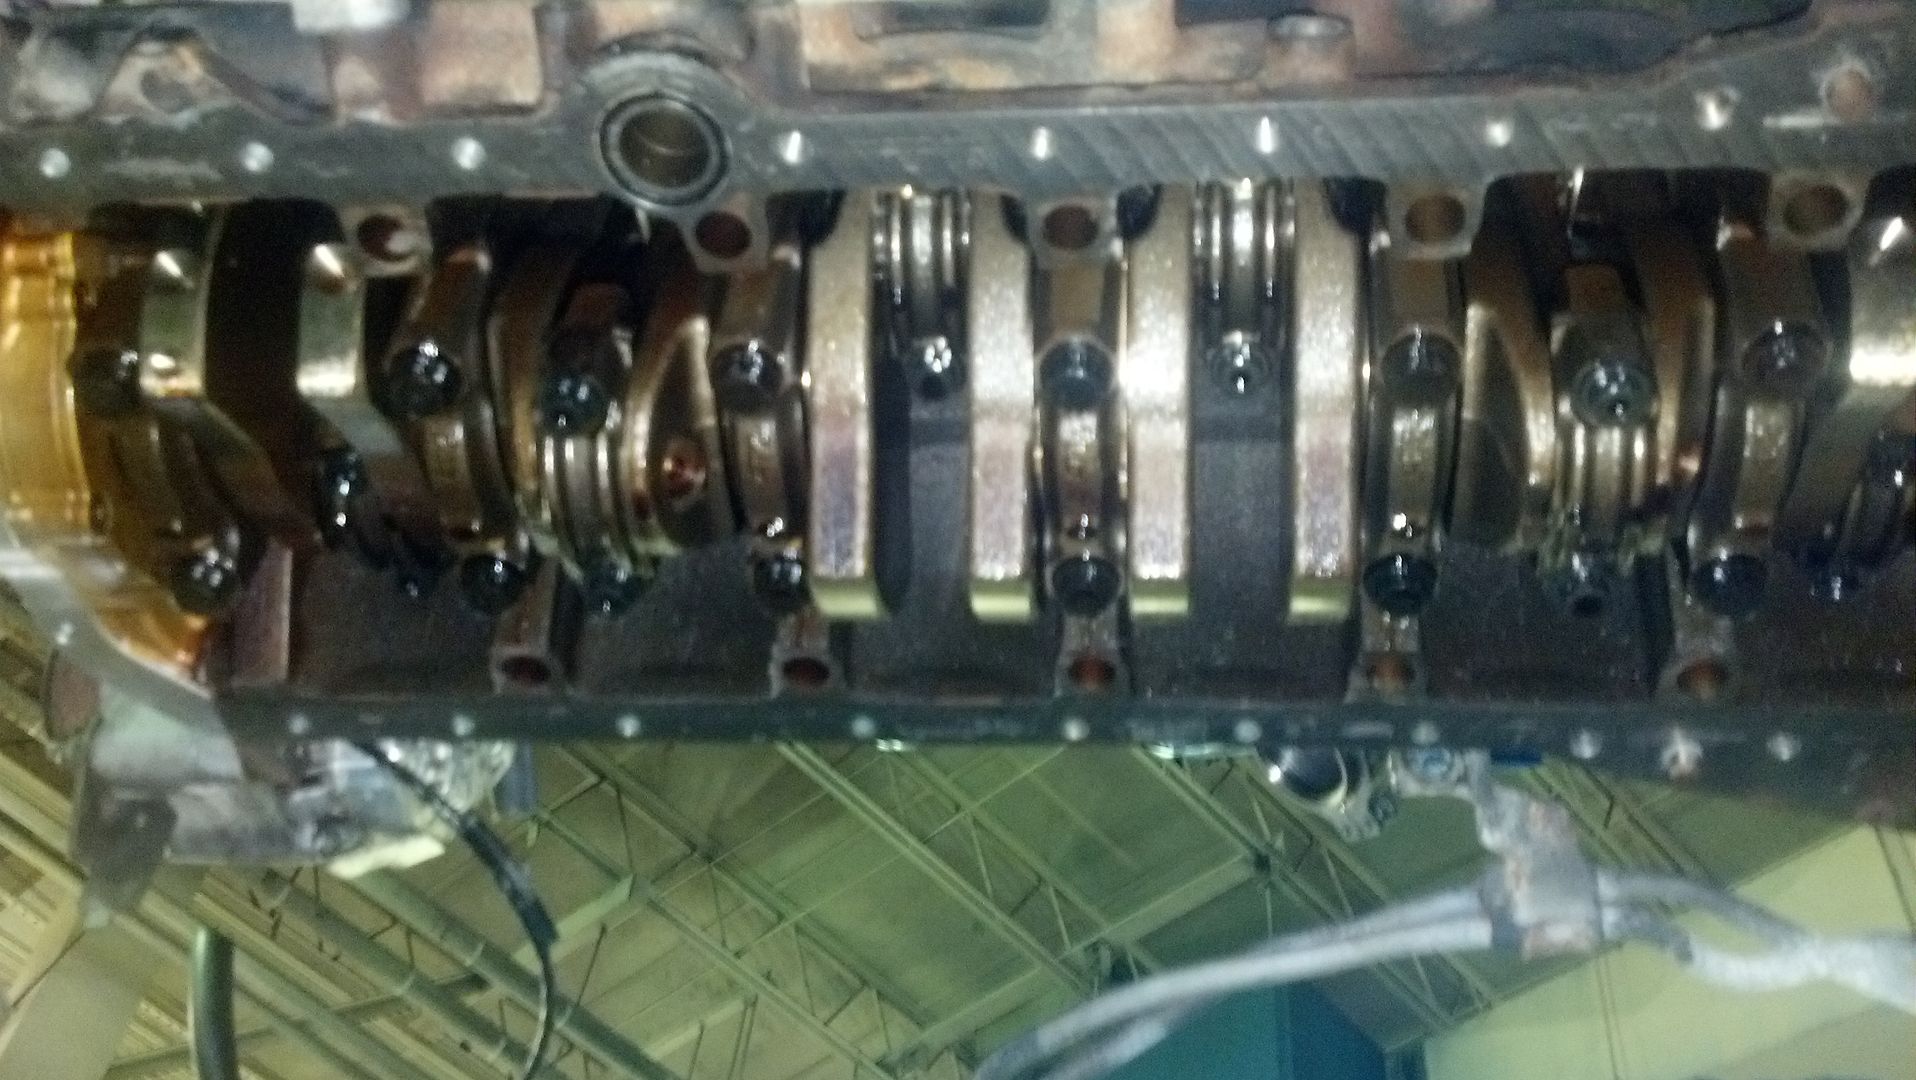
Installed new oil pan on 2JZ, took pics of bottom end of motor for cleanliness check...
Pretty.
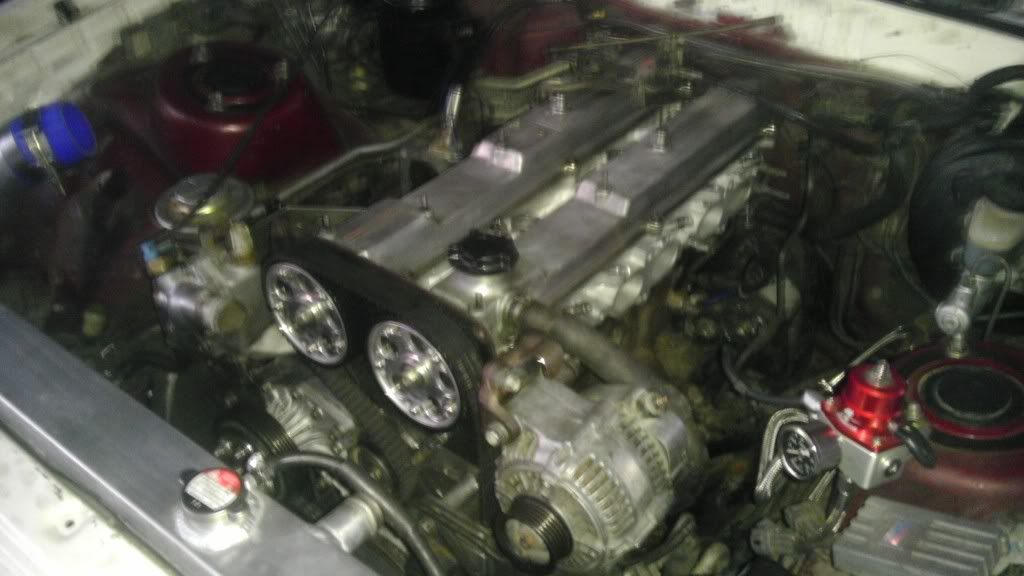
Then moved it into the bay to test fit the motor to the new mounts and setup for fabbing the new crossmember and piping needed to make this all work.
Not very good cellphone pics...
Pretty.
Then moved it into the bay to test fit the motor to the new mounts and setup for fabbing the new crossmember and piping needed to make this all work.
Not very good cellphone pics...
ifyouaint1sturlast
Banned Scammer - I'm whitemike.
Took her down and had the front wheels rebalanced....along with an earful from more than one guy that my tires need replacing....which I already knew...lol.
Purchased drivers side mirror, black trim piece that goes aft of passenger side window, third brake light plastic cover, drivers side window regulator, and a rack and pinion that only has 110,000 miles . Will be reconditioning my new rack and pinion this week and installing this upcoming weekend along with all the other new parts. Planning on buying a set of svt cobra brake calipers, and drilled/slotted rotors. Still debating on which suspension set up to go with, have been tossing the idea of buying godspeed coil-overs off ebay but dont want to make a bad decision just to save money.
. Will be reconditioning my new rack and pinion this week and installing this upcoming weekend along with all the other new parts. Planning on buying a set of svt cobra brake calipers, and drilled/slotted rotors. Still debating on which suspension set up to go with, have been tossing the idea of buying godspeed coil-overs off ebay but dont want to make a bad decision just to save money.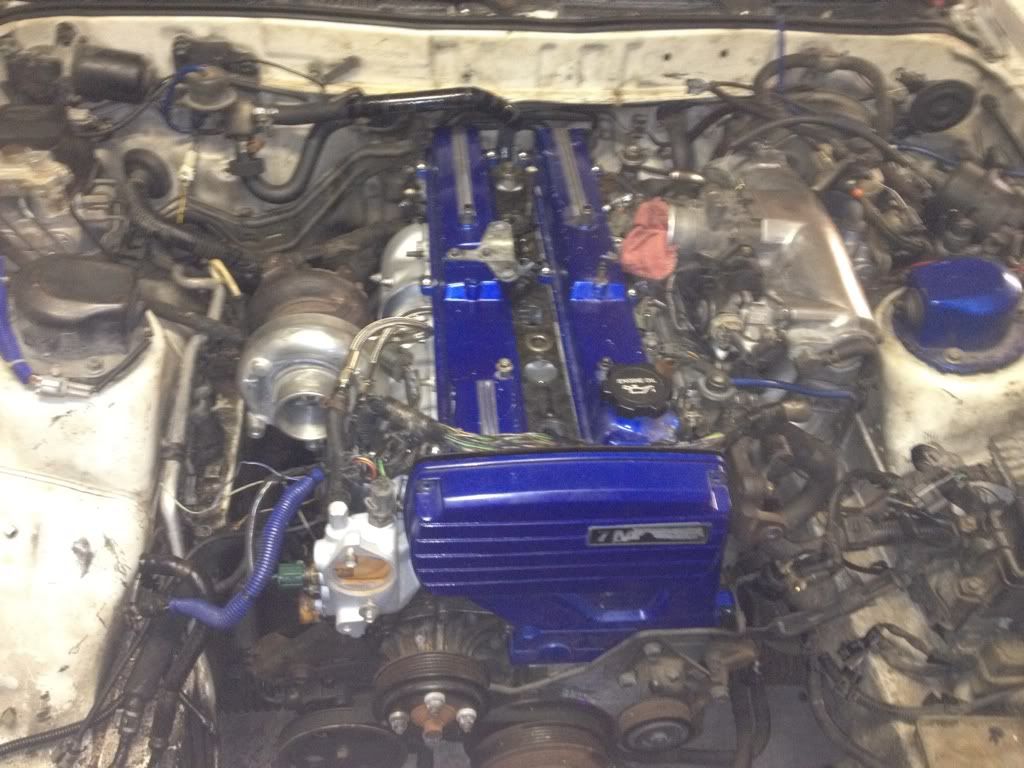
ifyouaint1sturlast
Banned Scammer - I'm whitemike.
Added the starter relay to my harness that I should have wired in when I made the damn thing. Wired up my fuel pump relay as well, and reset my airbag light.
Next, get the exhaust re-done.
Next, get the exhaust re-done.
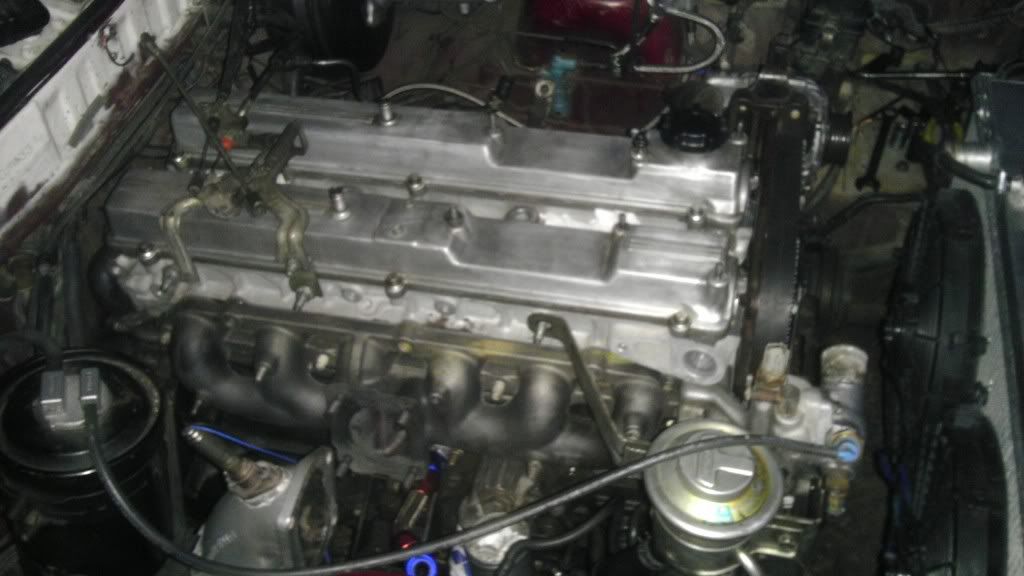
took off the old gasket crap on the intake system. test fitted the fuel rail, ordered an set of EGR block off plates, waiting on injector ring set, ordered my NA-T soft line kit, tonight im slapping on the turbo, fuel rail, intake system.
I have been doing a COMPLETE rebuild on my 1990. Just got my head and block back from Boise Cylinder Head. They decked the block .015 and milled the head .006, then my work really began... In the last couple of days I have completely disassembled the head for a clean and precise rebuild. I know, I know... Pics or it didn't happen lol, so here is something better! Videos! They are also a little informational and you may want to bookmark them if you are doing it for your first time!
1. Removed the intake and exhaust valves- http://www.youtube.com/watch?v=CsKiuRVtnJg&feature=plcp
2. Cleaned the intake and exhaust valves, and the mating surface- http://www.youtube.com/watch?v=UUiwRXQM7GI&feature=plcp
3. Lapped the intake and exhaust valves- http://www.youtube.com/watch?v=0BCh9CMRdkw&feature=plcp
4. Installed the new valve guide seals- http://www.youtube.com/watch?v=w_Jm0-HQFvI&feature=plcp
5. Blueprinting the water jacket ports on the head in order to remove old buildup and create a clean and clear path for the water to travel and cool the engine- http://www.youtube.com/watch?v=SSlInWFGkes&feature=plcp
6. Put the intake cam back in and am currently measuring the clearance between the cam and shims. In spec is between .006 & .010, had 7 that were not in spec... So we are going to have to take the cam back off and use a caliper to measure my extra shims and find the right ones to put in- NO VIDEO!
I will make a video of it soon though. I still got a lot left to do! We are going to be putting new main and rod bearings in the short block, maybe new pistons(mine are still good and I have two sets for this car), and for sure new piston rings! More to come!
picked up 3 bilstein shocks four springs and one sway bar. awaiting arrival of the fourth shock, rear sway bar.