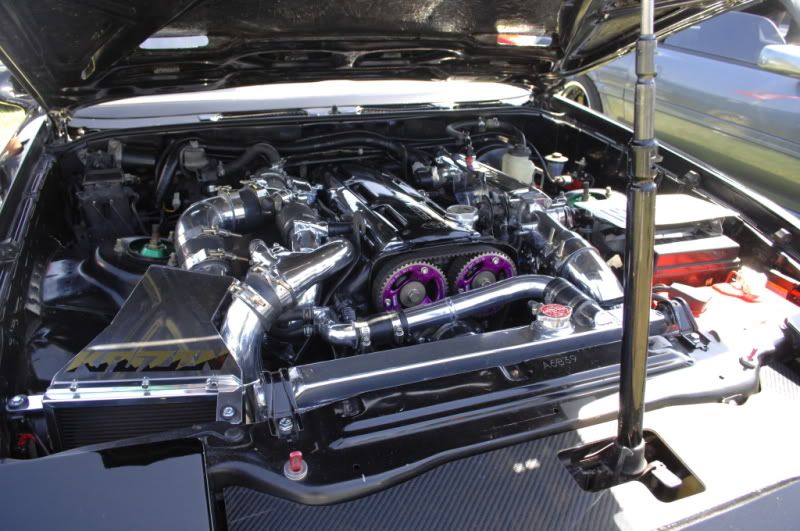
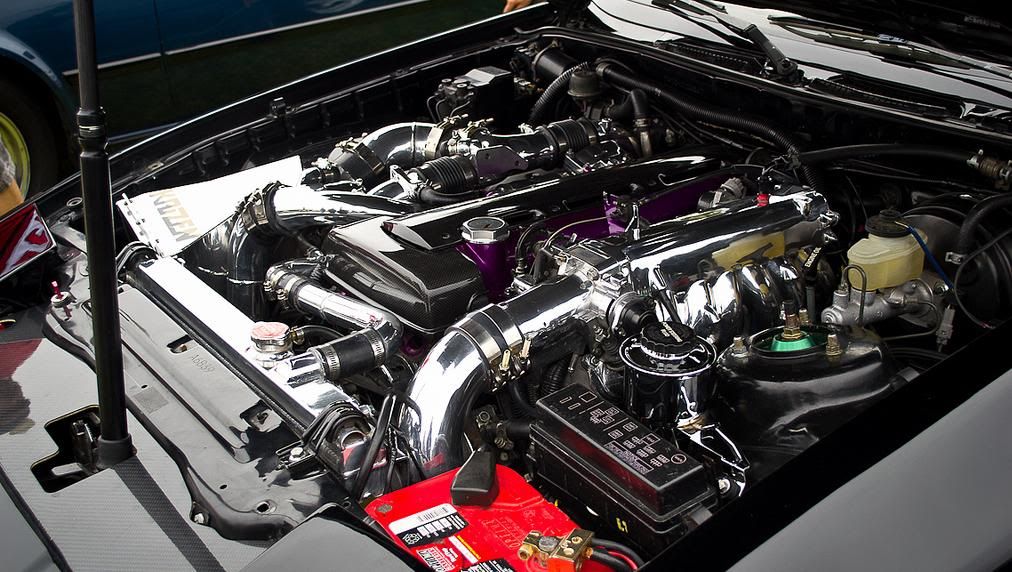
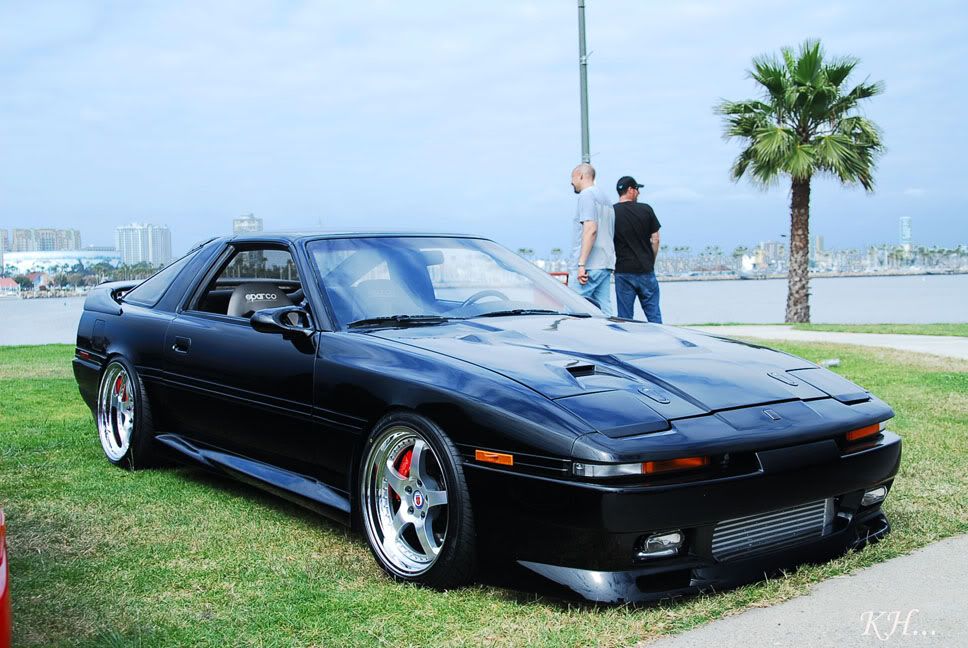
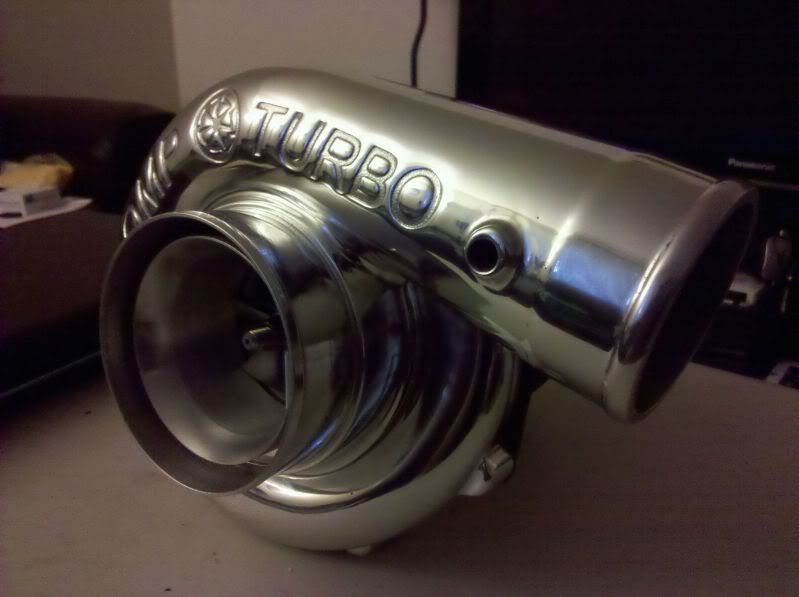
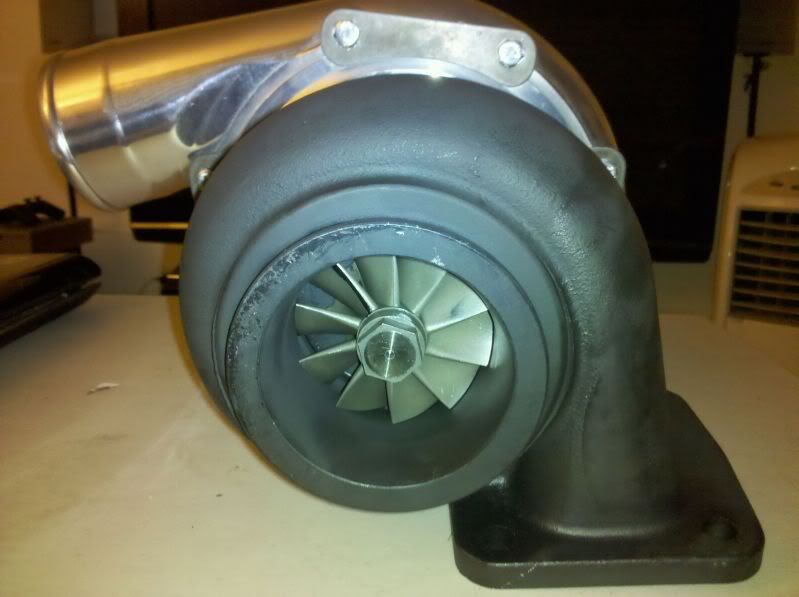
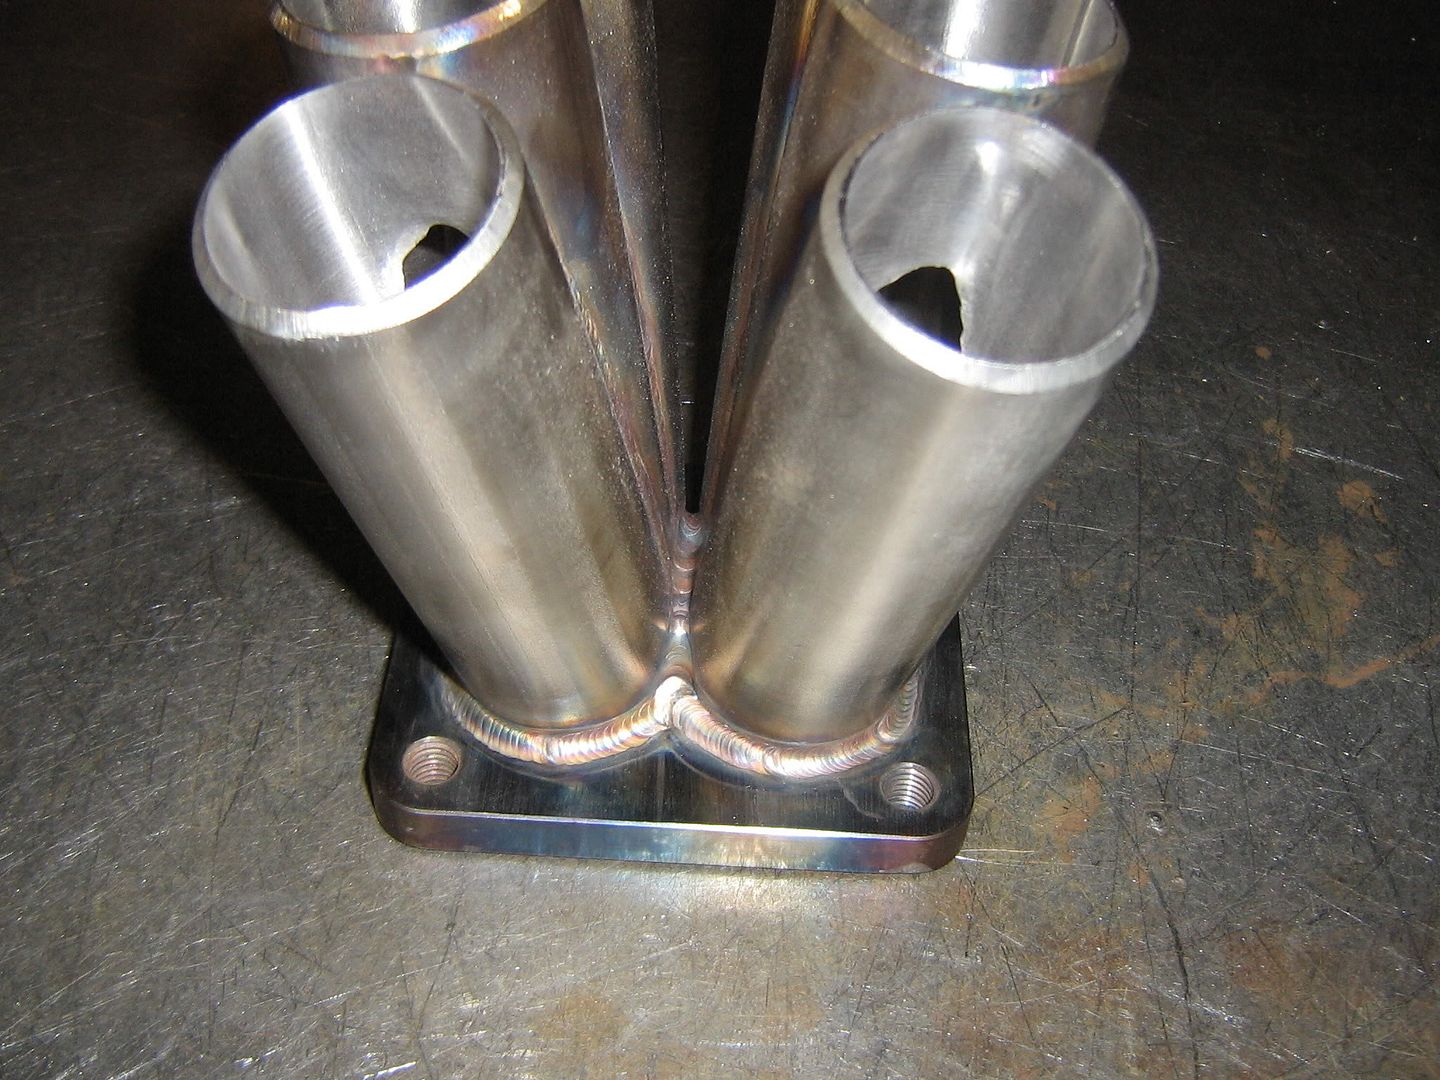
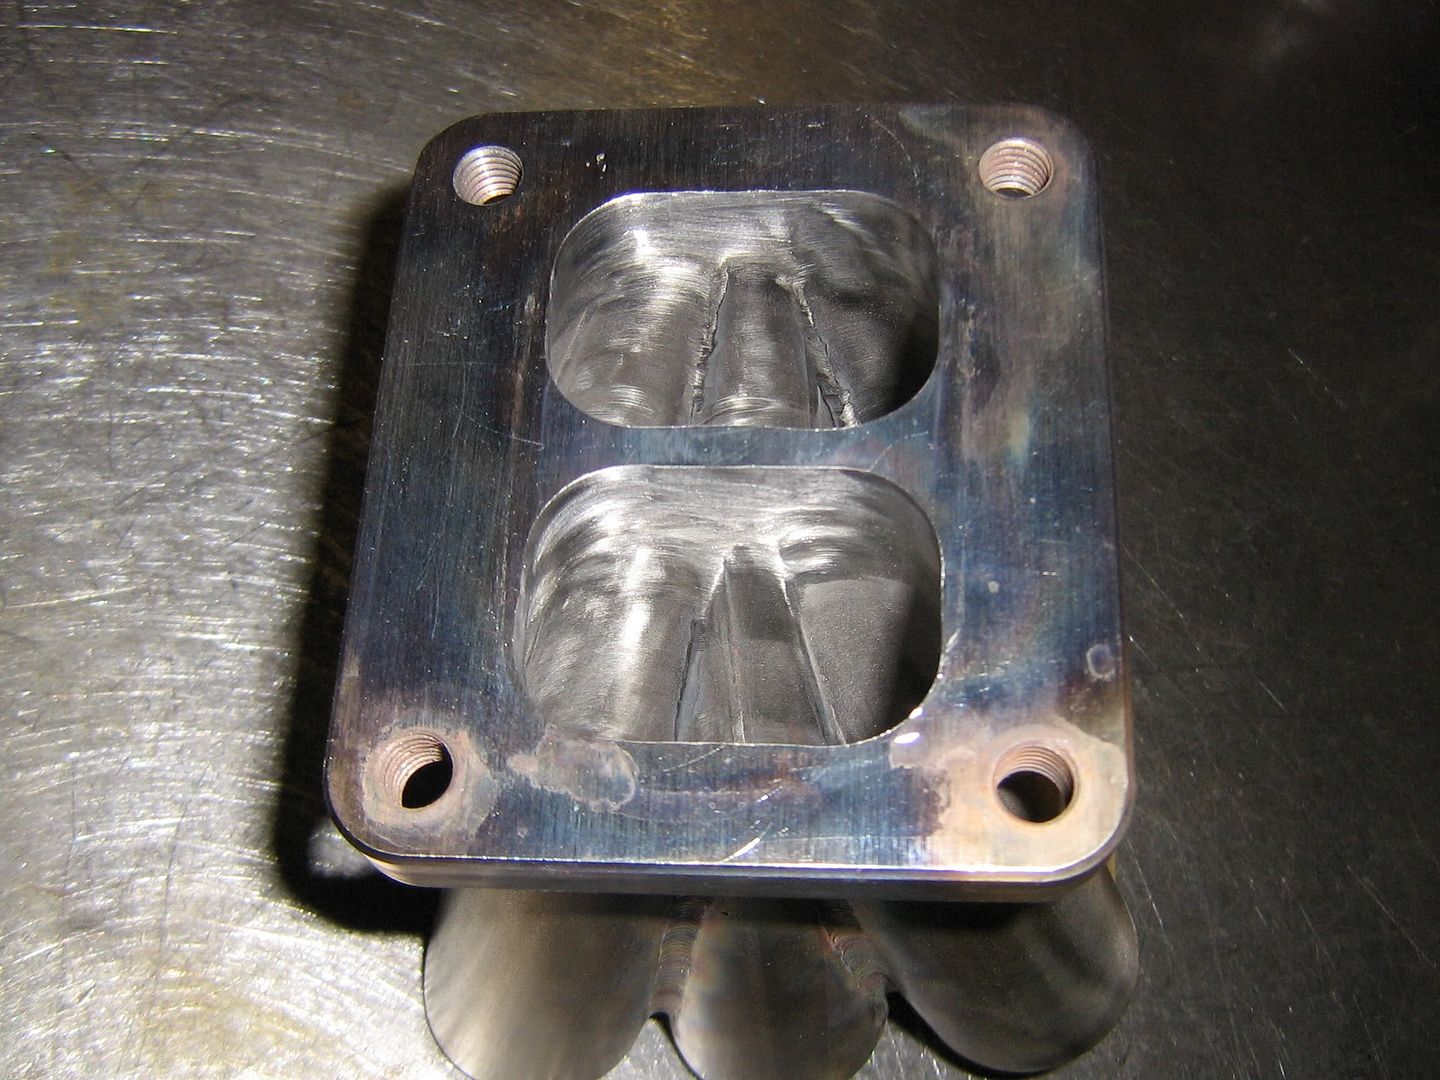
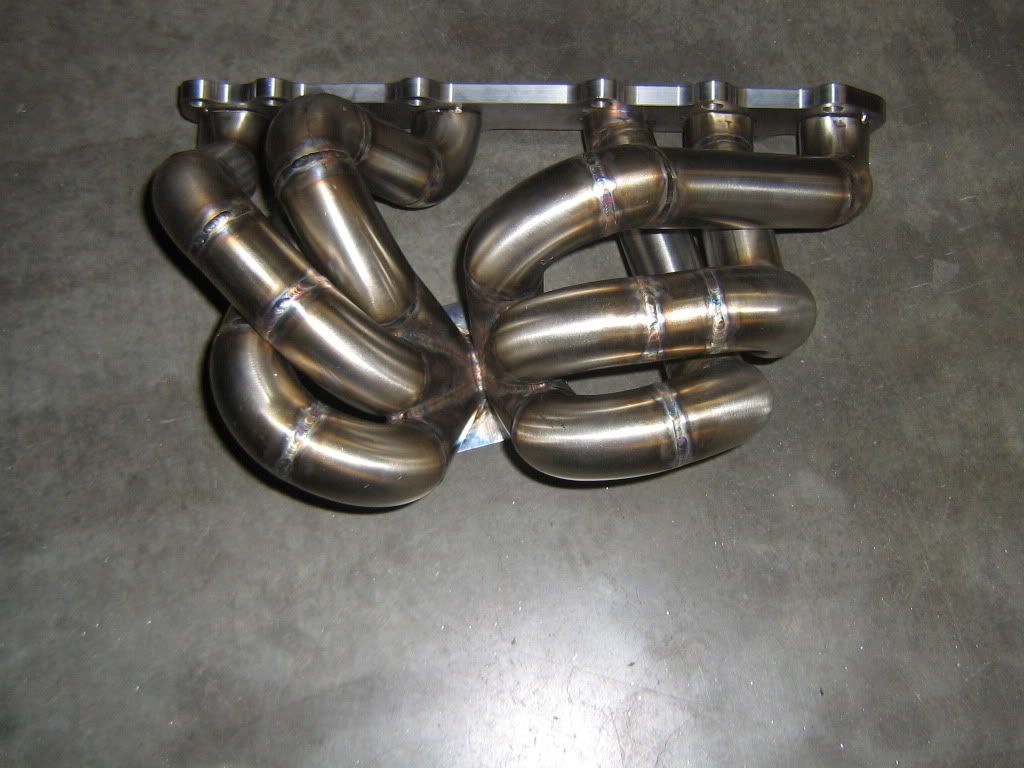
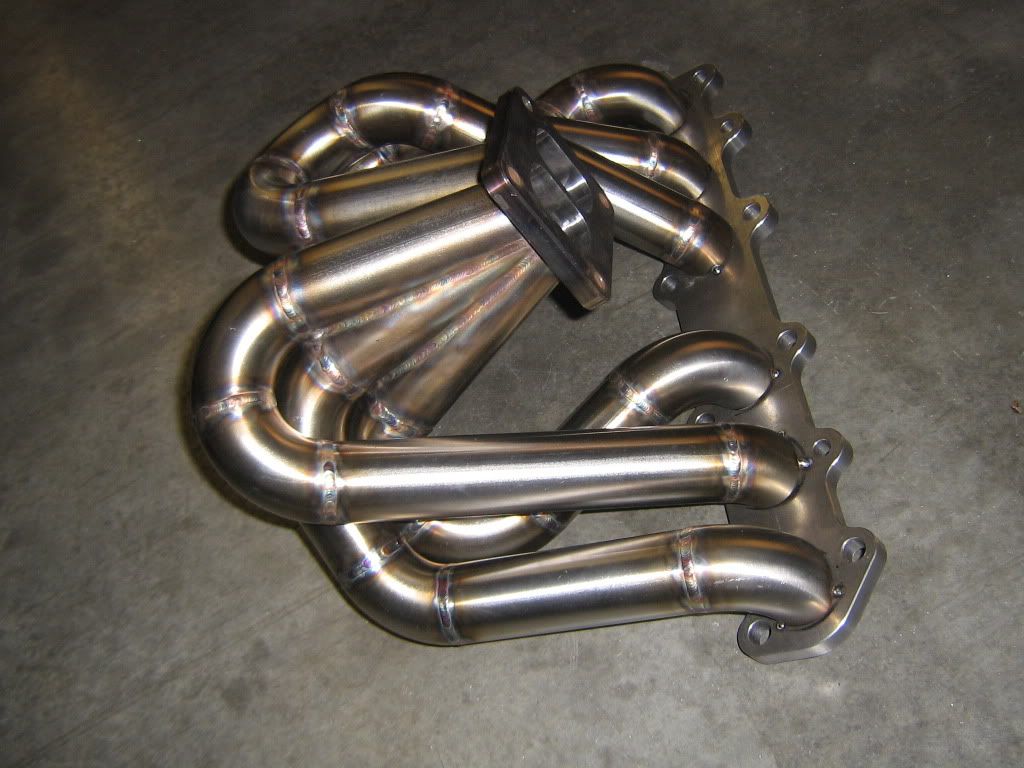
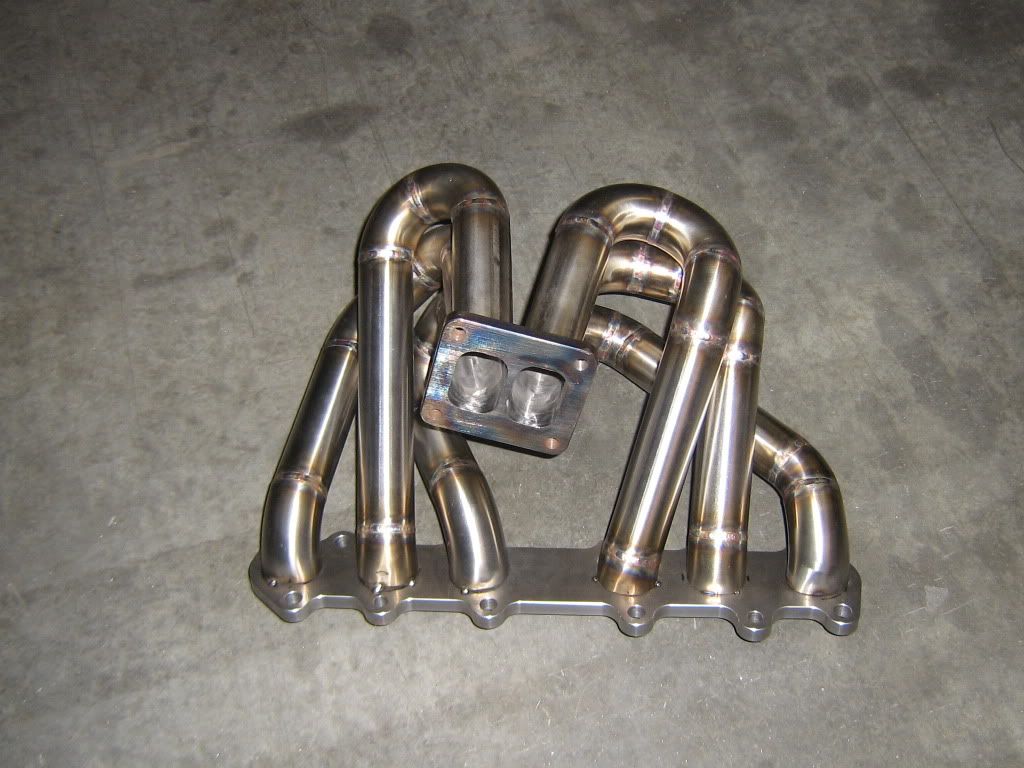
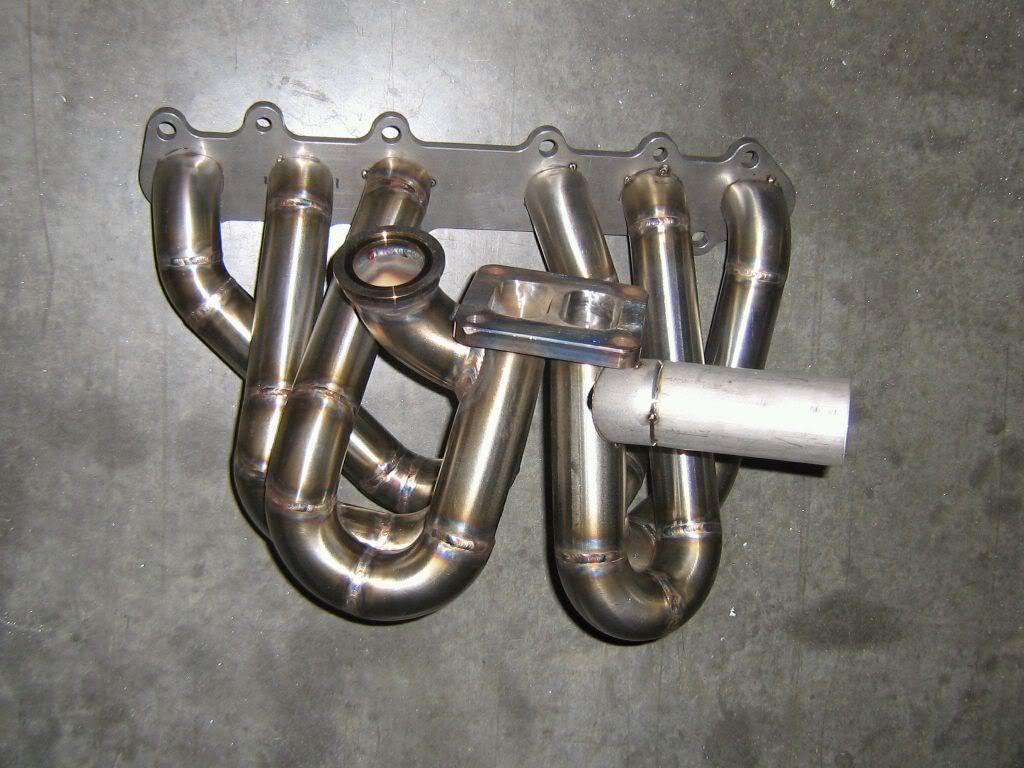
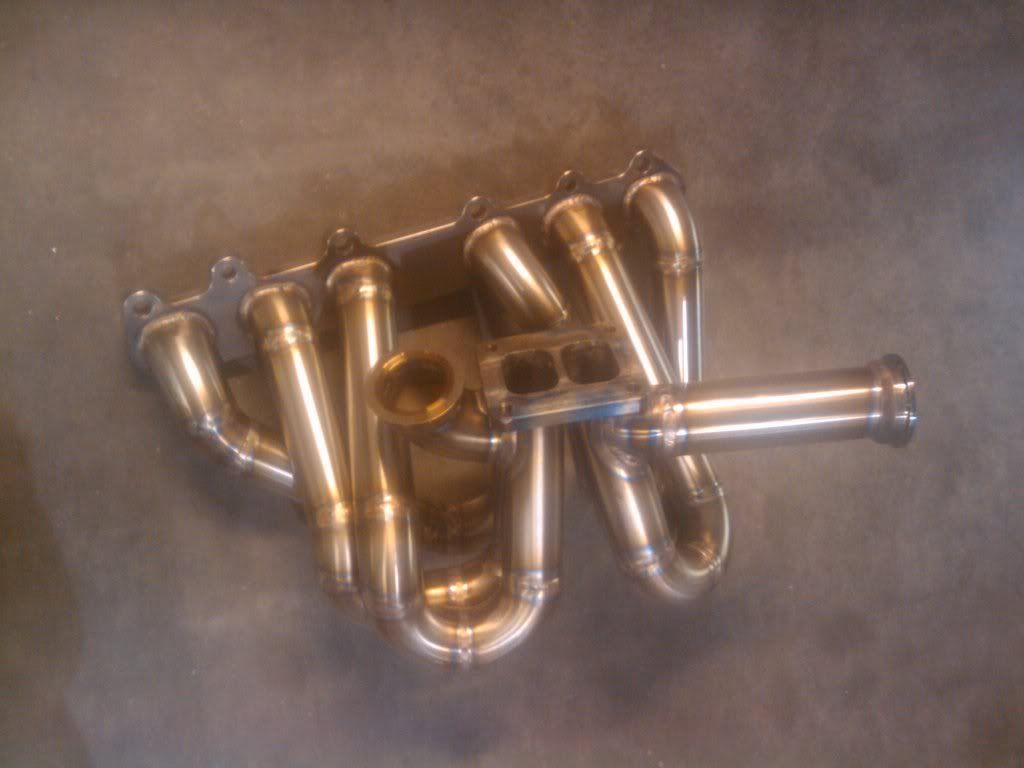
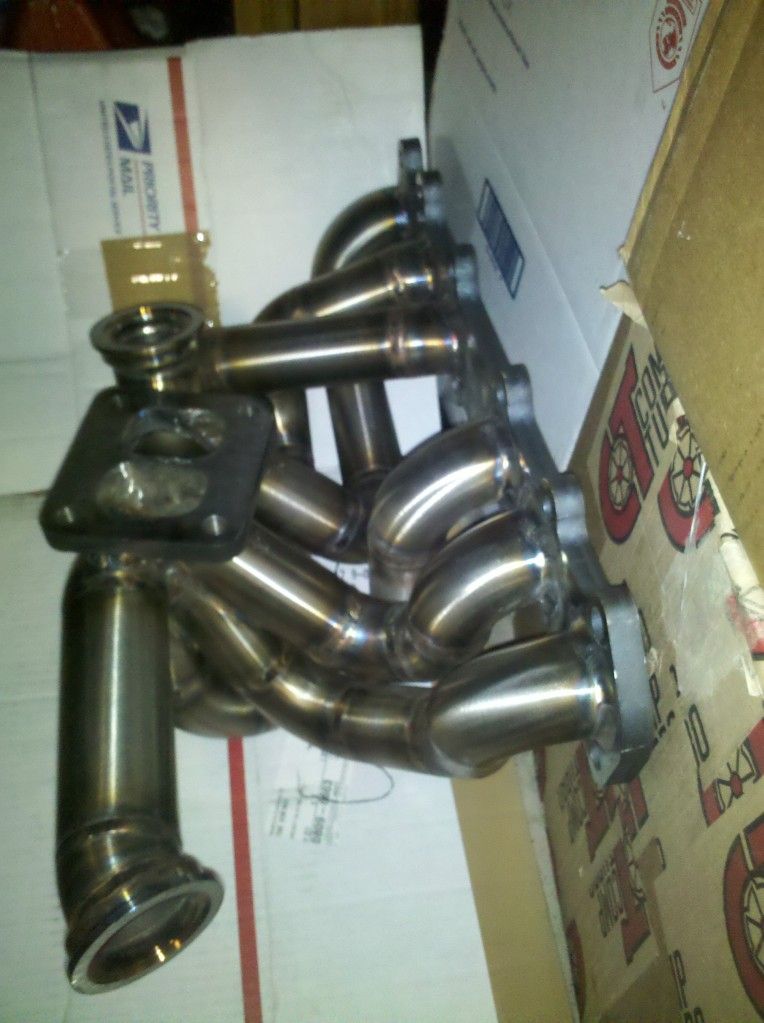
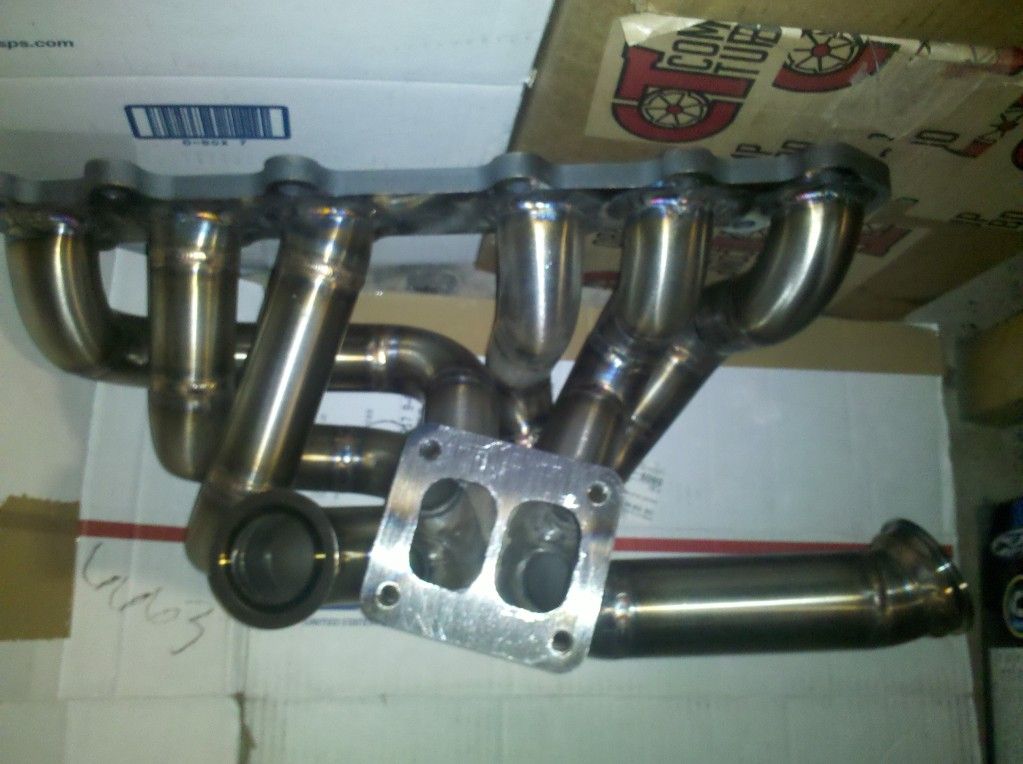
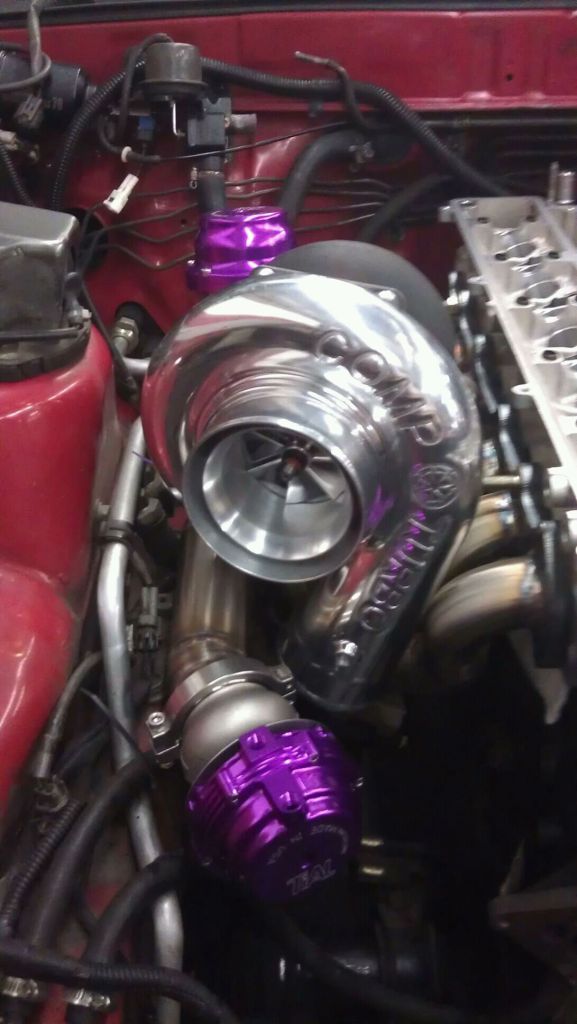
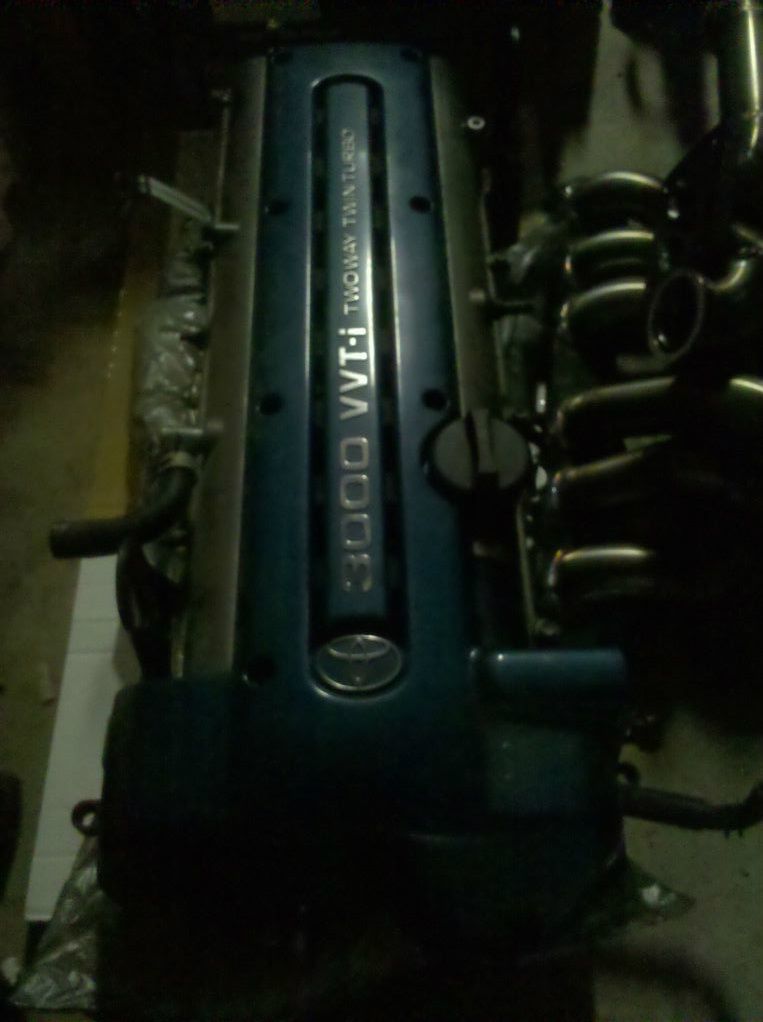
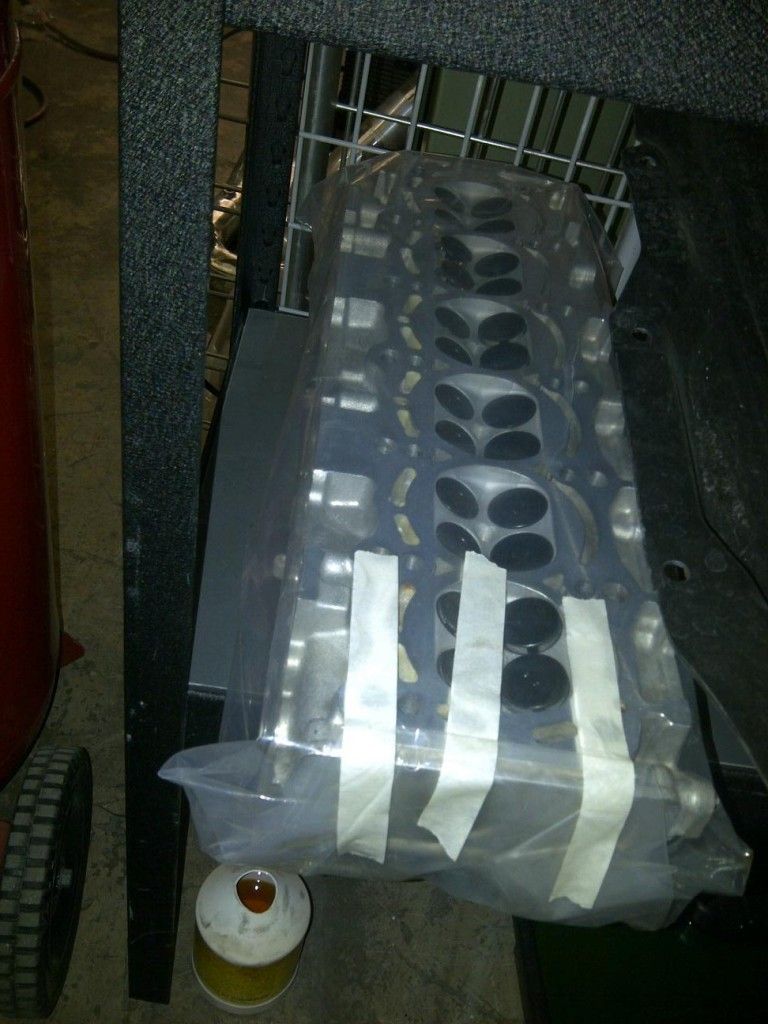
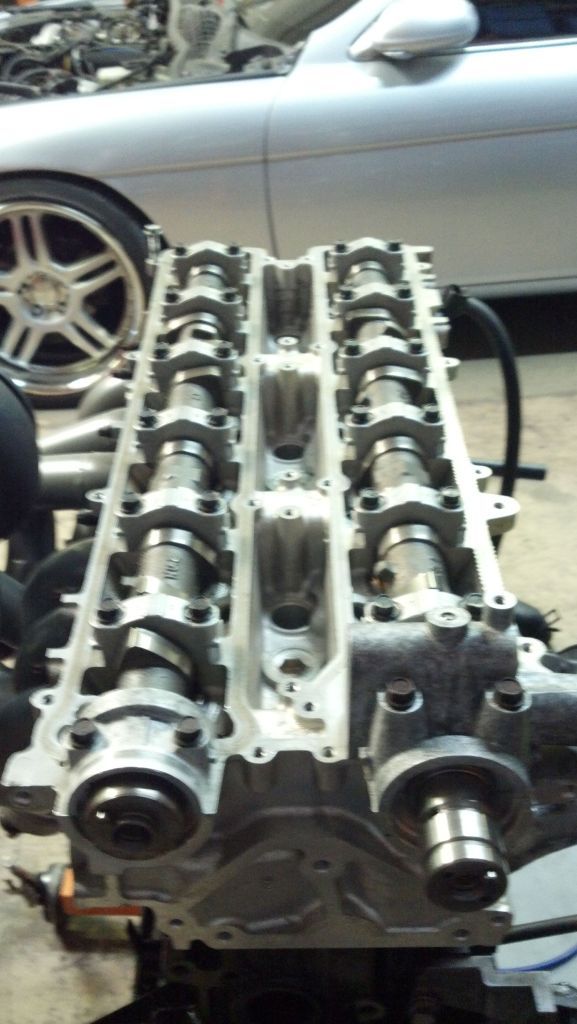
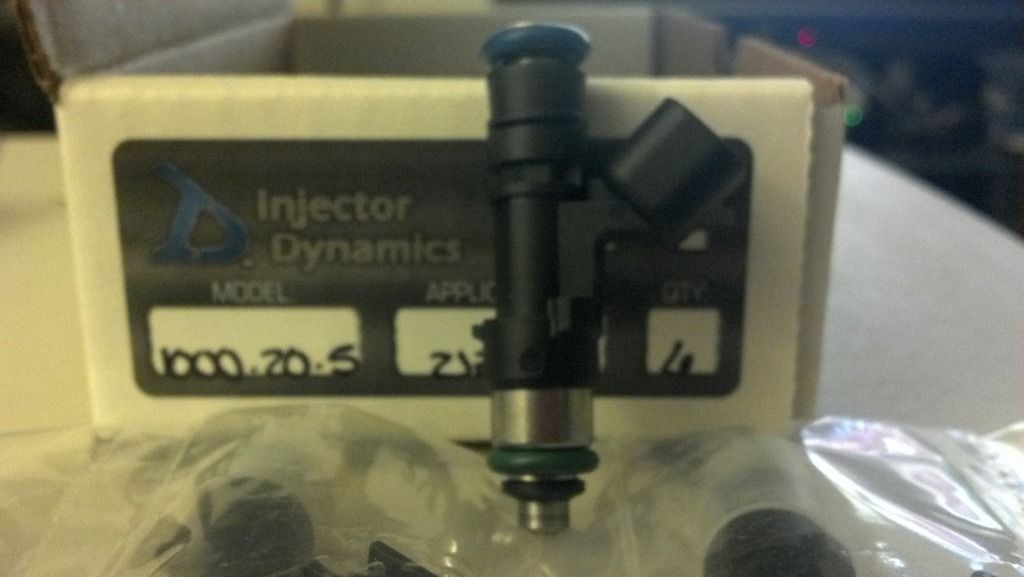
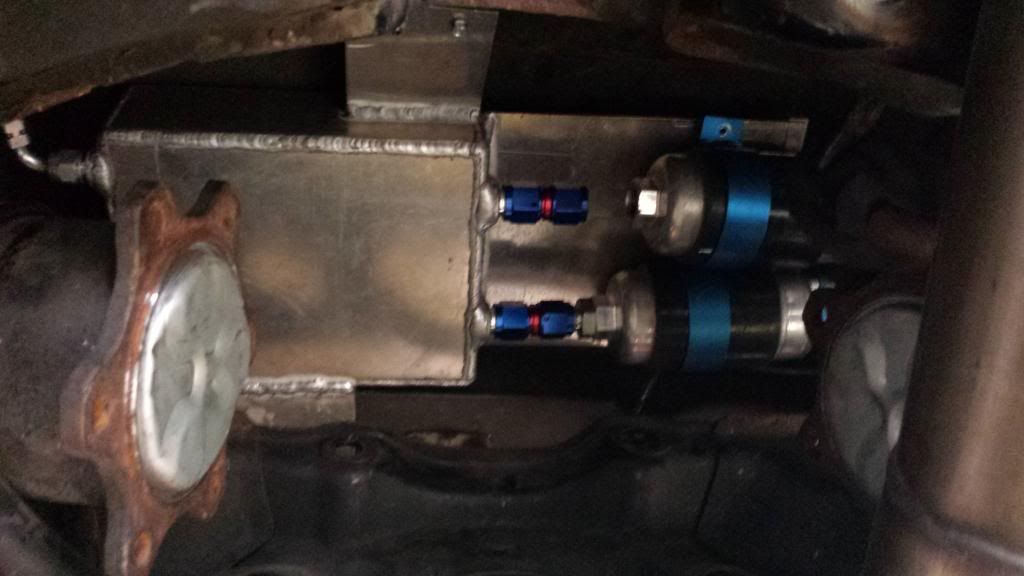
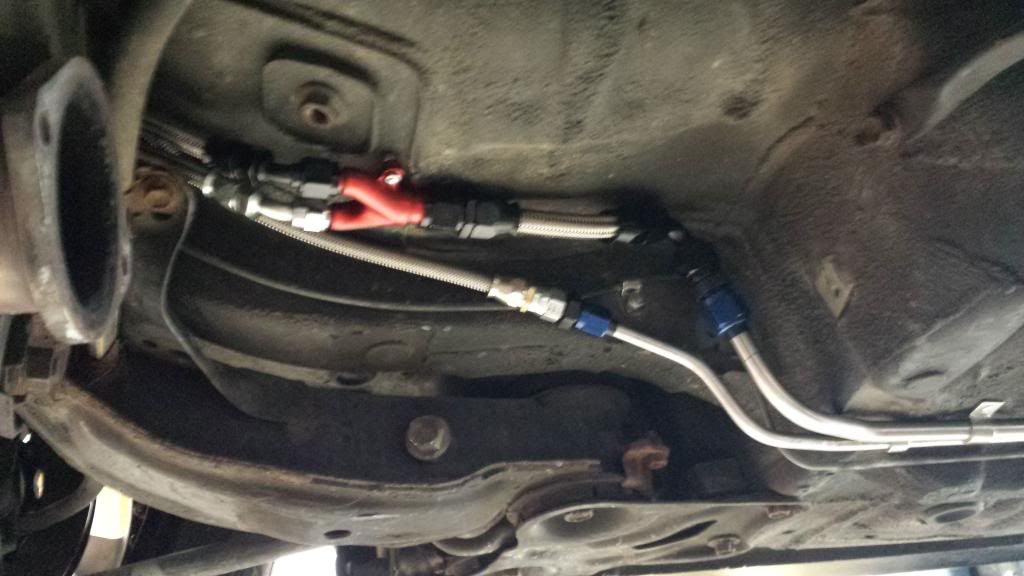
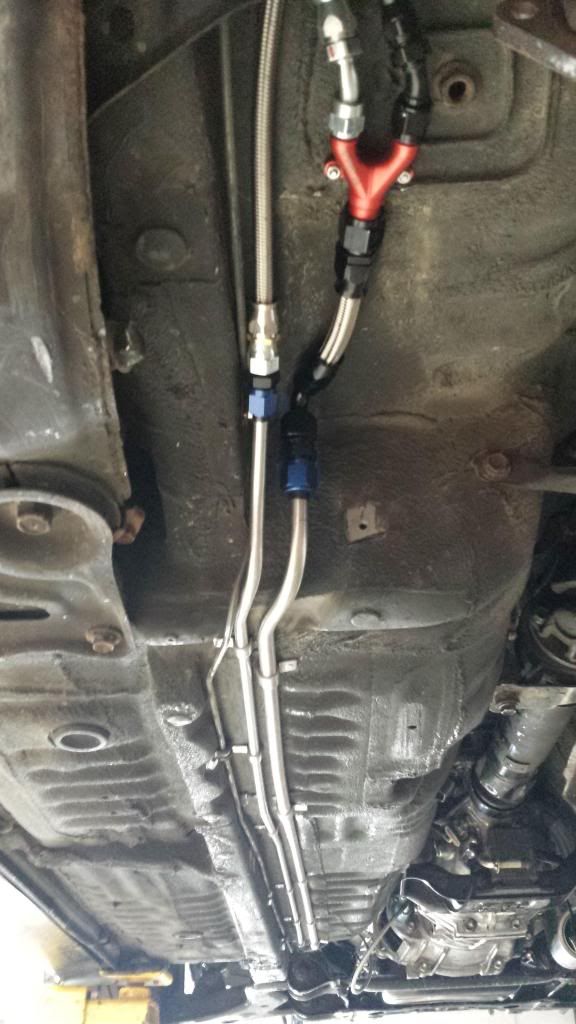
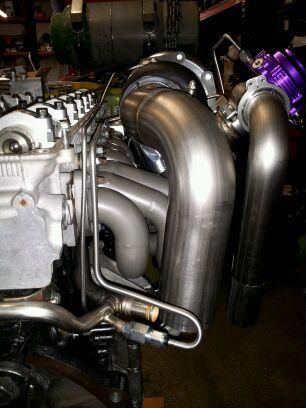
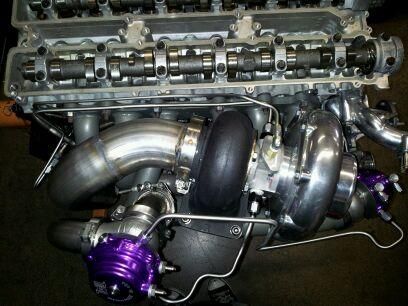
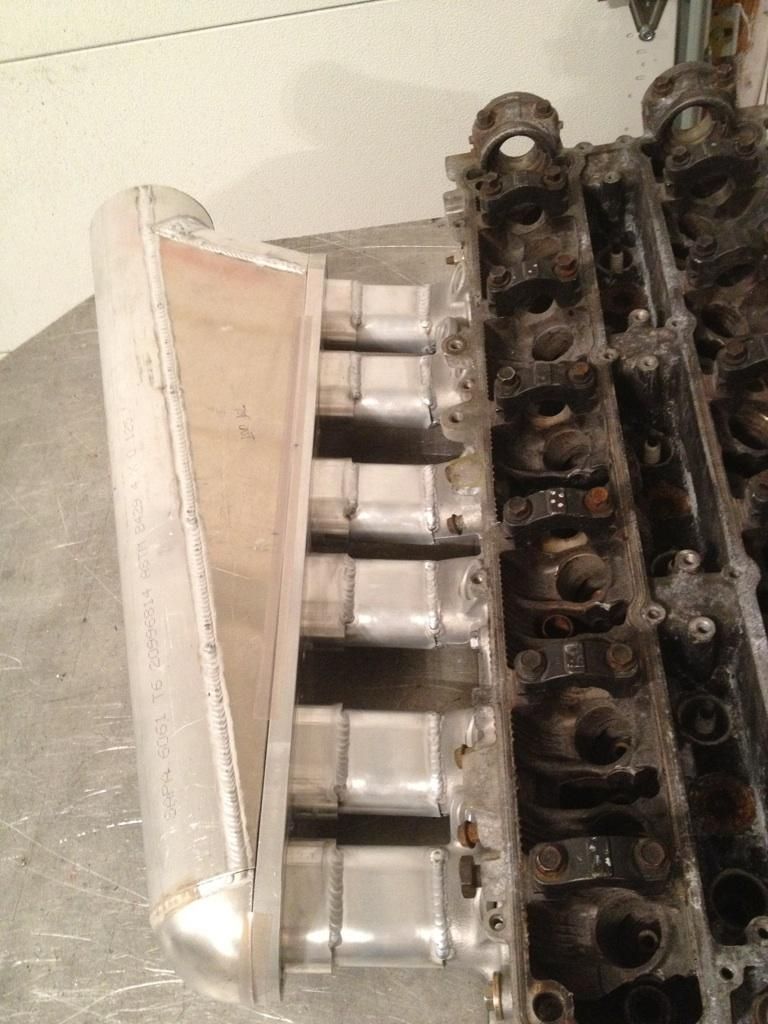
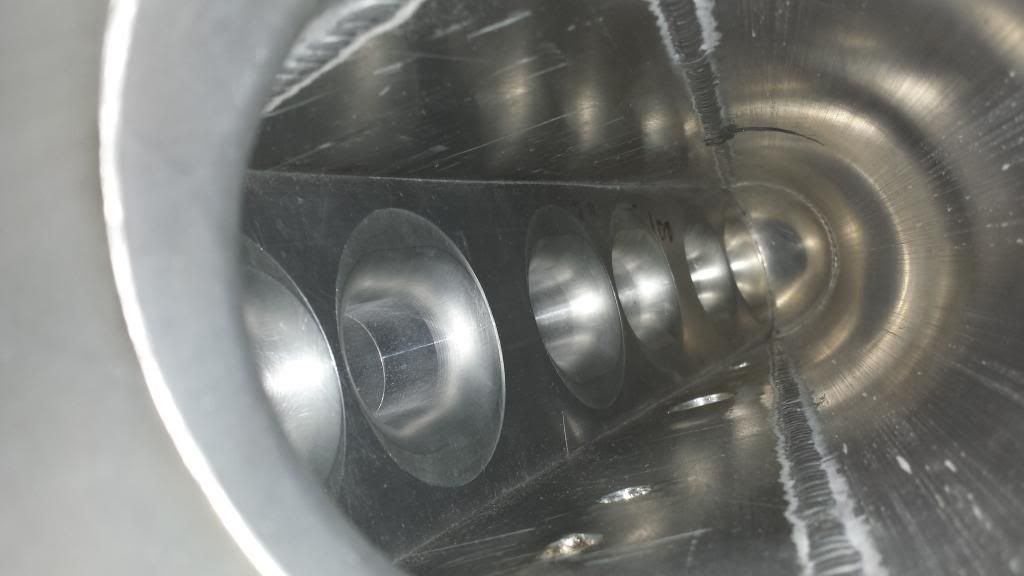
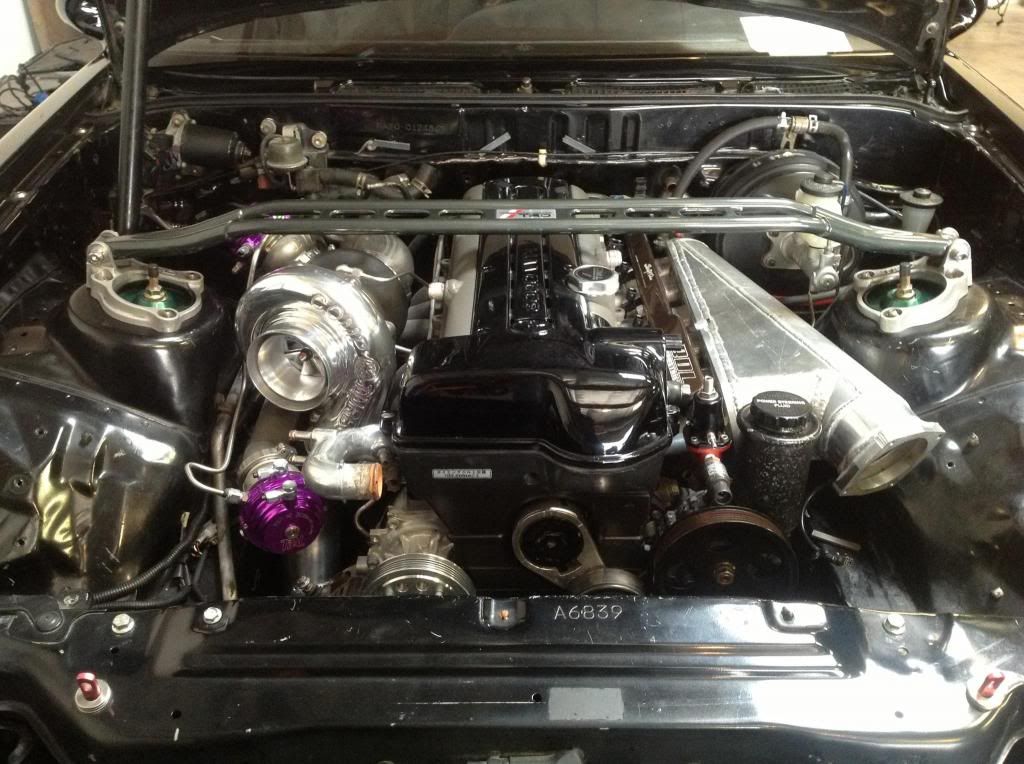
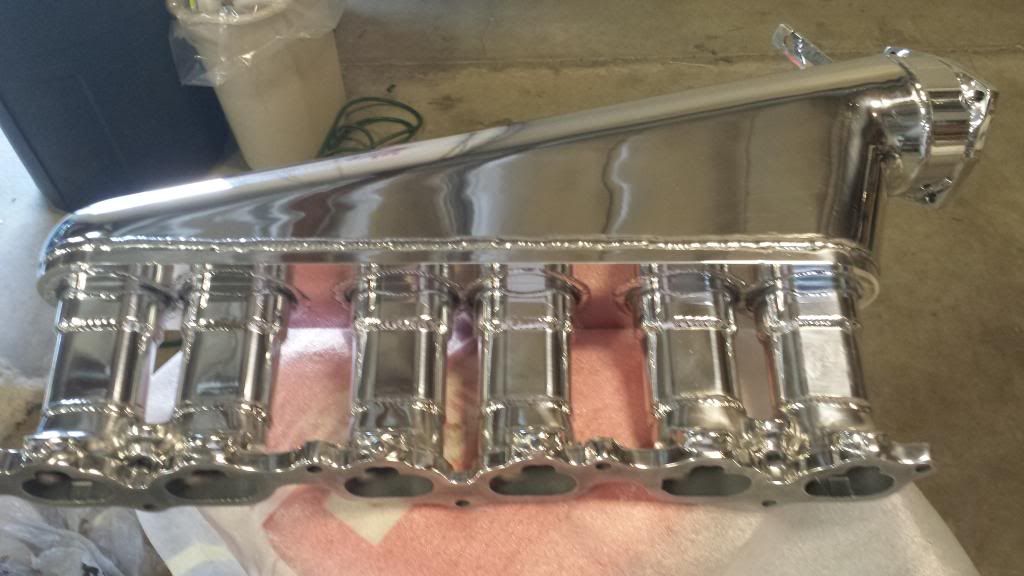
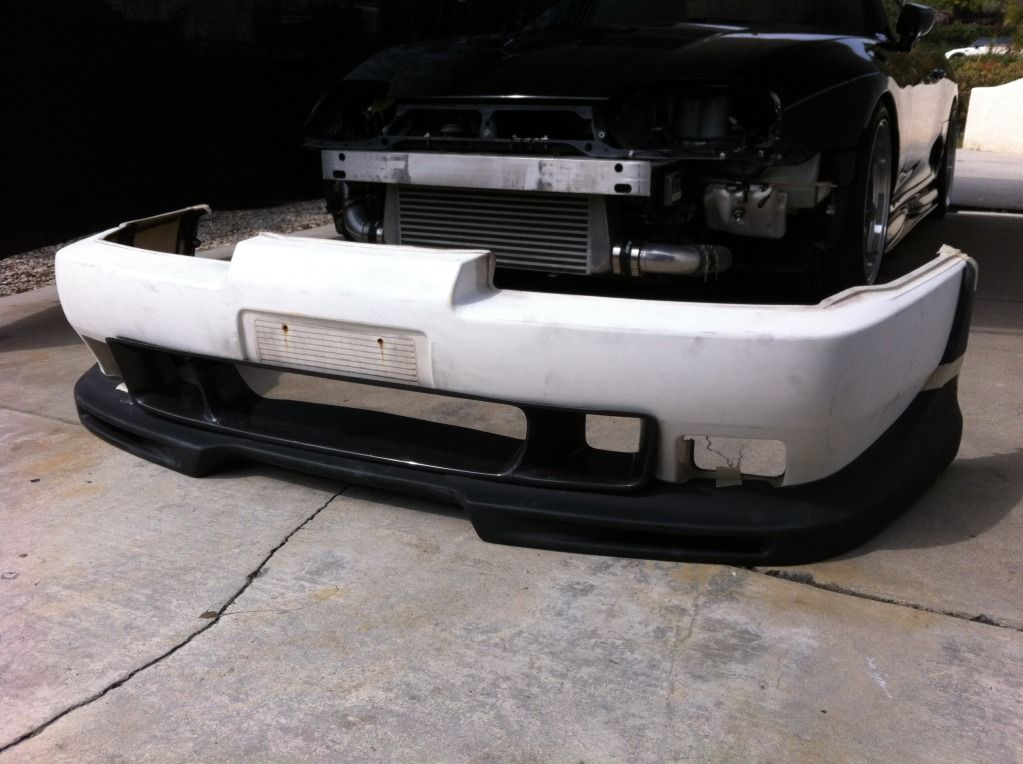
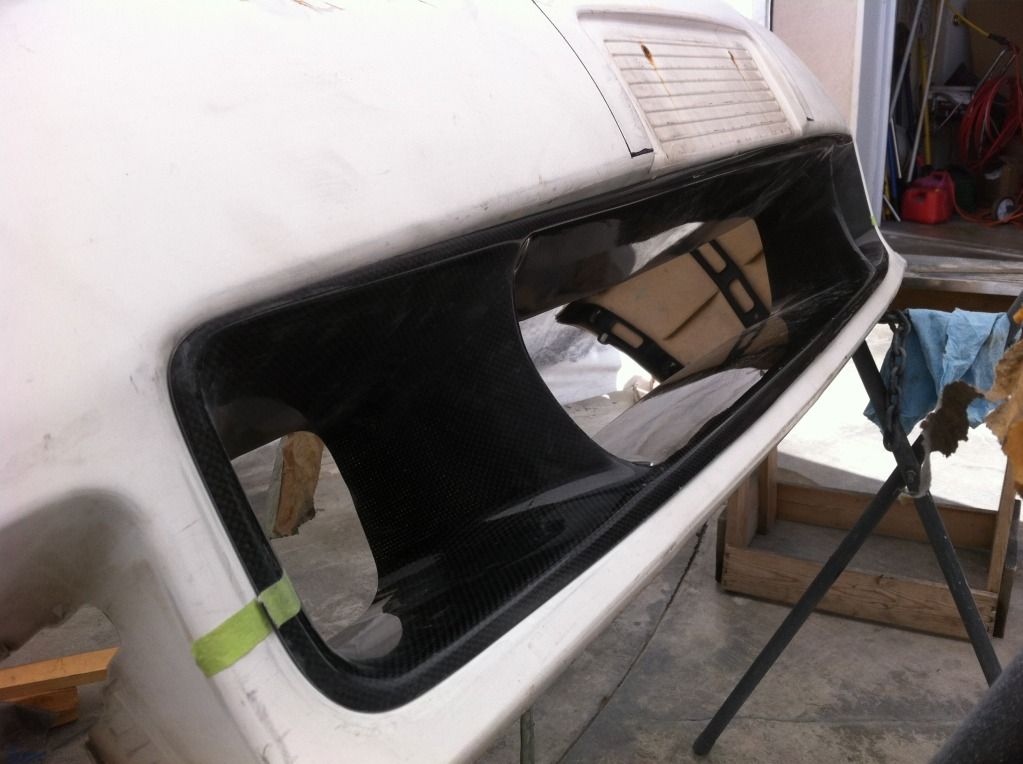
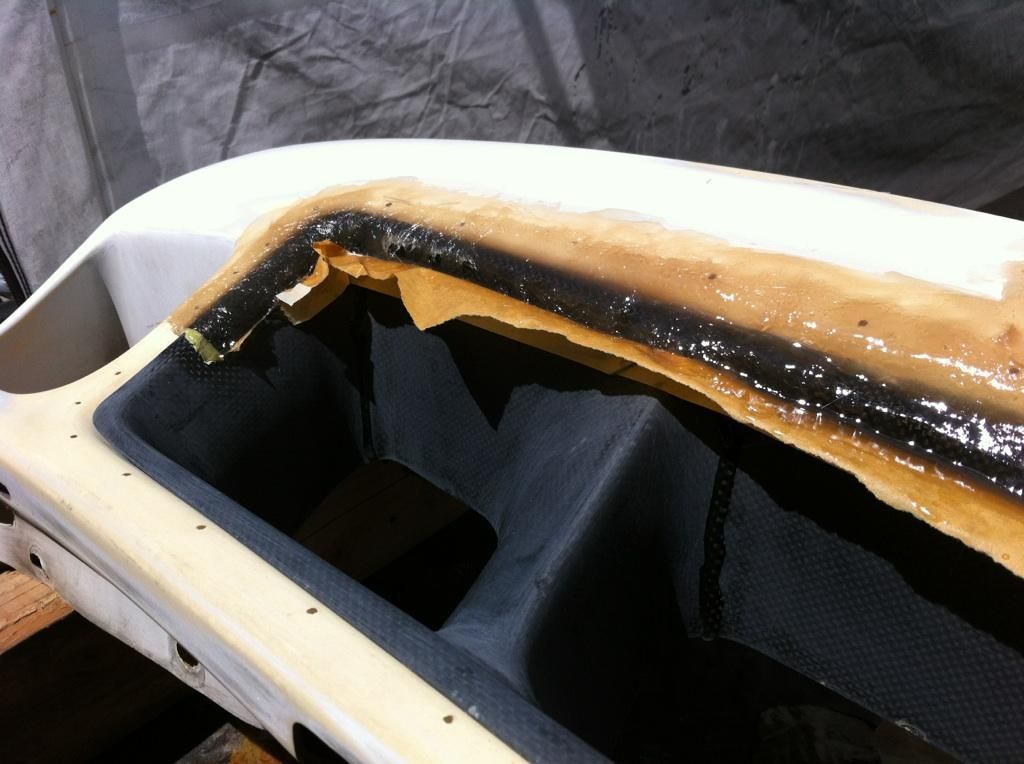
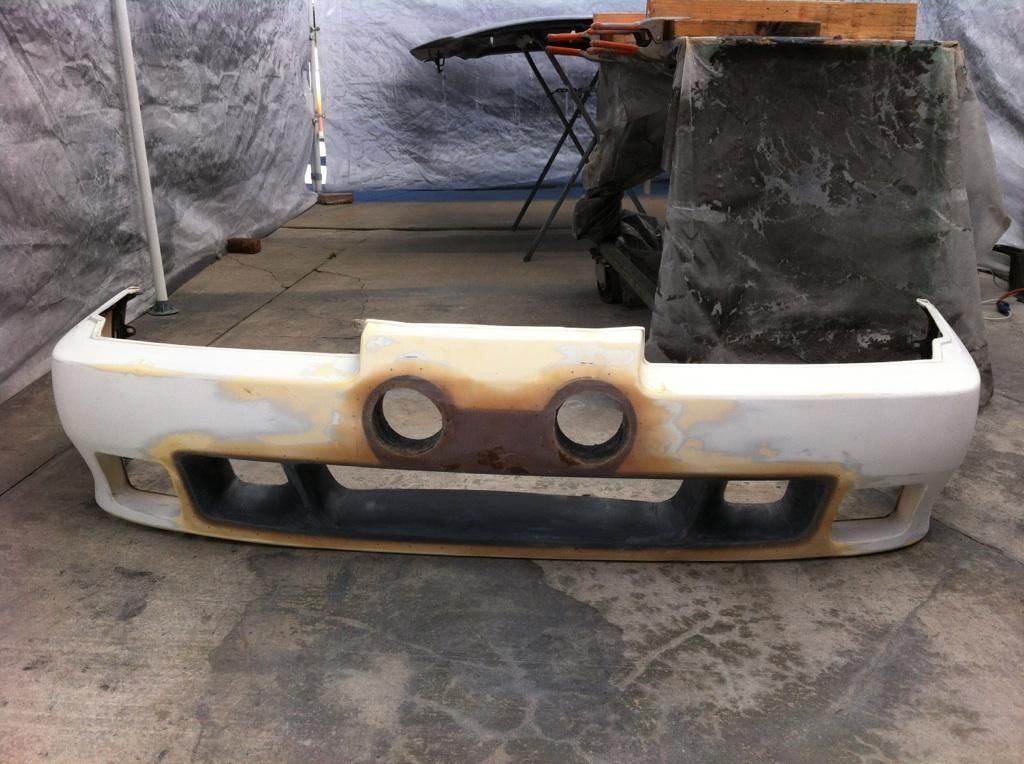
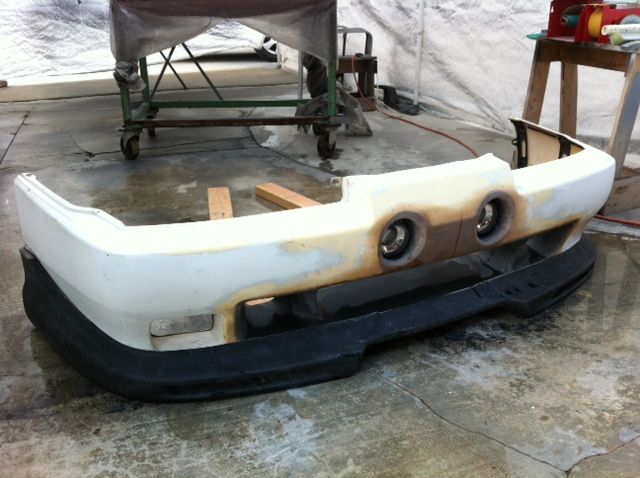
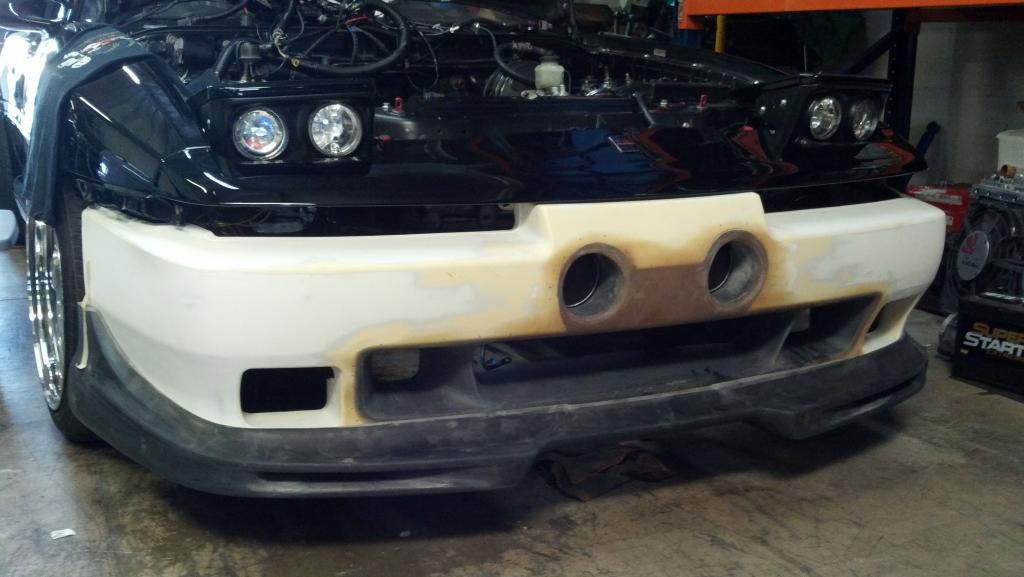
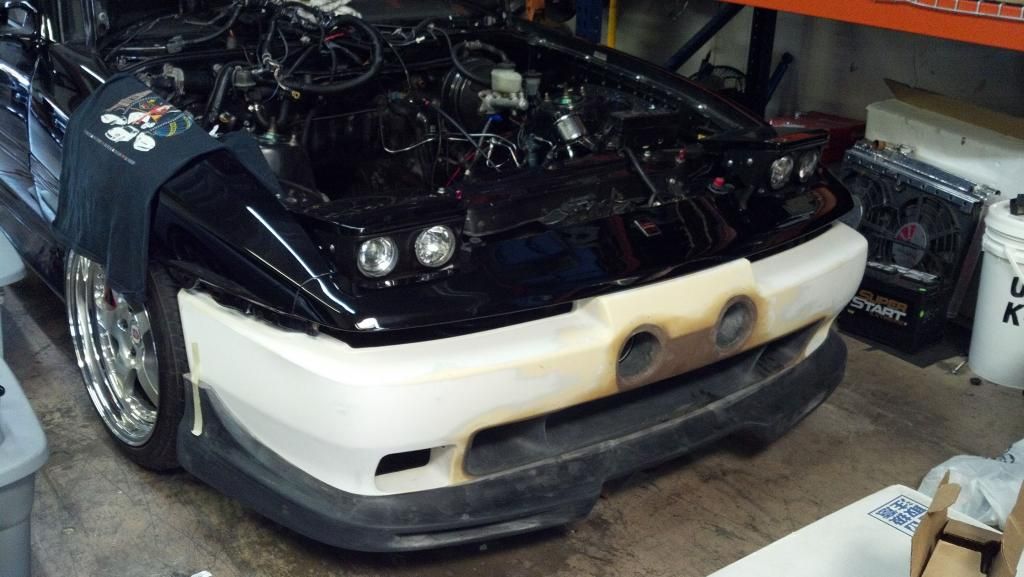
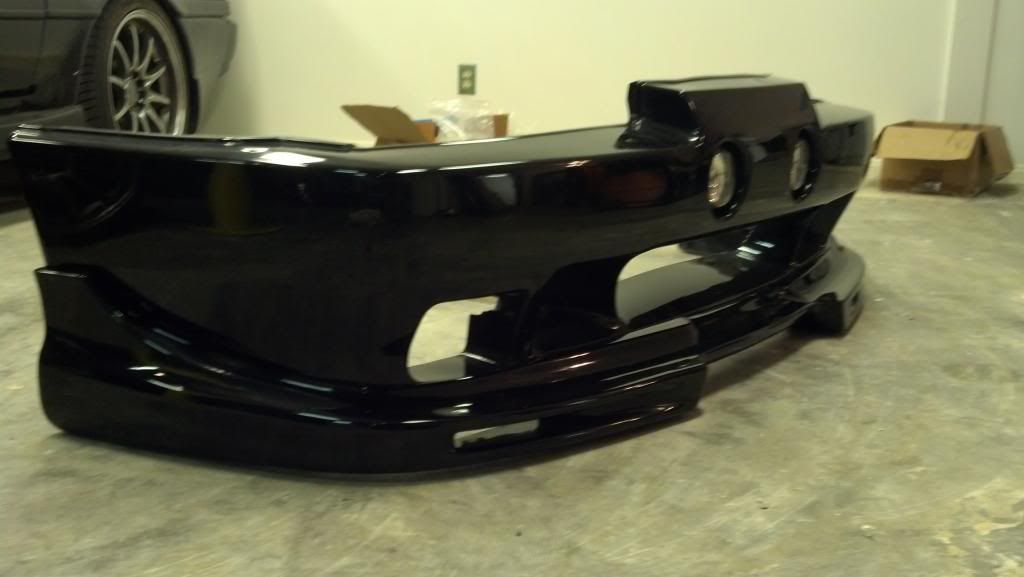
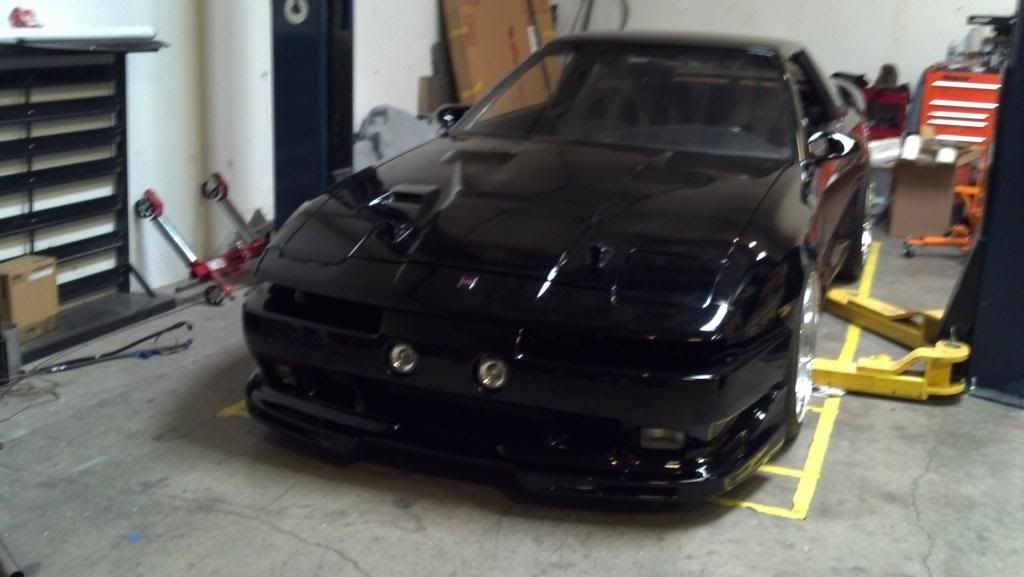
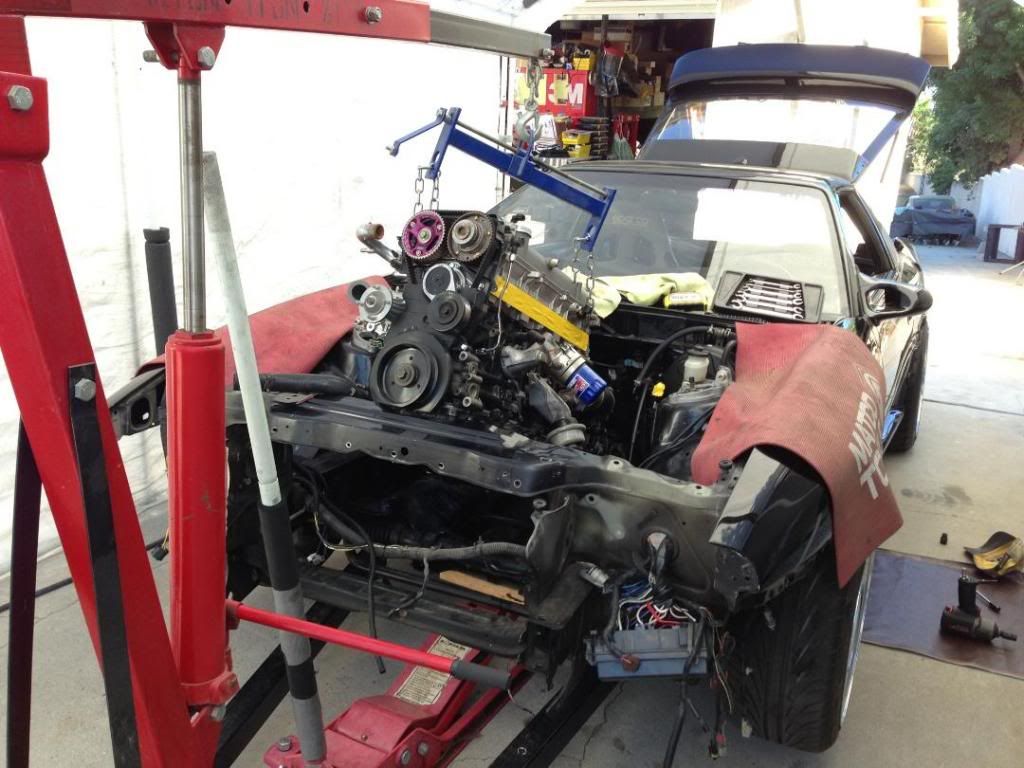
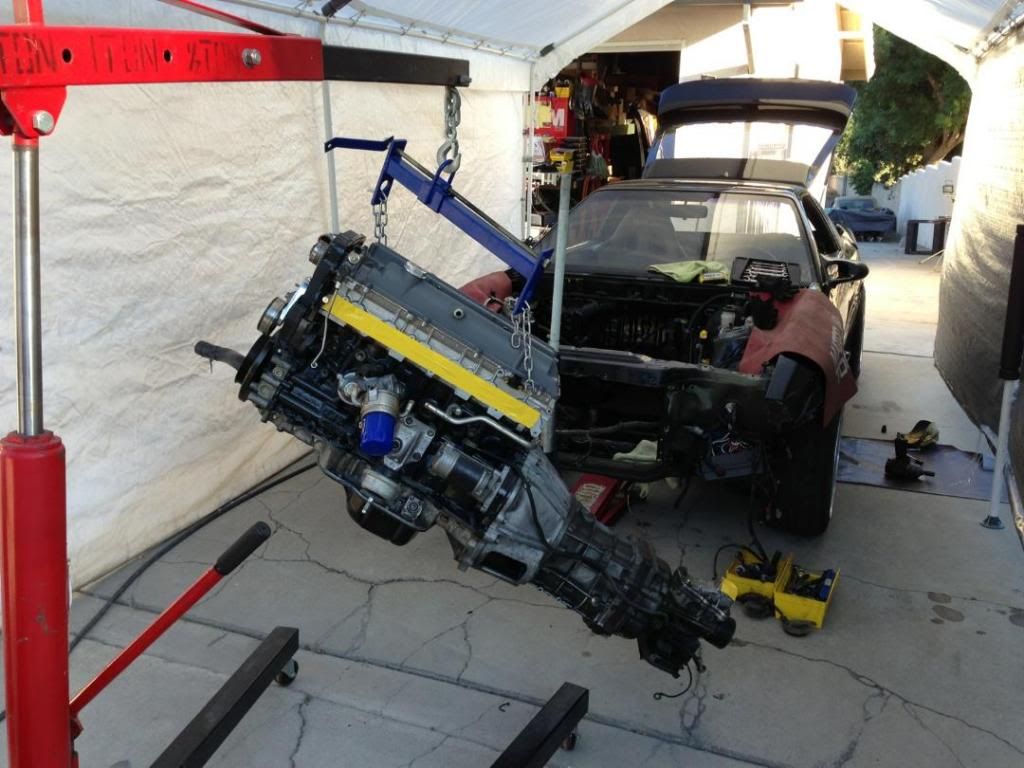
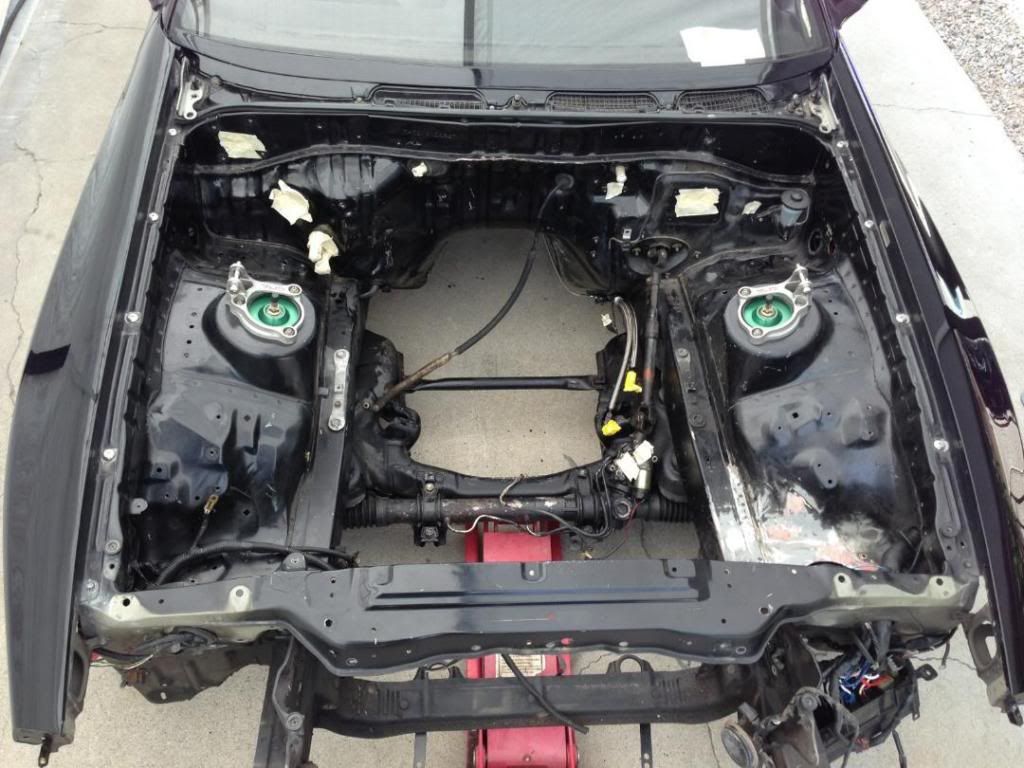
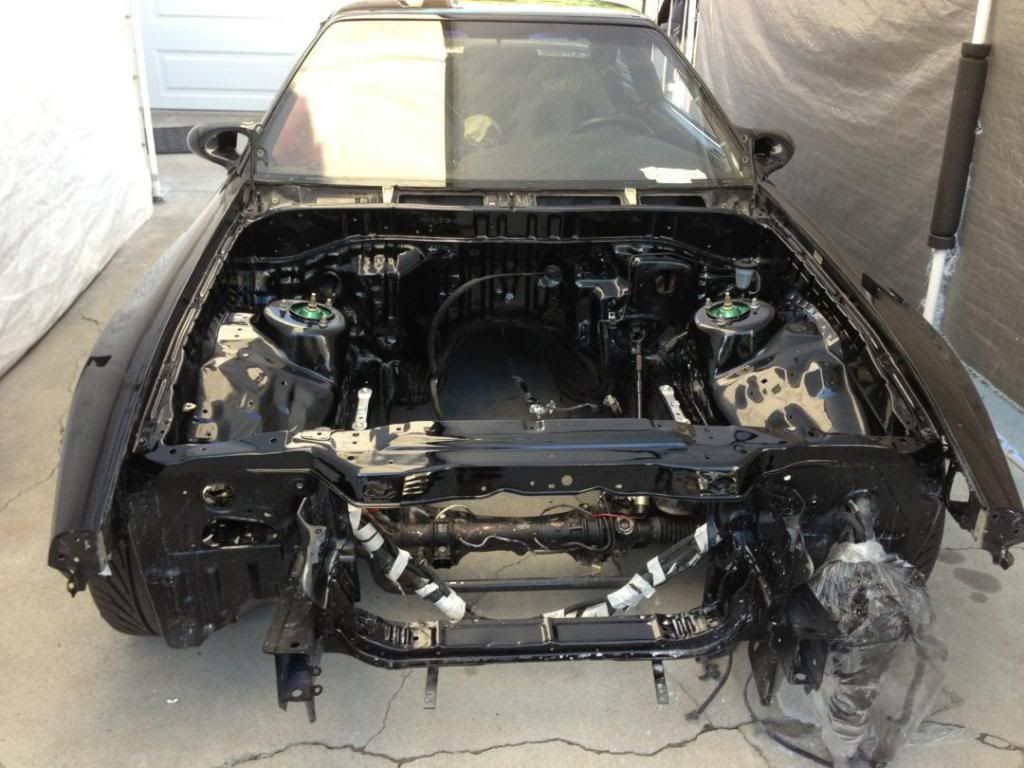
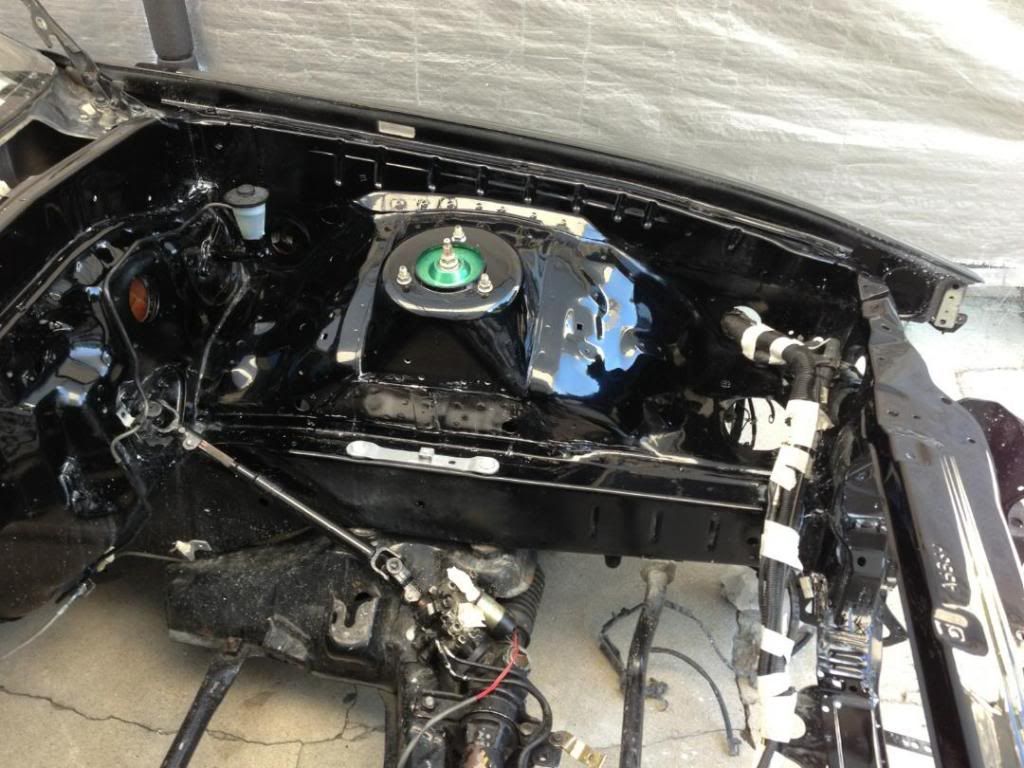
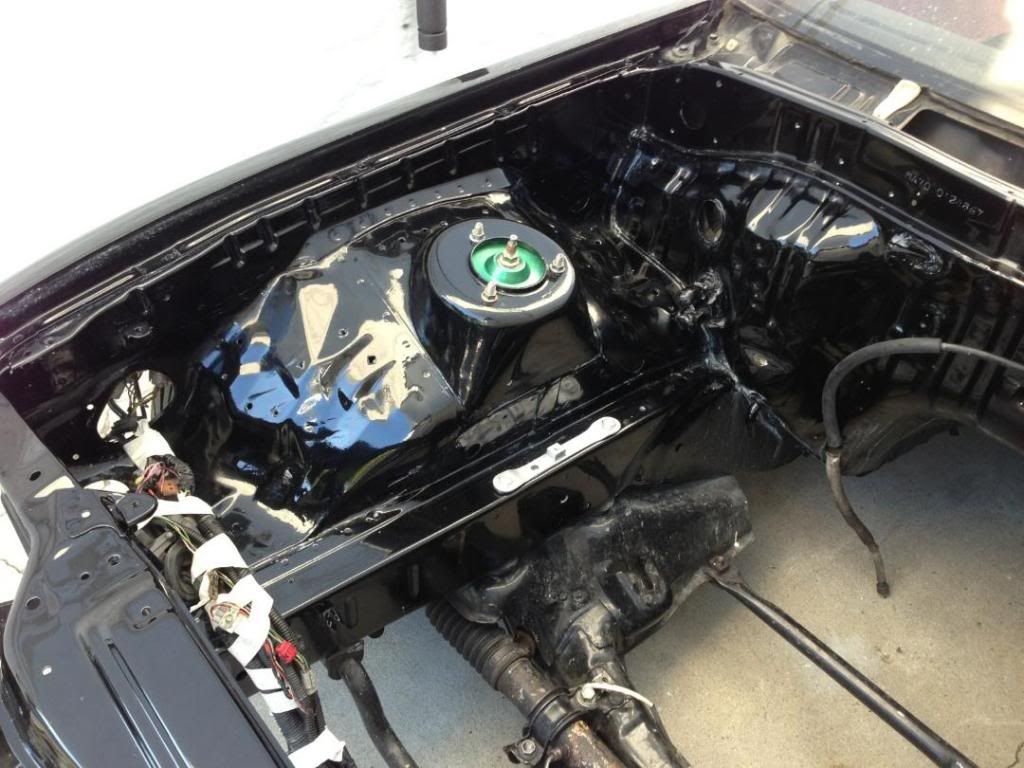
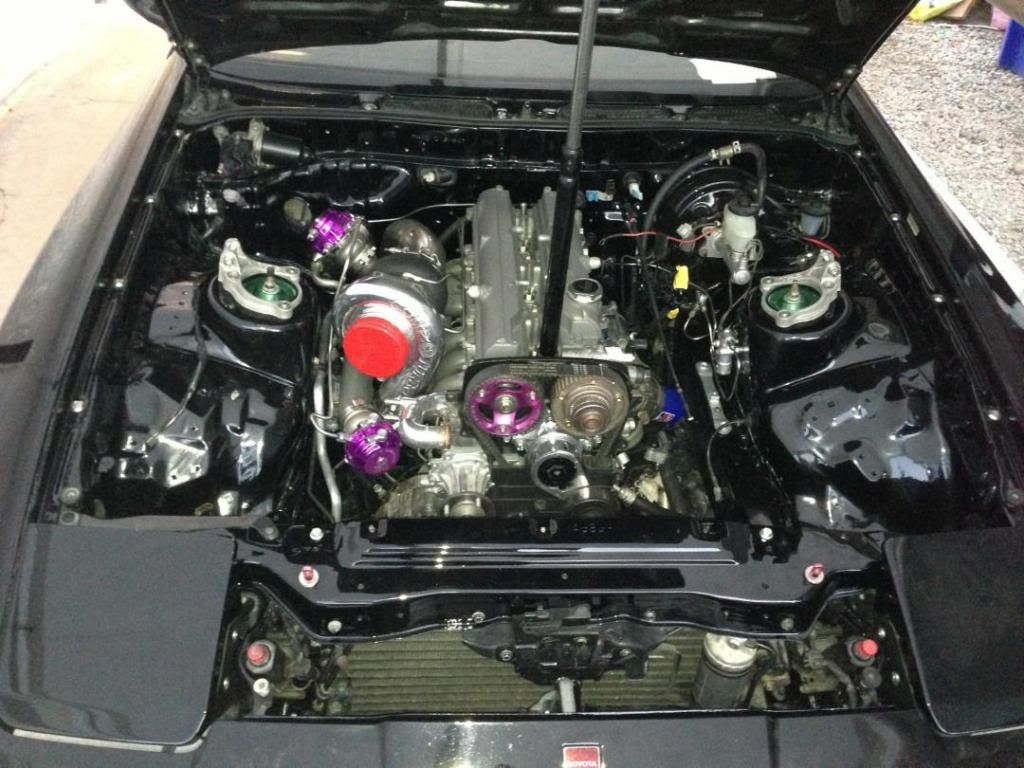
Like most Mk3 owners, I started with a hill for a project and ended up with a mountain. My budget ended up being 1/2 what reality dictated. As with most things in life I am learning a lot as I go so the car would have been much cheaper and a shorter build if I knew them what I know now. Second builds are generally better because you know what's right and wrong.
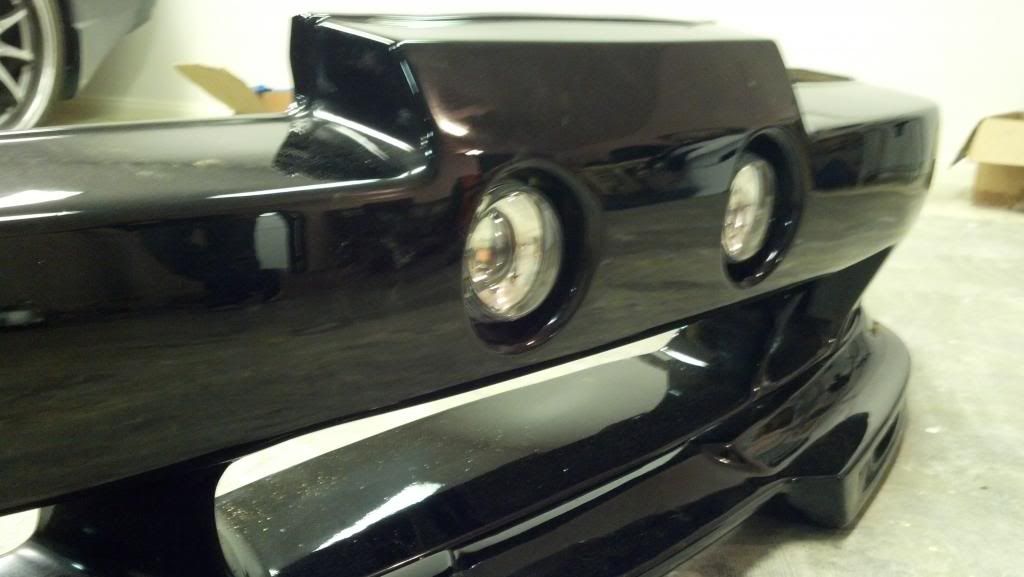
That's one if the reasons I really look forward to seeing your new version.")
That's one if the reasons I really look forward to seeing your new version.