Bogwon's 87 7M GTE project

Bogwon

New Member
Dec 1, 2012
452
0
0
Bremerton, WA
Greetings friends, enthusiasts and fanatics!

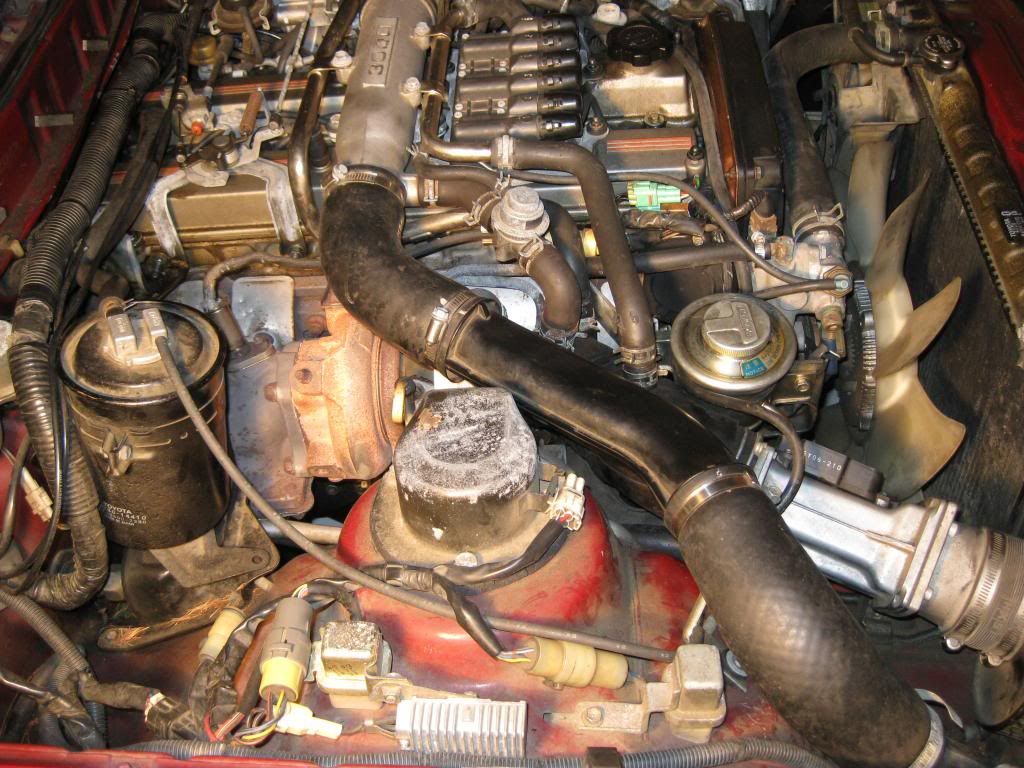
I've wanted to start a build thread for a while now and just didn't really know where to start. I wasn't really sure what I wanted out of the car (87 7m GTE) and what I would be able to do. I'm not a well versed with wrenching on cars but I'm pretty good with looking things up and reading schematics and things like that so I decided that this car would be a learning project for me and hopefully something I will be proud of at the end of the day.

I've had the car for about a year now and only done a few things which I'll document here.

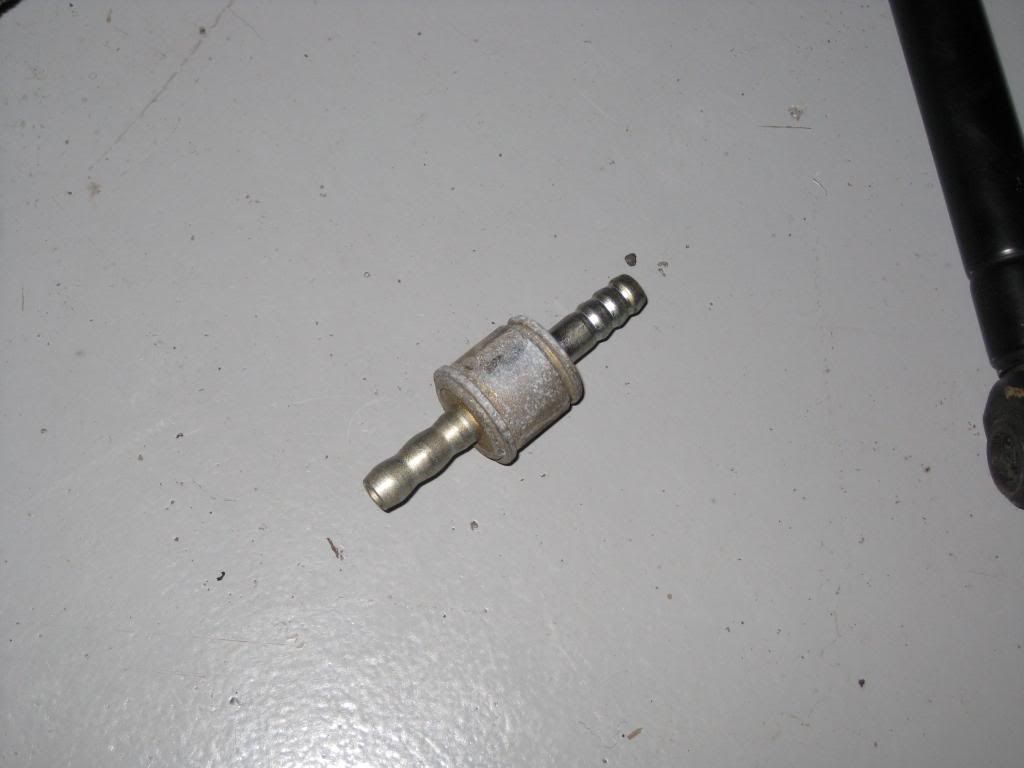
When I bought the car my buddy said there was a one way check valve in the brake booster system that made the brakes really stiff when getting on the boost. About $11 part from champion toyota.

p1913114_1.jpg


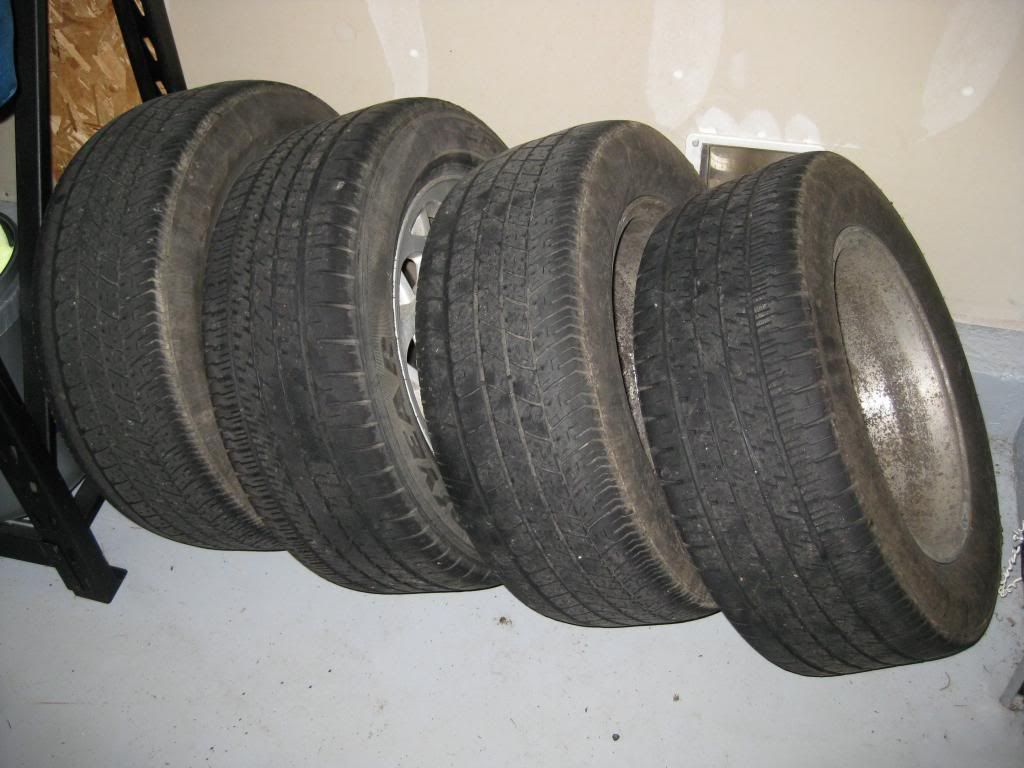
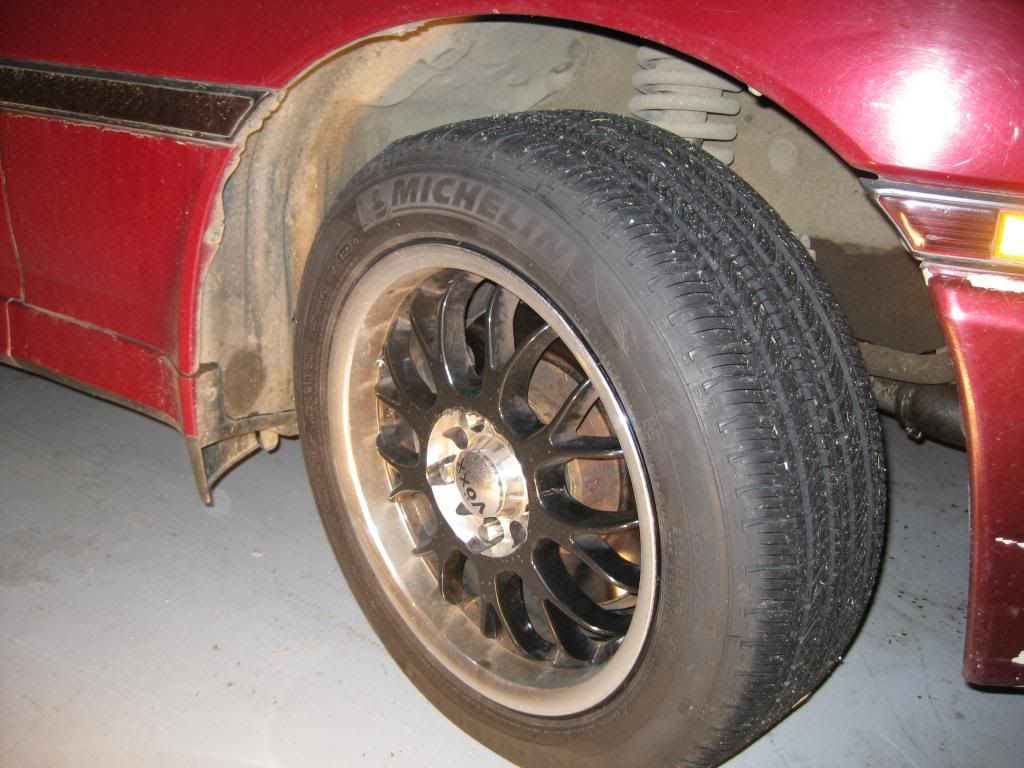
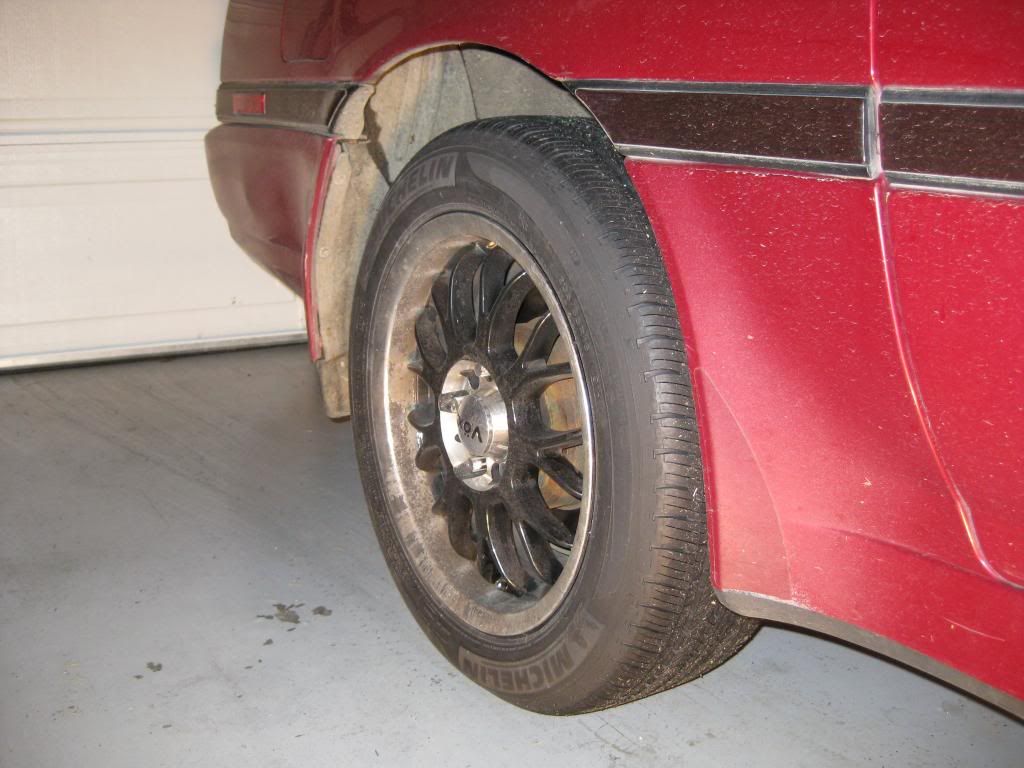
First thing I did after that was ditch the saw blades and tires. The tires were shot and needed to be changed anyhow and the rims were beat up pretty bad. I never really liked the saw blade rims either...

p1913114_2.jpg


p1913114_3.jpg


After buying the car I ended up on a six month work trip to San Diego so it sat in the garage waiting for my return...

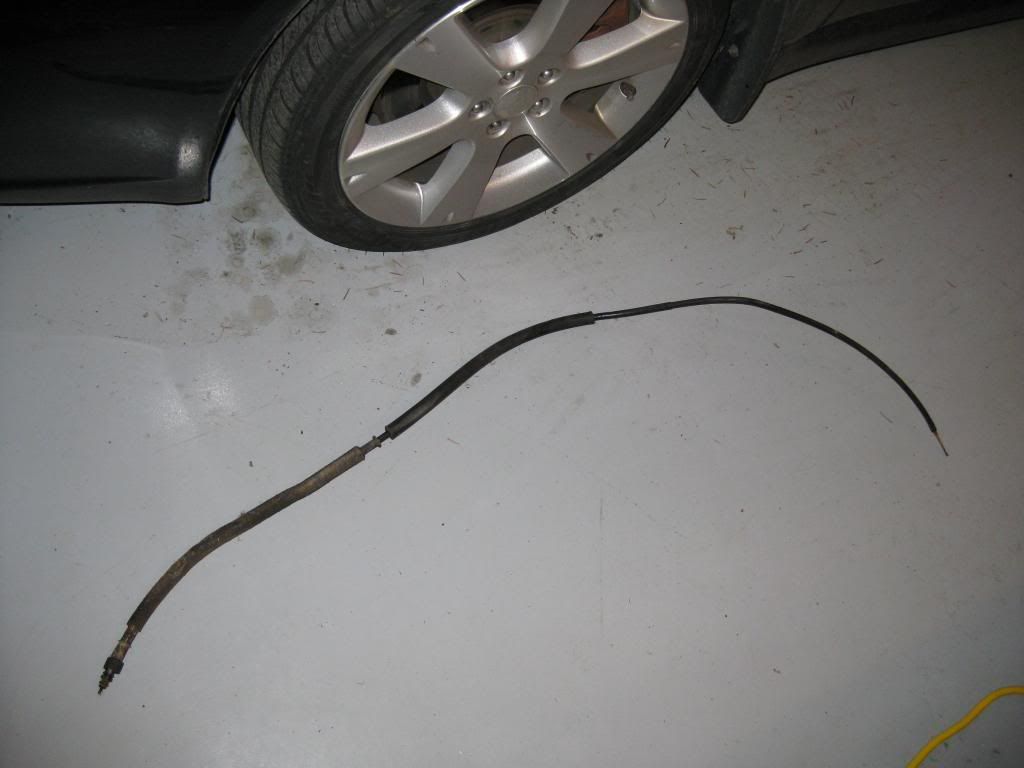
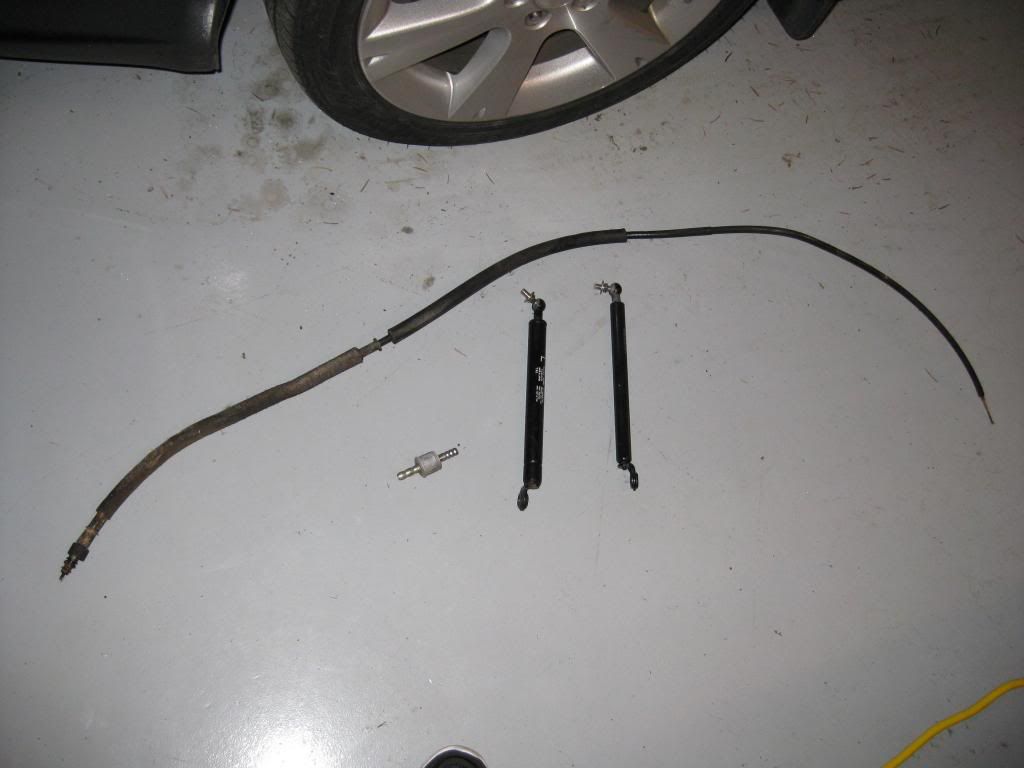
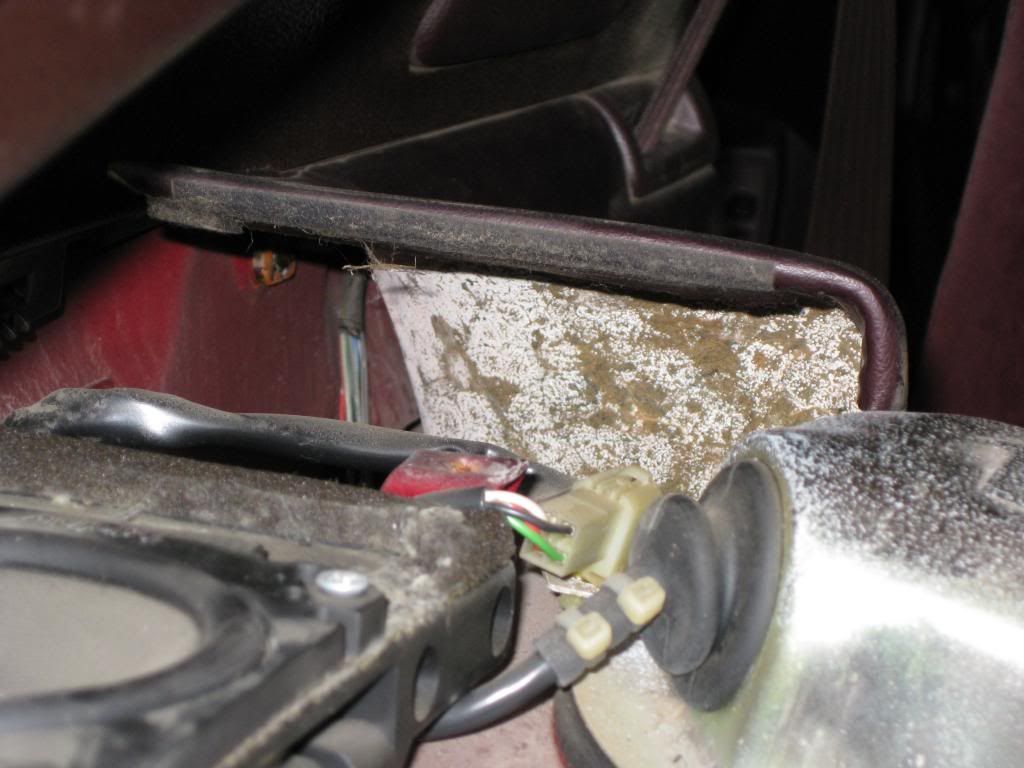
Before leaving for San Diego I pulled the long portion of the speedometer cable then left the car with the dash torn apart and no new parts ordered. Upon returning I quickly ordered the new speedo cable and took a little doing but I was able to reinstall and it seems that I got it all correct because the speedo works great and no annoying squeaking while rolling down the road.

p1913114_4.jpg


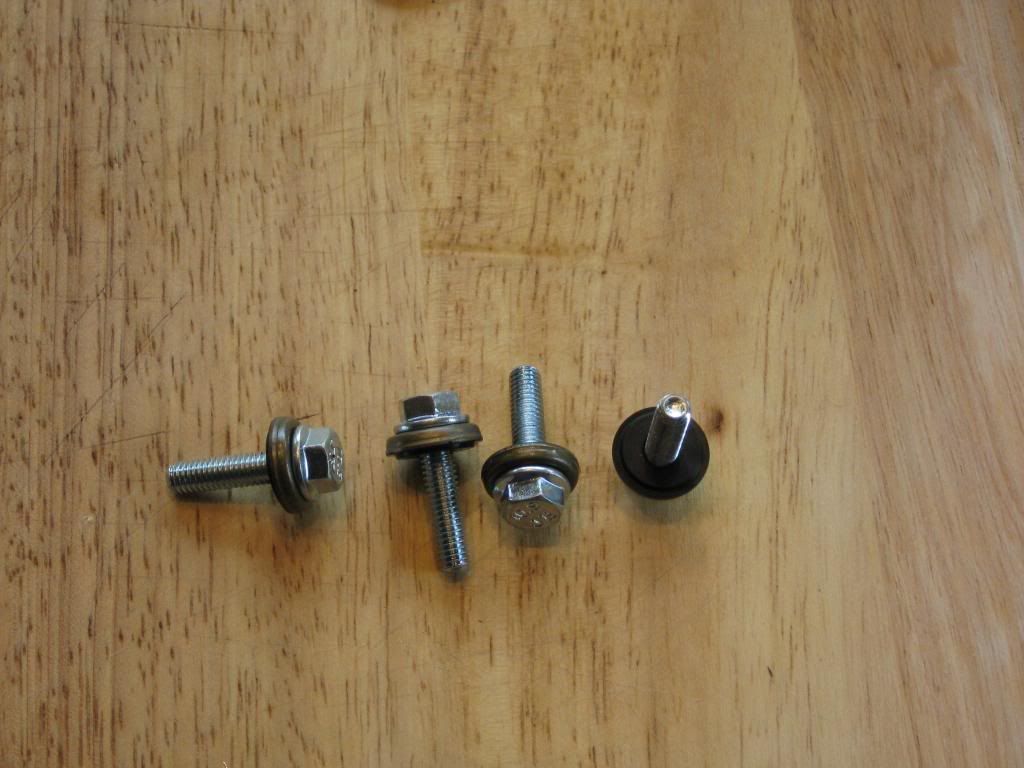
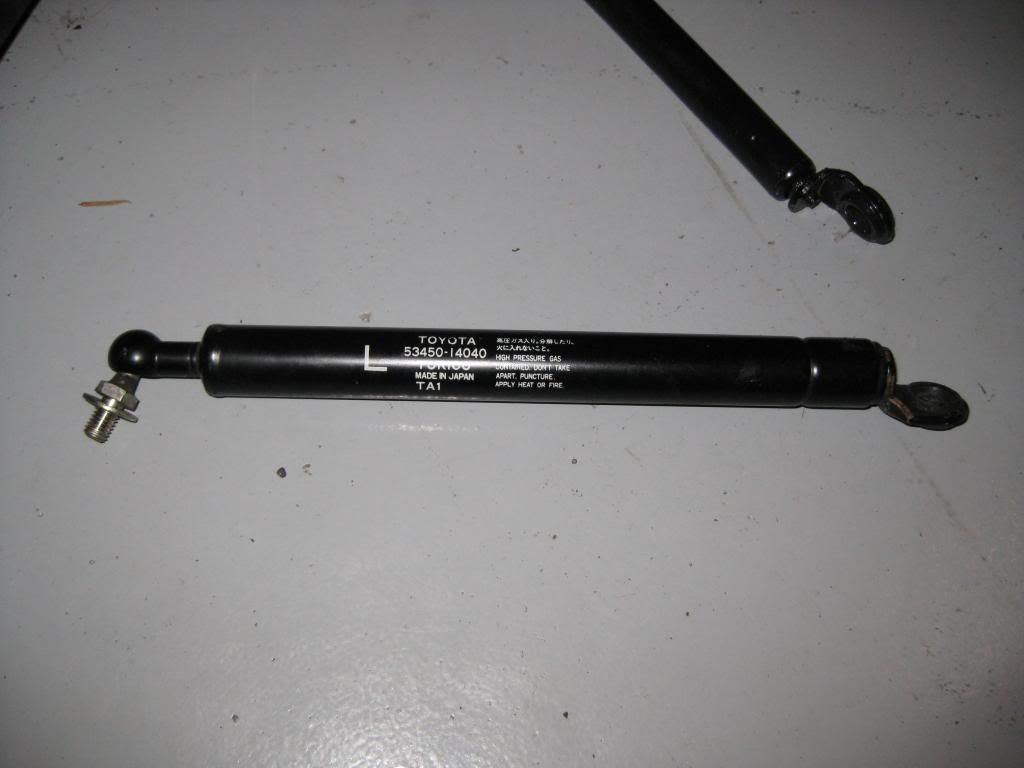
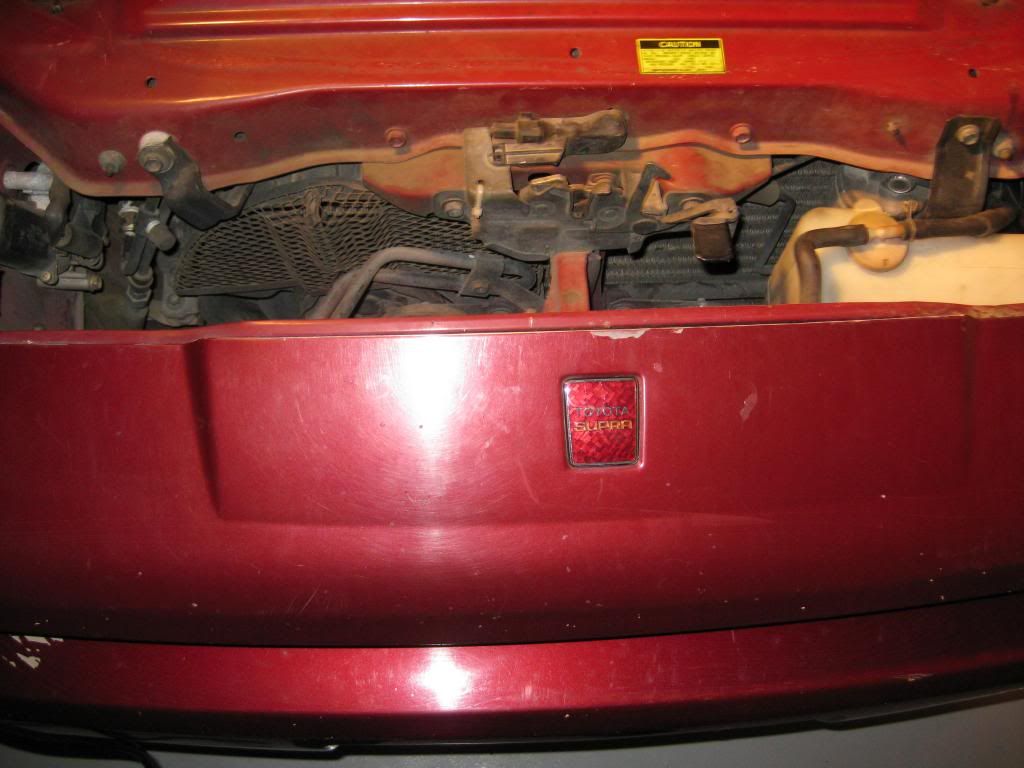
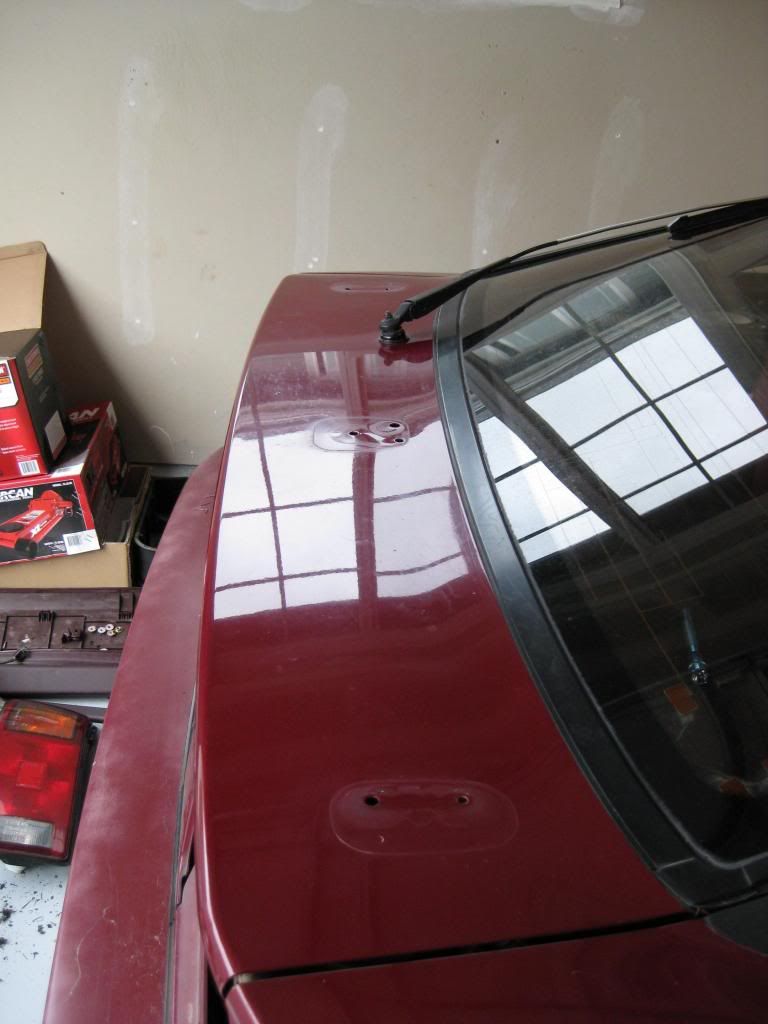
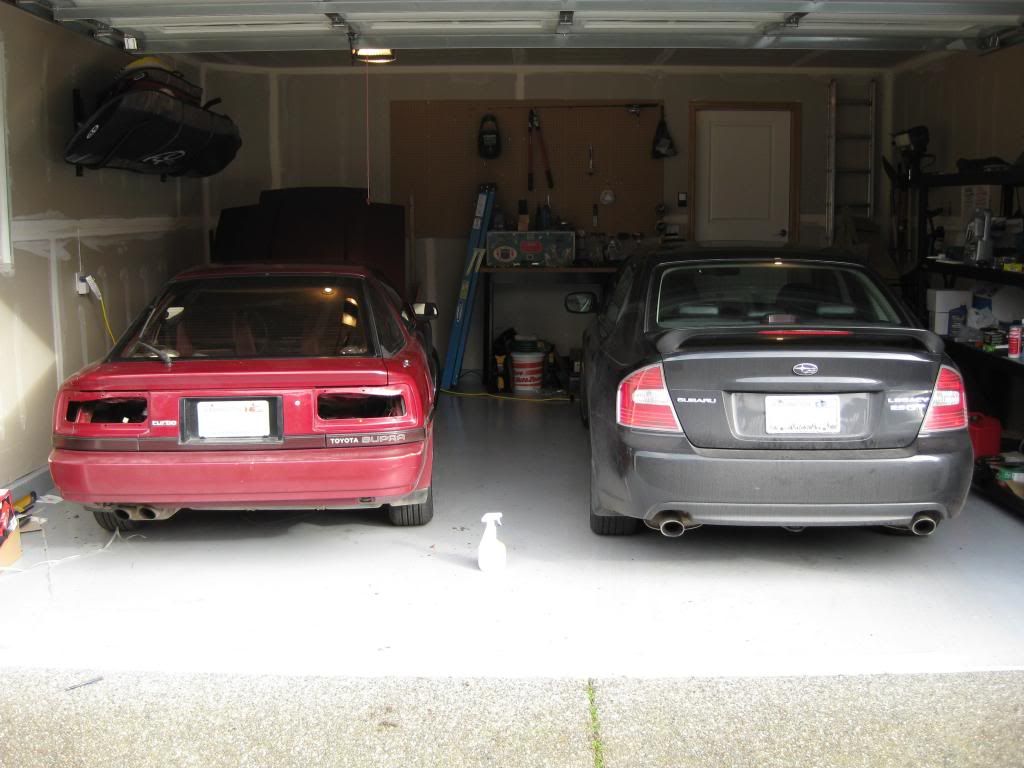
Next order I made was a couple new hood struts to get away from using the old 2X4s. Installed those today and took some photos to post here!

p1913114_5.jpg


p1913114_6.jpg


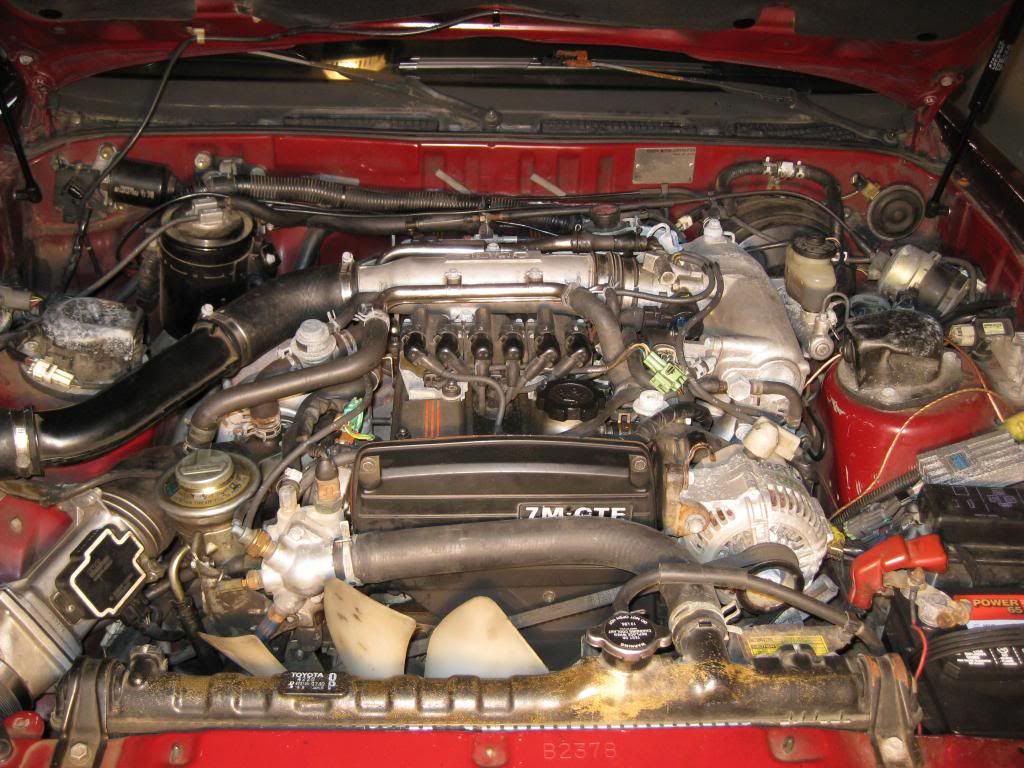
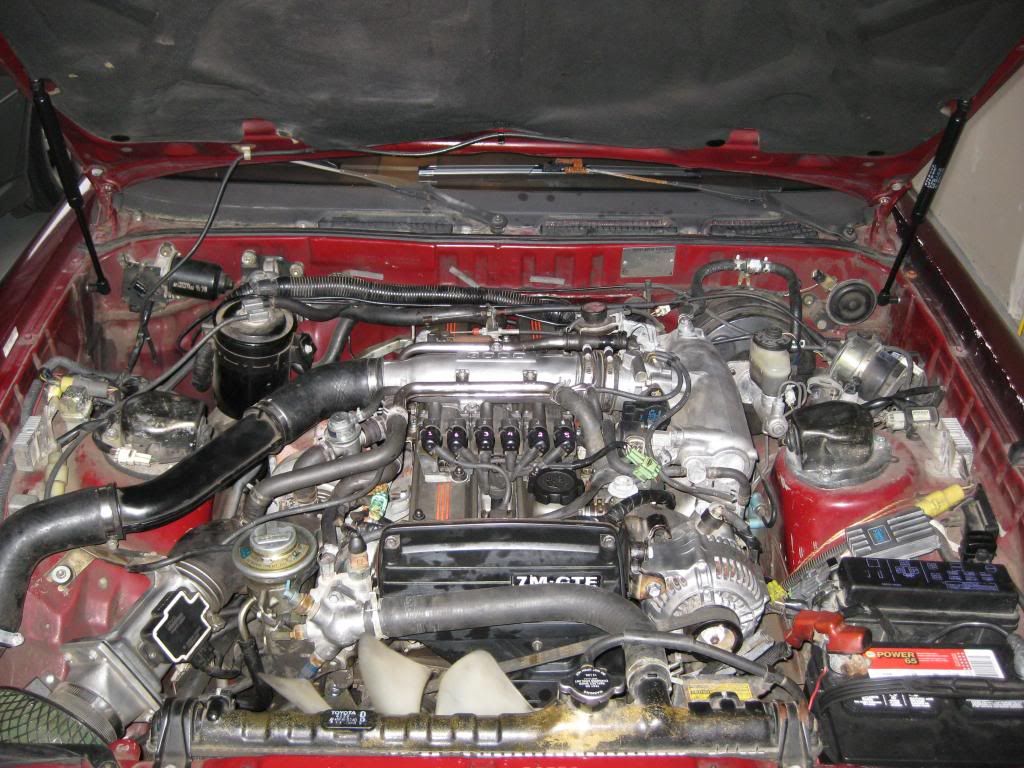
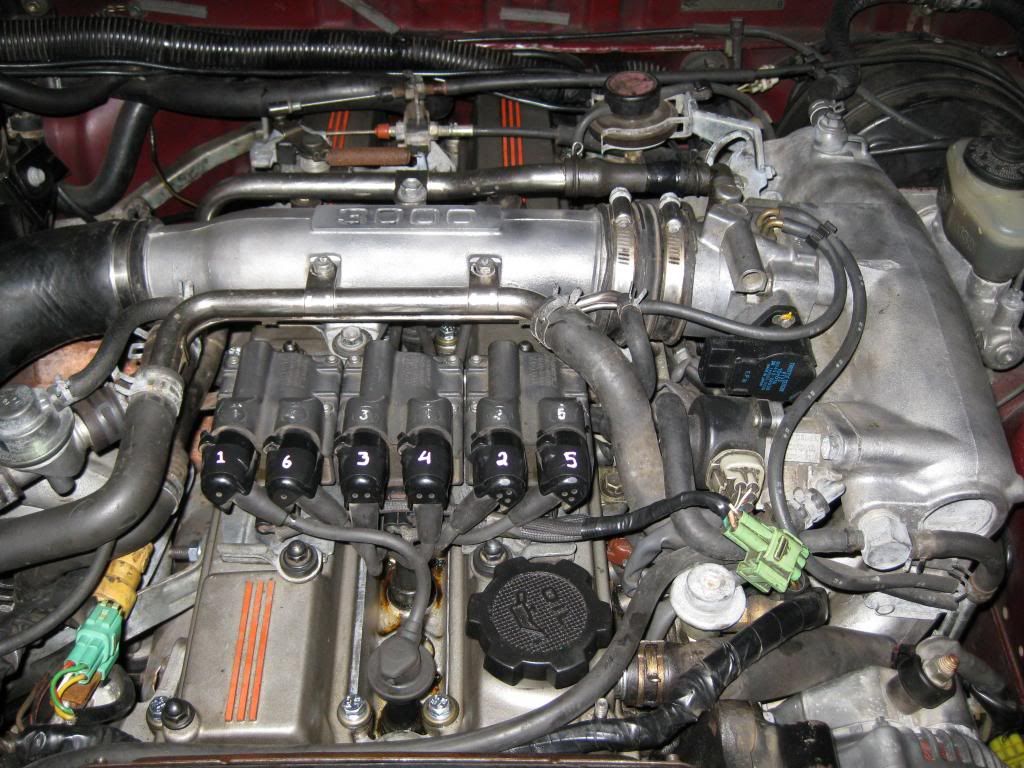
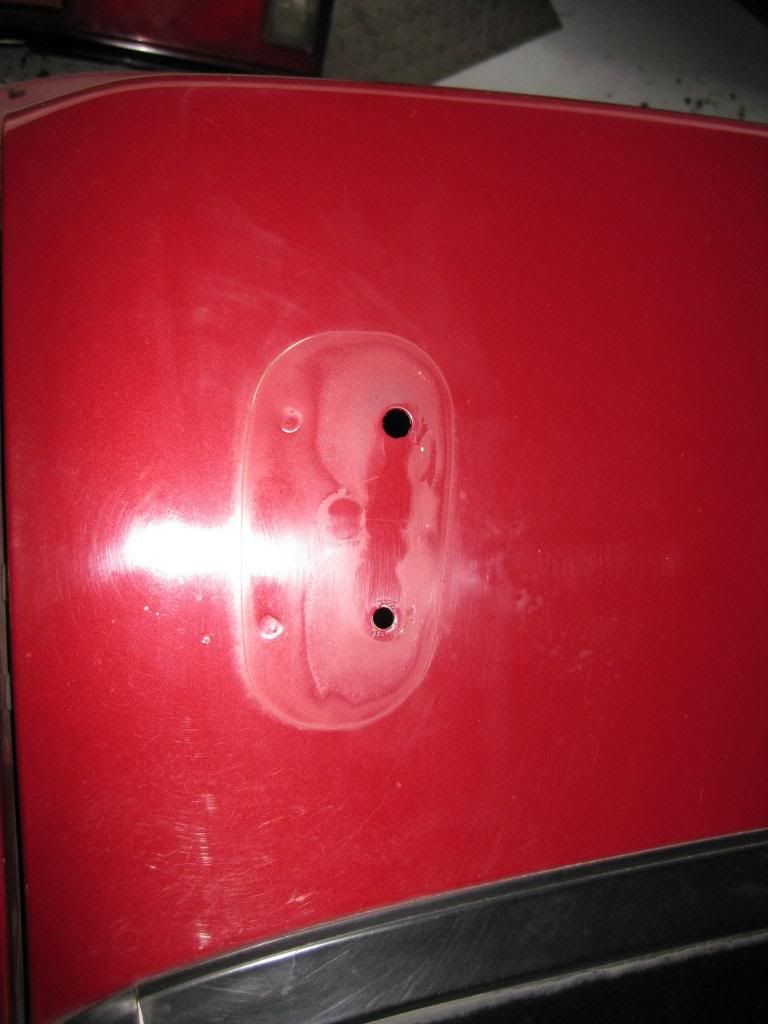
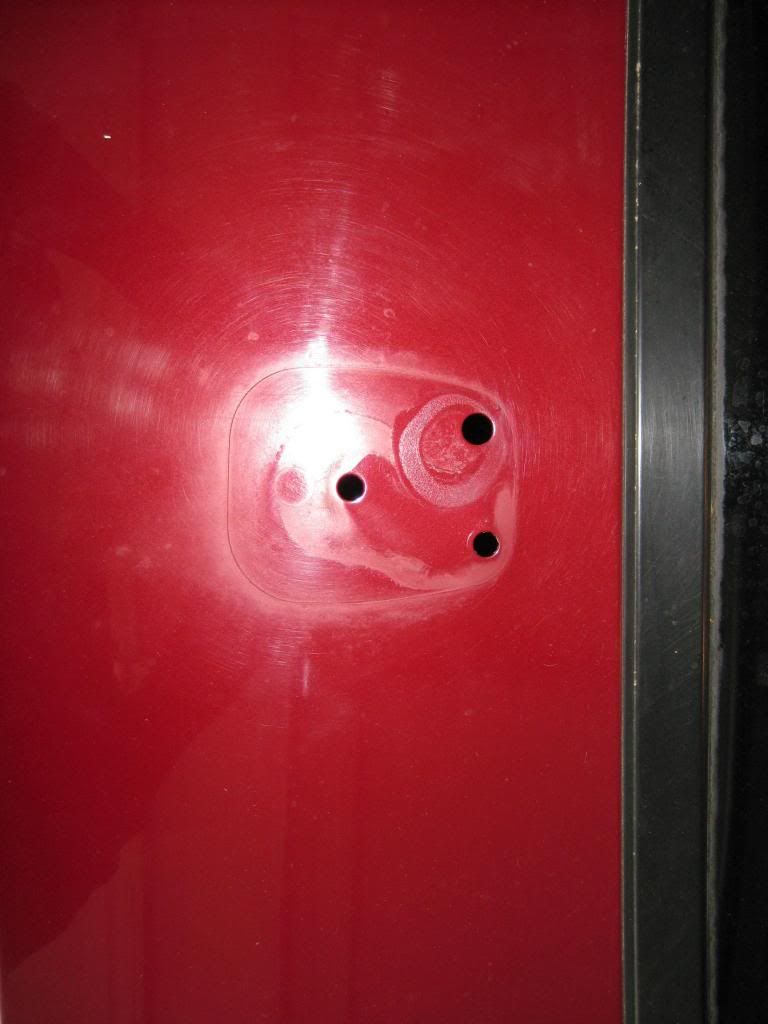
And here are the rest of the pics I took today with more to come upon request!

p1913114_7.jpg


p1913114_8.jpg


p1913114_9.jpg


p1913114_10.jpg


p1913114_11.jpg


p1913114_12.jpg


p1913114_13.jpg


p1913114_14.jpg


p1913114_15.jpg


p1913114_16.jpg


p1913114_17.jpg


p1913114_18.jpg


Small start but it's a start and I'm excited to get this car back to its well deserved glory. Next on the list of parts to be ordered: a set of super street tein coilovers. The 172k miles on the original were not particularly kind. Also the differential needs to be rebuilt, I plan on taking that to a local mechanic for that project though.

Thanks for reading!
-Taylor
 

Bogwon

New Member
Dec 1, 2012
452
0
0
Bremerton, WA
Right now I'll be pretty happy with about 300-350 rwhp with the 7M. The previous owner had the ARP head studs and upgraded gasket installed about 5-7k miles ago along with the 3 inch exhaust, upgraded ct26, HKS intake, the pictured fcon piggy back system and the wiring that goes with it. He never hooked any of it up past spring boost pressure though due to the car needing suspension work and I guess breaking in the rebuilt top end.

The car has some pretty decent issues but my goal is just to have fun with it. Working on the car will be my first real attempt at a "project car" so huge amount of learning for me. I've toyed with the idea of putting in a nice 1J motor in with moderate power goals (450ish) but for now I'm going to learn as much as I can about the vehicle.

I'm a welder by trade but don't have a dedicated mechanic for my hobby needs so if anyone has any input on the subject in or around the Bremerton area I'm all ears! (err well eyes here anyway)

edit: found a few pics I missed posting in the OP...

p1913136_1.jpg


p1913136_2.jpg


Been raining a bit last time I had her out and about and she's a dirty girl, might be bath day tomorrow if the weather cooperates for her and the subaru next to her in the garage! If so, more pics to come! Enjoy!

-Taylor
 

Bogwon

New Member
Dec 1, 2012
452
0
0
Bremerton, WA
I took a few hours off work today because I had the itch to work on the car a little and also because we're a little slow. My goal today was to just clean up a few things that were really bothering me and the biggest bother to me was the rear hatch area and tail lights. Every time I popped the rear hatch I had a mound of dirt and grime from the previous owner not garaging the car. Without further adieu... PICS!

Out with the plastic molding to access the tail lights...

p1914007_1.jpg


p1914007_2.jpg


Yes all that dirt and crap on my garage floor is from behind the tail lights... and there was more still inside the light housing itself.

p1914007_3.jpg


p1914007_4.jpg


p1914007_5.jpg


p1914007_6.jpg


Does this look like mold to you? LOL!

p1914007_7.jpg


Took off the spoiler to check for a leak that the previous owner said may or may not be there. Turns out it was indeed leaking through the center attachment where the seal had failed.

p1914007_8.jpg


p1914007_9.jpg


p1914007_10.jpg


p1914007_11.jpg


Spoiler area all cleaned up ready to be sealed up again! Just gotta figure out how to do that now...

And here's the Supra and Legacy (daily driver) in the garage together, happy as can be...

p1914007_12.jpg
 
Last edited:

Bogwon

New Member
Dec 1, 2012
452
0
0
Bremerton, WA
Enraged;1914056 said:
you have my cars. I also have a burgandy mkiii and a legacy gt daily driver. good combo :)

The Legacy was supposed to be the ex gf's car and when she split I kept it because I live on a pretty good hill and the AWD is good to have when we do get snow...

That being said it's got an auto transmission and it still has her name, in addition to mine, on the registration/loan... The Legacy is a sore subject but a great car! :)
 

Bogwon

New Member
Dec 1, 2012
452
0
0
Bremerton, WA
Last few days I've had some time to actually work on my car and today's work was pretty fun! I borrowed the idea from Legolyle's post here http://www.supramania.com/forums/sh...als-for-15-bucks!&highlight=tail+light+gasket on how to create my own tail light gasket. I took his advice and used a clear silicone rather than that marine sealant he used just in case I actually want to get them off again down the road without trying to destroy them.

Here are a few pics:

The bad: Cleaned up the tail light assemblies and here is the result after thoroughly shaking them out yesterday...

p1914338_1.jpg


The silicone: Pretty straight forward on this step... apply generously and wipe clean any that oozes out around the tail light assembly.

p1914338_2.jpg


The weather stripping: This is before I used the silicone. The stuff I found was just like what Legolyle used 3/4" X 5/16" and has adhesive on one side.

p1914338_3.jpg


p1914338_4.jpg


The finished product: Siliconed the joints where the weather stripping pieces meet and around the fasteners to be sure no leaks!

p1914338_5.jpg


p1914338_6.jpg


p1914338_7.jpg


I also used the silicone to seal the wing back on the car as well only forgot to take pics of that. Anything that even looked like it had a possibility to leak I stuffed full of the silicone. Had a little to wipe a little of the excess off but well worth it to know that my car is water tight again back there!

After all that was done and put back together I found that the passenger rear side light was out so I changed that and now the idiot light that's been staring at me is off! Yay for no idiot lights on now! Huzzah!

Thanks for reading and comments!

-Taylor
 

mk3_7m

Member
Jul 21, 2007
536
0
16
melbourne
Very innovative with the tail light gaskets. i should of done that rather than cake my tailights full of silicone.
 

Bogwon

New Member
Dec 1, 2012
452
0
0
Bremerton, WA
Thanks though I can't take credit for the idea, the search function won the day for that! Saved me about $50 at least in stealership prices plus it was fun!

I did my first oil change on the thing yesterday and yes I've owned the car for over a year now and this was the first oil change I've done (I know, I'm terrible). I'm thinking one of the very first mods I want to do is move the oil filter because what a pain that was to get to and the PO put it on way too tight. Finally got it off and the residual oil in the filter spills all over the cross member just beneath... not much you can do about that. More on what I decide to do about this issue after some research. I'm open to suggestions if anyone's got an experienced opinion.

-Taylor
 

Bogwon

New Member
Dec 1, 2012
452
0
0
Bremerton, WA
Today I decided to try to start cleaning up some of the engine bay a bit especially the 3k pipe, FFIM and alternator. I didn't want to half ass it either so I ended up taking off most of the parts I wanted to detail off of the engine. Until I got to the FFIM... There is a bunch of wiring that runs through the damn thing and I ran out of time for tonight anyway.

Onward to pics!

Here's the inside of the 3k pipe: fairly clean. :)

p1915746_1.jpg


After removing all the stuff over the cam covers I noticed I have two different types of fasteners on my covers and most of them are bent! WTF?! Good reason to make a trip to Tacoma Screw!

p1915746_2.jpg


And all of the rubber gaskets look like they've been baked on to the covers: No good, gotta figure something else out.

p1915746_3.jpg


p1915746_4.jpg


Covers off and the cams look pretty good, which is what I was expecting as the PO had rebuilt the top end of the motor before I bought the car. Looks like he did a pretty good job from here...

p1915746_5.jpg


p1915746_6.jpg


p1915746_7.jpg


Anyone see anything I missed, please point it out! I'm still very new when it comes to wrenching so what may be obvious to you, I may have over looked.


Also ordered a set of Megan EZ street coilovers from http://www.horsepowerfreaks.com/partdetails/Megan_Racing/Suspension/Coilovers/EZ_Street_Series/17816

Hope to have those installed the weekend after they arrive with pics to post!
 

supraguy@aol

Well-Known Member
Dec 30, 2005
4,231
36
48
Atlanta
Buy the upgraded valve cover fasteners from Driftmotion. They include replacement washers.
Also, you have a stock manifold, not an FFIM.
 

Bogwon

New Member
Dec 1, 2012
452
0
0
Bremerton, WA
The only thing I found on driftmotion was a gasket set with grommet washers and 2 valve cover gaskets. Is this the set you are referring to? http://store.driftmotion.com/static/i-7m1jzv-covergasketset.php

I didn't realize FFIM was referring to a different type of intake manifold! Noted. What does "FFIM" actually stand for?

Today while cleaning up a few more parts I stumbled across a post about oil in the spark plug area of the head and seemed like he had a pretty good fix for this issue. Discard the standard OEM #3 cylinder cover and use oil drain plug gaskets for each of the four 14mm allen head bolts to eliminate leaks. I've been to a few auto parts stores in my adventures today and found that none of them carry a drain plug gasket big enough to make this mod work. It looks as though I may have to keep the original cover/gasket until I can find some 24-25mm gaskets. Here's a link: http://www.toyota-supra.info/forums/mkiii-faq/7527-got-oil-on-top-of-your-spark-plugs.html
 

Bogwon

New Member
Dec 1, 2012
452
0
0
Bremerton, WA
I couldn't find any oil drain plug gaskets that were big enough for the 14mm bolts for the #3 cylinder cover, so I used some rubber gaskets from Lowes. Had to do a little modification but they did the trick. Here's some pics!

p1916439_1.jpg


p1916439_2.jpg


p1916439_3.jpg


p1916439_4.jpg


p1916439_5.jpg


p1916439_6.jpg


p1916439_7.jpg


p1916439_8.jpg


Went to napa yesterday and picked up the grommets for the cam covers, had already ordered them before I saw Supraguy's post.

Looked pretty good:

p1916439_9.jpg


p1916439_10.jpg


And after putting everything back together, here's a pic of the beast running!

p1916439_11.jpg


p1916439_12.jpg


Oops forgot to take off the electrical tape with the numbers on the plug wires! LOL!
 

Grandavi

Active Member
Sep 25, 2008
2,663
5
38
Calgary, Alberta, Canada
You probably already know this, but I figger I will just state it... the screws are phillips to prevent you from stripping the threads. If you know that, then you also know not to overtighten those bolts your going to use. It wont be fun if you pull the thread out... :)
 

supraguy@aol

Well-Known Member
Dec 30, 2005
4,231
36
48
Atlanta
Well, Driftmotion has bolts as well, but they actually look just like the ones you purchased:
http://store.driftmotion.com/static/i-1jz2jz7mvalvecoverbolt.php

Somebody else had a kit that included what looked to be beville washers with a rubber underside, but now I can't remember where I saw them. Thought it was DM.

Bogwon;1916439 said:
And after putting everything back together, here's a pic of the beast running!

p1916475_1.jpg

Was it running ok?
You don't have the tps connected.