New 7M Install

TweeT91109

New Member
Jan 7, 2010
738
0
0
Tampa, Florida, United States
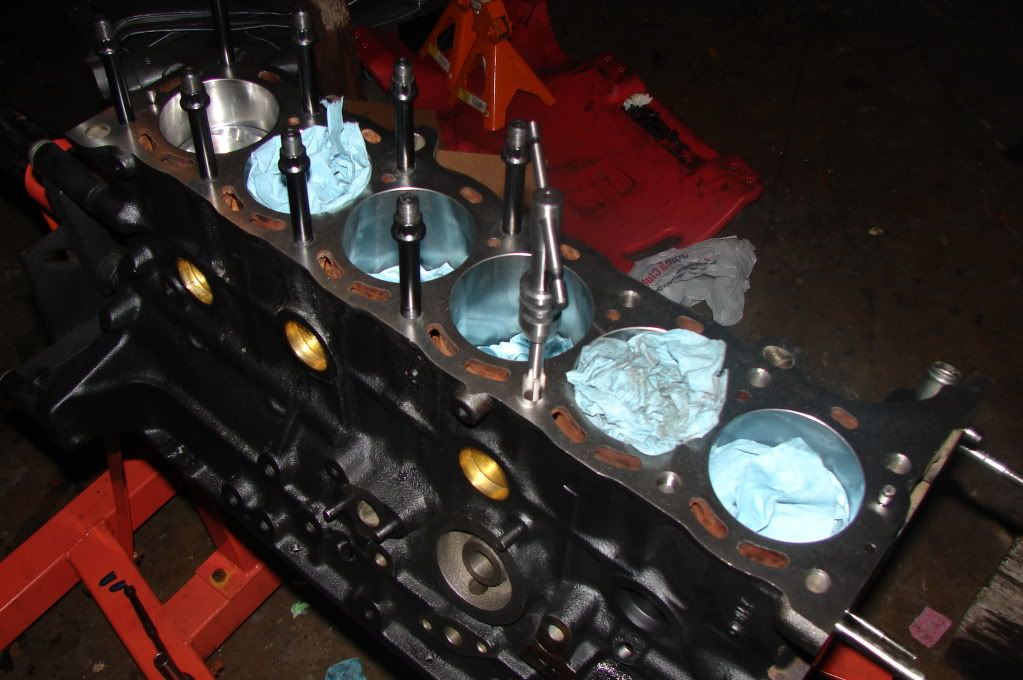
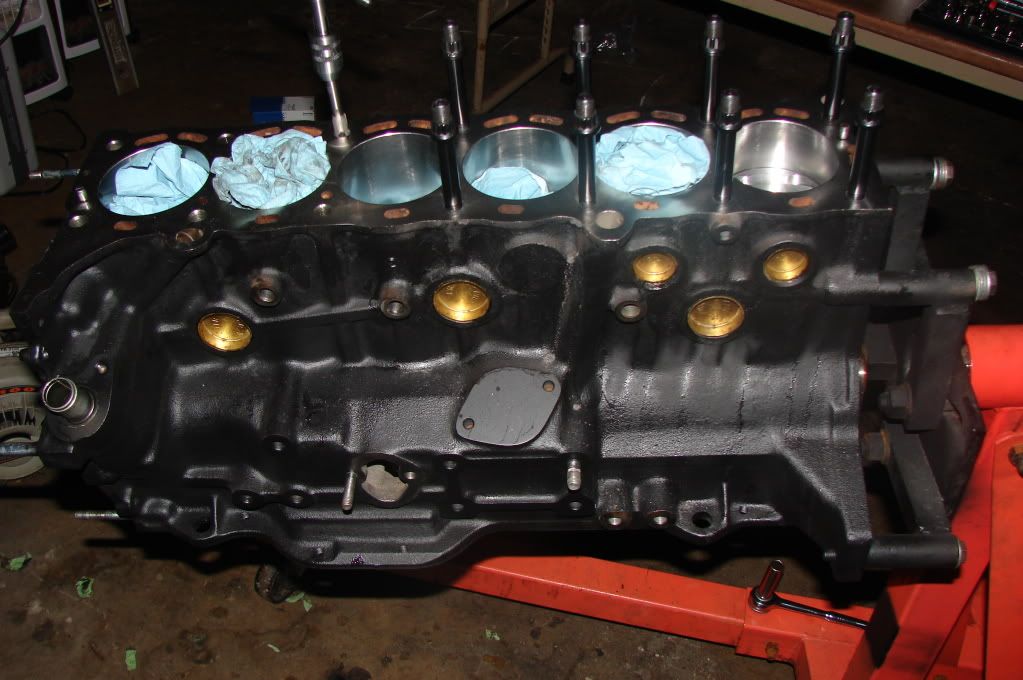
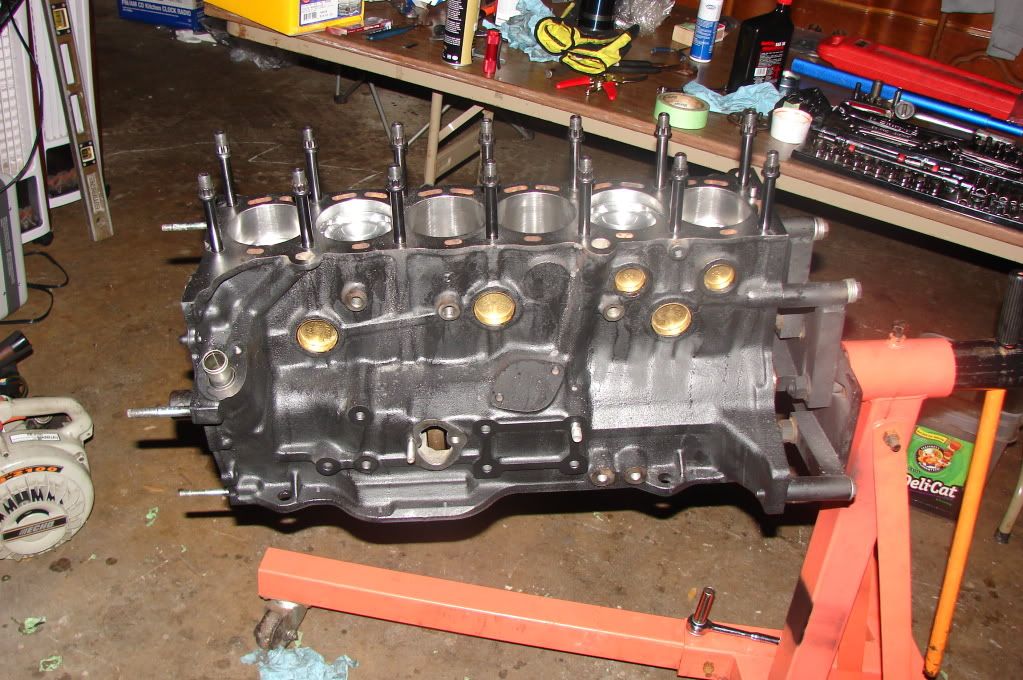
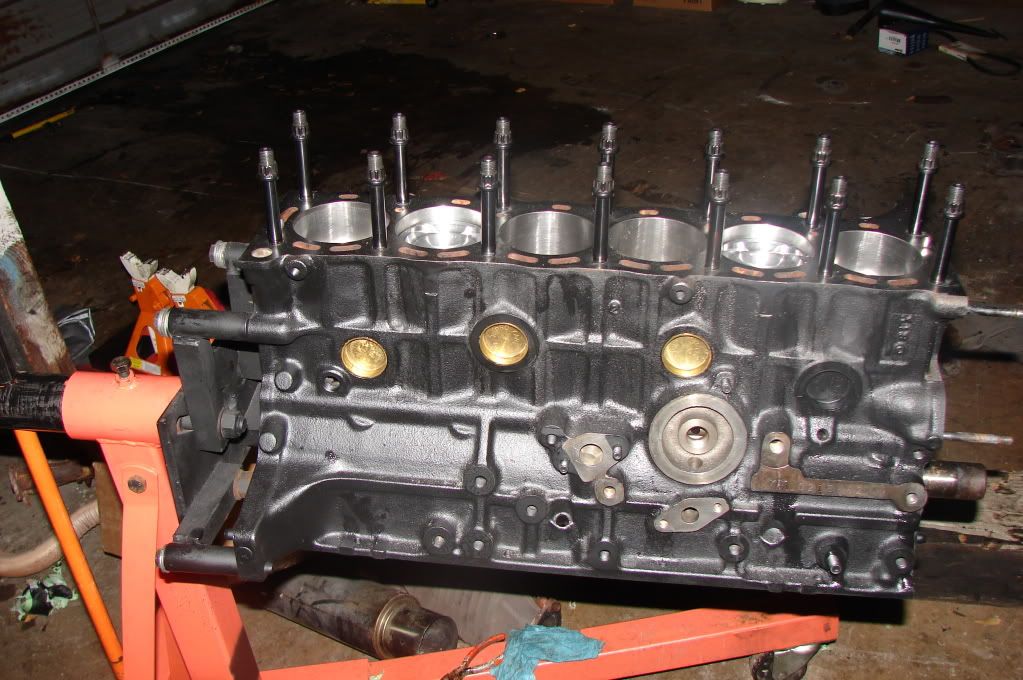
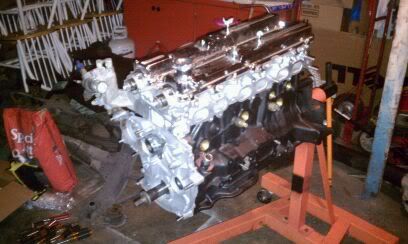
OK good update tonight, got a good bit done, cant wait to work on the rods tomorrow. Anyways tonight, I sprayed the block, took the time to tape of the freeze plugs cause I like how the new ones looked, also I had my girlie and her friend help me spray it, so I taped off the important stuff. Ill be using some type of clear enamel to seal the unsprayed stuff. I also bought some plas-ti-gauge to just check the clearances given to me by my shop. All but one were right on the money. ONe just had a .001+ difference. I also took some pics so enjoy. Tomorrow Ill be taken the clearances on the rods, again just making sure.


p1693354_1.jpg


p1693354_2.jpg


Block side of the main bearings

p1693354_3.jpg


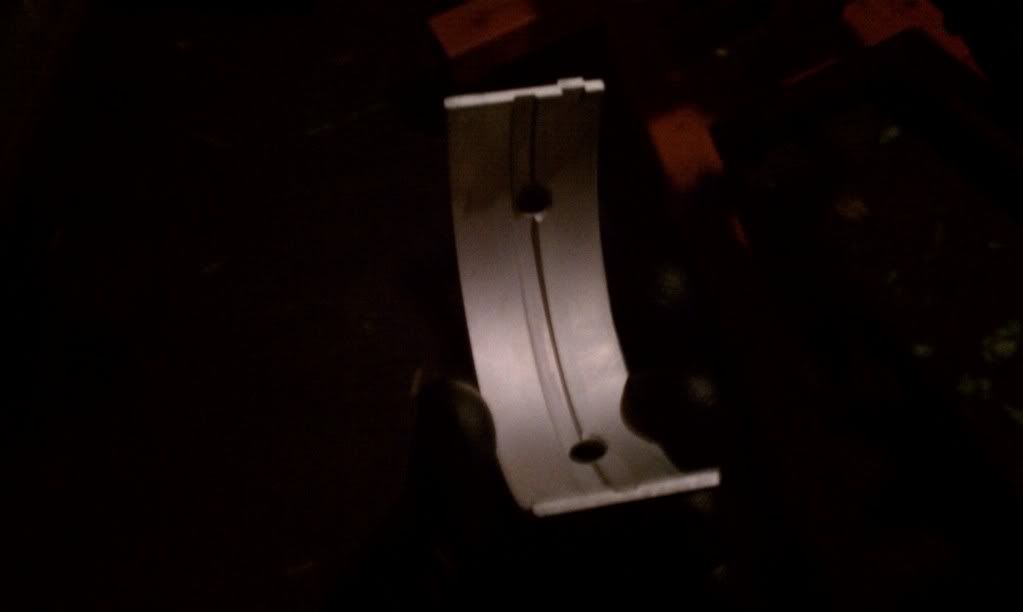
Main cap side of the bearings

p1693354_4.jpg


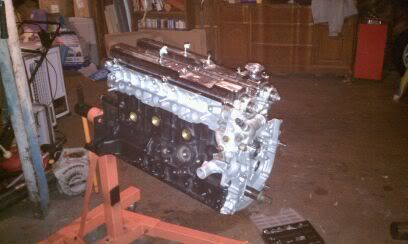
Me unwrapping the ton of plastic wrap around the freshly micro-polished crank

p1693354_5.jpg


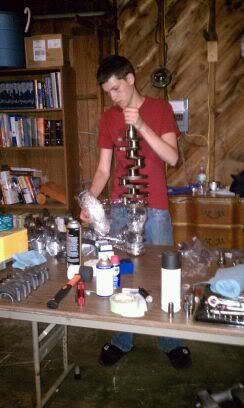
And handling the 75+ lb thing like a baby.

p1693354_6.jpg
 

D.J.T.

Member
Aug 25, 2010
877
0
16
Arkansas, United States
75LBS? Thats the block right? Because i don't think the crank weights that much. LOL.
Hope you used some kind of engine lube on the bearings before installing the crank shaft & pistons...
 

TweeT91109

New Member
Jan 7, 2010
738
0
0
Tampa, Florida, United States
D.J.T.;1693449 said:
75LBS? Thats the block right? Because i don't think the crank weights that much. LOL.
Hope you used some kind of engine lube on the bearings before installing the crank shaft & pistons...

Yea your right its probably not that much, but its still heavy

No I didn't use any type of lubrication on the bearings, crank, or pistons. I would have but I didn't rotate it, and I was again checking my clearances so you don't want any lube on the bearing anyways.

But when I go for reassembly I already have mono-lube for bolts, STP motor oil treatment (its a lot thicker and will stick for first start-up) for the bearings, and some SAE-30 just in case.
 

IBoughtASupra

New Member
Mar 10, 2009
4,455
0
0
Queens, NY
By Lucas assembly lube. I used it on my motor and that thing will stick. It is sticky and works well. Takes a long time to drain down but a film is still left.

Pull the fuse before starting the engine and crank to make sure you have good oil pressure.
 

TweeT91109

New Member
Jan 7, 2010
738
0
0
Tampa, Florida, United States
IBoughtASupra;1693550 said:
By Lucas assembly lube. I used it on my motor and that thing will stick. It is sticky and works well. Takes a long time to drain down but a film is still left.

Pull the fuse before starting the engine and crank to make sure you have good oil pressure.

Yup I know about cranking it to create oil pressure, I did go buy some clevite engine assembly lube, and I was told to mix it with some SAE-30 weight, and it looks like honey lol.


Anyways, I have gotten the crank bolted down to 85ft. lbs. So today i'm also removing the rings off the pistons, and measuring the gap via a feeler gauge, I didn't know they were so expensive, but its a snap-on. So I guess its worth a motor, huh.
 

TweeT91109

New Member
Jan 7, 2010
738
0
0
Tampa, Florida, United States
Another good day at work ( I wish I did this for a living), got the pistons and rods installed today. The first two where the worst being my first time installing them, but after I got the hang of it the last four took as long as the first four lol. Before installing those I de-burred (I guess you call it that) the edges, of both the tops and bottoms of the cylinders. I want to keep the skirts pretty, hah, jk. Also oiled them up real generously with oil. Lined the oil rings up 180 degrees from each other, and also the 1st & 2nd compression rings. But 90 degreed those from the oil rings. All rings are 45 degrees from the rod line, if that makes since. Then moved on to the head stud threads, I was advised to re-tap them, then also chase them. So I did that, then re-chased all of them just for good measure, and reassurance of my mind. Got a few pictures of the completed work, and also got a shot of what happens when I get bored of chasing threads for 3 hours.


Pictures

This is what happens when you want to take a break from chasing threads, and its been raining for the last two days.

p1693827_1.jpg


Bottom end shot

p1693827_2.jpg


While chasing

p1693827_3.jpg


p1693827_4.jpg


p1693827_5.jpg


Back to business

Im glad I was advised to tap and chase the threads on the head studs, cause there is a major difference in the depth they travel, I tried to get a decent shot on the difference and if you look close enough you can see how many thread are left out of the block

p1693827_6.jpg


p1693827_7.jpg


Now a bunch of random shots after I was done with it for the night.

p1693827_8.jpg


p1693827_9.jpg


p1693827_10.jpg


p1693827_11.jpg


p1693827_12.jpg


p1693827_13.jpg


p1693827_14.jpg


p1693827_15.jpg
 

dwhite

New Member
Mar 21, 2011
5
0
0
Tampa, FL
p1694695_1.jpg


Where in Tampa are you? Thats the boat ramp at Lowry Park right? I used to live next door. I'd love to see your build sometime, wish I had the patience and attention to detail you have! Are you gonna keep the A/C? If not, I feel your pain that shit is the worst around here.
 

TweeT91109

New Member
Jan 7, 2010
738
0
0
Tampa, Florida, United States
Yea that's at lowery park zoo boat ramp. Yea I have a new evaporate and condenser already bought, and a set of 134a o-rings to replace all of them. And my girlfriends uncle works on car AC, and will charge my system for me.
 

D.J.T.

Member
Aug 25, 2010
877
0
16
Arkansas, United States
dwhite;1694695 said:
p1697650_1.jpg


Where in Tampa are you? Thats the boat ramp at Lowry Park right? I used to live next door. I'd love to see your build sometime, wish I had the patience and attention to detail you have! Are you gonna keep the A/C? If not, I feel your pain that shit is the worst around here.

Hey what rims are those? I have the exact same things but mine don't have the center caps!
 

TweeT91109

New Member
Jan 7, 2010
738
0
0
Tampa, Florida, United States
OK I got the head on, it took me two times to place it. The first time in installed the head with the nubs on the block, then installed the head studs, but I couldn't get the washers to the head studs because they couldn't get past the studs, and valley of the valves. Anyways, I removed it again and installed the washers, centered them up, then installed it again with the studs in the block, and washers in the head, with no problems lol. So I got a few pictures of both of them. Both together once again.

p1698211_1.jpg


p1698211_2.jpg


p1698211_3.jpg
 

IJ.

Grumpy Old Man
Mar 30, 2005
38,728
0
0
61
I come from a land down under
I glue the washers into the Head with a dab of grease on each on then lower it over the studs as guides, no chance of screwing the poooch that way esp if you've recycled a MHG with Copper spray...