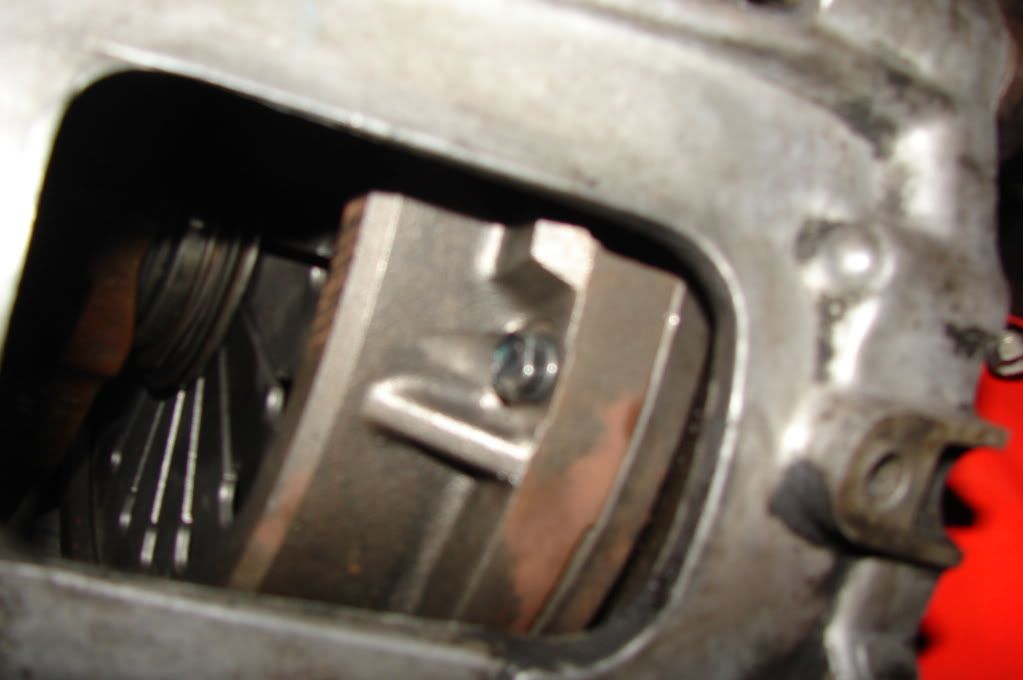
New 7M Install

TweeT91109

New Member
Jan 7, 2010
738
0
0
Tampa, Florida, United States
Nick M;1738409 said:
Did you get a new cover? I am only on about the 3rd page. The missing grommet is another problem. Mine is exactly the same, and has the same missing grommet. Look at the other holes for the studs on the inside if you haven't already.

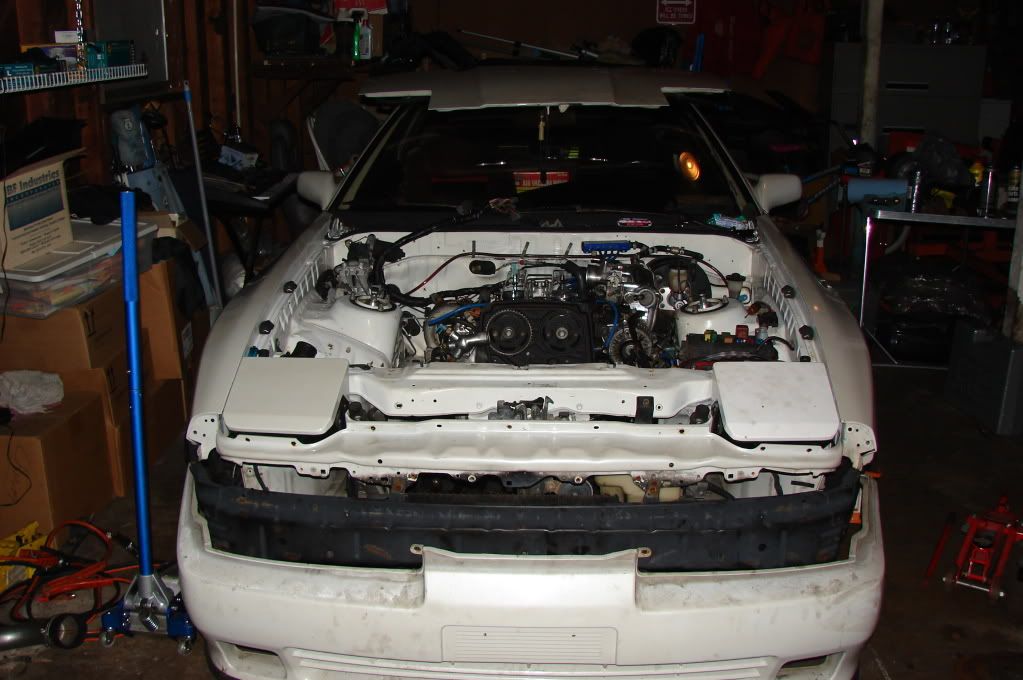
No this cover came with the motor, (thanks again CheesePhantom) it is nearly flawless minus that stress crack, but i'm thinking I can fix it fix a new grommet, like u suggested, and my buddy's PVC welder. But its not important right now, I don't mind leaving it off and showing off my valve covers anyways.

---------- Post added at 06:42 PM ---------- Previous post was at 06:35 PM ----------

Nick M;1738414 said:
While I didn't do work on the 7M at work (Toyota just couldn't sell volume in the US) I can't say I saw the other engines needing it done. We mostly did the 3VZE (V06 headgasket) headgaskets and had warped decks every now and then. We sent them out and did the resassembly.

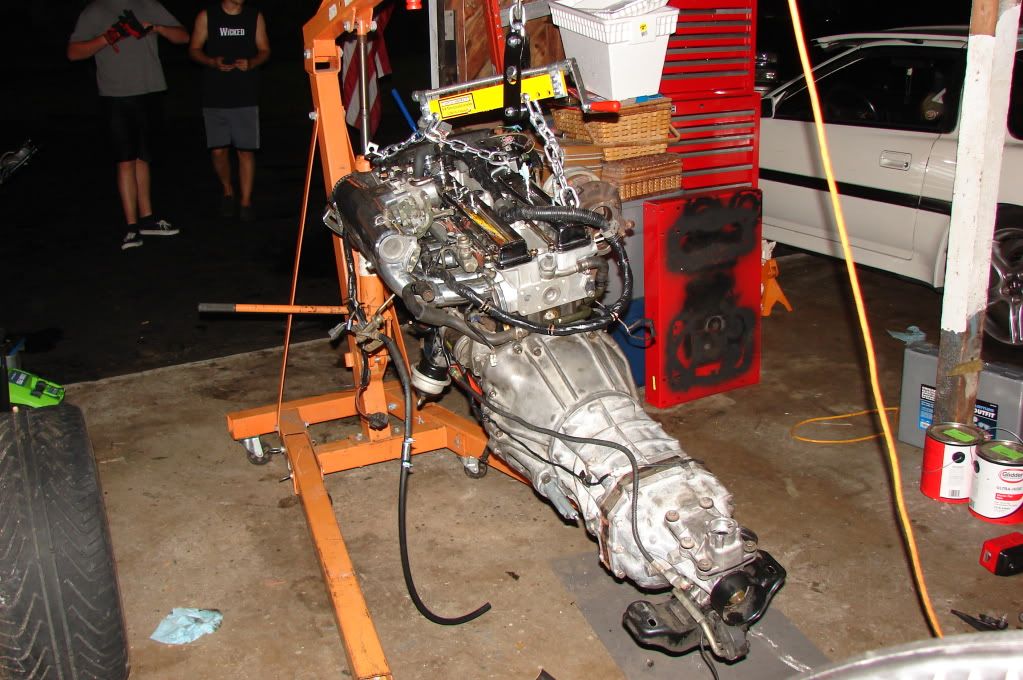
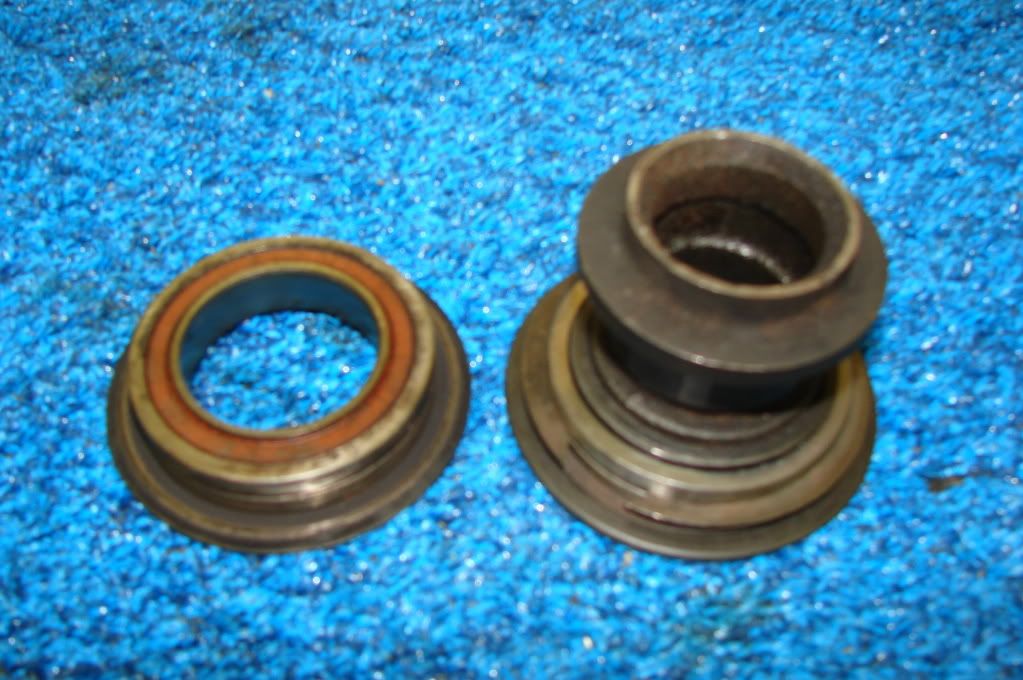
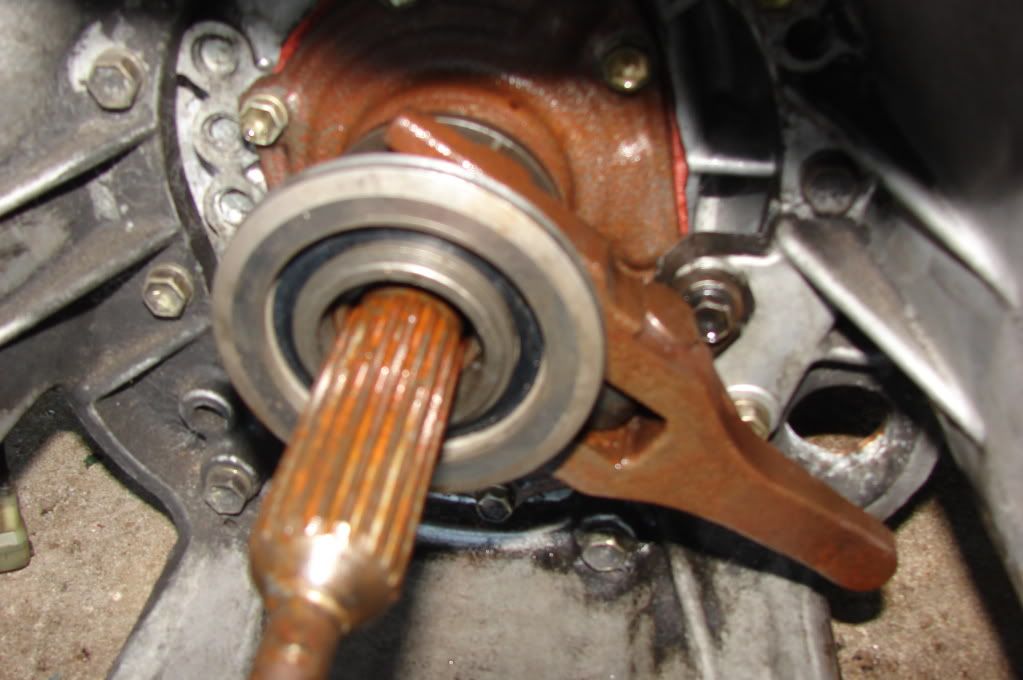
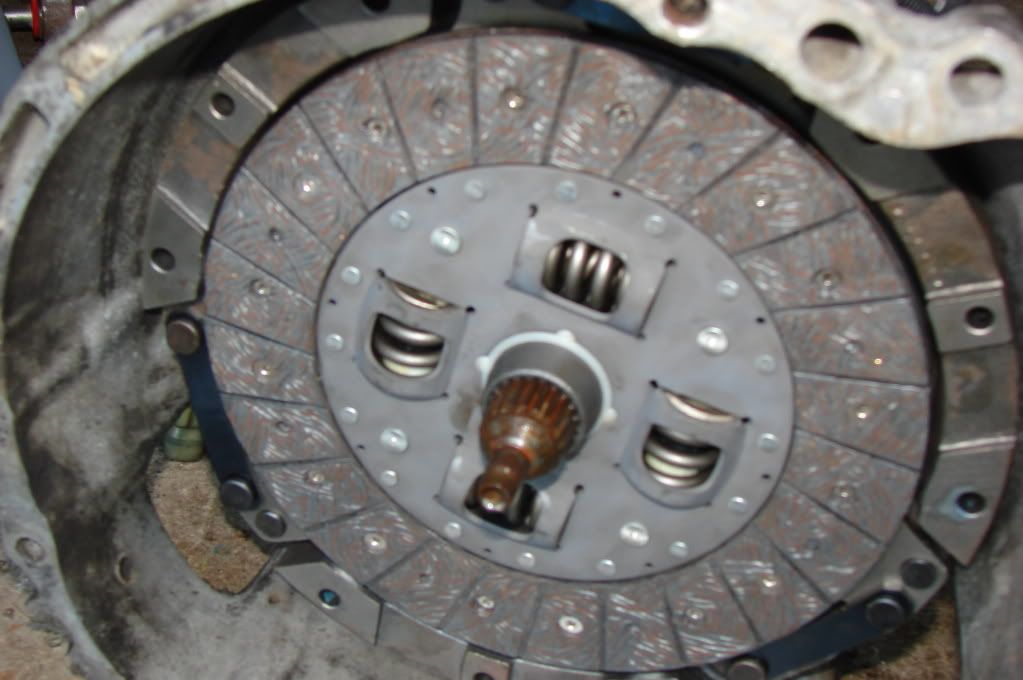
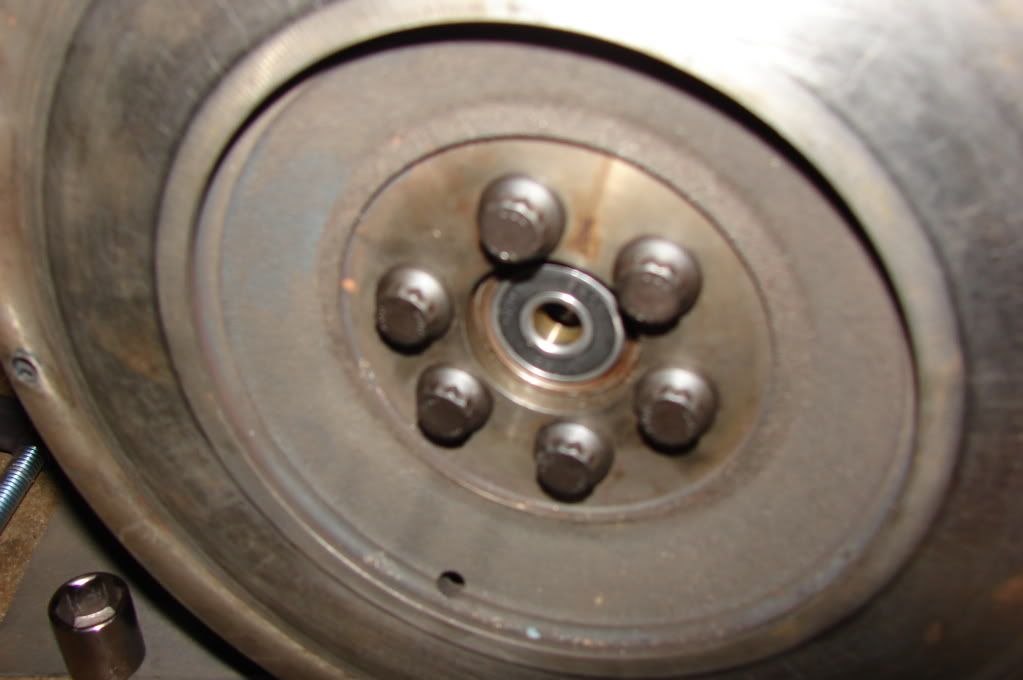
Yeah this was a problem I ran into, after having it machined like a tard, but finally the 3rd shop I took it too, too care of me very well. They informed me I would need a new set of bearings, so I week later they came from drift-motion (thank you to you guys also). And the machinist only had to slightly re-polish the crank to get them to properly clear. This was for the first to mains and the number 1 & 2 rods. After that, he reassembled, and I picked it up, very shortly after he gave me a call letting me know it was ready to go. When I got it home, I torqued down the mains, and rods to ARP spec. And also tightened down the oil pump per TSRM. Now, only 4 days later I have a completely assembled engine, and i'm just taking my time installing the clutch cause its a real pita. I have taken a lot of pictures when removing the snap rings and wave ring's on the old hydralic push out hub, and ill be trying to make a thread to be sticky-ed in the near future...cause after about 3 hours of searching probably 10 different sites. I didn't come across any picture walk-through's, so I though I would get the camera a little dirty and take pictures for that. But that's also in due time.

---------- Post added at 06:44 PM ---------- Previous post was at 06:42 PM ----------

CheesePhantom;1738415 said:
My bad. I had a long night. Count me in. XD

There's a steering wheel turn signal hub in it for you. LOL.
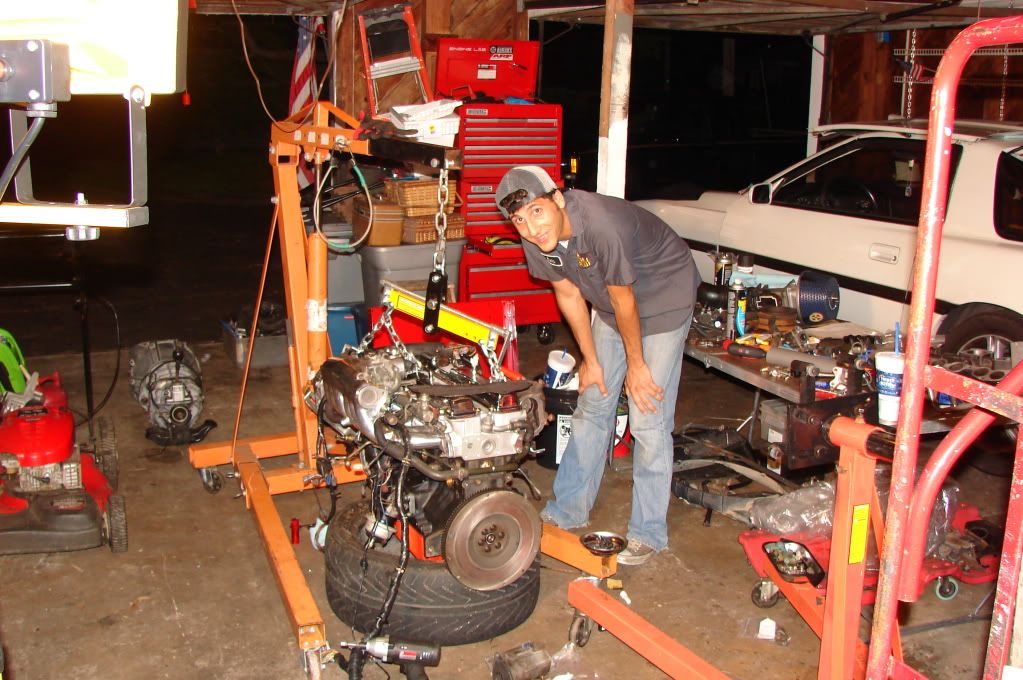
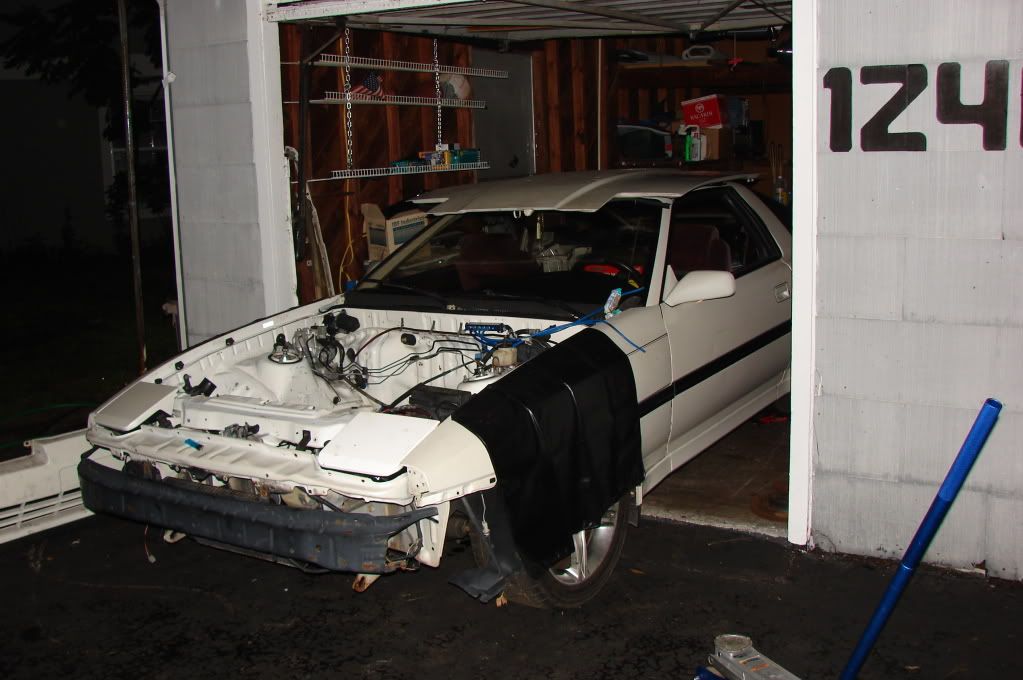
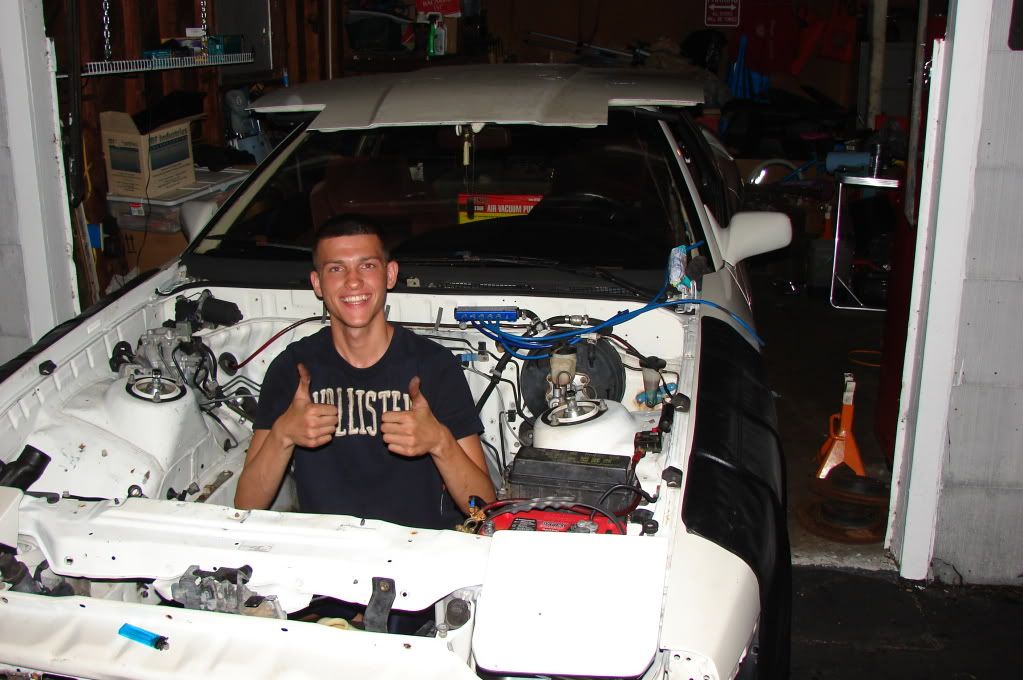
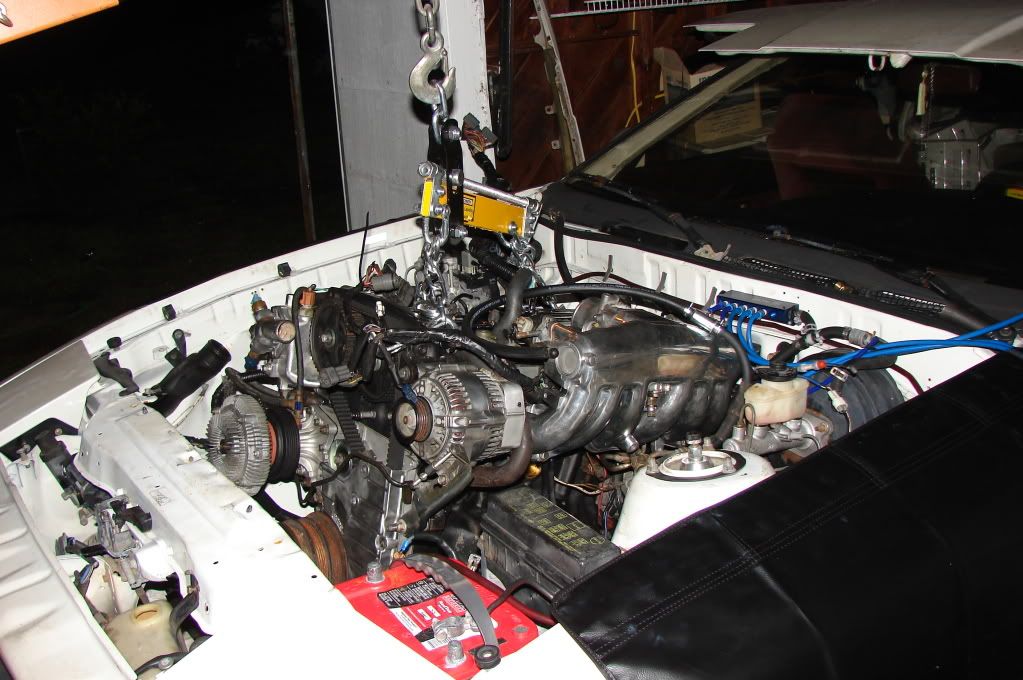
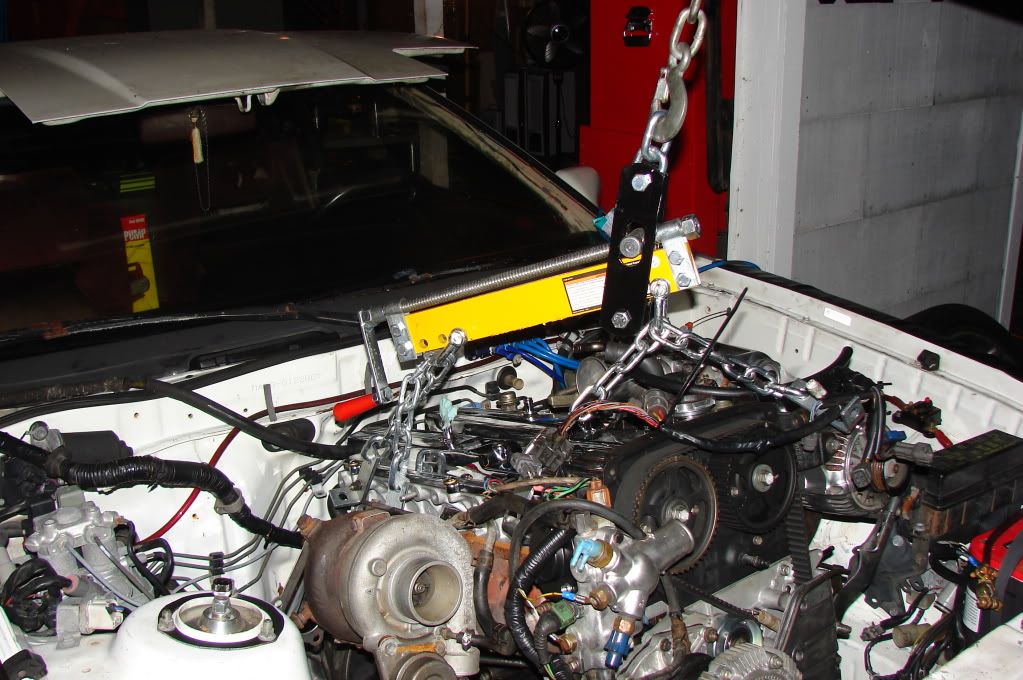
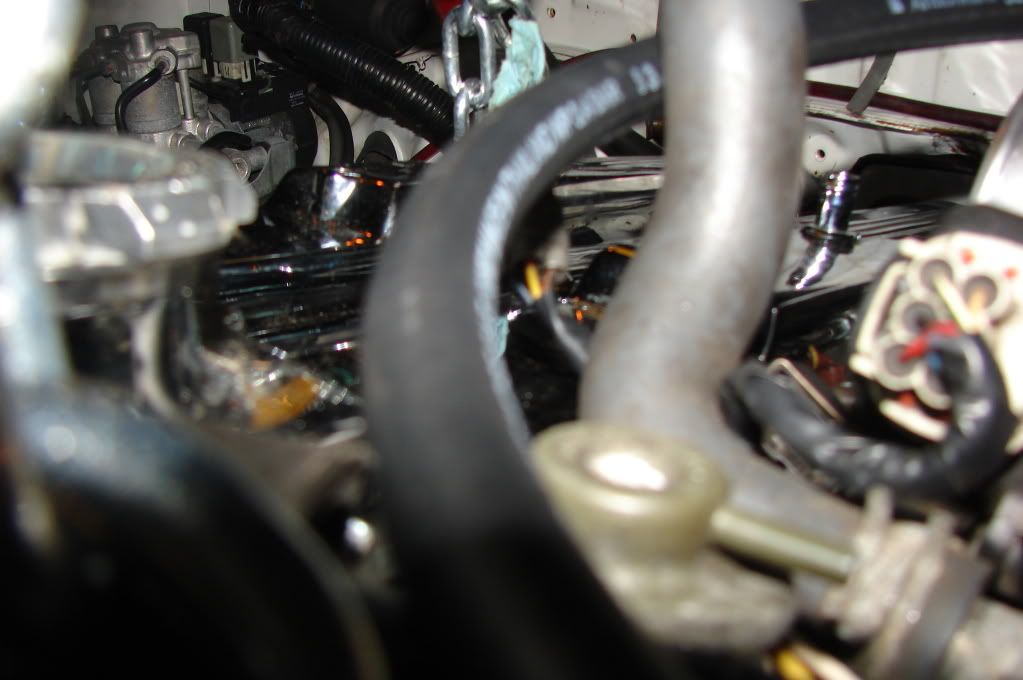
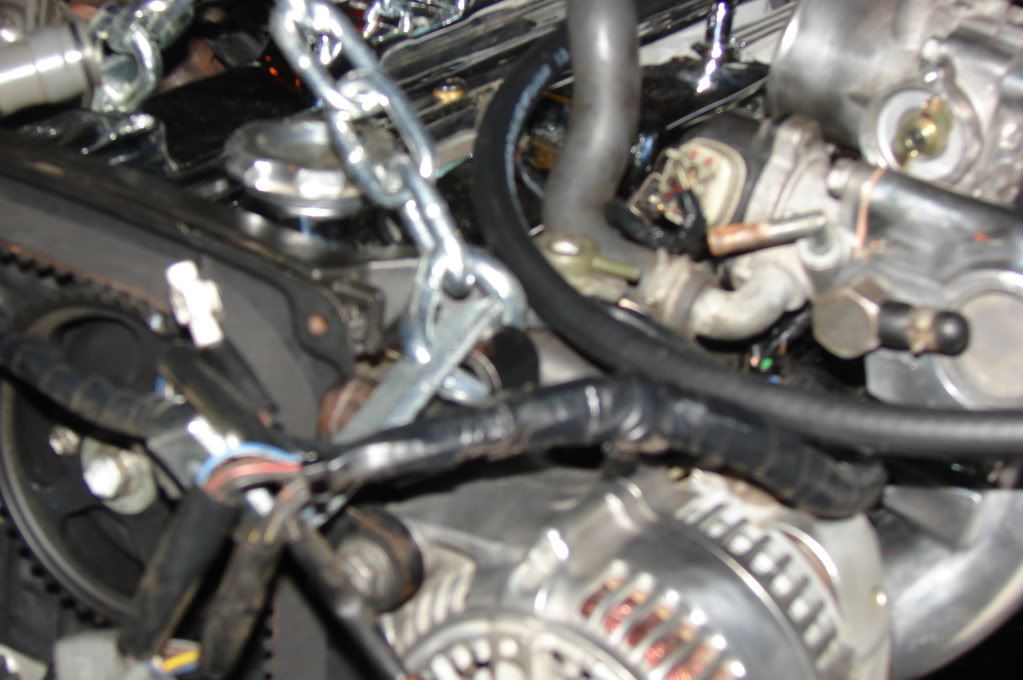
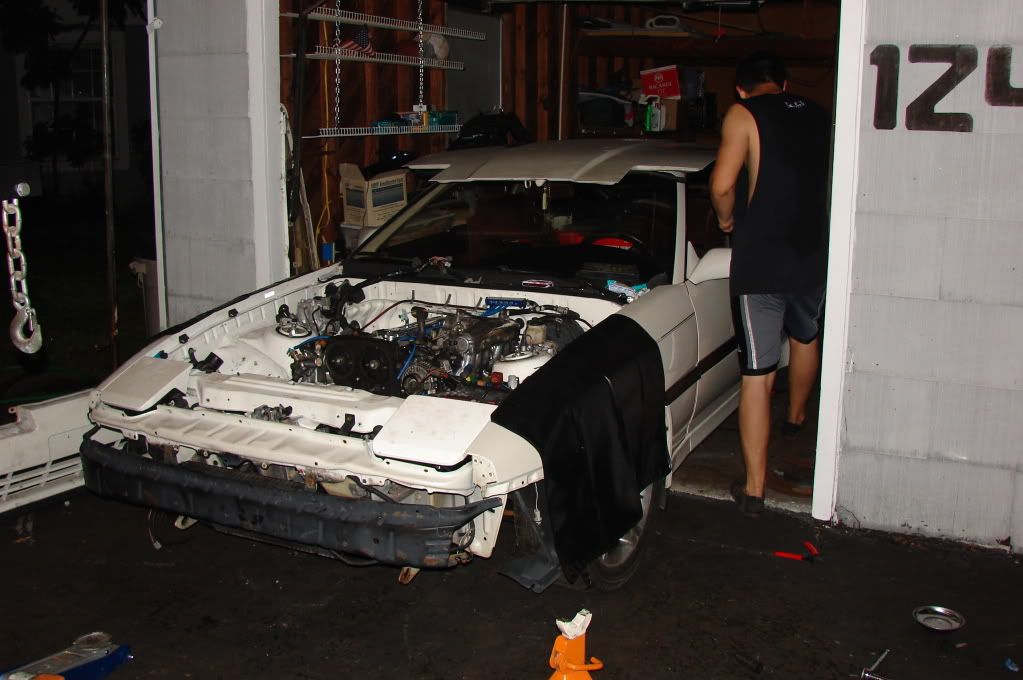
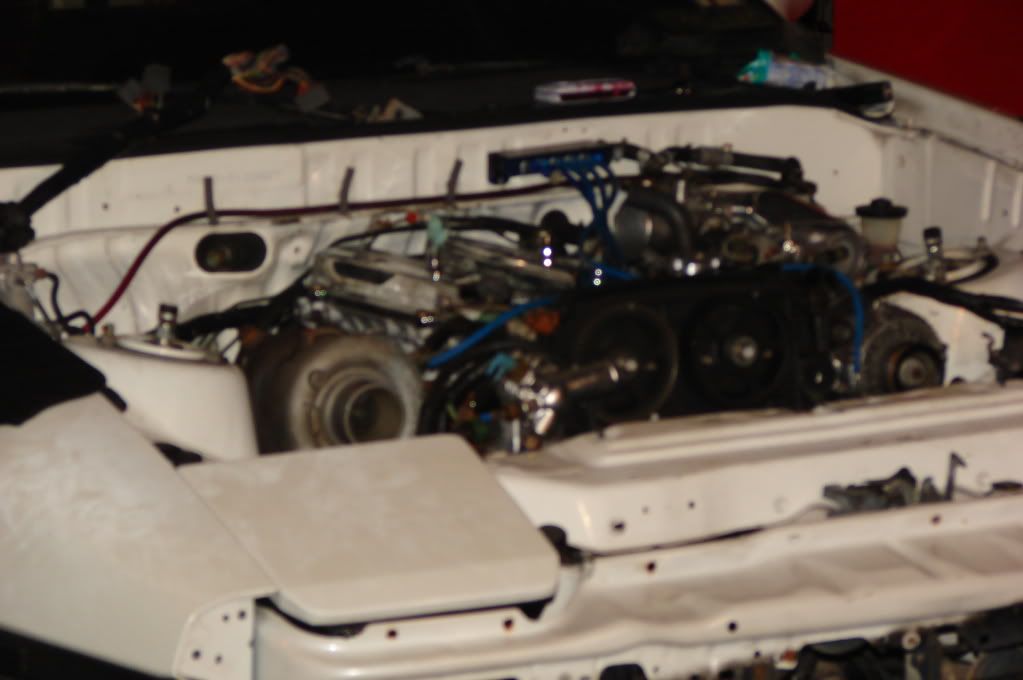
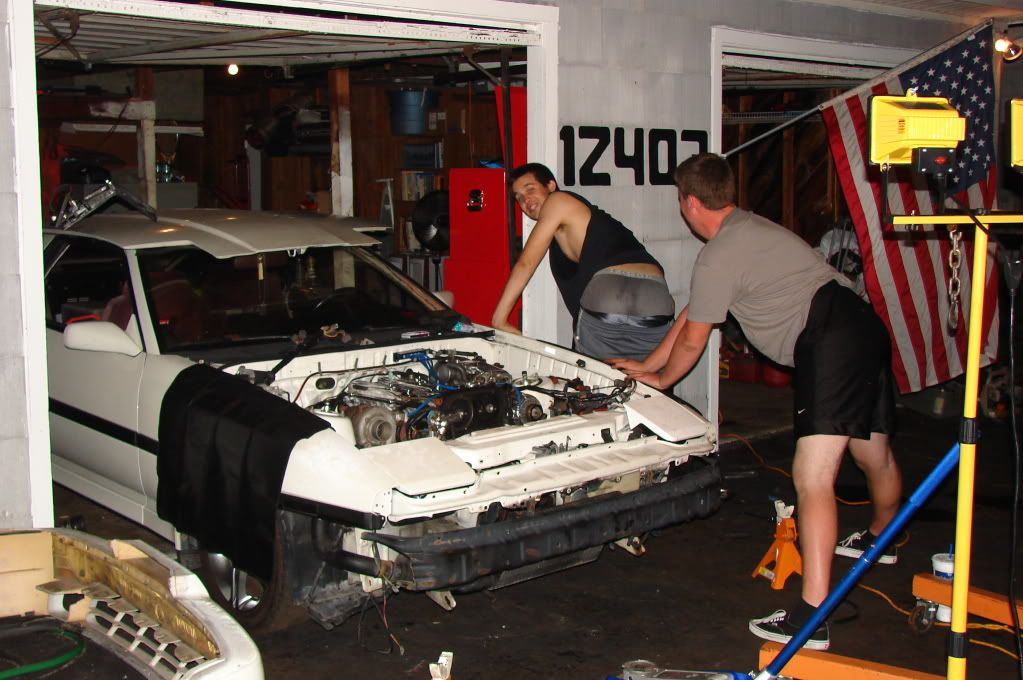
 

TweeT91109

New Member
Jan 7, 2010
738
0
0
Tampa, Florida, United States
Nick M;1738731 said:
Why aren't you going to a remote filter? It makes oil changes much easier, and you can install a better cooler and thermostat.


I'm planning on getting the motor broken in with a entirely stock setup. Later down the road i will be getting larger injectors, a bigger turbo, FFIM /FFIC, also a MAF delete. So plans a being set in place but for now its being set to as stock as possible with upgrades down the road.
 

TweeT91109

New Member
Jan 7, 2010
738
0
0
Tampa, Florida, United States
OK Quick update with lots of pictures. We got the trans bolted up last night, after finally figuring out the pilot bearing needed to be seated inside the seat on the flywheel, not just placed on there. I also purchased $100 in fluids today, minus the diff fluid. So good times ehh. Plans are to have the motor in by tonight, but plans change so we will find out.

Transmission dust covers, when I found them....

p1739543_1.jpg


after a bit of cleaning

p1739543_2.jpg


And making them pretty.


p1739543_3.jpg


old snap rings and wave ring on the new throw out.

p1739543_4.jpg


Throw out and clutch fork on.

p1739543_5.jpg


Pressure plate and clutch plate on the input shaft of the trans.

p1739543_6.jpg


Pilot bearing in.

p1739543_7.jpg


An extra hand from CheesePhantom never hurt any one.

p1739543_8.jpg


p1739543_9.jpg


Tranny on

p1739543_10.jpg


p1739543_11.jpg


Pressure plate on and torqued to 14ft lbs. per the TSRM order.

p1739543_12.jpg
 

TweeT91109

New Member
Jan 7, 2010
738
0
0
Tampa, Florida, United States
OK just a little update today, all we got done today was PUT THE MOTOR IN!!!! :) .....anyways, got a few pictures taken, there's also a long list of loose ends to tie up. But they are on a white board, soon to be marked off.


So on to the pictures :)


p1739788_1.jpg


p1739788_2.jpg


p1739788_3.jpg


p1739788_4.jpg


p1739788_5.jpg


p1739788_6.jpg


p1739788_7.jpg


p1739788_8.jpg


p1739788_9.jpg


p1739788_10.jpg


p1739788_11.jpg


p1739788_12.jpg


p1739788_13.jpg


p1739788_14.jpg


p1739788_15.jpg


p1739788_16.jpg


p1739788_17.jpg


p1739788_17.jpg


p1739788_19.jpg


p1739788_20.jpg


p1739788_21.jpg


p1739788_22.jpg


p1739788_23.jpg


p1739788_24.jpg


p1739788_25.jpg


p1739788_26.jpg


And the models (sweaty asses and all)

p1739788_27.jpg
 

hvyman

Dang Dude! No Way Man.
Staff member
Apr 17, 2007
12,568
1
0
Fullerton,CA
That last pic is a tad gross lol.

You did put the snap rings back on and attach the throw out bearing to the pressure place right? I think you did and just took the pic of it in there like that ya>?
 

IBoughtASupra

New Member
Mar 10, 2009
4,455
0
0
Queens, NY
Just the bottom. It goes where on the stud before you screw on the nut on the underside of the car so the but won't pass through the crossmember when tightening it.
 

TweeT91109

New Member
Jan 7, 2010
738
0
0
Tampa, Florida, United States
OK so I have a list of loose ends to tie up. I got the one piece drive shaft on, so that was a big one. Today I also got the fuel line figured out, and also figured out all the vacuum lines. Ill be looping the nipple that goes to the throttle body, and IACV, to the nipple on the under side of the number 2 lower runner. So those will be blocked off with caps. I started moving to the 3000 pipe, and tightened down the spark plugs, and now I realized I didn't receive all 4 of the spark plug galley cover bolts, so now I need to find one of those, cause as of right now....the head is still open, and I wont be able to start the motor. So ill be posting a WTB add soon. Ill post more pictures tonight when I get them all loaded up :)
 

TweeT91109

New Member
Jan 7, 2010
738
0
0
Tampa, Florida, United States
Ok so I got set of new Toyota Spark plug galley cover bolts & crush washers, they weren't to expensive and they were in stock some how. I also stopped and got some legit, high heat resistant silicone vacuum line, so ill be re running all the vacuum lines. The coolant lines are also taken care of, the one from the water line that runs around the block, was looped to the nipple on the under side of the lower runner on the number 2 cylinder. I noticed that on the install we broke one of the connectors of the water thermostat housing, but i believe its the AC coolant temp sensor, so ill be needing another one of those. I received a spare radiator from a buddy, so ill be using that till my other friends gets me mine back to me. That means I will be able to get fluids in the car, check for codes and hopefully start it up today some time. If not today then tomorrow for sure. I'm also trying to run a 12 volt starter relay mod on the motor to by-pass the stock starter's ignition. But I don't remember which wire goes where so I will doing a few searches to figure it out.


On a side not this is my 600th post so whoppie for me :)
 

IBoughtASupra

New Member
Mar 10, 2009
4,455
0
0
Queens, NY
The video is only of it trying to start. Don't move the TPS like that. If you have an idle screw, back it out, then check for codes, adjust the TPS to get rid of a code 51 if it is present. You can go fine tune it later.

Dis you check for fuel and spark?