Jon's 1989 1JZ single turbo restoration and build: Stellllllaaaaa!

mobes

Supras are never 'done'
Apr 5, 2005
719
2
18
Bozeman, MT
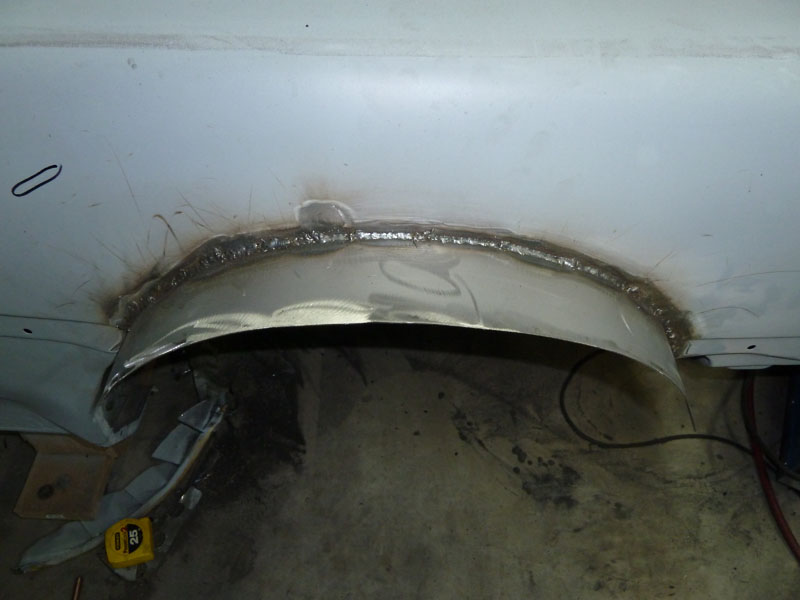
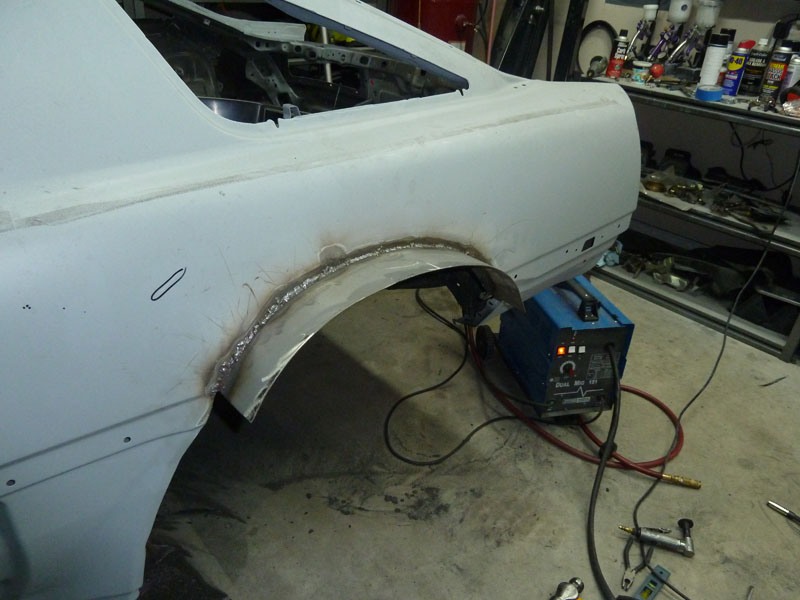
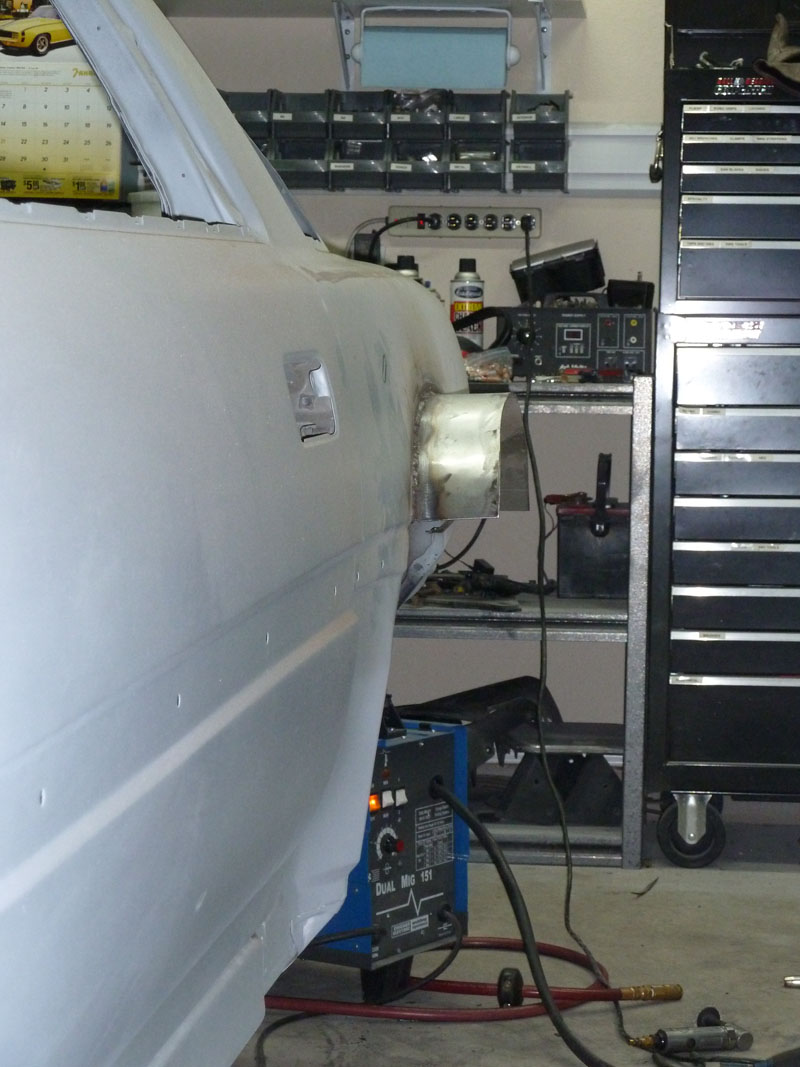
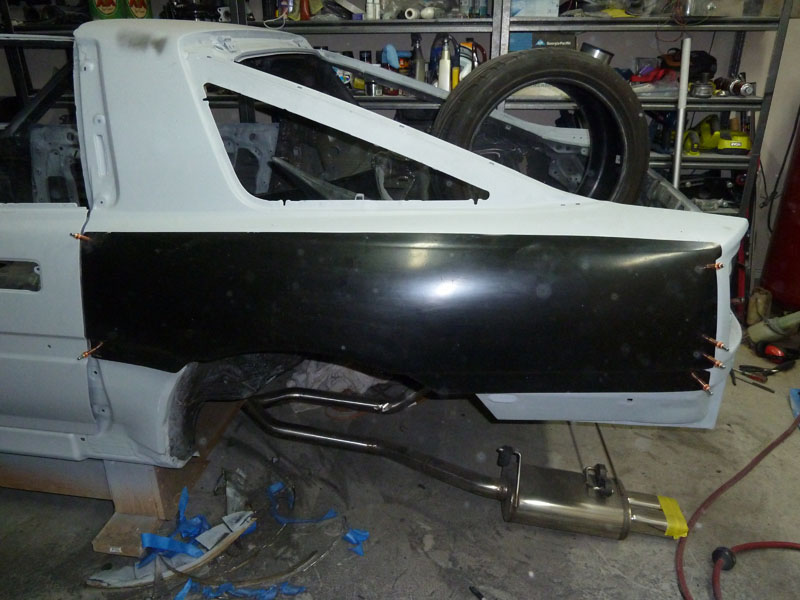
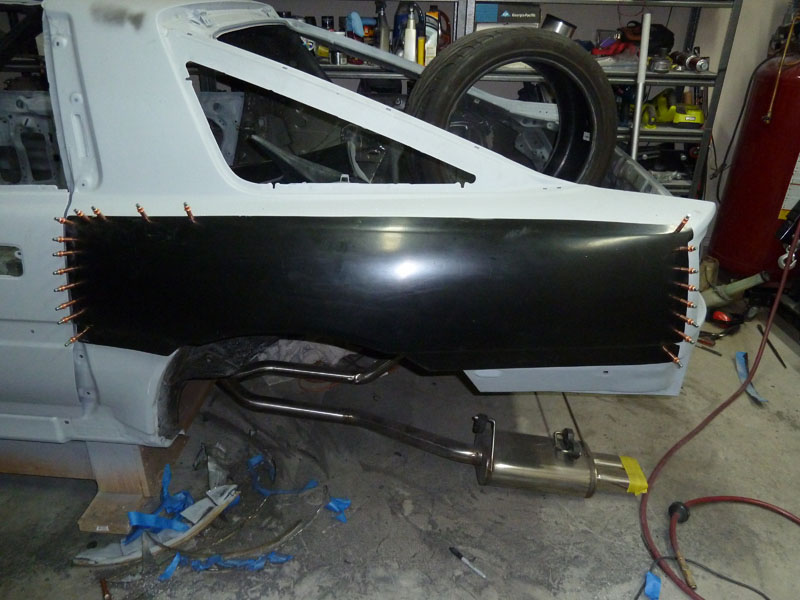
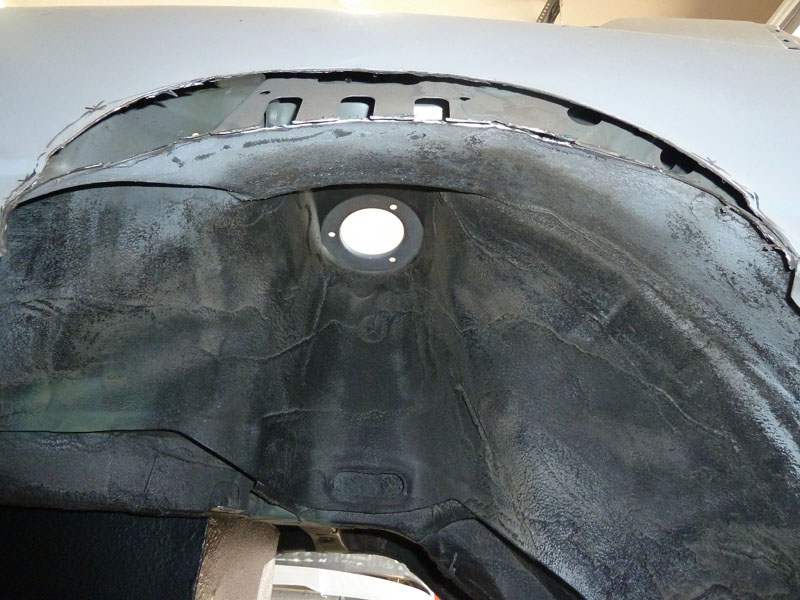
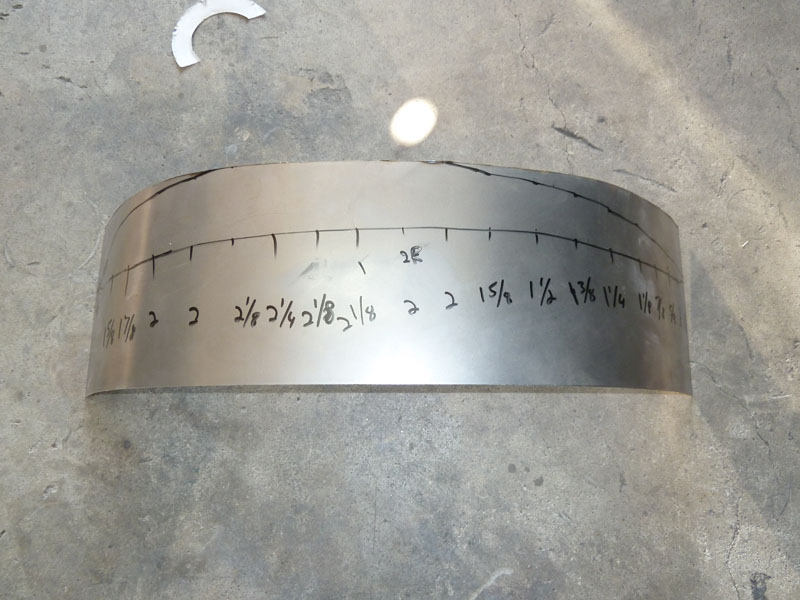
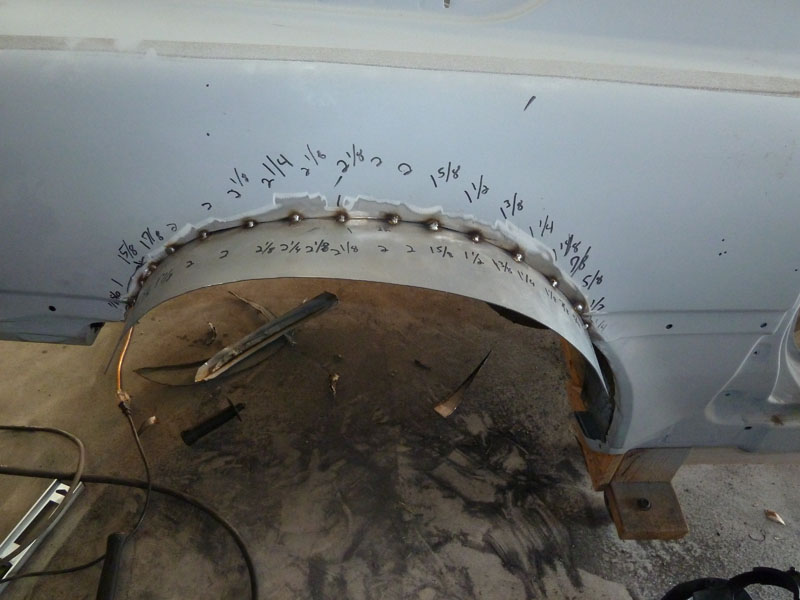
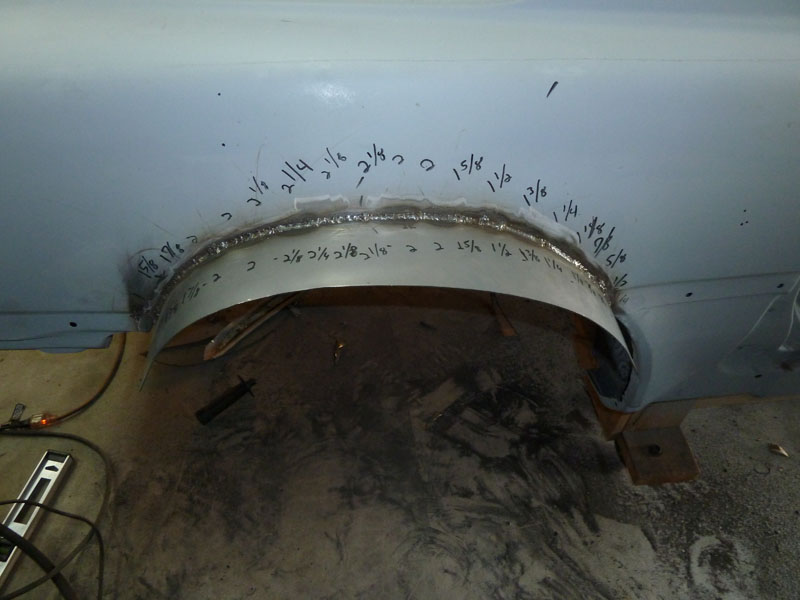
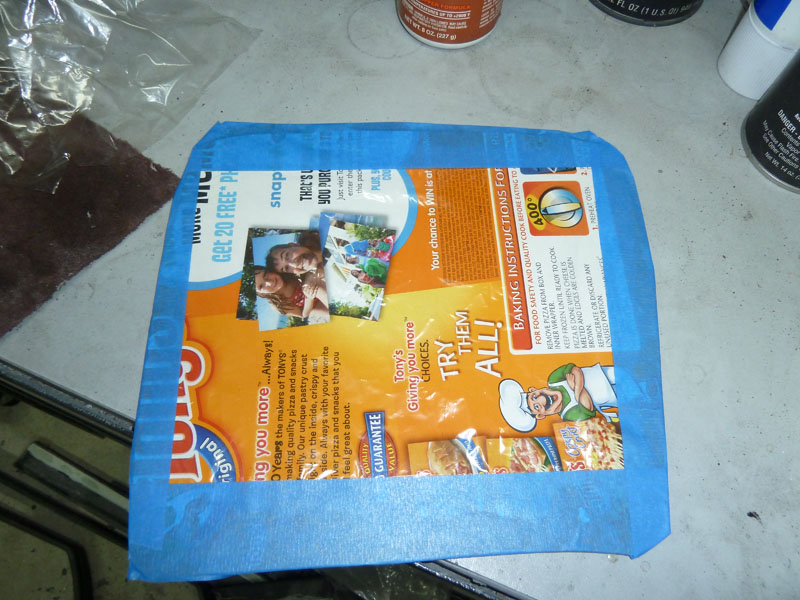
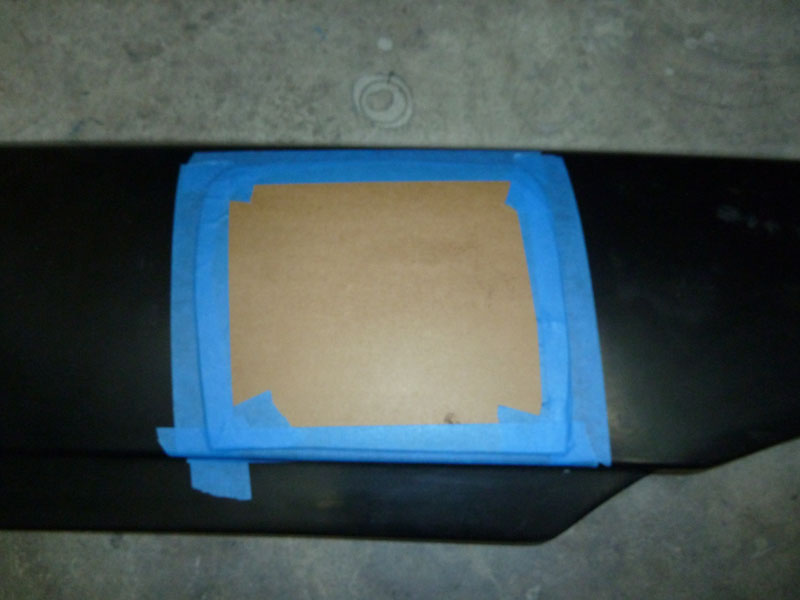
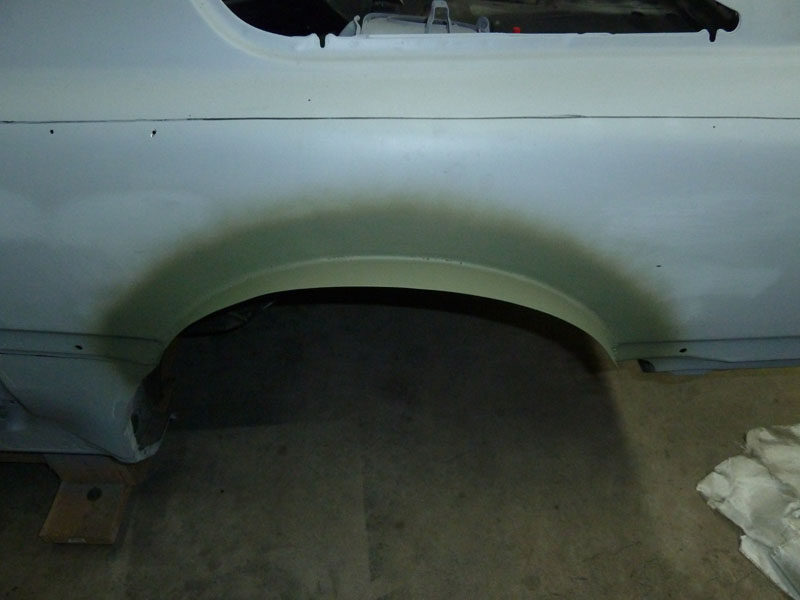
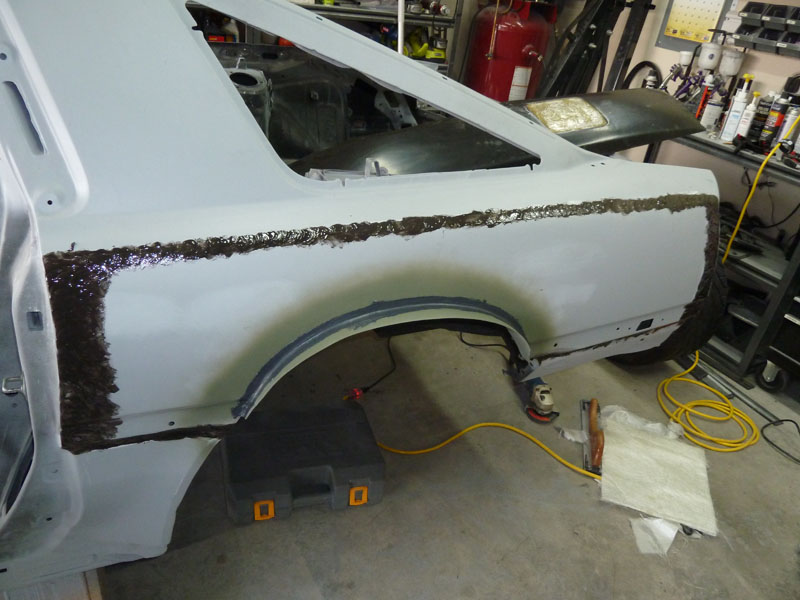
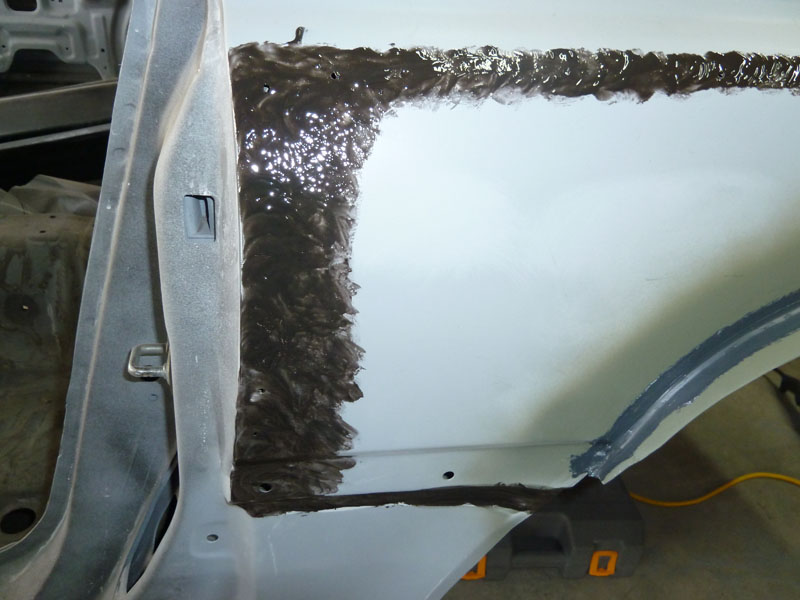
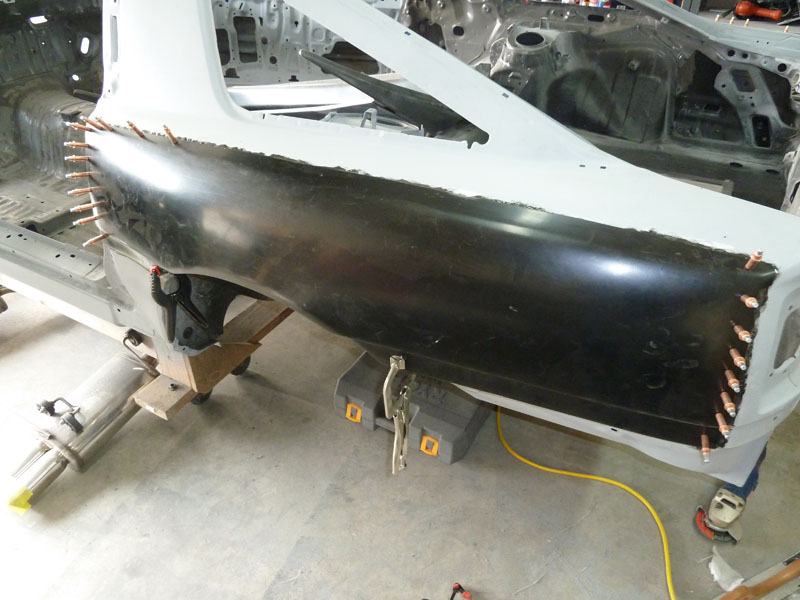
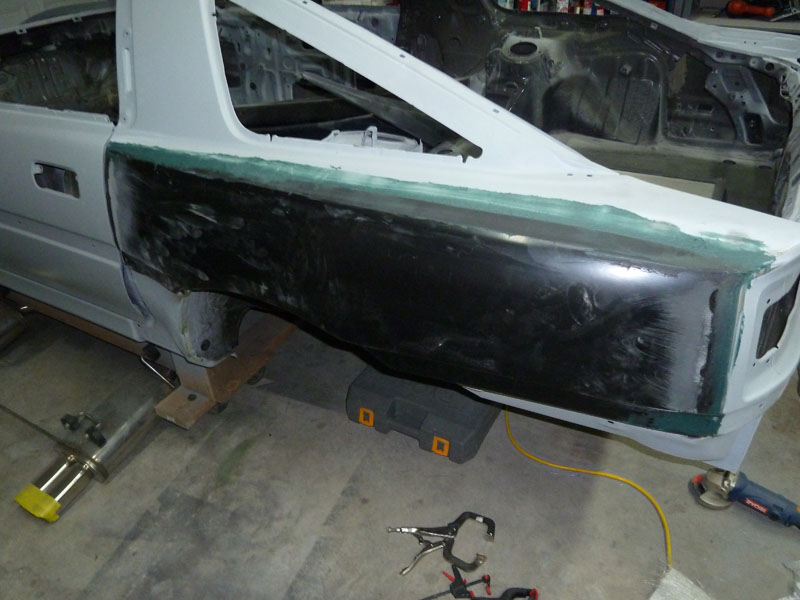
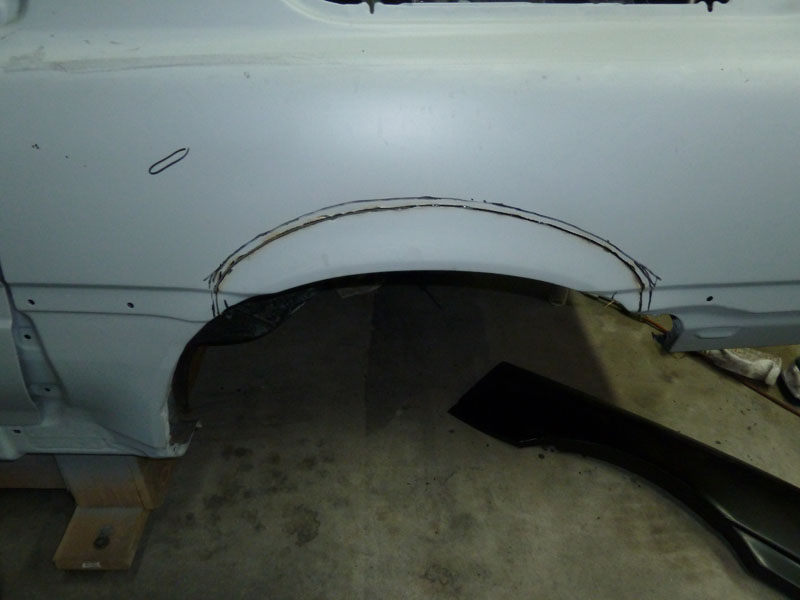
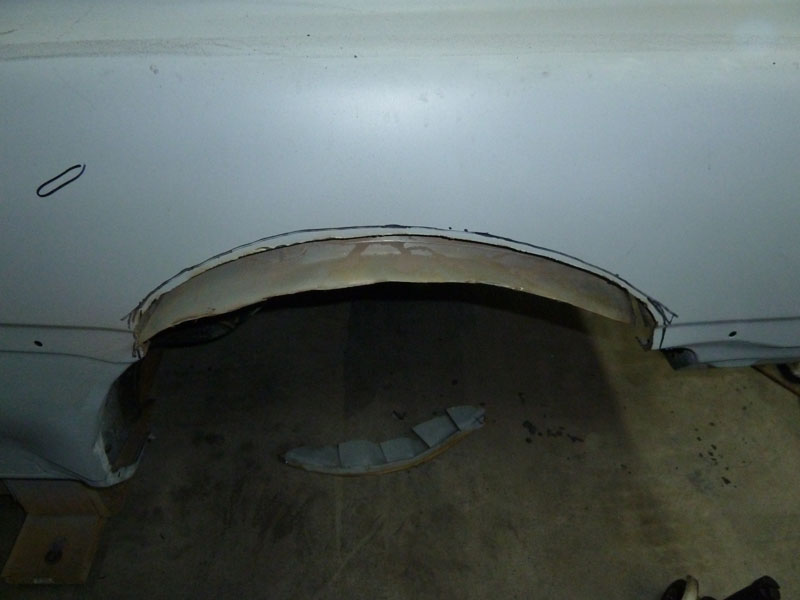
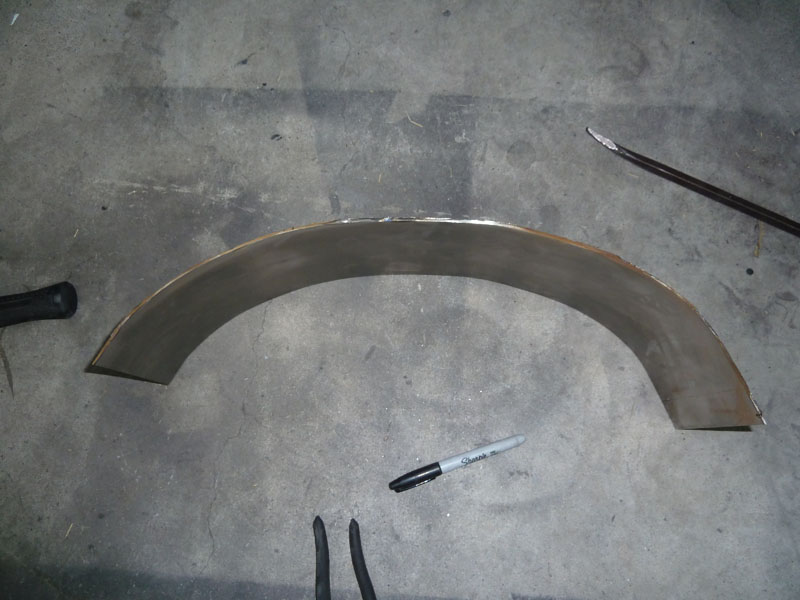
Here goes nothing. No turning back now. :yikes: I guessed at the fender liner profile by feel and gave myself about 3/8" of slack.

P1000386.JPG


P1000387.JPG


P1000388.JPG


P1000389.JPG


P1000390.JPG


P1000391.JPG


P1000392.JPG


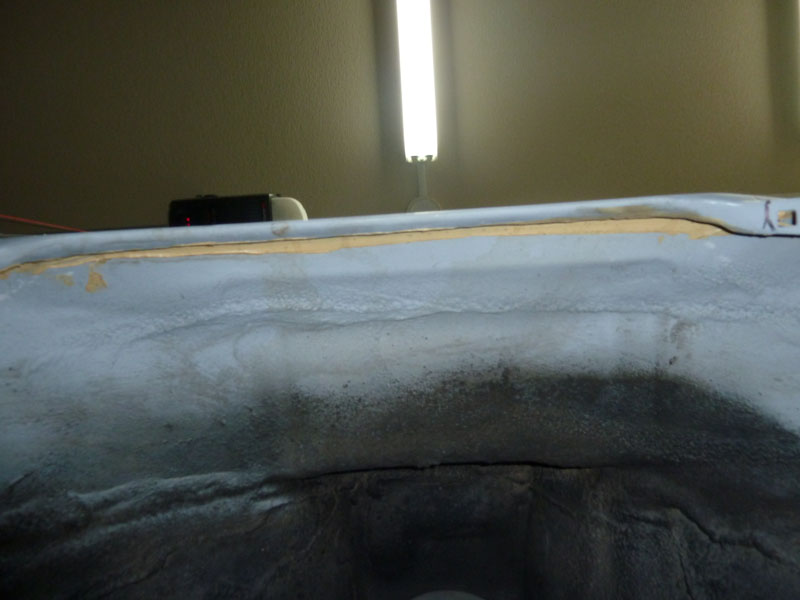
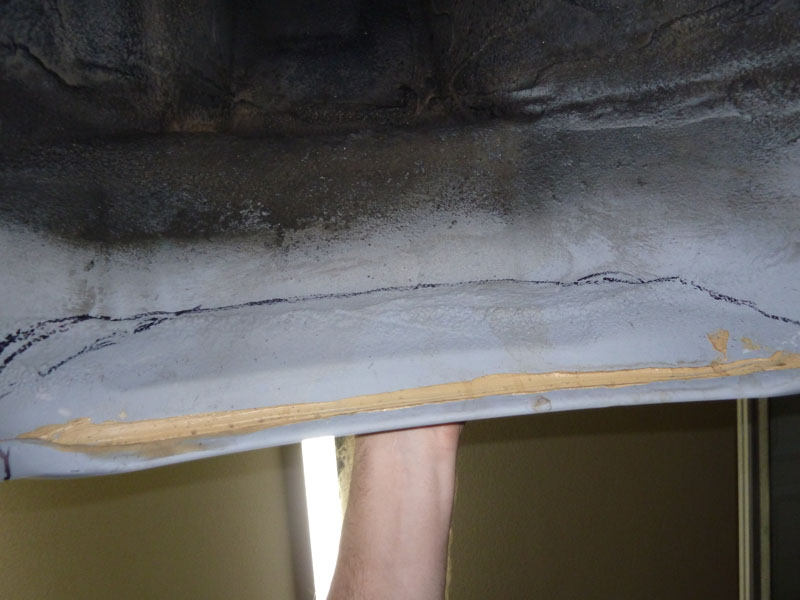
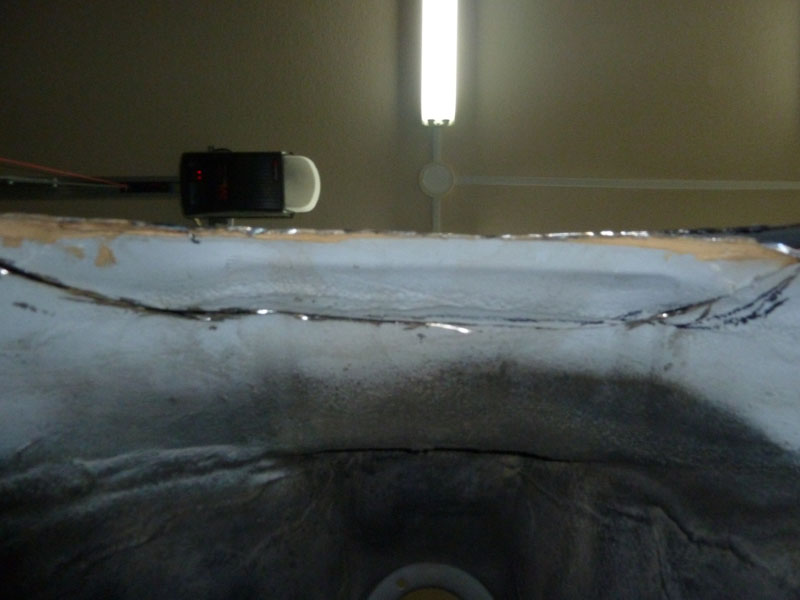
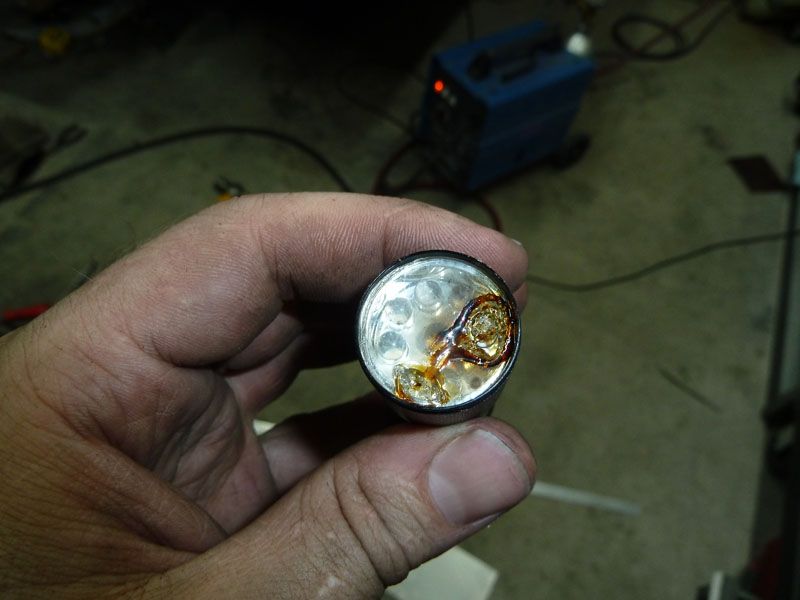
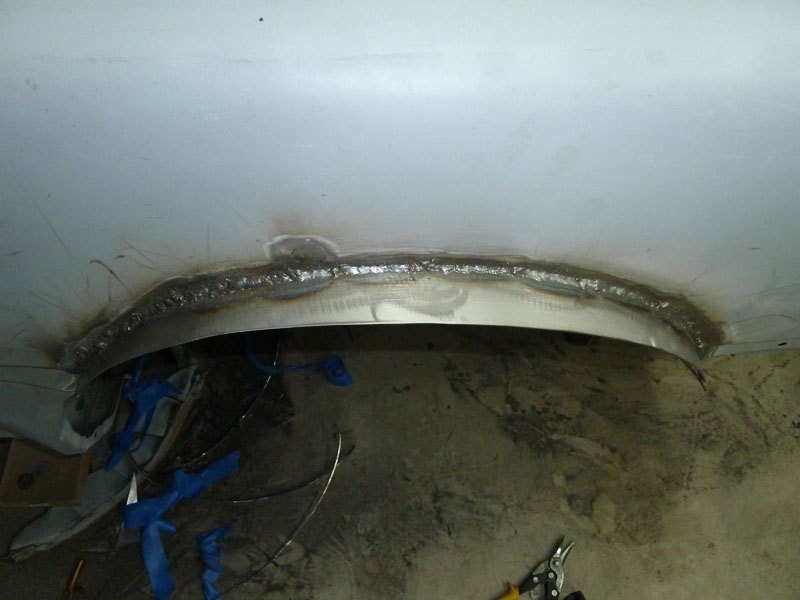
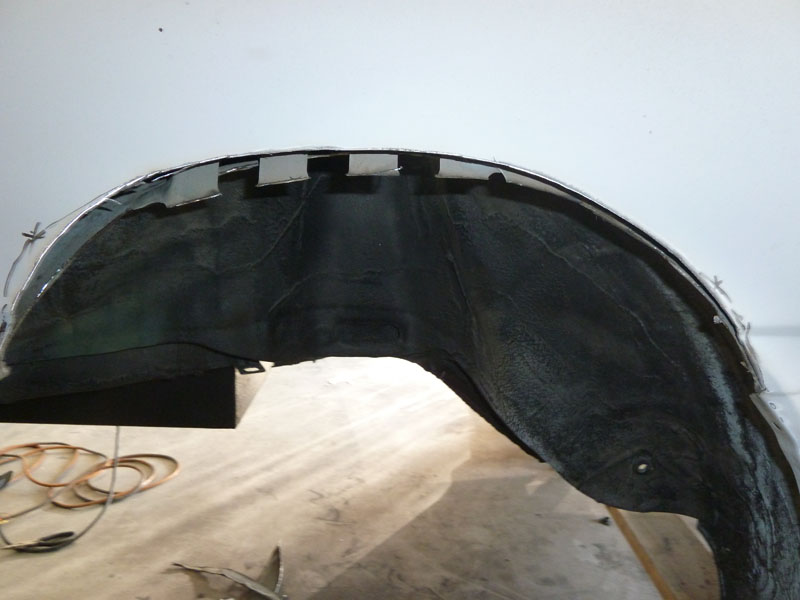
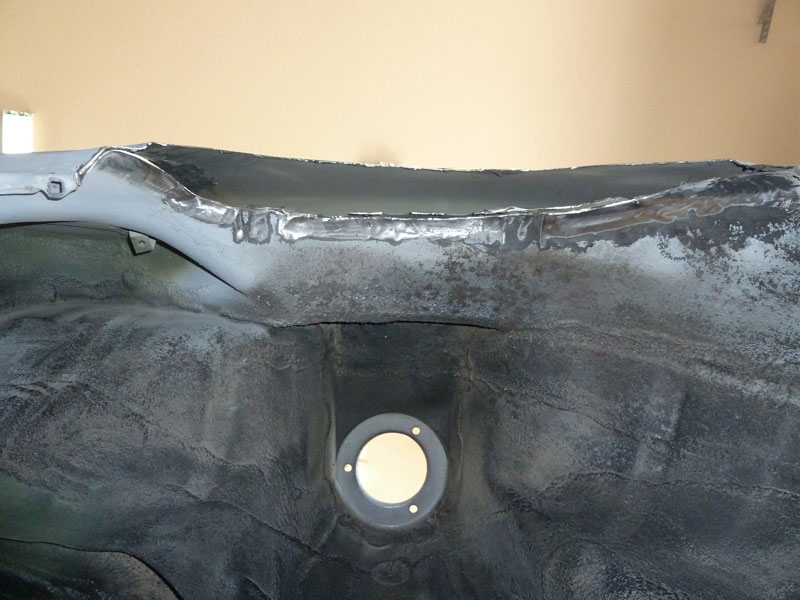
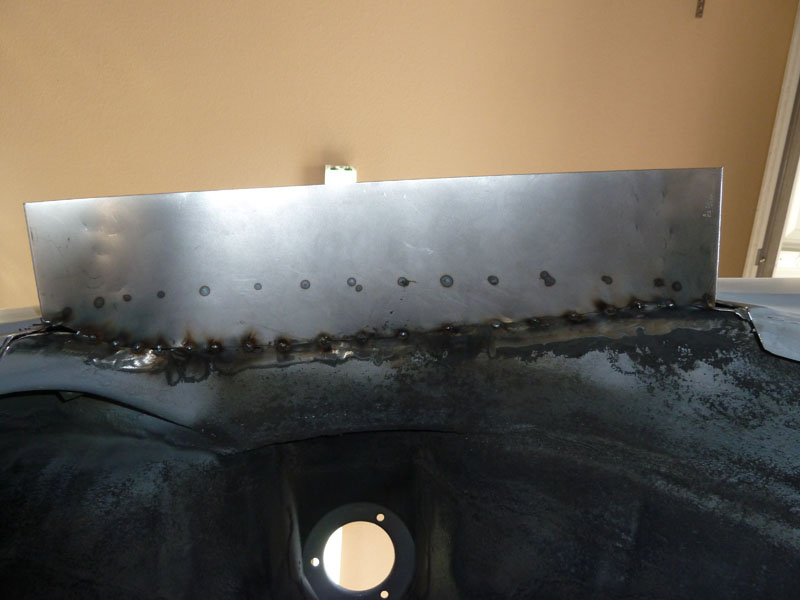
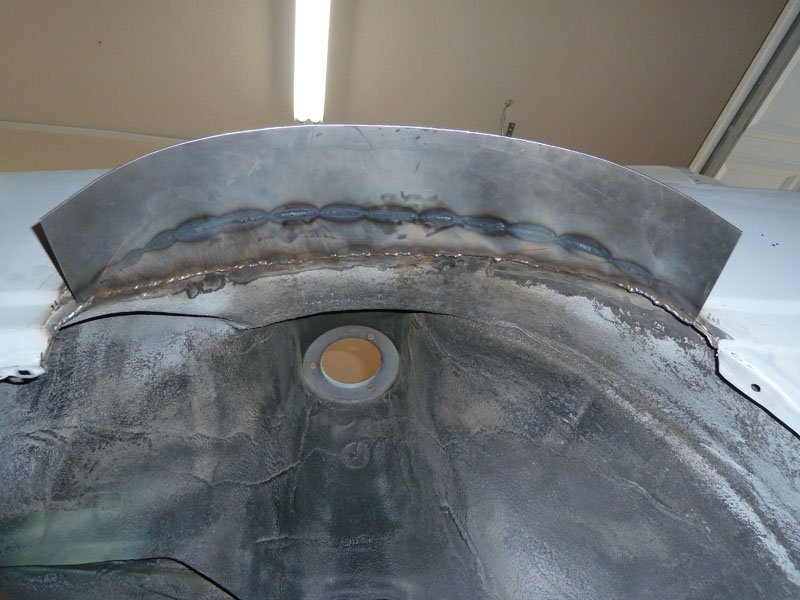
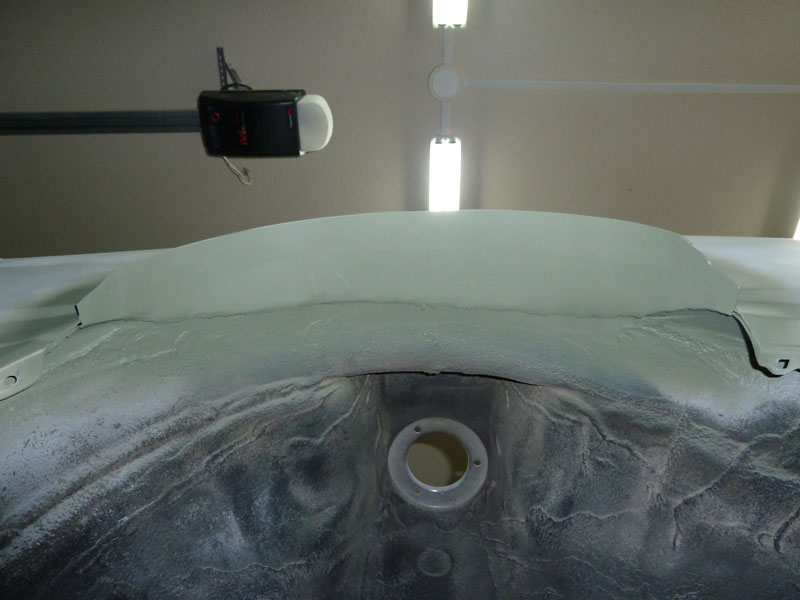
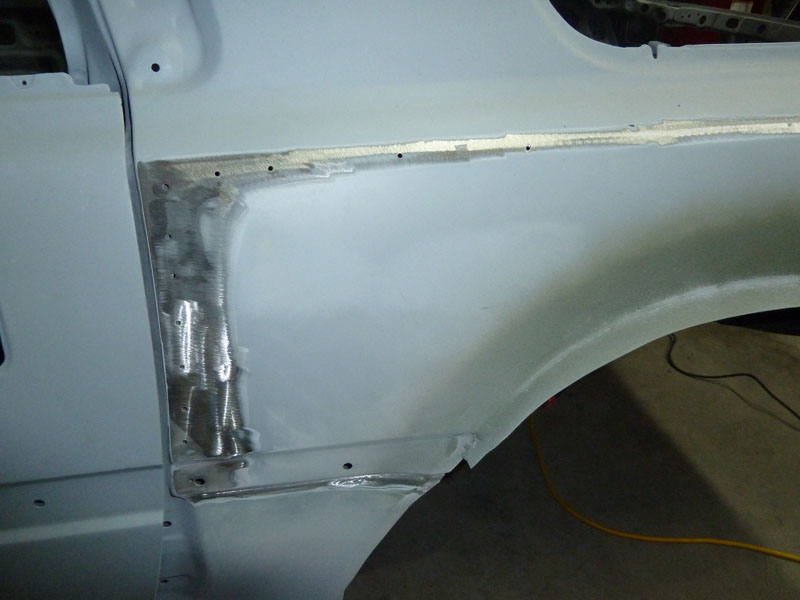
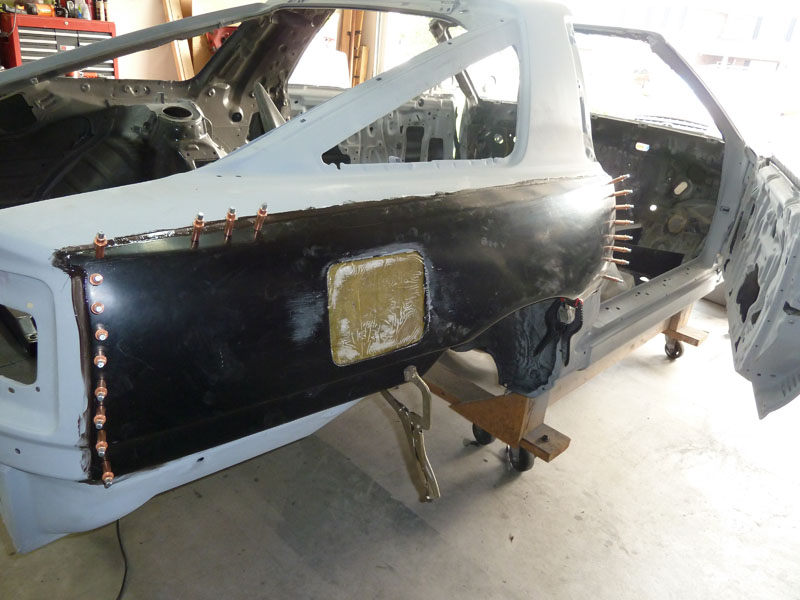
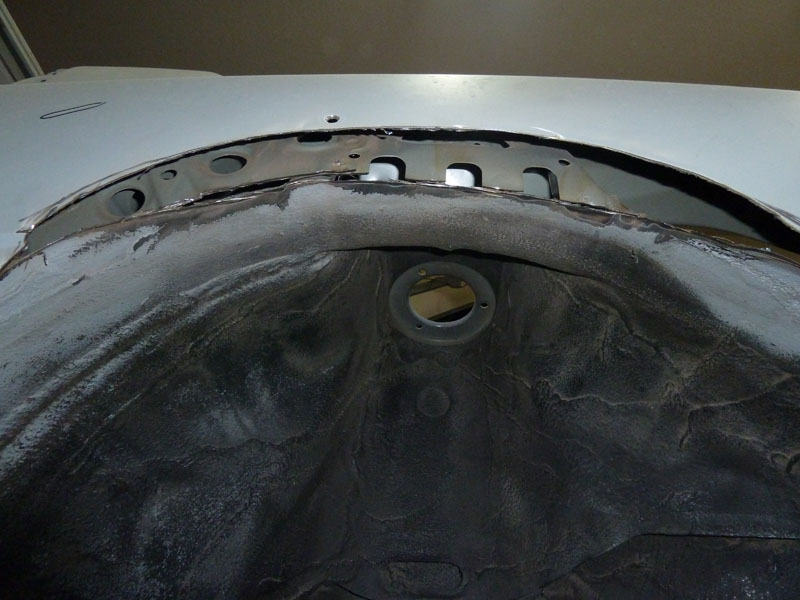
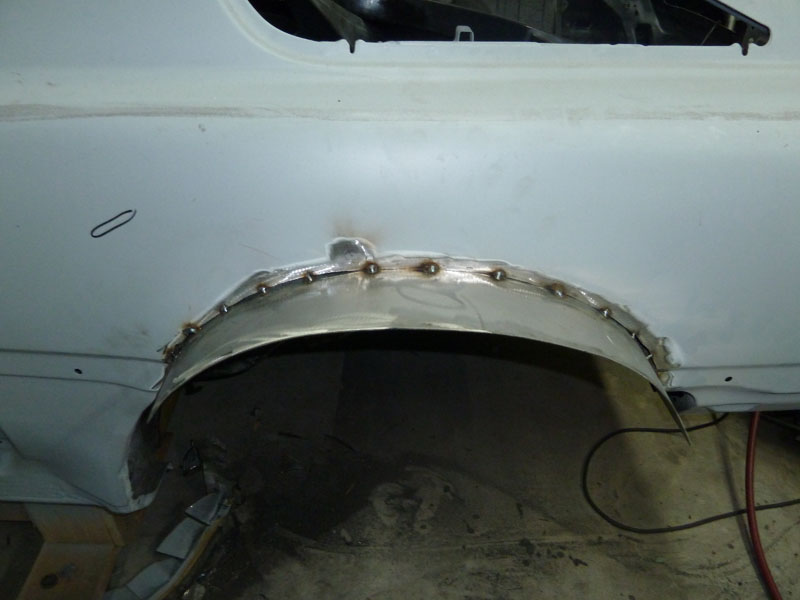
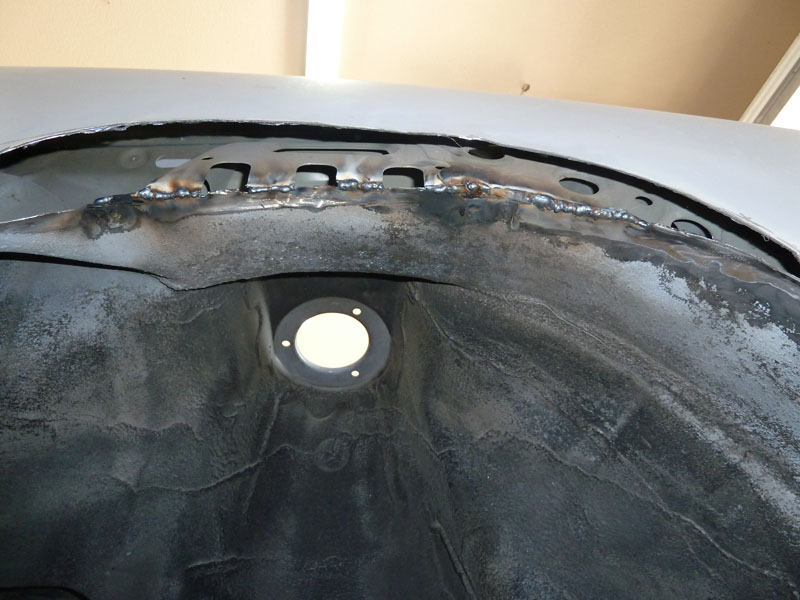
There is some gusseting that I will need to tie in to the replacement piece. Breaking the spot welds was a bit of a pain. I could have drilled them, but the thick undercoating made it hard to tell where they were.

P1000396.JPG
 
Last edited:

mobes

Supras are never 'done'
Apr 5, 2005
719
2
18
Bozeman, MT
gonzy tunning;1709275 said:
wow man project is coming out good...i like what u did for fuel cell nice job bro

Thanks!

Made some more progress today.

Trimmed the arch a bit to match the wheel well profile. I drilled the hole so that I could use a punch to hammer the gusset against the remaining wheel well to weld it.
P1000400.JPG


Trimmed the gussets.
P1000402.JPG


Welded the gussets to the edge of the remaining inner wheel well - forgot to take a picture.

New 16ga wheel well. 6"x24" piece for those taking notes at home.
P1000404.JPG


Tacked.
P1000405.JPG


P1000406.JPG


The cryptic marks are my measurements. :)
P1000407.JPG


Welded.
P1000411.JPG


P1000412.JPG


P1000415.JPG


P1000420.JPG


Some of the better welds.
P1000408.JPG


P1000409.JPG


Maybe I'll just keep it like this. Ghetto widebody. Should I do the fronts to match? :)
P1000414.JPG


Note to self: flashlight lens self ignites when it comes in contact with molten steel. I was using it to see inside the wheel well with the welding mask on.
P1000419.JPG


I got lots of minor burns welding inside the wheel well, and the MIG doesn't work that great welding overhead, the molten metal tends to drip down into the nozzle if you don't go extra slow. But enough whining, it's done. Just need to trim it to match the overlay profile, then on to the other side...
 
Last edited:

johnd

Supramania Contributor
Dec 4, 2007
278
0
0
Ont. CA.
keep working on thos flares, can't wait to see how it turns out.

PS. I bet that light still works :naughty:
 

mobes

Supras are never 'done'
Apr 5, 2005
719
2
18
Bozeman, MT
Yeah the light still works. The lens keeps popping out now and takes the LED's with it.

I made a little progress tonight.

Trimmed the overlay for tire clearance.
P1000422.JPG


Trimmed the fender well.
P1000423.JPG
 
Last edited:

mobes

Supras are never 'done'
Apr 5, 2005
719
2
18
Bozeman, MT
More progress...

Ground the welds smooth.
P1000428.JPG


P1000429.JPG


Clecos. Didn't need them all the way around. The angle the overlay and fender meet at on the top edge aren't conducive to using them anyhow.

P1000430.JPG


P1000431.JPG


Underneath.
P1000433.JPG


Driver's side is coming along.
P1000445.JPG


On to the passenger side. First I bent the new wheel well metal to match the driver's side, then traced the profile on to the quarter panel.

Cut the outer skin.
P1000453.JPG


Cut the wheel well. Much easier to do having the outer skin removed already, you can watch the cut-off wheel on the back side and make sure it's following the right path without having your head in the wheel well.
P1000454.JPG


Trimmed the gussets.
P1000457.JPG


Removed some undercoating. There is about 1/4 of rubber on there in some spots!!
P1000461.JPG


Welded the gussets to the fender well.
P1000464.JPG


Ground the welds smooth so they don't interfere with the new fender well piece.
P1000466.JPG


New fender well piece marked for cutting.
P1000469.JPG


Cut and tacked.
P1000471.JPG


P1000475.JPG


Welded.
P1000476.JPG


P1000479.JPG


Trimmed. Forgot to take pic.

Cleco'd up.
P1000480.JPG


P1000482.JPG


The passenger side went much quicker. Not so much guessing like the driver's side. :)

I need to start on shaving the fuel door opening, and prime the new wheel wells, then I can get the overlays glued down and start on feathering them in.
 
Last edited:

supra1008

Active Member
May 2, 2007
1,179
0
36
Philadelphia
Wow just wow!!!!!!!!!! Amazing! I was so tempted to fast forward through the whole thing! From the beginning to end, everything looks great! Top notch work! Can't wait to see it when it's done! Definitely subscribed!!! I might be stealing the elec speedo. Keep up the awesome work!
 

mobes

Supras are never 'done'
Apr 5, 2005
719
2
18
Bozeman, MT
Thanks supra1008!

I made some progress over the weekend.

Started shaving the fuel door.

Crude mold - two layers of Tony's pizza boxes and some painter's plastic.
P1000501.JPG


P1000502.JPG


P1000503.JPG


P1000504.JPG


P1000520.JPG


I only took pics of the first two layers which were cloth, after that I put on several layers of mat, which is not as pretty but is much stiffer when it hardens (that's what she said).

Primed the new wheel well pieces.
P1000509.JPG


P1000511.JPG


I also used some Eastwood inner frame coating, the stuff with the nozzle on a hose, to rustproof the top of the new wheel well pieces. I'm rather impressed by it.

Ground down the body to bare metal where the overlays would attach.
P1000521.JPG


P1000523.JPG


Seam sealer over the welds in case of any pin holes etc, this way we're 100% sure.
P1000532.JPG


Here's what I used to glue down the fenders. Pricy, but amazing stuff. They've reformulated it since the last tube that I bought, it's easier to work with now since it's not quite as thick. The last tube was much thicker and harder to dispense and spread.
P1000533.JPG


Glue applied.
P1000535.JPG


P1000536.JPG


Overlays are on.
P1000540.JPG


P1000541.JPG


24 hours later, clamps removed.
P1000543.JPG


P1000546.JPG


A boy and his toys.
P1000539.JPG


Started feathering the edges and put on a first coat of Kitty Hair. Subsequent coats will be Rage Gold. I hate sanding fiberglass.

P1000547.JPG


P1000548.JPG


On a side note, I didn't put the butyl tape on the edges of the new wheel wells like in the Miata PDF, instead I intend to fiberglass them to the overlays for extra strength. Not that it's really needed, I could pull the body around on the dolly by the overlays and not worry about it, the glue is that strong. But it can't hurt.
 
Last edited:

lithium14

Member
Jan 7, 2011
995
0
16
Austin
man it IS looking good!!! but hey I read over on SF that many ppl who did widebody kits were having issues with the natural flexing of the body breaking the seams with the widebody portions, which is why, they say, that many ppl who do widebody kits acutally rivet them on, even though it looks retarded. have you read anything about that? if so, do you have any plans to address this issue? I;m not sure if this was mainly a mk4 issue or if it applied to mk 3's as well
 

johnd

Supramania Contributor
Dec 4, 2007
278
0
0
Ont. CA.
I'm waiting to see if this turns out as nice as the cherry red supra guy's from BC, Damn can't remember his user name.
mK3 body is pretty stout, I know with my shaved moldings guys told me that with flex they would crack, 4 years of beating and nothing.
I wouldn't worry.
 

hvyman

Dang Dude! No Way Man.
Staff member
Apr 17, 2007
12,568
1
0
Fullerton,CA
<-- is super jealous of your widebody.

Super clean work. Cant wait to see the finished product with the s2 fenders.
 

mobes

Supras are never 'done'
Apr 5, 2005
719
2
18
Bozeman, MT
Thanks for the comments all!

johnd - you're thinking of tekdeus. Yes his car is gorgeous.

I would sure hope there is no cracking. The adhesive I'm using is top notch stuff and is designed to flex slightly for that reason. I'll do the final glaze with Evercoat Poly-Flex and just hope for the best.

I'm still contemplating some more seam welding and body cavity foam before paint and assembly. That can't hurt either. Just don't want a squeaky car from the foam.
 

mobes

Supras are never 'done'
Apr 5, 2005
719
2
18
Bozeman, MT
We had family in town over the weekend, so nothing too major for updates. I worked a bit last night on blending the fenders in but there isn't really much to see.
 

mytmk3

Member
Oct 16, 2007
643
2
18
christchurch
Just poped in to see if you had started on the widebody all I can say is wow! And how have I not seen this before I love that front bar this thing is going to look amazing when it's back together