
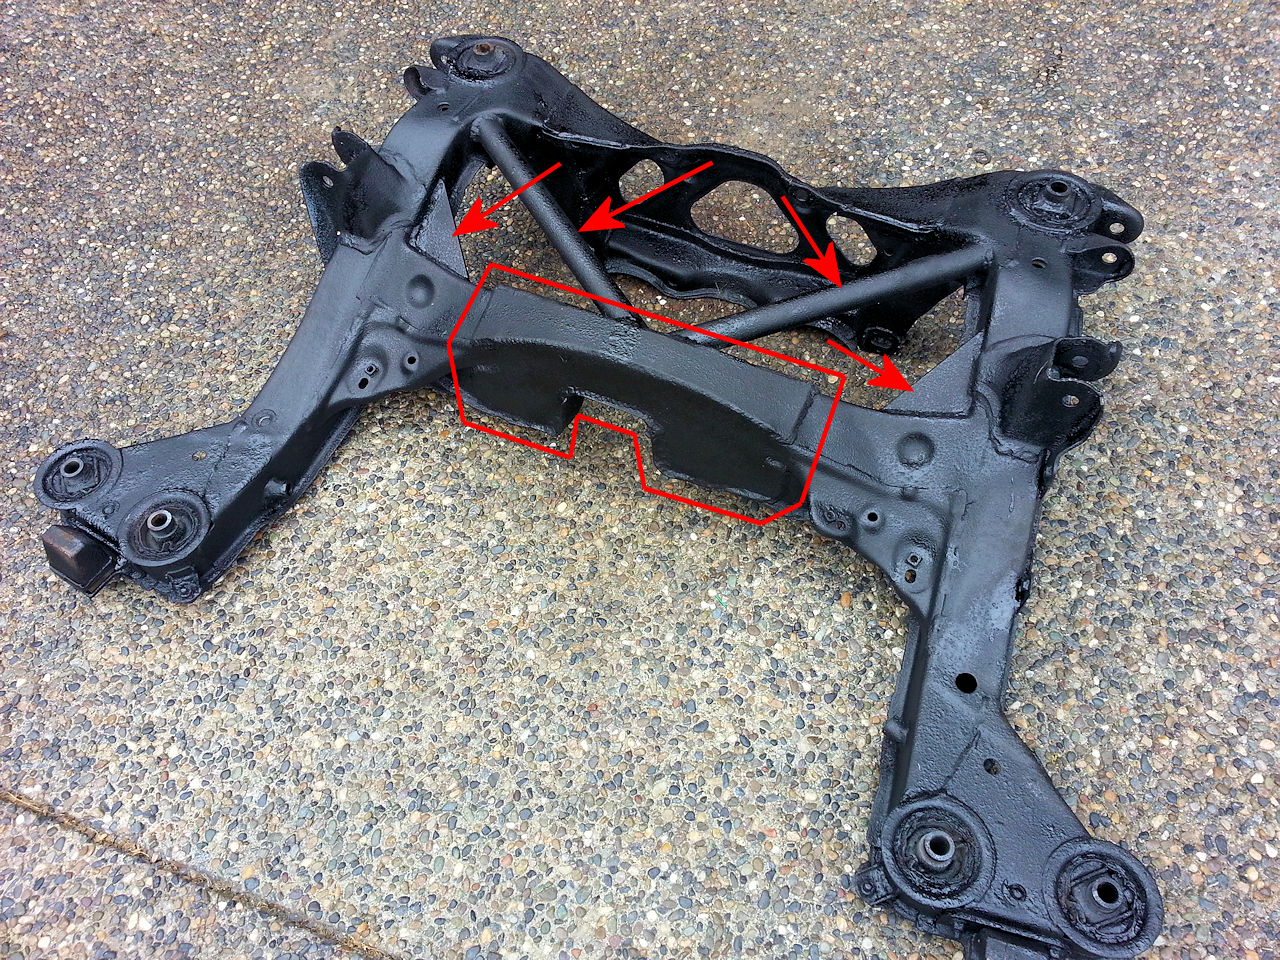
same.... I'm like scrutinizing the photos trying to see what was done. So basically, what I got from this, is that if I want to use my future high powered MK3 for anything besides straight line racing, not just the chassis, but the entire subframe is going to need substantial bracing and strengthening.
The Mistress
- Thread starter GrimJack
- Start date
You are using an out of date browser. It may not display this or other websites correctly.
You should upgrade or use an alternative browser.
You should upgrade or use an alternative browser.
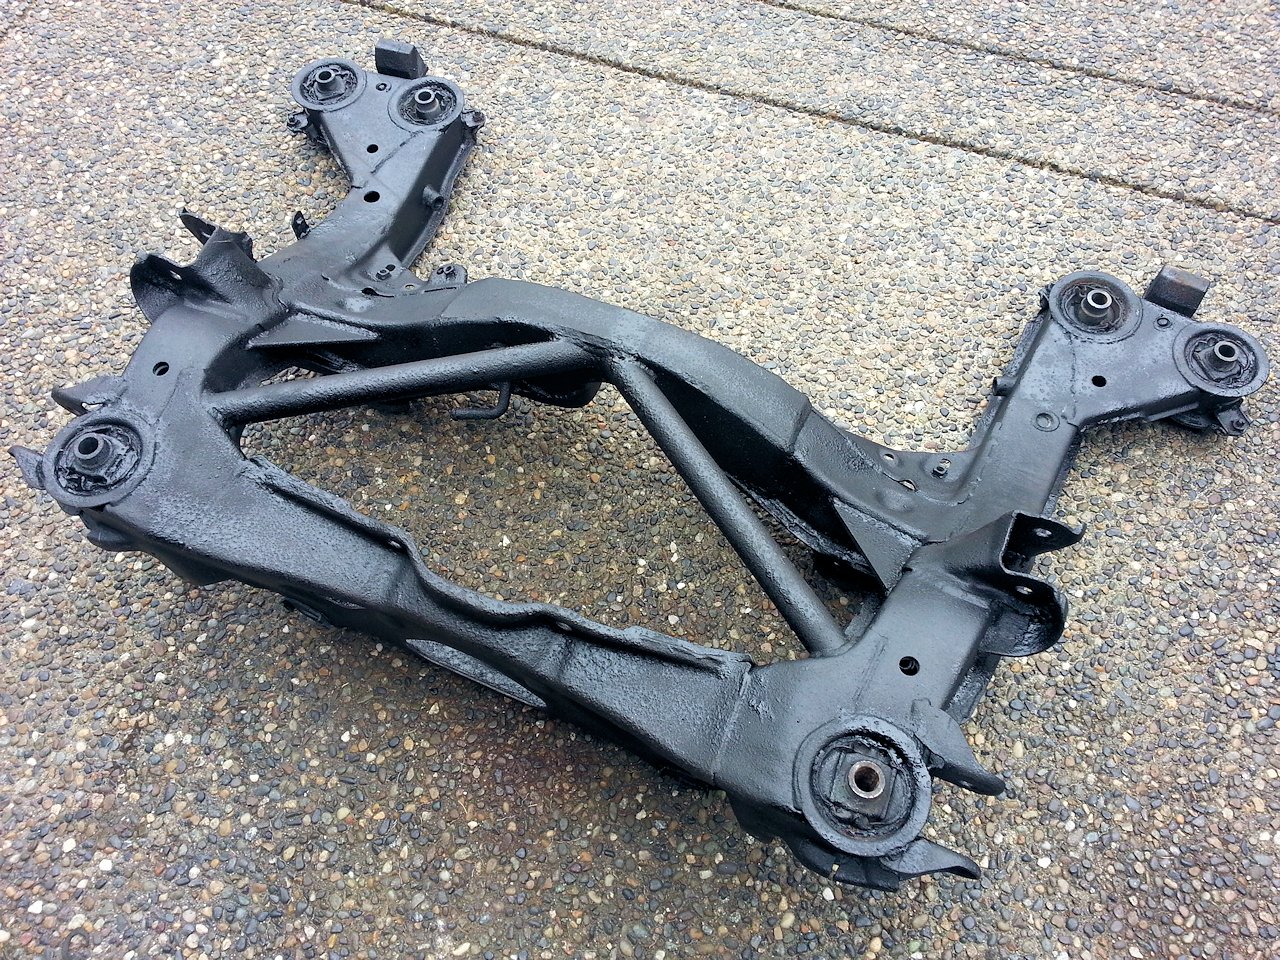
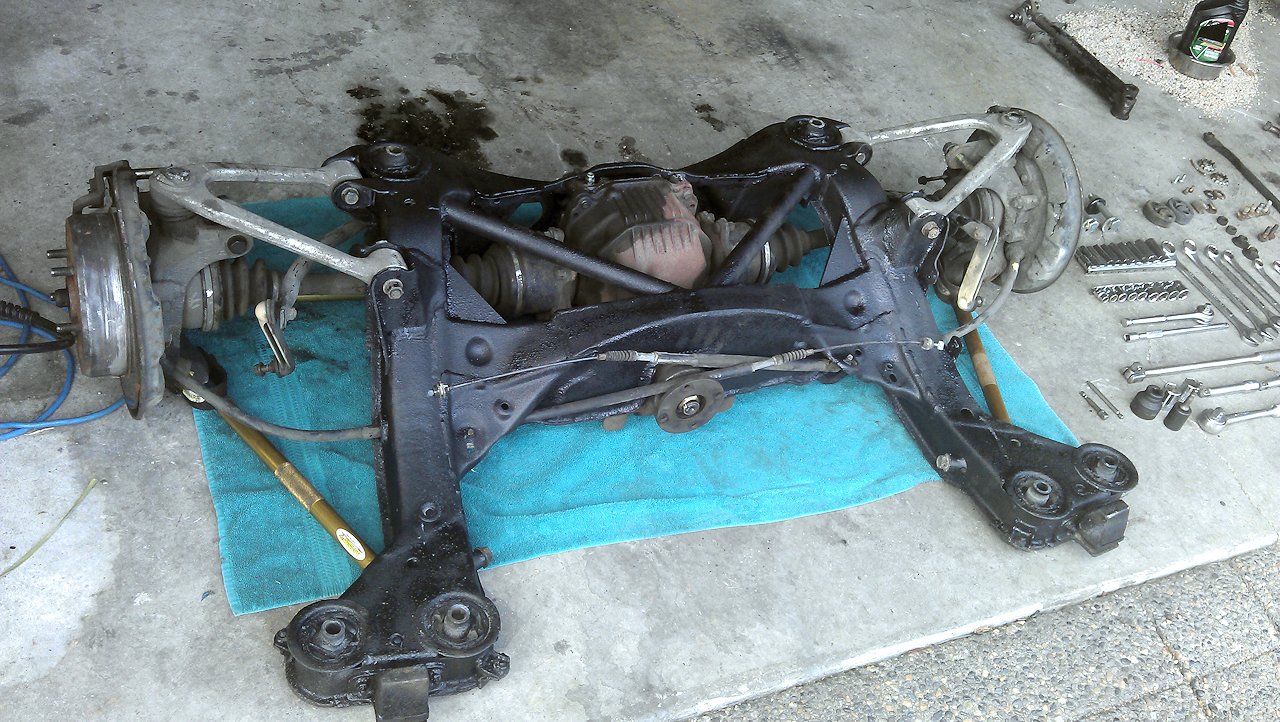
Ya ya ya... here's some better pics.
And I put the old 7M car back together and squeezed it out of the garage past the 2J car so I have something to get me around for the next little while.
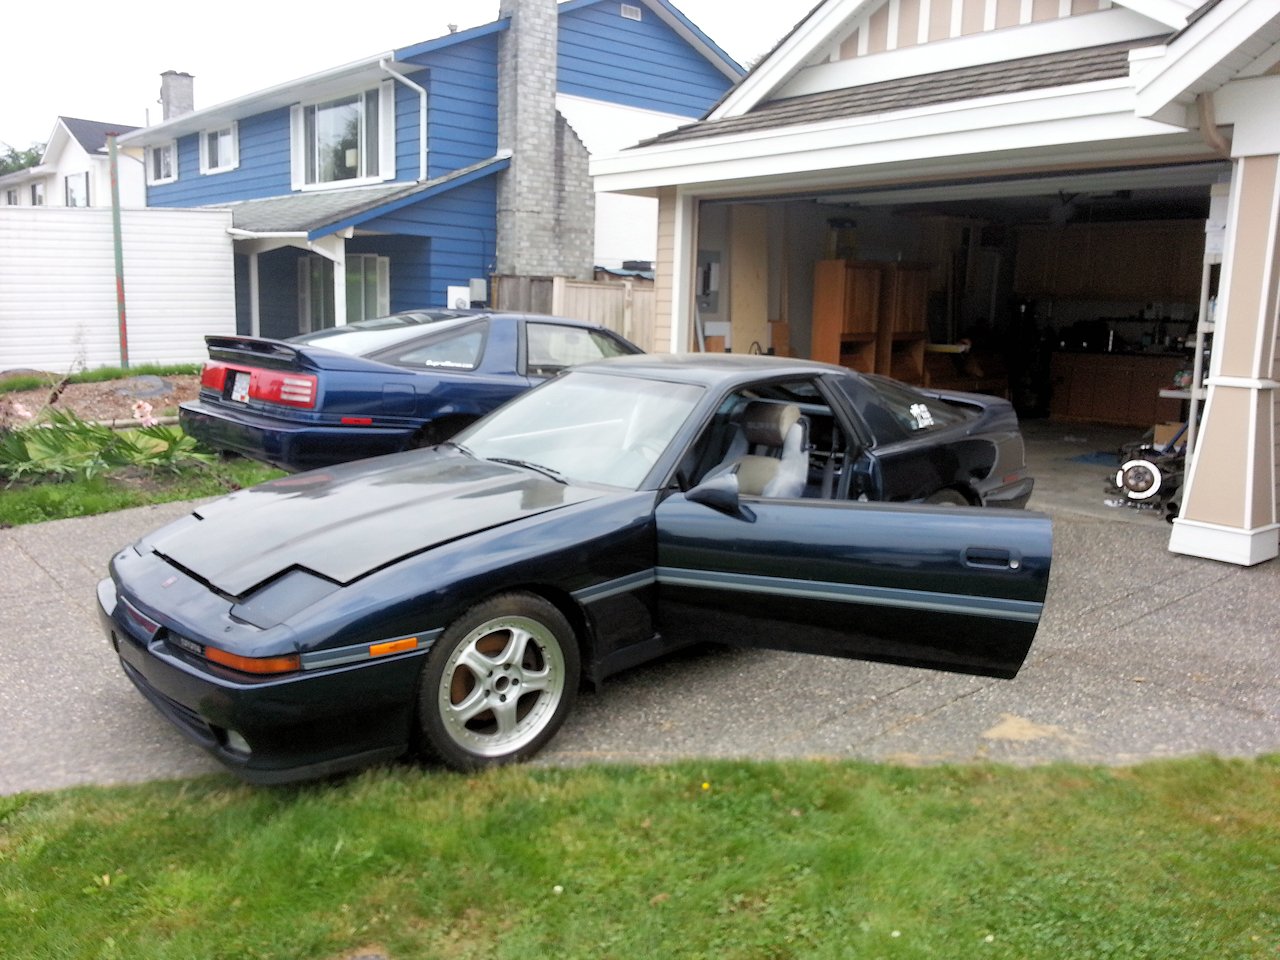
And I put the old 7M car back together and squeezed it out of the garage past the 2J car so I have something to get me around for the next little while.
Wow your subframe was cracked pretty bad. Don't think I've ever seen one that bad. Looks like they did a nice job adding extra support!
K_SHAN;1869521 said:Wait I wasn't aware you had 2 lol
All the cool owners have two.
")
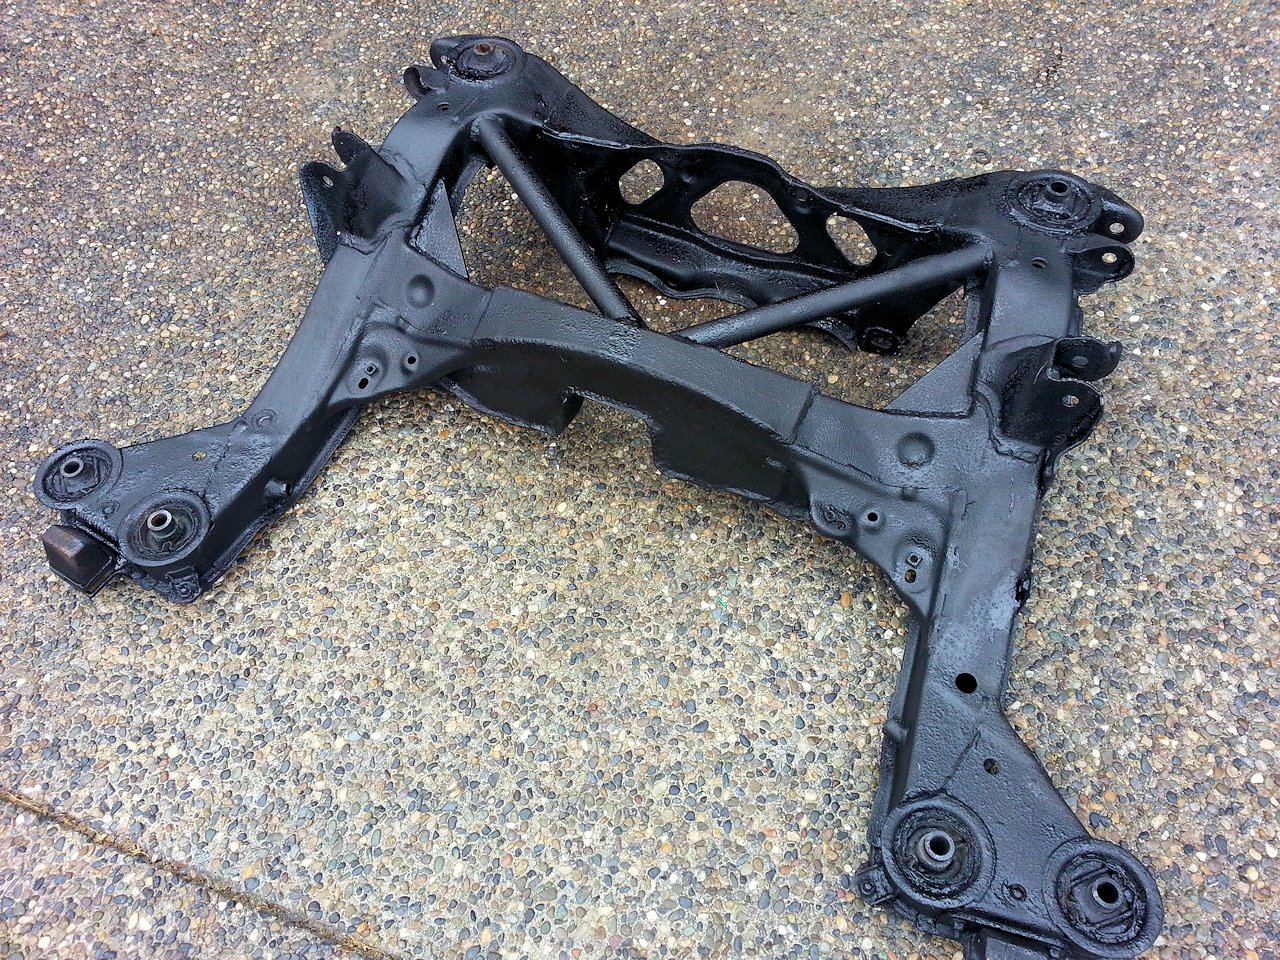
GrimJack;1869336 said:Cripes, my photo taking skills suck. How can a guy take pics from two different angles, and still manage to hide most of the extra welding that was done? I'll try to fix that tomorrow and post some at least half decent shots.
Hmmm, probably the same way he forgot to mention where the actual donor subframe and rear diff came from..I geuss people dont appreciate shit unless you hittem with dollar figure where it hurts! Yeeeeehaaaaaaaa!!
I just want to say that I saw this car "in person" back in July at the PacNW Supra Nationals. It's awesome. That's all.
Whooo, you messed up that Sub frame something fierce, nice work!
I don't know how I feel on the rust just chillin' in the air with no respirator other than a towel, Lol, kinda sketchy but at least it was out doors.
Is that POR15 or rockgaurd or something that's coated the frame now?
I don't know how I feel on the rust just chillin' in the air with no respirator other than a towel, Lol, kinda sketchy but at least it was out doors.
Is that POR15 or rockgaurd or something that's coated the frame now?
to bad ya did not fix the other issue of the diff ripping out
most comen problem
other fix it to get rid of the stock bushing set up that hold the sub in since they cause the sub frame to wiggle like worm
most comen problem
other fix it to get rid of the stock bushing set up that hold the sub in since they cause the sub frame to wiggle like worm
Subframe all put back together... except for a single set of control arms that I'm waiting for.
And as usual, I'm putting it back together with some shiny new bits from Toyota.
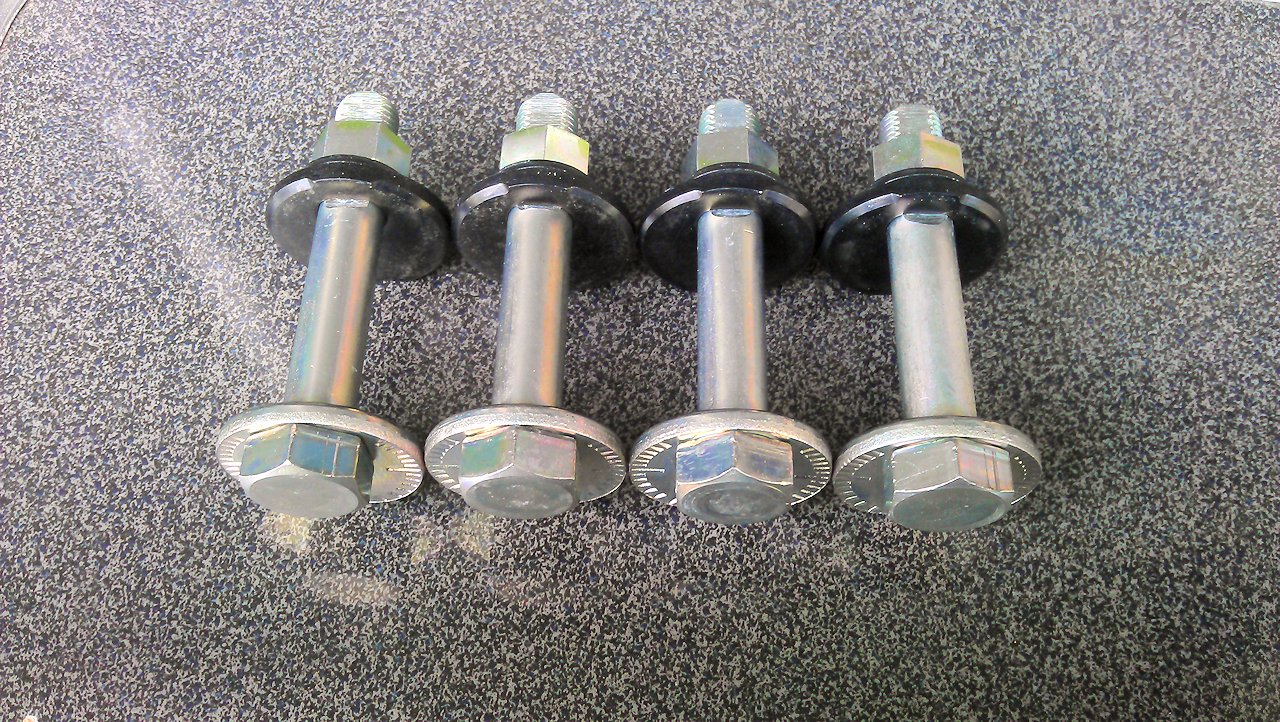
And as usual, I'm putting it back together with some shiny new bits from Toyota.
You betcha. Still running stock swaybars, and if anything is going to break, I'd rather it was a $9 plastic part.NashMan;1876010 said:are you really going to keep the plastic end links there dave ?
Had Bill & Tommy at the Independent Speed Shop do some work for me while I was away in the Caribbean soaking up the rays. This cut a pretty large slice off of my todo list, and, as always, I'm really enjoying the quality of work I get out of these guys. There aren't a lot of people I'll let work on my car un-attended - as a matter of fact, I can count them on the fingers on one hand - but these guys are absolutely on the top of the list.
I don't have pictures of everything (yet) so hold yer horses, I'll get there.
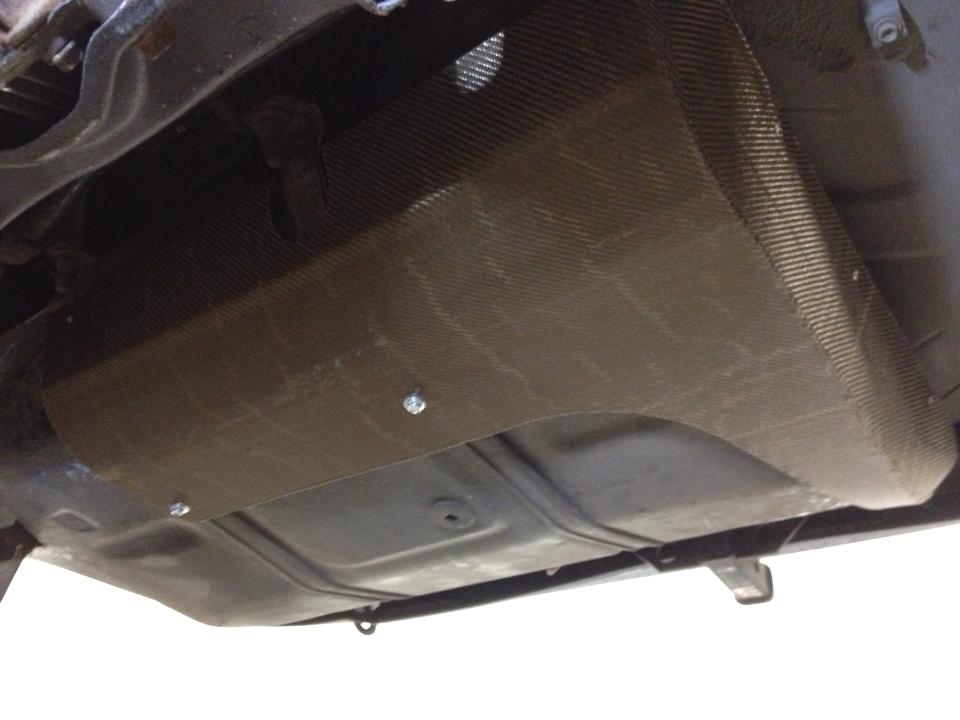
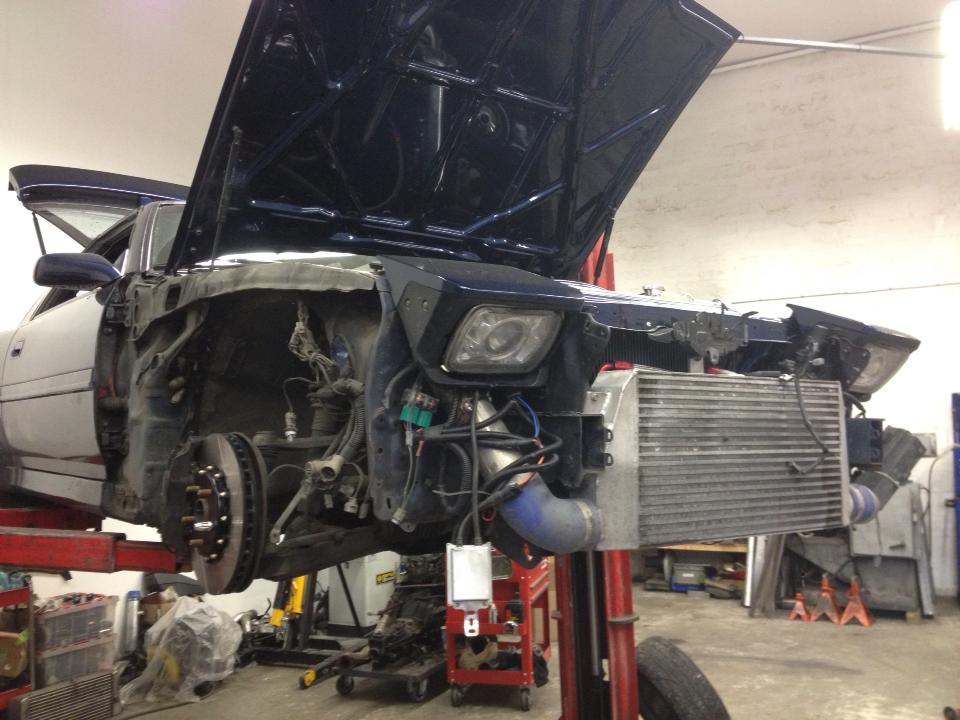
I was running into problems - mostly on the dyno, when the car isn't actually moving - with the exhaust melting the existing fuel tank heat shield and heating up the fuel, which then caused problems with fuel pressure at high load. So...
New fuel tank shield
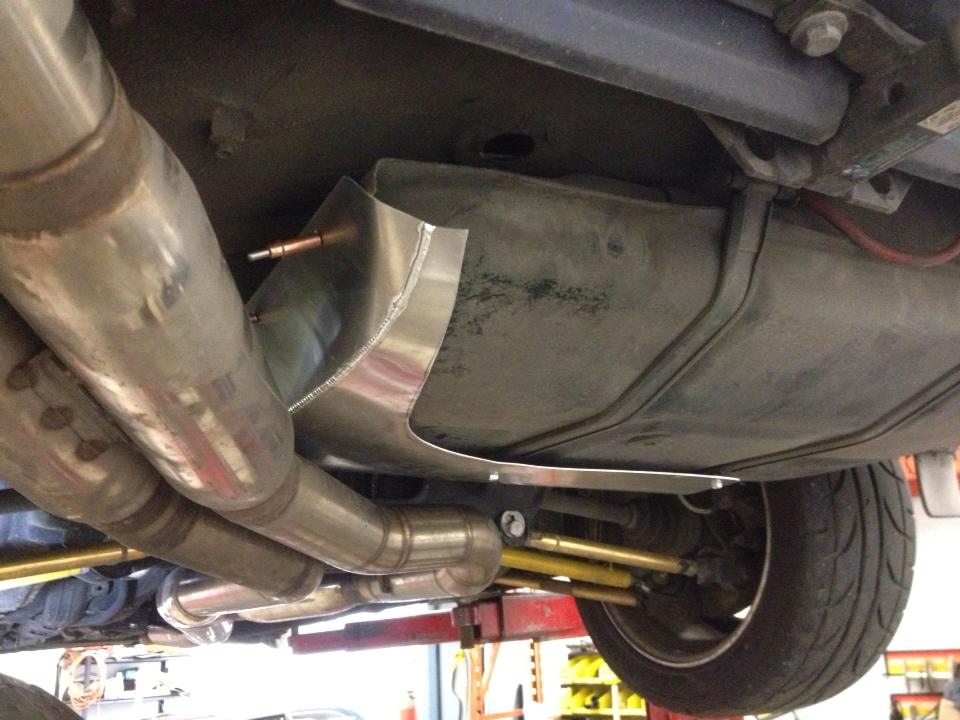
Form fitted aluminum

Then covered in heat barrier
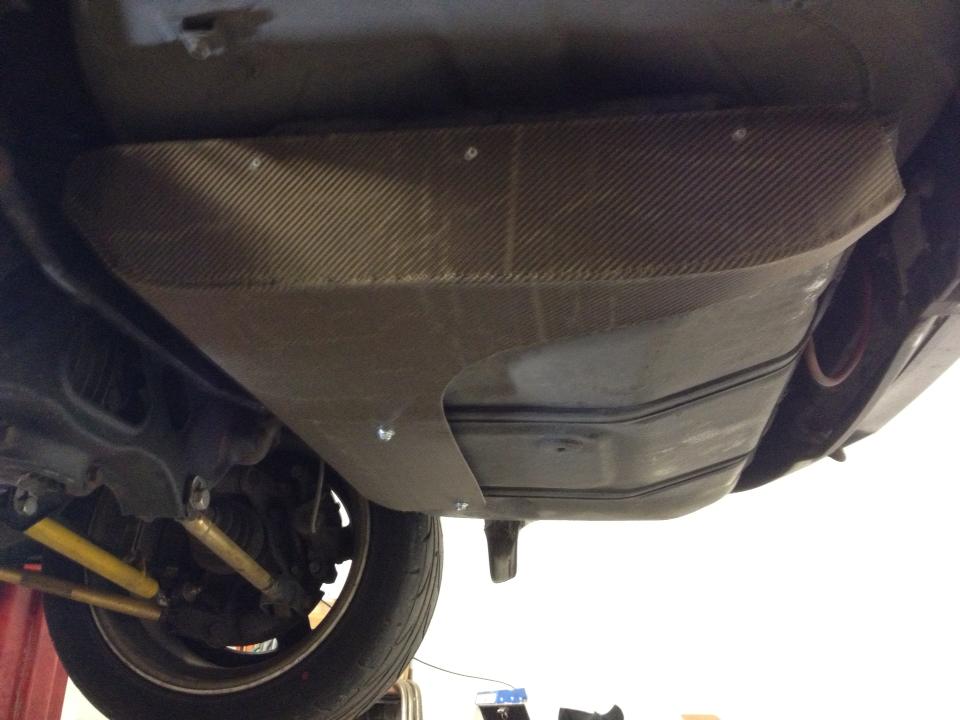
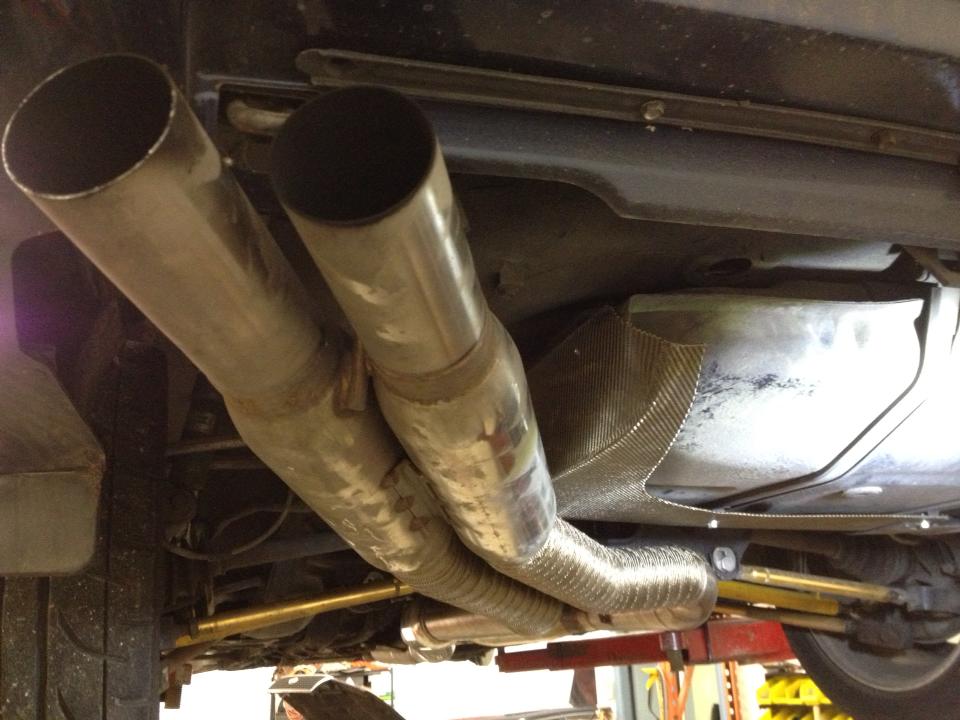
Wrapped the exhaust as well

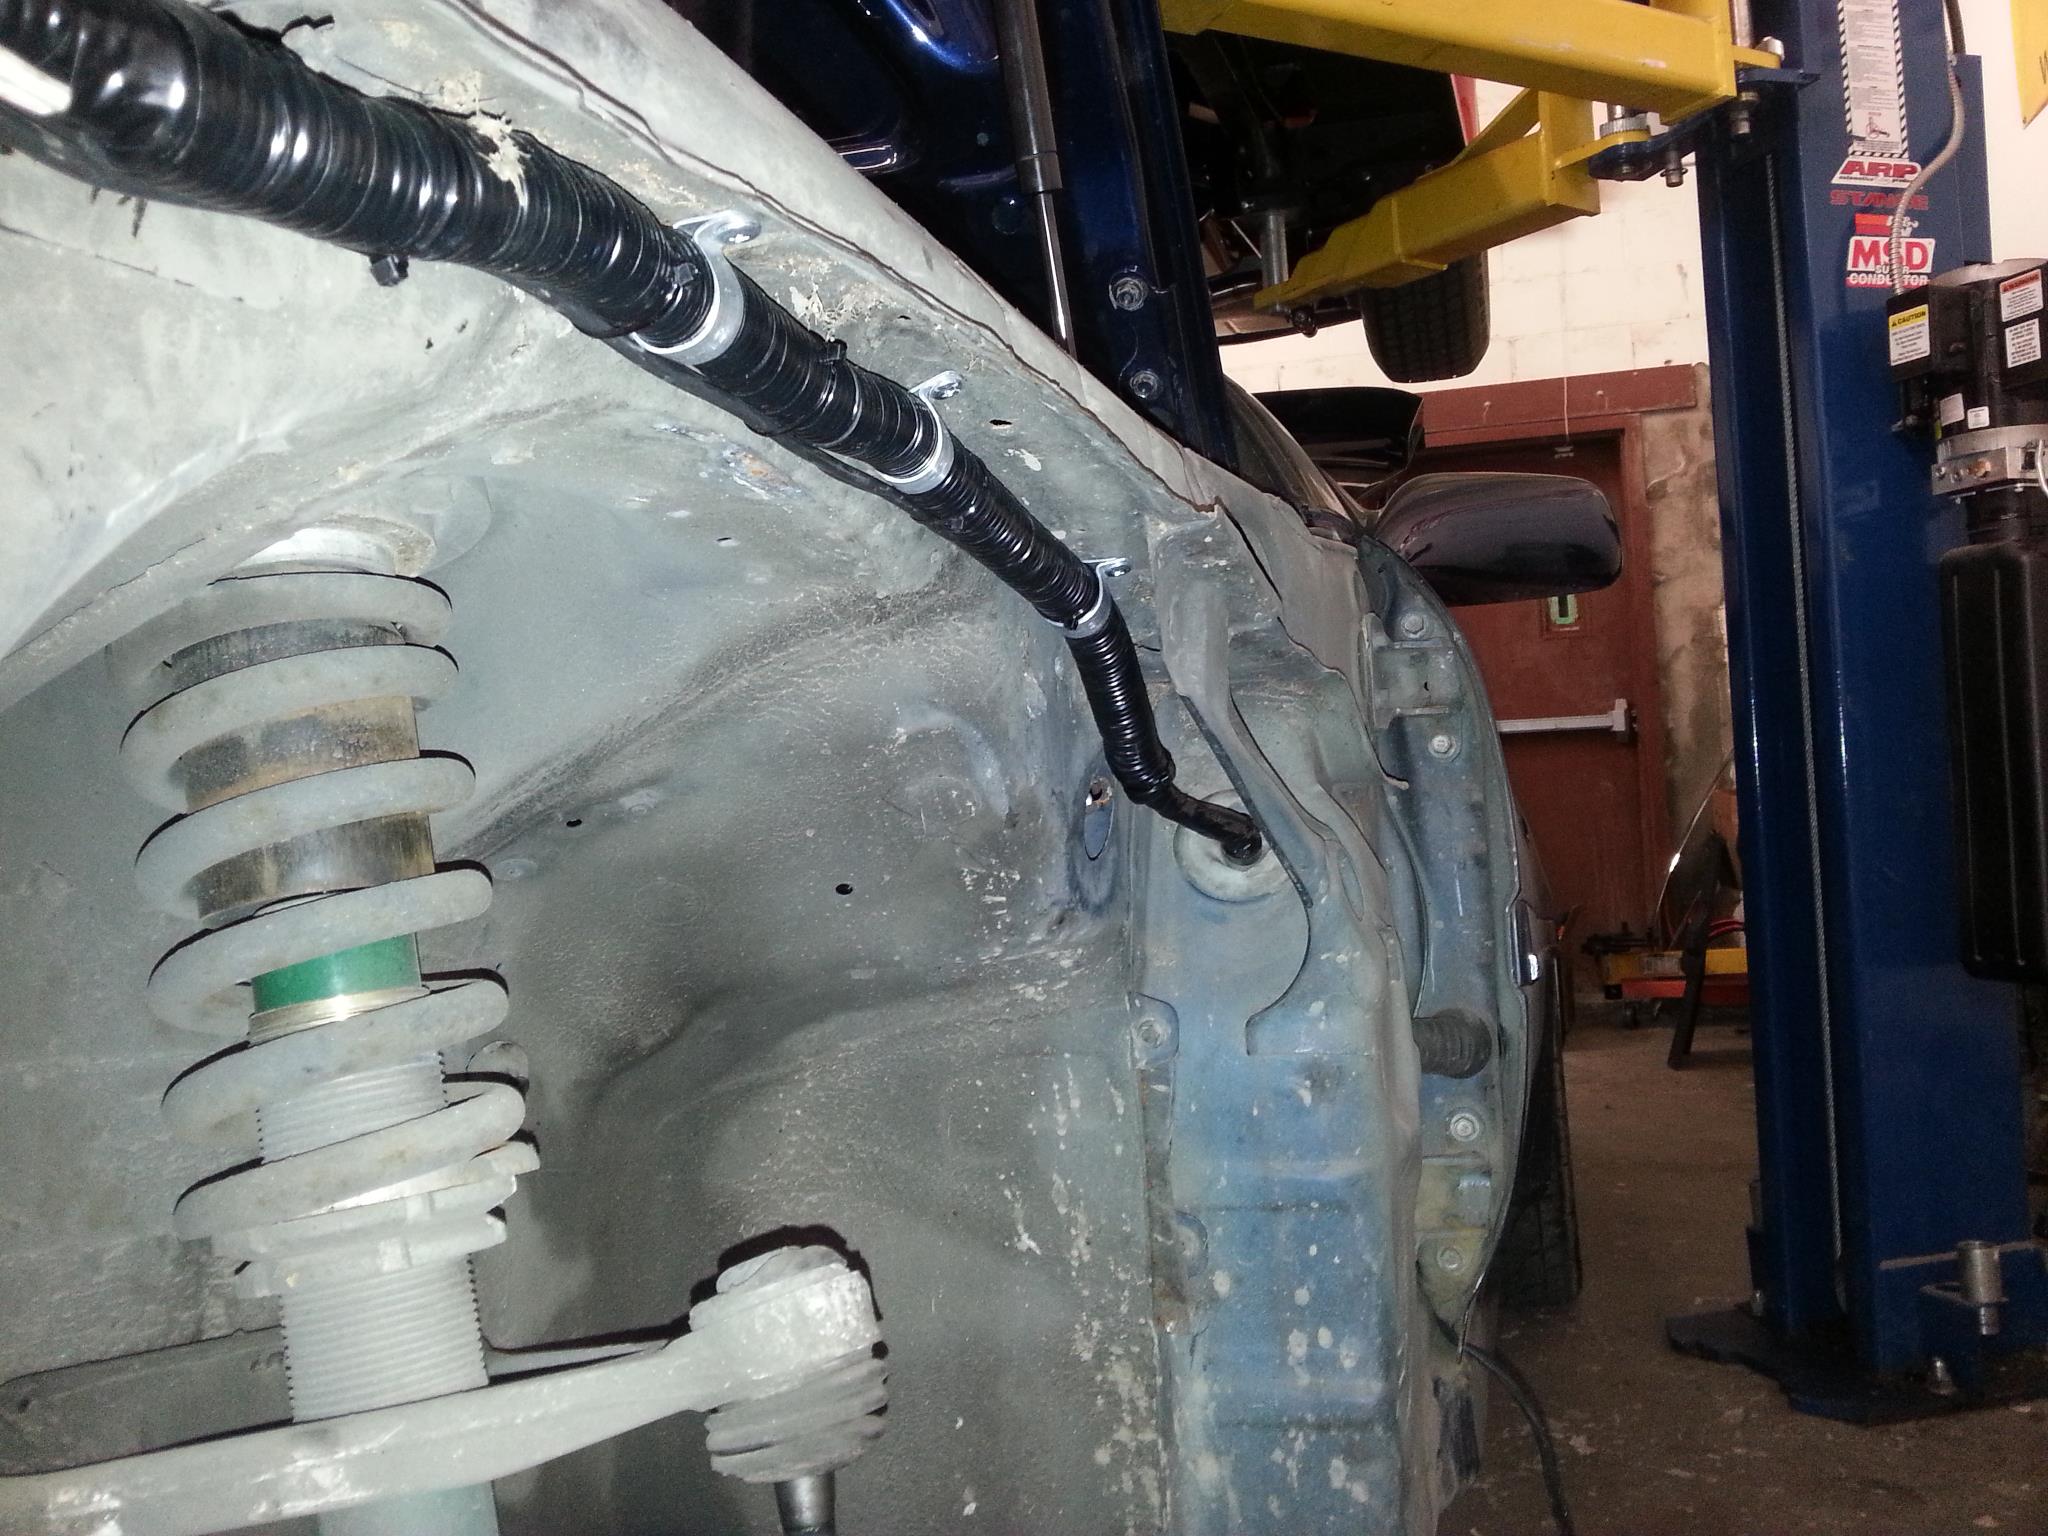
Had all the remaining stock wiring on the front of the car replaced, including re-looming the HID harness. Deutsch DTM mini connectors replaced the horribly corroded, and in some cases, barely functional stock connectors.
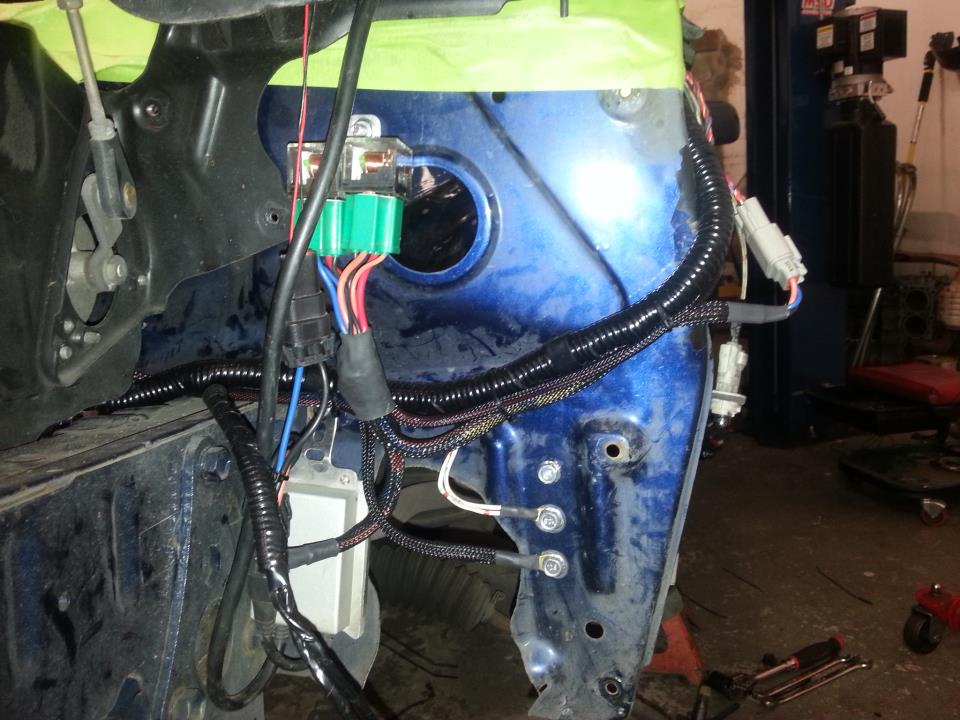
New fuse box
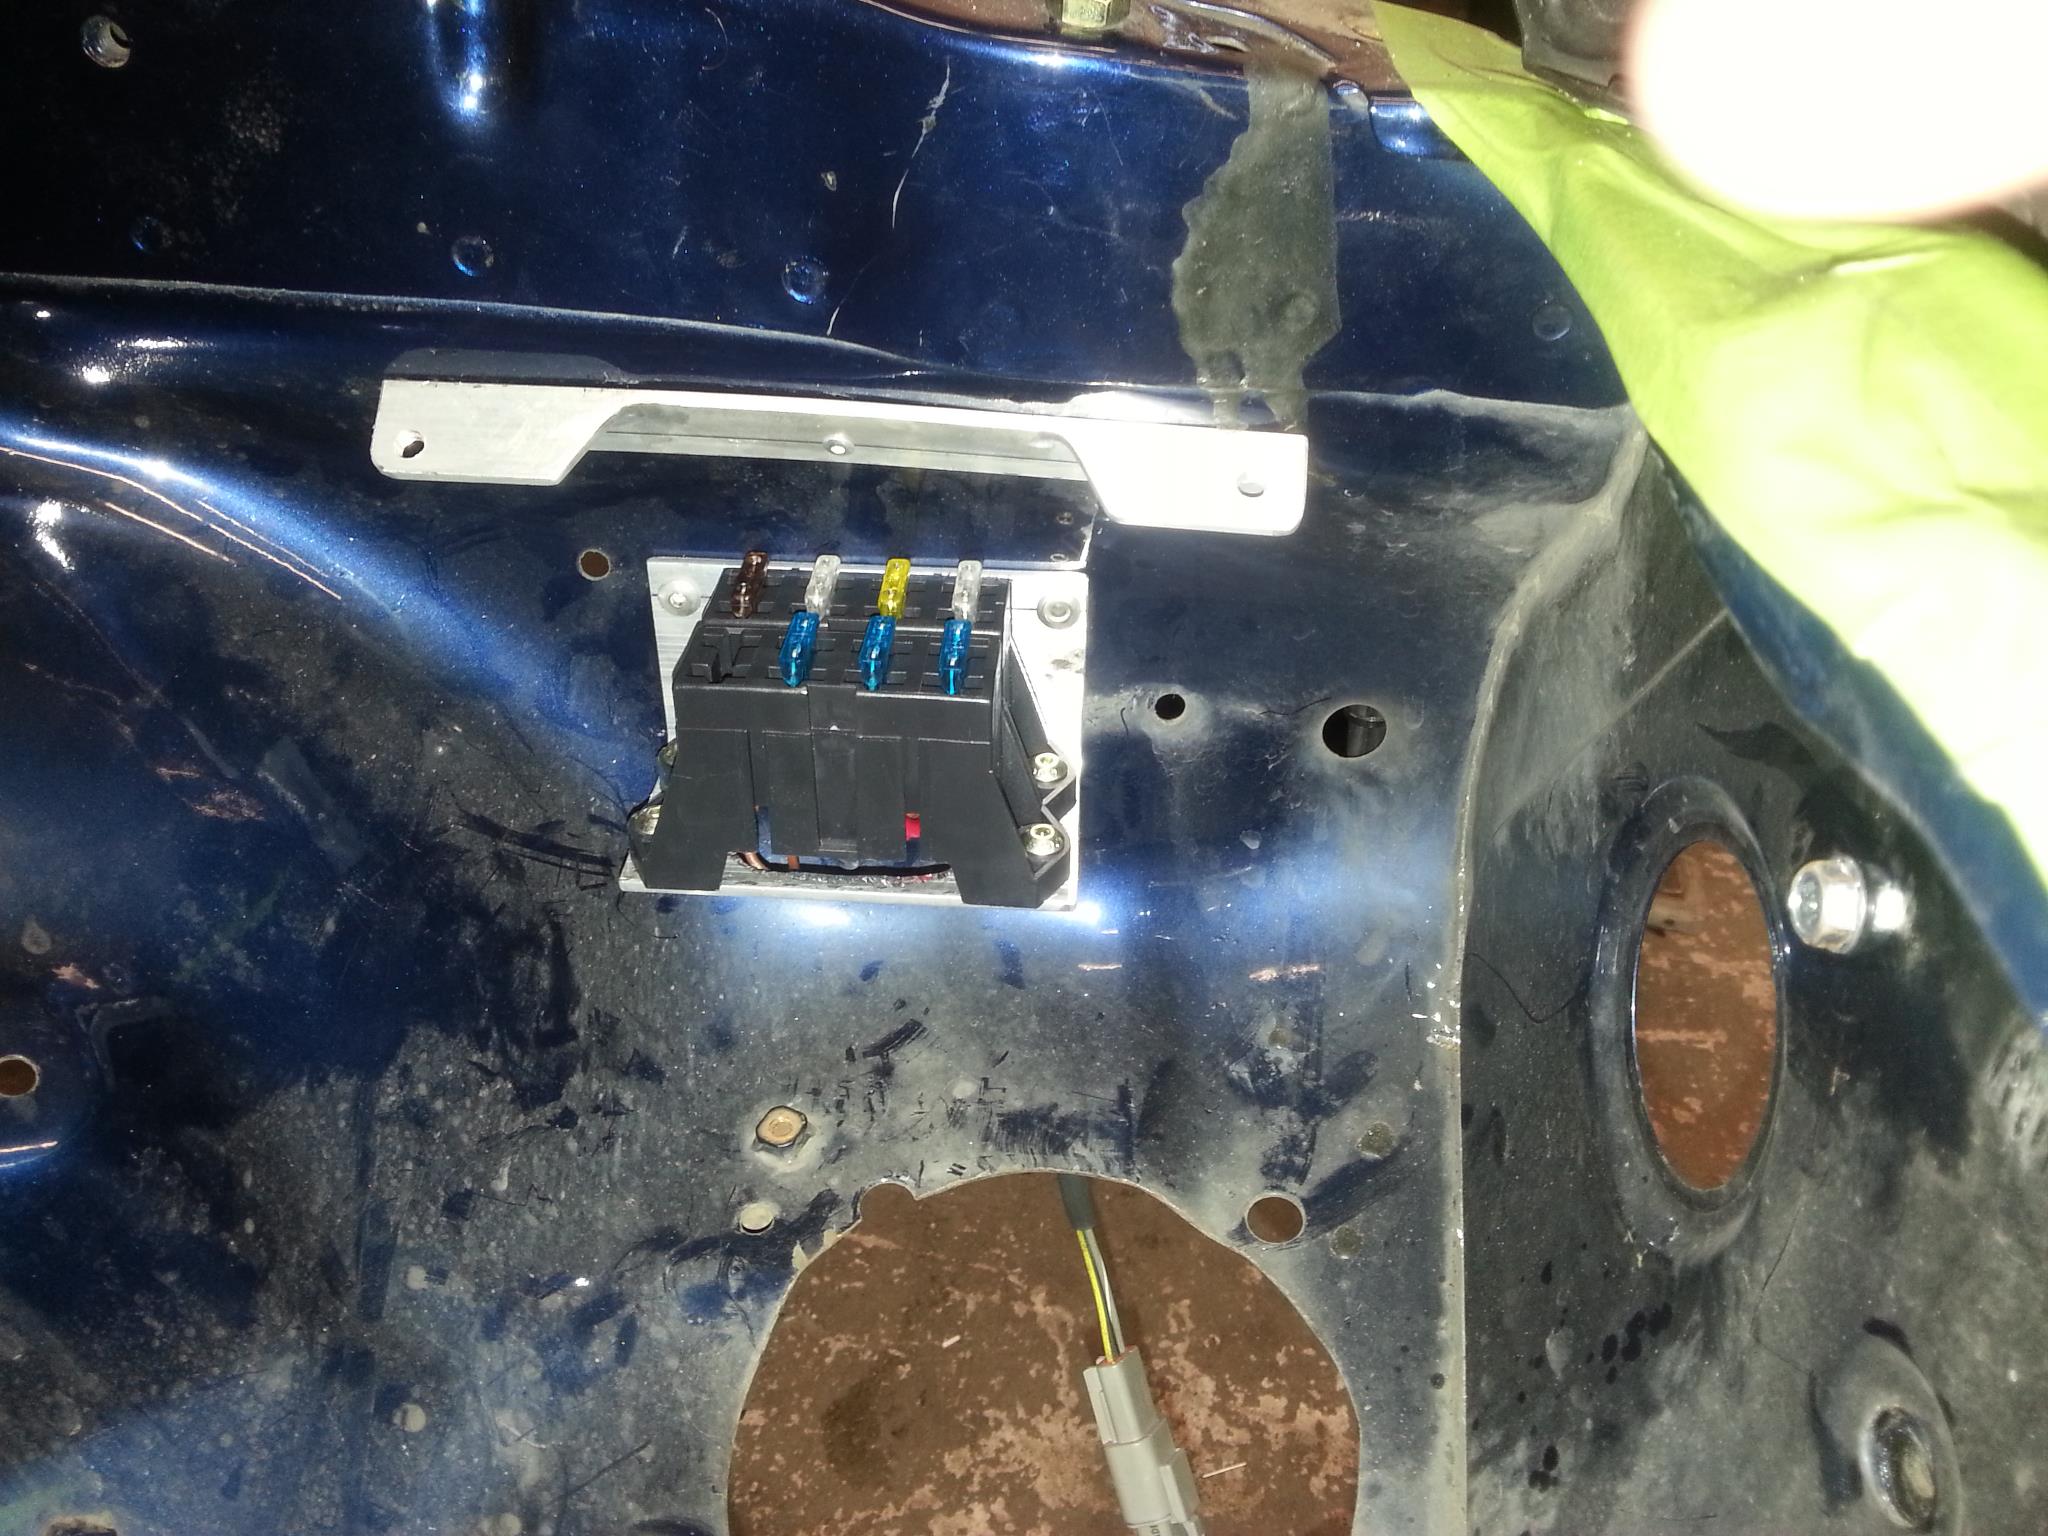
New fuse box cover

And a couple in progress shorts just because...
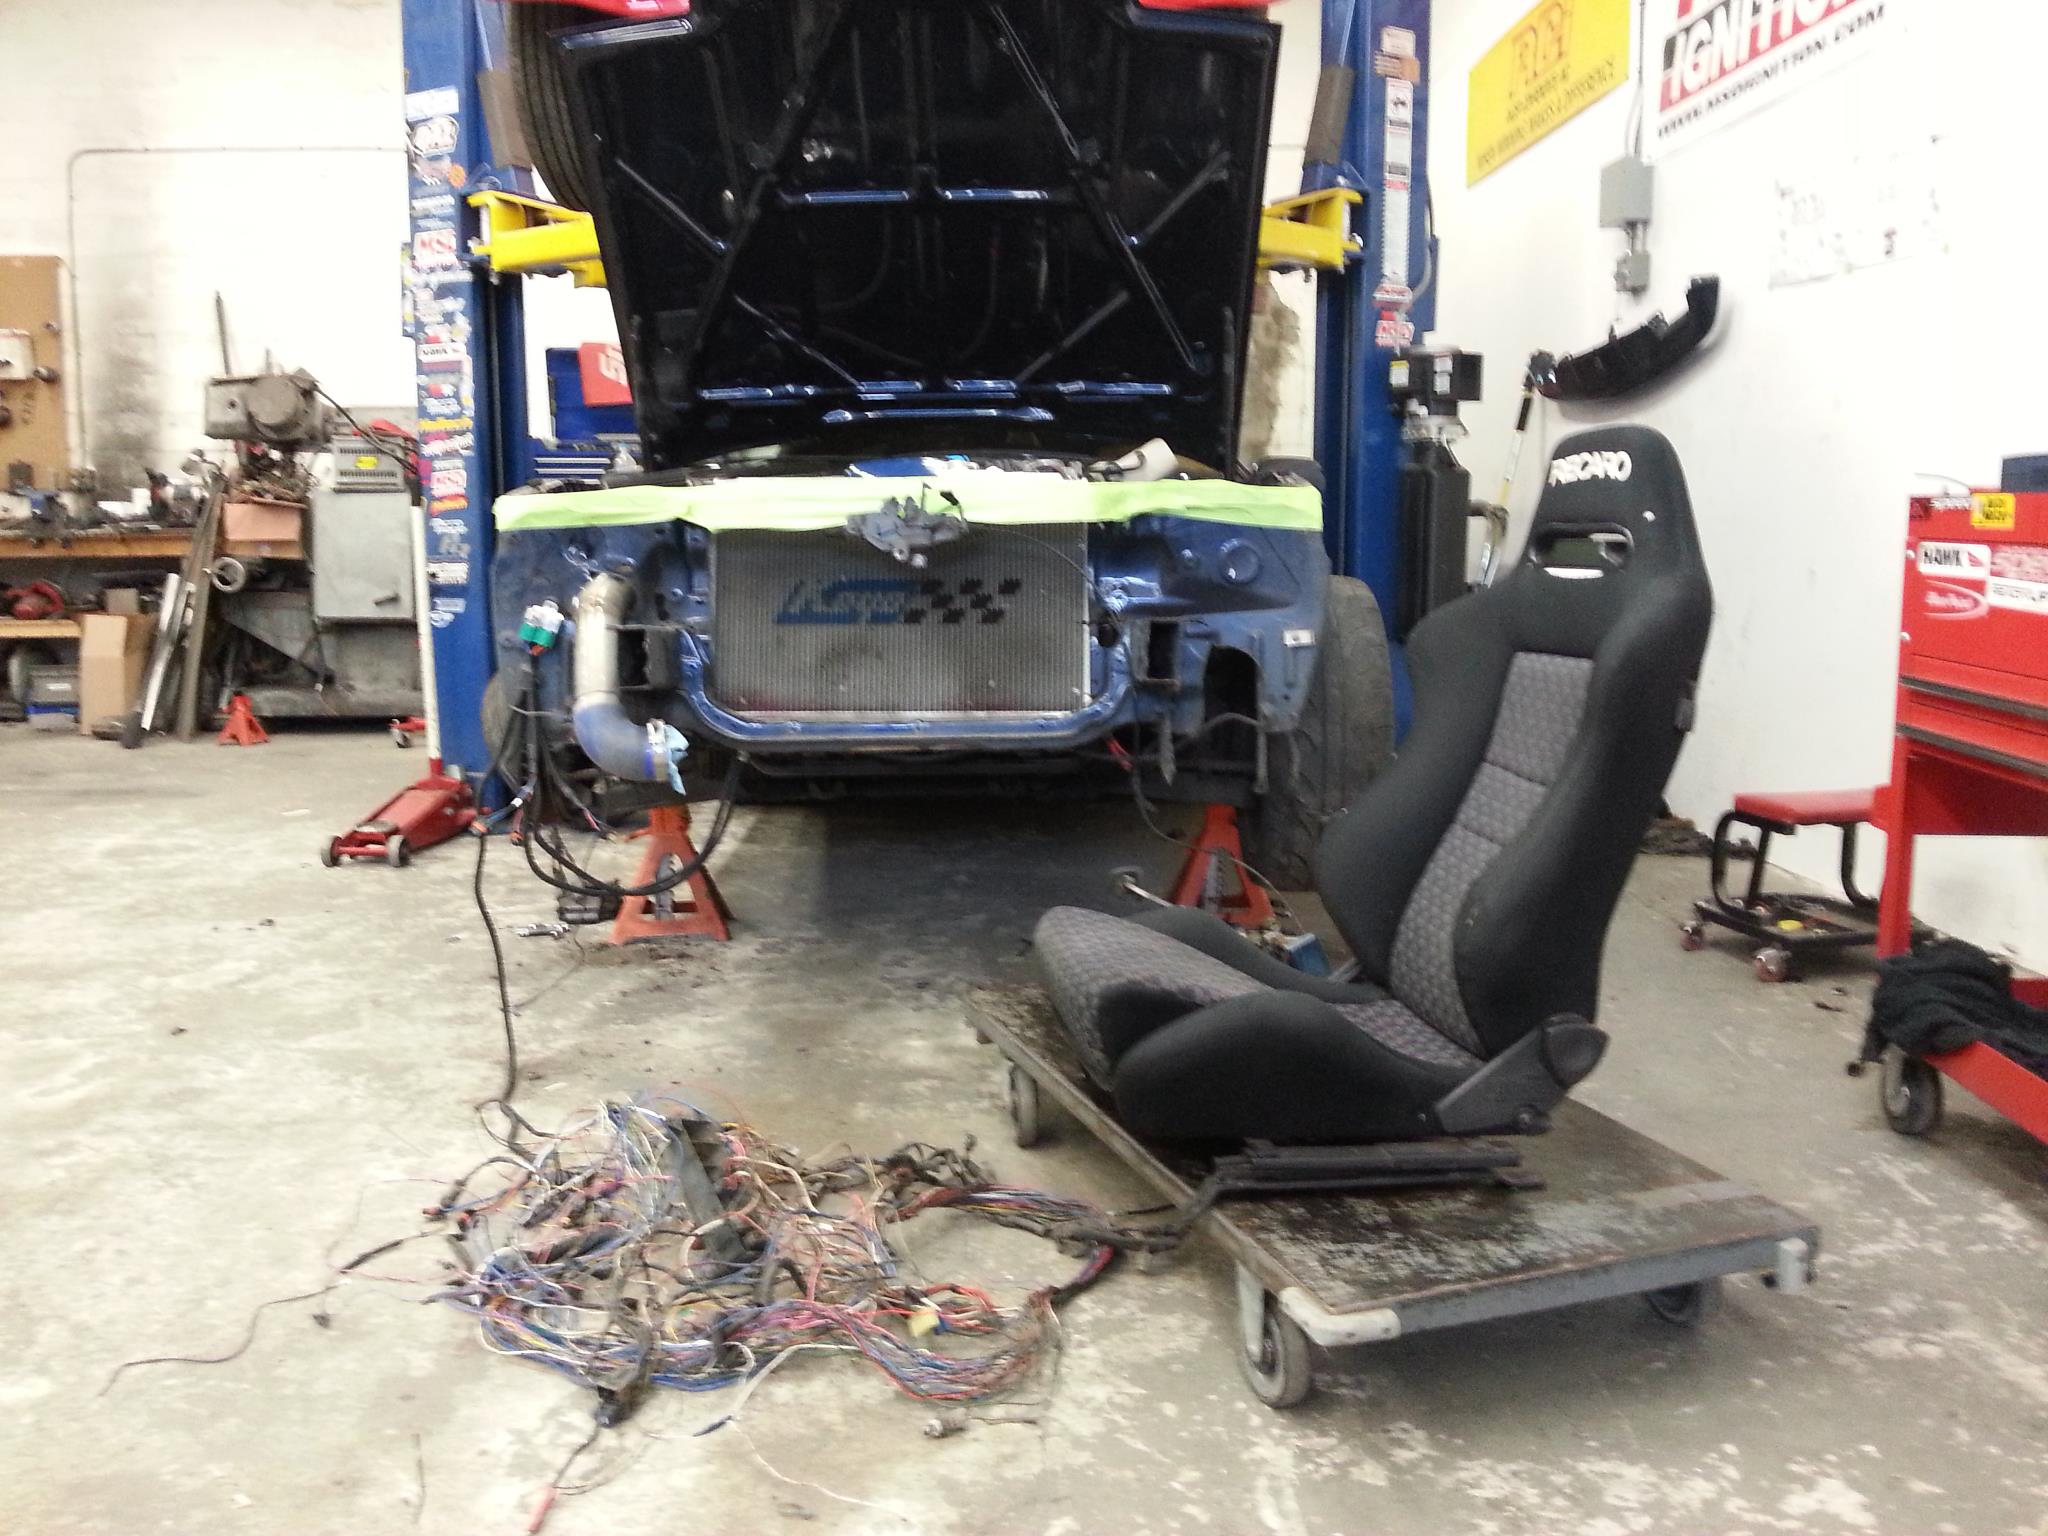
There's a bunch more photos of other work on the way as well.
I don't have pictures of everything (yet) so hold yer horses, I'll get there.
I was running into problems - mostly on the dyno, when the car isn't actually moving - with the exhaust melting the existing fuel tank heat shield and heating up the fuel, which then caused problems with fuel pressure at high load. So...
New fuel tank shield
Form fitted aluminum
Then covered in heat barrier
Wrapped the exhaust as well
Had all the remaining stock wiring on the front of the car replaced, including re-looming the HID harness. Deutsch DTM mini connectors replaced the horribly corroded, and in some cases, barely functional stock connectors.
New fuse box
New fuse box cover
And a couple in progress shorts just because...
There's a bunch more photos of other work on the way as well.
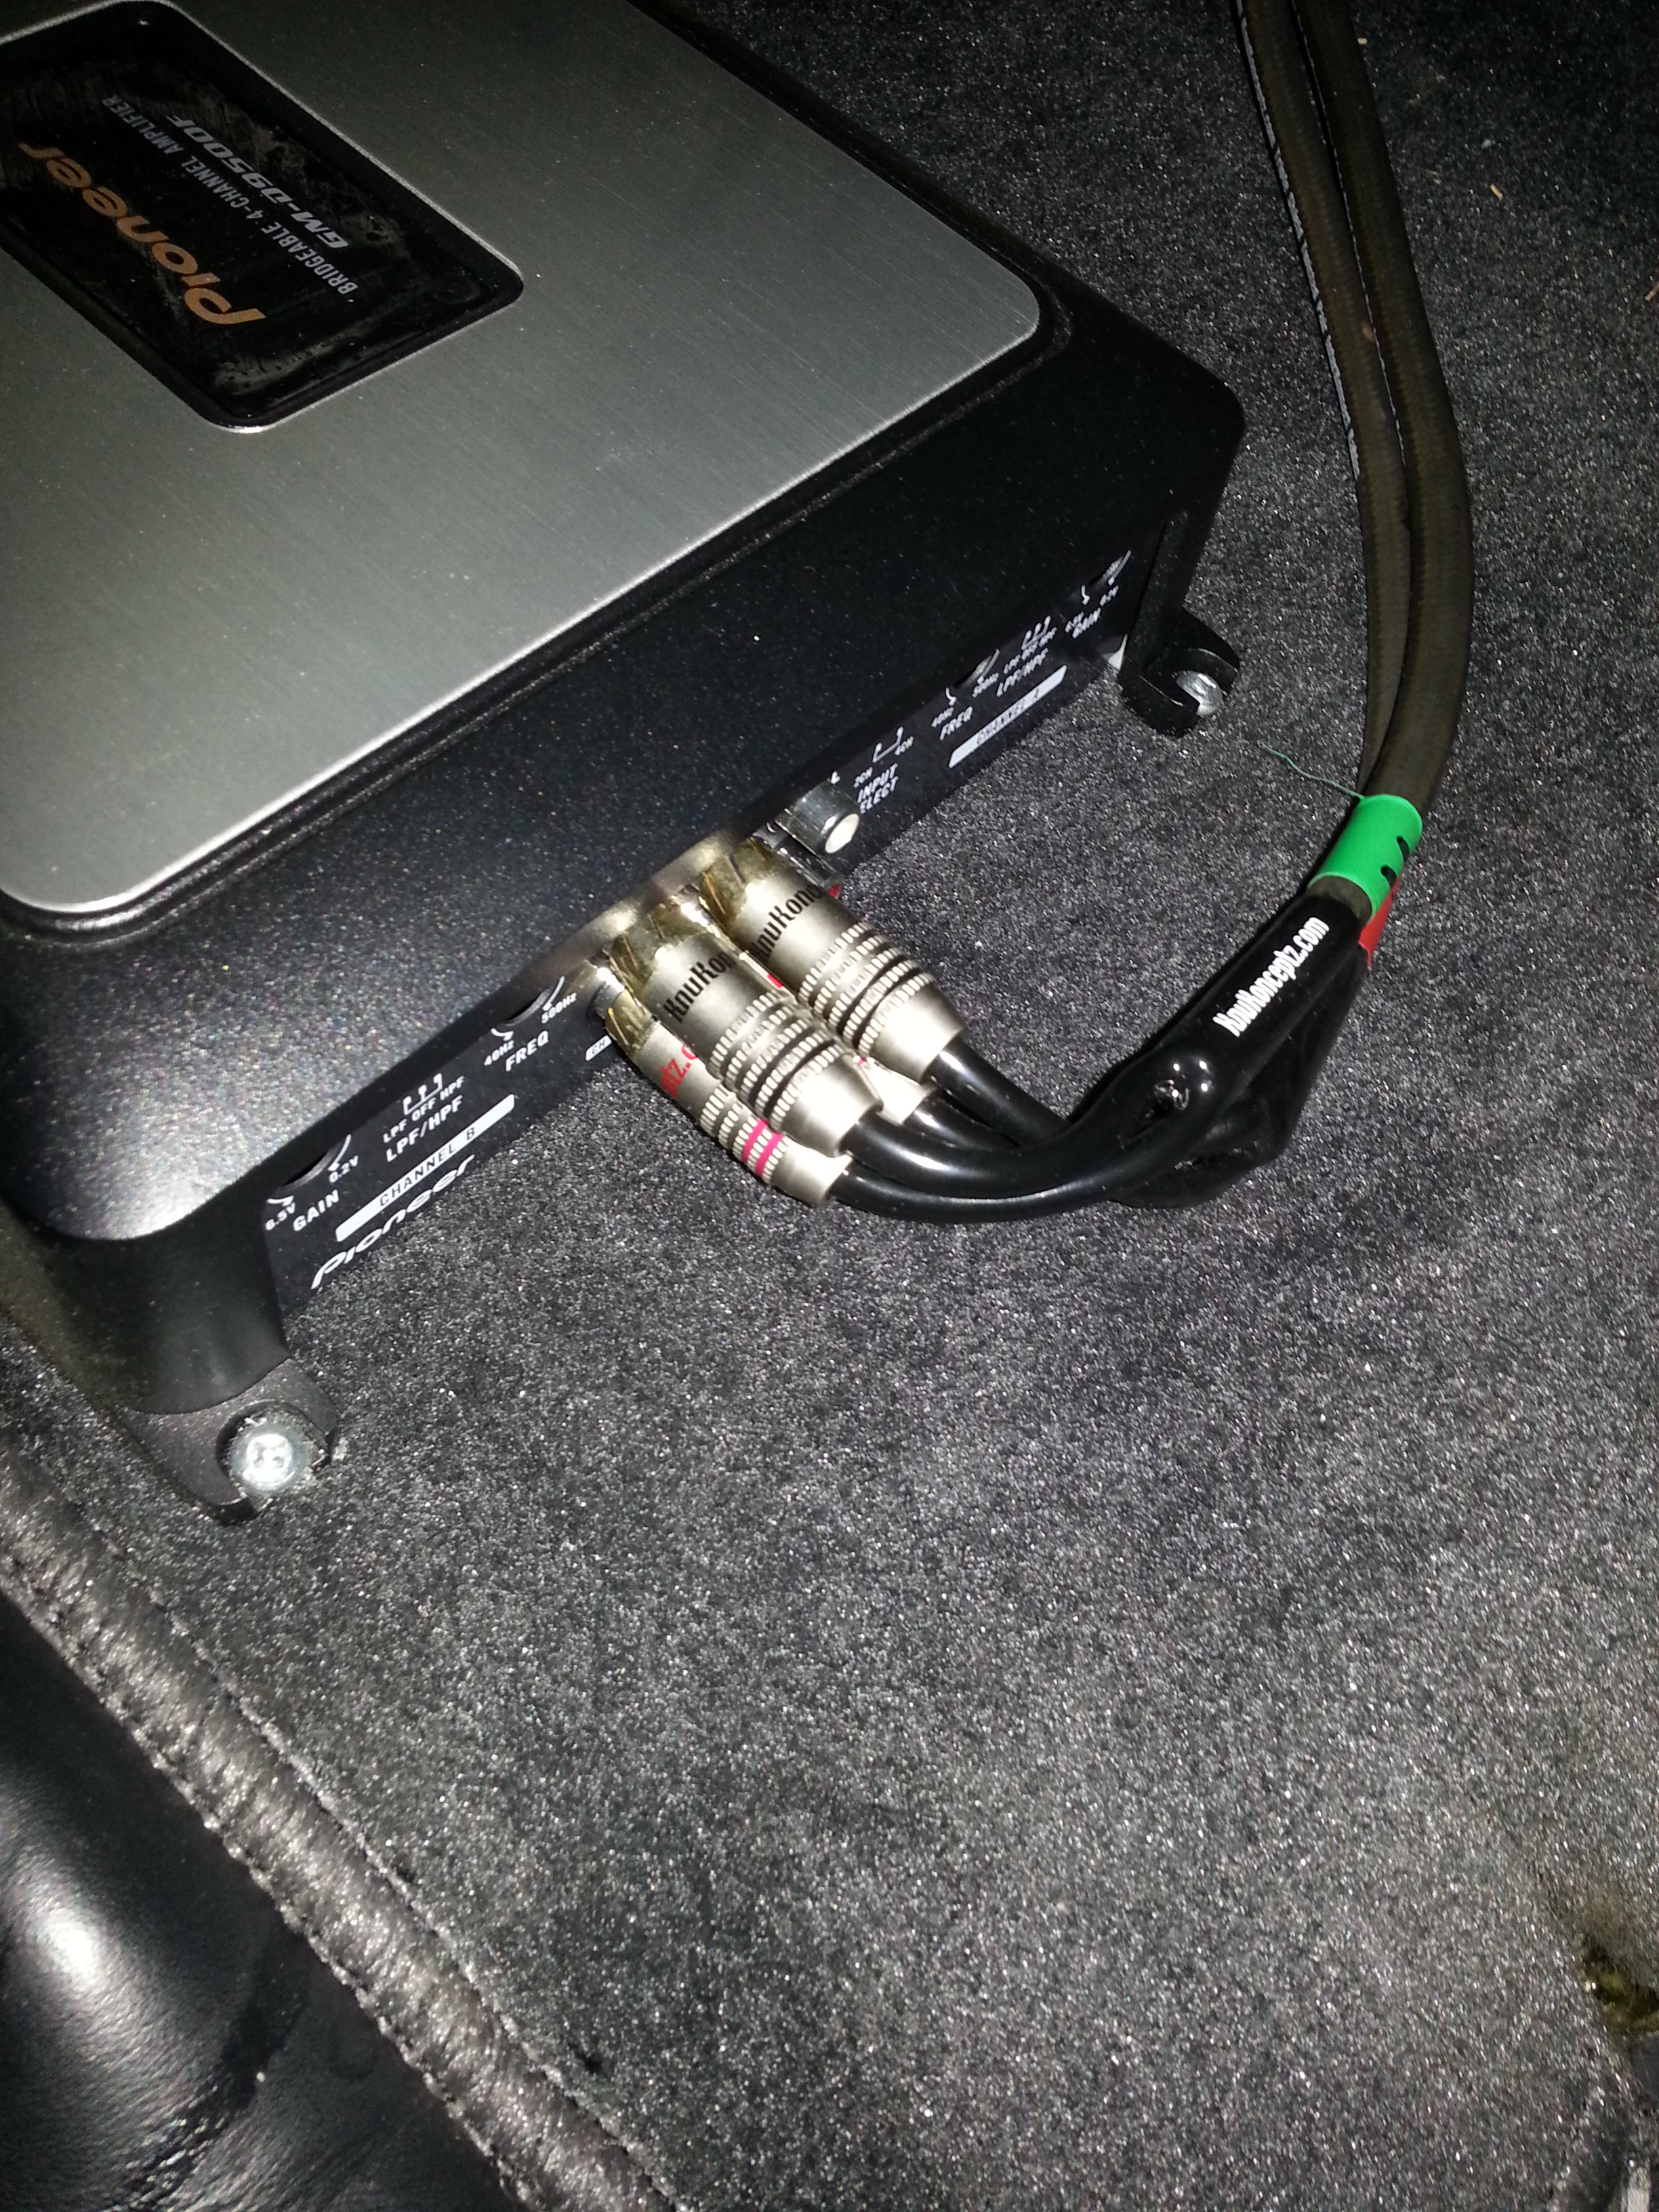
When I had the windshield replaced last summer, it had a leak. Right around the rear view mirror. Also directly above the stereo. Said stereo started developing gremlins, which annoyed me, so it's now sitting on my garage floor, while this has been installed in the car.
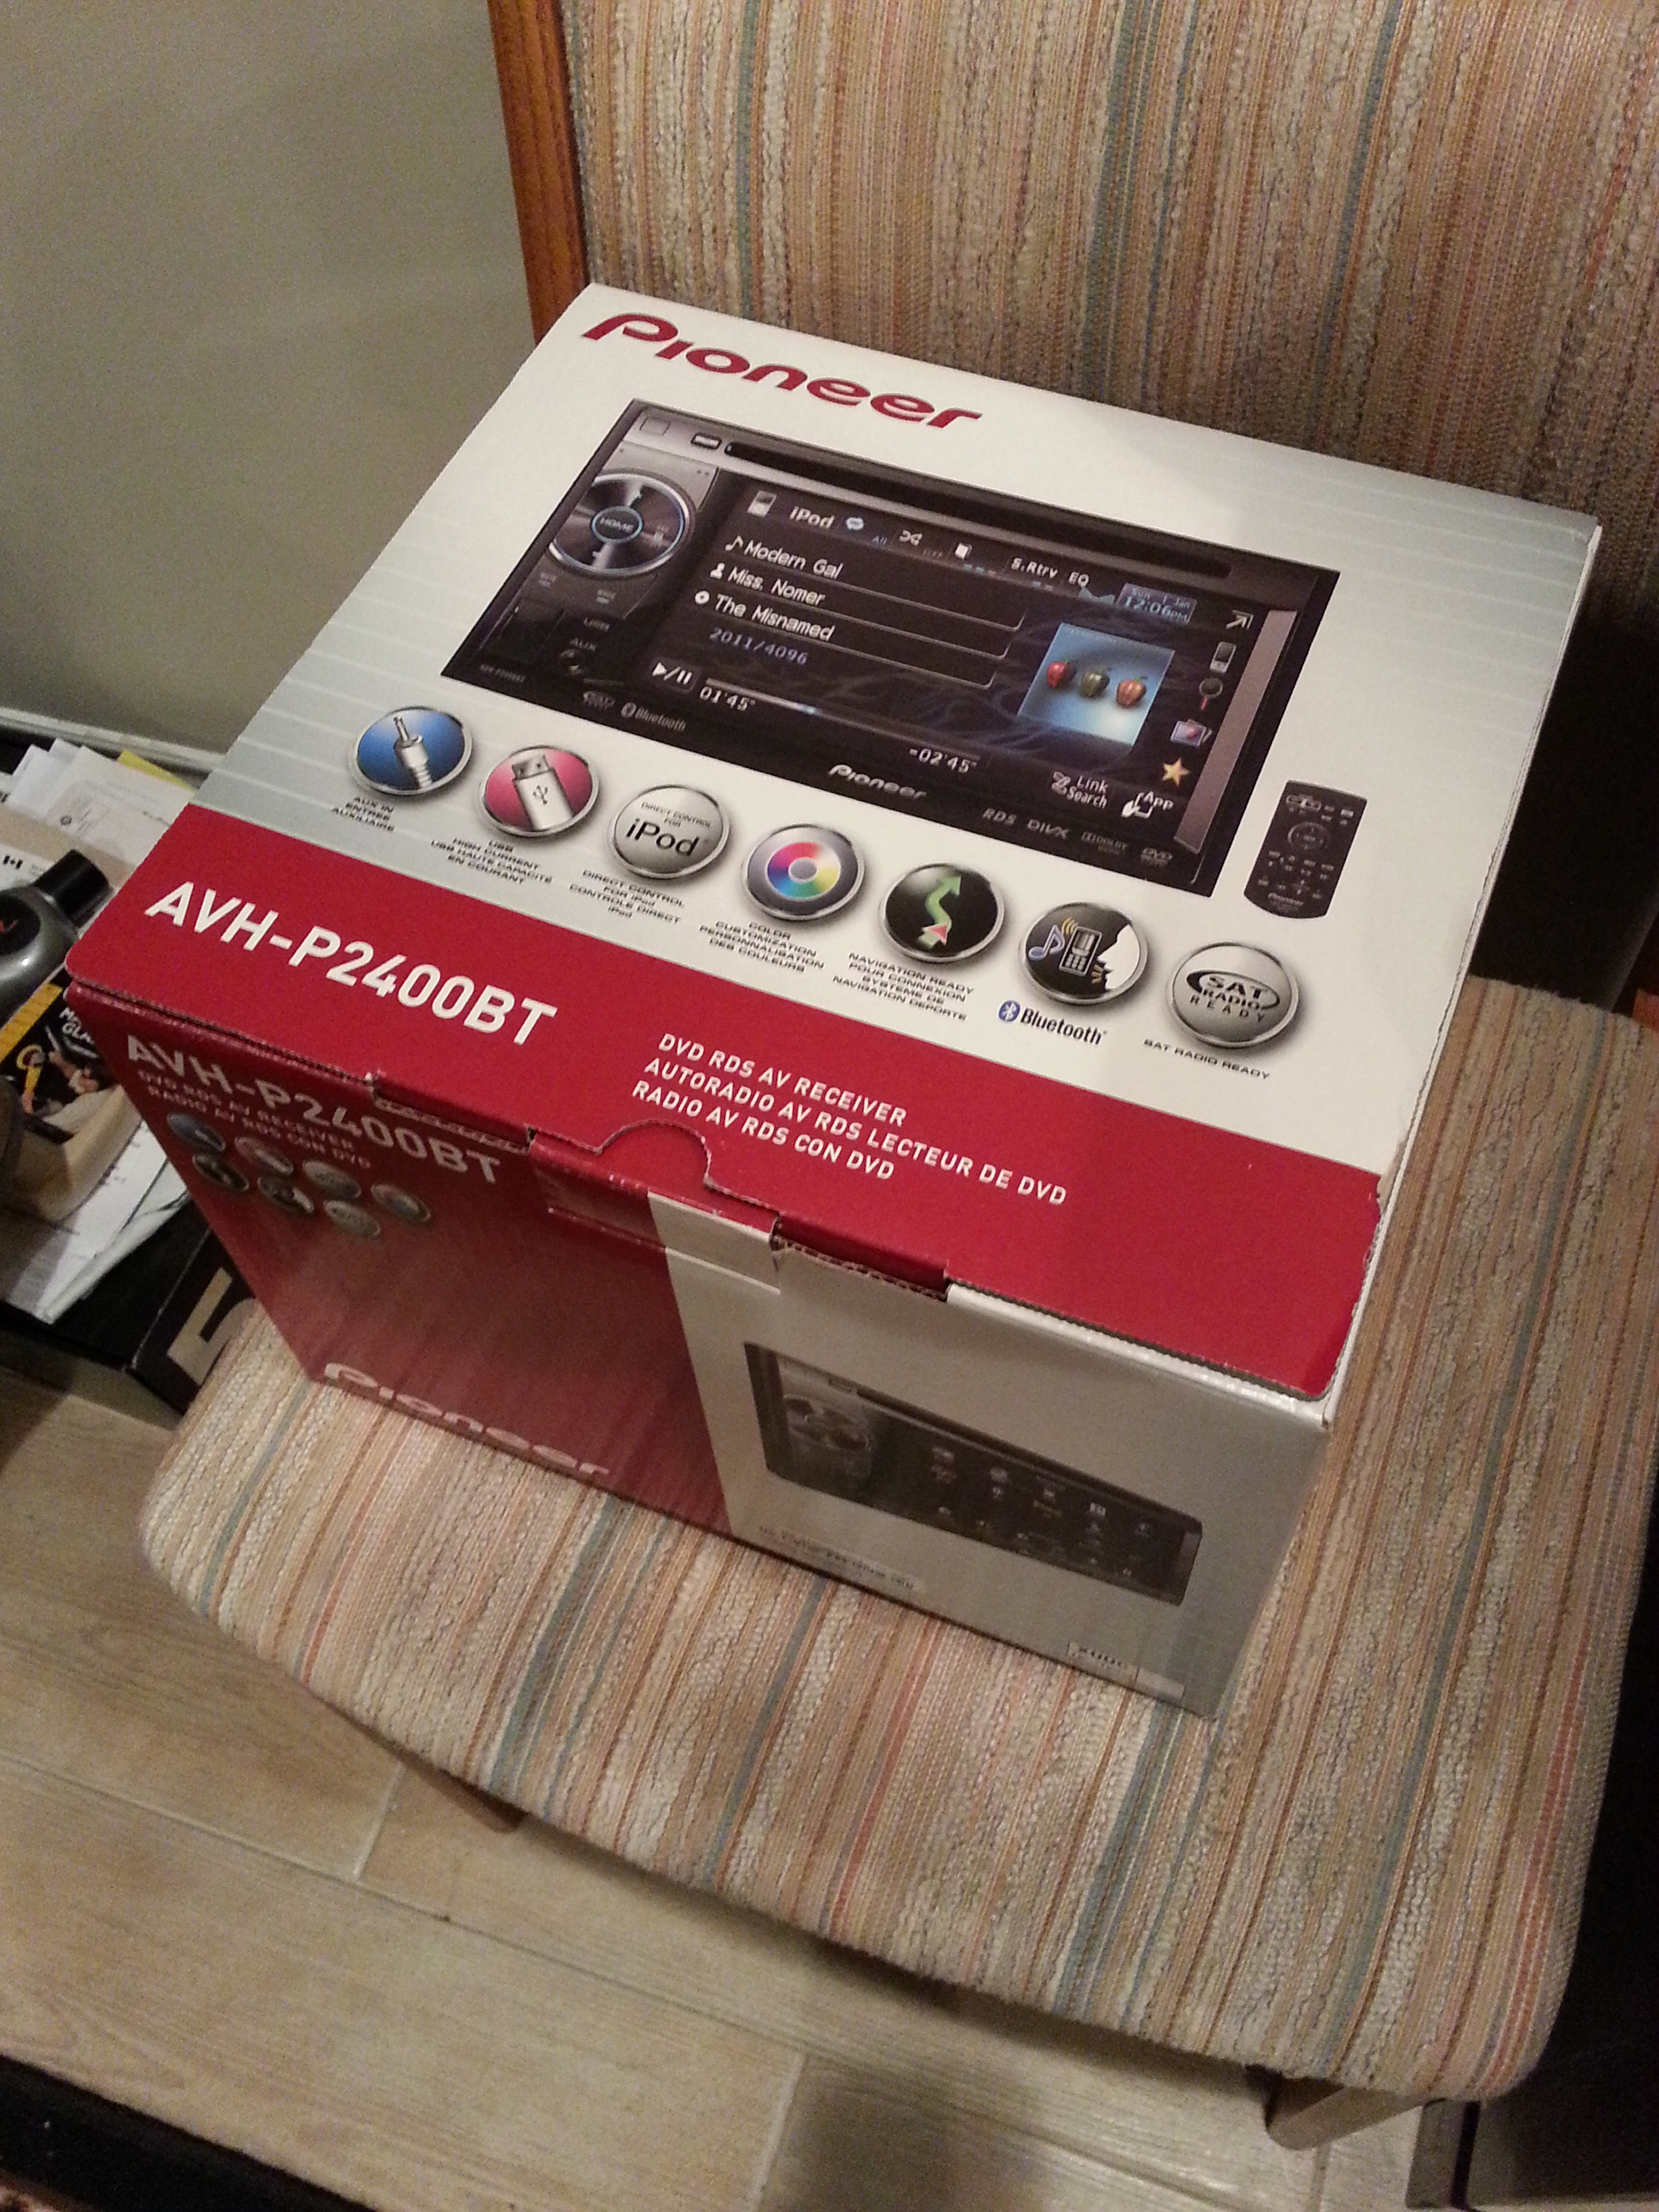
Never was happy with the RCA cables I put in with the old stereo, either, so I added these at the same time.
Finally mounted the AP Racing brakes. Another example of overkill. These are just plain ridiculous, I'm not going to be at all surprised if they are capable of breaking bones in the summer with R-compound rubber on the car.
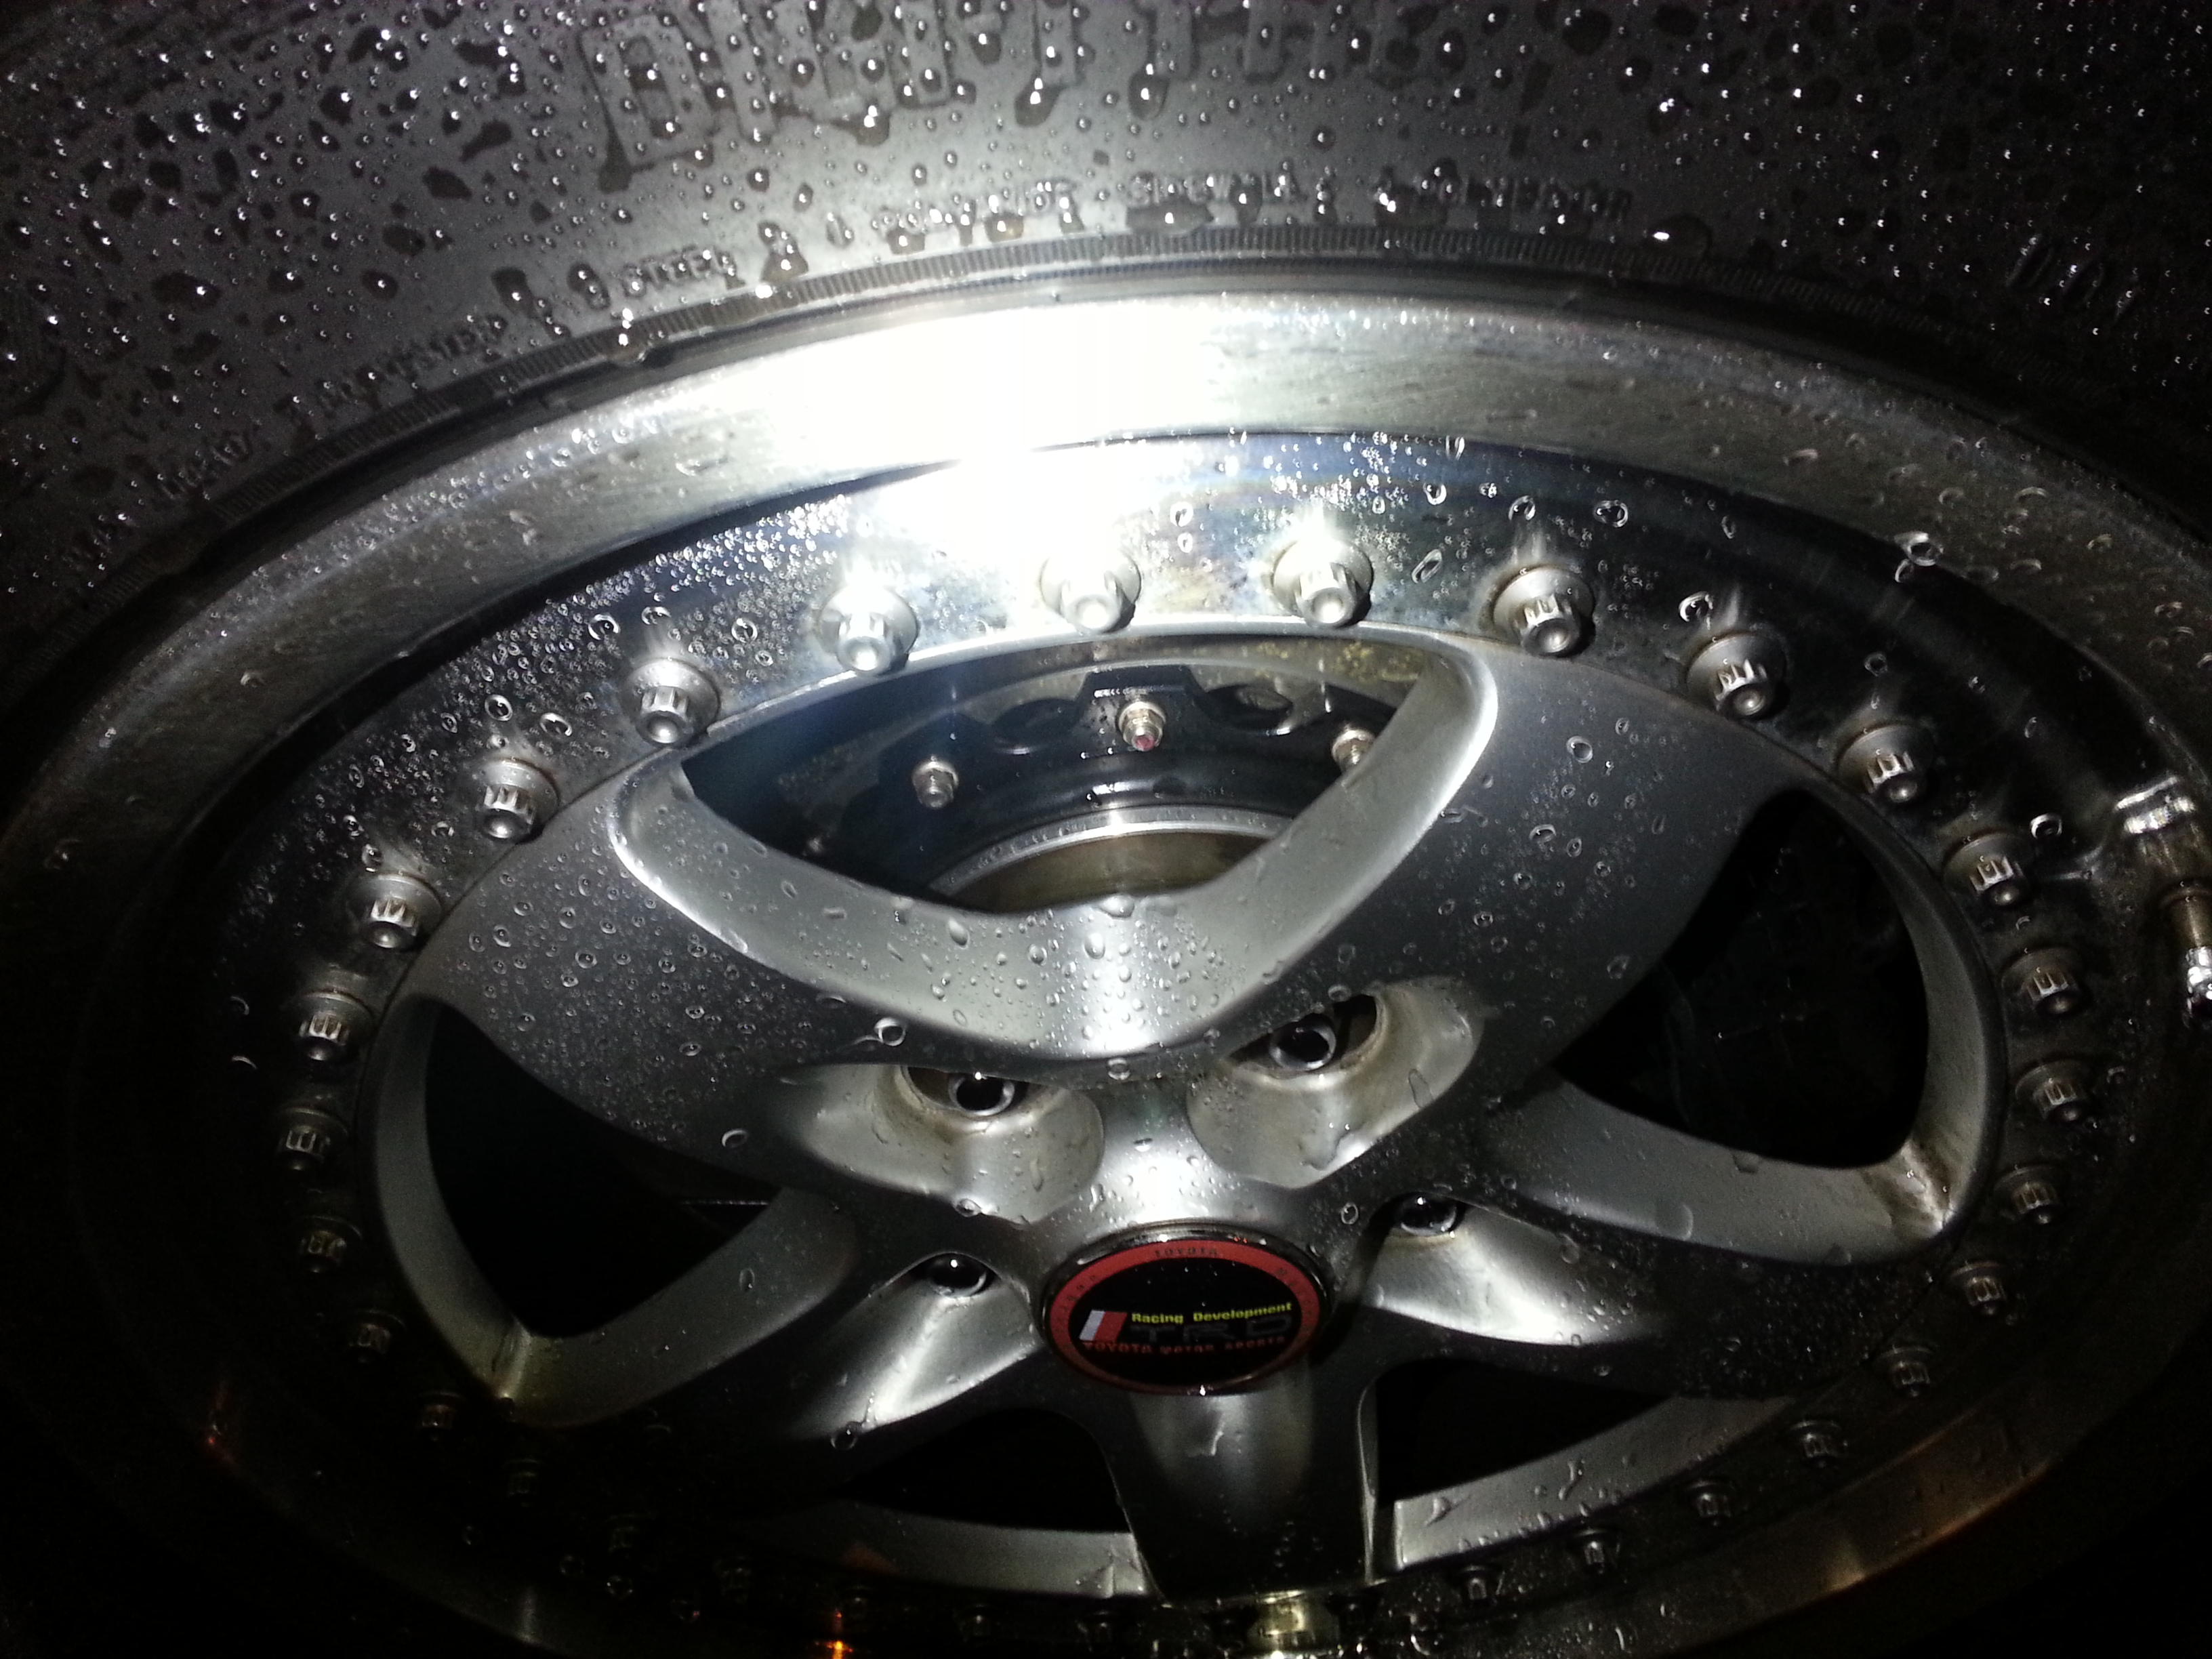
Getting these on turned out to be quite the challenge. There wasn't enough clearance behind my Racing Harts, and I needed a custom hubcentric ring to center the discs... so, a custom one-off spacer was dreamt up that makes both my discs and wheels hubcentric again, and spaces out the wheel by the required amount.
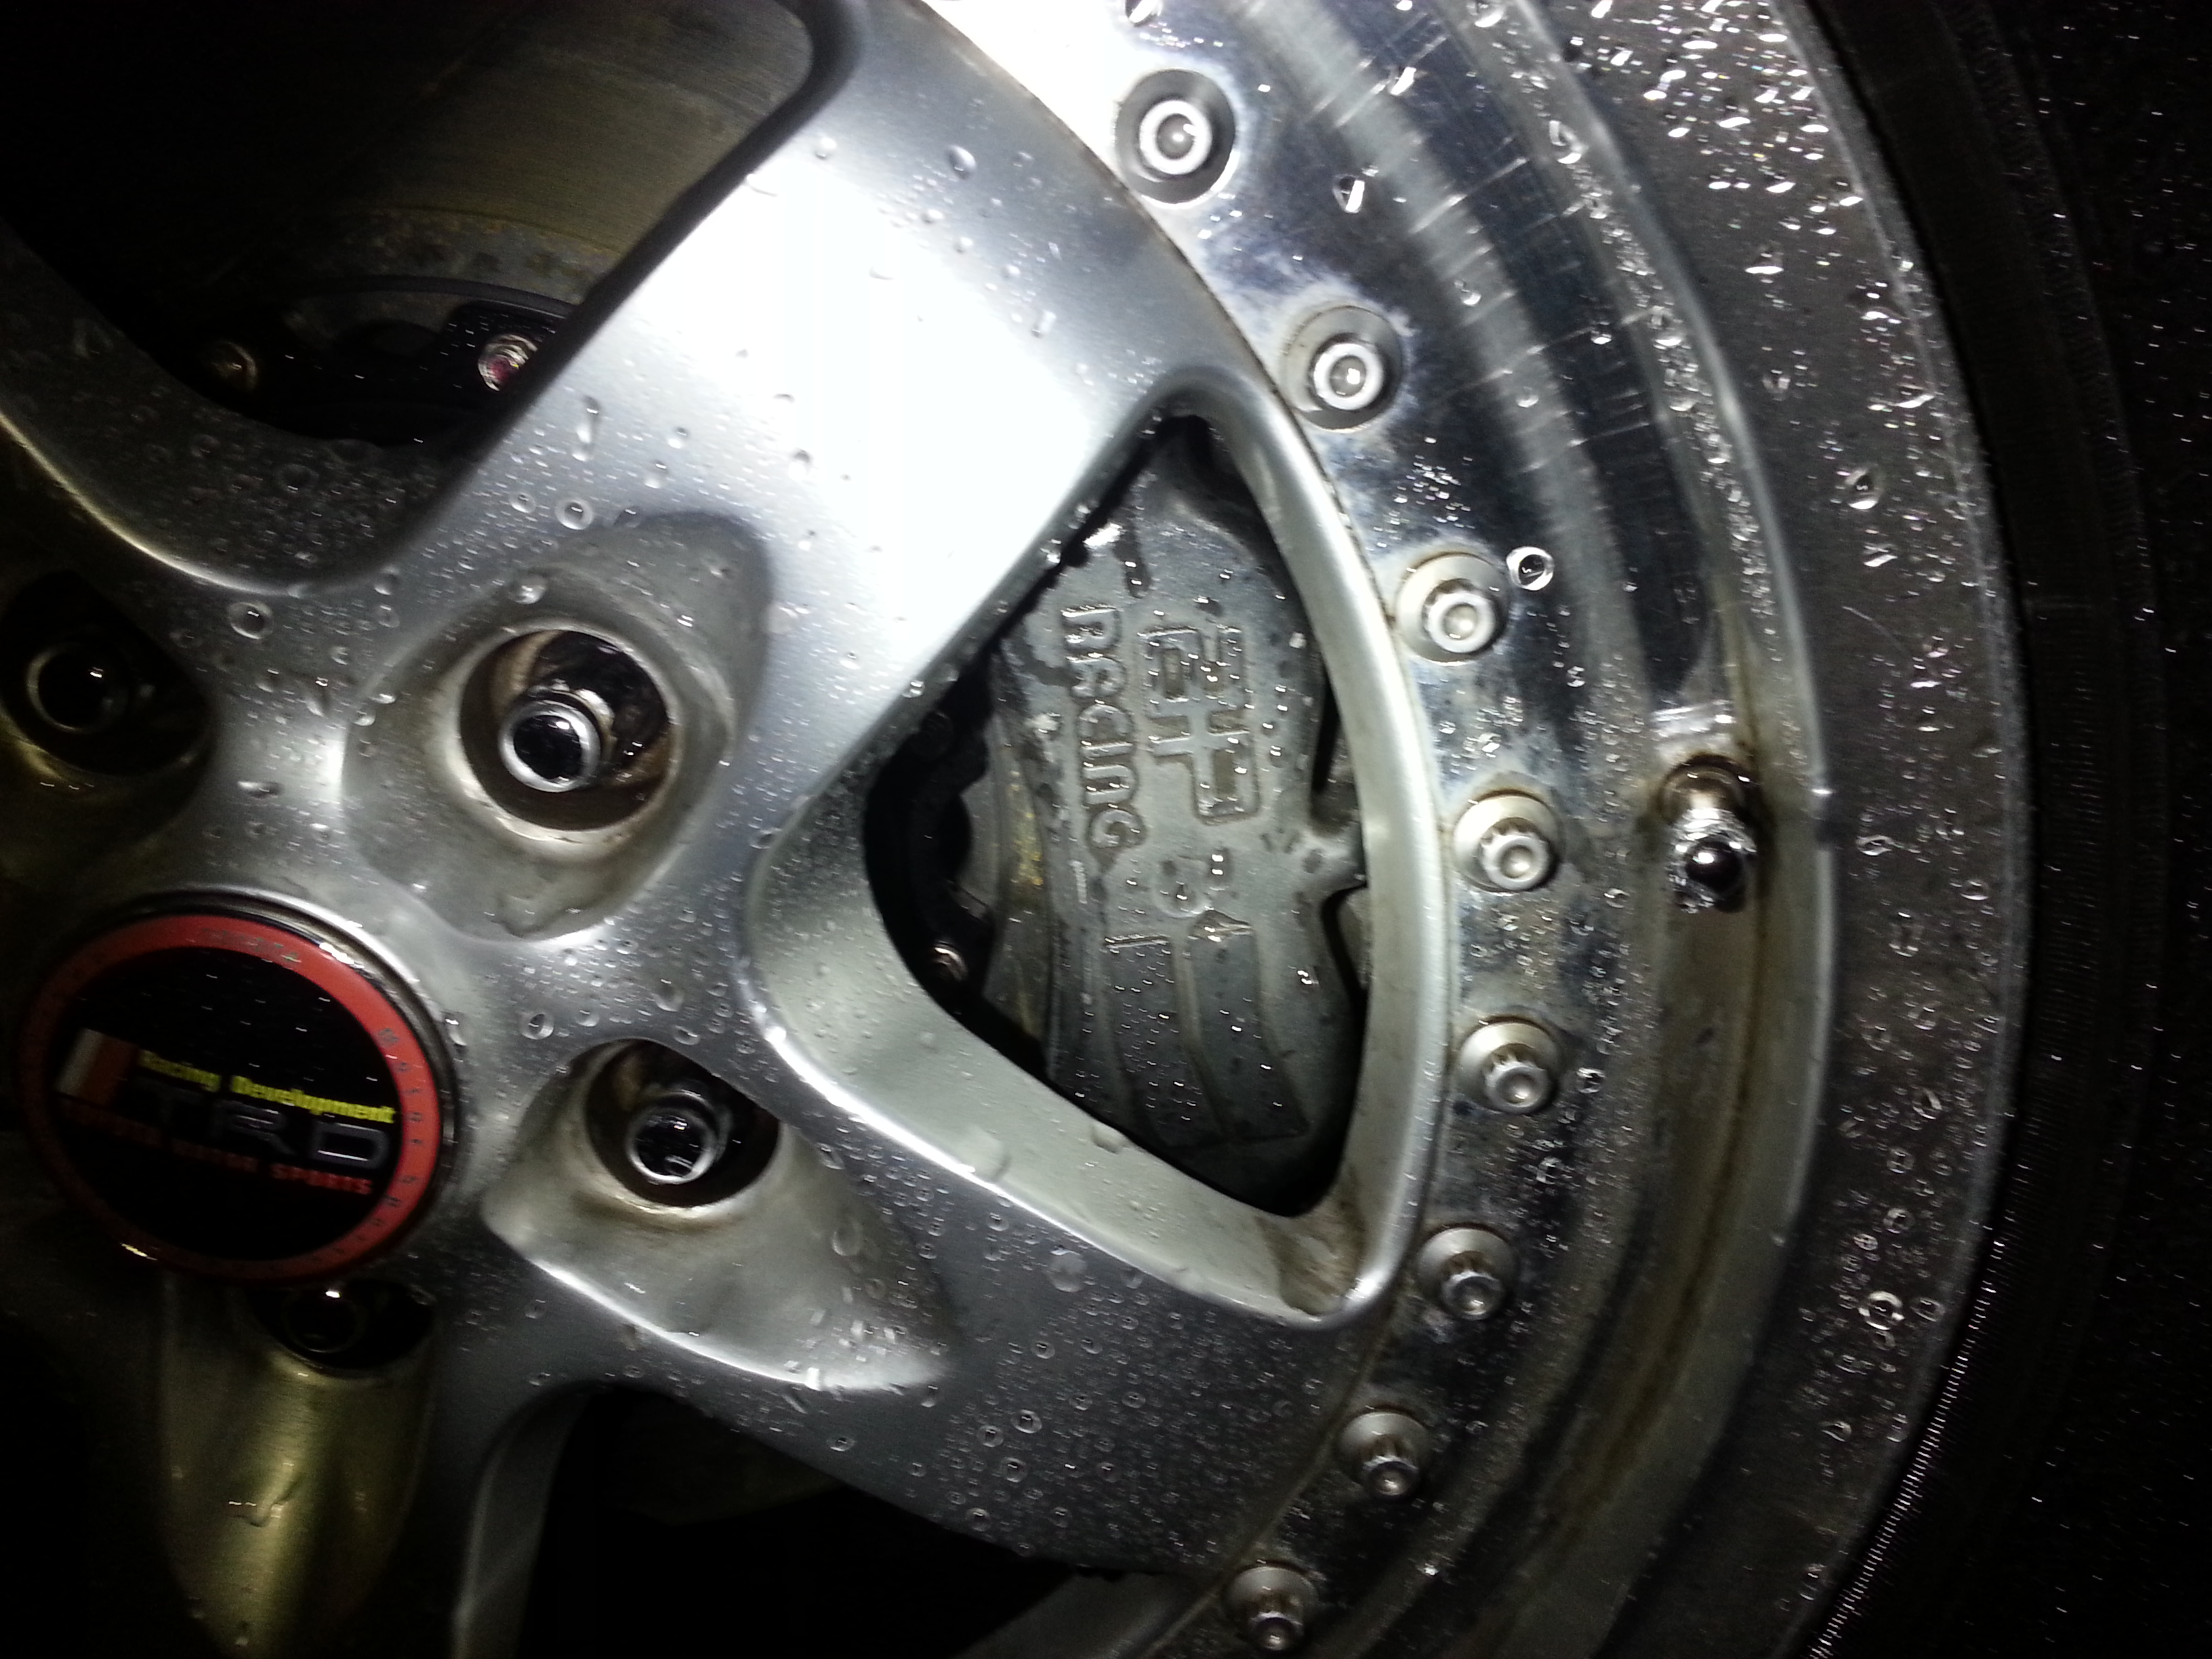
Did I mention the discs are DBA 5000 series, and Bill replaced my wheel bearings and added ARP wheel studs at the same time?
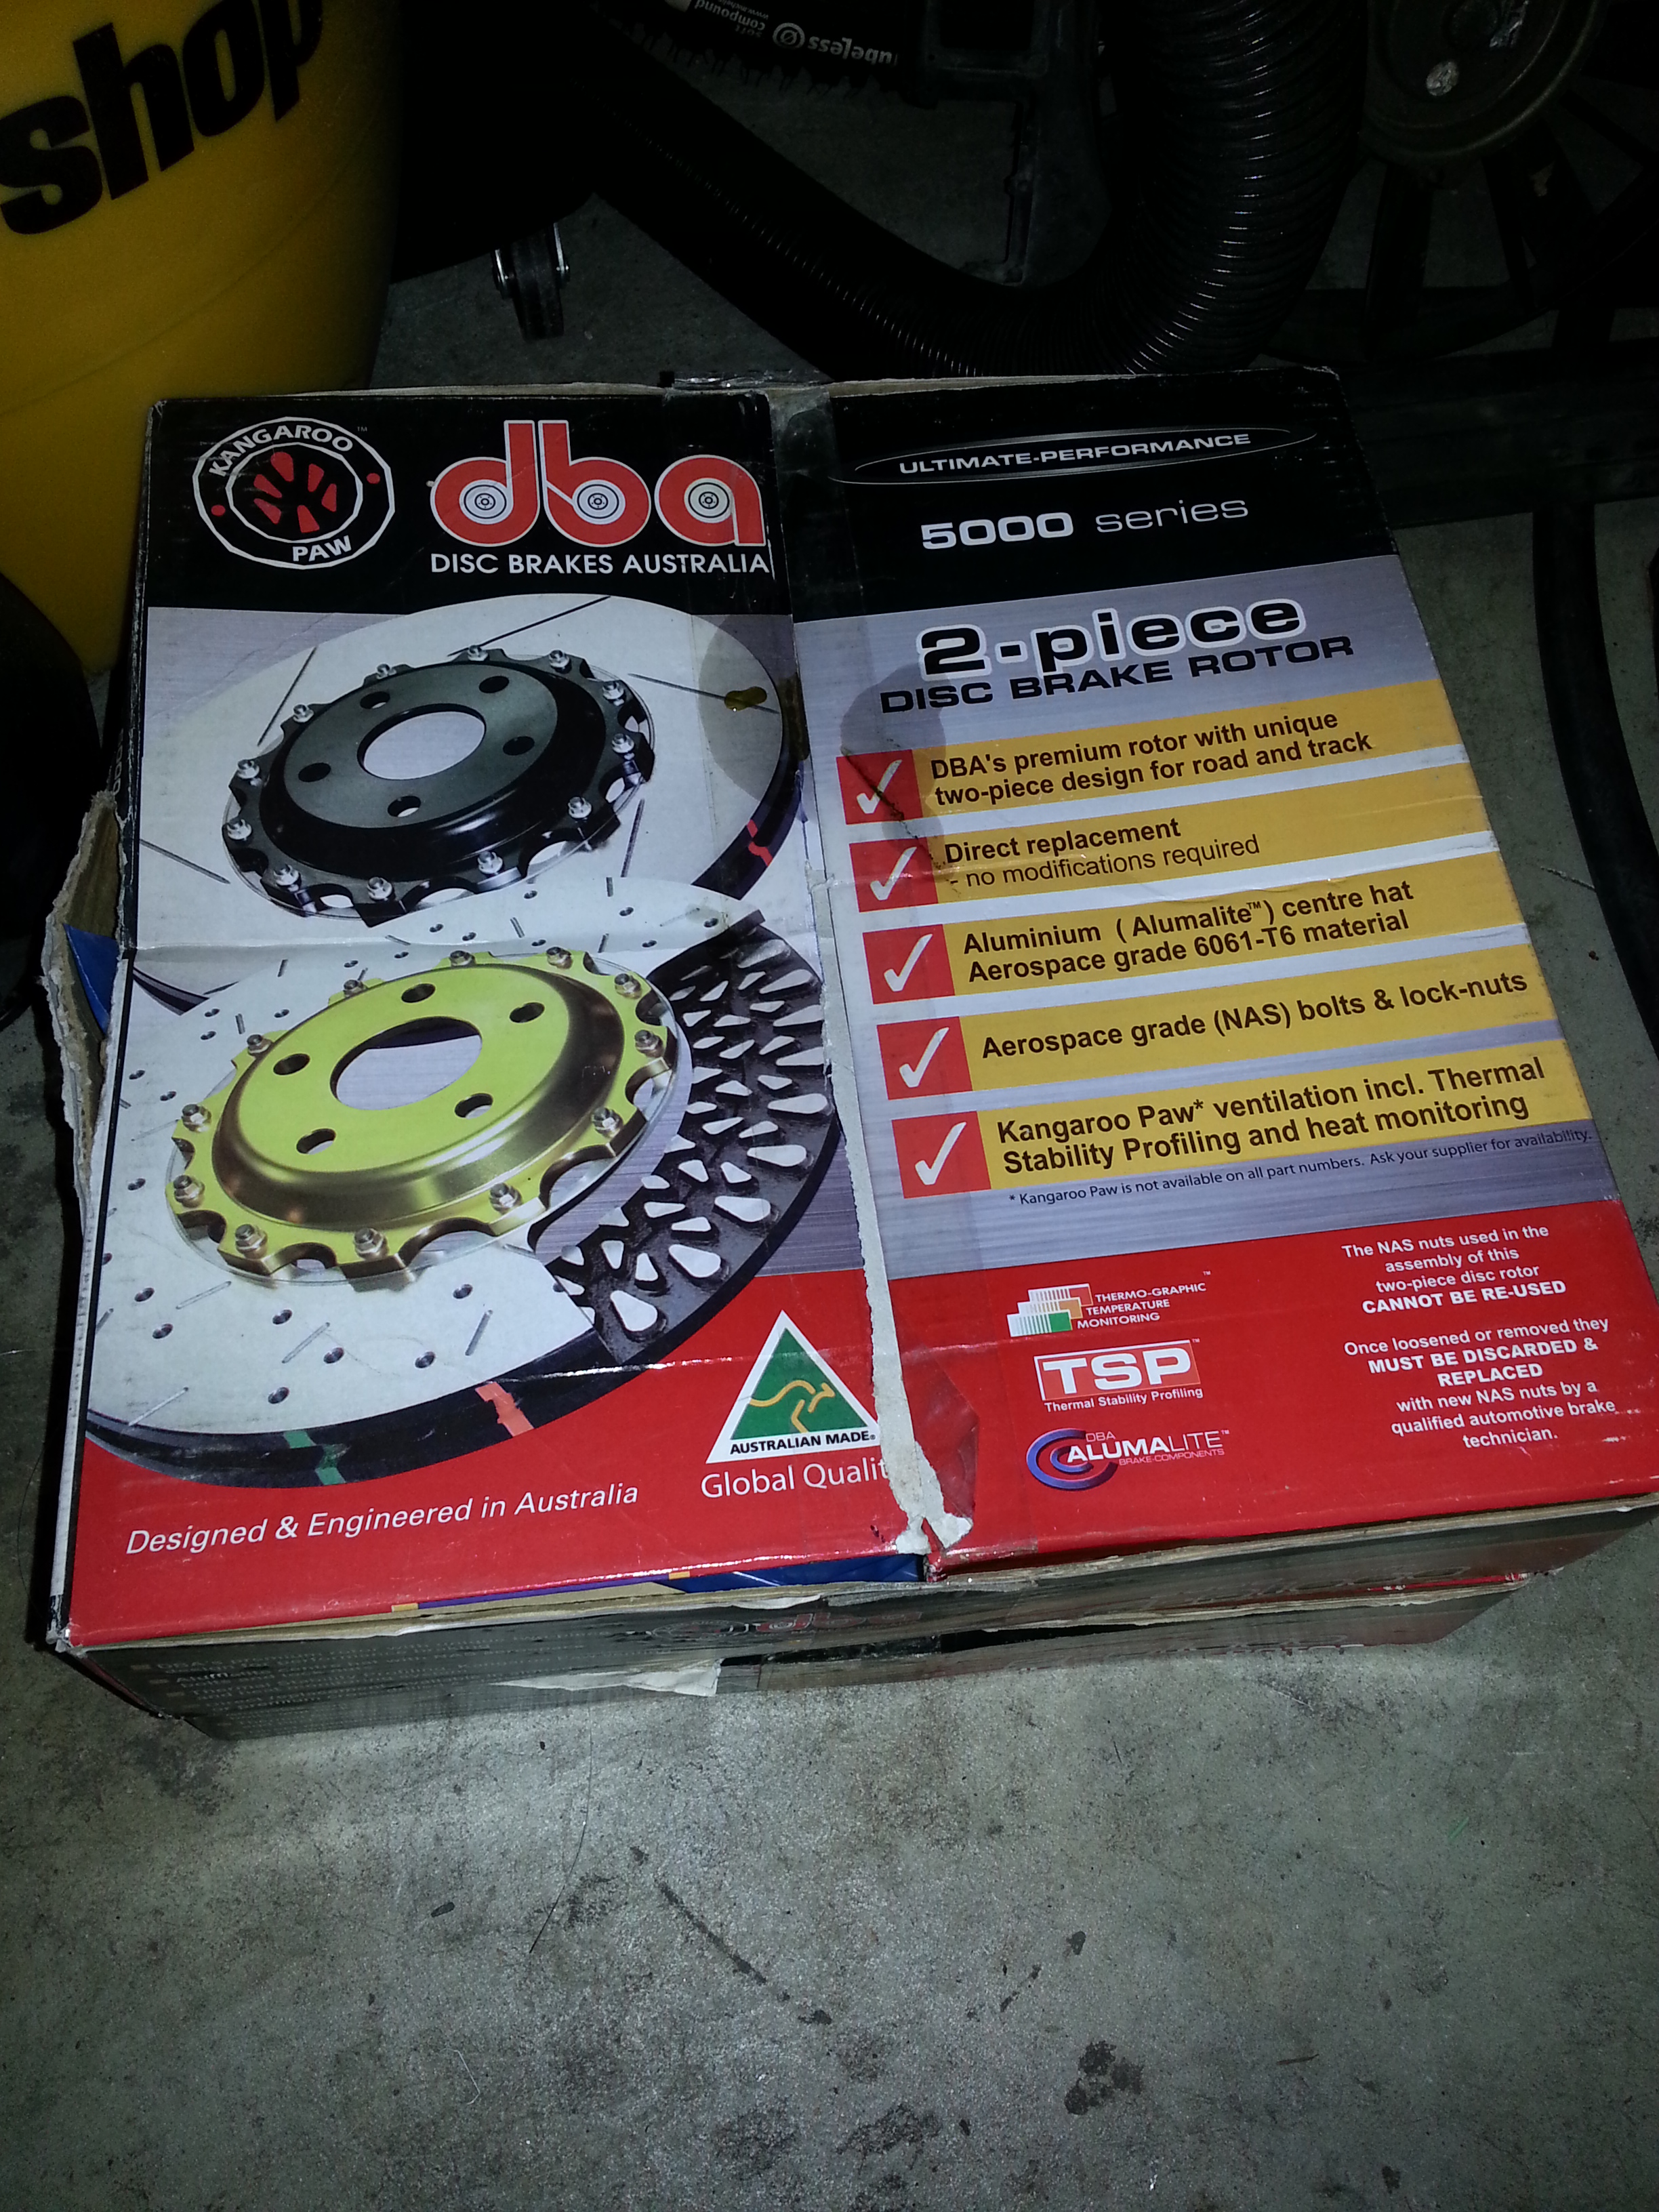
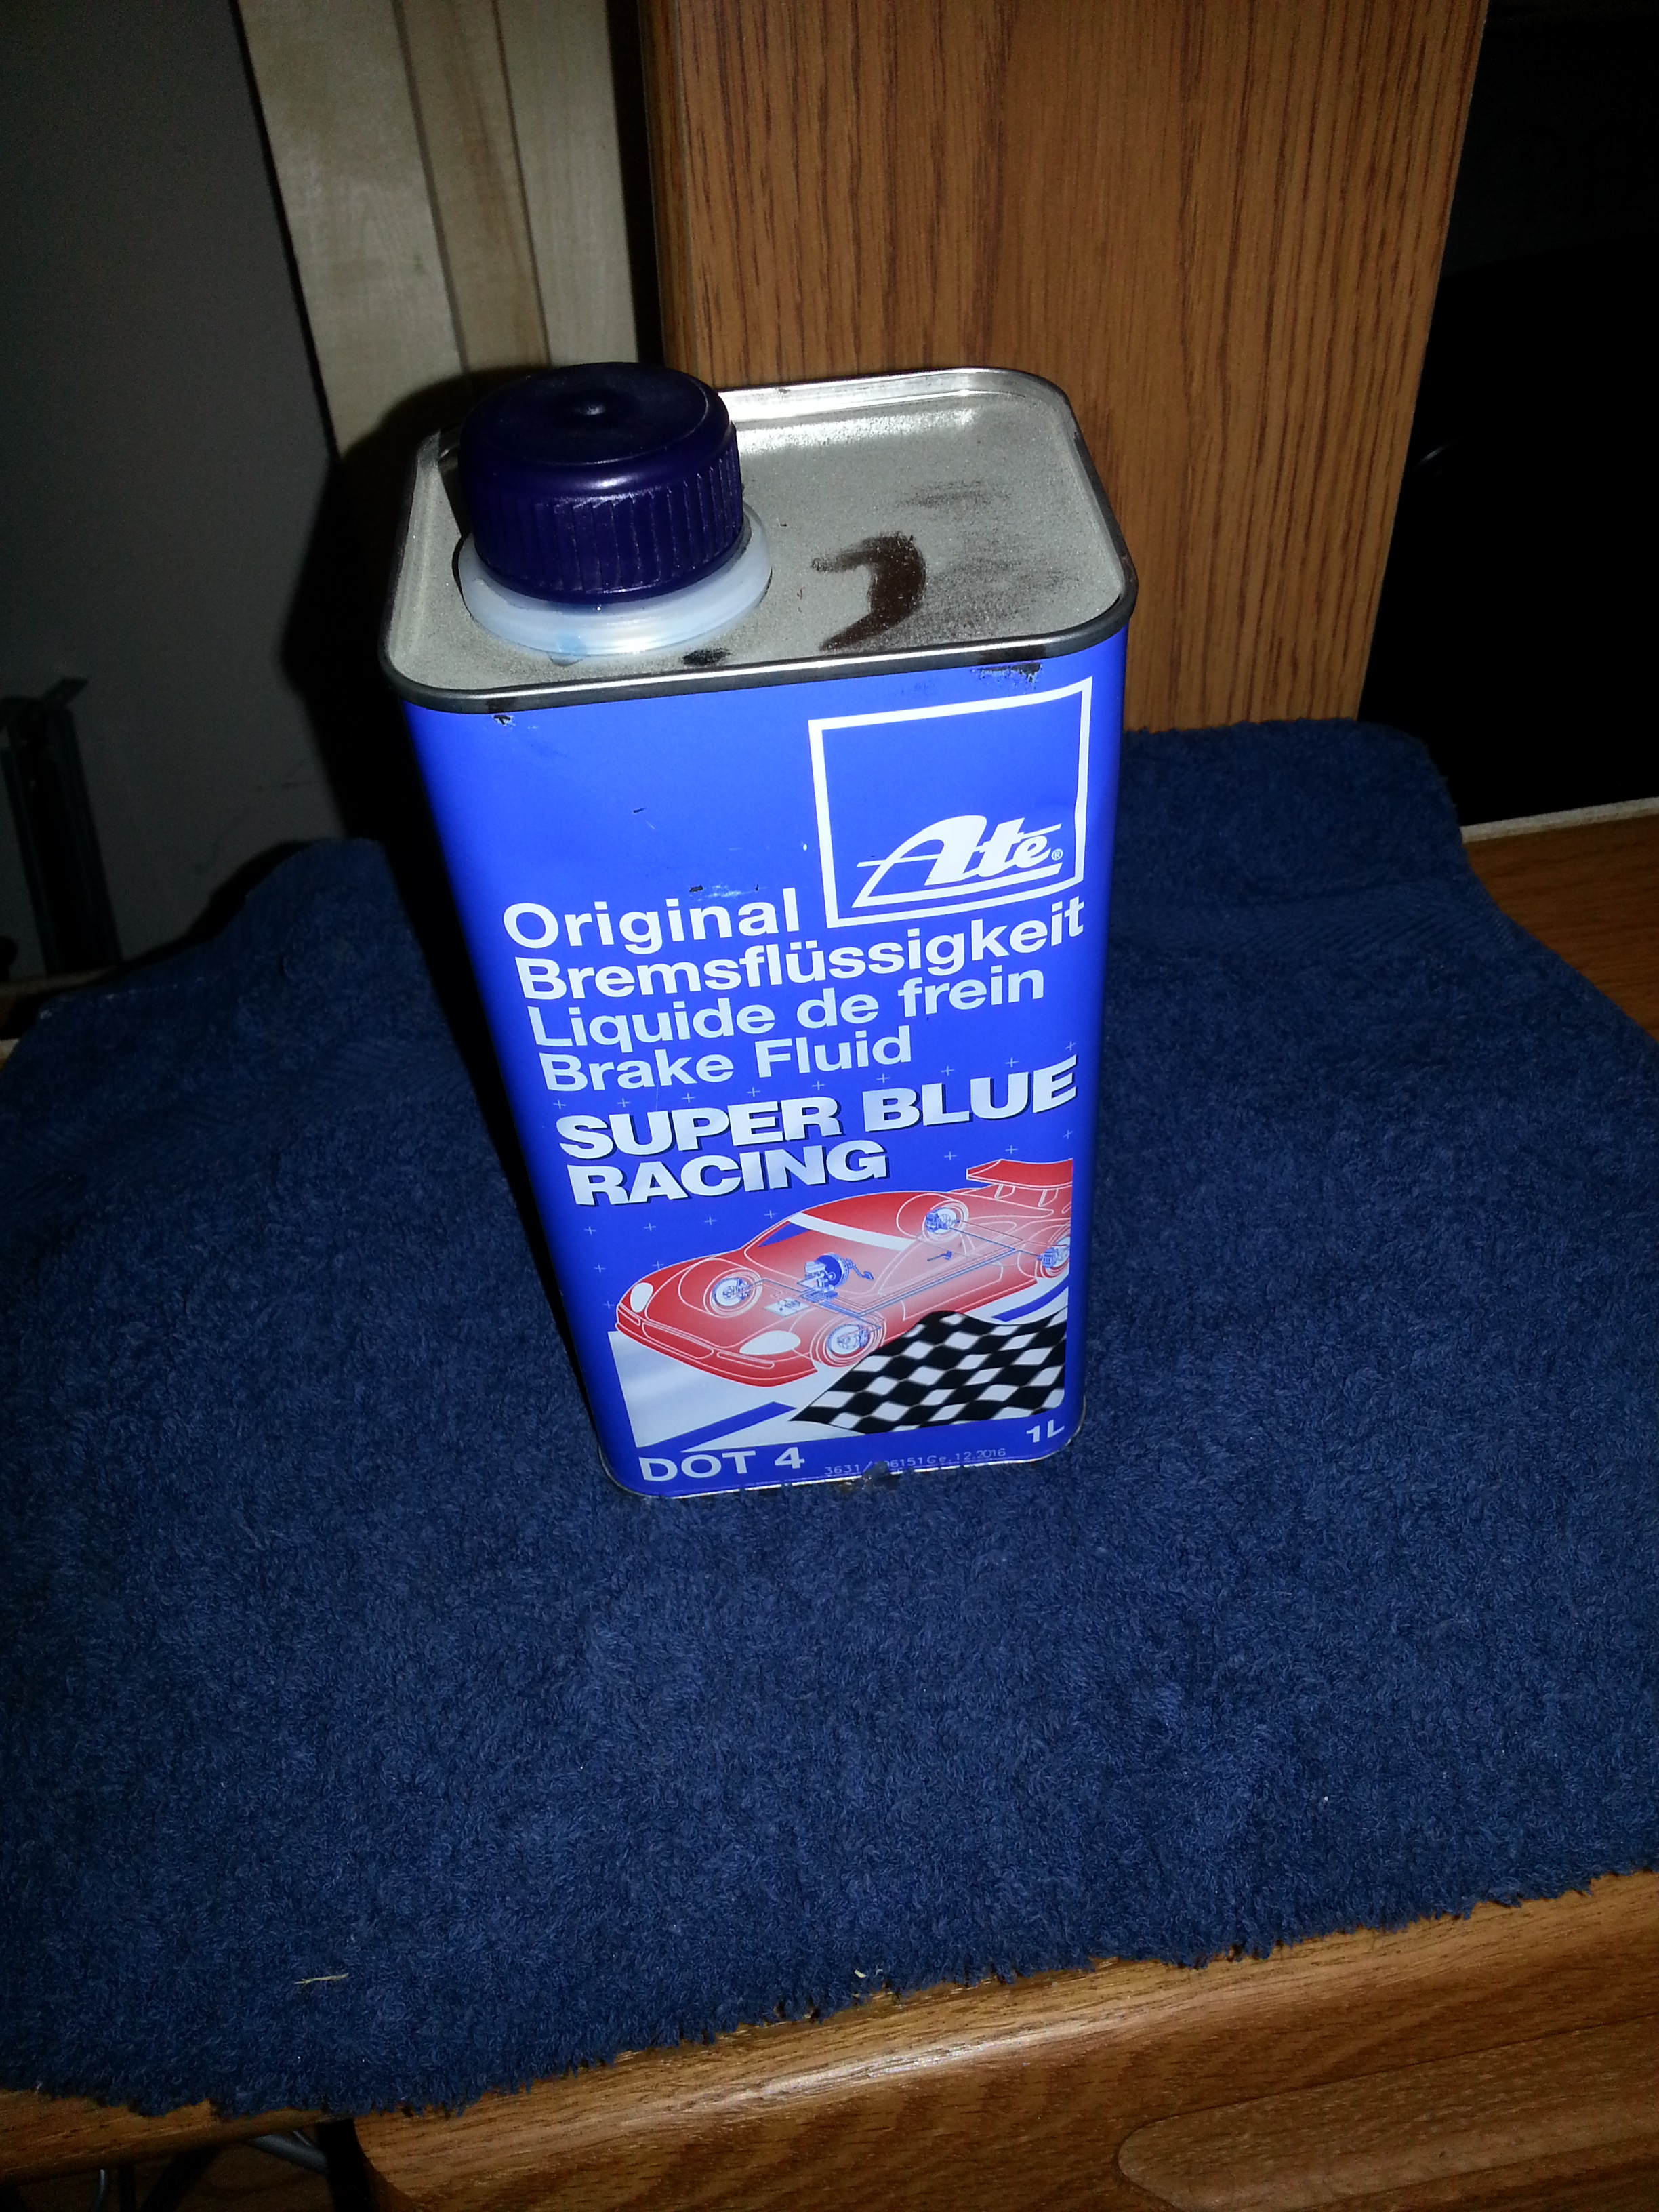
Some new brake fluid at the same time, of course.
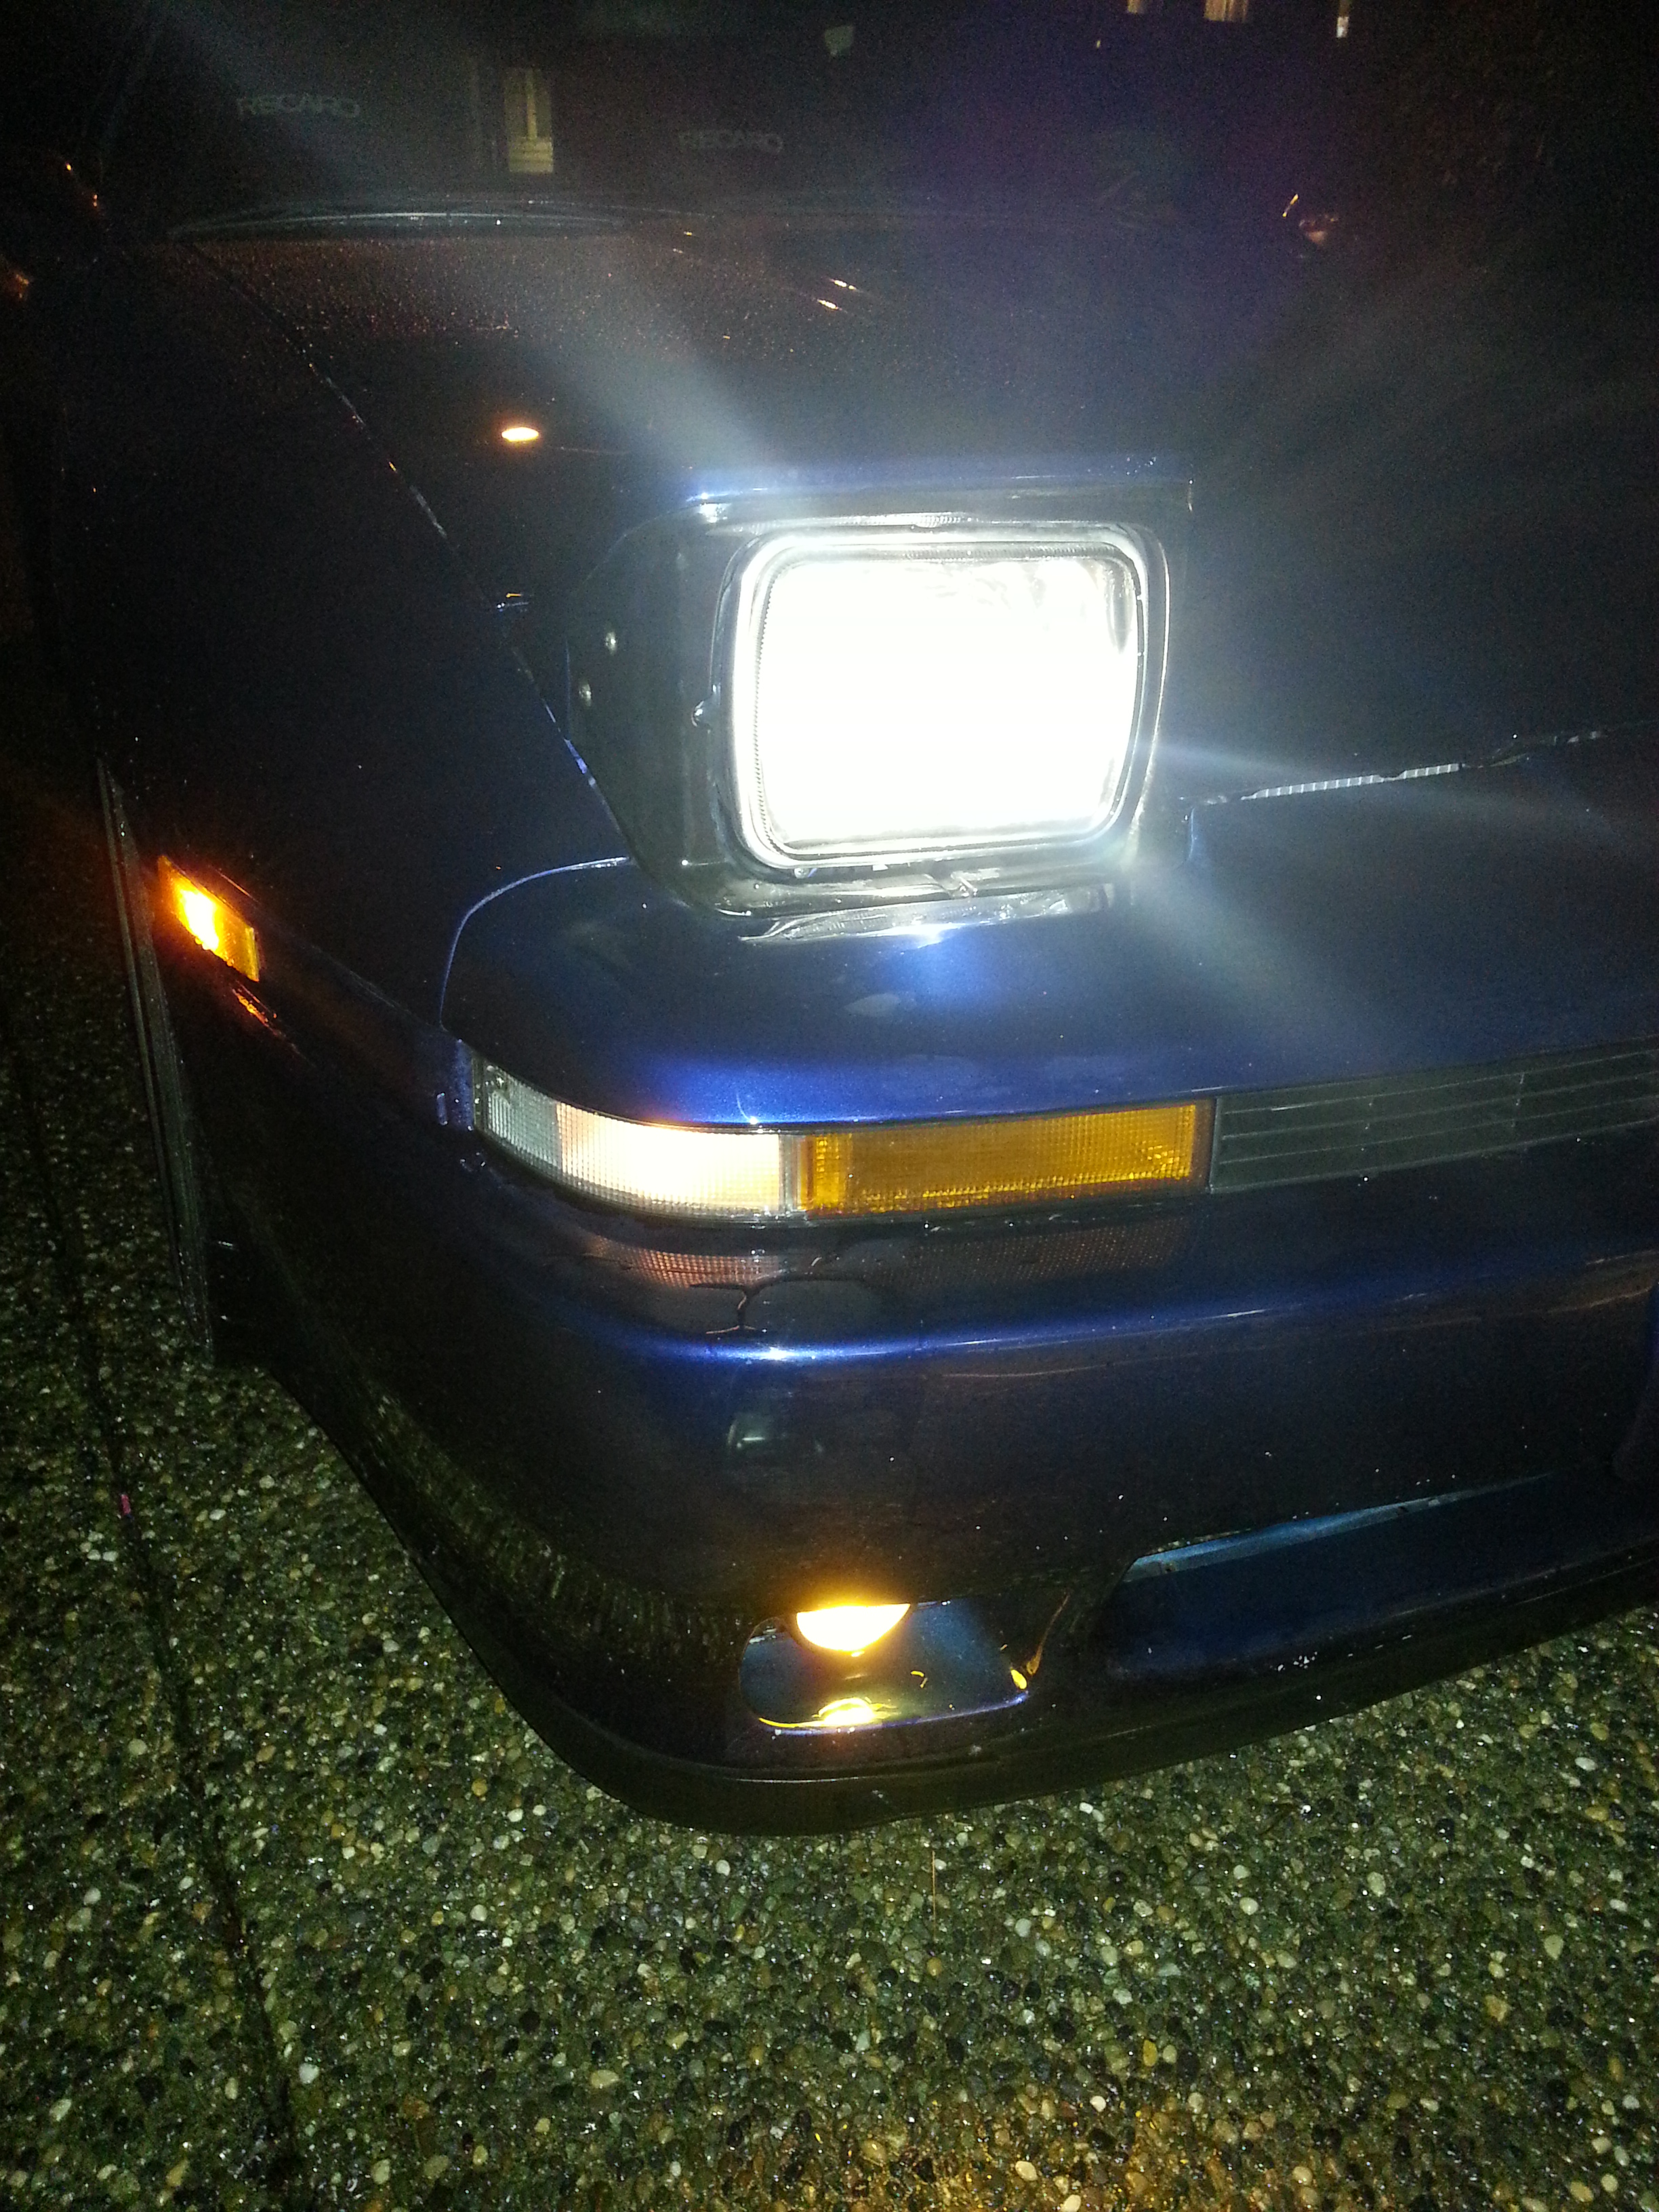
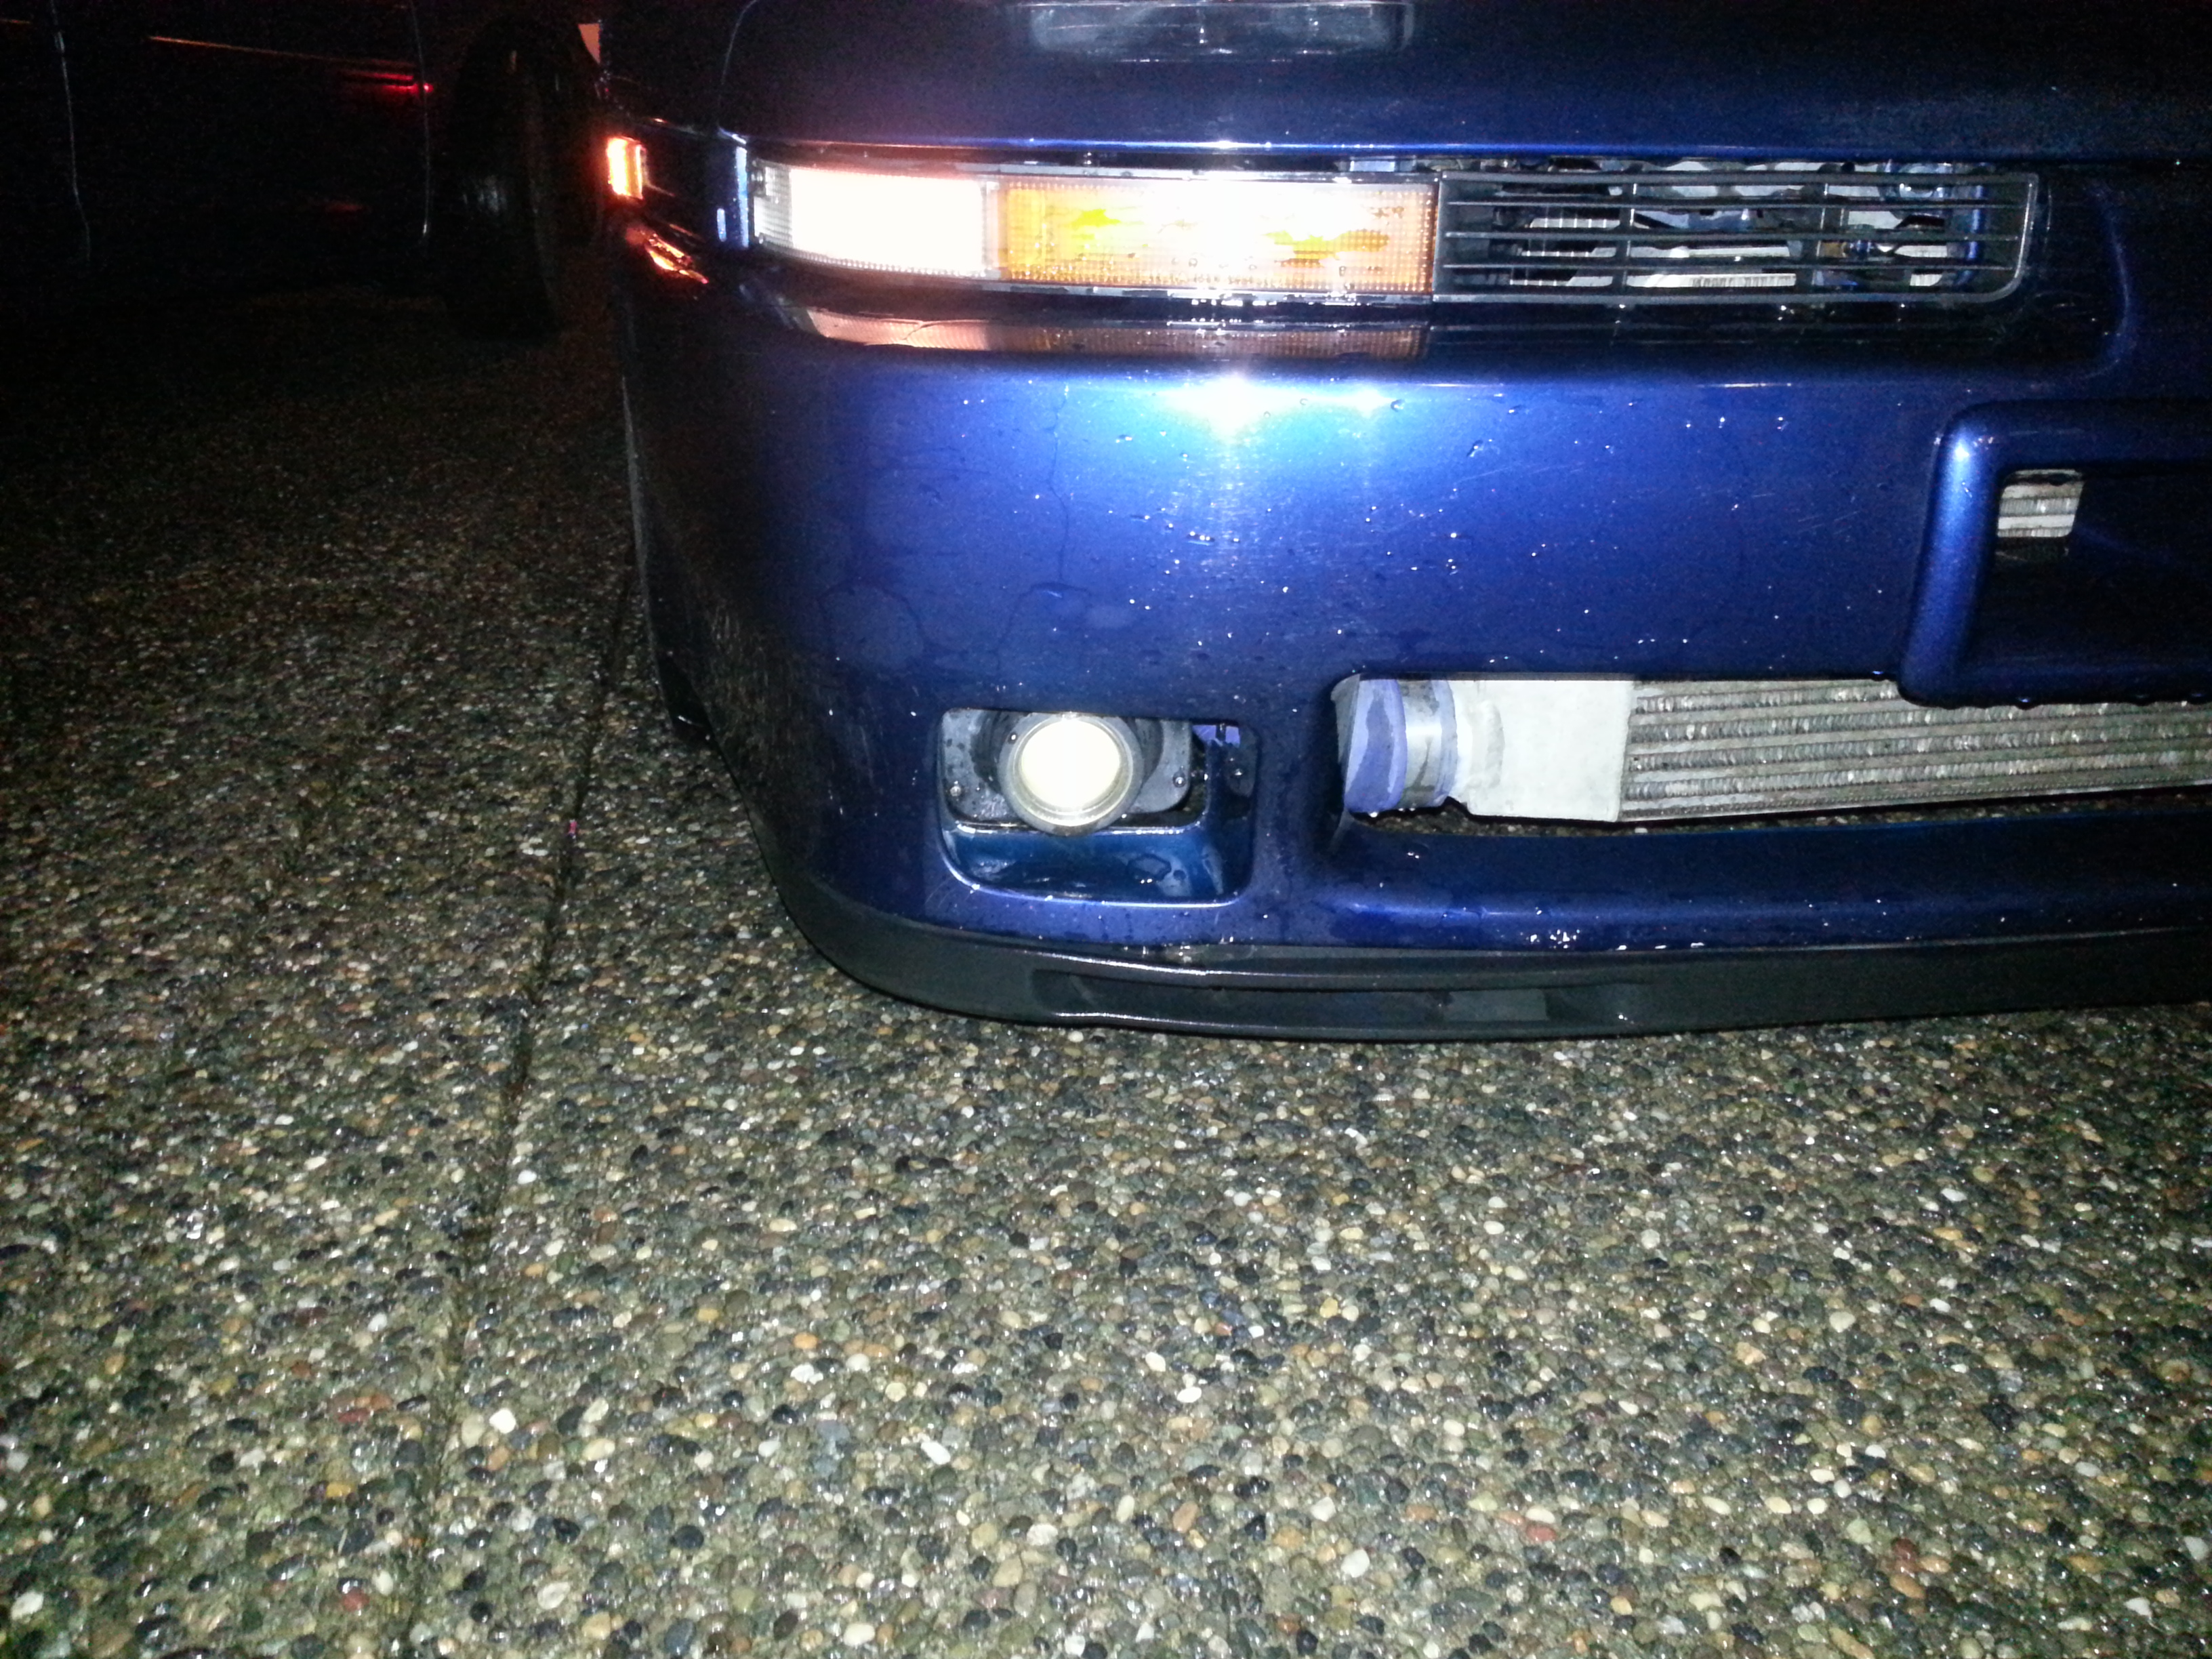
Lexus projector foglights in the stock fog location.
This wasn't as simple as I'd expected either, the mount on the bumper support passenger side had been cut out for intercooler piping, so Tommy welded enough back in to bolt these to.
Another big project that I've been putting off for a long time... my leaking heater core. I bypassed it last summer, when I didn't need it. Then winter came along, and I really did need it, but it's SUCH a pain to do. Well, finally:
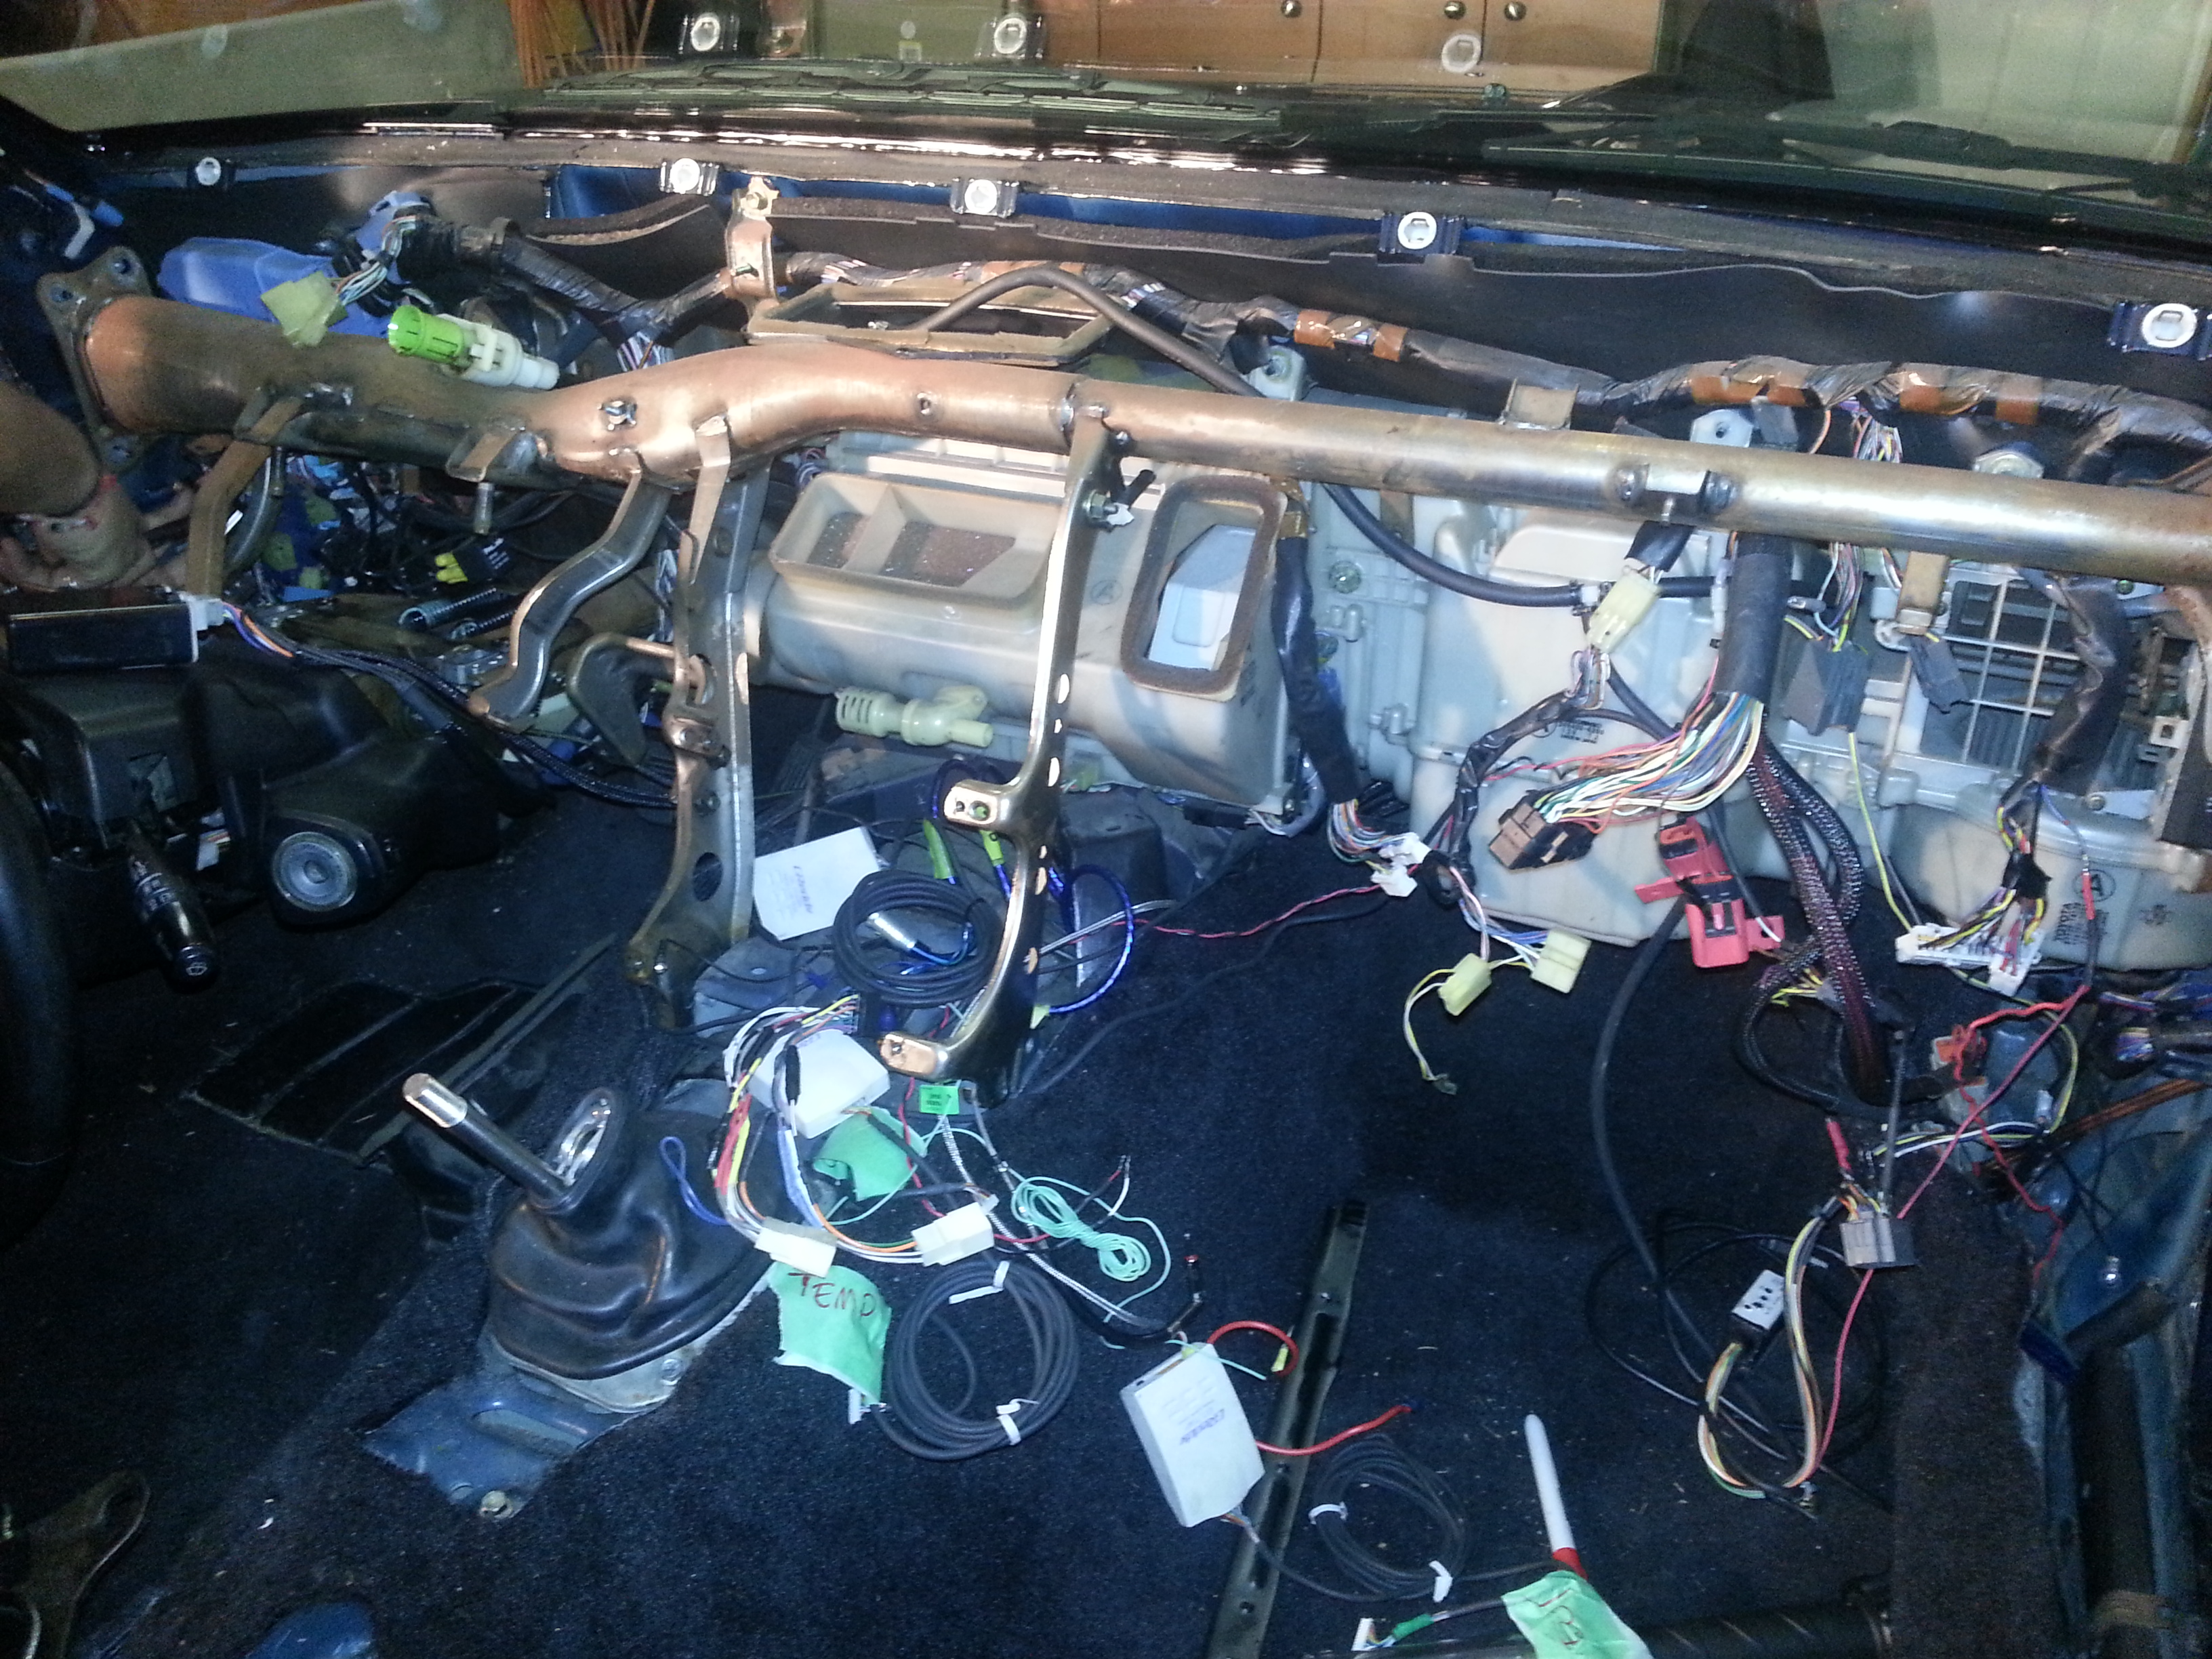
This is what your firewall looks like from the inside of the car, after about 8 hours of pulling everything out.
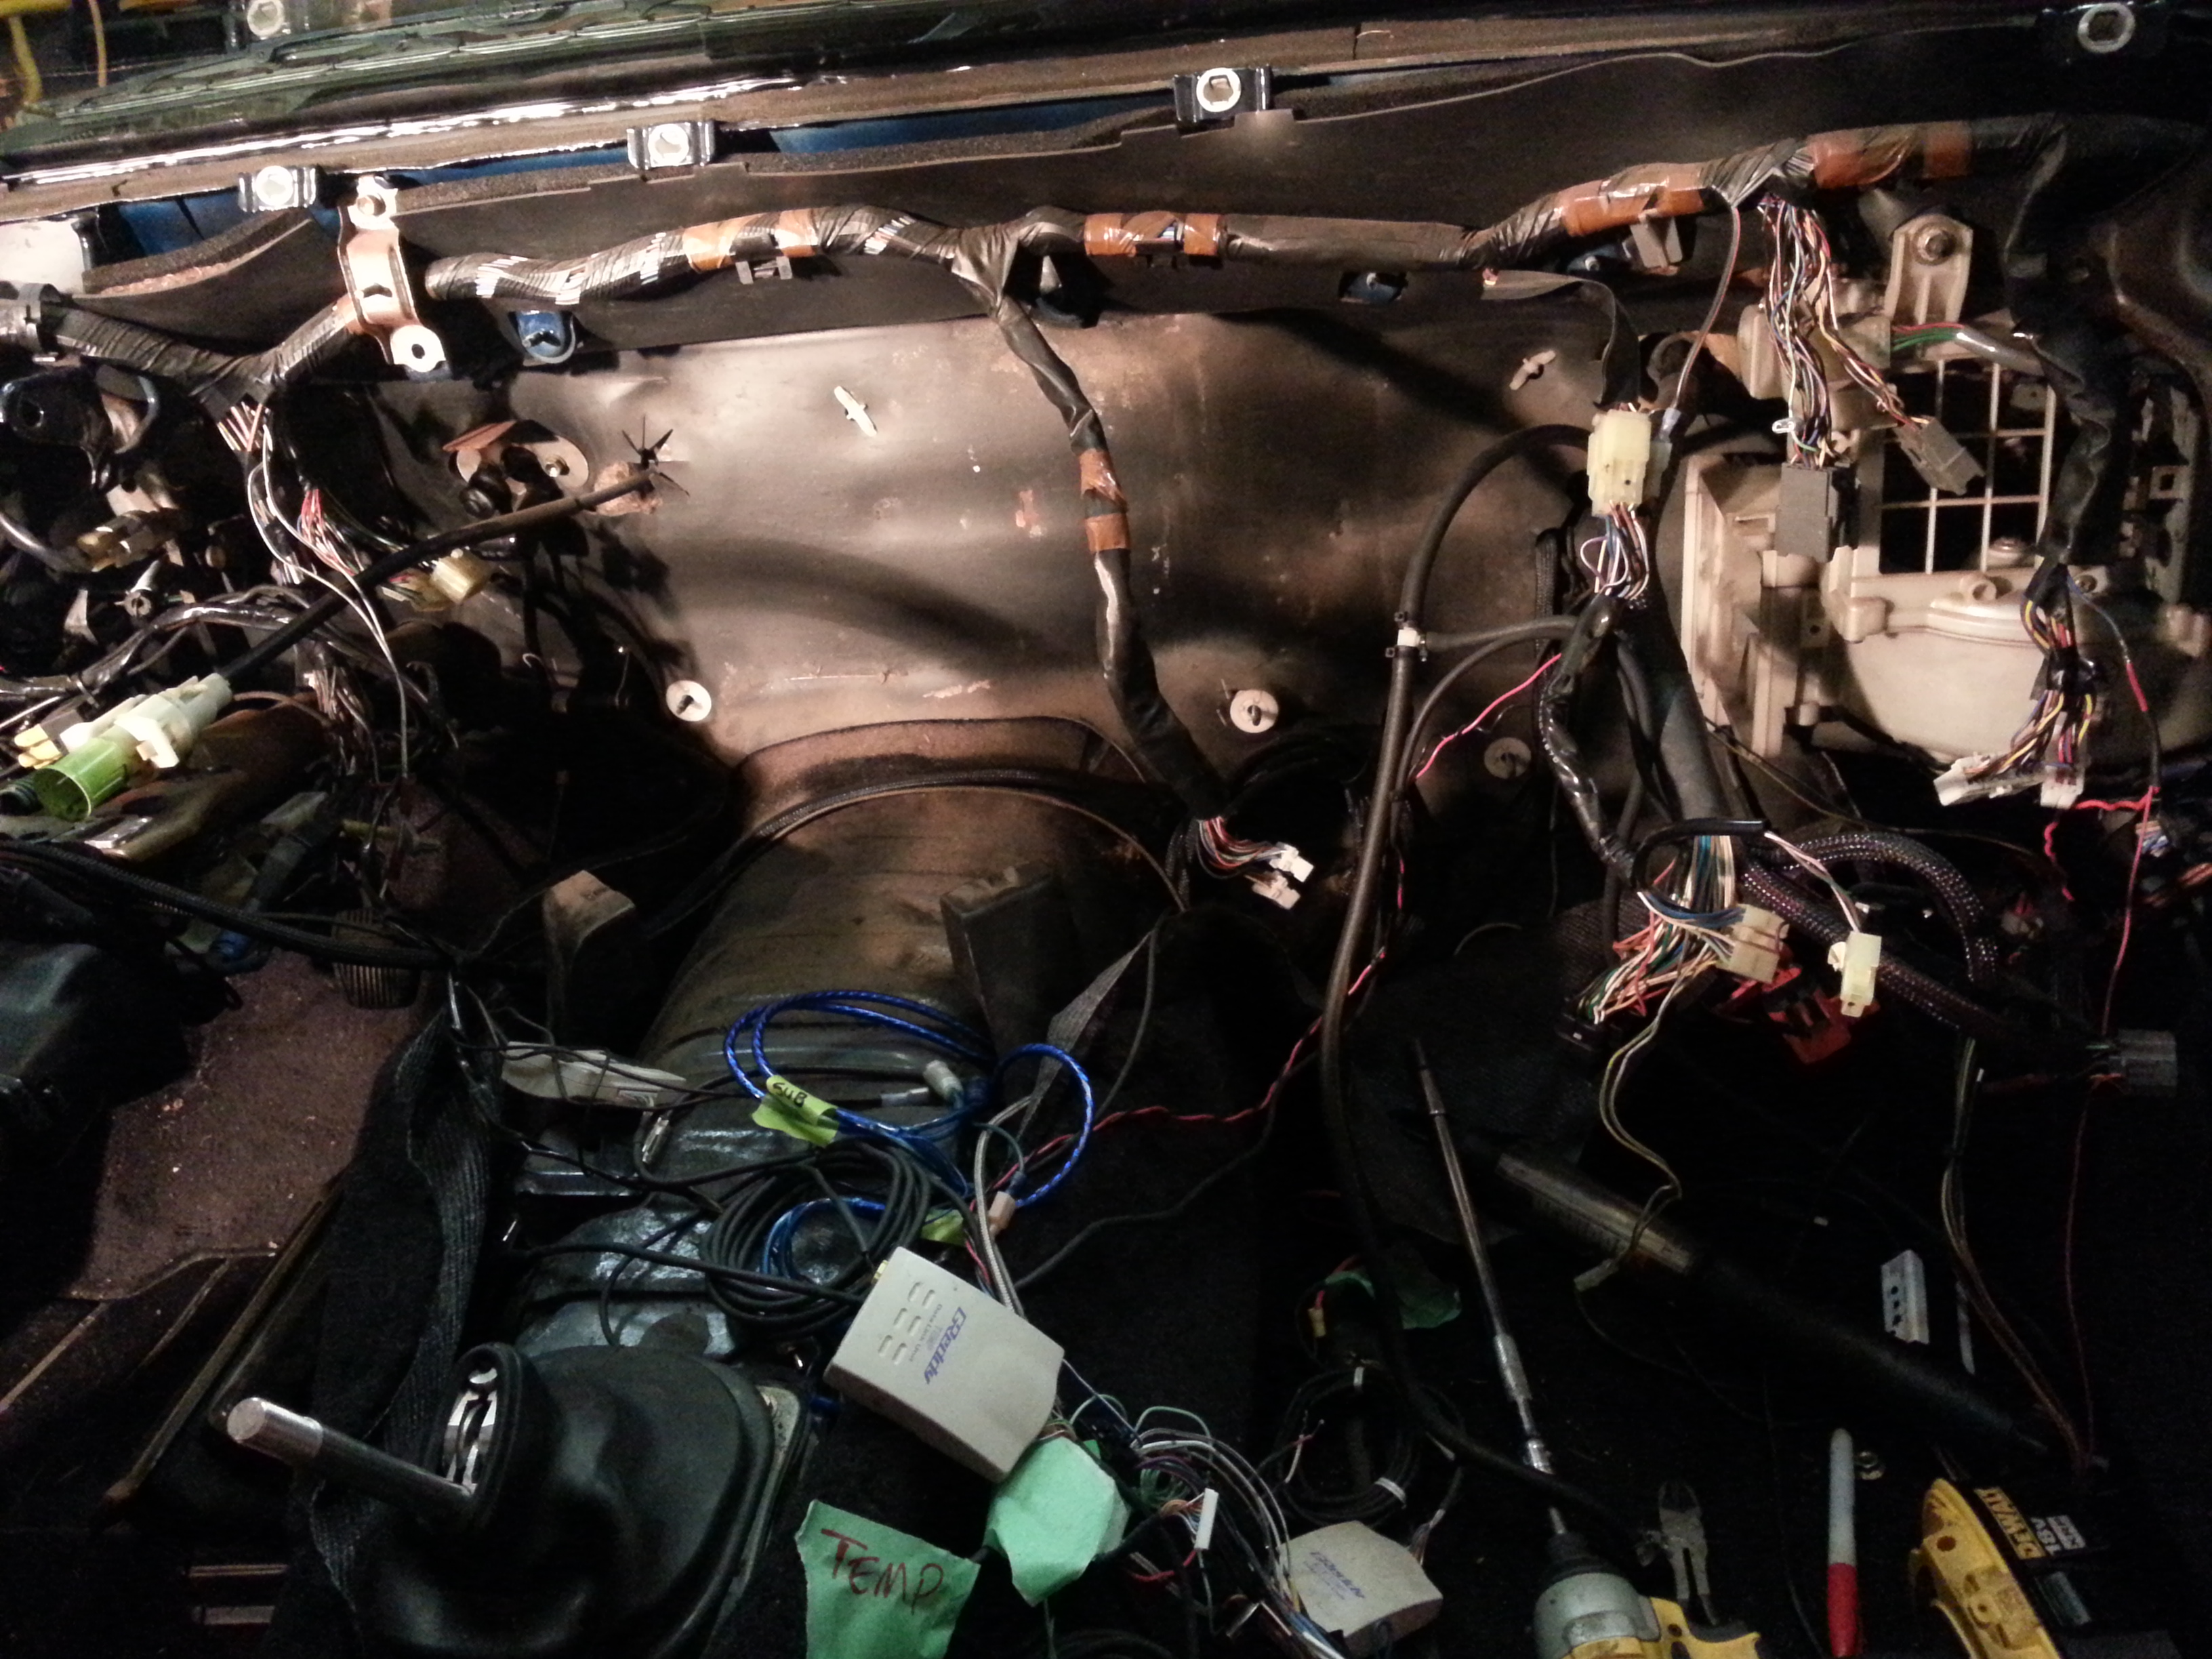
This is what a leaky heater core looks like.

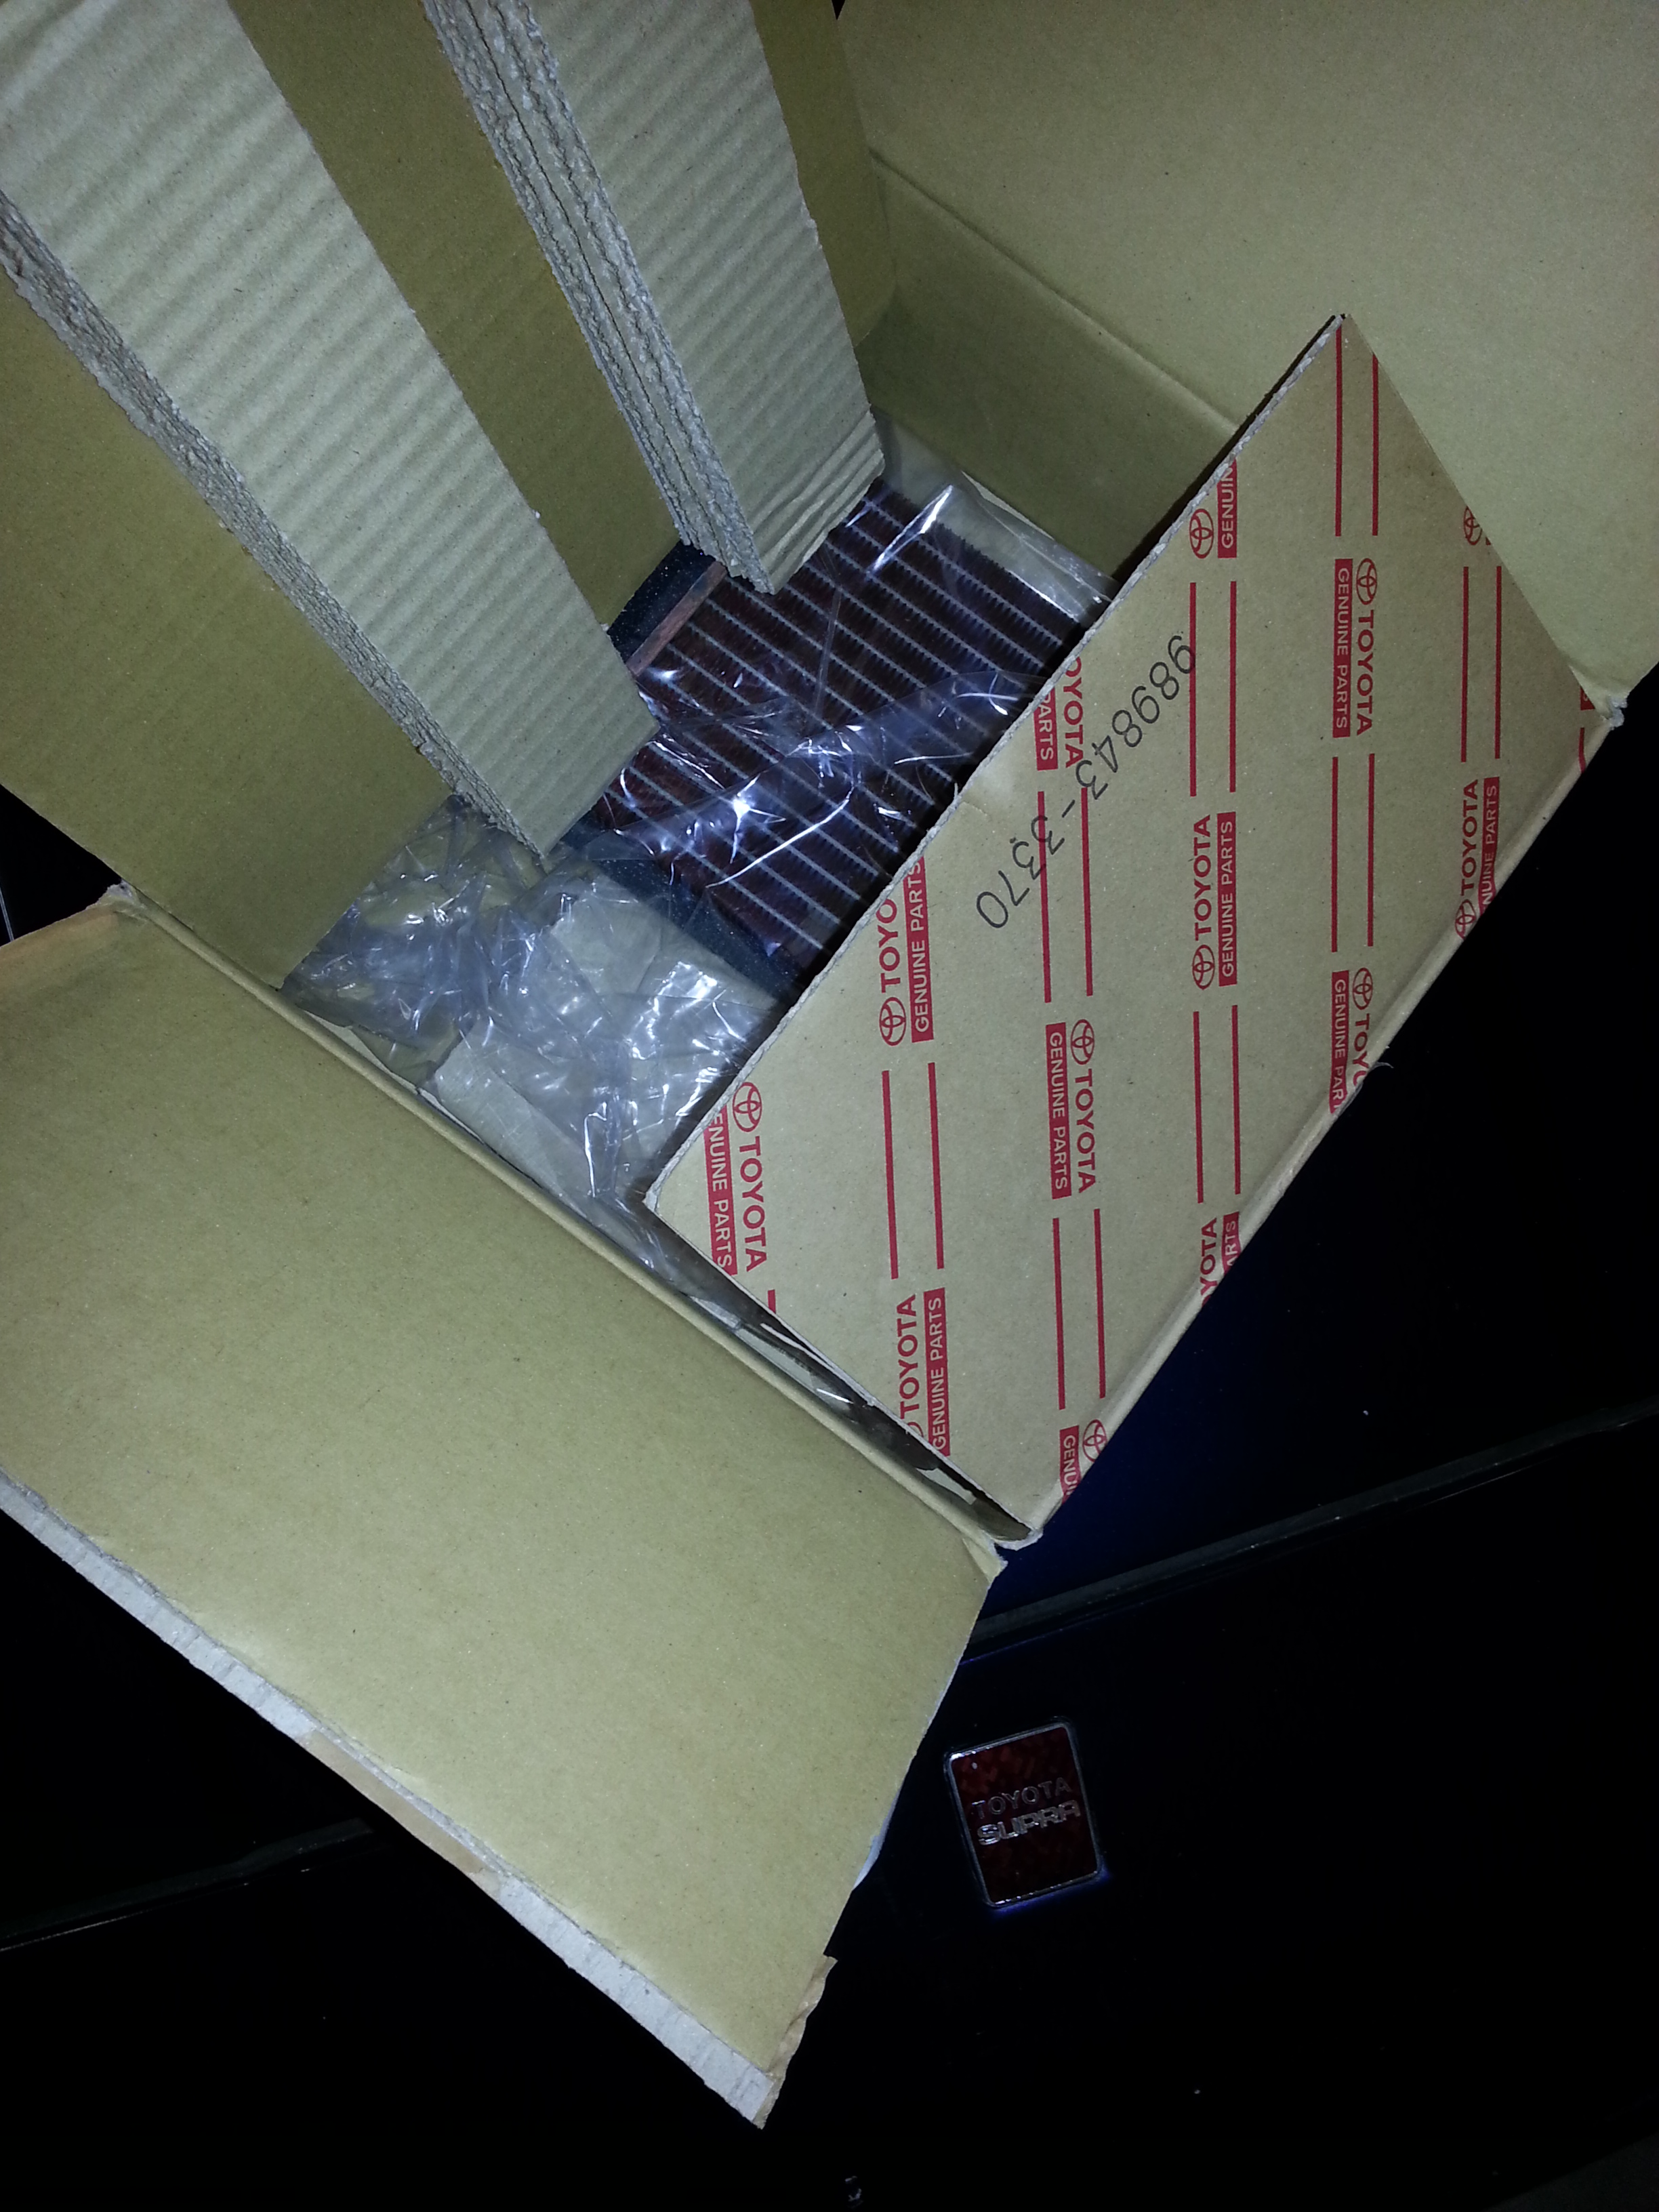
And here is what a new one looks like. Installation from here is the reverse of the removal, as usual, and takes JUST AS LONG.
Never was happy with the RCA cables I put in with the old stereo, either, so I added these at the same time.
Finally mounted the AP Racing brakes. Another example of overkill. These are just plain ridiculous, I'm not going to be at all surprised if they are capable of breaking bones in the summer with R-compound rubber on the car.
Getting these on turned out to be quite the challenge. There wasn't enough clearance behind my Racing Harts, and I needed a custom hubcentric ring to center the discs... so, a custom one-off spacer was dreamt up that makes both my discs and wheels hubcentric again, and spaces out the wheel by the required amount.
Did I mention the discs are DBA 5000 series, and Bill replaced my wheel bearings and added ARP wheel studs at the same time?
Some new brake fluid at the same time, of course.
Lexus projector foglights in the stock fog location.
This wasn't as simple as I'd expected either, the mount on the bumper support passenger side had been cut out for intercooler piping, so Tommy welded enough back in to bolt these to.
Another big project that I've been putting off for a long time... my leaking heater core. I bypassed it last summer, when I didn't need it. Then winter came along, and I really did need it, but it's SUCH a pain to do. Well, finally:
This is what your firewall looks like from the inside of the car, after about 8 hours of pulling everything out.
This is what a leaky heater core looks like.
And here is what a new one looks like. Installation from here is the reverse of the removal, as usual, and takes JUST AS LONG.
Some people say they can do a heater core in 3 hours... I really doubt it.
btw.. I got my heater core for 85.00... what was the Stealership cost for yours?
btw.. I got my heater core for 85.00... what was the Stealership cost for yours?
I can do heater core in about ooooo 1.5 hours I timed my self once
I have done it a few time's or more
cord less impact drill ftw
I have done it a few time's or more
cord less impact drill ftw
I woulda drove up to your place and gave you 400 bucks to do it if your actually that quick.. lol