Project Innocence Restored

Fergie76

New Member
May 12, 2009
59
0
0
Hendersonville NC
After Months of lurking here I decided that my next car was going to be a supra. The search began and I located a one owner supra in Ohio. After about 2 hours of inspecting the car and looking through a bankers box of receipts I decided to buy the car. This man kept records of everything. Long story short he had just had the motor rebuilt for 3800 dollars and less than 5000 miles later the car did not run right, the head gasket was blown, and he taken the car to the stealership due to clutch chatter to find that the bell housing bolts had backed out requiring a new clutch, flywheel, and pressure plate close to another grand. He had dumped over 7000 dollars into this car in the last year. Every hose and wire was intact, no sign of "engineering" anywhere, and it had never been modified. I Bought the car thinking I had found a unmolested original for a steal, completely redone head, stock rebuild, clevite bearings, new oem gasket kit, asian oil pump. He had spent the money to do a stock rebuild right. His mechanic just did not know the head gasket issues. So because some poor sap's old lady would not let him spend another dime on his baby I had just bought mine.

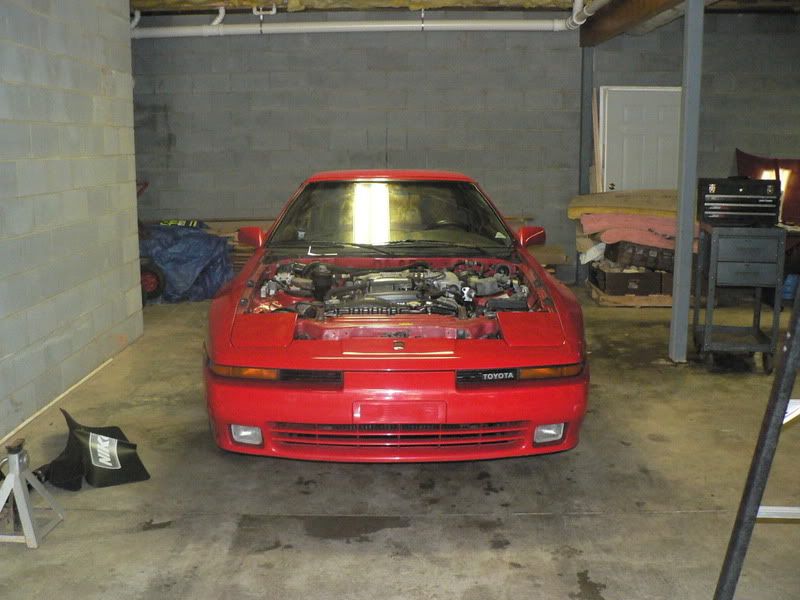
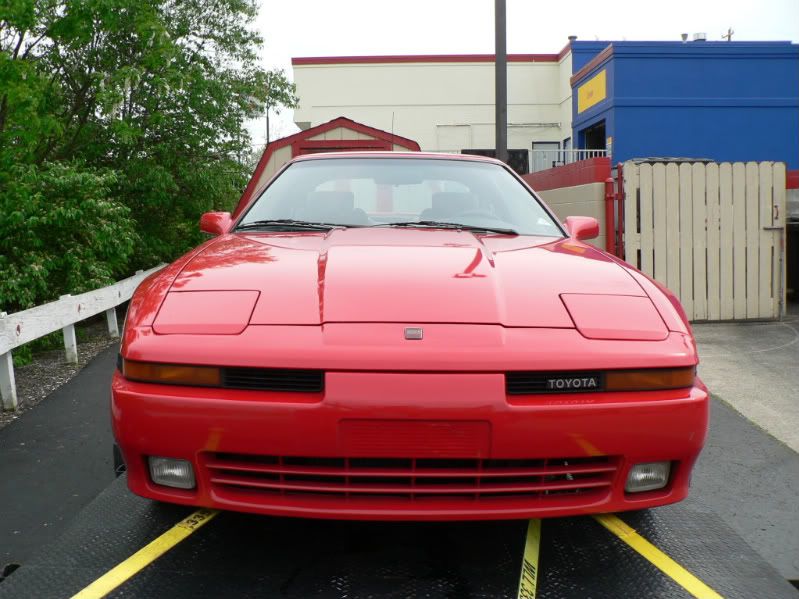
Pics from the ride home
p1404278_1.jpg


p1404278_2.jpg
 

Fergie76

New Member
May 12, 2009
59
0
0
Hendersonville NC
So the car gets back to the shop and the project begins
p1404337_1.jpg


Out comes the Motor for tear down and inspection and WTF


p1404337_2.jpg


How the Hell do you get the gasket this far off? Can you say boost leak? the gasket material was punctured by the studs on both ends.

p1404337_3.jpg


Arrows pointing both ways and out of order.
I know the out of order part is not in the picture but you get the idea.

By this point I figure that the mechanic must have been smoking crack on the job. But lets strip this thing down and get the head off.

p1404337_4.jpg


Guess what Missing head bolt. Not loose,not messed up. GONE, nothing in the hole. I guess you could say he did not follow the torque pattern or he would have fixed this at least 3 times. Well that and the fact that there were 2 others that were barely over finger tight.

p1404337_5.jpg


p1404337_6.jpg


Well there is a new rod. Too bad the mains are out of order too


At this point the the entire thing is going to have to be redone bearings have crap embedded in them the new oil pump is not new, the head is warped, pistons are fubar
clean outs on the crank welded over (Don't ask) I still cant understand it unless they drilled them out and just welded over the holes???

This "mechanic" doesn't have the right to be changing oil on Yugo's much less working on a Supra. If I had been the one who payed for this some one would have been digging their wrenches out of their ass for months!!!

Moral of this sad story If you are in Ohio and Break down do not take your car to "Discount Auto Service" in Fulton OH


Enough of the bitching and moaning the tear down is over and a full rebuild is under way. So as per the title of my thread I am trying to find my Supra's Cherry and give her back the innocence that was lost at the raping hands of an idiot with a tool box. More to come in a few hours
 

Txsupra

Professional Driver
Aug 23, 2008
239
0
0
42
Texas
I real surprised that the motor ran at all! Thats crazy. That guy got the shaft on the rebuild. :aigo:
 

GrimJack

Administrator
Dec 31, 1969
12,377
3
38
56
Richmond, BC, Canada
idriders.com
I've seen the welded over crank galleys before... it's the cheap ass solution when you either can't get the original plugs out, or you destroy them getting them out and can't find or afford new ones.

Still nothing that I'd allow on my car... or for that matter any car I work on.
 

Fergie76

New Member
May 12, 2009
59
0
0
Hendersonville NC
My goals for now 300hp, better than new suspension, and clean it up a little. Although the engine had been raped all in all the car is in pretty good shape. Couple pieces of broken trim, drivers door moulding missing, stained carpet not bad for 20 years old.

Step one Rebuild engine:
As I stated earlier this is going to be a semi stock rebuild
New NPR pistons and rings
ACL Bearings sent to Calico Performance to be coated
crankshaft replaced and micro polished
rods shot penned and rebuilt
new oil squirters
new oil pump (OEM)
bored .5mil over
line honed mains
fully balanced to 1 gram
new springs small block Chevy
3 angle calve job
Block and head prepped for metal head gasket
Titan MHG
Arp rod bolts
Arp head studs
Block ceramic coated (I know it's not needed but my machinist offered it free because he was setting up stuff and needed a Guinea Pig)

A few pics of the progress:

p1404456_1.jpg


p1404456_2.jpg


p1404456_3.jpg


p1404456_4.jpg


p1404456_5.jpg


p1404456_6.jpg
 
Last edited:

Fergie76

New Member
May 12, 2009
59
0
0
Hendersonville NC
Here is the head

p1404469_1.jpg


p1404469_2.jpg


p1404469_3.jpg


p1404469_4.jpg


And while the motor was in the shop I started cleaning up the intake. I am going to use red enamel to fill in the 3000 and then polish the flat square around the 3000

p1404469_5.jpg


p1404469_6.jpg


Thinking of doing the valve covers the same way: Grind off casting marks, black wrinkle finish, then polish the 3 lines. What do you think ?
 

Fergie76

New Member
May 12, 2009
59
0
0
Hendersonville NC
^ Found a new crank well, I bought another motor for parts as of now the motor is built and waiting on me to get the bay ready for it to go in. Cool thing about the wrinkle finish you have to bake it to cure it. 3 hours in the oven on 300 degrees and I could still touch the part painted black. I should have payed closer attention because I burnt the stuff out of my finger on the end of the 3000 pipe that wasn't painted. Not much science in a burnt finger but if it blocks out heat this well it might help my intake air temps stay cooler.
 

Fergie76

New Member
May 12, 2009
59
0
0
Hendersonville NC
Well it's been a long cold winter and not even close to enough time to work on my car, but I am putting all the parts together again. I know that there is still a long way to go and some of the pieces are just laying here for a mock up, but what do you guys think so far.
p1541024_1.jpg

p1541024_2.jpg

p1541024_3.jpg

p1541024_4.jpg

I an thinking of painting the numbers on the 3000 pipe red, or getting the HK$ pipe and wrinkle finishing it to match any input.

Last question, this valve, which way goes into the manifold the brass cup side or the valve end. In the tsrm it looks like the cup end goes into the manifold but the picture is not clear and I just wanted be sure.
p1541024_5.jpg

p1541024_6.jpg
 

RazoE

Boobs/Boost, my favorite
Jun 13, 2006
4,946
3
38
38
Los Angeles
www.cafepress.com
I love the wrinkle! I was going to do my 240's valve cover that way..

sucks to hear about all the fuck-ups in the motor, but atleas now you know it's getting done right!
 

Fergie76

New Member
May 12, 2009
59
0
0
Hendersonville NC
This is the Paint I used. Be careful no mater how long it sits it is not cured until you bake it and you can tear the surface layer and its like tar under it. It is easy to work with and you can change the way it looks by how heavy you spray it. I used 3 heavy coats, let it start to dry, and then any spot where the wrinkle was not heavy enough I would spray and hit with a hair dryer until it was uniform. Baked in the kitchen oven 3 hrs 300 degrees the fumes were a whole lot less than you would get from standard paint. Still got my A$$ chewed when she got home but I did not think It smelled that bad!!!
41Om0y4bxyL._SL500_AA300_.jpg
 

Fergie76

New Member
May 12, 2009
59
0
0
Hendersonville NC
Well after 2 more boxes of parts from Driftmotion things are startling to come together. The Motor is in the hole. I was going to have some help putting it in but my buddy got hurt at work and ripped his shoulder out of socket. Putting a 7m-GTE with the transmission in by yourself=fun. battery on the camera is dead so I'll have some pictures up Wed or Thurs night.