
no mine was new, I was thinking about reusing the one I did have on it, but I was like. Its just an extra $100 and I had the money. So I got a brand new HKS.
New 7M Install
- Thread starter TweeT91109
- Start date
You are using an out of date browser. It may not display this or other websites correctly.
You should upgrade or use an alternative browser.
You should upgrade or use an alternative browser.
OK so I went to reassemble the block for the final time, and couldn't install a new oil drive shaft bearings. So I took it up to a shop owned by a good friend of my girl friends dad, we started mic-ing stuff out to make sure the clearances were good, and most of the work I had done and was charged for either didn't get done correctly or done at all. For instance the turning of the crank I was charge $135 for, didn't happen, its still the standard size. The line honing on the mains and rods, wasn't done correctly and is causing the uneven wear on the bearings. SO i'm biting the bullet for the final time, and taking it to him from now on. My girlfriends dad has taken his cars to him for the last 30 years, and has sent countless of other friends to him also. So hopefully after him fixing all teh problems again, I will finally have a running motor.
Hold on, hold on.
Did you tell them to cut the crank or polish it?
For the align hone, did you tell them to make sure they torque everything down before doing it? I am sure it sounds stupid but these guys do motors all day and after torquing thousands of bolts, you can pull pretty close to 60 pounds, and then they do their machining. 58 pounds is not 60 pounds.
With that being said, is your block still useable? Ian has said, he would not align hone a block unless it is needed. Why? It can ruin a perfectly good block.
In other words, if they cut the mains, say 10 thou, .254mm, theoretically speaking, your whole rotating assembly has just moved up 10 thou, which is why you need the larger bearings, to add the material that was taken off, to bring the assembly back to it's original position. Are you sure you can remove more off this block?
How is your oil pump driveshaft? In spec, if not, I have one. You can have it for the cost of shipping.
I have to GTE blocks with mains if you need them which I really hope you DON'T because after following this thread, you have spent a good amount of money on this block milling, boring and honing it.
Hey Ian, if you see anything wrong with what I stated, please correct it but I do believe I explained it correctly. Thanks.
Ok not to bring this thing back from the dead or anything lol.
So here is all the work I have had done on the motor so far, the good, the bad, and the ugly.
1st Machine shop.
(Asked them to do the following)
1. break glaze on the cylinders
2. deck the block
3. install freeze plugs
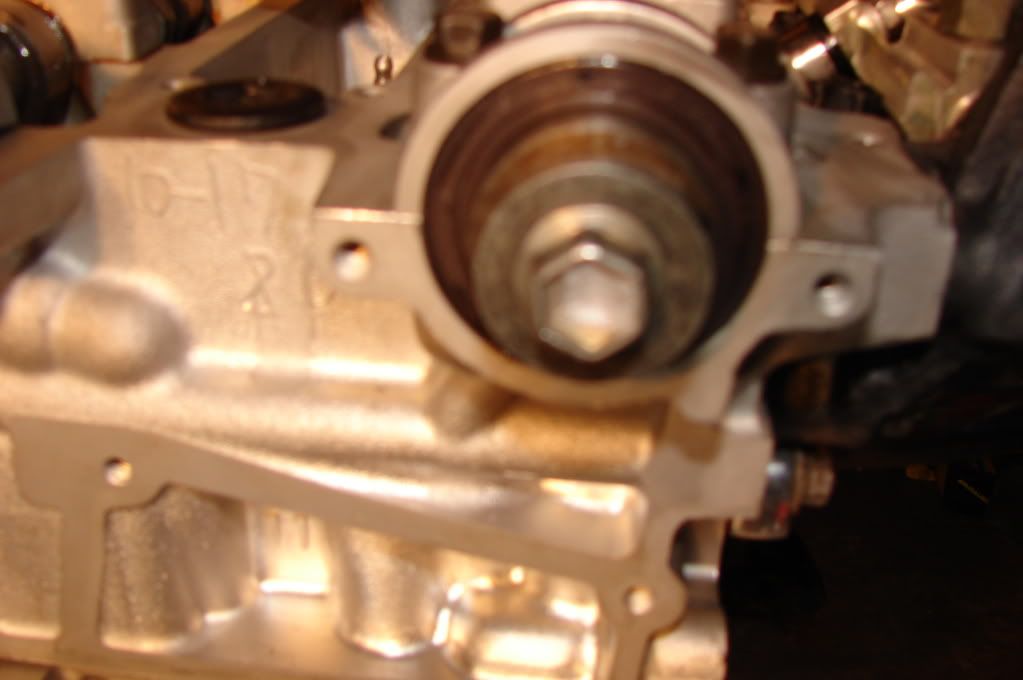
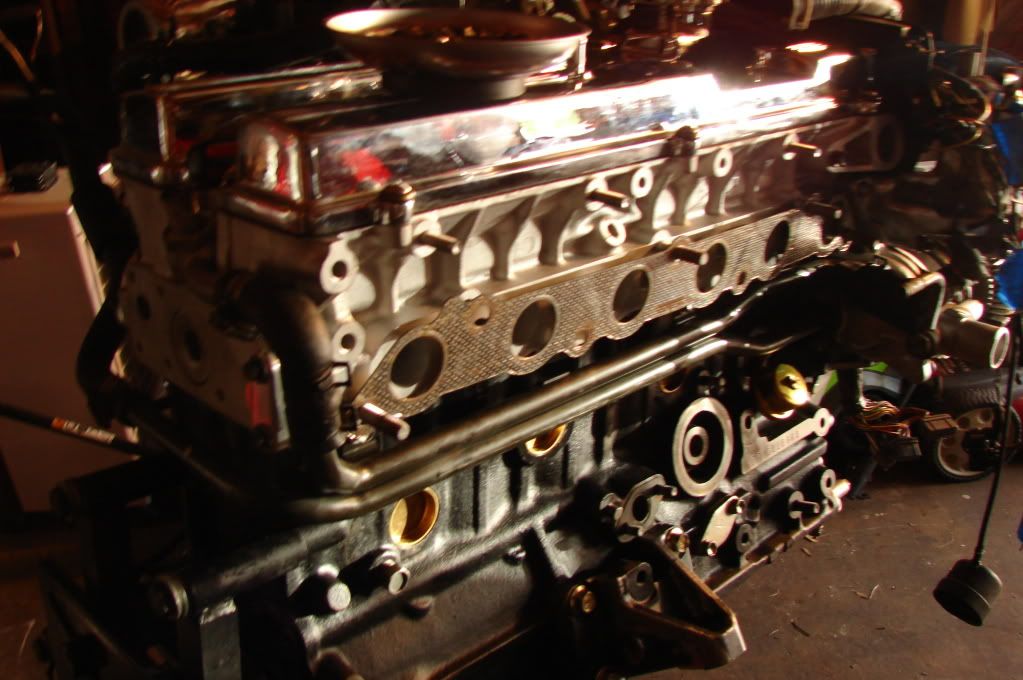
The incorrectly decked the block, because they didn't load the block with the mains when they decked. So when I would assembly the motor, it would take it out of line. They also nicked 3 out of the 6 cylinders deep enough to need larger pistons.
2nd Machine shop
(what I asked them to do)
1. Redeck the block with load on the block from the mains
2. Bore out the cylinders to .020 over to get into good material for the rings.
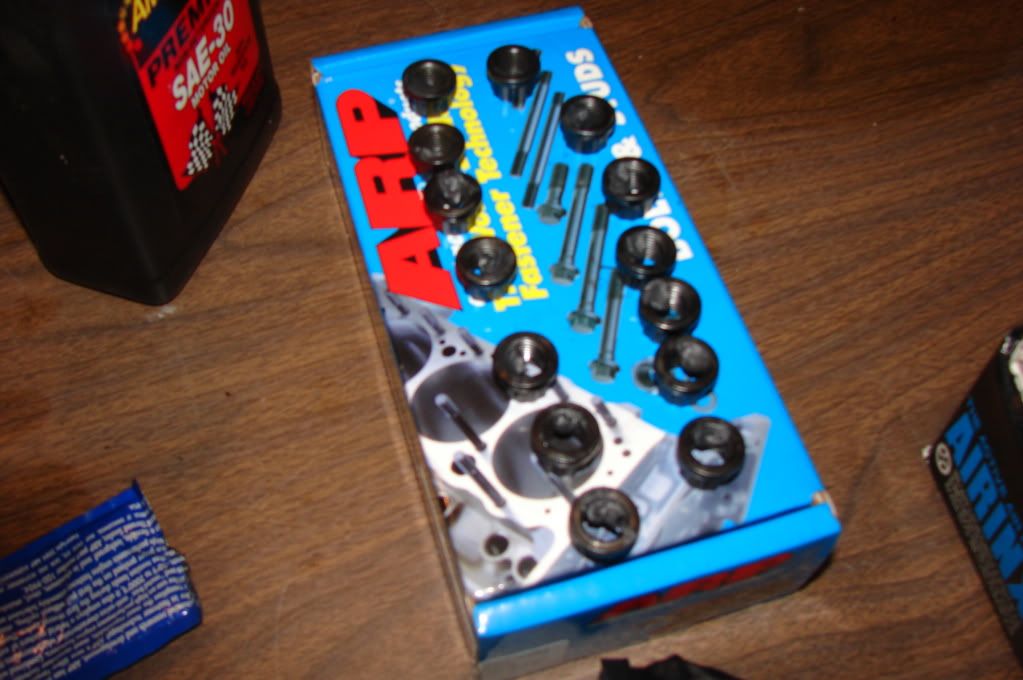
3. Aline hone the main journals being that I was using ARP hardware.
4. Spin .010 of the crank to run a over sized bearing.
After all this they also informed me that the wrist pins for the connecting rods needed to be heat pressed in. Another $80.
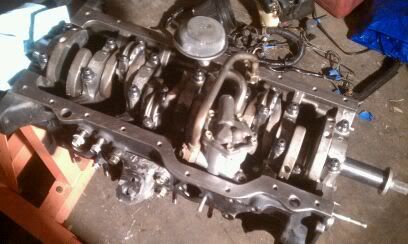
So after assembling the motor I turned the entire rotating assembly over 1 time in the clock-wise position. Later, just to make sure I took the final clearences using plasti-gauge, while taking it apart I noticed a unusually early mirroring of the bearings. So I took it to a close friend who was able to mic everything out.
We found they only washed the crank, used standard size bearings, tapered the aline hone on the first two main caps.
3rd machine shop
(what I asked them to do)
1. Measure everything out.
2. Notify me of anything they would need to do to assemble.
The very next day they called me back, told me I would need to order a new set of standard size bearings, and bring them in, they would go from there. SO a week later they came in and they let me know it would need to honed a bit because the piston-wall clearance on the first, second, and third pistons where just over 500 thousandth. The final 3 where all less then that. So rod knock would have soon followed after the start up. They also were able to slightly polish the crank, and use the standard size bearings. They also threw in a free bottom end engine assembly that saved me a bit.
So I now have the assembled bottom end of the motor waiting to have everything else put on it. Ill be taking plenty of pictures of putting the head on and everything else. A lot of that will probably happen tonight, but if not there's always tomorrow.
So here is all the work I have had done on the motor so far, the good, the bad, and the ugly.
1st Machine shop.
(Asked them to do the following)
1. break glaze on the cylinders
2. deck the block
3. install freeze plugs
The incorrectly decked the block, because they didn't load the block with the mains when they decked. So when I would assembly the motor, it would take it out of line. They also nicked 3 out of the 6 cylinders deep enough to need larger pistons.
2nd Machine shop
(what I asked them to do)
1. Redeck the block with load on the block from the mains
2. Bore out the cylinders to .020 over to get into good material for the rings.
3. Aline hone the main journals being that I was using ARP hardware.
4. Spin .010 of the crank to run a over sized bearing.
After all this they also informed me that the wrist pins for the connecting rods needed to be heat pressed in. Another $80.
So after assembling the motor I turned the entire rotating assembly over 1 time in the clock-wise position. Later, just to make sure I took the final clearences using plasti-gauge, while taking it apart I noticed a unusually early mirroring of the bearings. So I took it to a close friend who was able to mic everything out.
We found they only washed the crank, used standard size bearings, tapered the aline hone on the first two main caps.
3rd machine shop
(what I asked them to do)
1. Measure everything out.
2. Notify me of anything they would need to do to assemble.
The very next day they called me back, told me I would need to order a new set of standard size bearings, and bring them in, they would go from there. SO a week later they came in and they let me know it would need to honed a bit because the piston-wall clearance on the first, second, and third pistons where just over 500 thousandth. The final 3 where all less then that. So rod knock would have soon followed after the start up. They also were able to slightly polish the crank, and use the standard size bearings. They also threw in a free bottom end engine assembly
that saved me a bit.So I now have the assembled bottom end of the motor waiting to have everything else put on it. Ill be taking plenty of pictures of putting the head on and everything else. A lot of that will probably happen tonight, but if not there's always tomorrow.
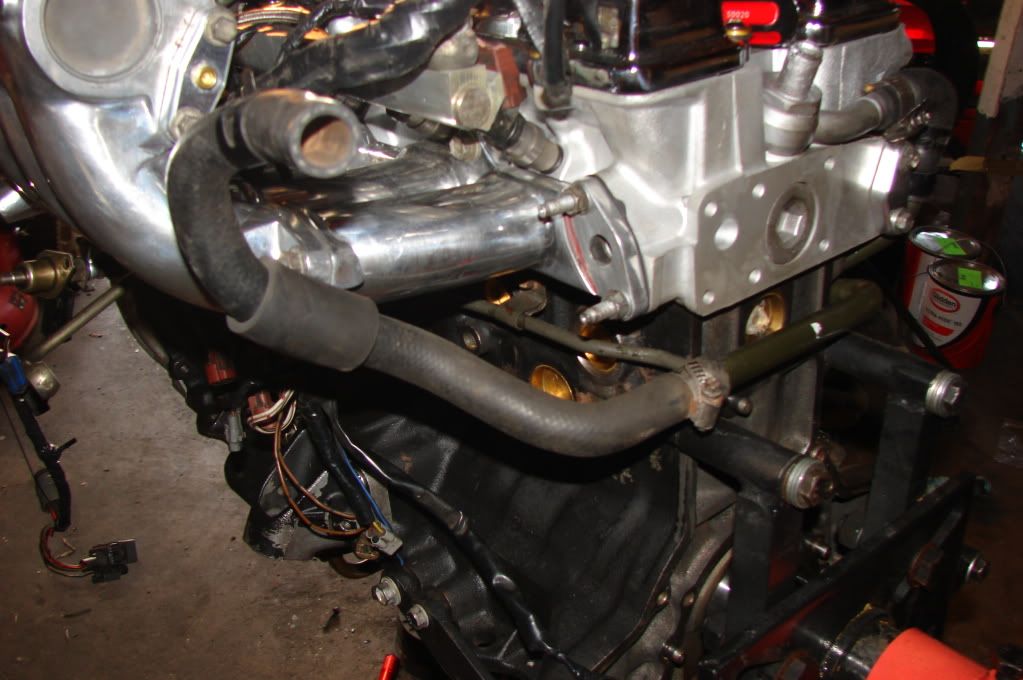
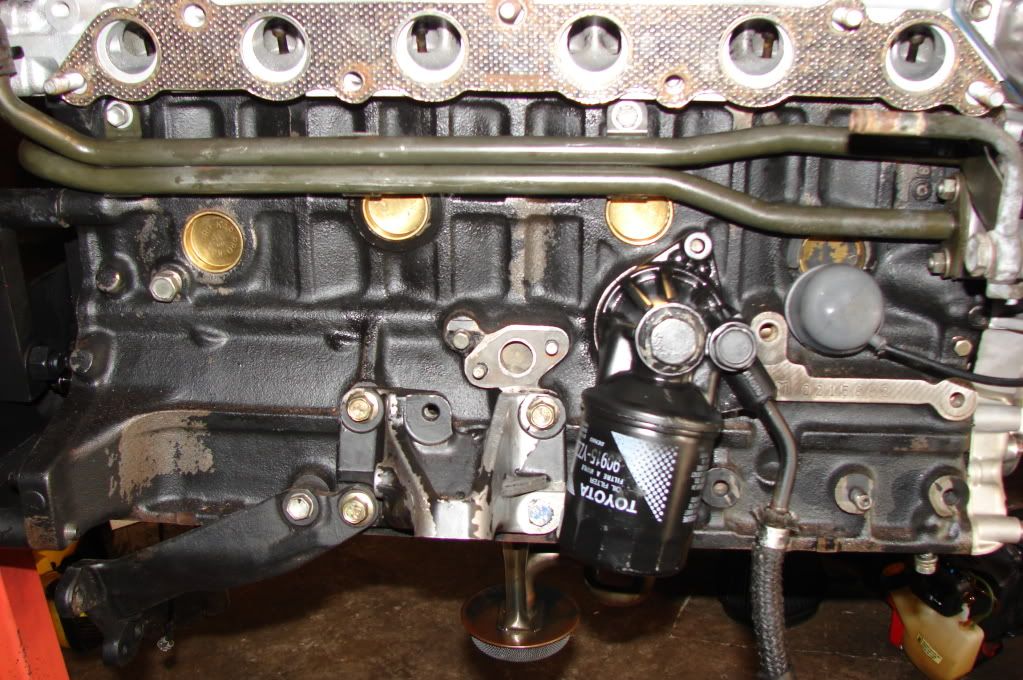
I got a lot done tonight I wanted to do more but I have to wait to get the motor on a engine hoist to install the rear seal plate, with the rear main seal. But while the motor was open, I was able to install the oil cross over line, then had to take it back off cause I realized I had to torque the mains and rods down. Opps. Anyways, got both of those torque down the rods went to 35ft. lbs, the mains went to 75ft lbs, with ARP's supplied lube, in sequence. Installed the oil pump, and cross-over line again. Then RTV'ed the rear timing cover on with the gaskets in middle from Toyota. Then moved to installing the front main seal, and front oil drive shaft seal. I forgot the camera, but was able to take a few cell phone pics so here they are.
First here is the car, I now have the stock inter-cooler back on.

First time installing the cross-over pipe
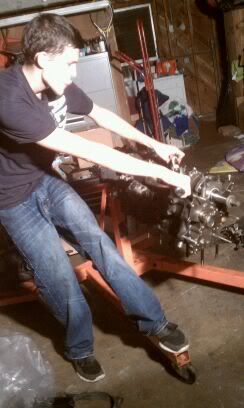
My girlie snagged a pic of me torquing the bad boys down.
Rear timing cover on
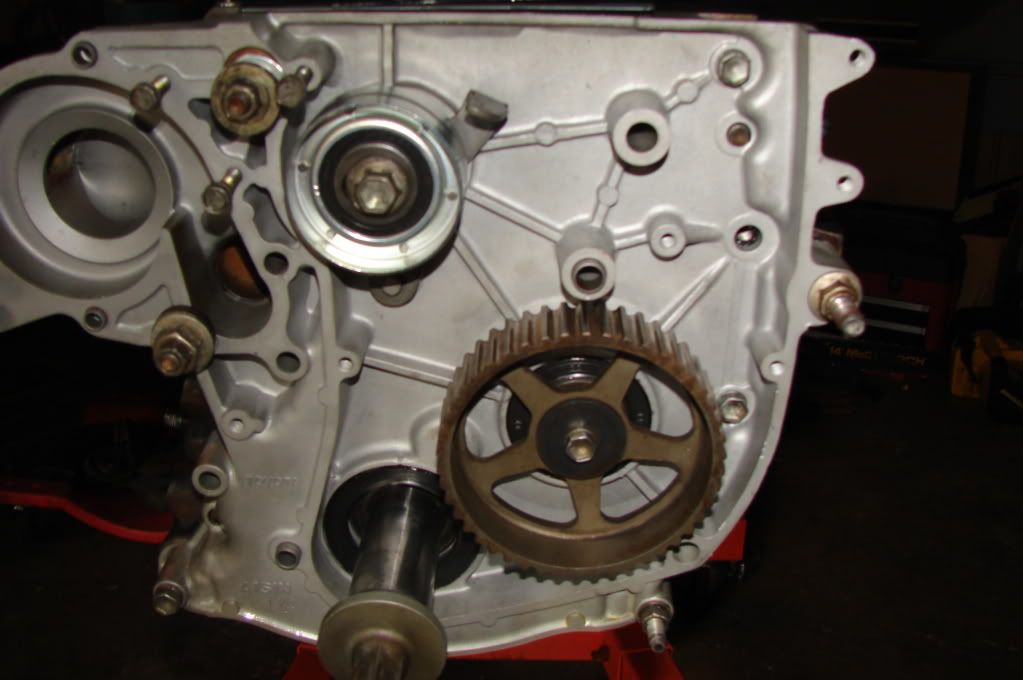
And the front main seal, and front oil-drive-shaft seal on.
So that's all for tonight, work tomorrow, then ill be jumping back on the motor after that. Don't mind all the bolts in the last picture. They go where the water pump go, but because I RTV'ed the gaskets that go b/t the motor and rear timing cover I wanted to put pressure on them.
First here is the car, I now have the stock inter-cooler back on.
First time installing the cross-over pipe
My girlie snagged a pic of me torquing the bad boys down.
Rear timing cover on
And the front main seal, and front oil-drive-shaft seal on.
So that's all for tonight, work tomorrow, then ill be jumping back on the motor after that. Don't mind all the bolts in the last picture. They go where the water pump go, but because I RTV'ed the gaskets that go b/t the motor and rear timing cover I wanted to put pressure on them.
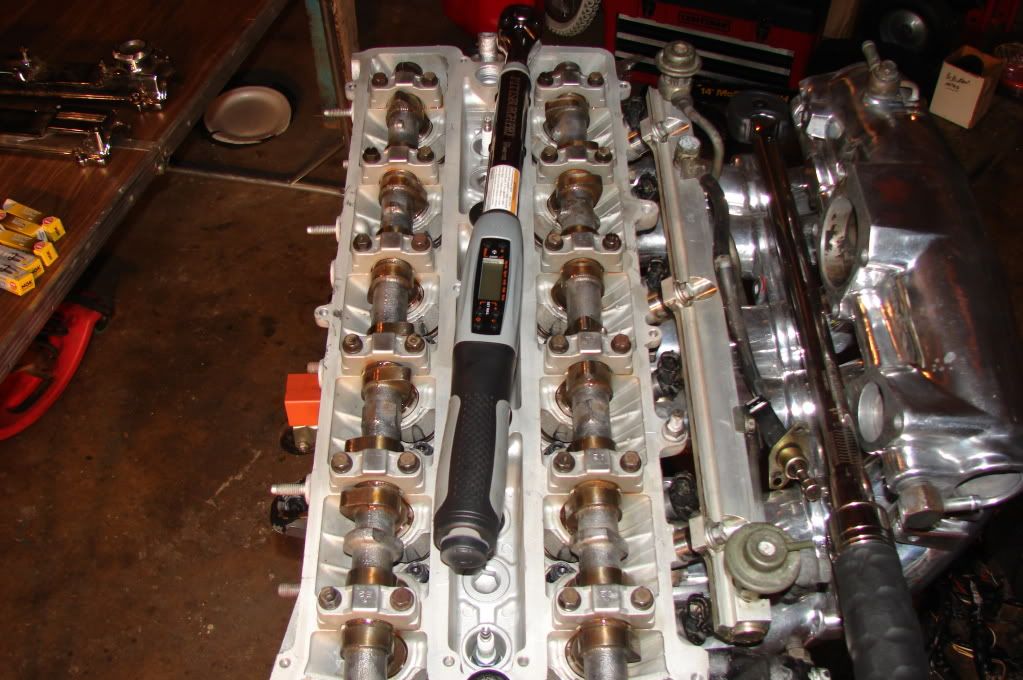
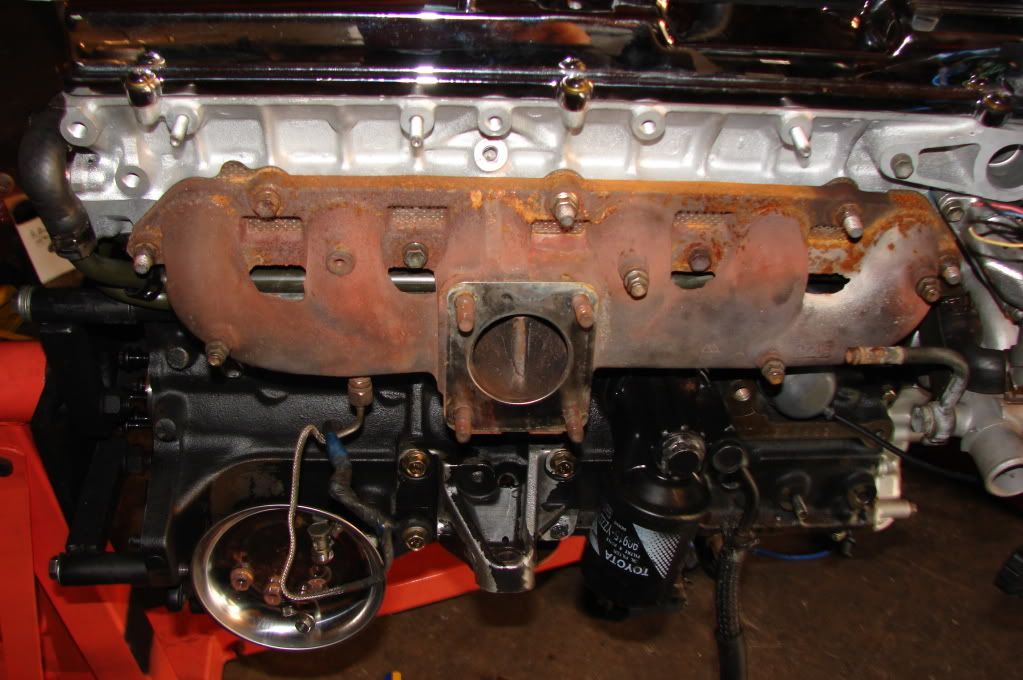
Today, so far, I have gotten the oil drive gear on and bolted down, also I prepped the head studs with their supplied lube, and put on the head. I installed the nuts also again, with supplied lube. Just a few pictures of the work, going to grab and bit to eat then get right back to it.
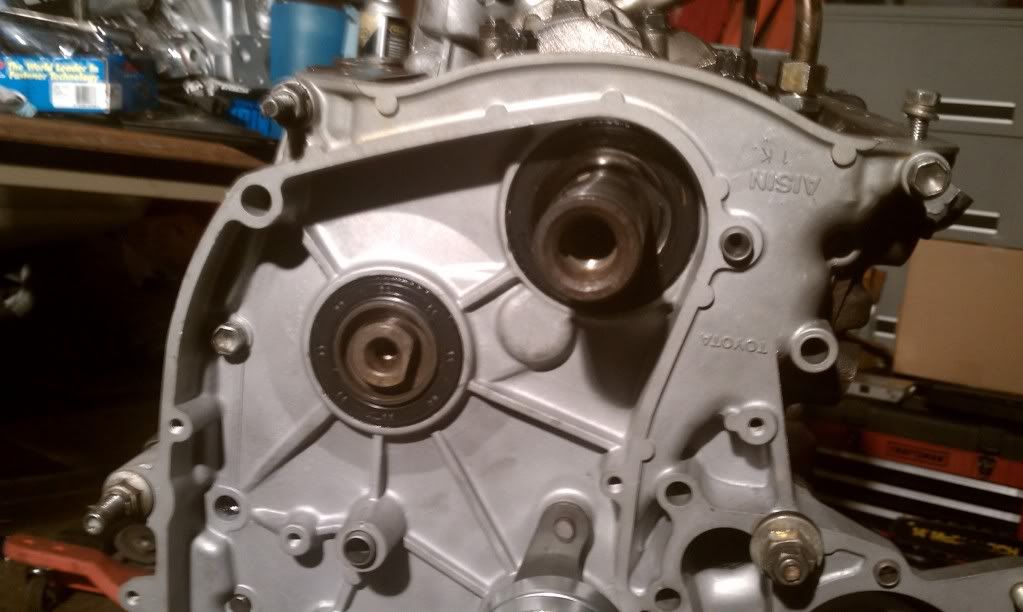
Oil drive gear on, with new seal, I used blue type loc-tight on the first 3 threads so it will stay.
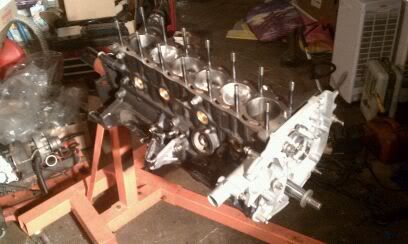
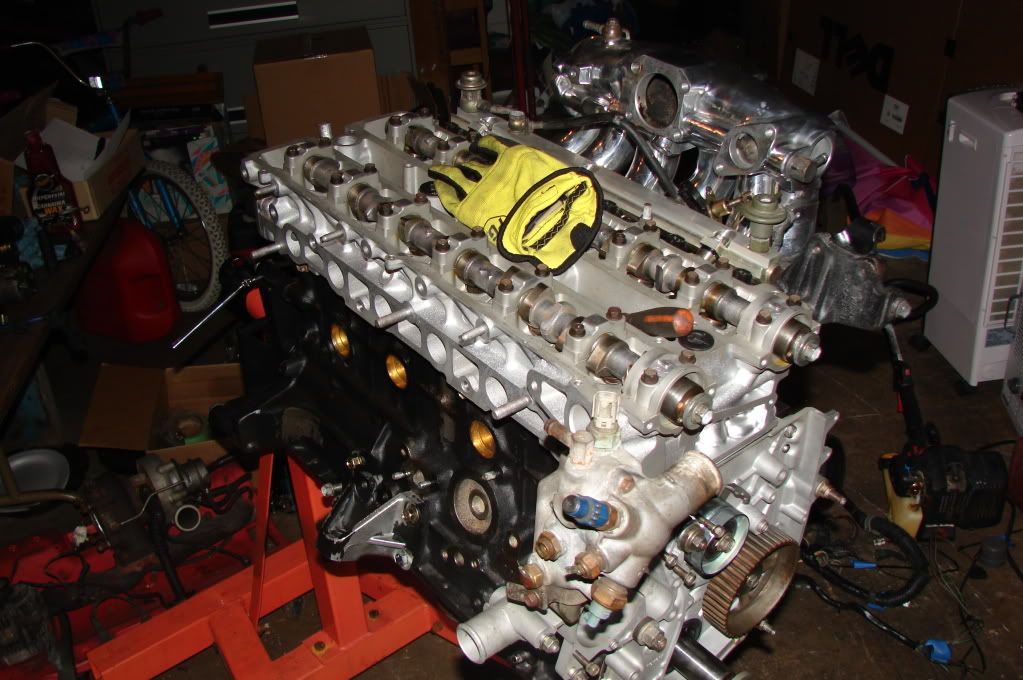
Head after setting it on, and getting the washers all lined up in the valleys,
(*Take note- If you are using the stock head with no grinding done on the valleys, u have to install the washers in the head, and line them up....then set the head down onto the studs. Other wise you will be pulling it off like I did the first time. )
The nuts to the head studs, with their supplied lube.
And just tightened down in case a gust of wind happens to tear threw the garage and loosen the engine stand holding bolt, and flip the motor over....you know, just in case.
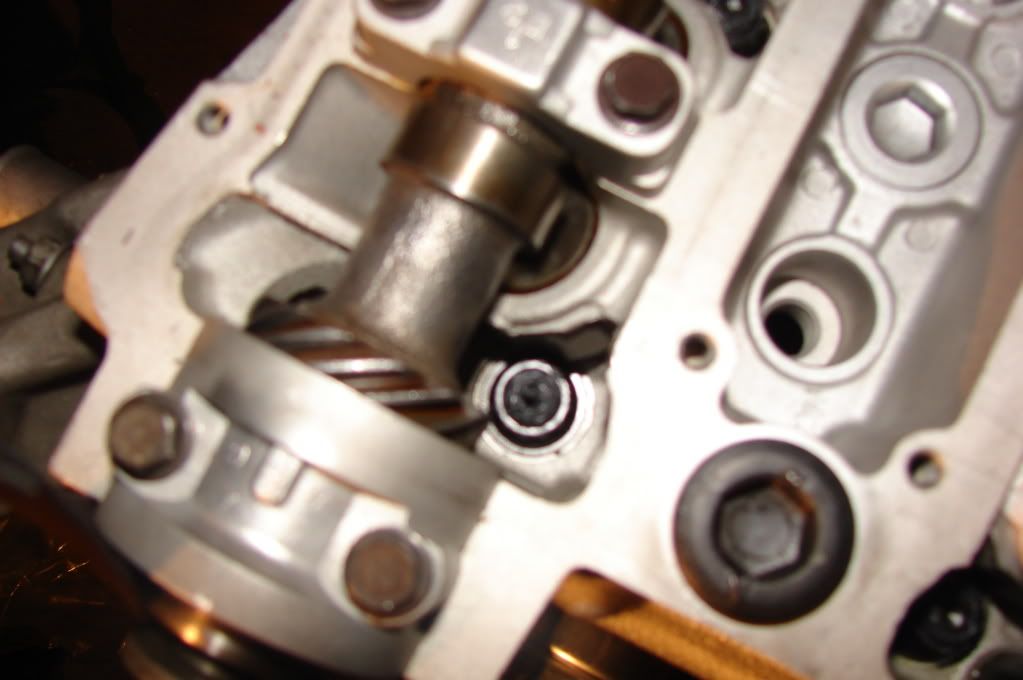
Oil drive gear on, with new seal, I used blue type loc-tight on the first 3 threads so it will stay.
Head after setting it on, and getting the washers all lined up in the valleys,
(*Take note- If you are using the stock head with no grinding done on the valleys, u have to install the washers in the head, and line them up....then set the head down onto the studs. Other wise you will be pulling it off like I did the first time. )
The nuts to the head studs, with their supplied lube.
And just tightened down in case a gust of wind happens to tear threw the garage and loosen the engine stand holding bolt, and flip the motor over....you know, just in case.
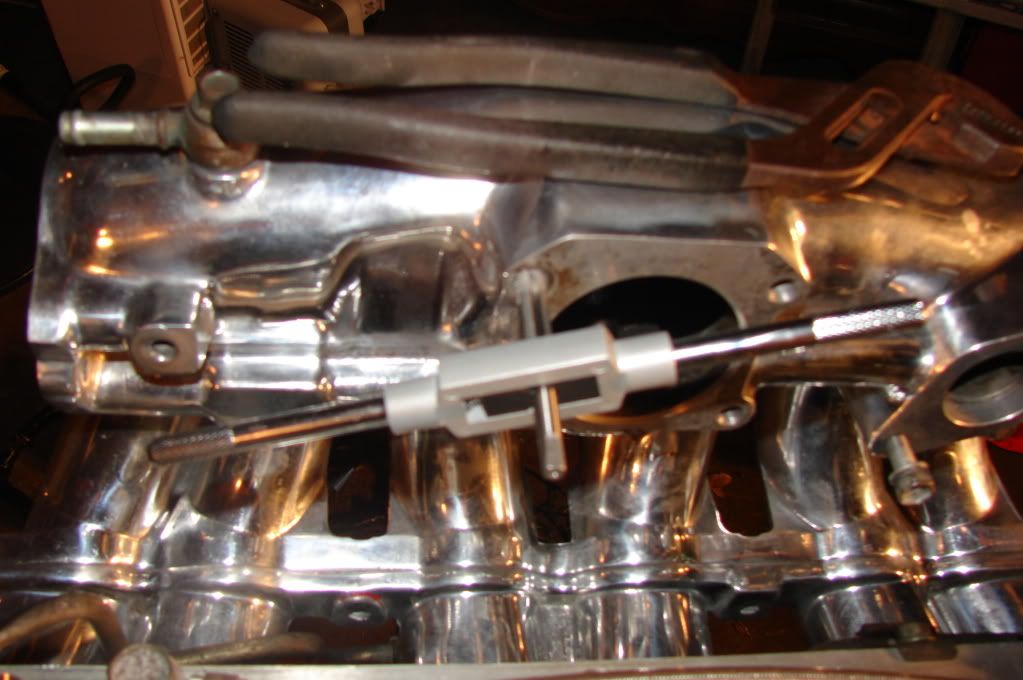
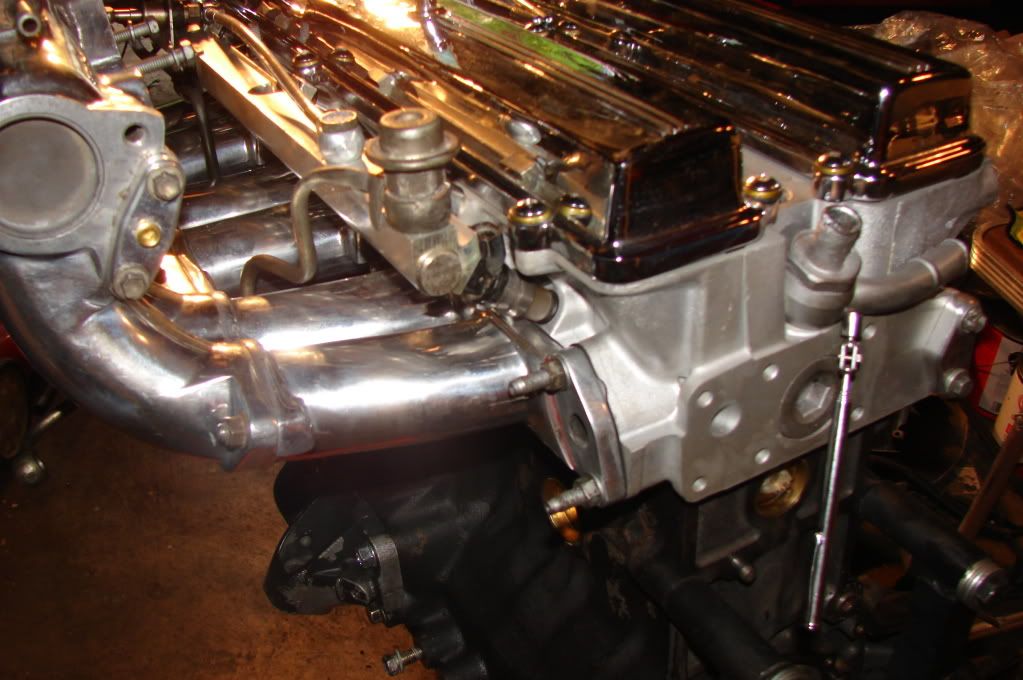
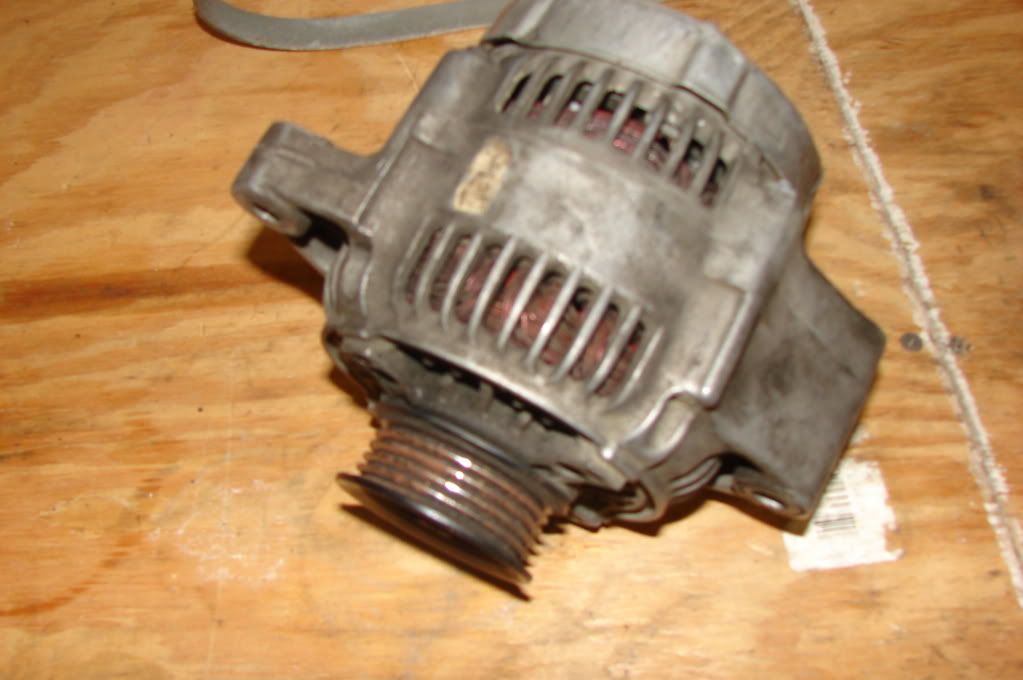
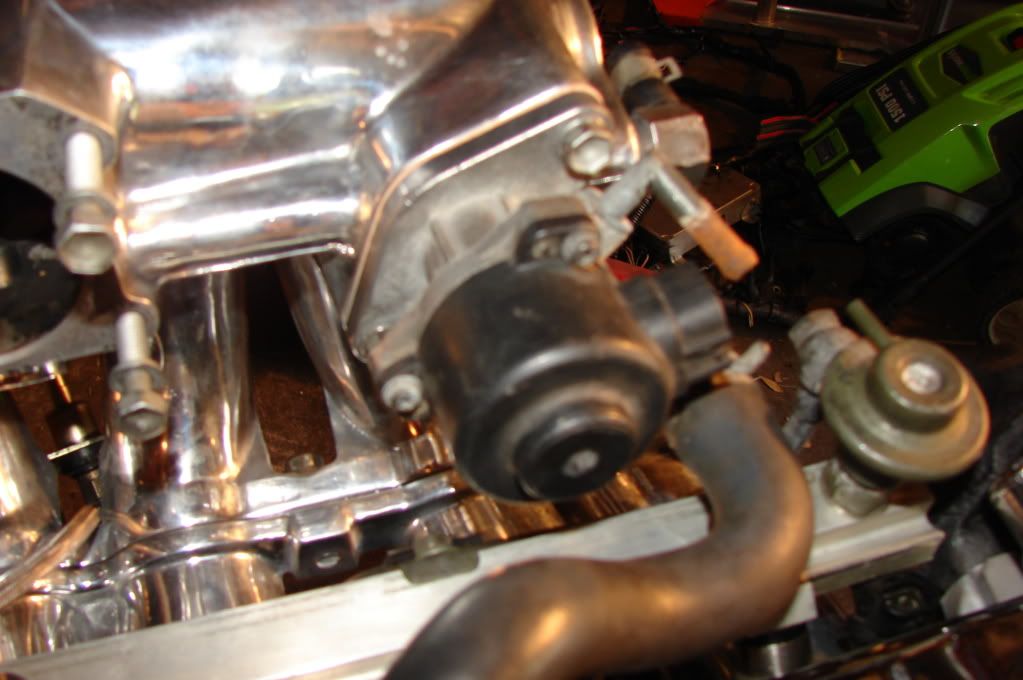
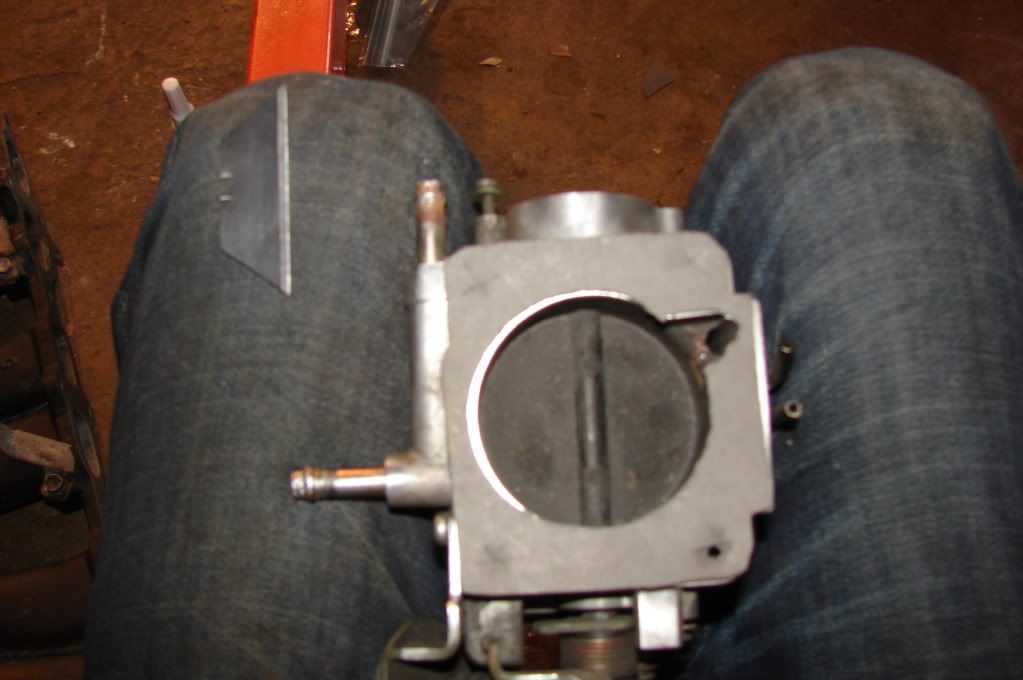
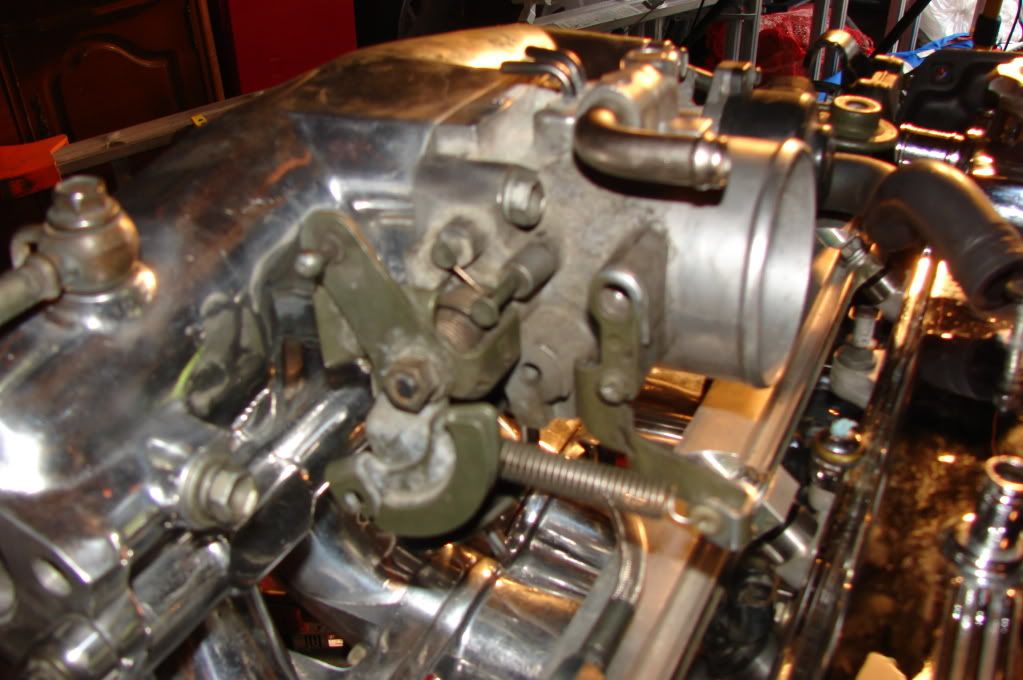
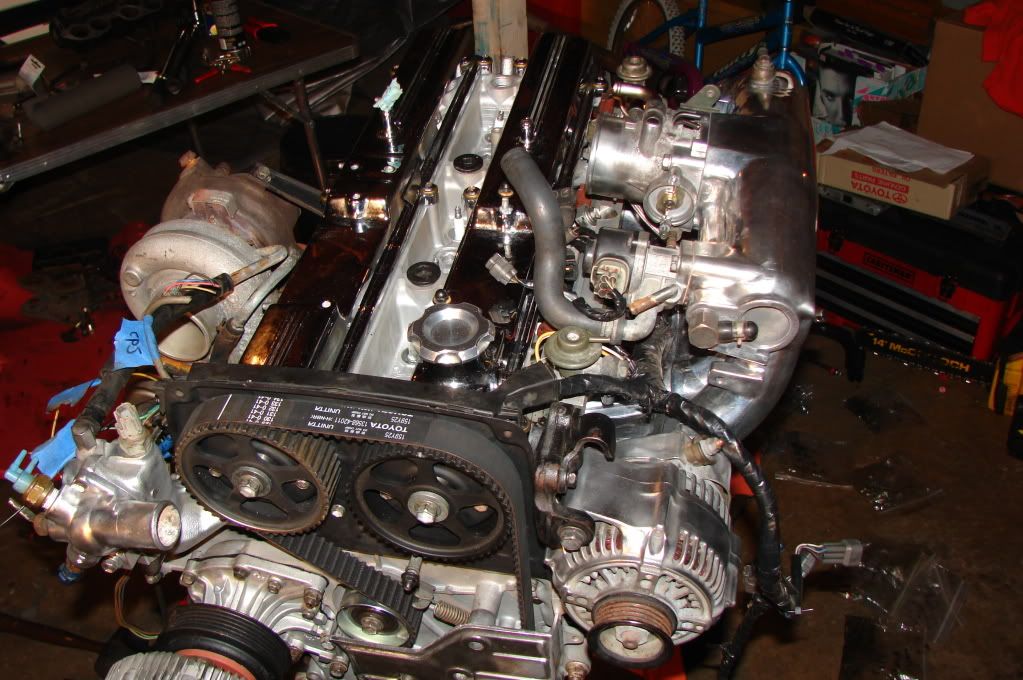
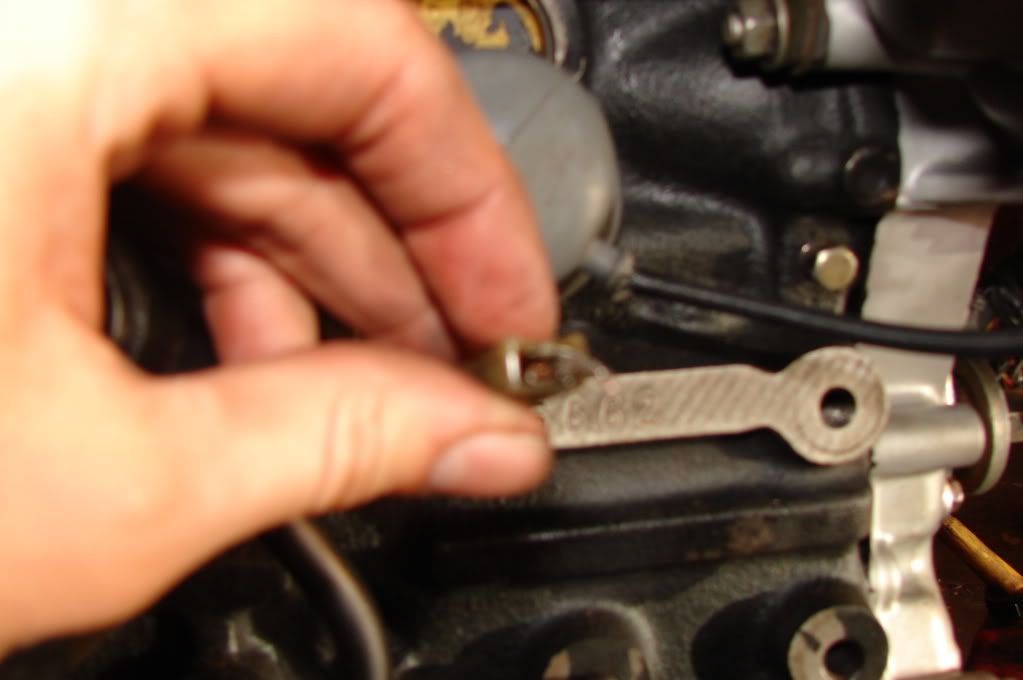
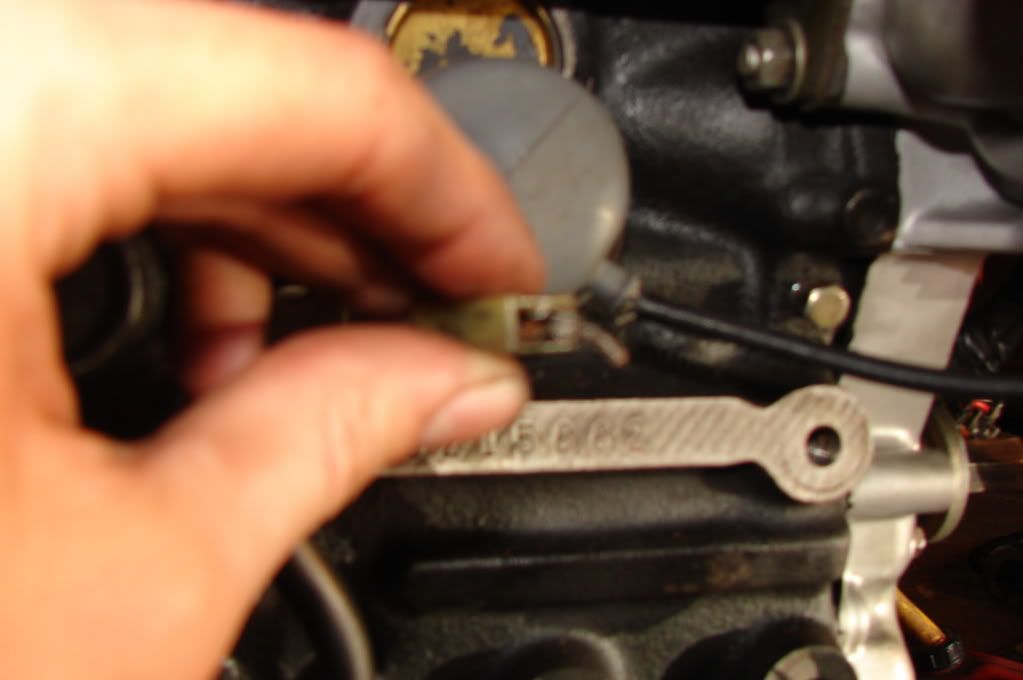
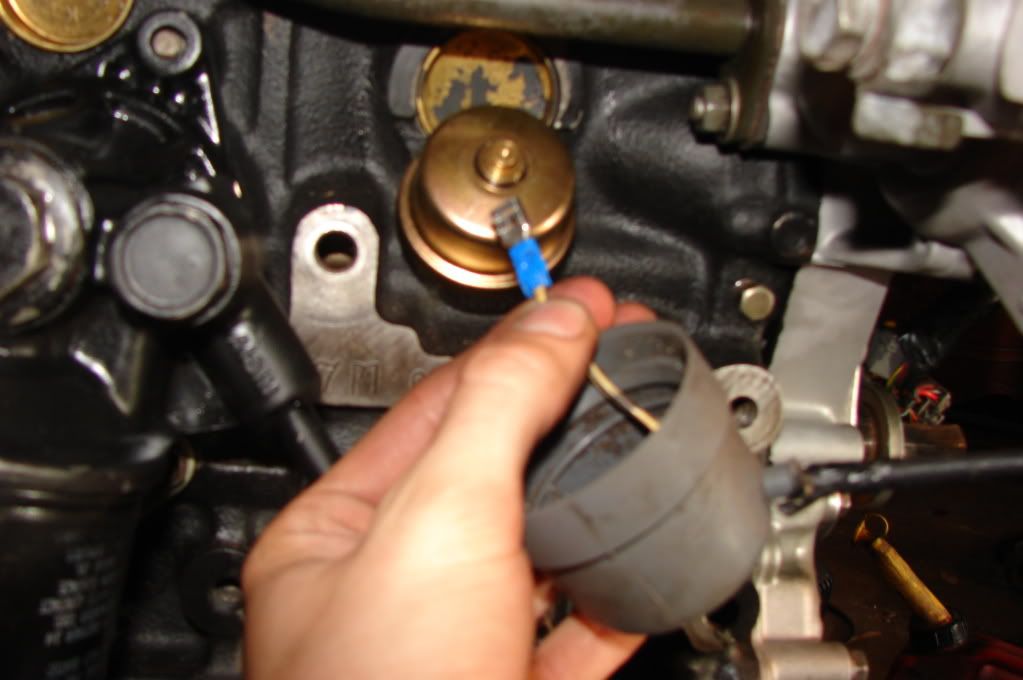
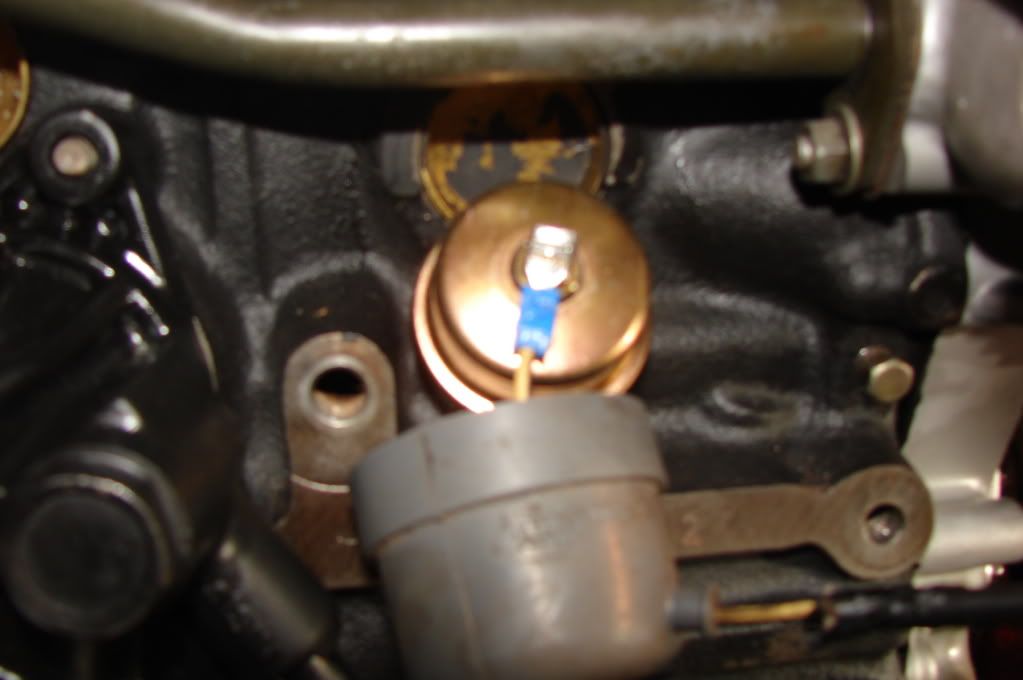
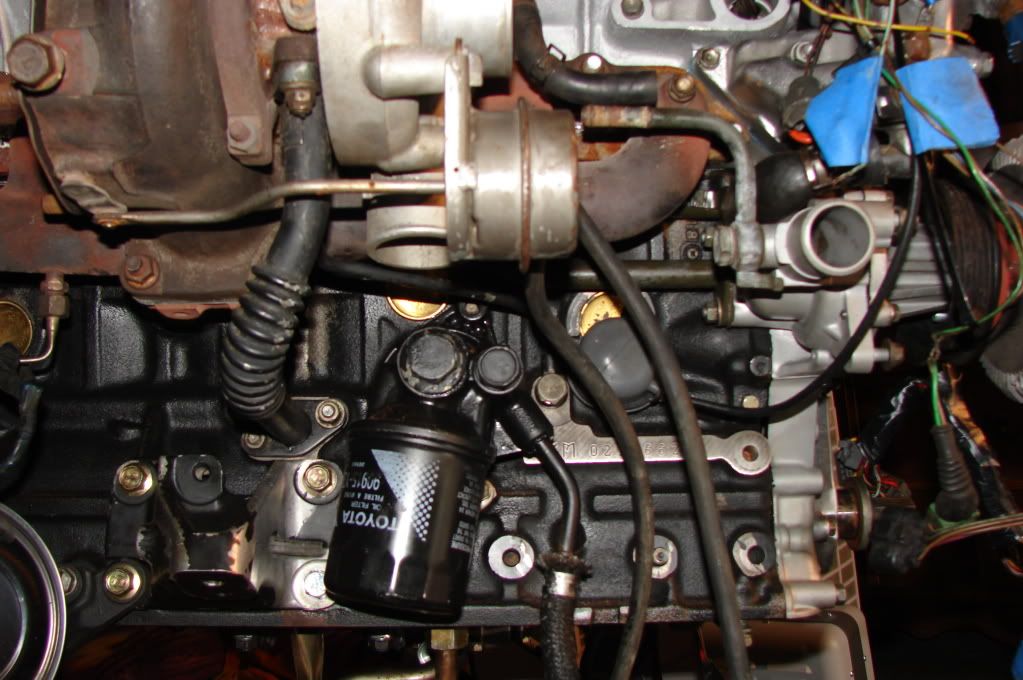
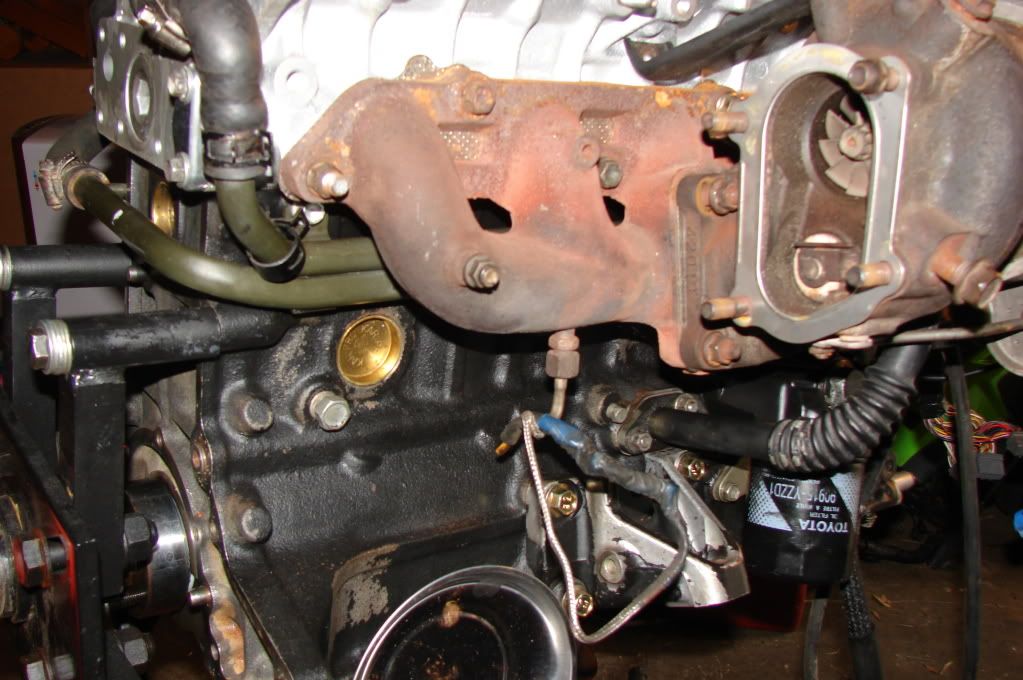
Small update for today, for now...I have to go to family dinner so ill get back on it later tonight. Anyways, for the front cams seals, I installed those, and used RTV (I want to be able to say this is a leak free motor, and mean it) I also torqued down the cams, 14ft. lbs, in TRSM sequences. I got the stock cold start injector line replaced with a drift-motion braided replacement. Also found that the polished intake manifold I bought used, had the top rear throttle body bolt stripped out, so I re-tapped that to a thread pitch larger. I have to original alternator, its bracket, throttle body, IACV, and water thermostat housing i will be cleaning to night, so Ill take plenty of pictures of those, and get them put on this motor asap. Also ill be making a few new gaskets for a few of those items, and the EGR-block off plates.
Here are some pictures of the work so far today.
Front cam seals in and RTV'ed in
Cams torqued to 14 ft. lbs, in order via TRSM.
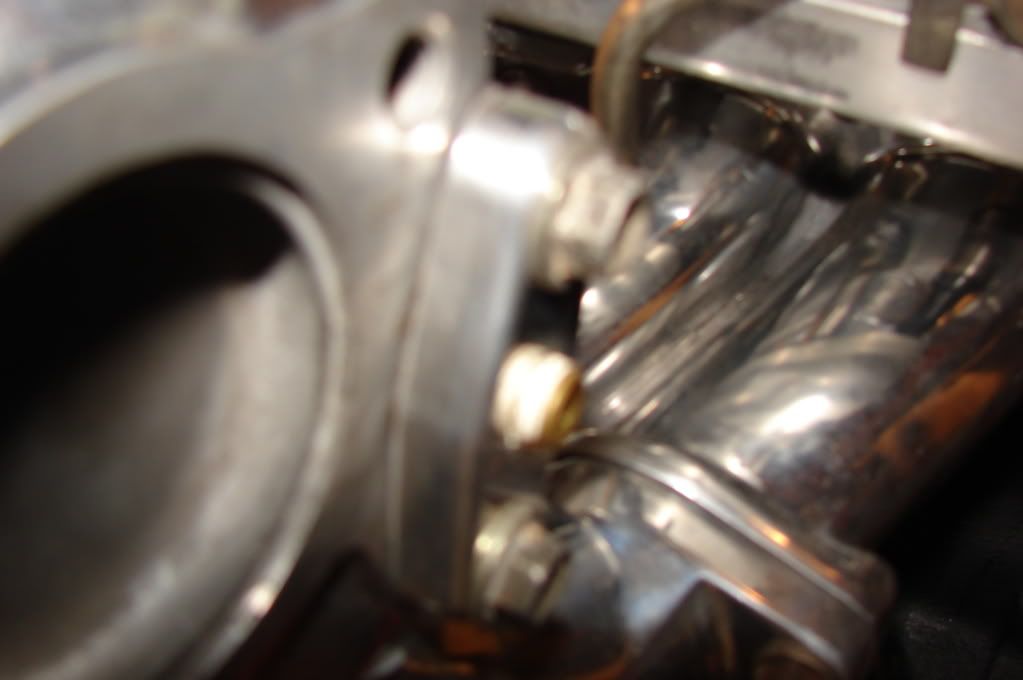
Stock cold start injector line
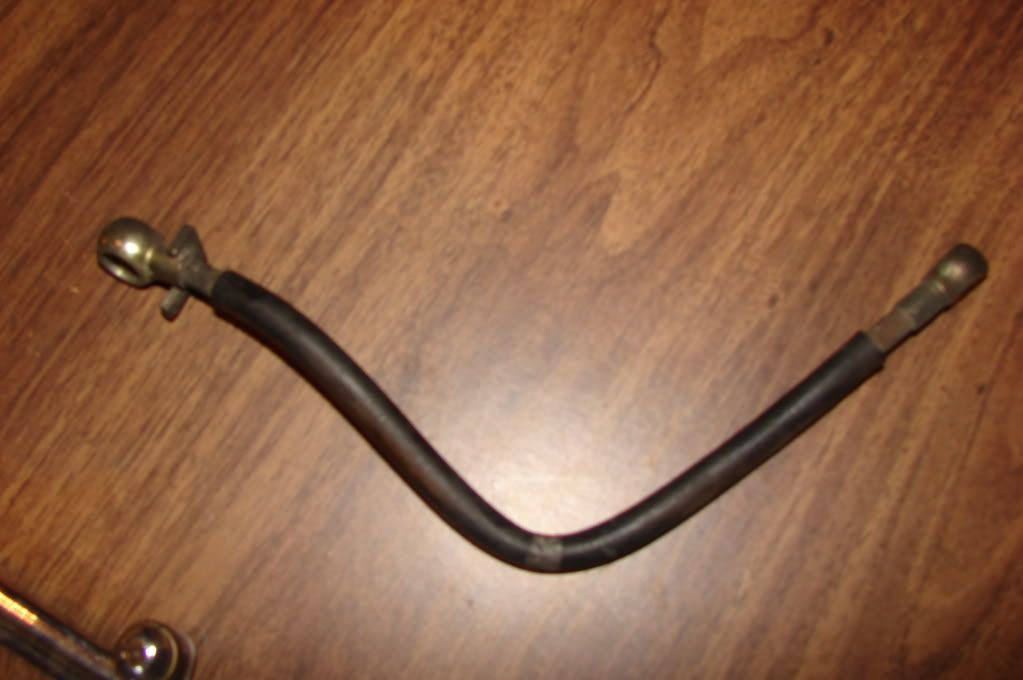
Drift-motion's bling bling replacement.

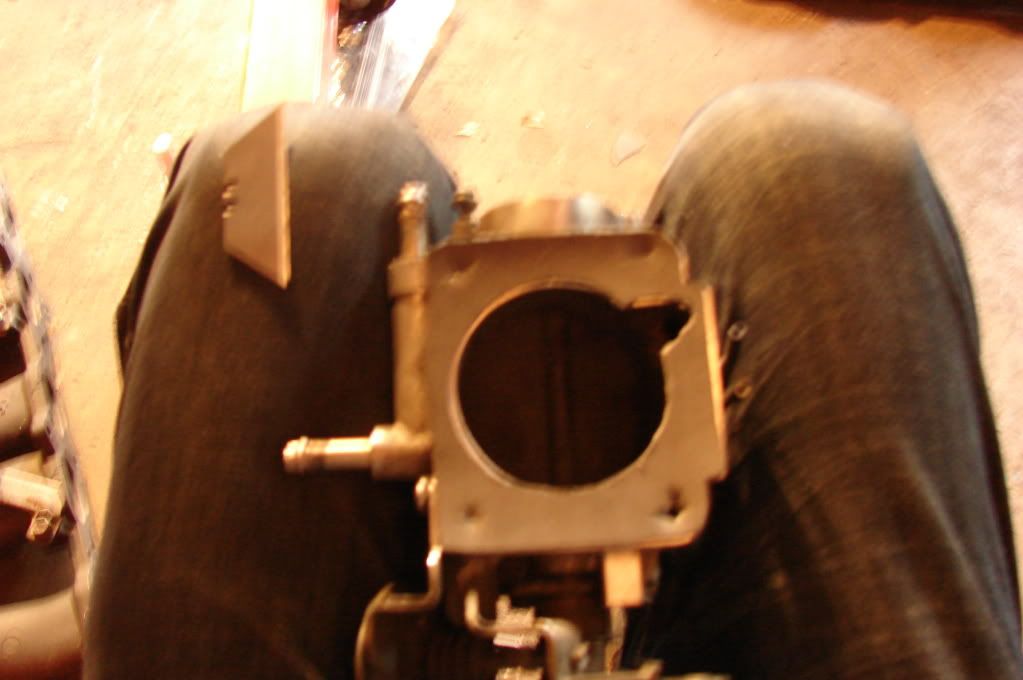
Re-tapping that strip hole.
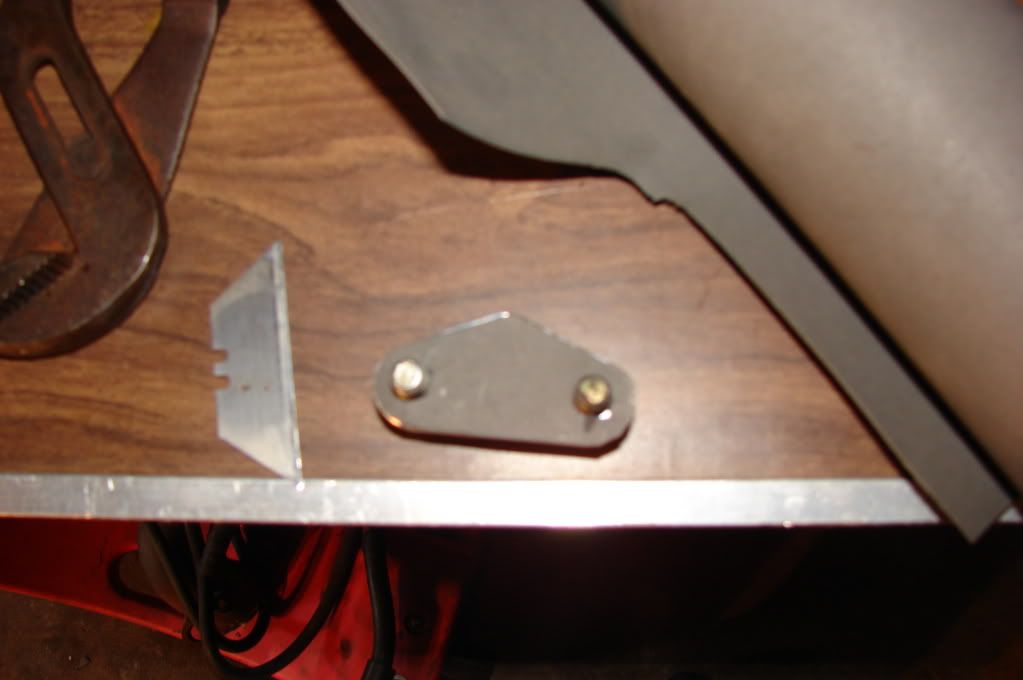
EGR block off plates, that I need to make gaskets for.
So that's all or now, any comment or concerns please chime in.
Here are some pictures of the work so far today.
Front cam seals in and RTV'ed in
Cams torqued to 14 ft. lbs, in order via TRSM.
Stock cold start injector line
Drift-motion's bling bling replacement.
Re-tapping that strip hole.
EGR block off plates, that I need to make gaskets for.
So that's all or now, any comment or concerns please chime in.
The gaskets will only be needed for the port on the back of the head toward the exhaust side and the hole on the intake manifold where you have a plate which can be used for a 1/8NPT fitting.
The hole at the bottom of the lower runners in your picture does not need anything since the EGR plate is not there, nothing will be flowing through it.
Not sure if you knew that but I just wanted to say it.
If you haven't already, go to your local parts store and get an assortment of copper crush washers. It will be better if they have them in metric sizes but standard is fine. It is worth changing them.
The only copper washer I have used again is the one from the IAT sensor on the JZ intake manifold. Those are some though copper washers. They don't even have an imprint on them.
I acually already have soon ew ones in metric sizes but I used ones that came with that driftmotion line
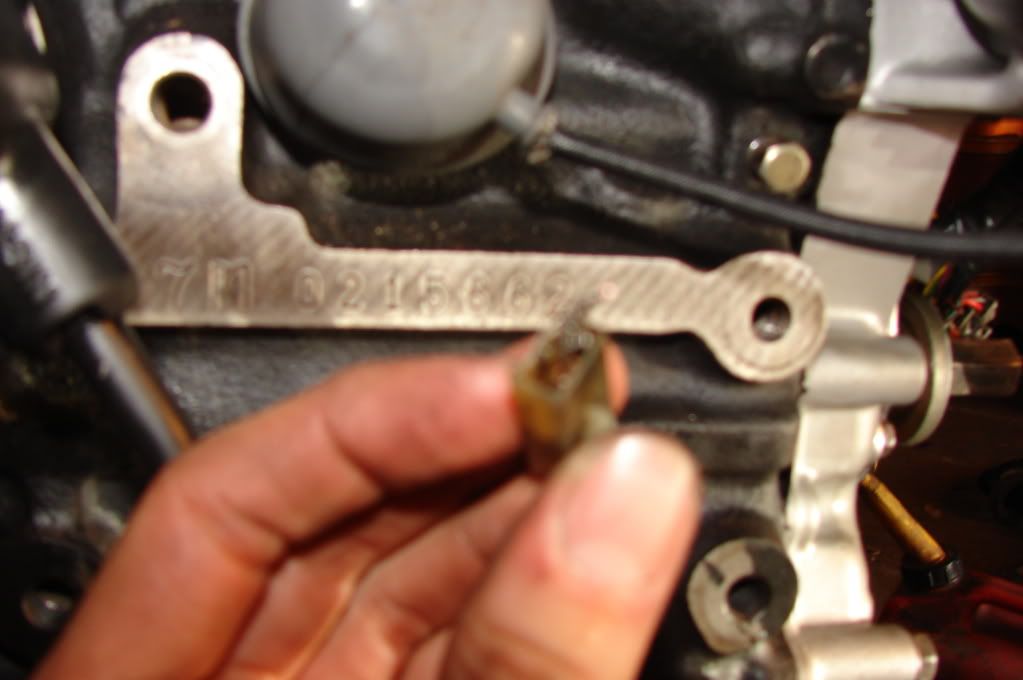
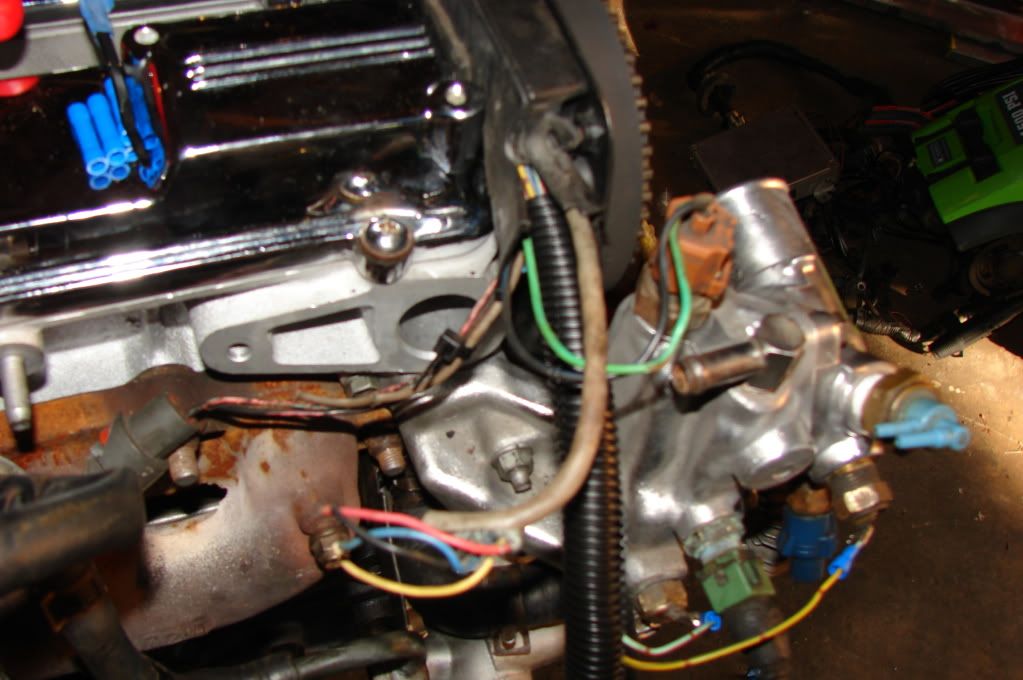
Thanks, today I set the timing, made new gaskets for the throttle body, and EGR plates and started to put the harness on. I'm needing to go to the machine shop, because I forgot I had them re-hone the block, and that required it to be cleaned, so they removed both the oil filter mounting plate, and the knock sensors I left on the motor when I took it there. SO till then, I cant get those hooked up, its been a while since I have assembled the motor, so some of the connectors i'm drawing blanks on, but I know how to use the search button. Lol, Ill post up some pictures of the work so far here in a few, till then its break, and lunch time, well almost dinner here, but i'm hungry.
Ok loaded up the pictures of today's work, and last nights cleaning escapay.
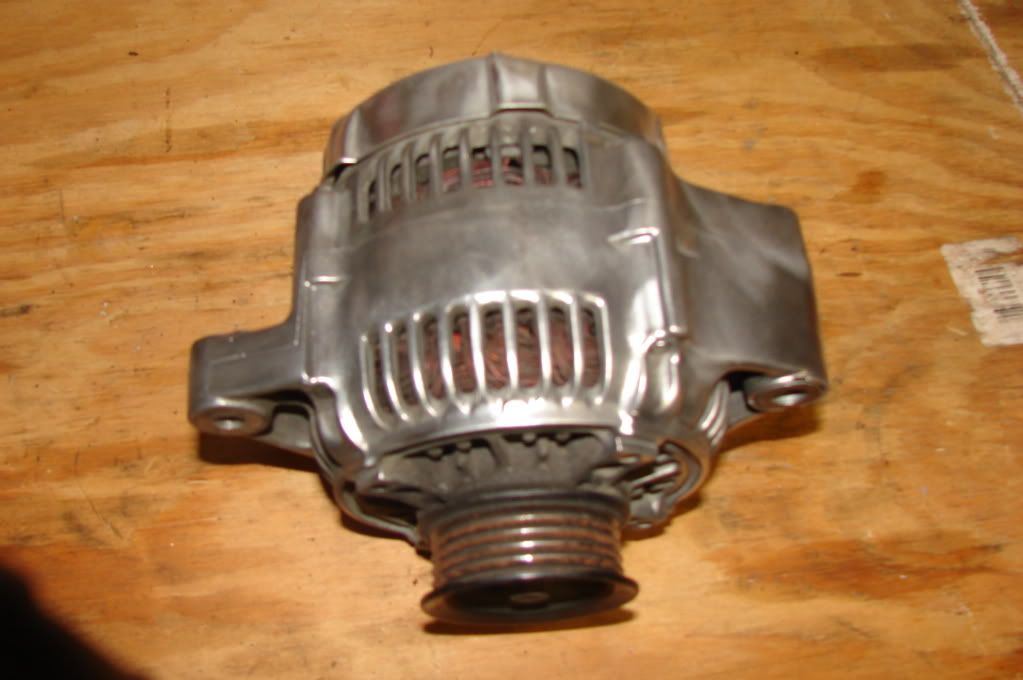
Dirty alternator
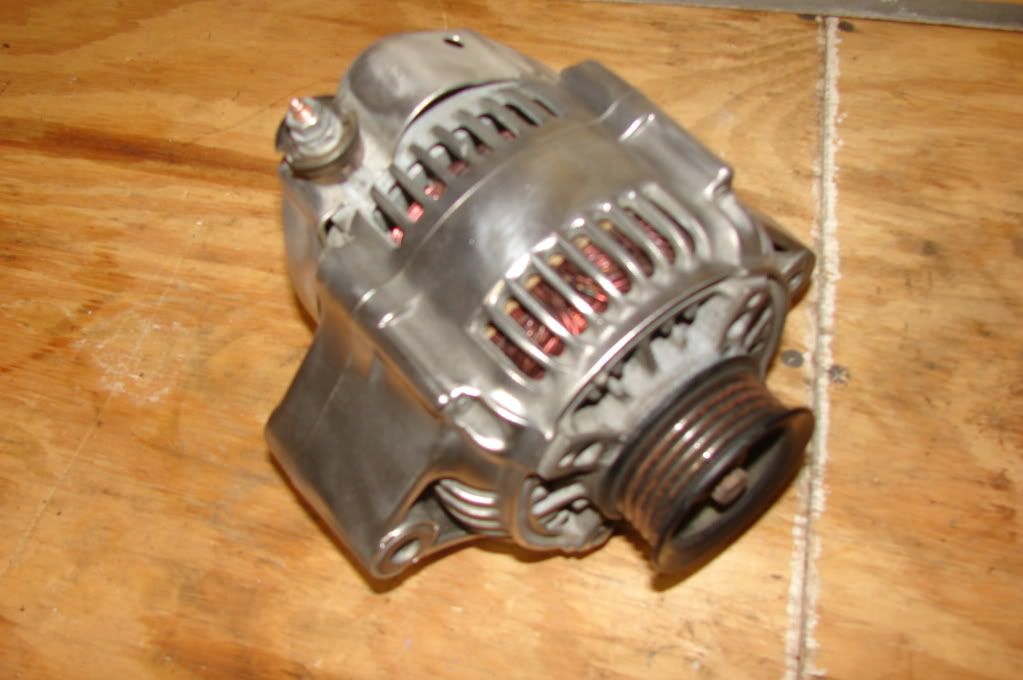
Clean alternator
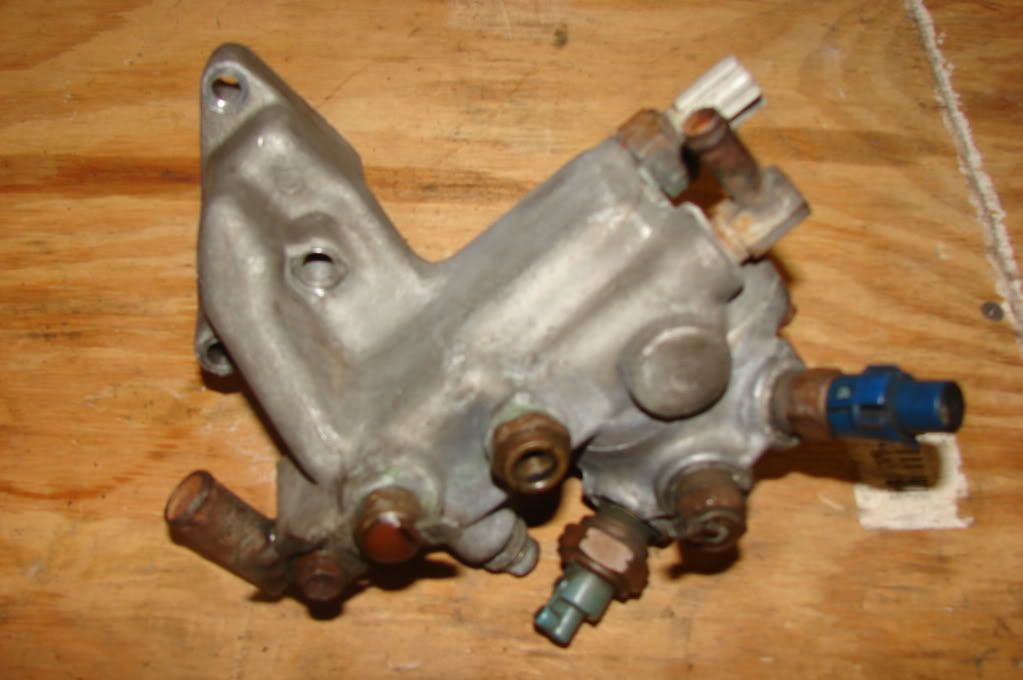
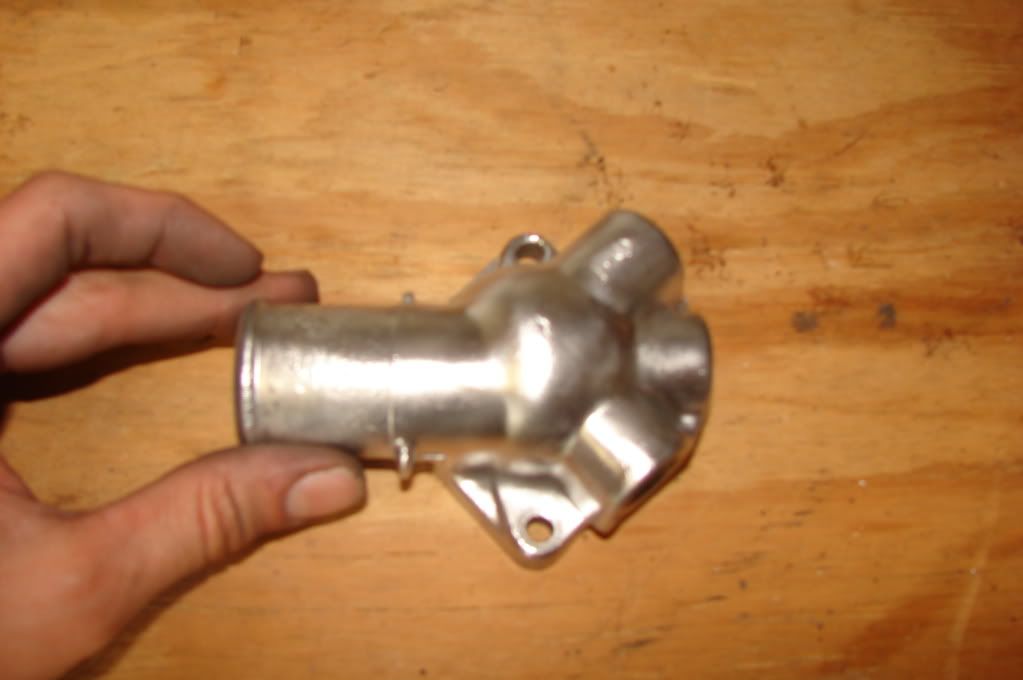
Dirt water neck, and thermostat housing
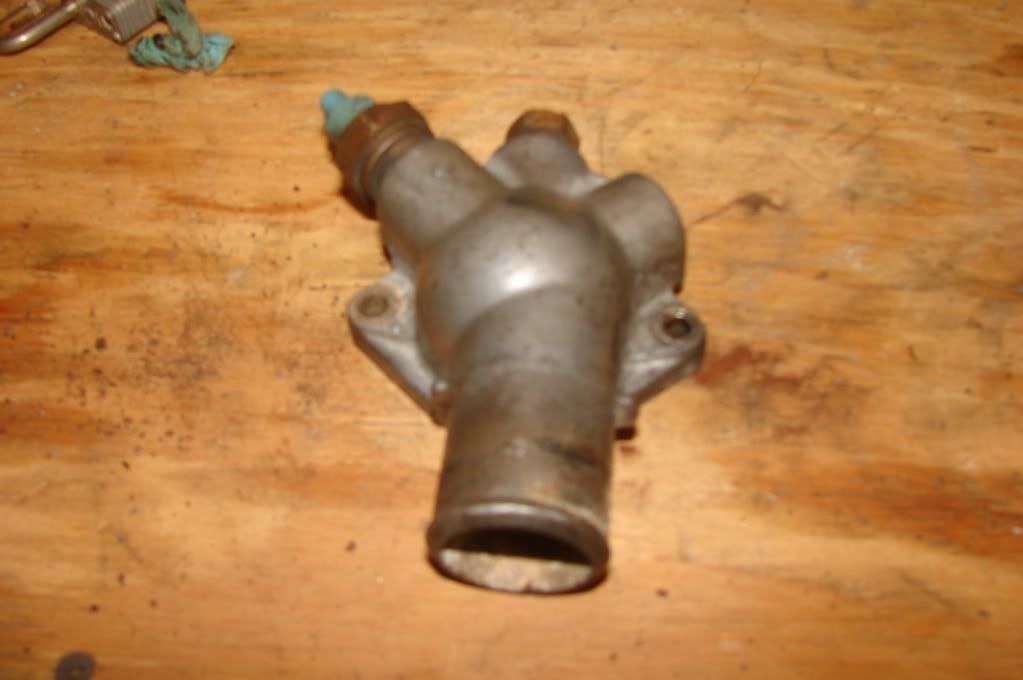
Clean ones,

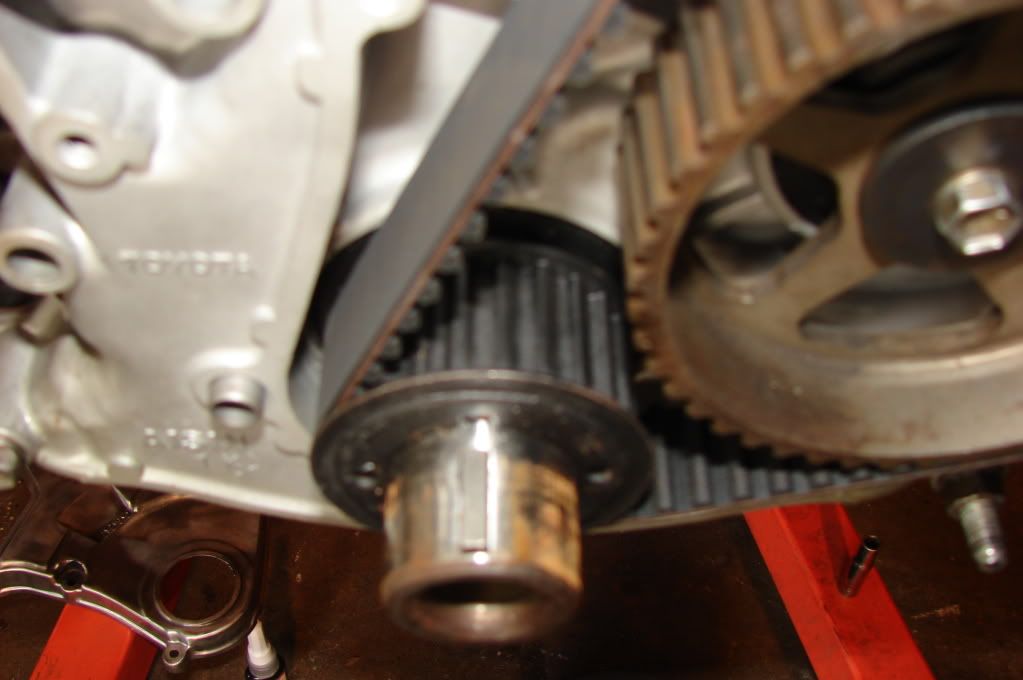
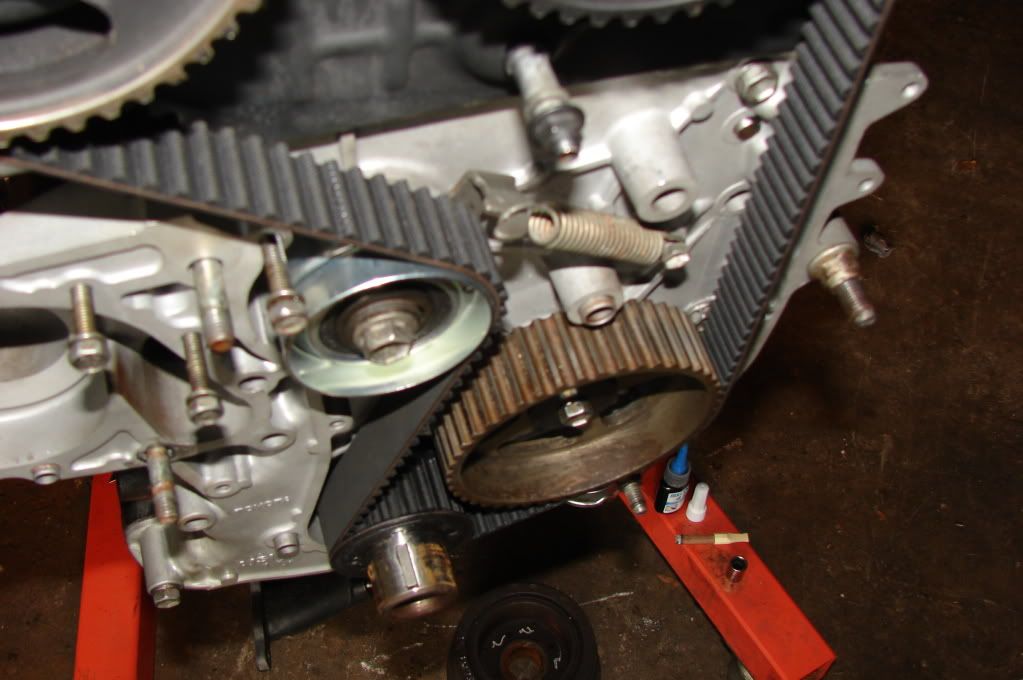
Got to timing the motor today,
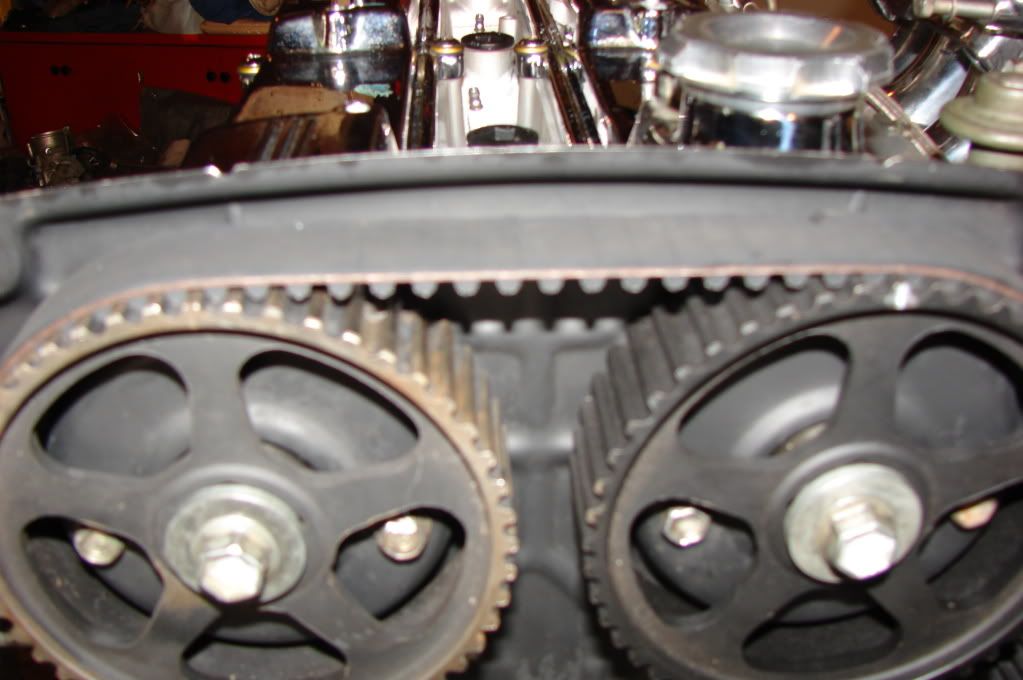
Crank set at 0 degrees, aka Top Dead Center.
Just to make sure.

All buttoned up, with new idler pulley, and spring.
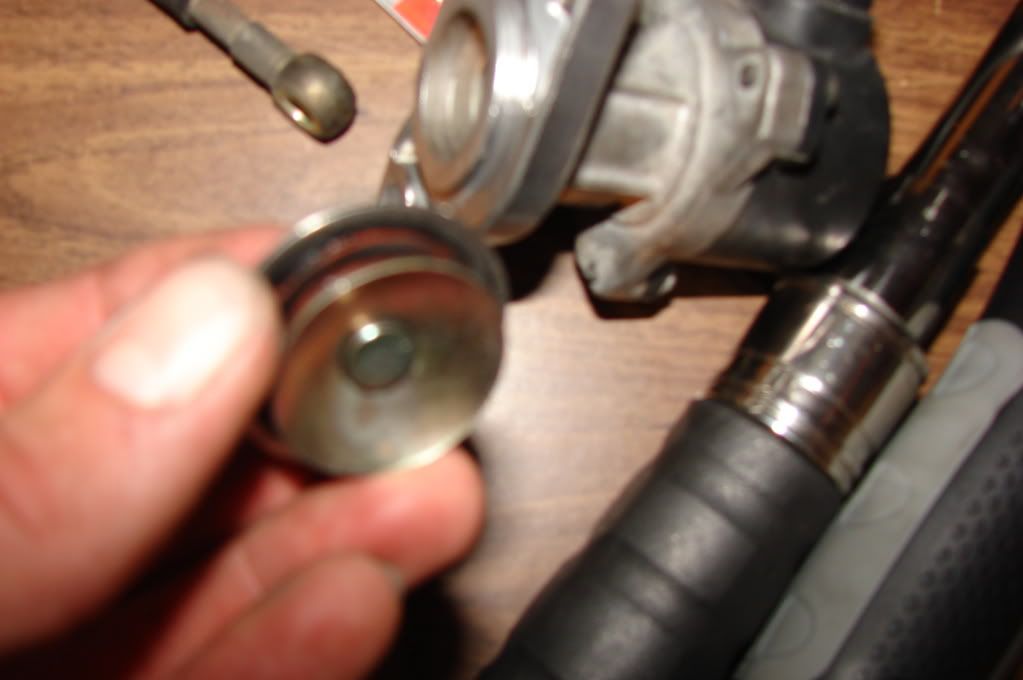
Stupid IACV filter that took me 30 mins to find....
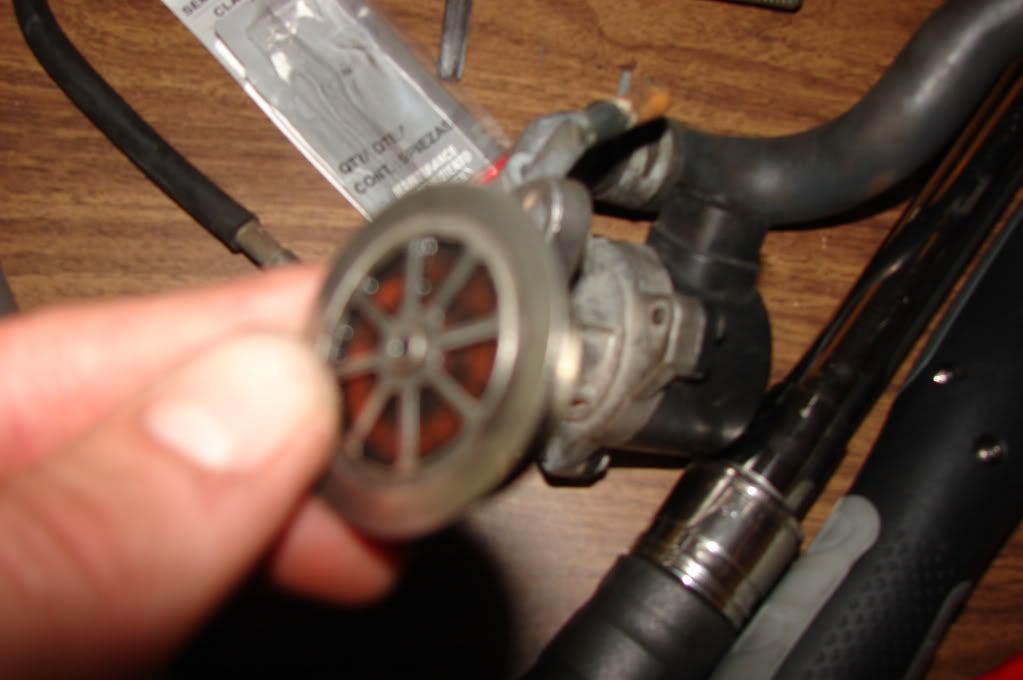
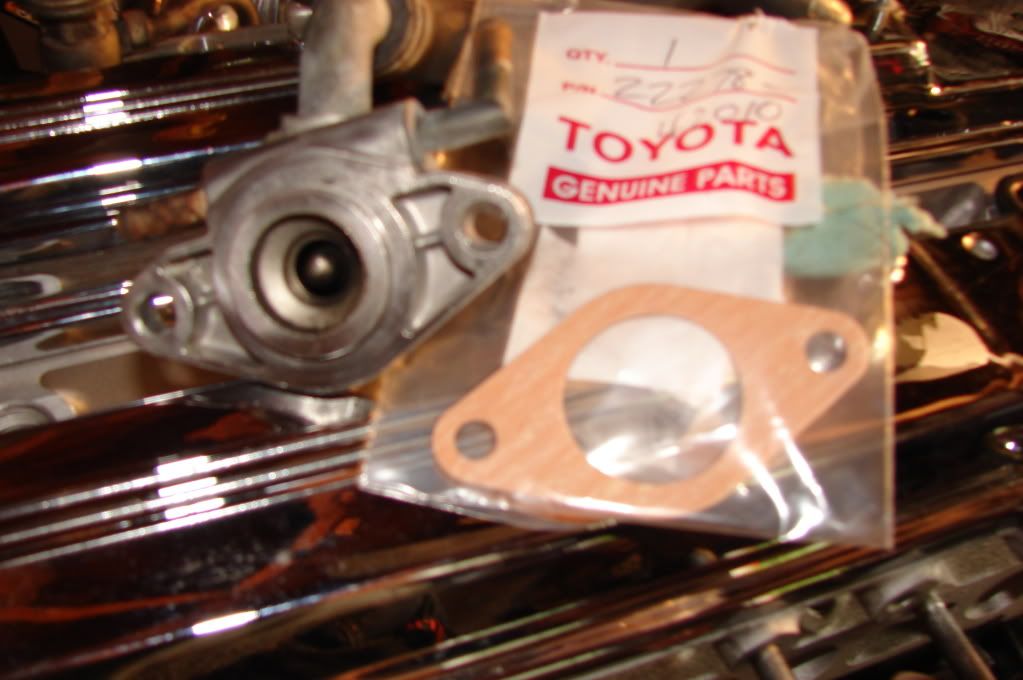
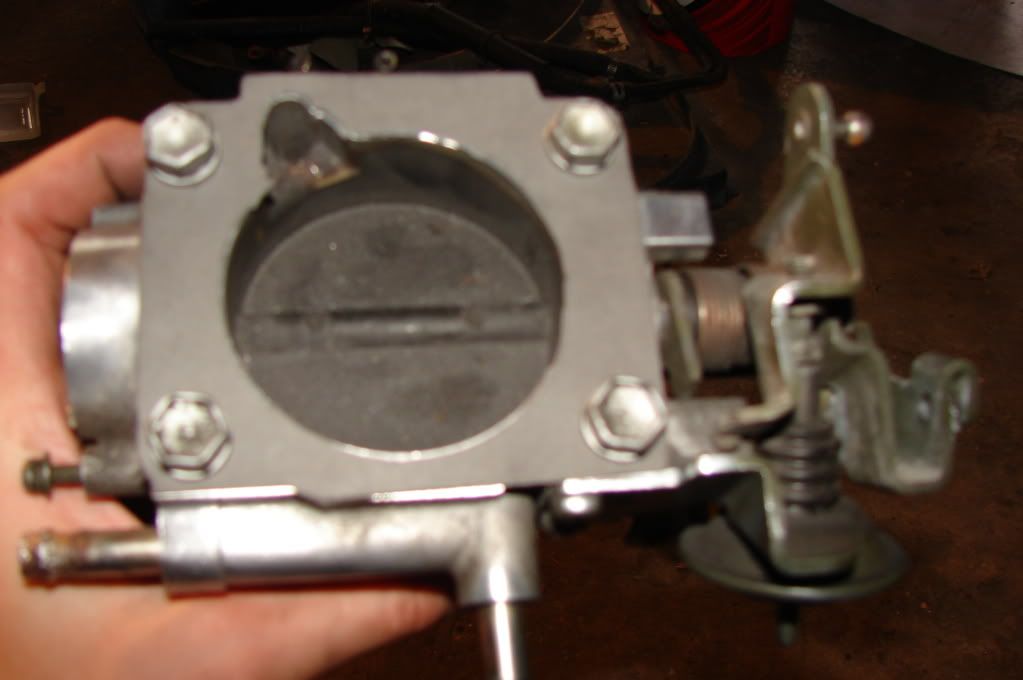
IACV and new Toyota gasket... gotta love it
Everything together.
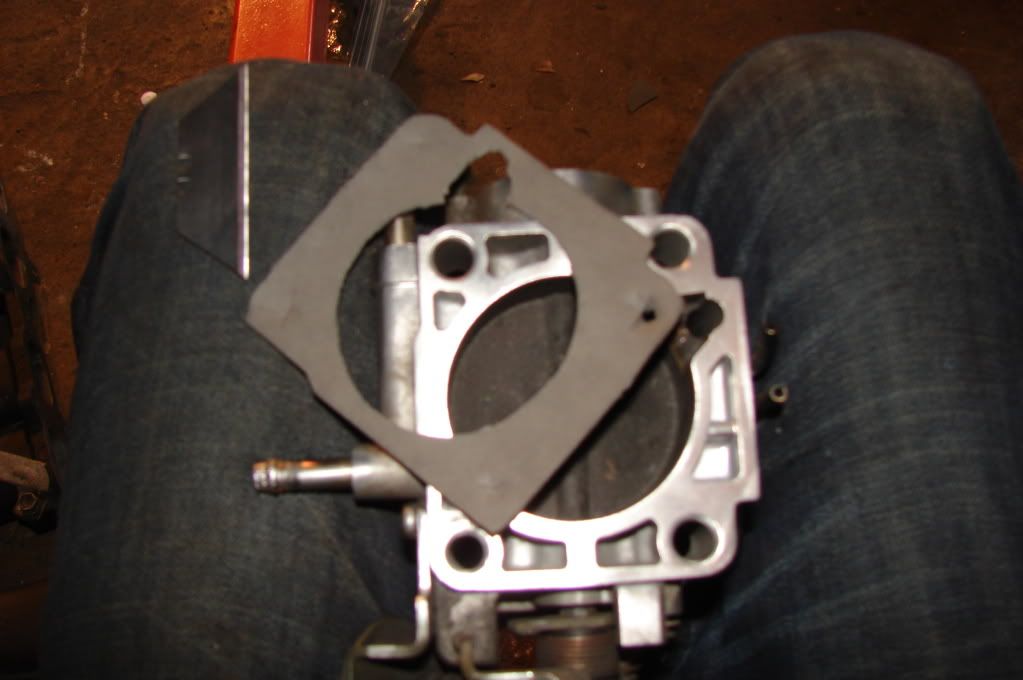
Making the EGR block off plate gaskets,
And the throttle body gasket
Dirty alternator
Clean alternator
Dirt water neck, and thermostat housing
Clean ones,
Got to timing the motor today,
Crank set at 0 degrees, aka Top Dead Center.
Just to make sure.
All buttoned up, with new idler pulley, and spring.
Stupid IACV filter that took me 30 mins to find....
IACV and new Toyota gasket... gotta love it
Everything together.
Making the EGR block off plate gaskets,
And the throttle body gasket
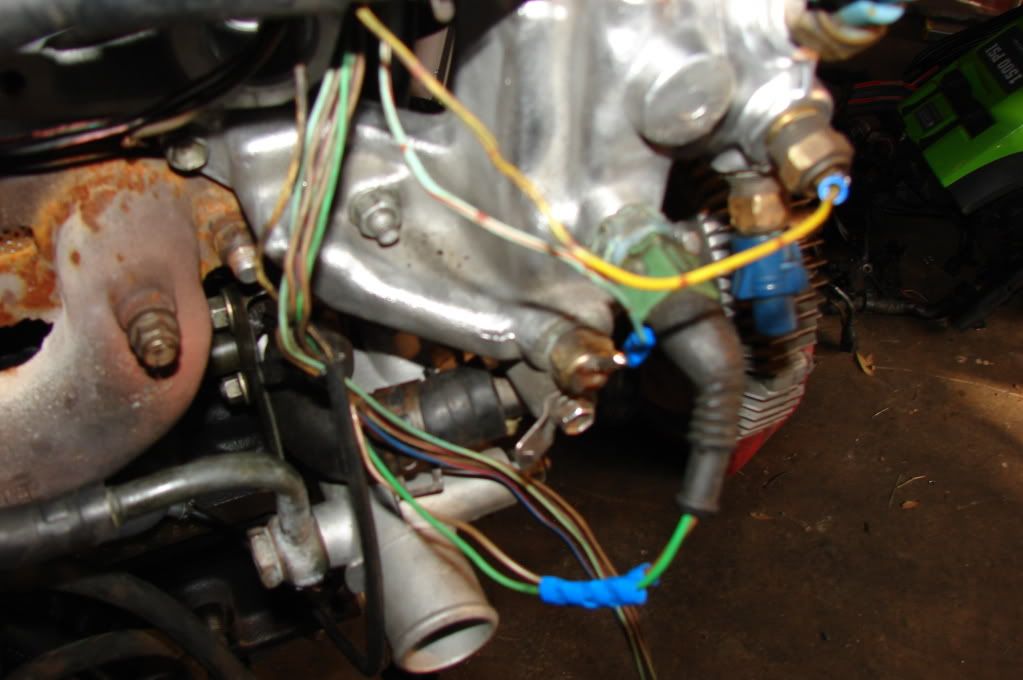
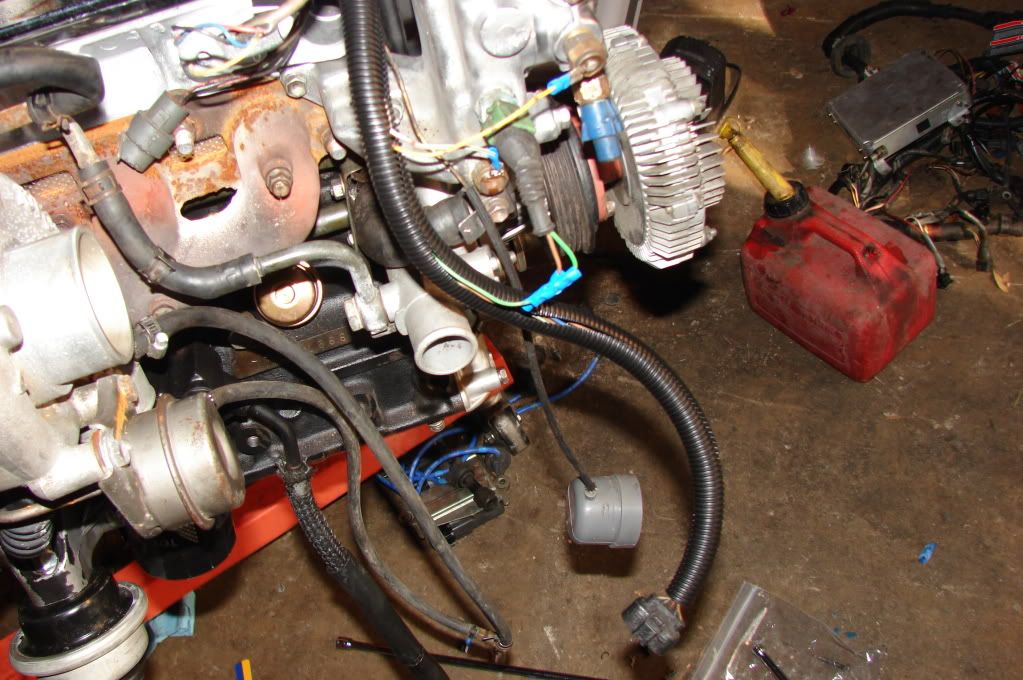
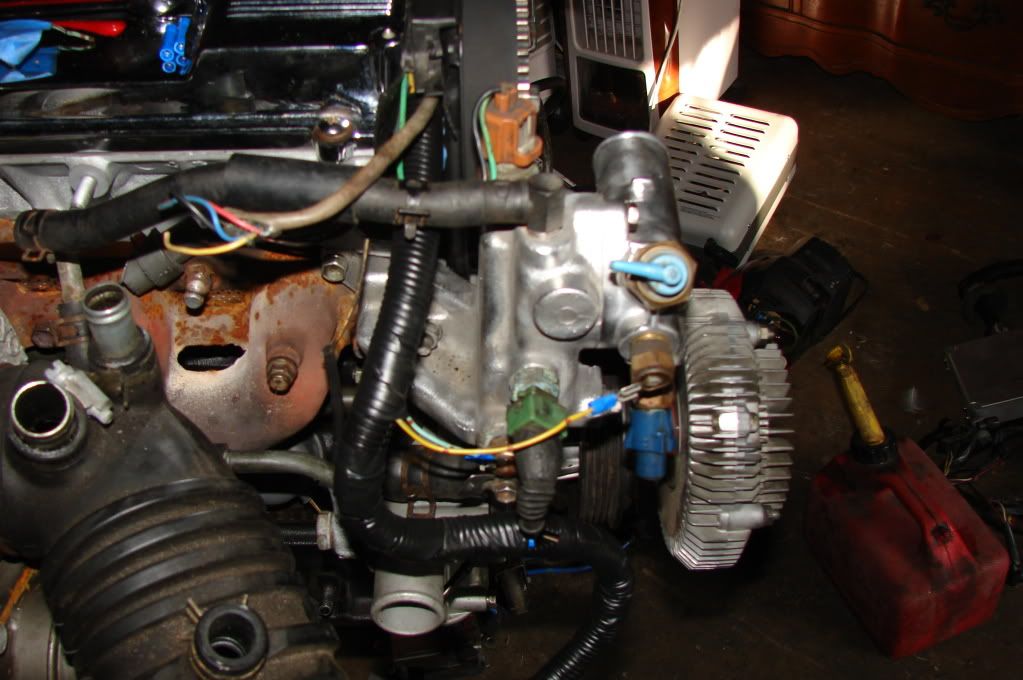
So after dinner tonight, got back to work. I put on the water pump, alternator, and turbo Also, I thought it was pretty cool, I went to clean up for the night, and the engine cover bag barely fits, this means I'm almost done.
SO here are some pictures I snagged. Tomorrow's plan is to get my engine hoist from my friend who said he was only going to use it for a day. that was three months ago.....get the motor off the stand, and seal up the rear main seal then seal up the oil pan.
Alternator, water pump, and a peek of the turbo
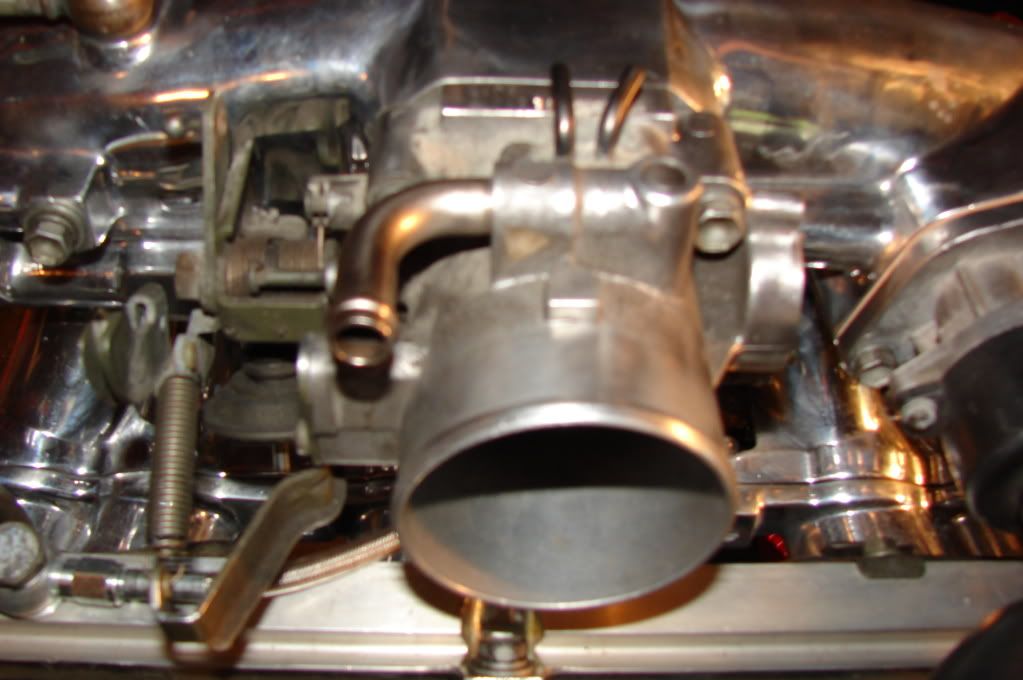
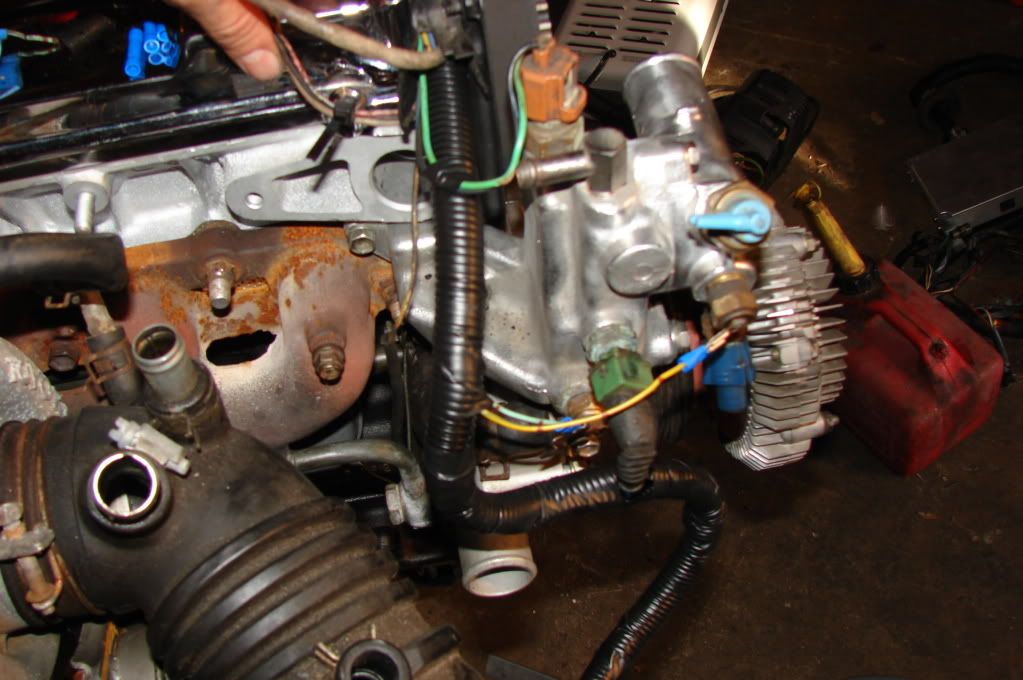
Turbo, and the water neck mess of wires,
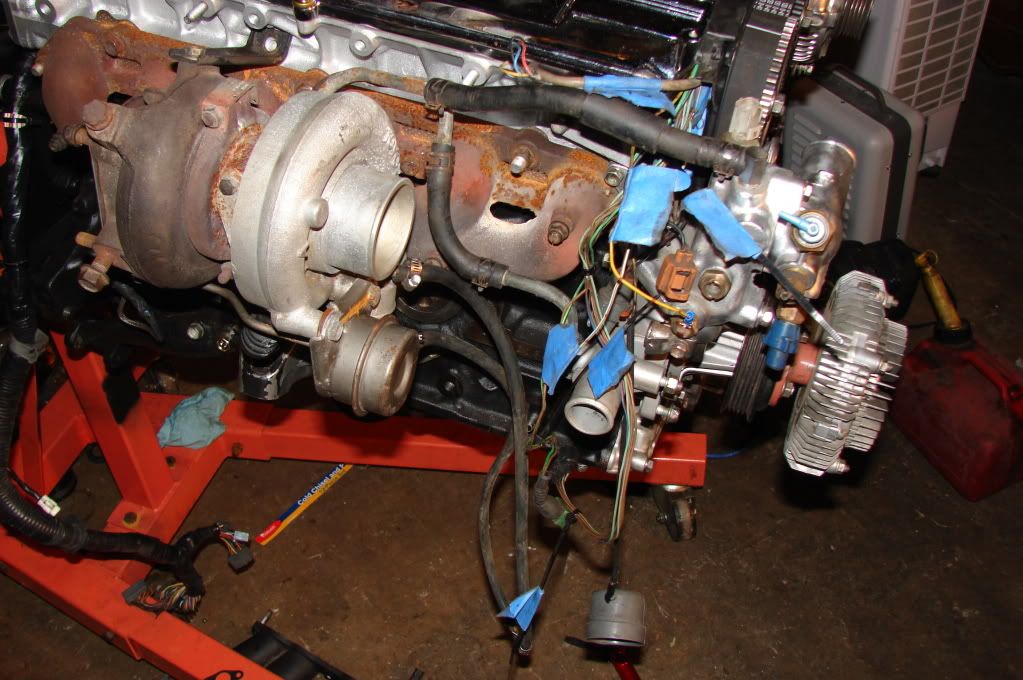
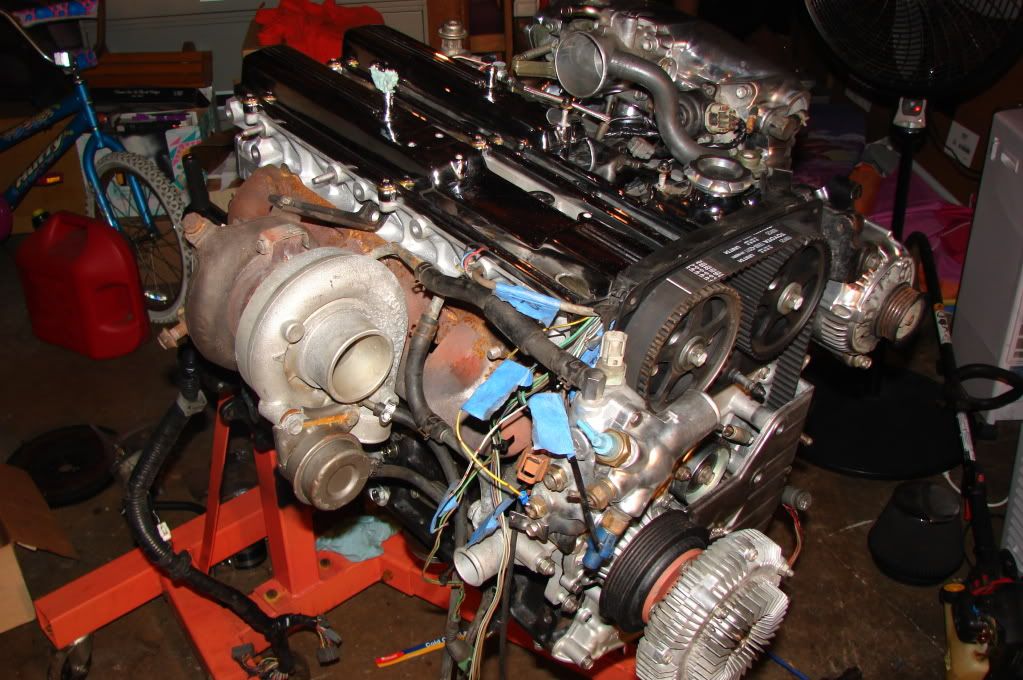
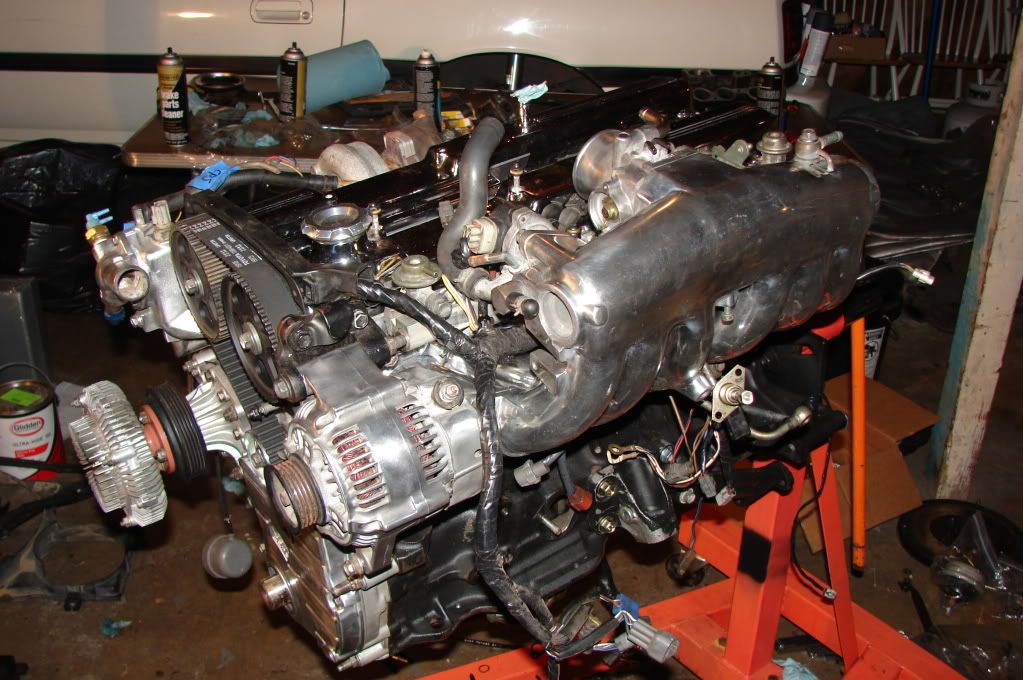
I want to figure something out to make the turbo look nicer, but i'm really just wanting to get it running right now. So some time in the near future, ill probably get it upgraded, and coated.
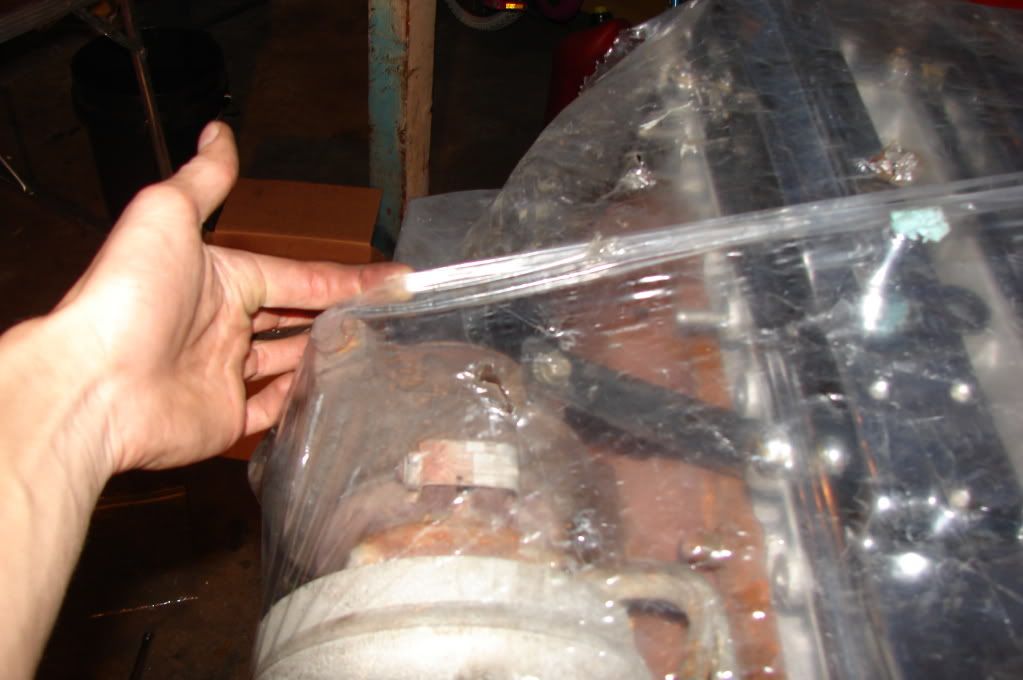
The engine cover bag that barely fits (which is a good sign.
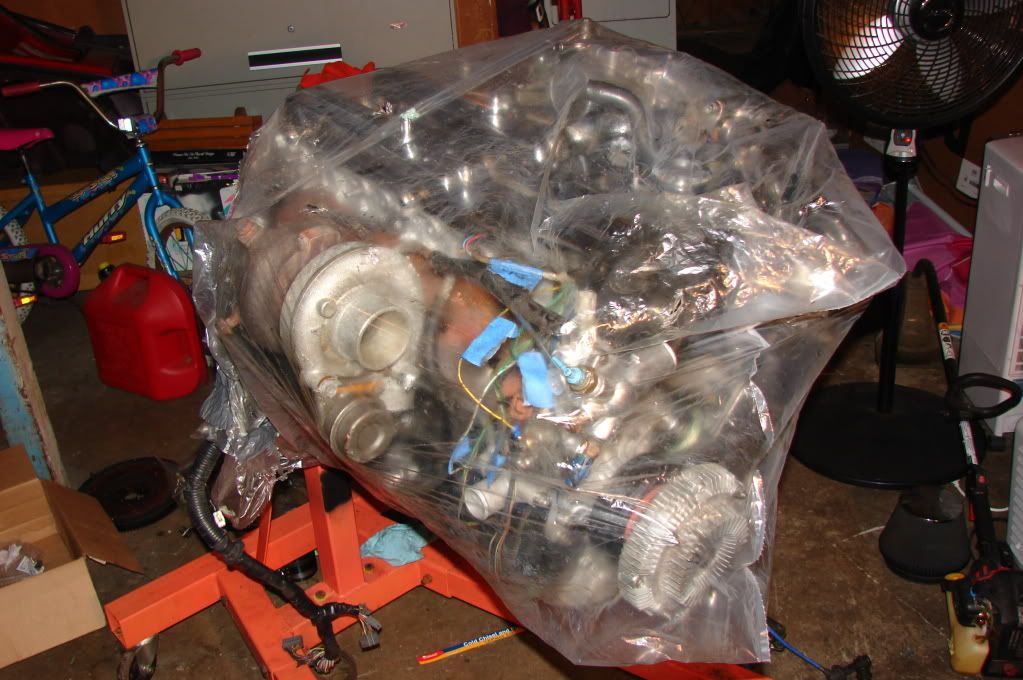
Also, I thought it was pretty cool, I went to clean up for the night, and the engine cover bag barely fits, this means I'm almost done. SO here are some pictures I snagged. Tomorrow's plan is to get my engine hoist from my friend who said he was only going to use it for a day. that was three months ago.....get the motor off the stand, and seal up the rear main seal then seal up the oil pan.
Alternator, water pump, and a peek of the turbo
Turbo, and the water neck mess of wires,
I want to figure something out to make the turbo look nicer, but i'm really just wanting to get it running right now. So some time in the near future, ill probably get it upgraded, and coated.
The engine cover bag that barely fits (which is a good sign.
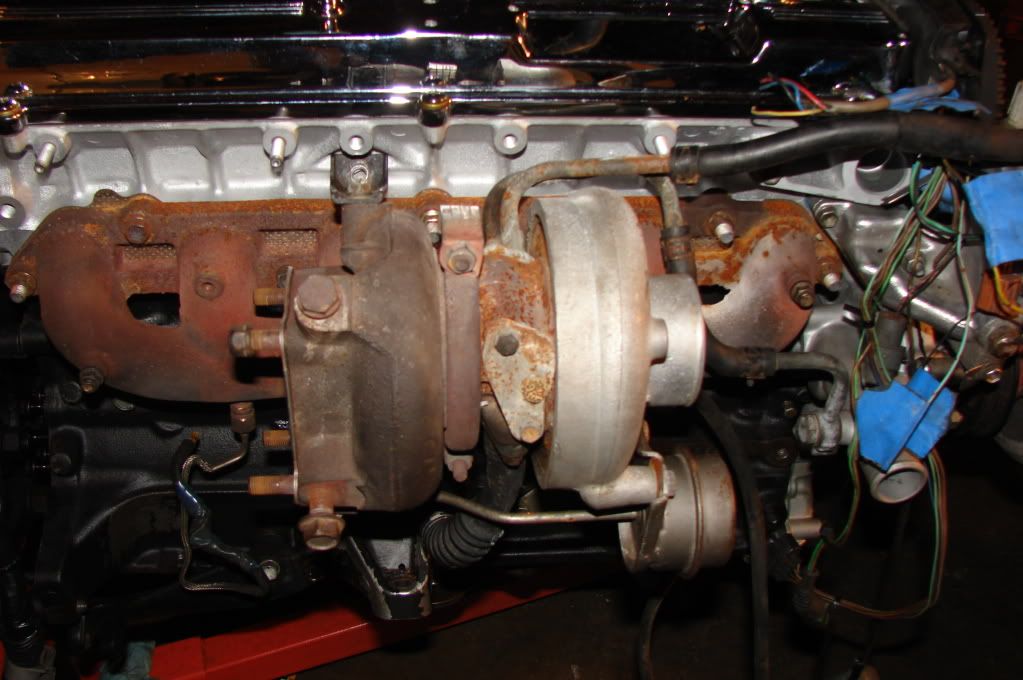
I only got a little bit done today, but its important, I got all the lines mines one that I wont need hooked up on the water neck, I still have the CPS, and O2 sensor, to rewire, but in due time. I also forgot to install the water neck that goes around the block, oops. That required me to take the entire exhaust off, including the manifold, but it happens.
After I took the turbo back off
Water line is on, and buttoned up.
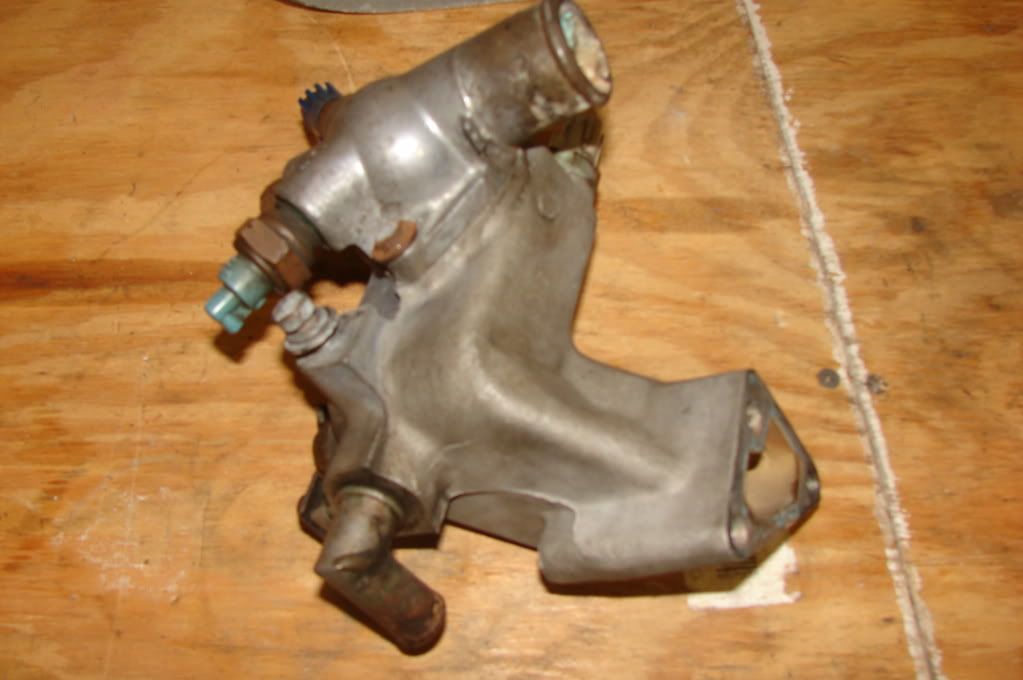
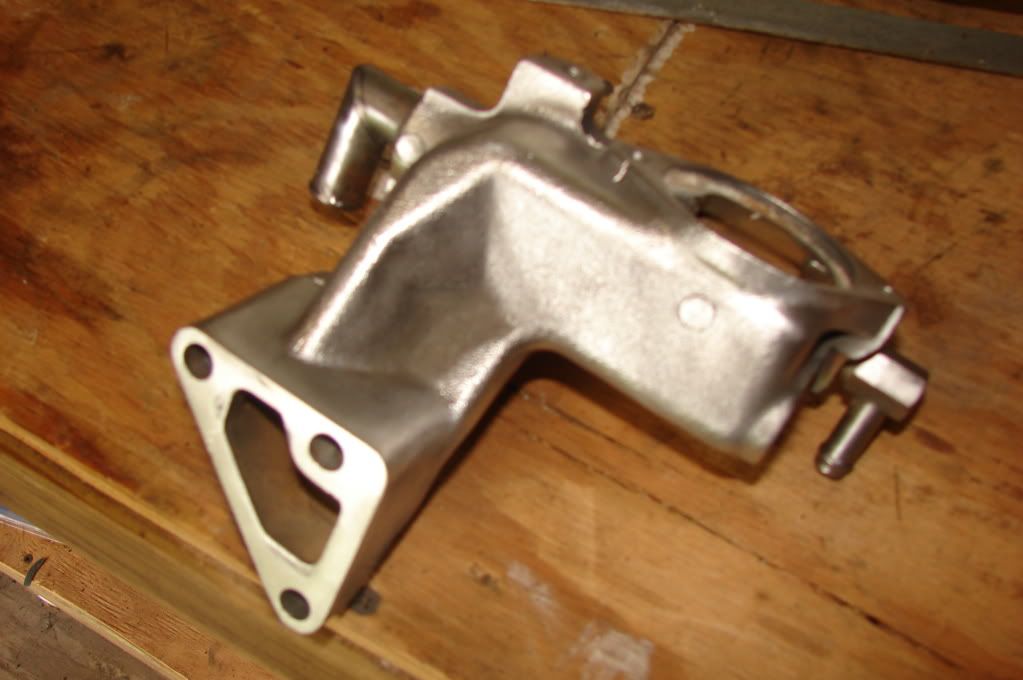
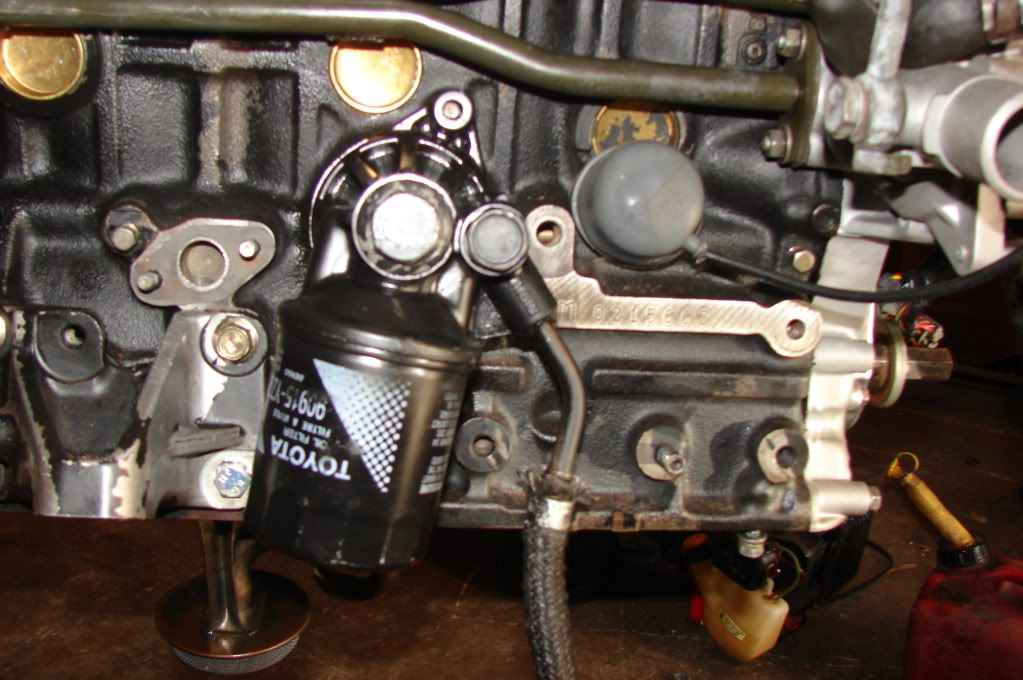
Oil filter mounting plate
Original oil pressure gauge clip on (kinda hard to see)
New and improved slip on clip, all gauges will work on this motor
Everything, together before the turbo goes back on.
Yummy surface rust
Everything
On The
Exhaust Side
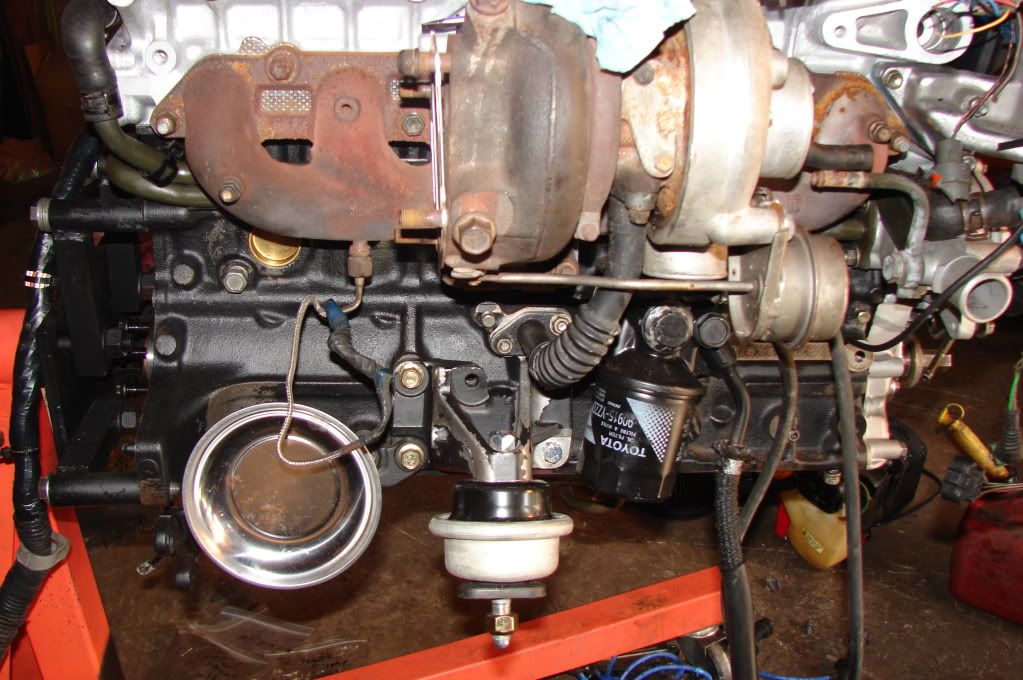
Cleaning the water-neck wires up.
After I took the turbo back off
Water line is on, and buttoned up.
Oil filter mounting plate
Original oil pressure gauge clip on (kinda hard to see)
New and improved slip on clip, all gauges will work on this motor
Everything, together before the turbo goes back on.
Yummy surface rust
Everything
On The
Exhaust Side
Cleaning the water-neck wires up.
This beast is finally coming together. I see you're making good use of my Torque Wrench that you've had for half a year. Hahaha. Remember to call me up when you're ready to drop that motor in. =]
Lol answer ur dam phone and ur invited, I need help getting this clutch installed then the thing will go in.
TweeT91109;1634544 said:Also picked up a nice CPS covert thats not in to bad of condition either. Just a little crack by a screw hole.
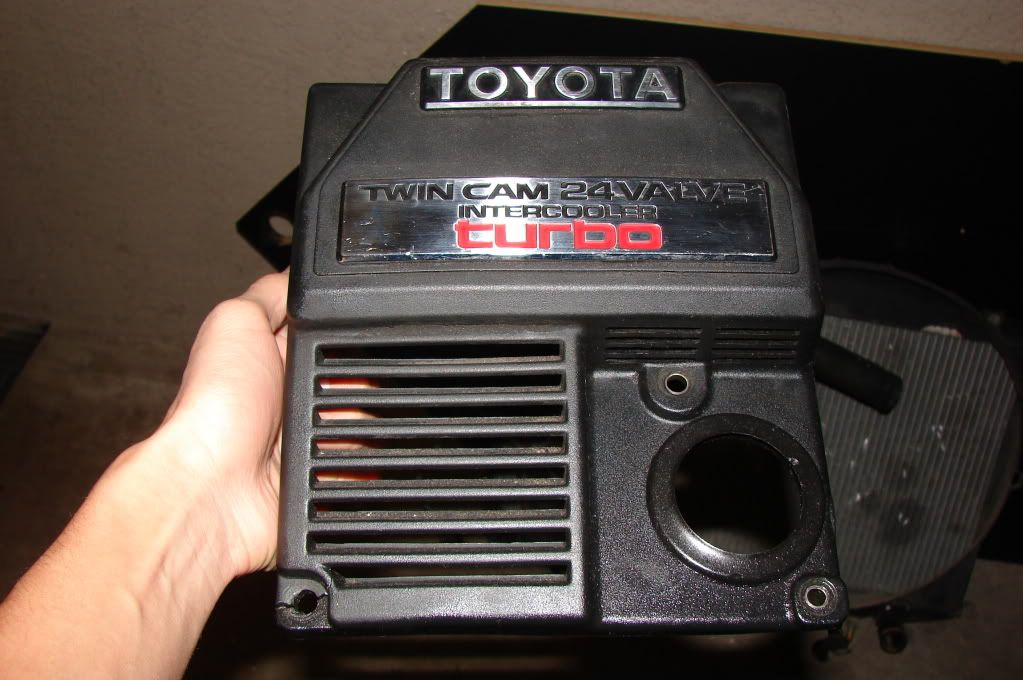
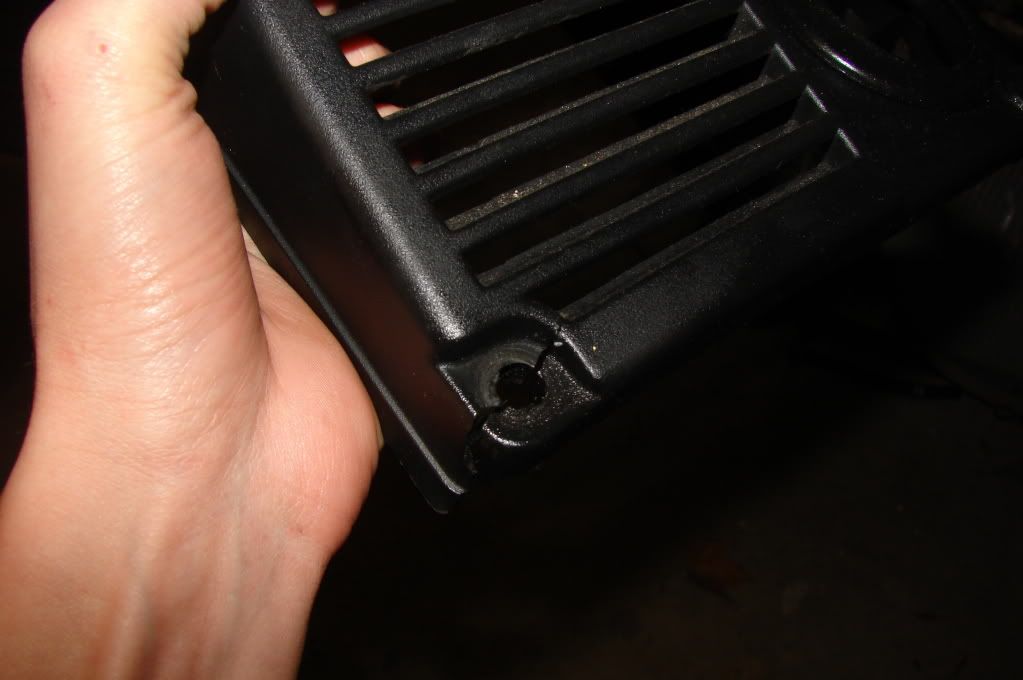
Did you get a new cover? I am only on about the 3rd page. The missing grommet is another problem. Mine is exactly the same, and has the same missing grommet. Look at the other holes for the studs on the inside if you haven't already.
IJ.;1682453 said:Never ever had to line bore a 7M... ever
While I didn't do work on the 7M at work (Toyota just couldn't sell volume in the US) I can't say I saw the other engines needing it done. We mostly did the 3VZE (V06 headgasket) headgaskets and had warped decks every now and then. We sent them out and did the resassembly.
TweeT91109;1738330 said:Lol answer ur dam phone and ur invited, I need help getting this clutch installed then the thing will go in.
My bad. I had a long night. Count me in. XD