My 1977 7M-GTE CELICA! Finished! Test drive vid on page 18!

speedfreak426

New Member
Mar 31, 2008
380
1
0
Brighton, MI
Made a bunch of pieces by hand out of sheetmetal

p2001144_1.jpg

p2001144_2.jpg


p2001144_3.jpg


p2001144_4.jpg


p2001144_5.jpg


Turned out pretty OK
p2001144_6.jpg


Borrowed a fender roller to make some extra room in the rear
p2001144_7.jpg
 

speedfreak426

New Member
Mar 31, 2008
380
1
0
Brighton, MI
On my birthday I talked some family into helping! Did the same damn thing on my Bday this year, this is taking way too long
p2001145_1.jpg

Stripped to bare metal and starting to fill some dings
p2001145_2.jpg


Door Rust needed to be cut and replaced
p2001145_3.jpg

p2001145_4.jpg

No pics of cutting and patching, but it’s fixed now
p2001145_5.jpg

I had done all of this work in my Dad’s garage, and I had managed to make quite a dusty mess! Sorry!!
I then had to move the car to my own house and make a mess of my own garage!
p2001145_6.jpg
 

Suprapowaz!(2)

New Member
Apr 10, 2006
2,870
0
0
50
San Antonio, Tx.
Looking good. Can't wait to see it done with the smilie bumpers. I love updates with nice pics.
BTW, how much power were you putting to the wheels when you ran your best 1/4mile time? I've always wanted to swap my 7m into a classic Toyota myself.
 

speedfreak426

New Member
Mar 31, 2008
380
1
0
Brighton, MI
Suprapowaz!(2);2001154 said:
Looking good. Can't wait to see it done with the smilie bumpers. I love updates with nice pics.
BTW, how much power were you putting to the wheels when you ran your best 1/4mile time? I've always wanted to swap my 7m into a classic Toyota myself.

I don't have an exact HP figure, but with calcualtions from Trap speed and vehicle weight, I come out with between 385-400WHP. Don't need much to go fast in a light car!
Wanna make a mostly stock supra fast?! Cut out 1200lbs! lol

MkIII FTW;2001161 said:
I can't wait to see the finished product.
Same here! It's been a long time coming and I just want to drive it again so bad..
 

speedfreak426

New Member
Mar 31, 2008
380
1
0
Brighton, MI
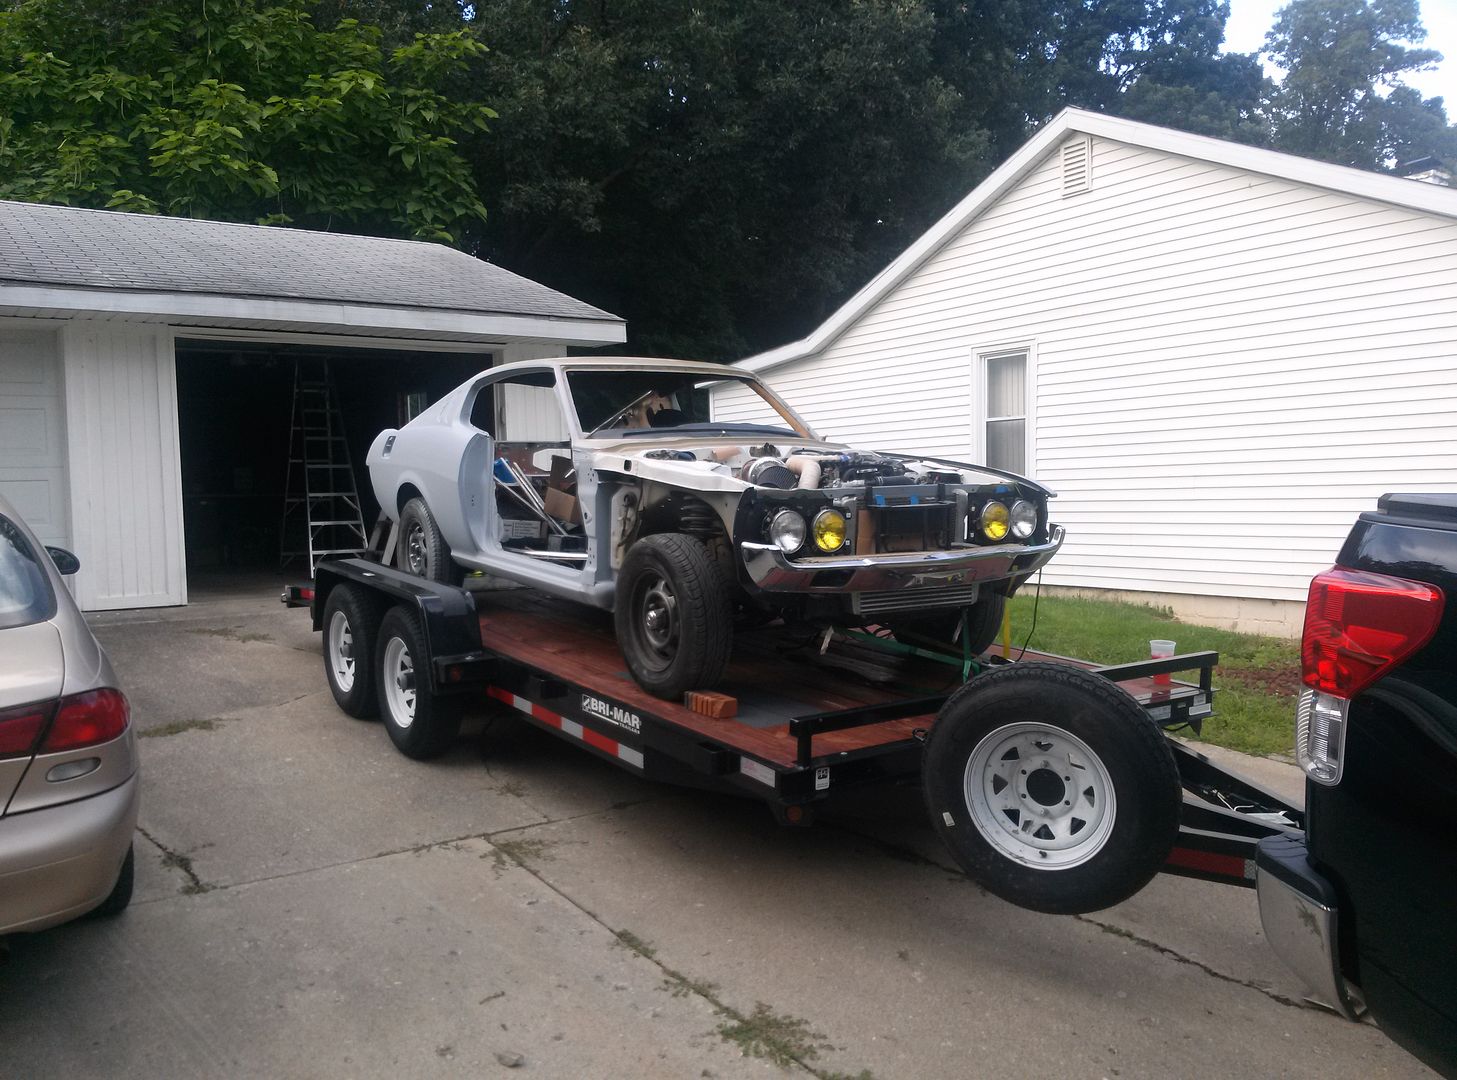
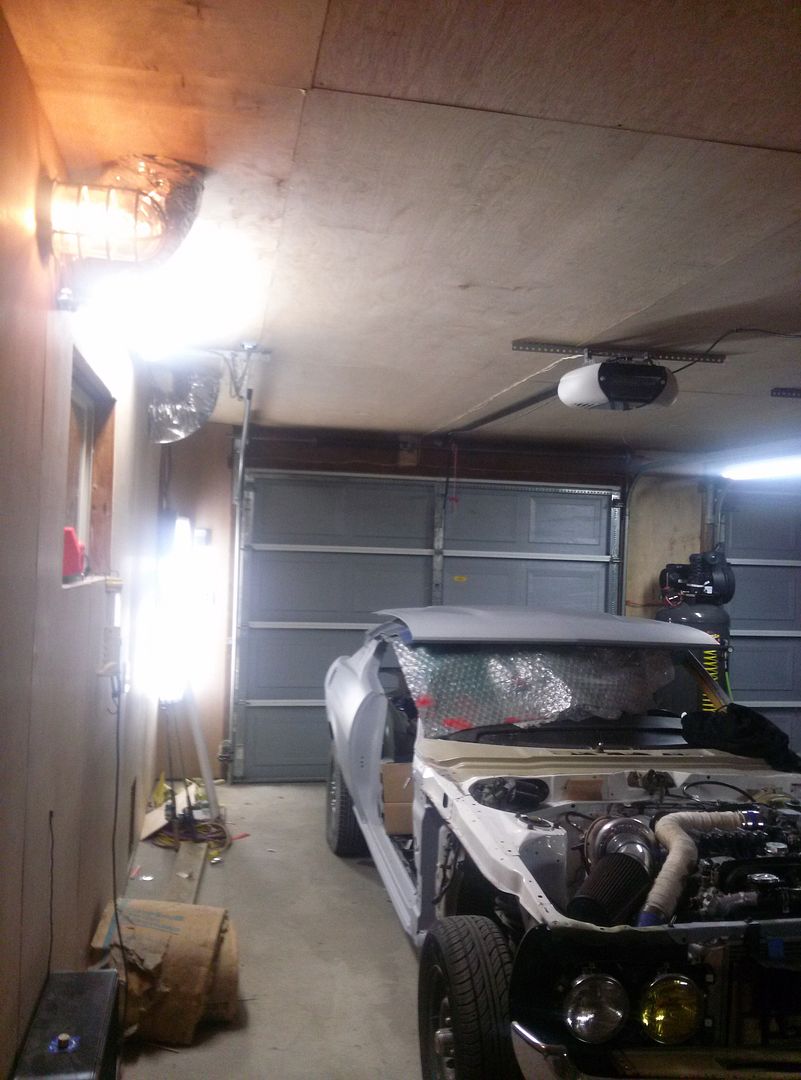
My garage was definitely not ready for any sort of real work, did not have an air compressor, and the garage was totally unfinished, uninsulated, and unheated!

I also wanted to come up with some sort of temporary paint booth as well as finishing the garage. Didn’t really know how to go about this, but here is what I came up with
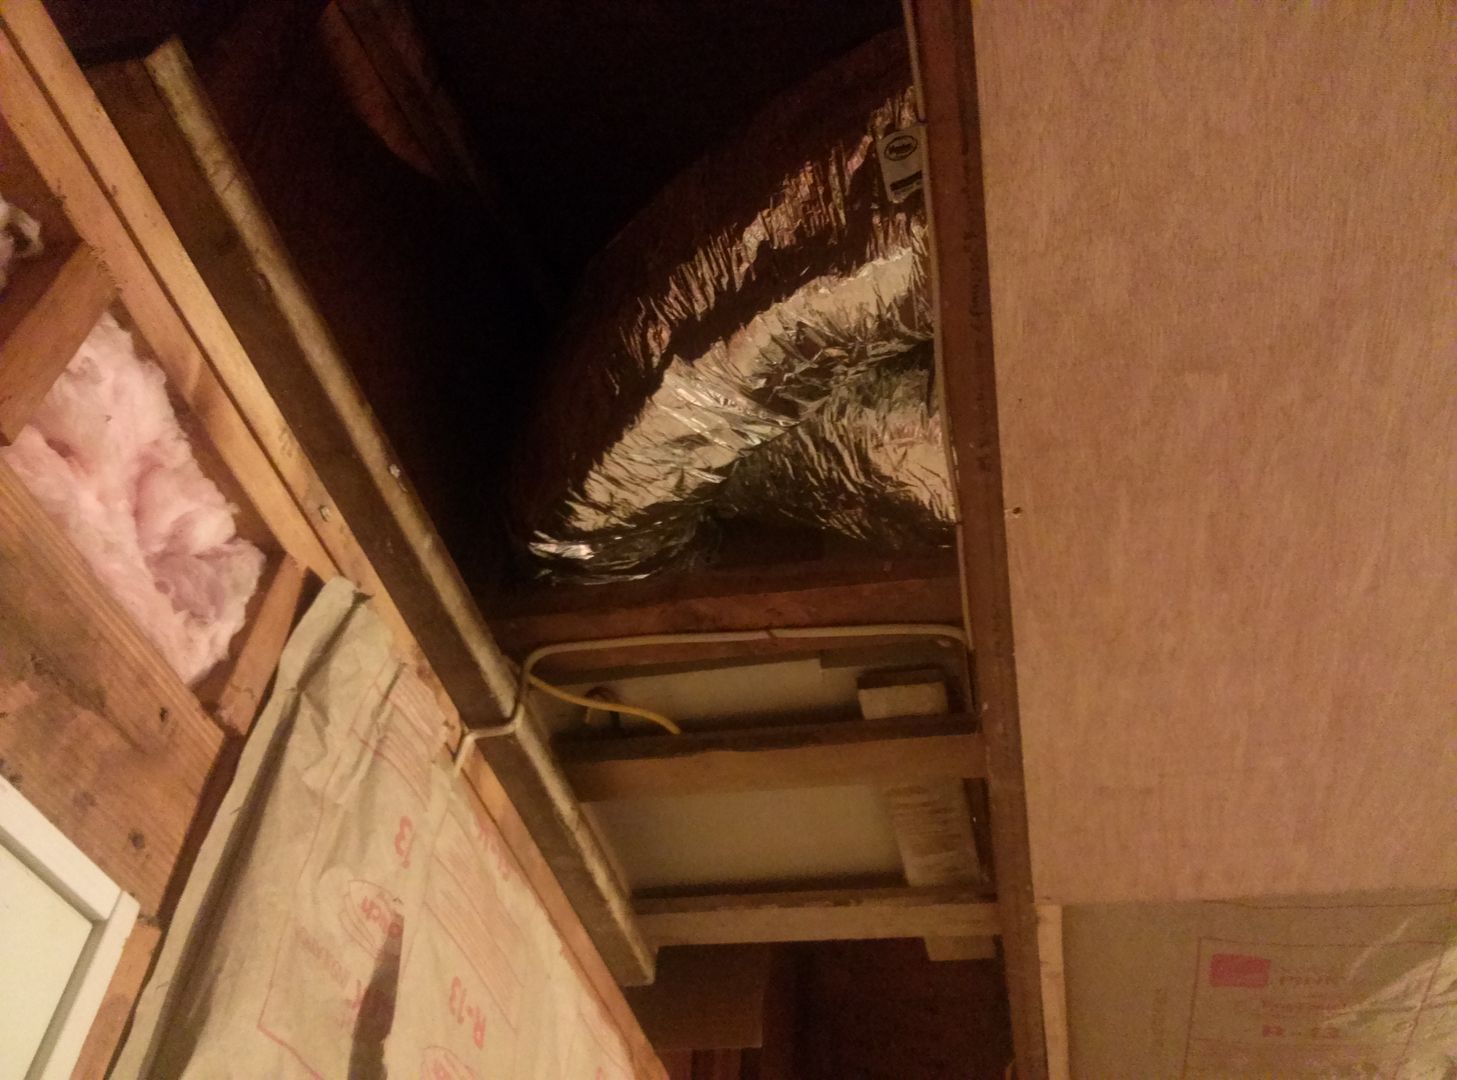
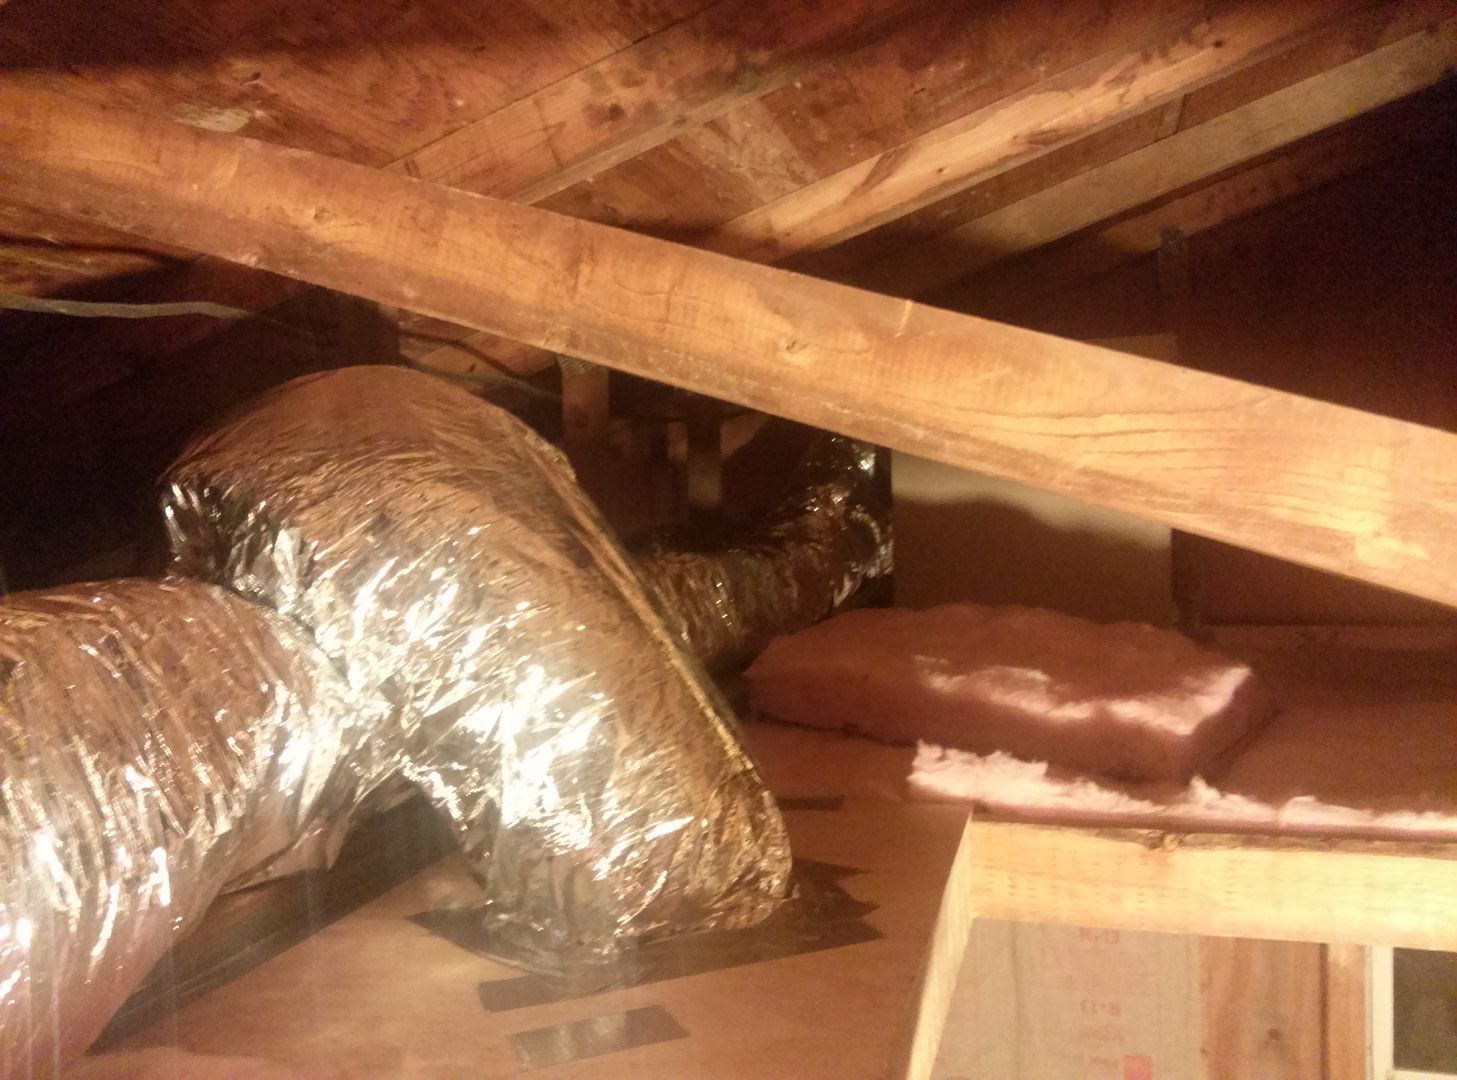
I got ahold of a big squirrel cage fan from a house furnace, mounted in a box. I was going to use this to make a ventilation system for my booth. Exhausted to outside to get rid of fumes, mounted up in the attic to save space and to eliminate noise(tough to get it up there!! With 4, 6” ducts feeding the fan from inside of the planned booth area. 2 on the ceiling, and 2 from the bottom of the walls, this way I could get some sort of all around air flow.
p2001302_1.jpg

p2001302_2.jpg

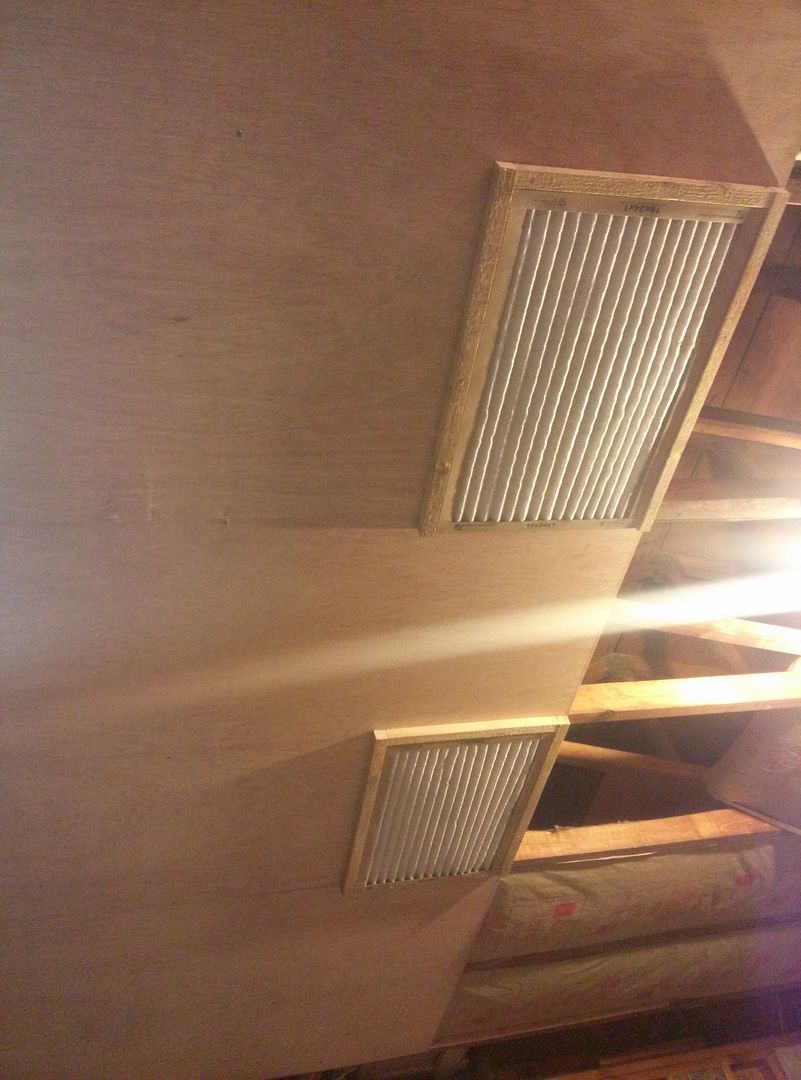
Used furnace filters to stop overspray from making it outside. Fumes are one thing, since my neighbors know what I am doing and don’t mind, but I don’t want to be that guy that gets overspray on someone’s car!
p2001302_3.jpg

I used thin foil backed foam insulation in two of the wall cavities, Plumbed the ducting into the tops, and then mounted furnace filters on the bottoms using the cavity as duct. It has worked incredible so far. Also had an oldschool metal caged light fixture that I decided to mounted at the top of the wall to use as an indicator lamp to tell me when the system is working since it’s so quiet inside the garage (Outside it isn’t so quiet with all that air flow!) Oh, also picked up an air compressor!
p2001302_4.jpg

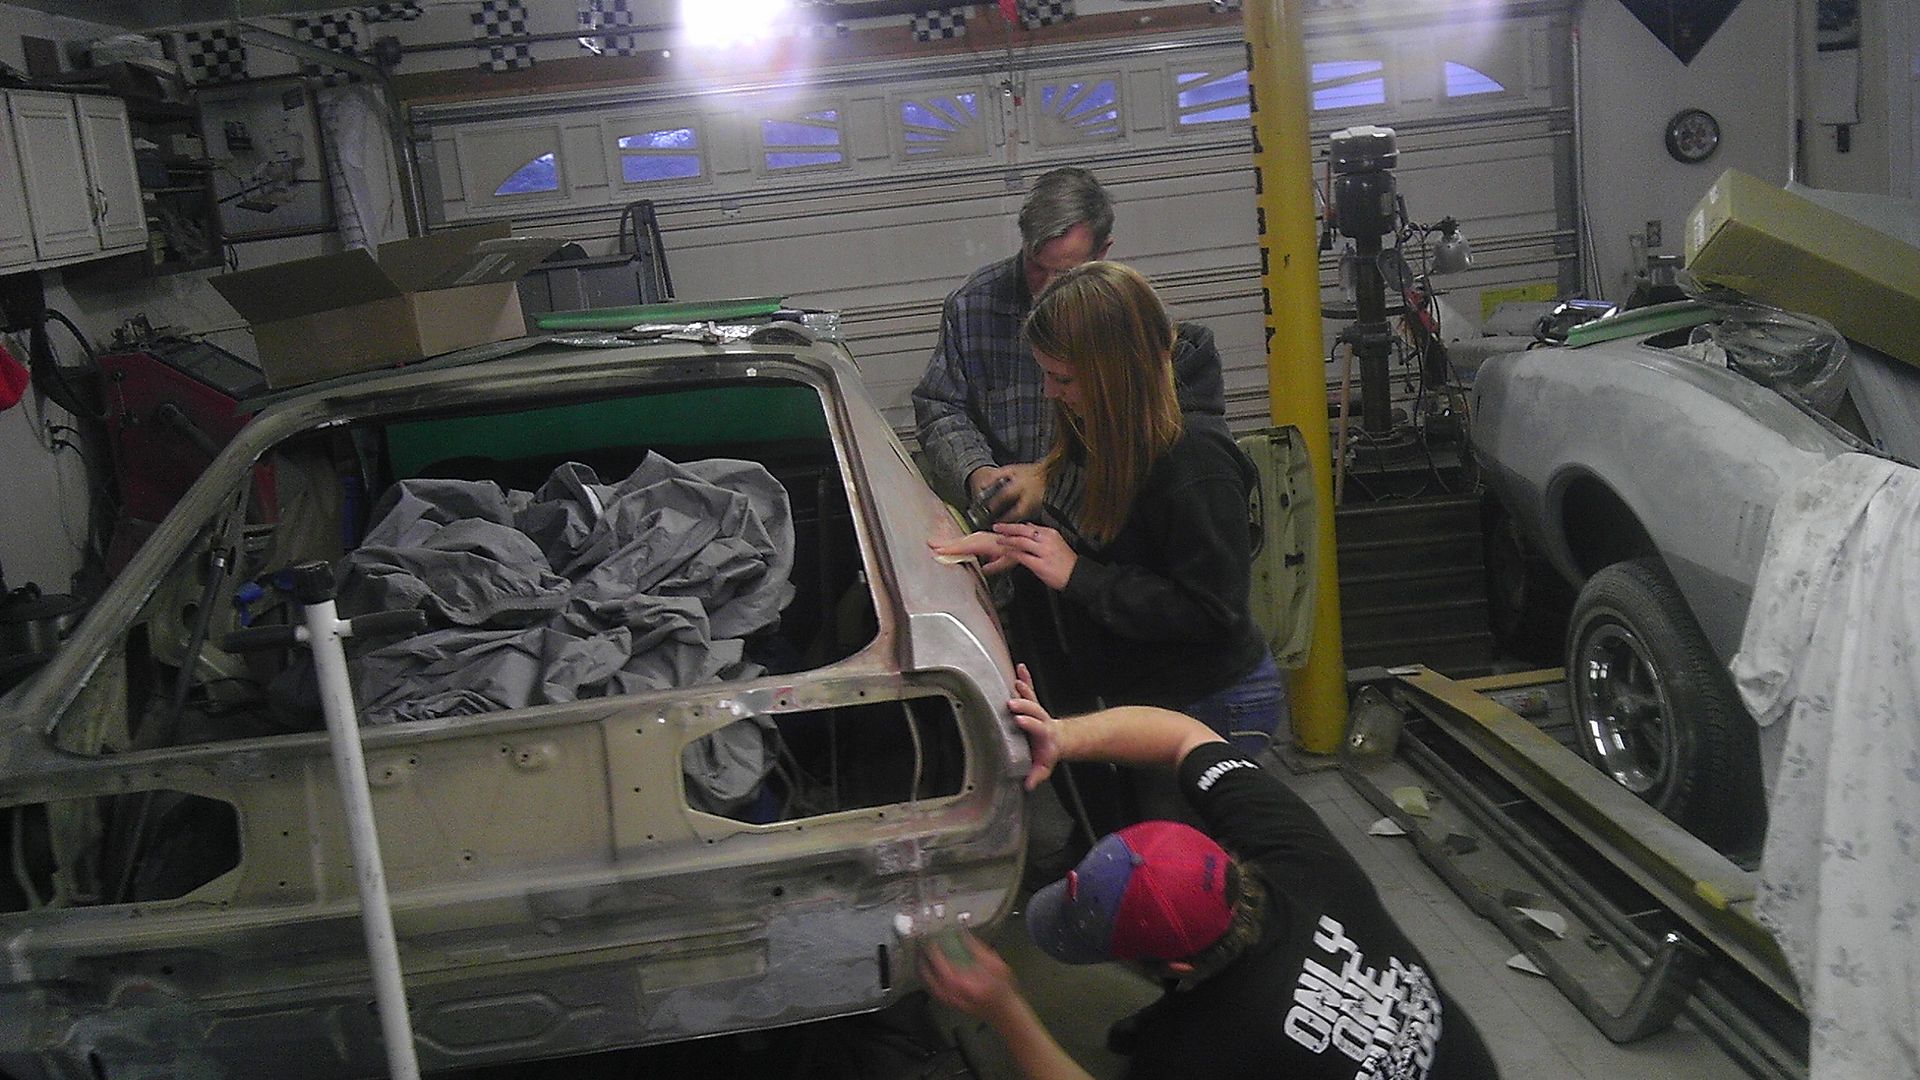
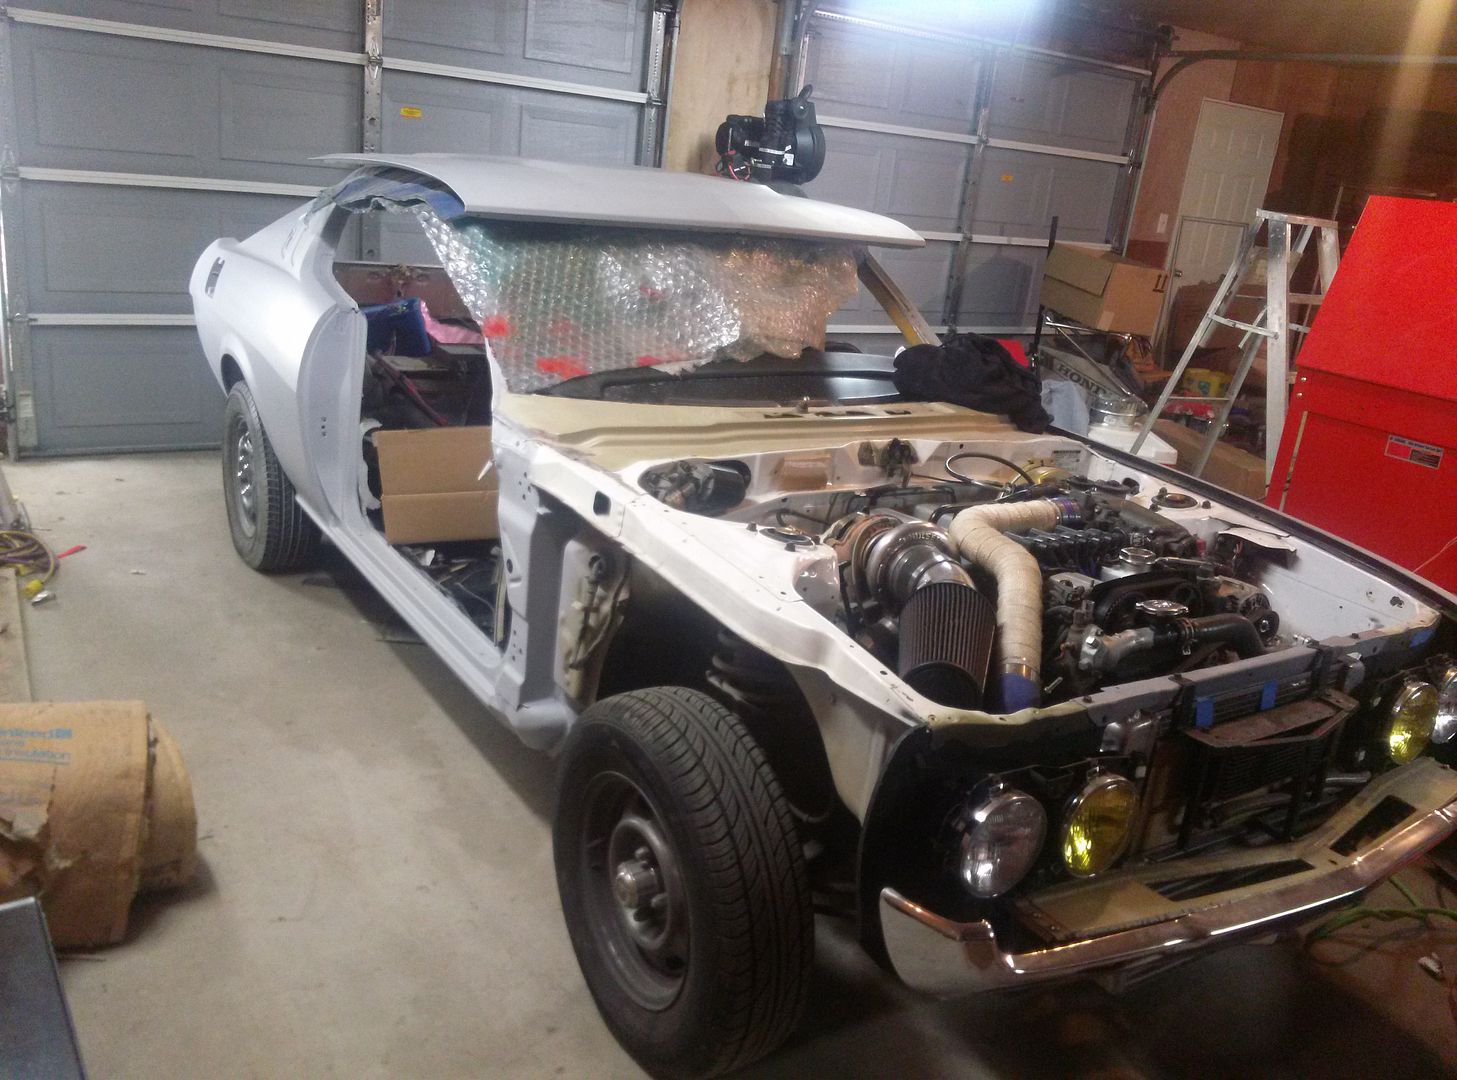
Here is an indicator of the size of the garage we are working with, it is 24x30. Now I needed to plan out a functional booth. Both to stop from making my garage a dusty mess, and for adequate ventilation of fumes when I get around to painting.
p2001302_5.jpg


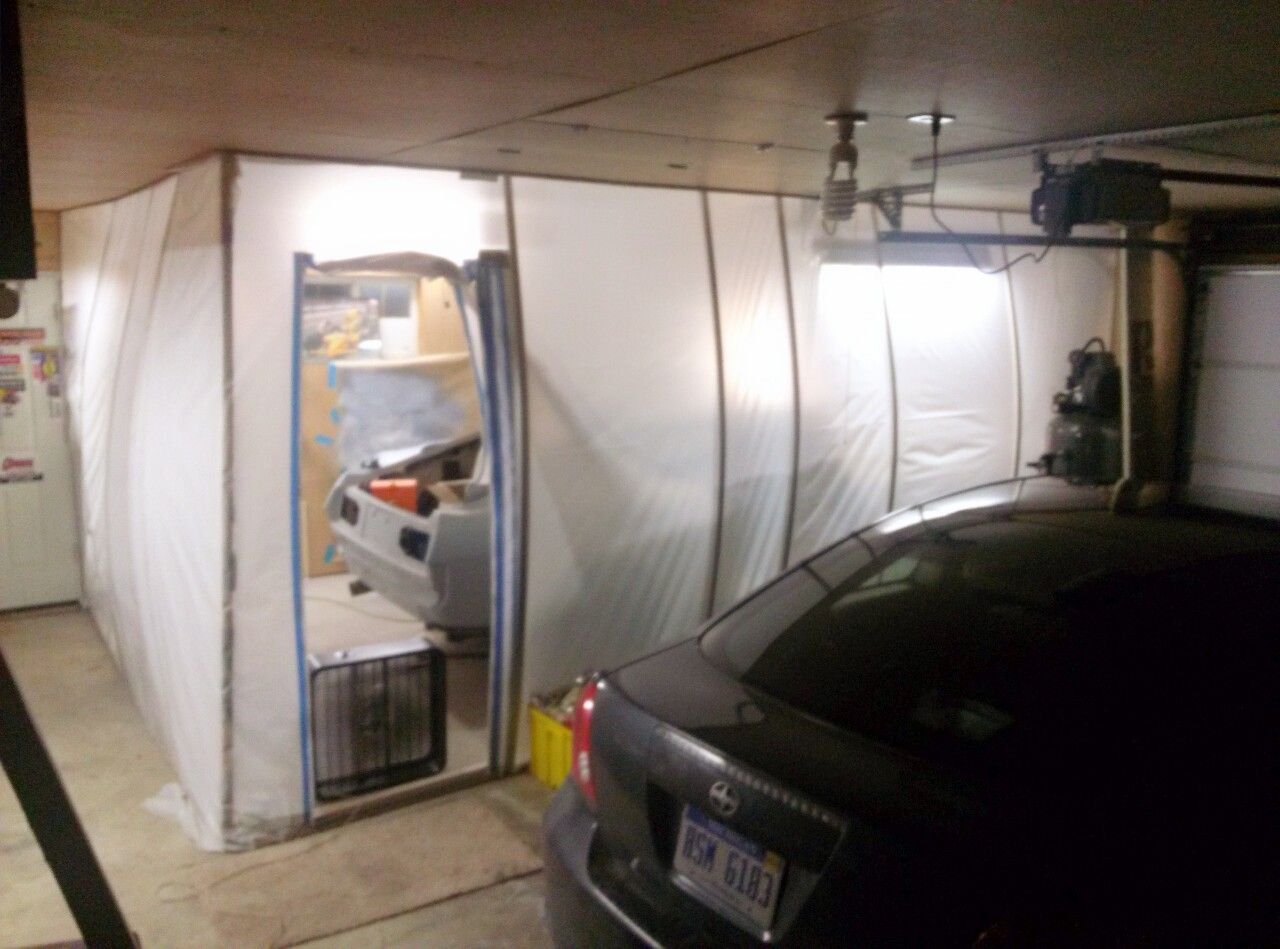
I think that what I came up with for the booth itself is pretty damn cool! Pretty proud of it
p2001302_6.jpg

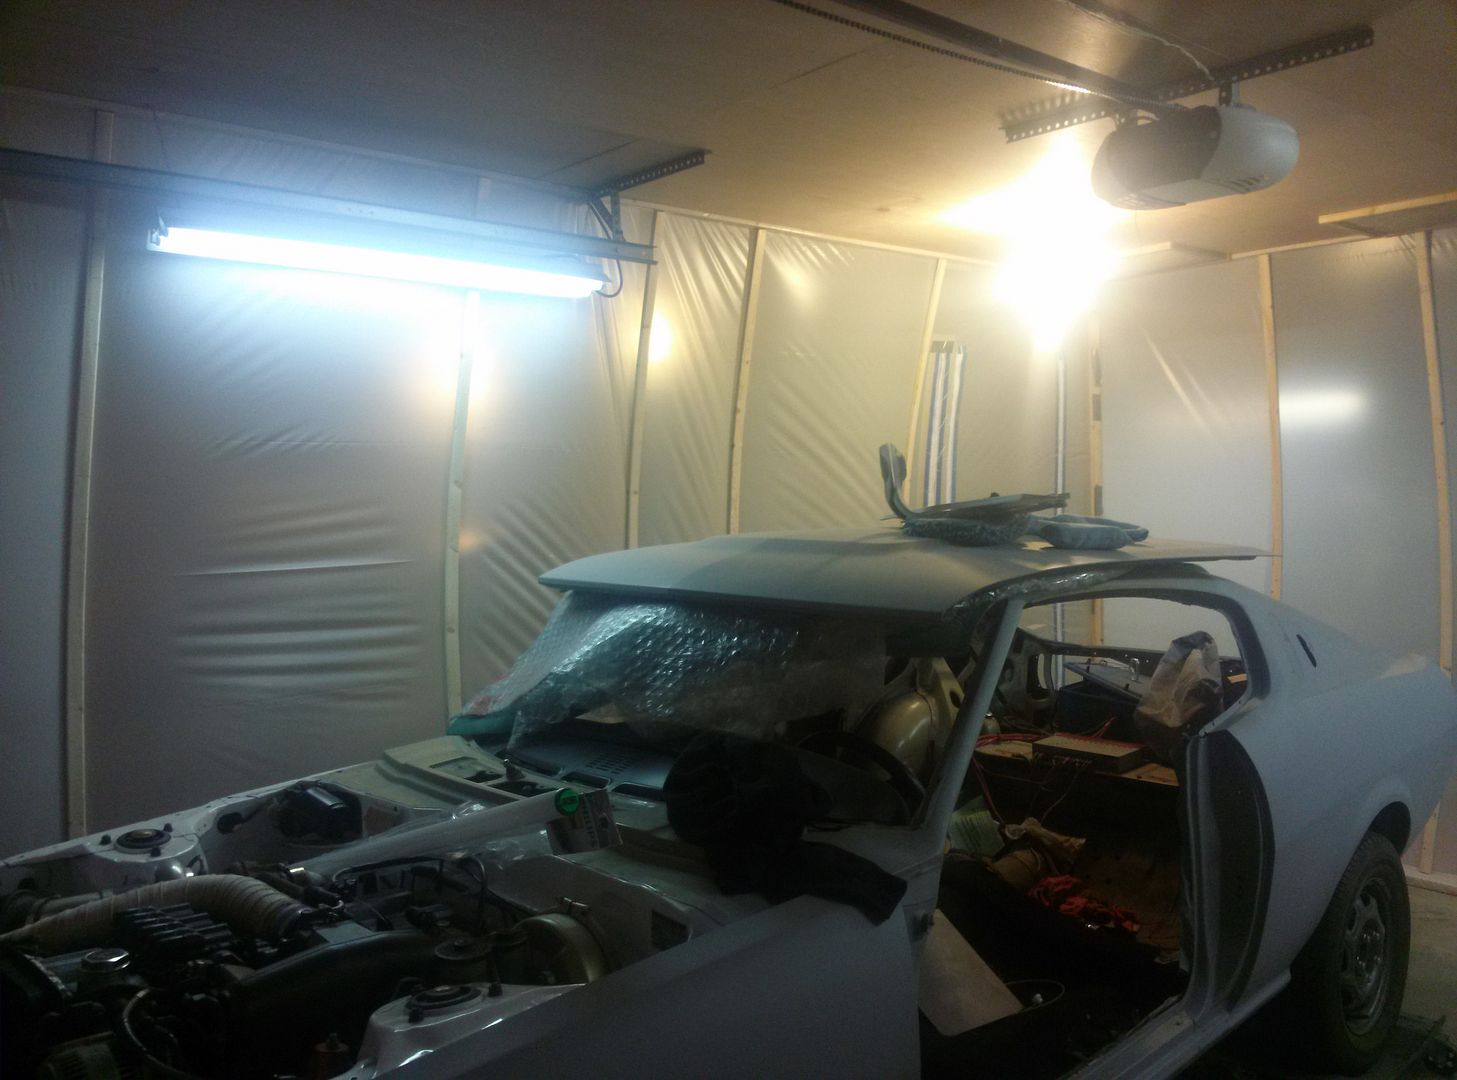
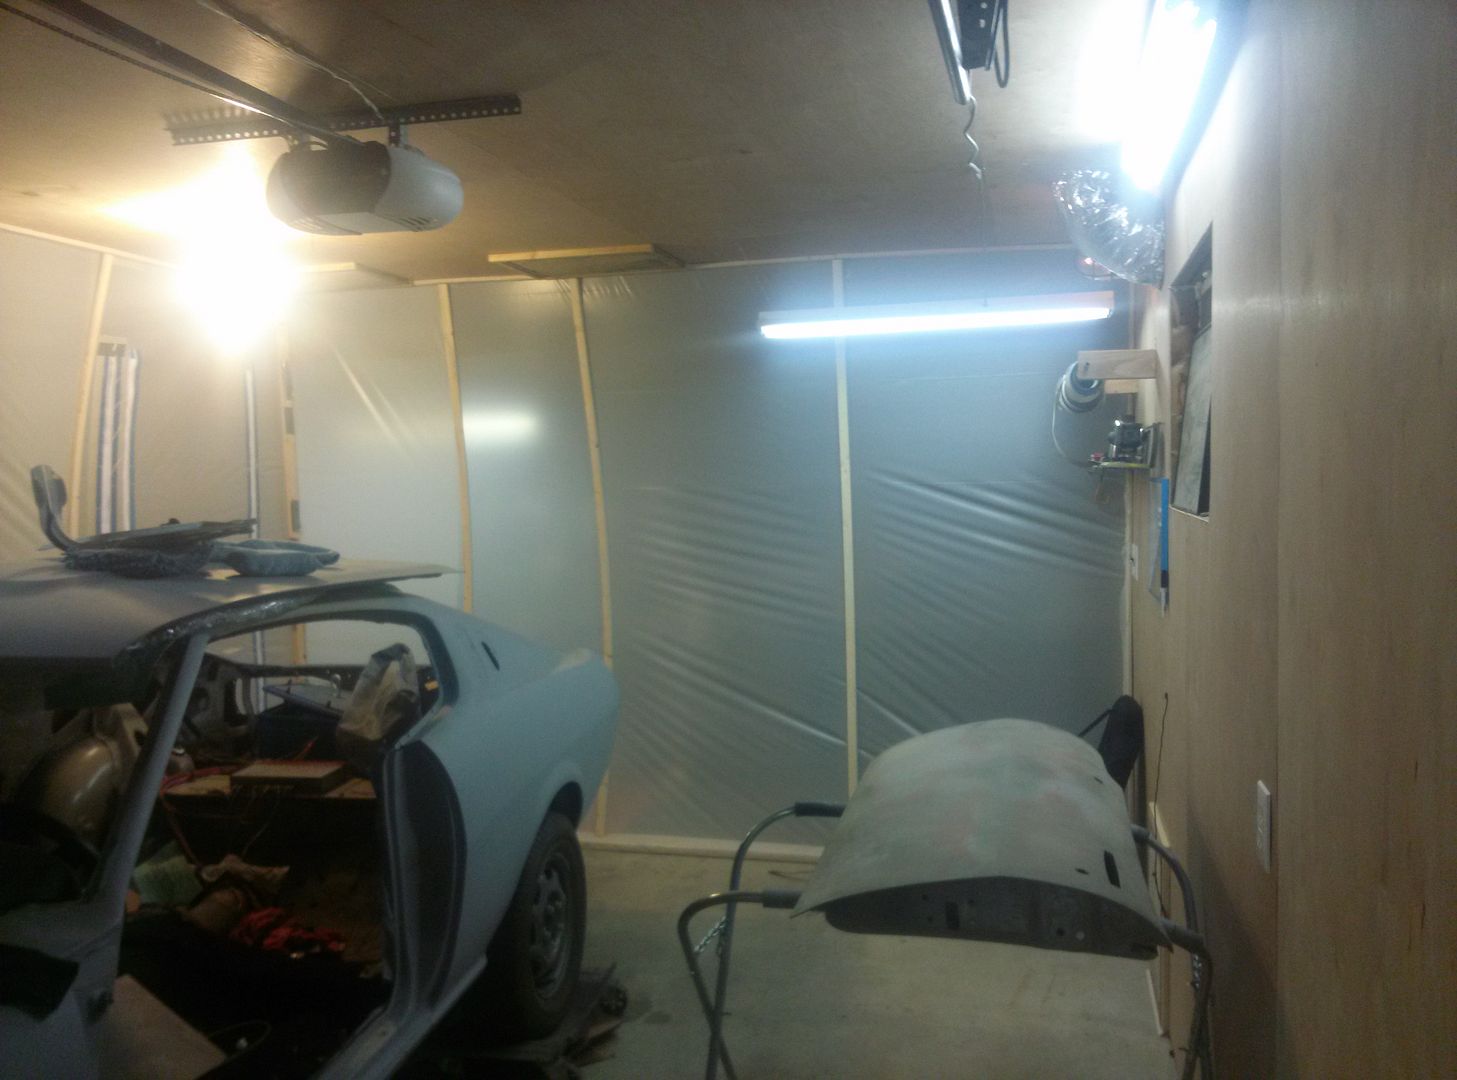
I used 4mil(or 6, don’t remember) plastic sheeting, tack strips, a 1x1, then some stick on zippers to make a door. Overall pretty cheap, maybe $90 total, and extremely effective. I wrapped the plastic around the tack strips and screwed it to the ceiling and walls. Then wrapped the 2x4 around the hanging excess on the floor. Now the cool part. I took some more tack strips that were the exact height of the roof, and bent them in-between the top and bottom pieces of wood. Did this because I wanted it to be removable, and to tension the plastic so it didn’t get sucked in when I turn on the powerful ventilation. I had a bunch of flourecent lights laying around, so I added another circuit and switch, and wired up a bunch of lights in the booth so I could see what I was doing!
So, now when I am finished, I will just remove the vertical stringers, roll the bottom 2x4,s up to the ceiling, and put a bungee cord around it and hold it all right up at the ceiling totally out of the way. Can just take it back down whenever I need to paint anything again.
p2001302_7.jpg

p2001302_8.jpg
 

speedfreak426

New Member
Mar 31, 2008
380
1
0
Brighton, MI
Its hard to say, since i was finishing and insulating the entire garage at the time. Setting up the ventilation was about 5 hours total. Setting up the booth itself was another 3 hours total.
Quick, removable, cheap, and effective, !
 

MkIII FTW

New Member
Aug 31, 2009
401
0
0
Huntsville
speedfreak426;2001415 said:
.
Quick, removable, cheap, and effective, !

Absolutely, some friends of my just finished restoring an El Camino in their garage and set up a booth similar to the way you have yours which is why I was asking. I figured the next time I paint a car I'll do the same.
 

speedfreak426

New Member
Mar 31, 2008
380
1
0
Brighton, MI
I still have a lot of bodywork pics and progress to post, but I'll just skip it for now and get to the good stuff!


Two whole years for replacing sheet metal and sanding my life away in the garage every night....


I can't believe it's finally painted white. Still a lot more work to do to get it put together, but this is a huge step and it feels great!
 

speedfreak426

New Member
Mar 31, 2008
380
1
0
Brighton, MI
Can't wait to get it out on the road, even though I already did a nice burnout in front of my house :woot:

I have been doing a lot of small stuff, installing seals, door mechanisms, window tracks, cleaning odds and ends. I am enjoying it though.

I have also painted and installed my front lip spoiler, it looks pretty good so far.


Masked and rattle canned black for now to match the rear steelies.


Front end with spoiler


Needs to be lowered, but I'll get to it next year maybe. the glass and seats may weigh it down a bit though.


speedfreak426

New Member
Mar 31, 2008
380
1
0
Brighton, MI
Someone sent me a private message asking about this swap. Their inbox is full, so I'm going to post it here in hopes that he'likes see it. I'll answer the other comments in a week. Thanks guys

Hey man, check this thread out that I made. And read everything

http://classic-celica.com/modules.php?name=Forums&file=viewtopic&t=288

Plan on rebuilding that engine too, head gasket at minimum. I bought one from them and they lied to me about the compression check. The head gasket was blown to shit. It doesn't say it comes with a wiring harness, ecu, ignitor, injector resistor pack... you'll need all that stuff. Fuel pump, relays, new fuel line. I also installed the supra r154 transmision, and a old dodge rear axle. The celica Trans won't bolt up, and the rear axle can't take the power. Welding I had to do.... I cut out the spot where the shifter goes, flipped it around and welded it back in because the r154 shifter fits 3 inches farther back. I had to weld extensions on the Trans crossmember. And I welded the old axle 4 link mounts to my new axle. Also grafted a new fuel pump lower end on the pump hanger.

The swap itself is simple, but it's still a ton of work if you want it to run right.

If you have any other questions you need to ask tonight, since I won't have Internet access at all for the next entire week.

blackguy said:
hey man I read your thread about your 77 celica and ive been wanting to find someone that has done this. I am currently in the process of buying the celica and then I will gut it and put in the 7mgte but my main question is what else will I need besides what it comes with.. any welding that needs to be done? anything helps thanks for the help if you can

this is the website I am buying it from
http://www.jdmenginedepot.com/jdm_engine_details/72/Toyota_7M_GTE_Supra_/_Cressida_Engine_JDM_7MGTE

as you can see it comes with
Complete Head
Complete Block
Intake Manifold
Exhaust Manifold
Injectors
Throttle Body
Power Steering
Pump Sensors
Fuel Rail
Alternater
Distributor
A/C Compressor
Turbo Charger

please reply as soon as possible..
 

speedfreak426

New Member
Mar 31, 2008
380
1
0
Brighton, MI
Rear end all put together minus glass


Underhood put back together, glass installed, wiper stuff restored and installed


Not your average garage paint job!
Photobucket kills the quality sadly. It's like a mirror (its the lower part of the drivers door)