more pics of the black 7m mkii

83restomod

Bryan
Feb 11, 2008
100
0
0
clinton NJ
williamb82;140895 said:
sm_photo_missing.jpg


those are the wheels im gonna go with, except im going with anthracite centers. then the 16in enkie's will be put on my 85 and then ill use the 15x7 enkie's i have for spare rims and the 15x7 are mesh wheels will stay drag wheels. they clear the bbk. also, if anyone knows someone with an old celica or supra, zcar, etc.. let them know i got these for sale.

http://www.celicasupra.com/vbforums/showthread.php?p=223188#post223188

they are brand new. 17x8 +12mm offset 4x4.5 bolt pattern


what brand are these? im in love and am looking for new wheels. pm me here or on cs.com.
 

williamb82

Member
Apr 24, 2005
906
4
18
42
Tampa, Fl.
well, heres the pics of most of what i bought thursday. also i ran the fuel pressure line today. only thing is it isnt actually hooked up because i bought the wrong size fiting at the tank side. i bought a m12x1.25 and apparently it is a m14 and coarser. ill have to see what the fiting shop has next sat when im able to go. i did however mount the fuel filter bracket i grabbed from a camry and mounted the fuel filter in it and shortened the ss line from the filter to the rail now that the filter has a permanent home. ill take pics next week when i get the right fiting to actually hook it up. and btw, that ss braided hose cutter is worth its weight in gold. cuts through ss lines like butter. lol. man wish i had bought one years ago.

p1018198_1.jpg


p1018198_2.jpg


p1018198_3.jpg


p1018198_4.jpg


p1018198_5.jpg


p1018198_6.jpg


p1018198_7.jpg


p1018198_8.jpg


p1018198_9.jpg
 

williamb82

Member
Apr 24, 2005
906
4
18
42
Tampa, Fl.
well, my tb flange and 1/2in thick aluminum plate to make my ffi for he 7m came in a few days ago. just didnt have time to post pics. the flange is way larger then i though and not drilled for my tb but ill jut drill and tap the holes for my tb myself. this will allow me to go to a larger tb later if i ever needed or wanted too. doubt it though. also, i bought the correct fitting for the fuel line by the tank today at the fitting shop. ill likely finish installing the fuel line tomarow morning when i wake up. went to a cookout today with some of the guys from work and ate too much so wasnt up to doing it when i got home. had to take the browns to the bowl and then chill out for my stomach to stop hurting. lol.

p1025168_1.jpg


p1025168_2.jpg


p1025168_3.jpg


p1025168_4.jpg


p1025168_5.jpg


p1025168_6.jpg
 

williamb82

Member
Apr 24, 2005
906
4
18
42
Tampa, Fl.
yeah, flange is from them as is the plate. pipe im gonna buy from online metals.

anyhow, bought some polycarbonate to trace the stock face onto. traced it on and cut it out with a cutoff wheel on the dremel. worked pretty good except for the smel of burnt plastic. the protective film is still on it thats why it looks bad. once all the holes are in it ill peel it off and sand the polycarbonate to make it easier for the krylon fusion paint to adhere to it. i got the holes cut out for the 2 and 1/16th in gauges. i need to buy the chuck for the 3.5in hole saw i bought as the one i have doesnt have a long enough drill bit. ill buy it tomarow. also marked the holes for the led's for the blinker and brith indicators. heres the pics so far.

p1026018_1.jpg


p1026018_2.jpg


p1026018_3.jpg


p1026018_4.jpg


p1026018_5.jpg


p1026018_6.jpg


p1026018_7.jpg
 

williamb82

Member
Apr 24, 2005
906
4
18
42
Tampa, Fl.
well got the other 2 gauge holes cut out. it is a TIGHT FIT getting them all in but they do fit. still need to buy the other 2 gauges. drill the 3 holes for the led holders and paint it black. also need to trim the front cover to be open as it wont fit down over the tach and speedo.

p1027525_1.jpg


p1027525_2.jpg


p1027525_3.jpg


p1027525_4.jpg


p1027525_5.jpg
 

williamb82

Member
Apr 24, 2005
906
4
18
42
Tampa, Fl.
these are the adaptors for the rear big brake kit. ill add more pics as i collect more parts and install it. the hats are machined from cast iron as the stock e-brake is a drum inside the rotor. it is designed for 12.19inx0.81in rotors and wilwood forged dynalite 4 piston calipers with 1.38in pistons. it should balance out my front bbk quite well.

p1109151_1.jpg


p1109151_2.jpg


p1109151_3.jpg


p1109151_4.jpg


p1109151_5.jpg


p1109151_6.jpg


p1109151_7.jpg
 

williamb82

Member
Apr 24, 2005
906
4
18
42
Tampa, Fl.
more like exterior deprogress. since it sat in the sun undriven for over 2 years the paint is total shit, no rust though. its ok though, i plan to paint it when everything else is done, but the way it looks now is better for taking it to the track. looks like a pos. hehehe
 

williamb82

Member
Apr 24, 2005
906
4
18
42
Tampa, Fl.
bought some aluminum angle and made a vr sensor bracket using a vr sensor from a ford explorer. tight fit but clears the belt, just barely. tomarow im gonna start working on wiring it all up.

p1163324_1.jpg


p1163324_2.jpg


p1163324_3.jpg
 

williamb82

Member
Apr 24, 2005
906
4
18
42
Tampa, Fl.
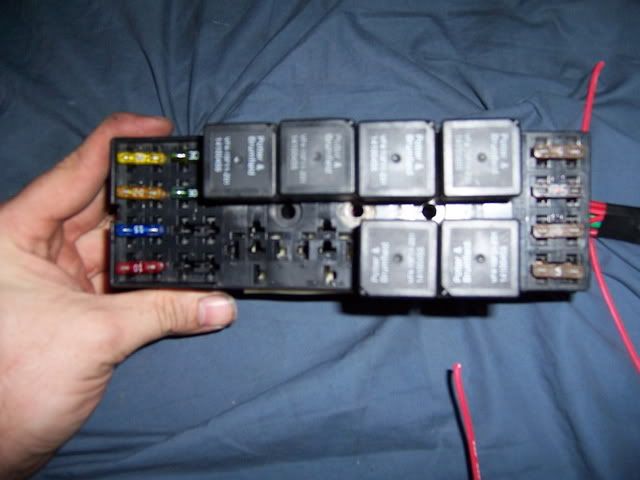
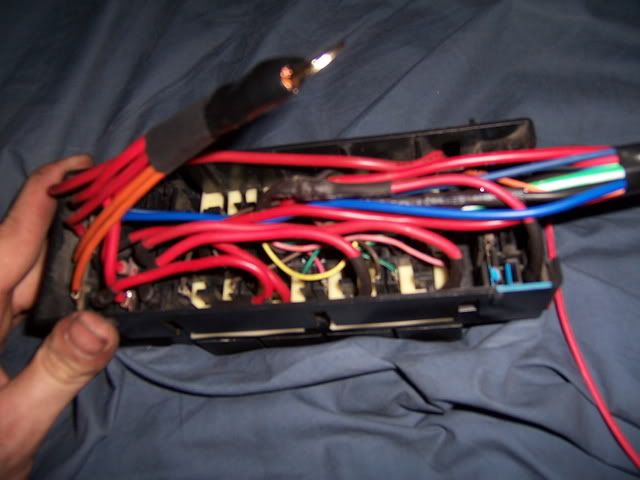
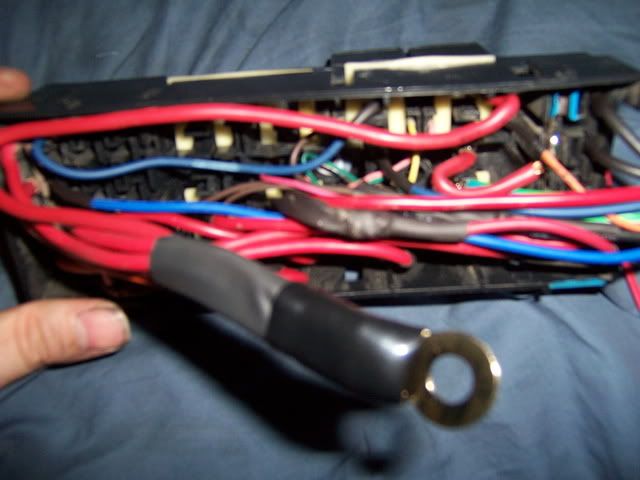
sat i got the rest of the pins needed and finished wiring up the fuse box. 6 relays and 10 fuses. 1 relay which will be triggered by the main relay powers the 2 5 amp fuses for the injector banks, the 2amp fuse for the ms2 itself, and then the last spot a 5amp fuse to trigger 3 of the other relays. there are 2 relays from 30 amp fuses each to power my electric fans, that will be triggered by the radiator fan switch in the thermostat housing. there are 2 relays thare are powered from two 20 amp fuses that will power my dual edis 6 ignition modules and 6 coil on plug ford coils, and then the last relay from a 10 amp fuse to power my wideband, and then just a 15 amp fuse powering the wire to my line lock for the front brakes. no relay, just switched from inside the car. all the power wires barely fit inside of a 4gauge ring terminal and i crimped it.im going to put another ring on the red 4 gauge power cable i bought at the stereo shop and bolt them together and tape it up and run the single 4 gauge wire to the battery to make it look as clean as possible and keep minimal wires from exiting it. i used the exsisting pins and removed the wires and recrimped the new wires to them and soldiered them and heat shrinked them before putting them back in theire proper places. it took several hours to do this properly. but in the end i feel it was worth it for a nice clean install.

i still have 2 fuse spots and 2 relay spots left. later ill have 1 relay power two 5 amp fuses to power the injector banks for my water injection and that will be triggered on by a boost activated switch. so no relays or fuse holders anywhere in the bay, just the stock fuse box and this one im going to mount next to it. and all the wires exiting the box will have connectors put on prolly tomarow so it will all easily unplug if necc for removal. im trying to make this look stock as possible.
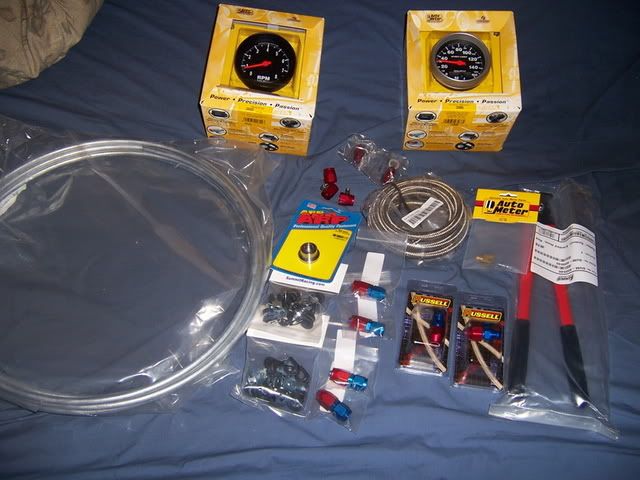
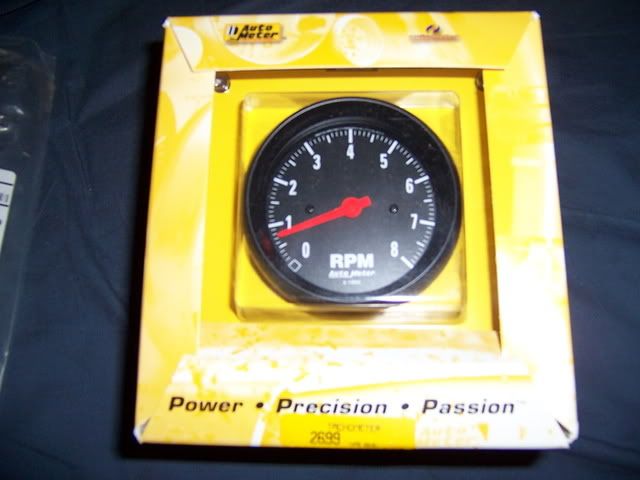
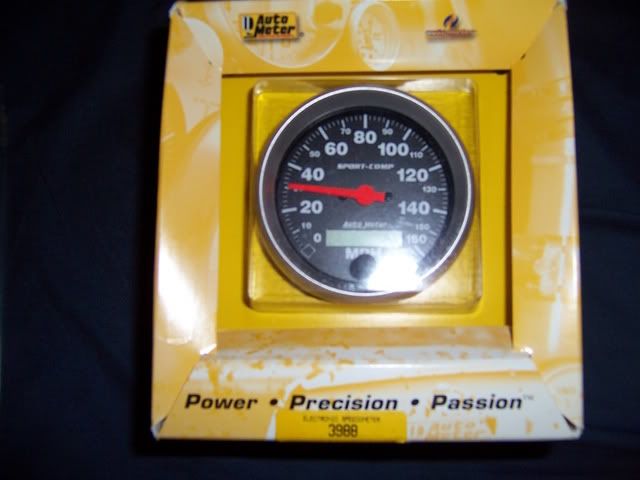
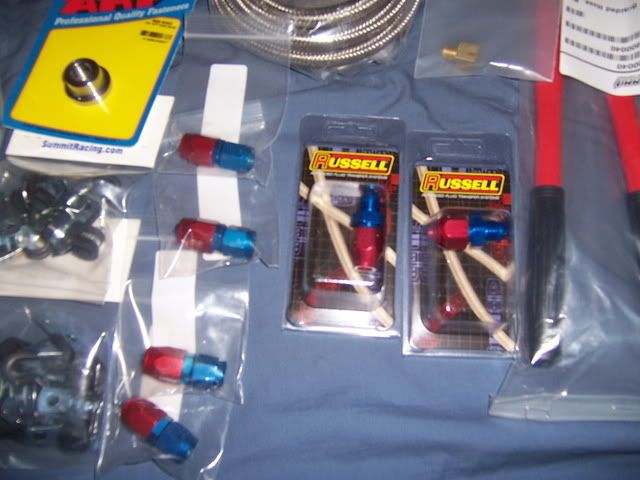
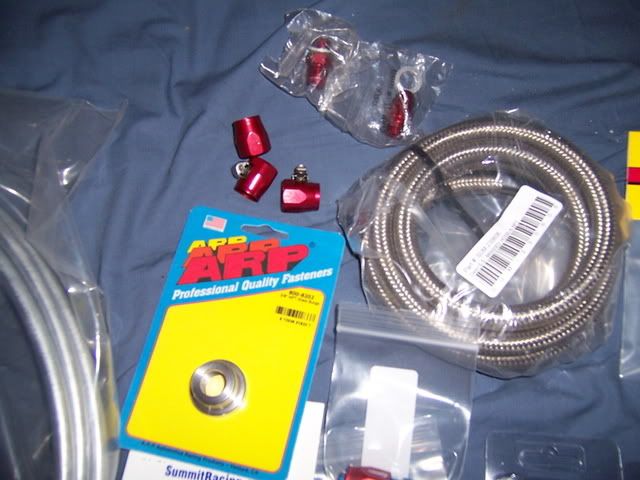
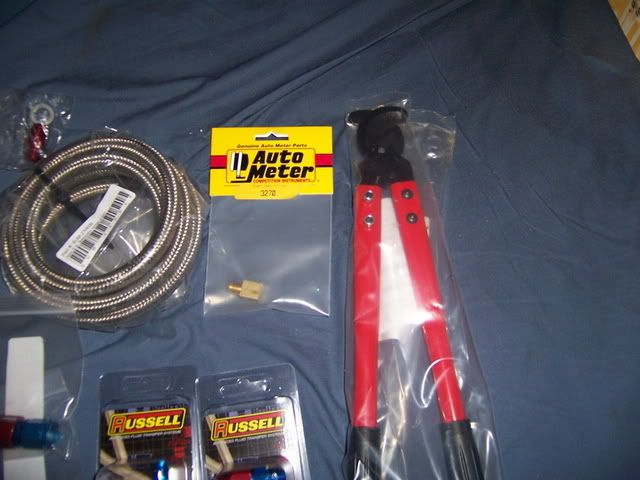
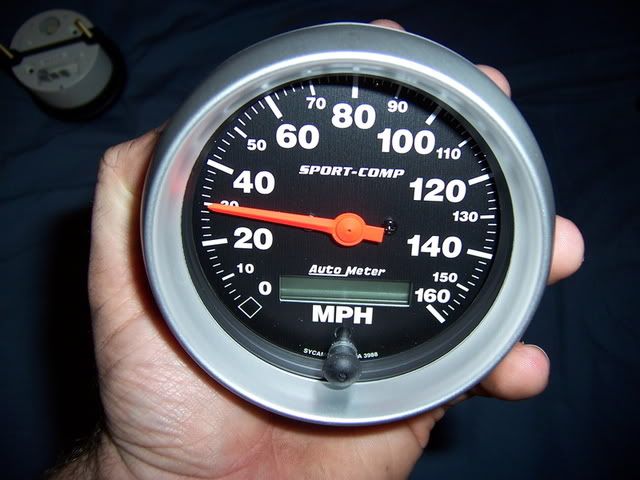
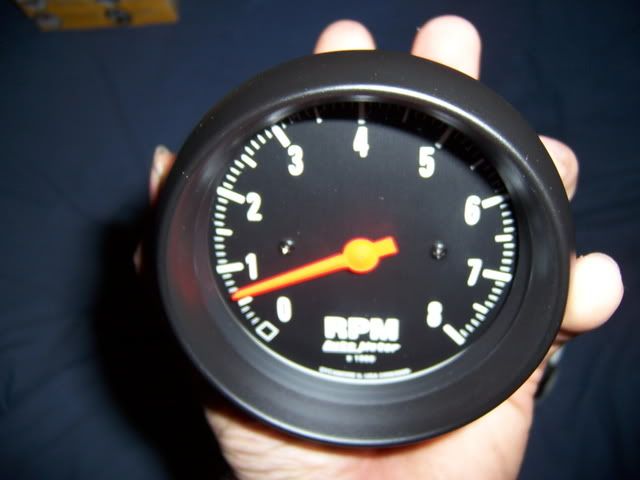
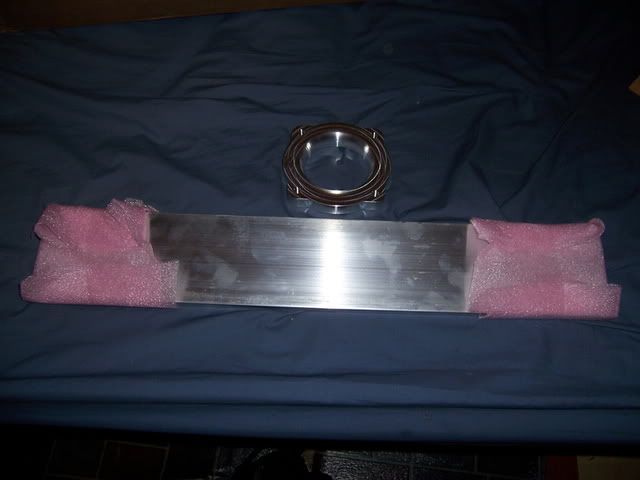
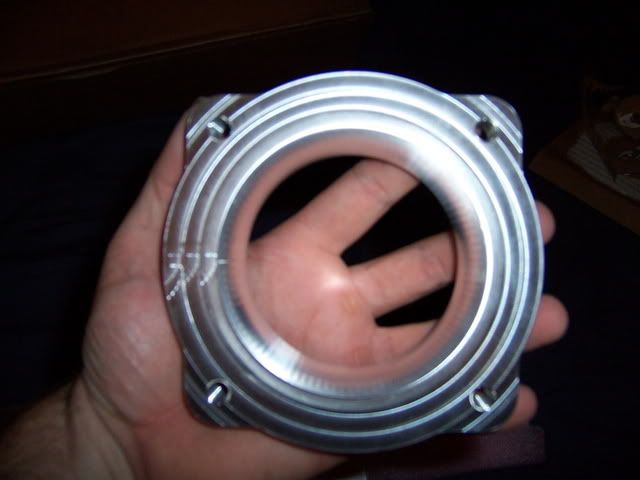
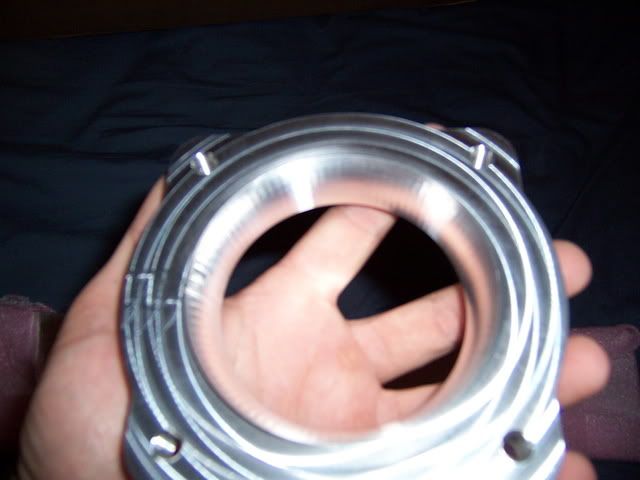
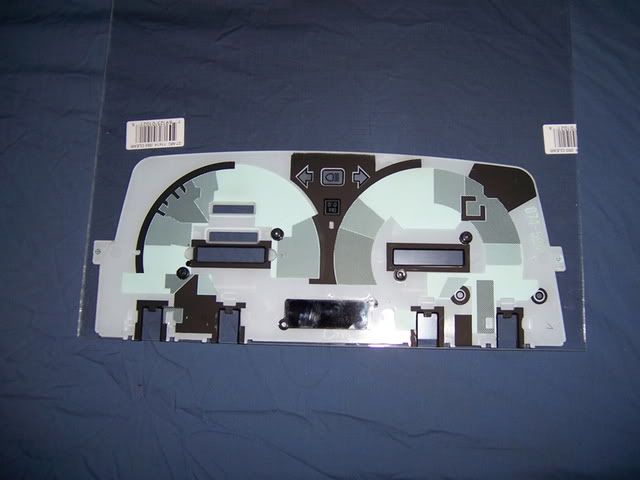
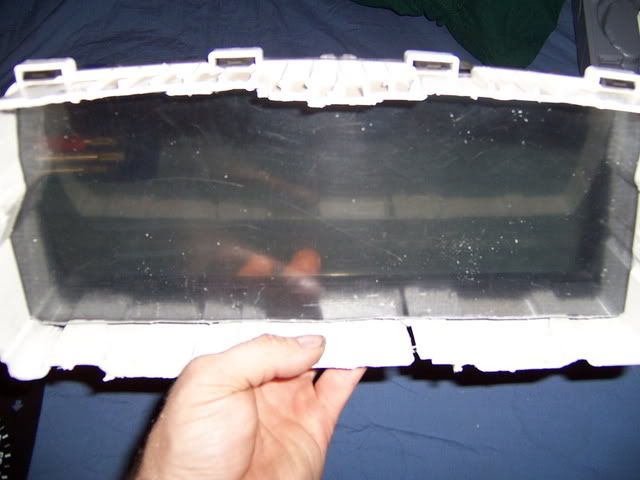
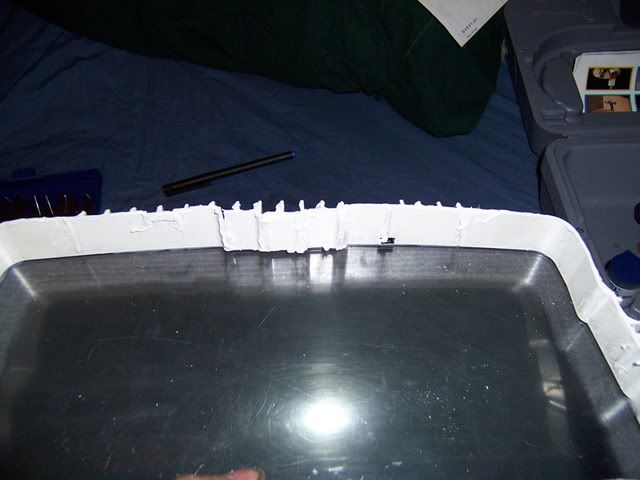
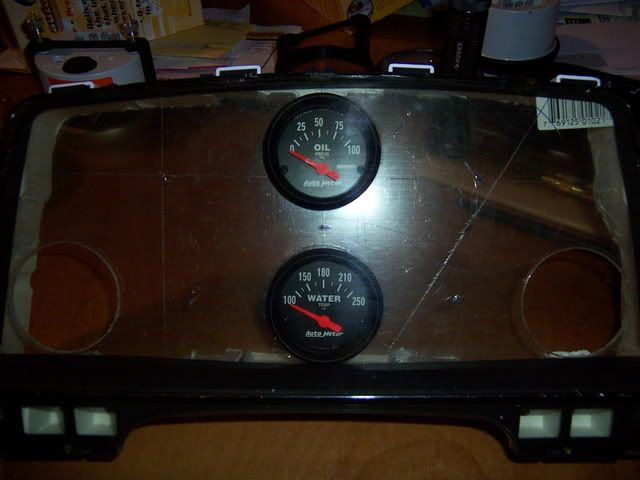
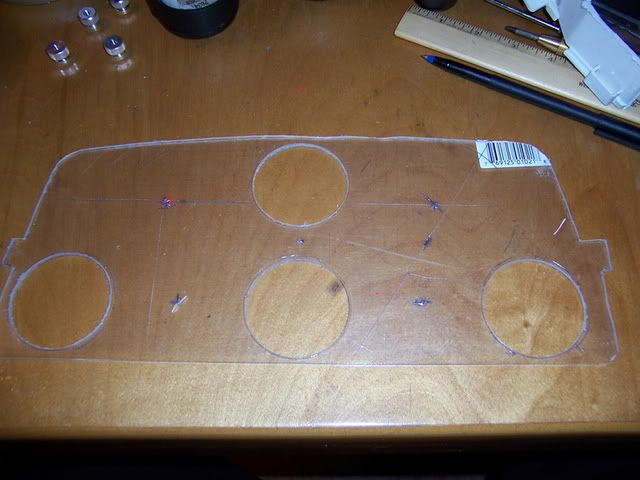
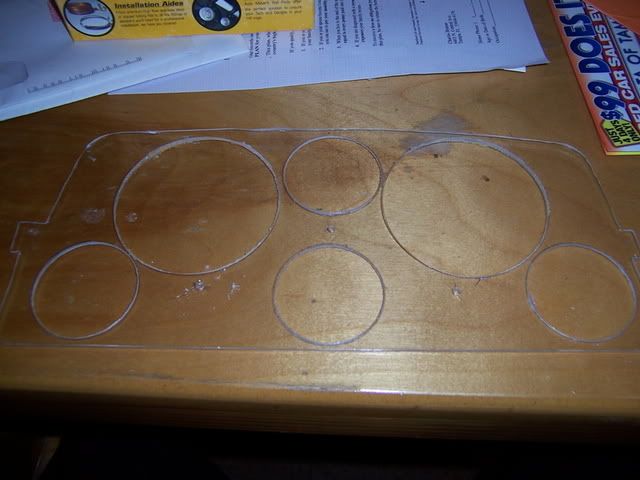
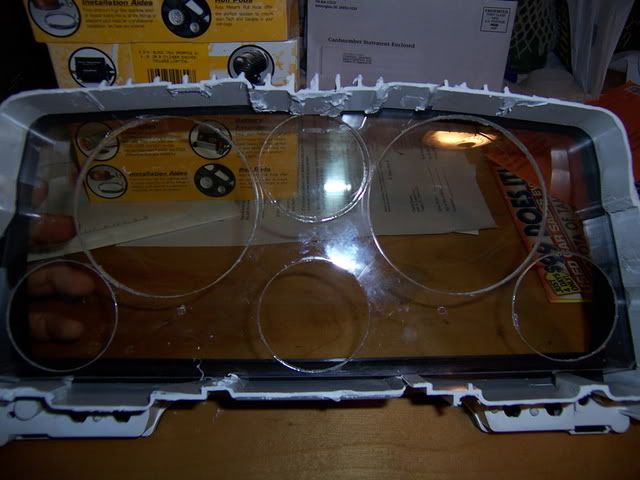
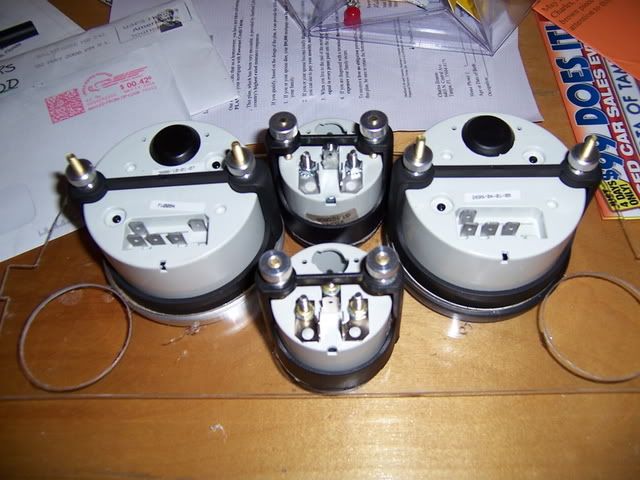
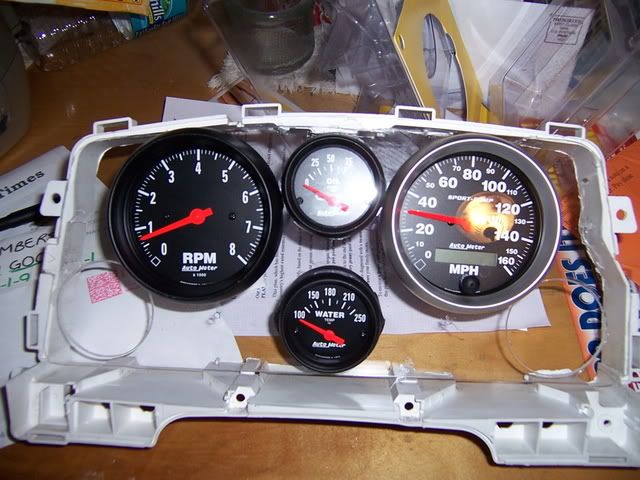
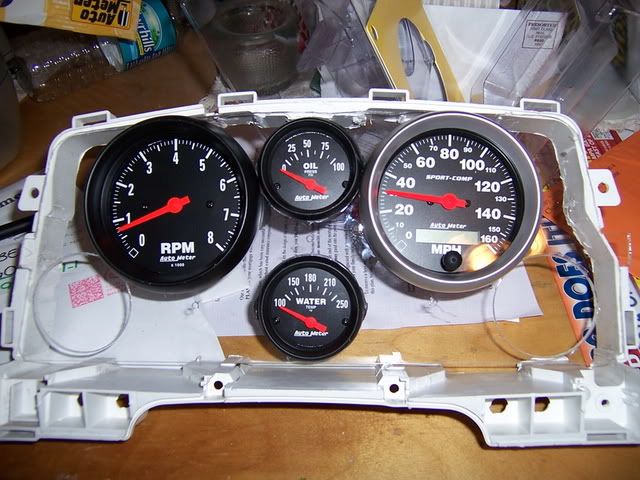
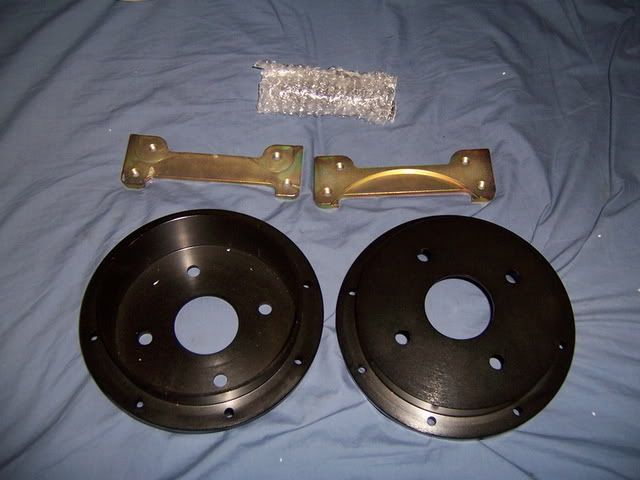
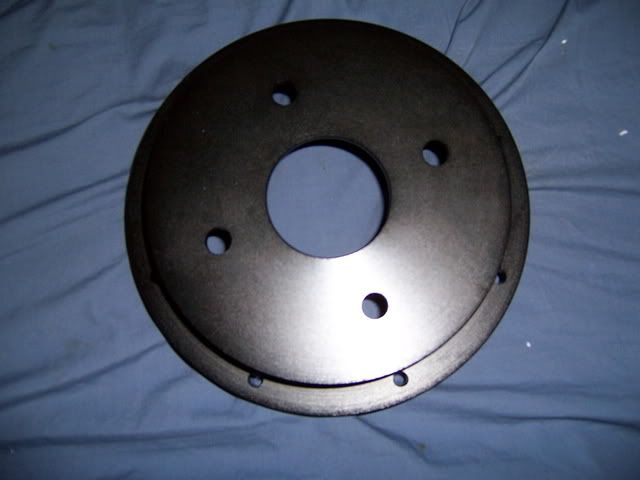
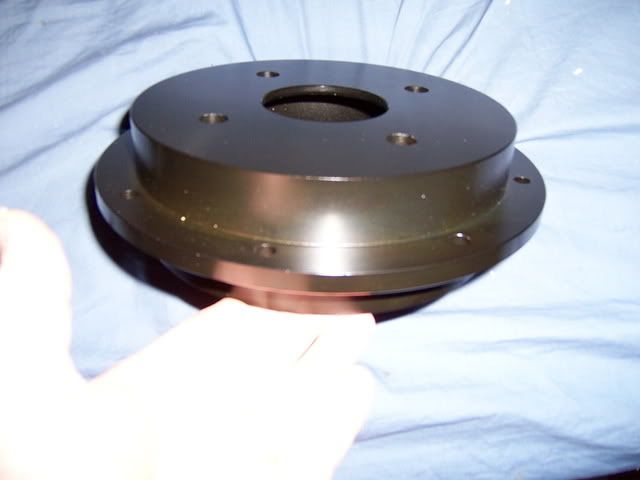
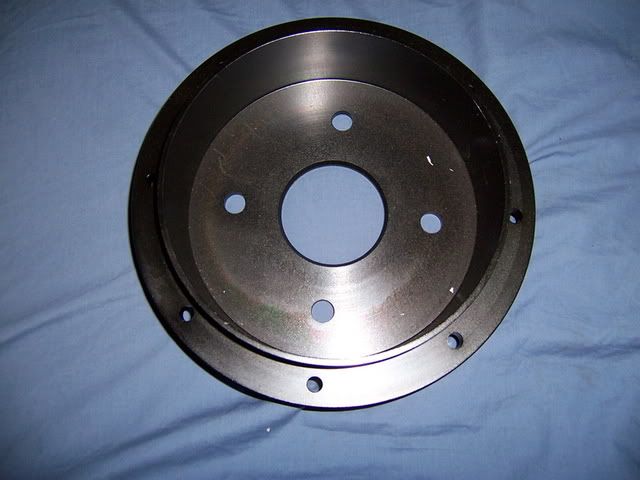
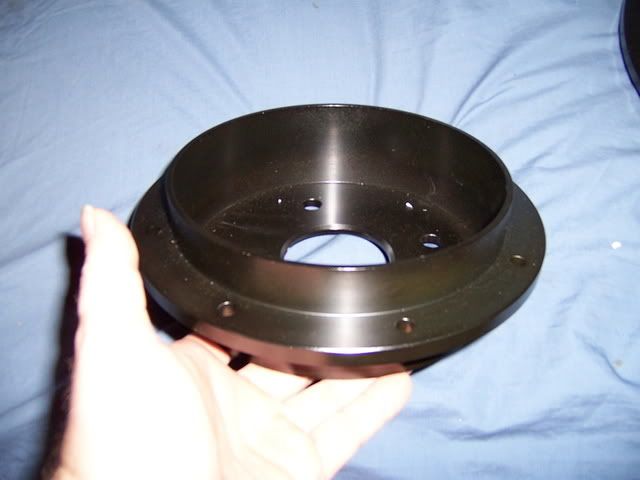
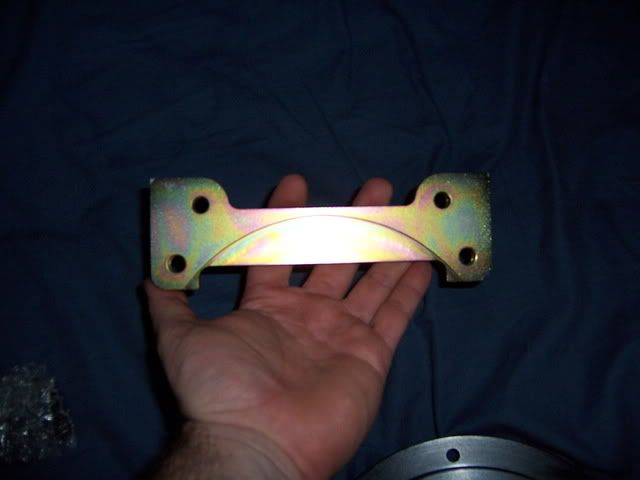
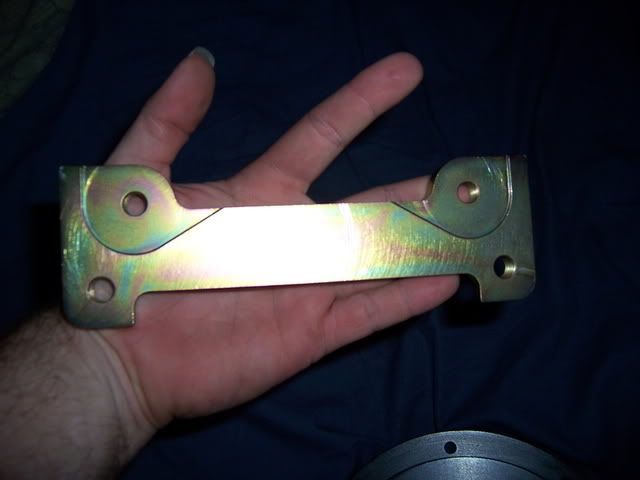
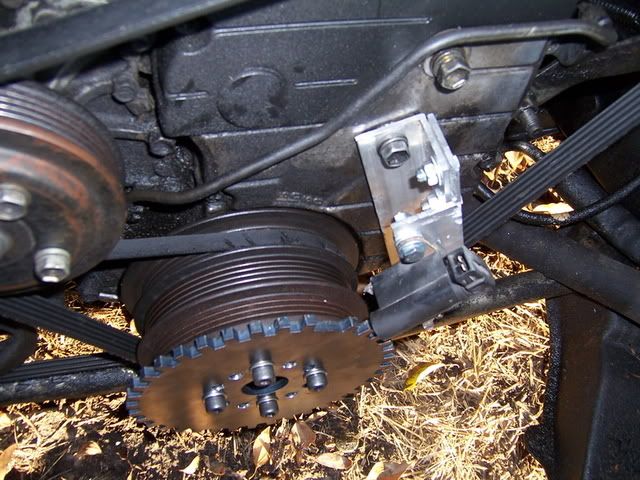
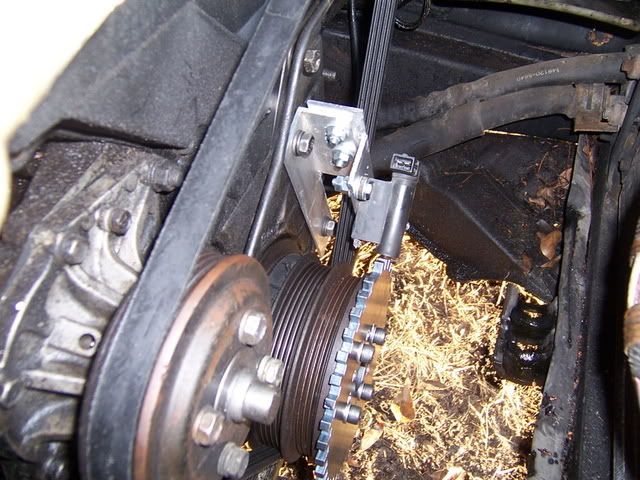
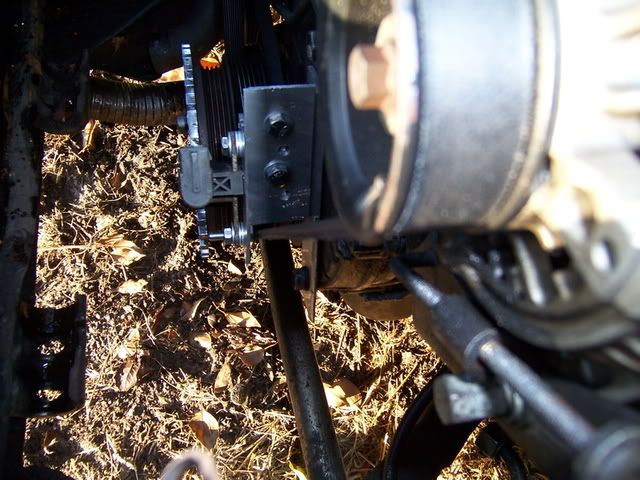
heres pics.


p1170196_1.jpg


p1170196_2.jpg


p1170196_3.jpg
 

williamb82

Member
Apr 24, 2005
906
4
18
42
Tampa, Fl.
works great too. i repinned the whole thing to meet my needs. entire megasquirt runs off of it. theres a bolt hole in that section that i bolted it to. used a plastic bolt for now. damn homedepot didnt have the 3in long bolt in metal. ill have to grab a real one at the bolt supply next week when i have time. that box is out of a 93-97 camaro/firebird. accepts 8 relays and 12 fuses. i had to canibalize 2 other boxes to get all the pics i needed. most the ones in it are too small and would work on the heavier gauge wire. hence the robbing of the other 2 at the junk yard.