Sheedy Built Supra

GC89

1J-THIS
Jun 13, 2007
938
3
18
38
Spokane, WA
Looks great, Its really gratifying the first time it fires up after all that work. I cant wait to go standalone so I can build a harness from scratch and change somethings. I kept the factory harness the same for the most part but with I wouldn't have now. I would have liked to split it into two harnesses for the left/right side of the motor. Firewall disconnects would have been a nice feature as well but I didn't want to spend the cash for proper plugs when I know I'll do it over...........eventually.

What did you use for your plug labeling? I did something similar on mine, really makes install a no brainier even when you have the plugs memorized from staring at them for countless hours.
20150426_resized.jpg
 

sheedy126

Boost Addict
Apr 30, 2012
716
1
0
kennewick
It definitely is! I would have liked the firewall connectors too but they are pretty expensive. At least the ones I looked at were.

For the labeling I ordered everything from wirecare.com. It's a 2:1 pvc heatshrink I used 1/4" and 5/16" sizes. I just printed off a sheet of paper with various sizes of numbers and letters and cut them out/slid them under the pvc heatshrink

Sent from my LG-LS980 using Tapatalk
 

sheedy126

Boost Addict
Apr 30, 2012
716
1
0
kennewick
GC89;2070728 said:
Sounds similar to what I did, adhesive label maker + clear heat shrink.
The only issue I had with the clear shrink I used is it was very sensitive to heat. I had to redo a few just because the heat made holes.

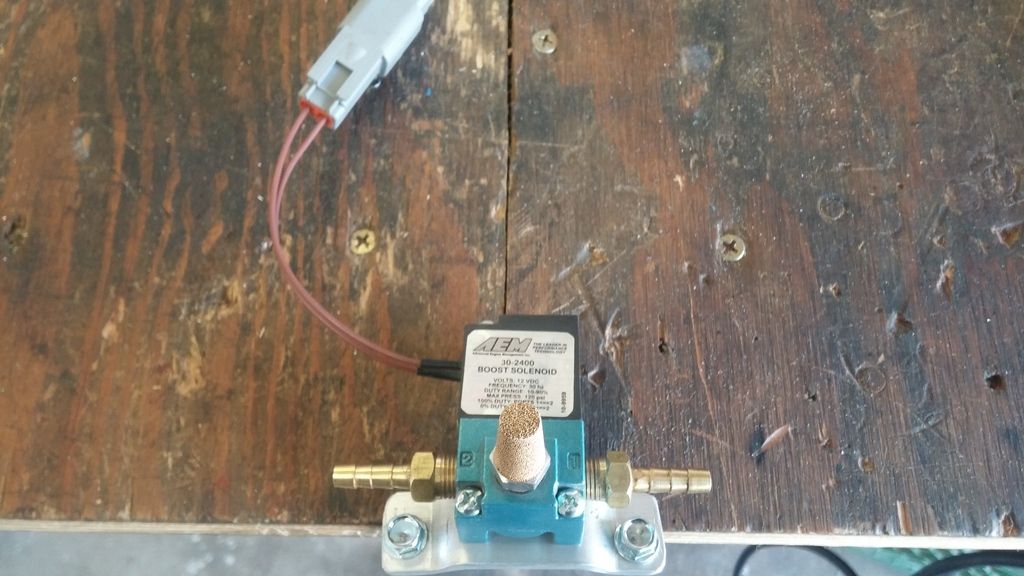
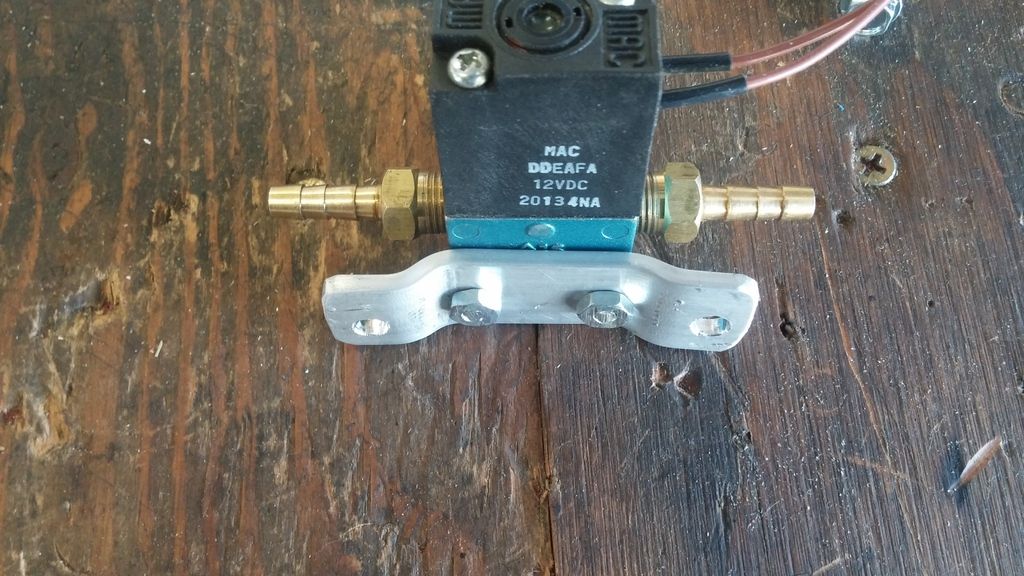
I also made a boost control solenoid mount, I think I'll mount it next to the abs module on the fender


Sent from my LG-LS980 using Tapatalk
 

sheedy126

Boost Addict
Apr 30, 2012
716
1
0
kennewick
Zrain25;2071266 said:
Where did U get the replacement connectors I'm gunna freshen up my harness once I know everything I can delete I need some new connectors though
I
Zrain25;2071266 said:
Where did U get the replacement connectors I'm gunna freshen up my harness once I know everything I can delete I need some new connectors though
I used driftmotion.com and yotaconnectors.com mostly. Combined they had everything I needed minus new knock sensor connectors and pins.

I ordered those from http://www.kaizenmotorsports.com/collections/wiring-and-connectors


Sent from my LG-LS980 using Tapatalk
 

sheedy126

Boost Addict
Apr 30, 2012
716
1
0
kennewick
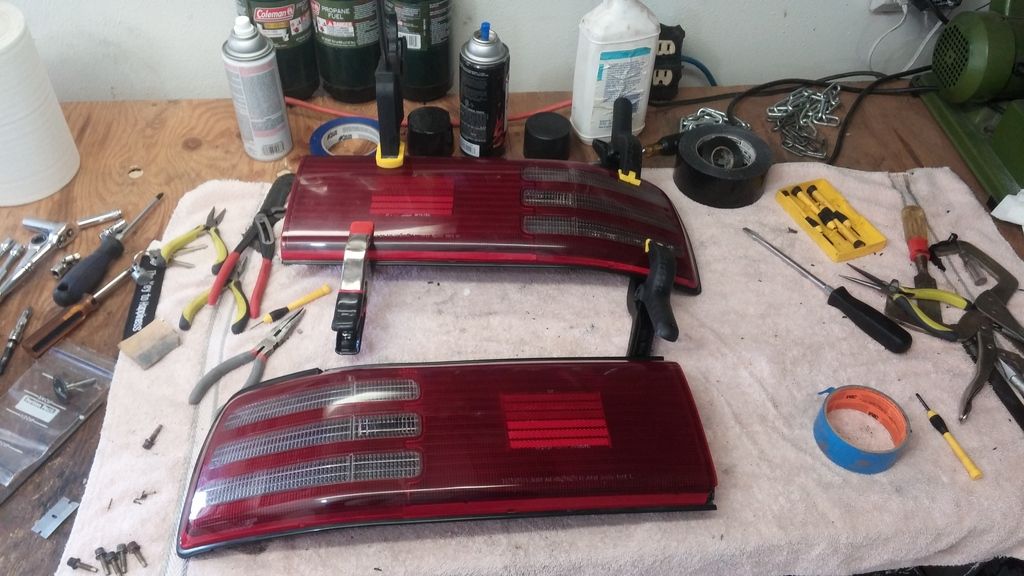
After a few days of rain I noticed that the spare tire area and hatch had a bunch of water. Upon further inspection, I noticed my tail lights needed a lot of attention.

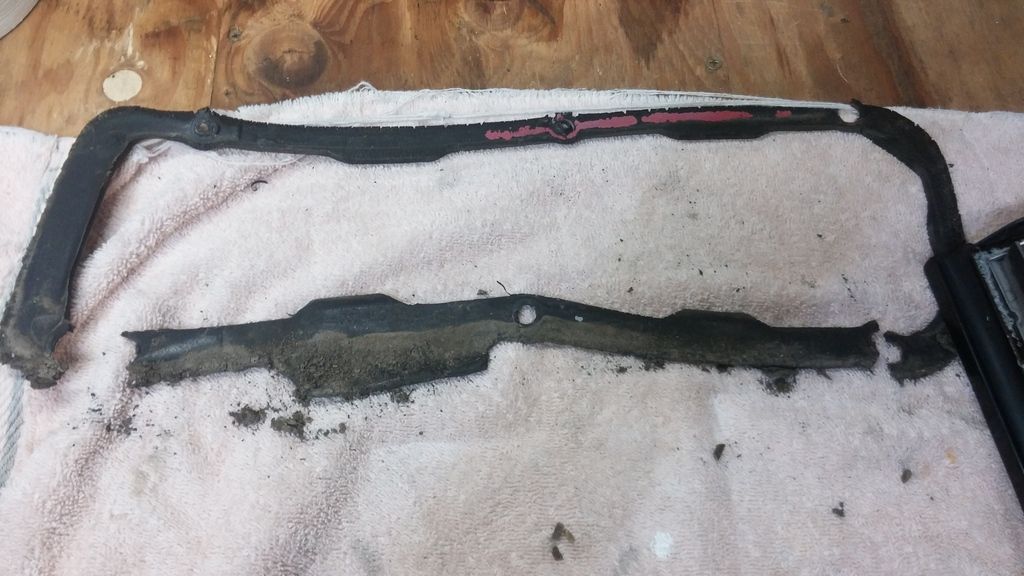
The oem gaskets were rotted and torn. The silicone holding the lenses on was also severely rotted and cracking. Parts of the lense was not actually touching the housing part and just allowing water to get all into the tail light itself... No wonder I burnt out so many bulbs, I poured about half a cup of water out of each tail light!


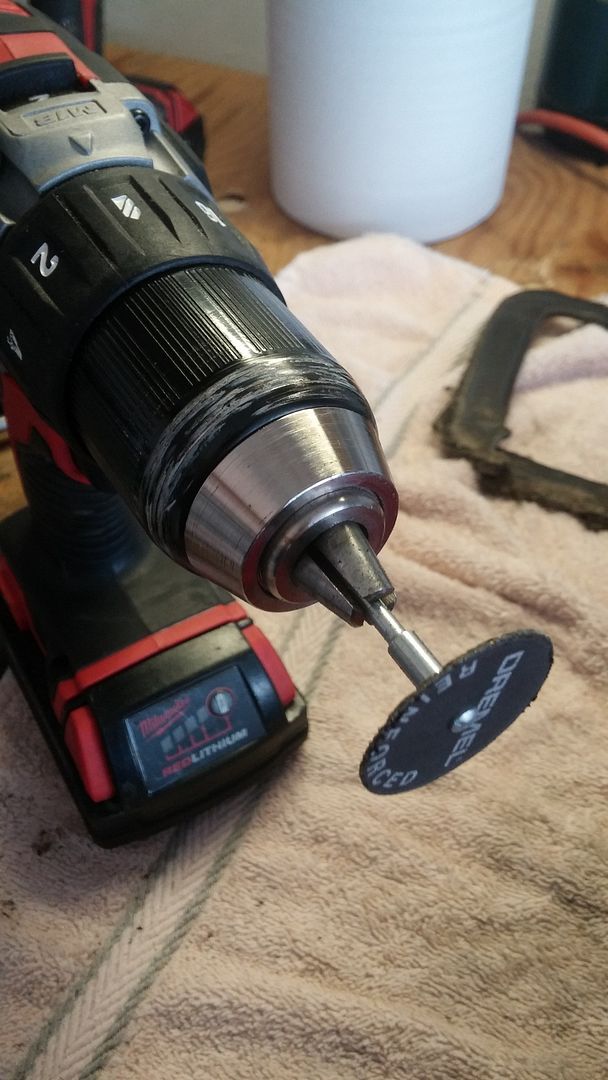
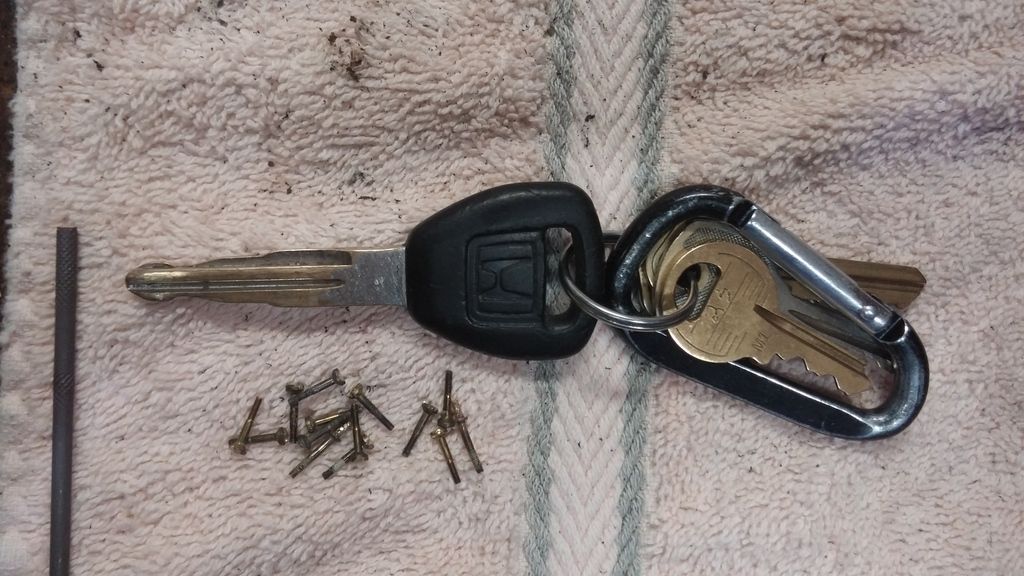
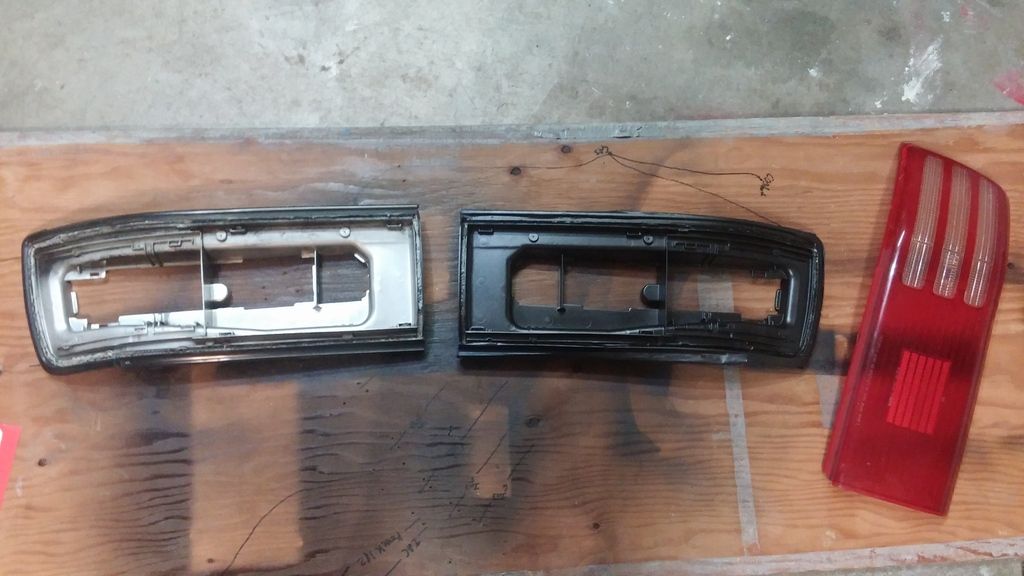
Now that everything is removed from the car I went to the store and bought a small Dremel attachment and cutoff wheel. There are 7 tiny screws in the back side of the housing holding the lense on. There's no actual groove in the head so one must be cut.


I opted to buy just the Dremel attachment instead of buying a whole Dremel kit with rotary tool.
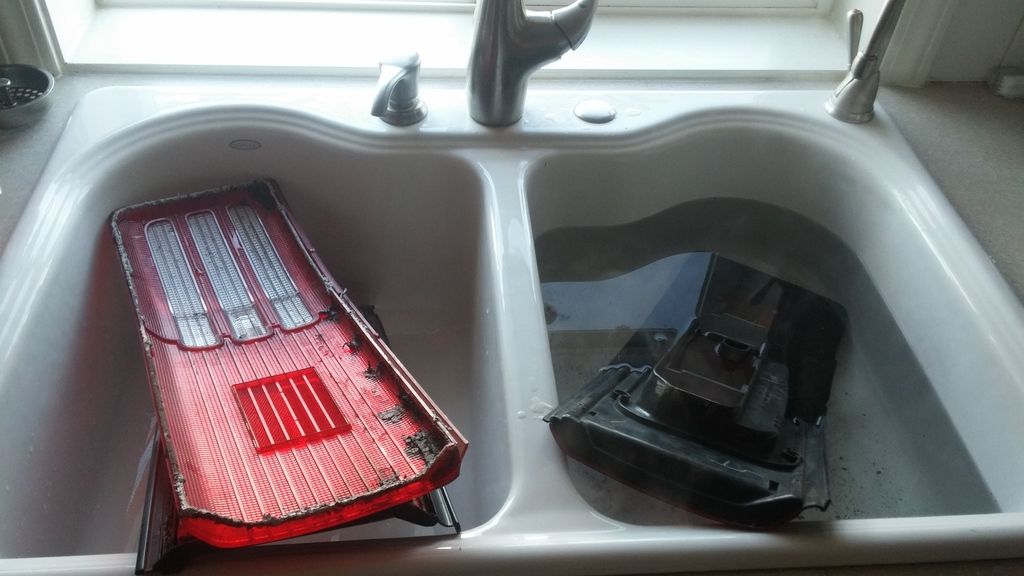
Anyway, once those are all out I set one light at a time into the sink. I took all the pots I had and started boiling water in the stove and poured the boiling water over the lense and eventually filling the sink up with hot water.

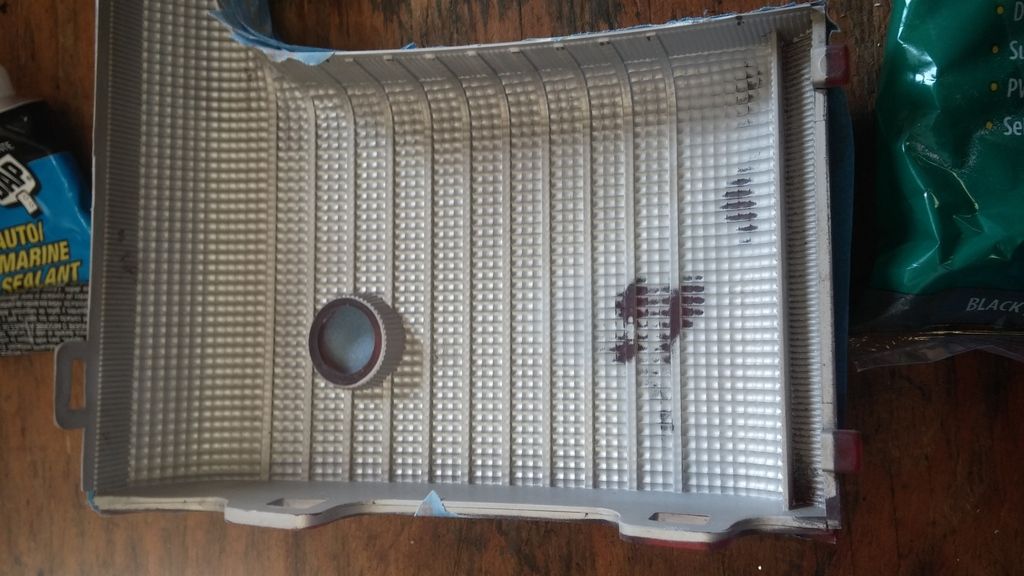
After a few minutes in the sink the silicone started to get soft and I was able to easily peel the lense off. There was a ton of grime and dirt inside the housing it was crazy!


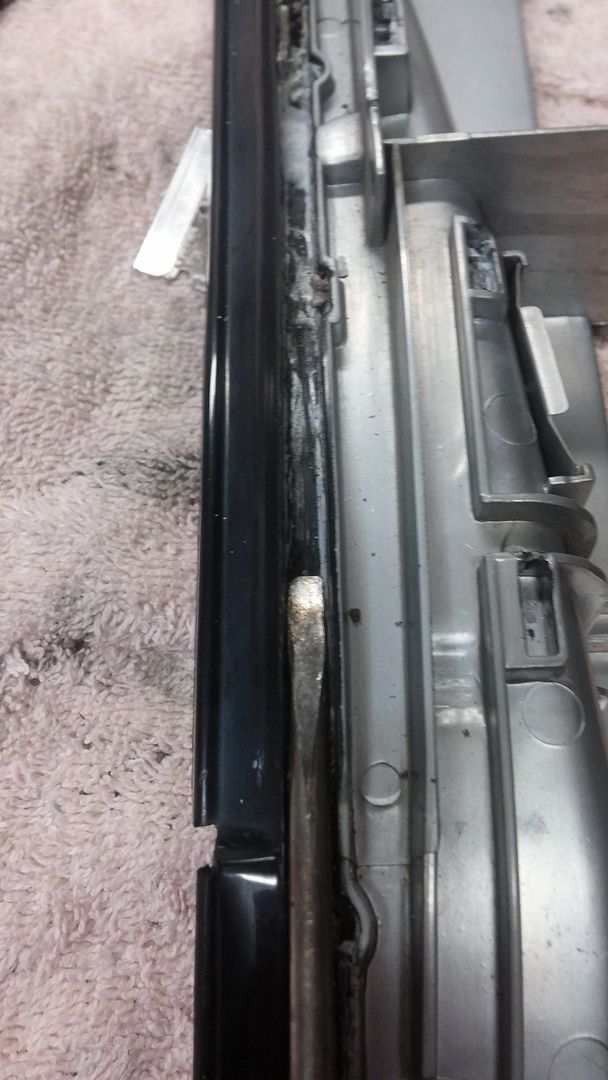
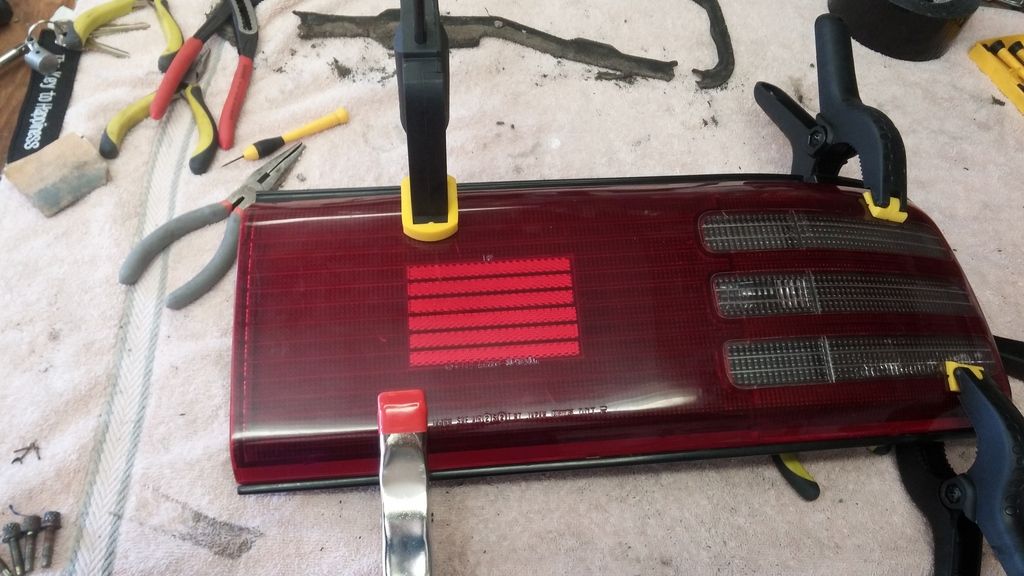
That's about as far as I got, other than getting the silicone out of the housing. I will respray the inside of the housing with a charcoal gray to make the outside appearance darker like the "jdm" taillights


Sent from my LG-LS980 using Tapatalk
 

sheedy126

Boost Addict
Apr 30, 2012
716
1
0
kennewick
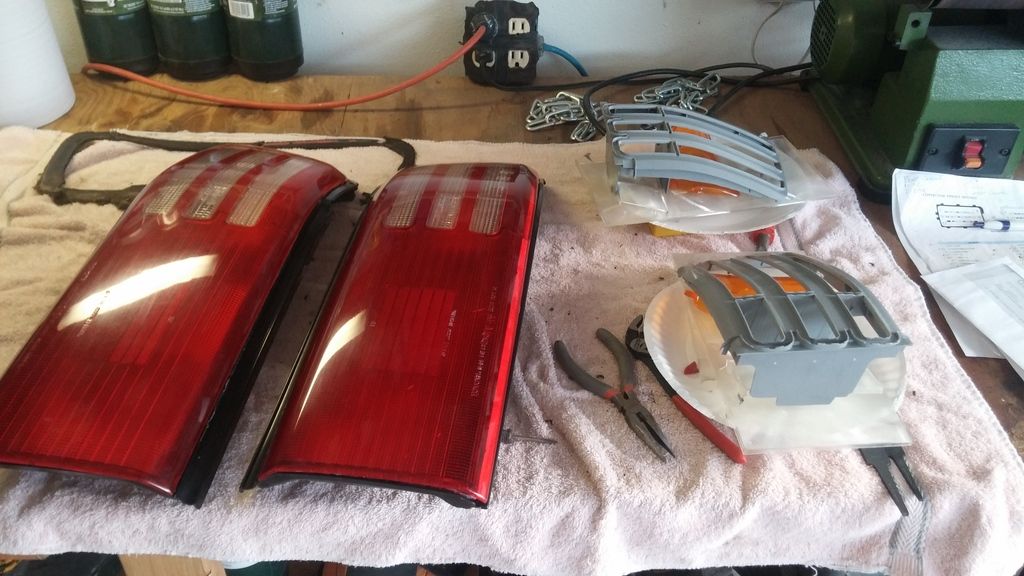
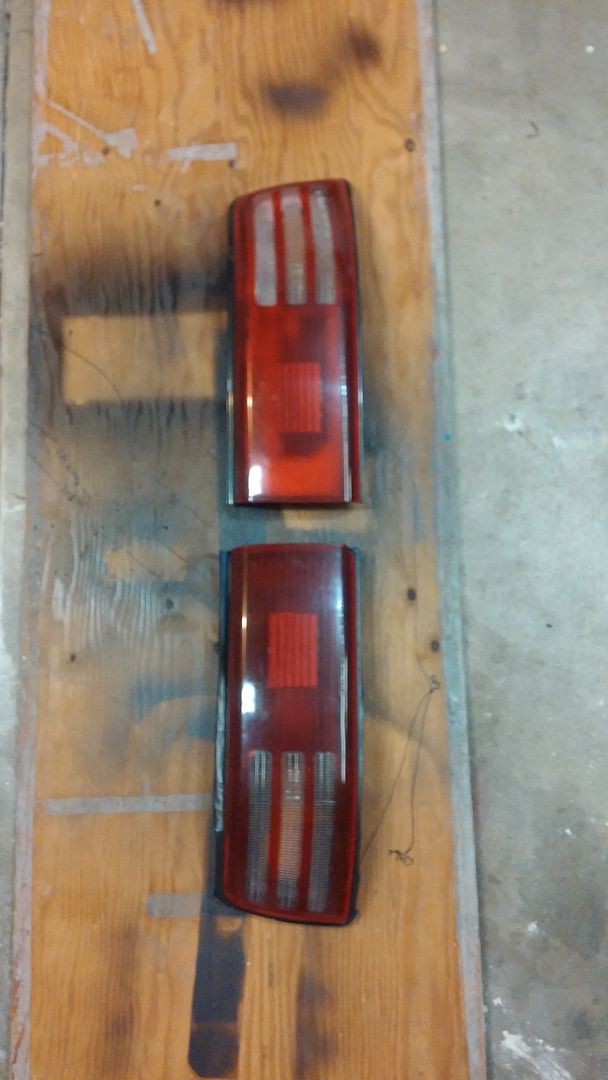
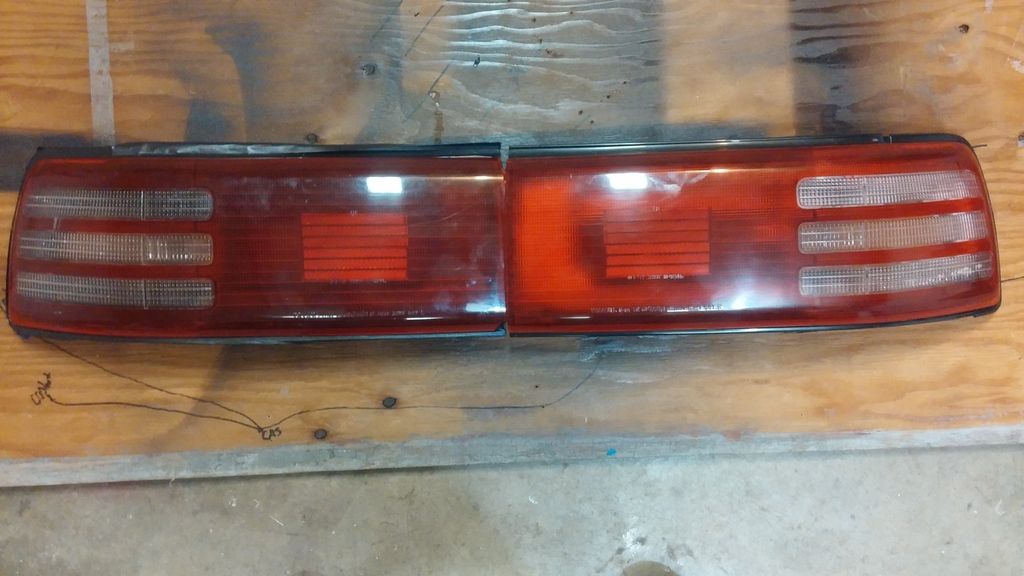
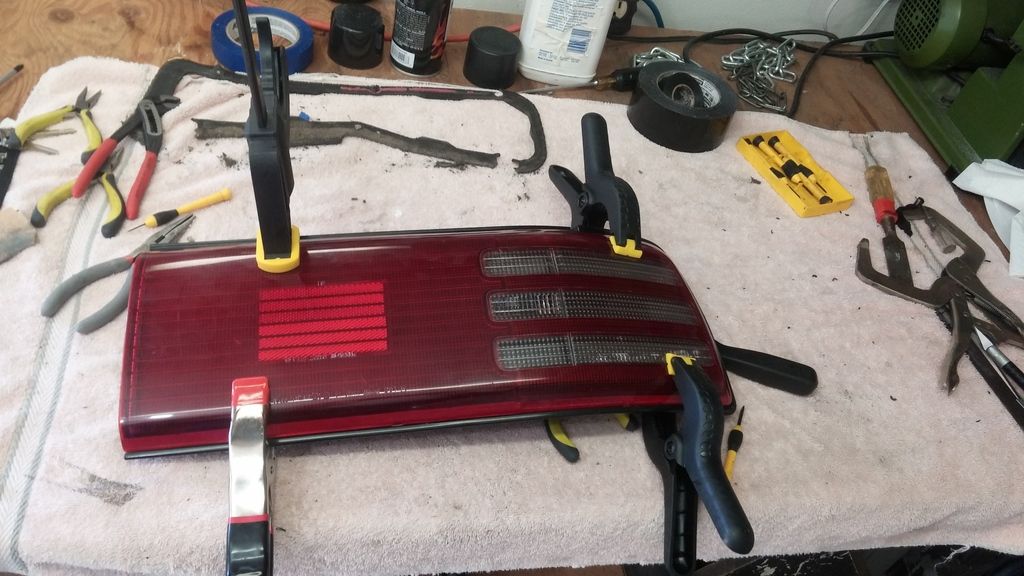
Here's a few pictures of the darker usdm tail light vs a standard usdm tail light. I put clear marine epoxy/silicone with a bunch of clamps for tonight. Hopefully it sets up properly and doesn't leak anymore


Sent from my LG-LS980 using Tapatalk
 

sheedy126

Boost Addict
Apr 30, 2012
716
1
0
kennewick
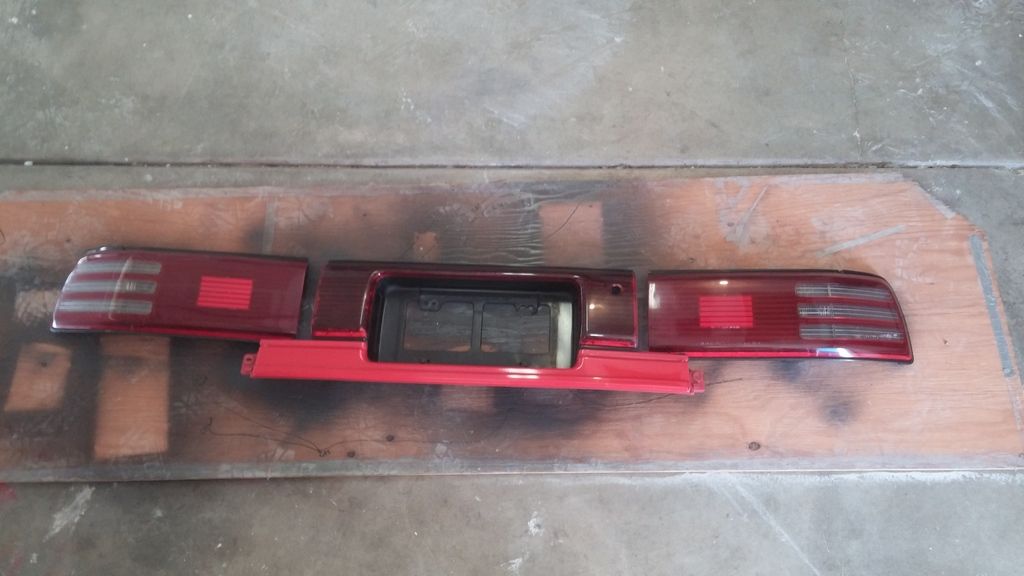
end result:

the center section came out slightly darker than the corners, so i will probably repaint it a lighter color if it doesnt look good on the car


sheedy126

Boost Addict
Apr 30, 2012
716
1
0
kennewick
Rollus;2071699 said:
Excellent work on the lights!
Thanks! I'm pretty happy now that my tail light bulbs aren't burning up or leaking into the spare tire area.

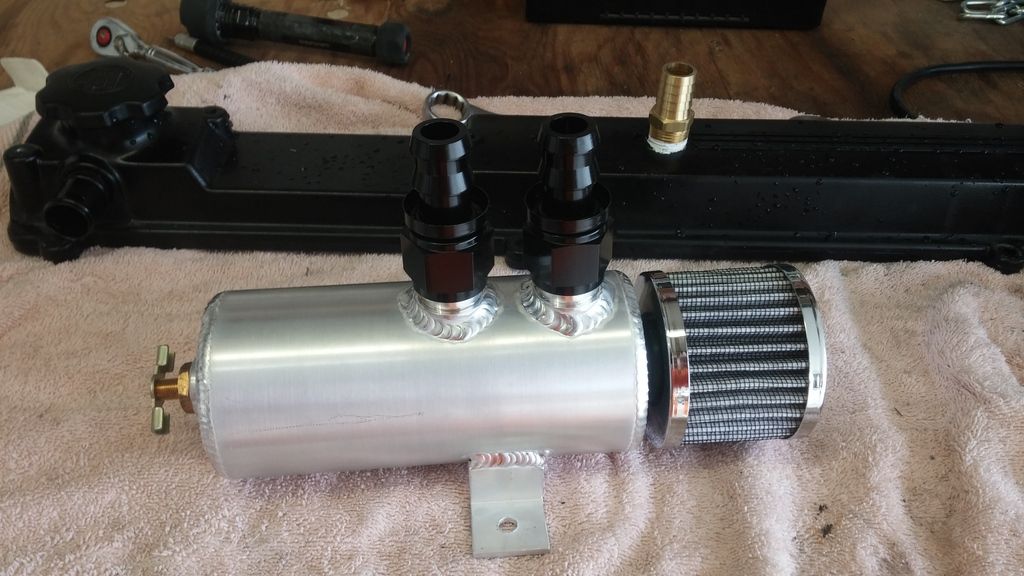
I took out the old catch can I built and started to install the new catch can I've had sitting on the shelf.

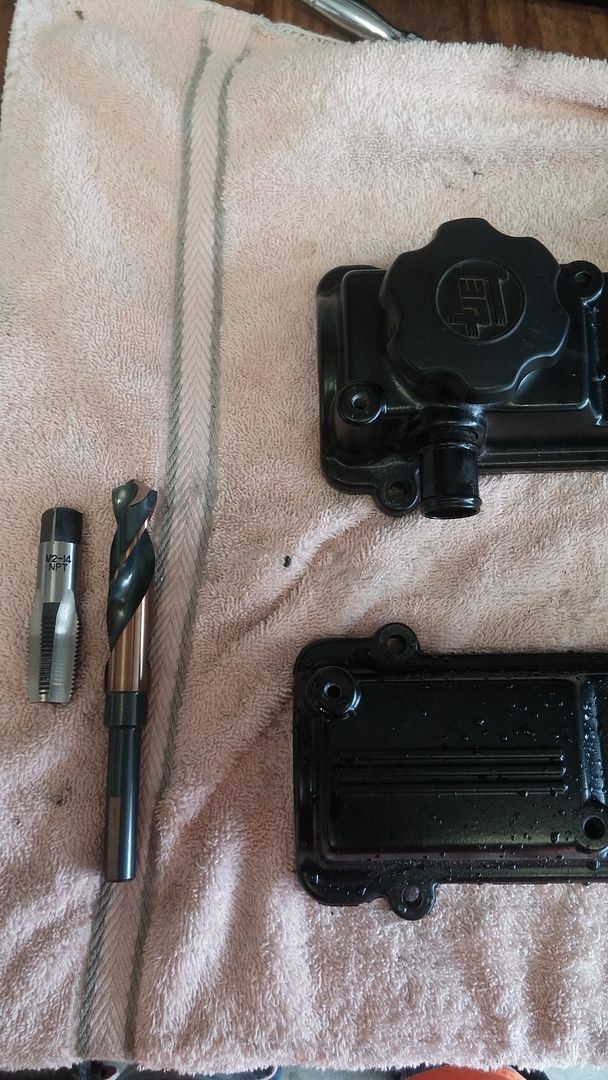
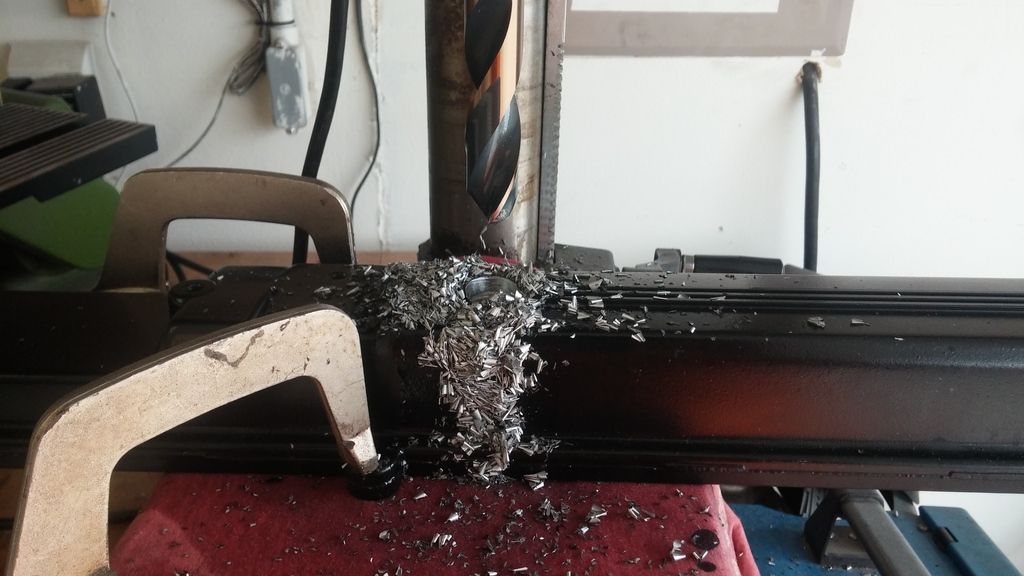
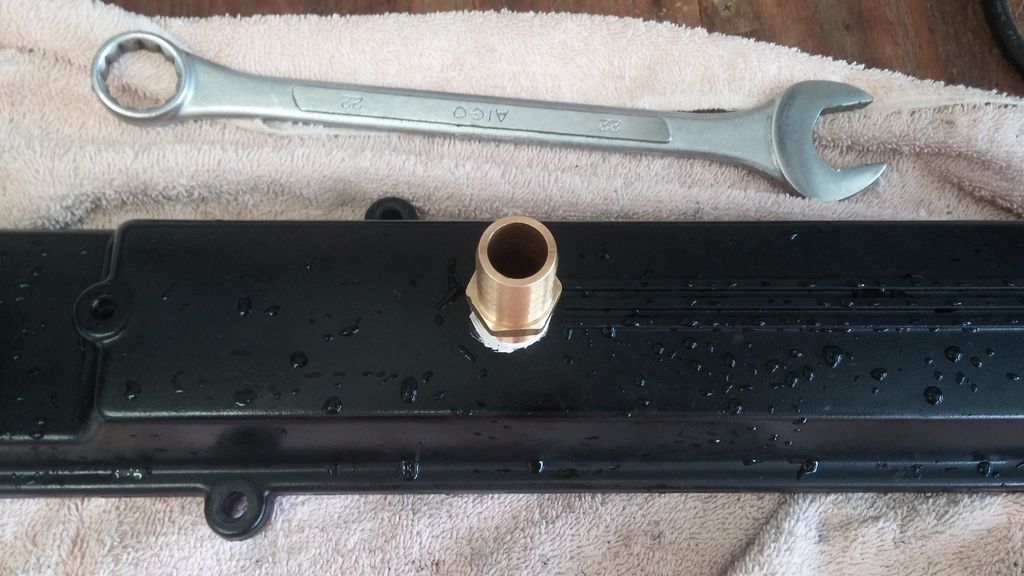
The valve covers were taken off the head and drilled out in my drill press, careful not to drill out the baffling either. Then just tapped with a 1/2npt thread.

I'm going to have the valve cover fitting powder coated black, the brass sticks out and doesn't match anything.

Really the only spot I had room for the catch can was in front of the clutch master cylinder and brake booster. I don't think it looks too bad, but much better than the factory size hose I was running before!


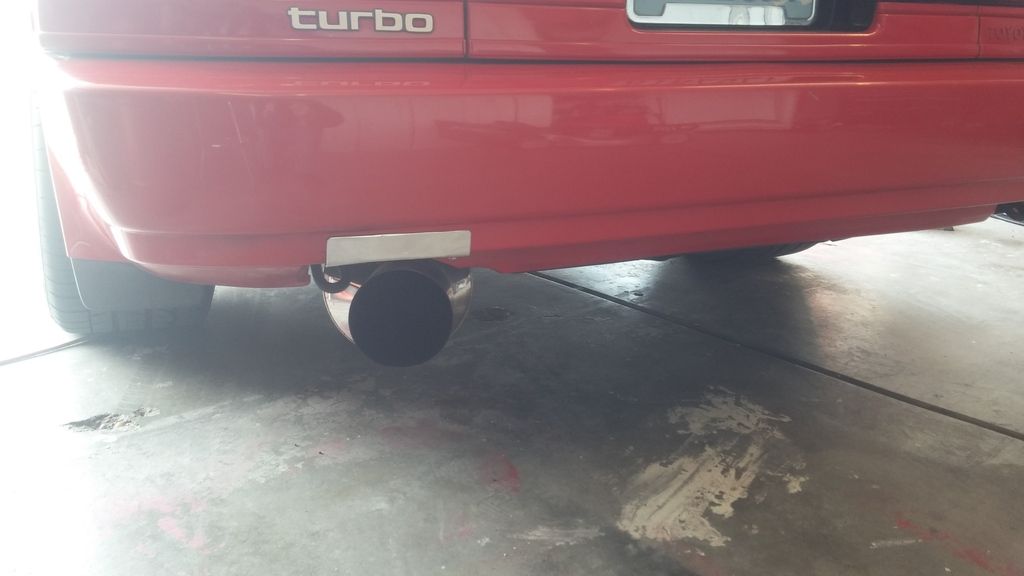
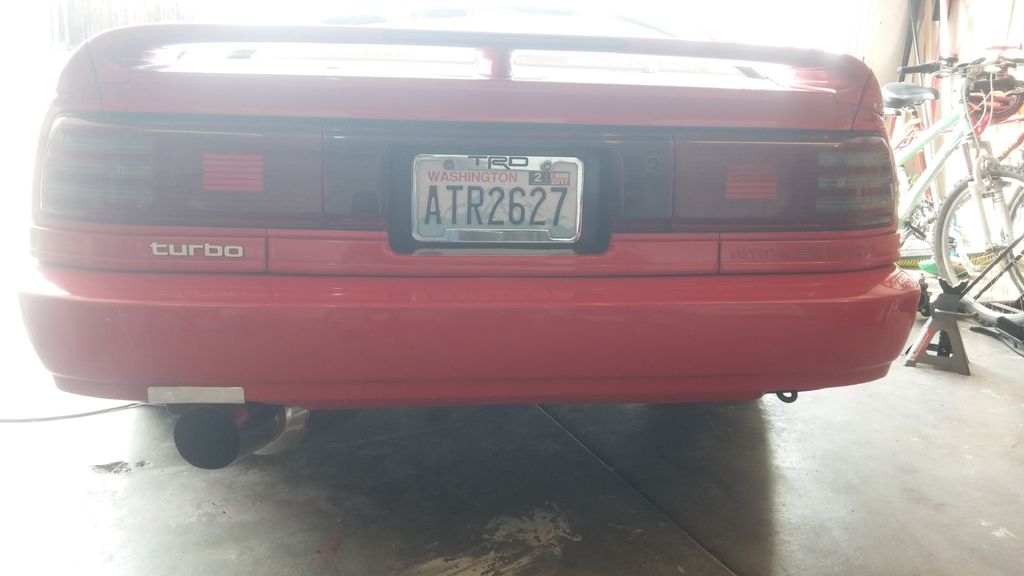
I was tired of my bumper getting burned, I like to have the muffler tucked up there otherwise it gets scraped or dragged on something. So.... I made a removable heat shield that I will later have made into carbon fiber


Sent from my LG-LS980 using Tapatalk
 

sheedy126

Boost Addict
Apr 30, 2012
716
1
0
kennewick
MikeUK;2071987 said:
Glad I read through this, awesome work. I love reading other builds. :)

thanks! glad you enjoyed it, its been a long tough build for me but in the end it was well worth it!


so....i did a thing, this time its here to stay and make its way onto the soup.
i started noticing that my turbo was progressively getting in and out shaft play...nice.

so i did a little research and contacted a guy from Tims Turbos, apparently they deal with a lot of Holset turbos. When an hx35 is upgraded with a bigger compressor wheel, the turbine drive pressure is just going to be to high and eat up the thrust bearings. especially with a 62mm wheel. so instead up upgrading to a hx40 turbine shaft like they recommended, having it rebuilt, and having the exhaust housing machined to accept it i went with something different. ill be in this turbo for slightly less than what it would have cost to have my hx35 beefed up.

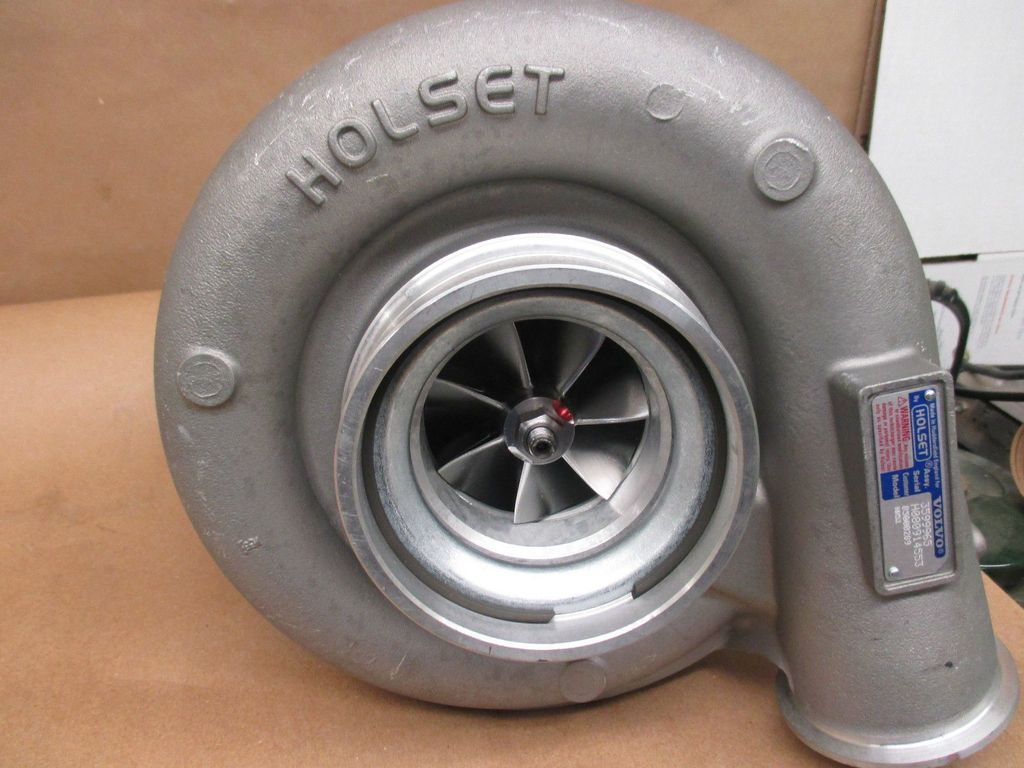
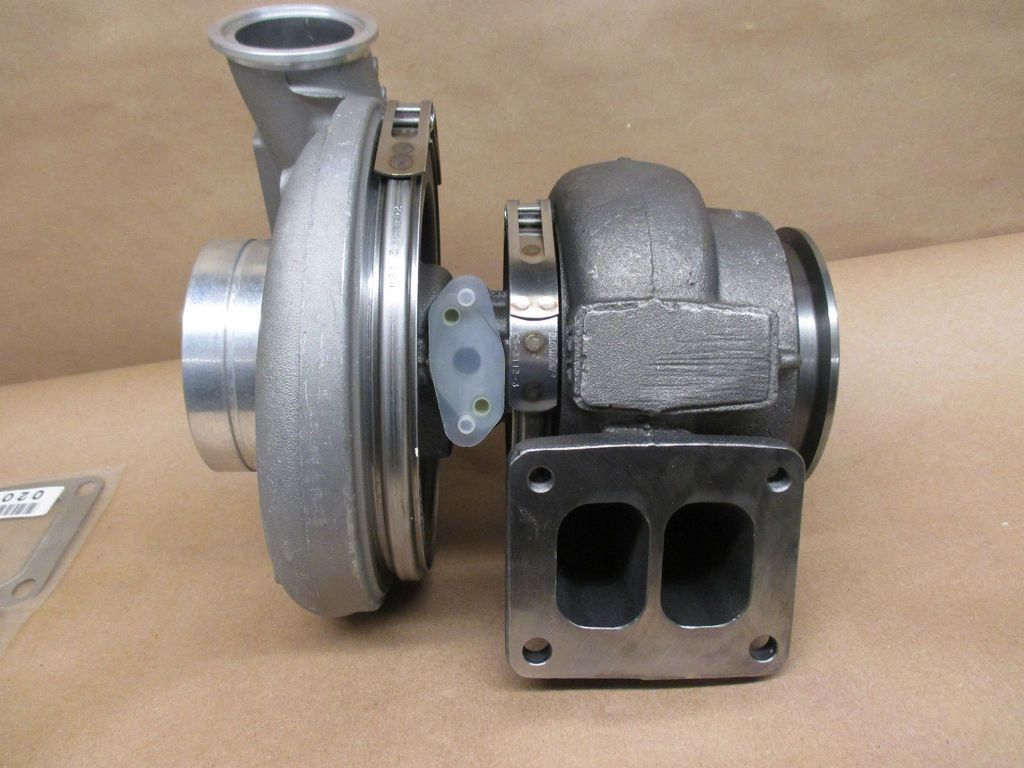
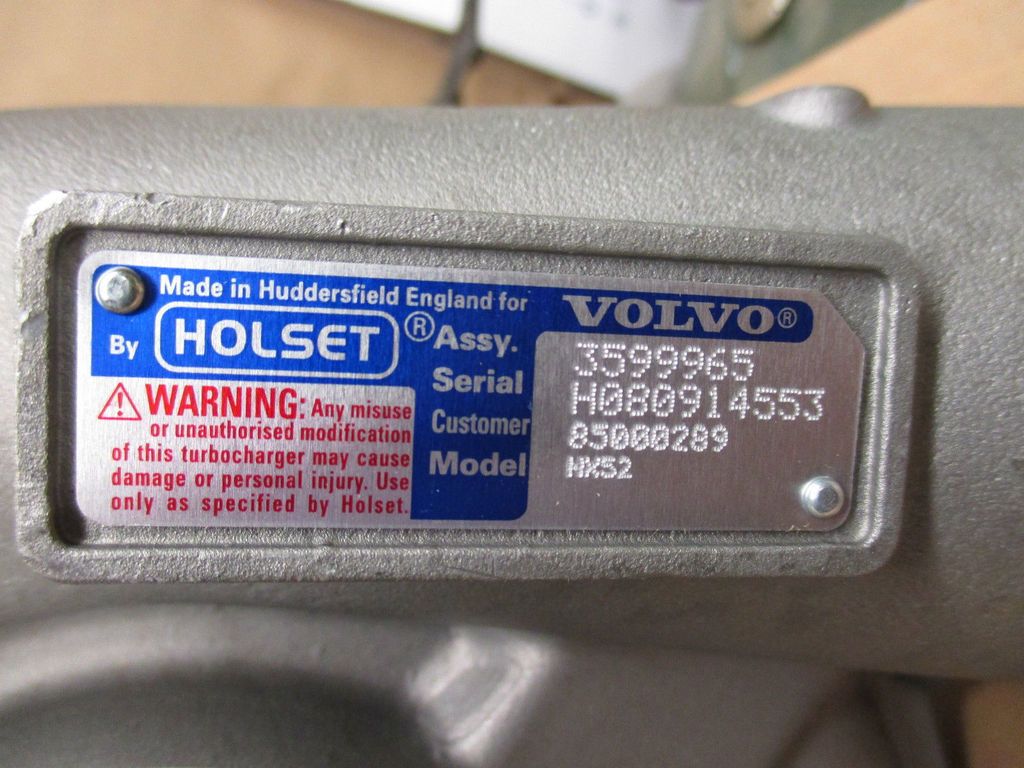
this turbo is about the same specs as a Borg warner S366 turbo. its an OEM Rebuilt Holset turbo i just couldnt pass up. i believe its the HX52 Pro since it has the 67mm billet wheel instead of the 71mm IIRC
S366 - Compressor wheel (cast) 66mm, turbine 73mm - EX. housing - .91A/R
Hx52 (PRO?) - Compressor wheel (Billet) 67mm, turbine 70mm - EX. housing 16CM
I also found a hx52 for parts that has an 11CM housing. supposedly its the "Holy Grail" Hx52 but i have no idea.

anyway, since ill have two exhaust housings to play around with, i can choose what is best for me. this turbo will definitely be beefier and put down a lot more power with less boost..only time will tell! and money, building a turbo'd car takes too much money, thats for sure.

updates coming, hopefully it will be tuned this summer. my new 500whp goal is much more achievable now!


Billybob9187

New Member
Mar 9, 2015
77
0
0
Stockton Ca
Does this mean you have to change the name of your build thread now?

All bs aside. What amount of boost are you planning on running on this. Also what are/were you running on the 35?


Sent from my iPhone using Tapatalk
 

sheedy126

Boost Addict
Apr 30, 2012
716
1
0
kennewick
The title should be changed here shortly ;)

i was running 18-19 psi on the hx35 and it really liked it. it made 416hp on 16.5 lbs which i was happy with, but wanted more.

the hx52 from what ive seen online and read makes 409HP at 10lbs on a 1.5jz. 475whp on 14.5 lbs. i think ill be able to run around the same boost i am now, and make 500~.
after i get the hx52 fitted to the engine, I havent decided what ill do with the hx35. to keep it as a display piece? or just to sell it. avent quite decided. itll need a rebuild if i do end up selling it
 

sheedy126

Boost Addict
Apr 30, 2012
716
1
0
kennewick
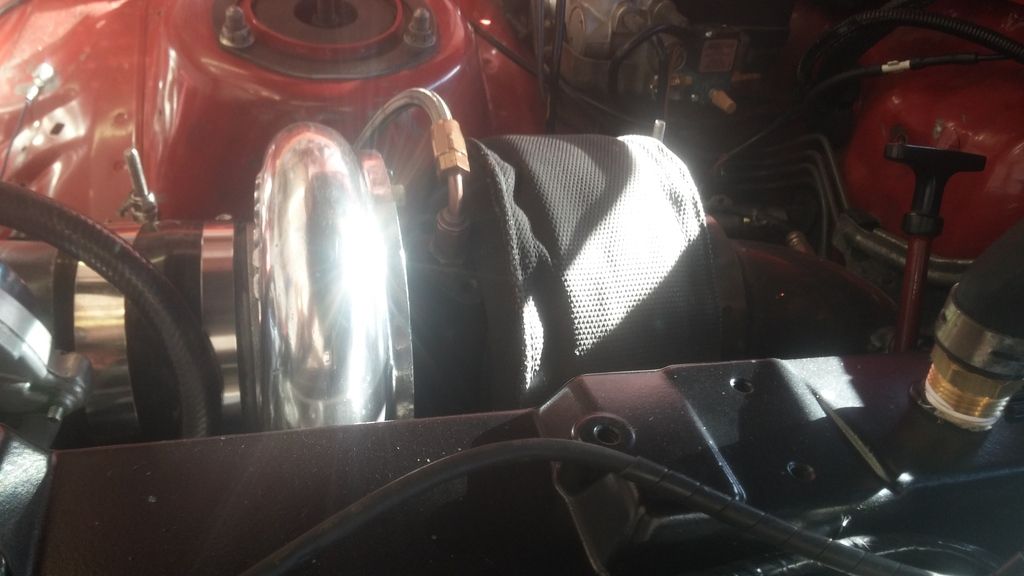
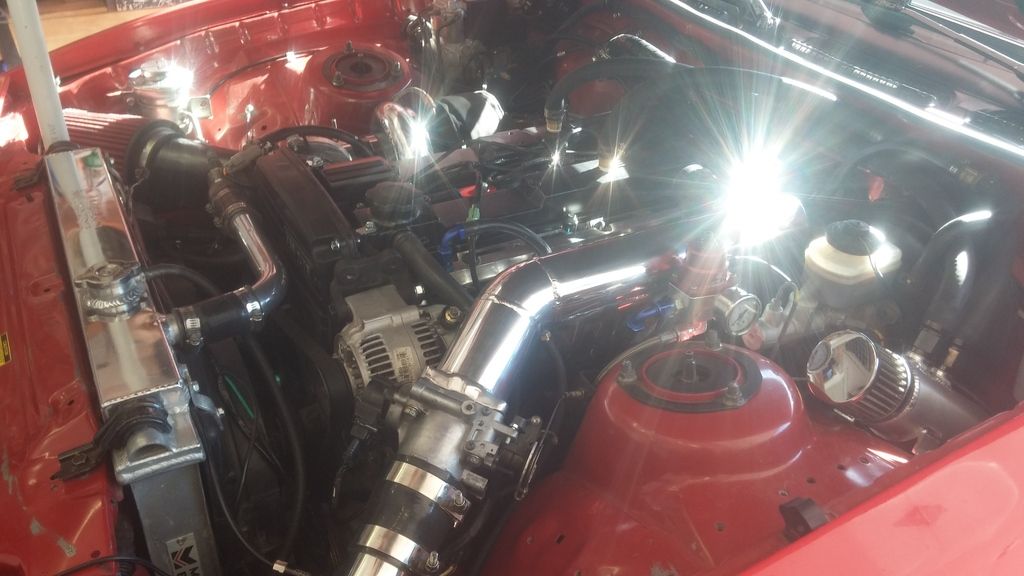
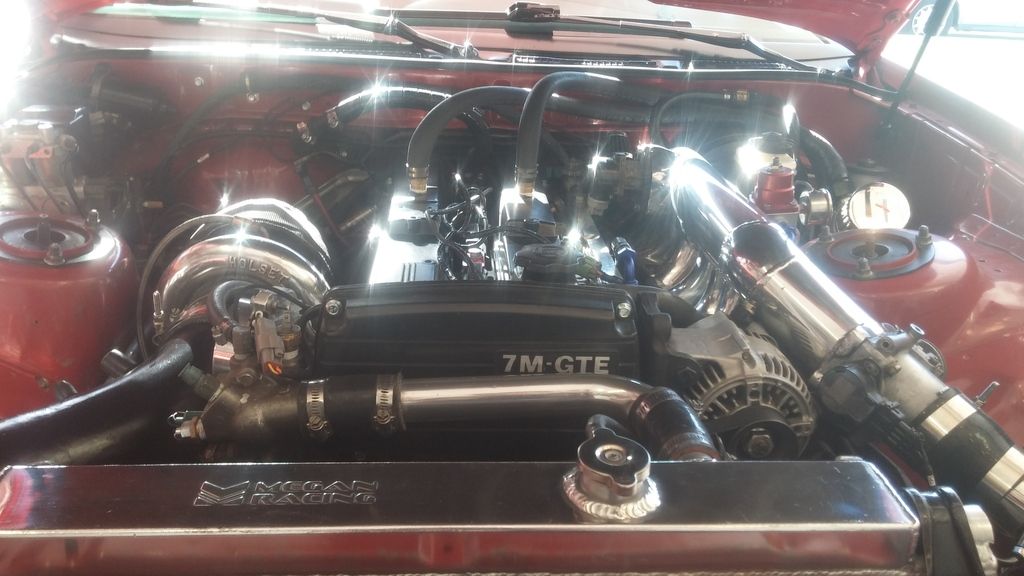
Today i bought a buffer wheel and polishing compound for my drill. For not really have used the stuff before on my drill, i dont think it turned out too bad!

although it was way too sunny outside to get any good pictures so until then, here are the ones that turned out the best.

update on the HX52. Should be delivered April 18th! Can't wait to put it in! ohnoes:


sheedy126

Boost Addict
Apr 30, 2012
716
1
0
kennewick
Grandavi;2072996 said:
Is there a way to keep it shiny?
I'm not sure if there is a rubbing compound I can get, or something along those lines. I'll have to ask around and check online.

As far as just using the buffer wheel when they get a little dull, I don't mind doing that since it comes out so nice afterwards

Sent from my LG-LS980 using Tapatalk