**MK3 Supra / 1uzfe / Single Turbo Build Thread Part 2!**

RedPhoenix

Kill it with fire!
Sep 23, 2009
222
0
0
Tampa, FL
Small little update. I got some 10an nylon hose for my oil stuff. I chose this because its a lot more flexible, easier to put together, and wont destroy my hands with frayed ends. Plus it was on sale :)

p1807500_1.jpg


p1807500_2.jpg


p1807500_3.jpg


p1807500_4.jpg


Also in other news, I have a new rack coming my way and some Brembo rear brakes :)
 

RedPhoenix

Kill it with fire!
Sep 23, 2009
222
0
0
Tampa, FL
Well I got a steal on a new rack

p1812820_1.jpg

p1812820_2.jpg


A summit order came in with 4an, 8an, 12an nylon braided hose, some random fittings and a free 5 hour energy...
p1812820_3.jpg


Made some lines, one for the cooler is half done
p1812820_4.jpg

p1812820_5.jpg


Turbo oil feed, went through the frame rail and I need to add fire sleeving near the turbo for it.
p1812820_6.jpg

p1812820_7.jpg

p1812820_8.jpg


Oil thermostat will probably end up around here.
p1812820_9.jpg


Brembo Rear calipers, rotors are on the way. Need to get them repowder coated.
p1812820_10.jpg

p1812820_11.jpg


Current 3/5/12
p1812820_12.jpg

p1812820_13.jpg
 

Enraged

A HG job took HOW long??
Mar 30, 2005
1,844
21
38
Victoria, BC, Canada
Rather than getting them powdercoated, look up G2 caliper paint. You can do it yourself. Seems the Evo guys cook the powdercoating on a regular basis, and it ends up looking horrible (flaking, discolored, etc).
 

RedPhoenix

Kill it with fire!
Sep 23, 2009
222
0
0
Tampa, FL
Alright well sorry for the long pause between updates. The last month or two of school has gotten really busy and I kept changing my mind with stuff on the Supra... but for now this is what is happening.

Brembo 2 pots for the rears
p1840940_1.jpg

p1840940_2.jpg


Wilwood 4 pots for the front ( I am in the middle of making a hybrid of all the kits out there and using Cobra 13" rotors instead of modified C4 Vette rotor like one of the kits do)
p1840940_3.jpg


Modified the cross beam to allow the radiator to lean forward. I needed extra clearance on for the turbo stuff and I figure if I modify the hood right, it will promote better cooling.
p1840940_4.jpg


Lots of wiring has been happening. I loomed most of it, but I forsee stuff changing eventually.
p1840940_5.jpg

p1840940_6.jpg


MS3X is done, firmware flashed, and reads from the laptop.
p1840940_7.jpg


Made a mounting surface from 6061 to hold injector 50w resistors and ignition modules (for 2 wire COP).
p1840940_8.jpg


Made one for the MS3x and PLX Wideband
p1840940_9.jpg

p1840940_10.jpg


PLX Gauge mounted in the cig lighter hole
p1840940_11.jpg


Will be adjusting my alternator for tension with this setup.
p1840940_12.jpg

p1840940_13.jpg


Oil cooler is mocked up with zipties until I build brackets. *The oil system is completed however.
p1840940_14.jpg


Got a free 89+ bumper and nose piece.
p1840940_15.jpg


Stayed Tuned!
 

supra1008

Active Member
May 2, 2007
1,179
0
36
Philadelphia
RedPhoenix;1689088 said:

Wow! BBQ anyone? That must've smelled great!!
Like the drawing of the turbo on the windshield! Dude everything looks awesome!! Can't wait to see this done!
 
Last edited:

RedPhoenix

Kill it with fire!
Sep 23, 2009
222
0
0
Tampa, FL
Its sad to look at the dates when I last posted. As always we all get busy and that is the story here. Been working on the wiring and I keep getting discouraged because I was not satisfied with all the stock junk laying around. So I ordered a whole body rewire kit (common for hot rods) and I gutted all the wiring out of the Supra.

For the engine
p1860269_1.jpg


Whole lot of WTF!
p1860269_2.jpg


Interior dash wiring. I left the wires that travel to the rear of the car for now... oh and the door wiring. The rest of the wires on the driver seat are for headlight retractors, power mirrors, wipers, etc... all the needed stuff.
p1860269_3.jpg

p1860269_4.jpg


Enjoy! I promise I am back in action to work on this thing.
 

RedPhoenix

Kill it with fire!
Sep 23, 2009
222
0
0
Tampa, FL
Chambers;1860352 said:
Bout-dam-time... sheesh! hahaha...

I have thought about using one of those hot rod wiring harness for a full gut and finish, how is it working with your engine harness?

Well I havent gotten it yet, but it should be here Today. All my engine harness needs is some power for the injectors, coils, fuel pump, ecu, and wideband. The new body harness includes only one for the coil (imagine carb'd engine). So I did make a fuse box (see pic above) for my engine stuff. I will need to modify it becuase it has some stuff for the body that wont be needed anymore. When I get to work with the new body harness, I will post more pics related to it to help.

It was nice getting rid of all the junk that was not needed and finding out some jenky stuff from a previous owner (turbo timer wires taped to the ignition wiring wtf :( )
 

RedPhoenix

Kill it with fire!
Sep 23, 2009
222
0
0
Tampa, FL
Quick update before work. I know I have updated in months.. Sorry

Gas Tank Removed...
p1880308_1.jpg


Sump - SS 304 - Why? cause E85. Two 1/2 NPT Bungs and I relined it with POR15
p1880308_2.jpg


p1880308_3.jpg


p1880308_4.jpg


p1880308_5.jpg


Cam Sensor Housing machined for a clean look...
p1880308_6.jpg


p1880308_7.jpg


Wiring and more wiring. I removed ALL stock wiring. I kept only the stock switches and functions and everything works so far.. Windows, retraction for headlights, etc... Obviously this needs to be finished... but I didnt want to clean it up with everything not working yet.
p1880308_8.jpg


p1880308_9.jpg


p1880308_10.jpg


p1880308_11.jpg


MS3x functions
p1880308_12.jpg


p1880308_13.jpg


A very pathetic pop and burble on starter fluid to see if the ignition works...
http://www.youtube.com/watch?v=swo0LTq2Byg

Candid shot a friend took...
p1880308_14.jpg


and for when I get my wheels mounted.. 285F 295 R
p1880308_15.jpg
 

RedPhoenix

Kill it with fire!
Sep 23, 2009
222
0
0
Tampa, FL
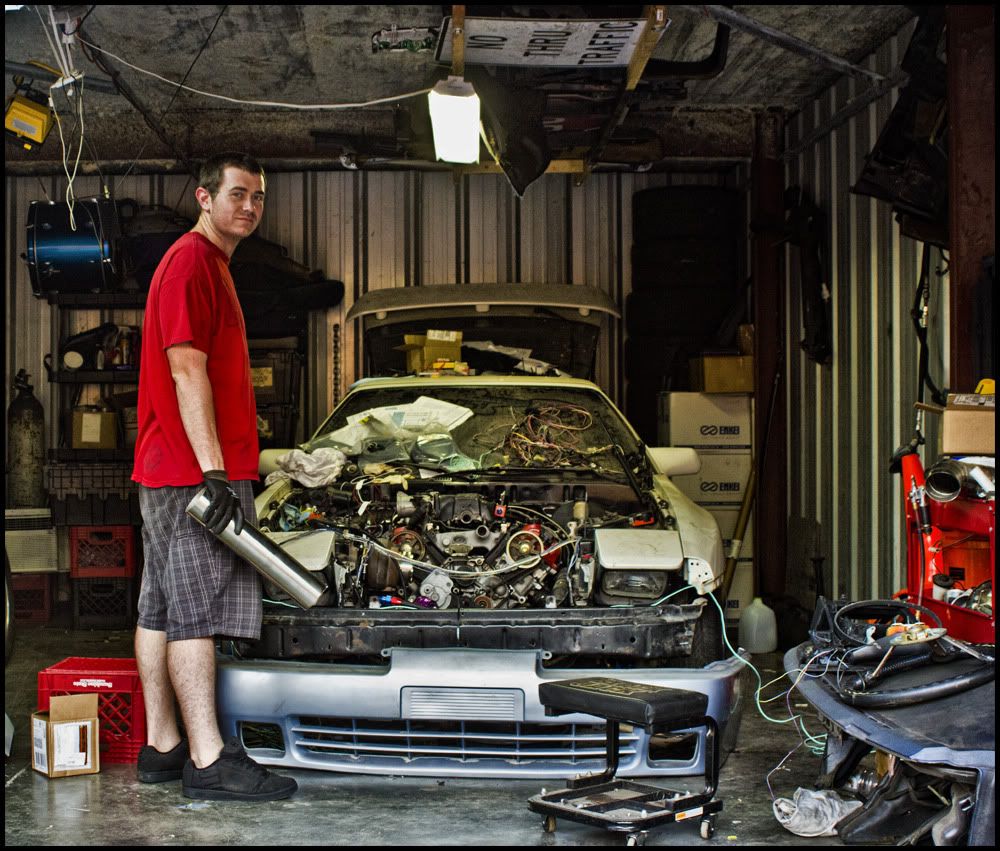
Another long update with minimal amount of work... I am on my last semester of college, mechanical engineer, and been studying a lot for my FE exam and full time engineering position... time consuming life... sigh.

Anyways... updates...


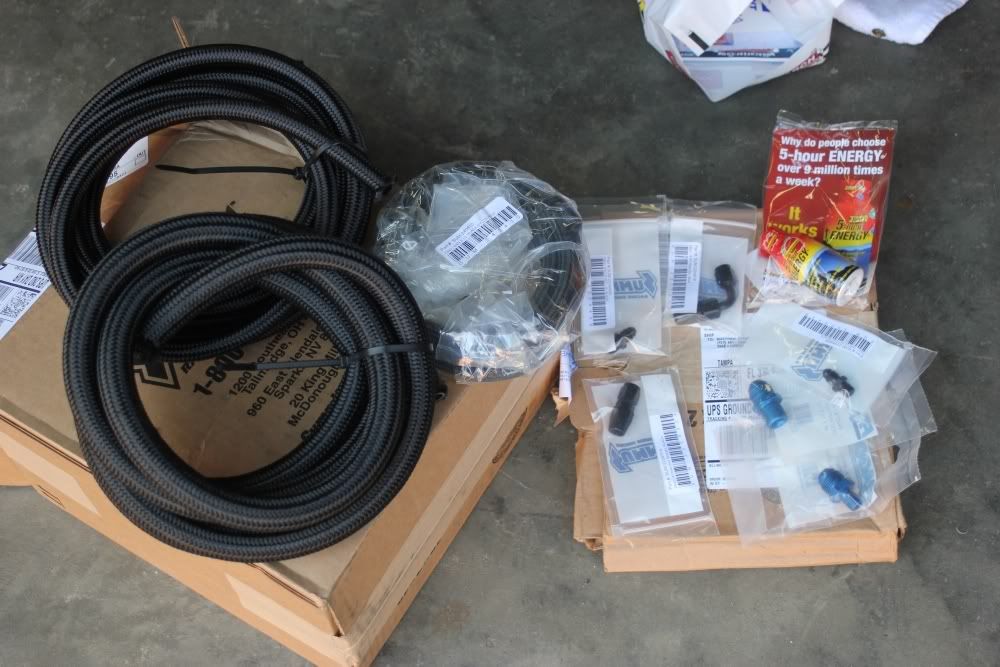
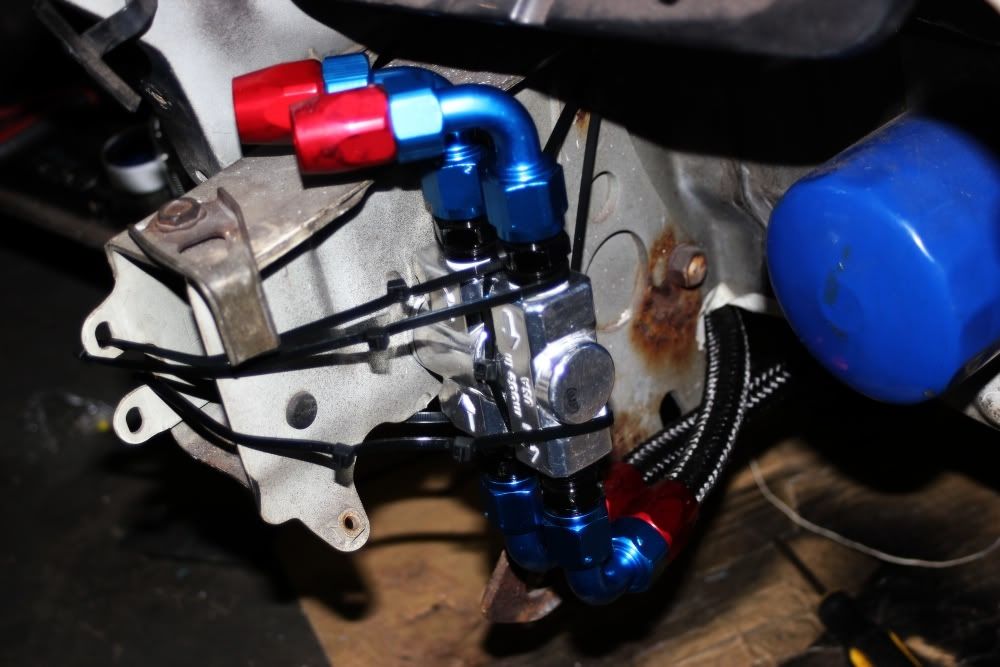
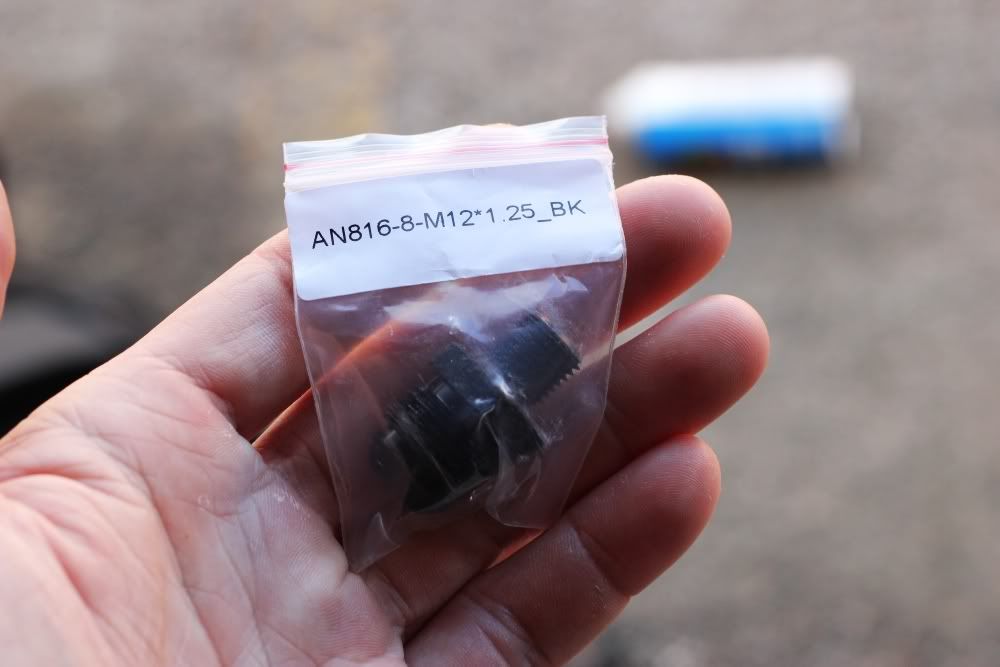
So my long awaited (3 weeks from Australia) -8an/m12x1.25 fittings have arrived for my fuel rails...
p1880317_1.jpg


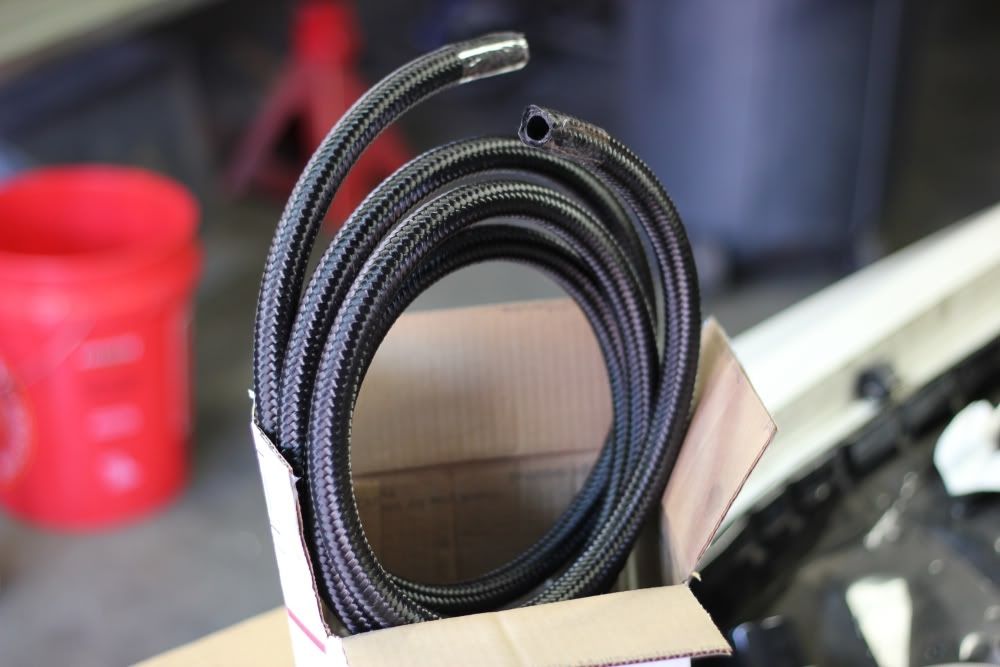
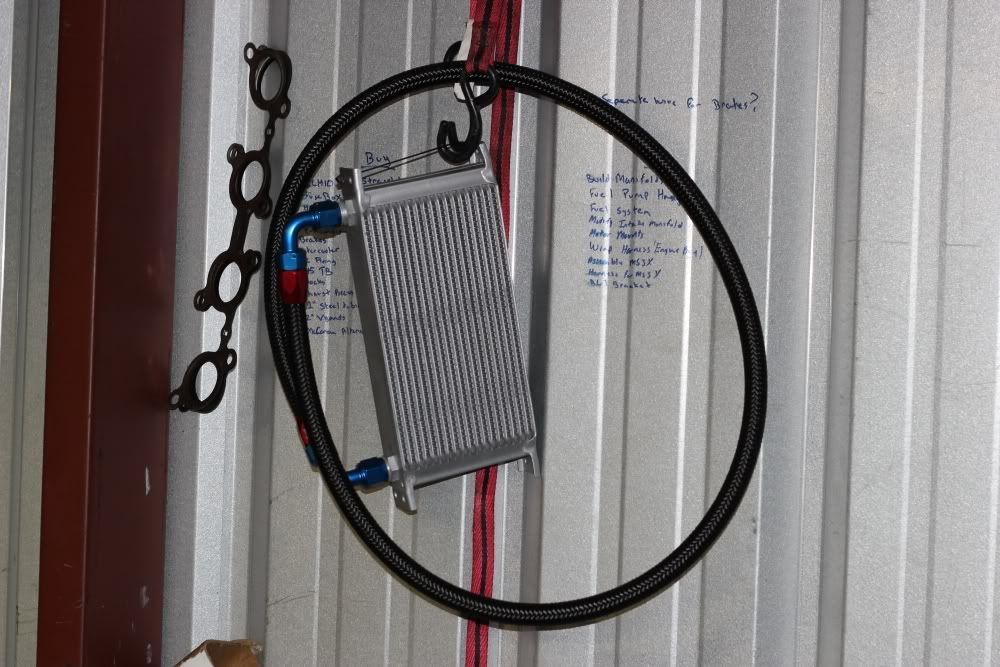
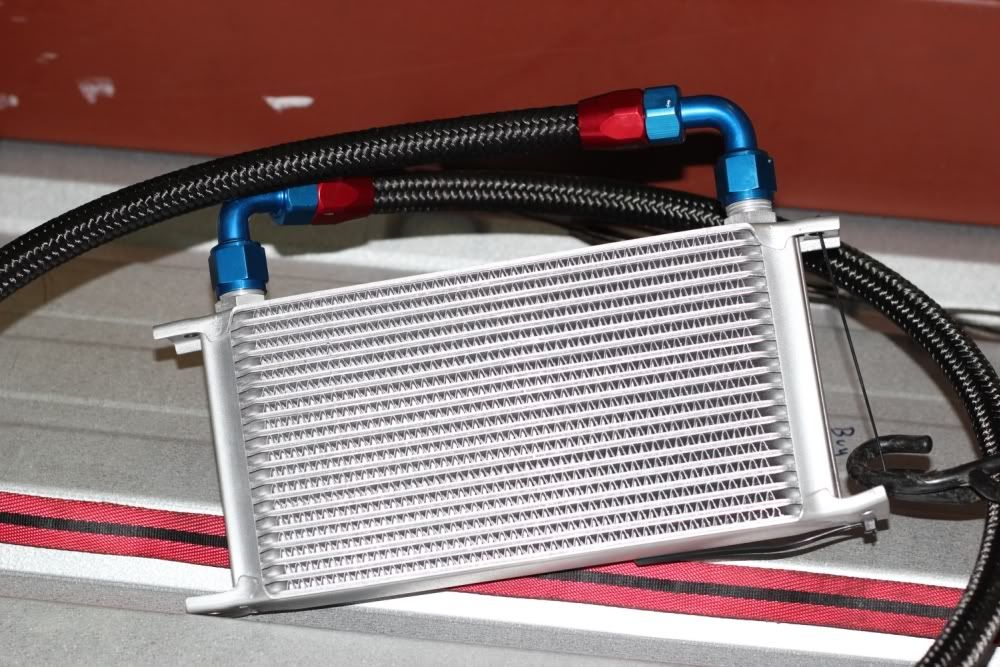
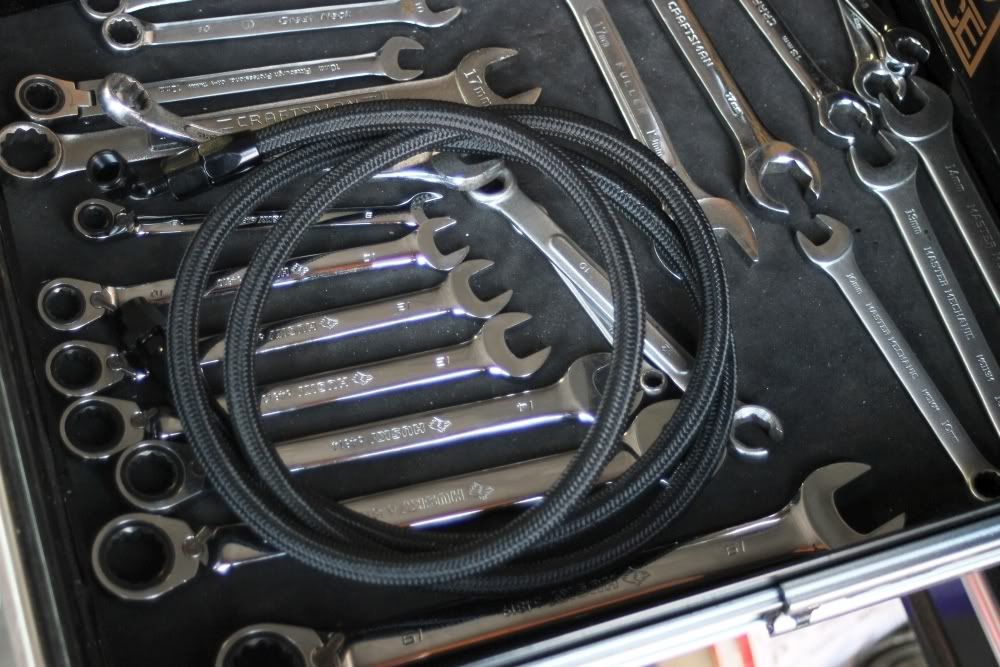
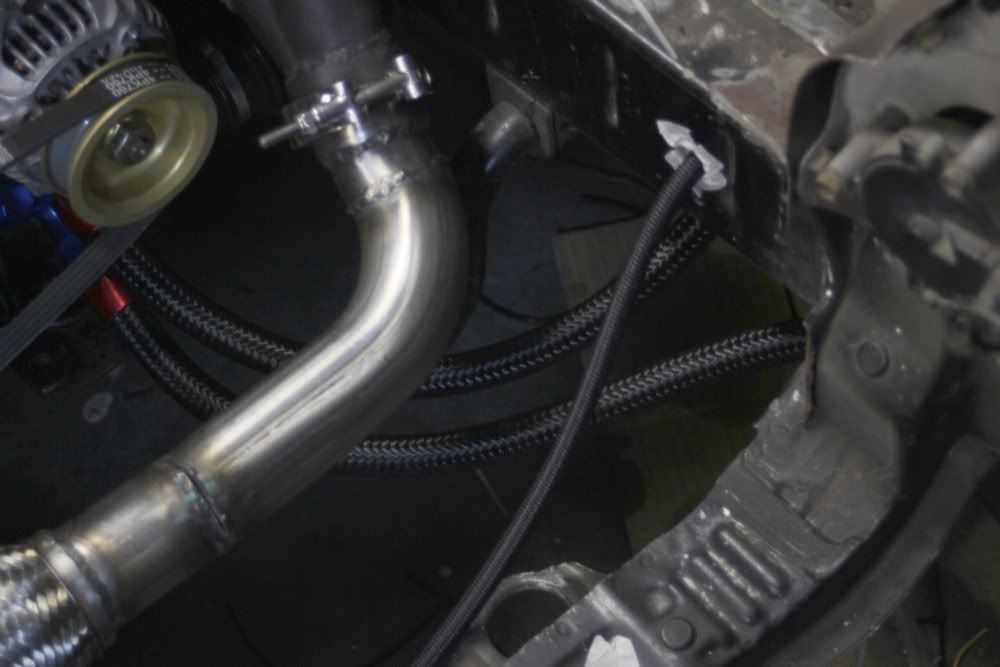
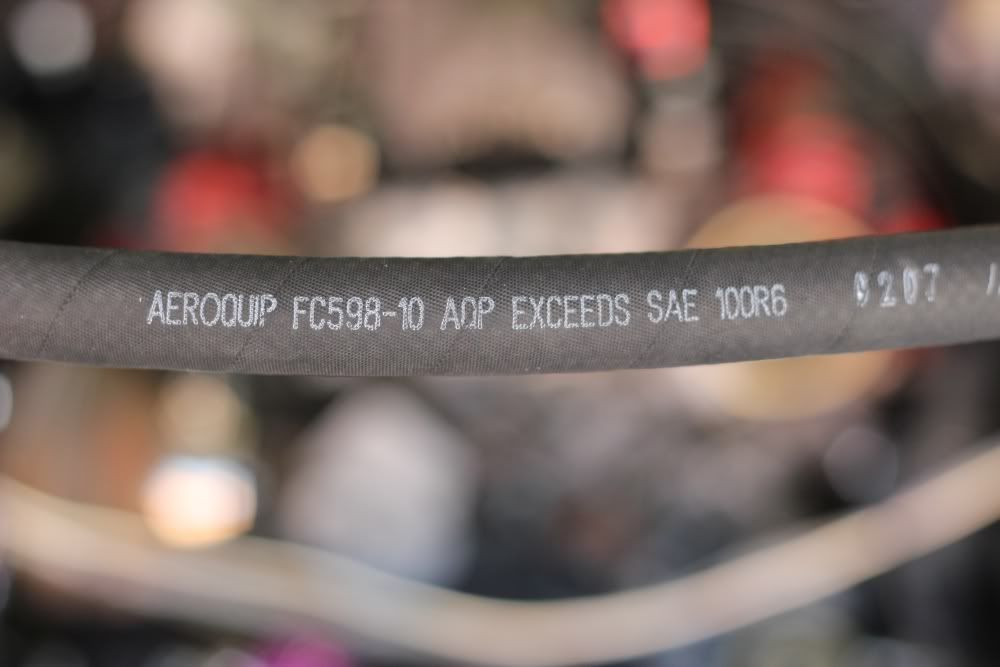
Aeroquip AQP Hose - this stuff is rediculously awesome. Its thick, bendable, has a unique outer wrapping unlike junk fuel like from the auto store. And its E85 (and like 99% other chemical) safe. This is a small piece of -10 for my sump to pump... if anyone has a $20 off $100 coupon from summit that will go to waste, hit me up so I can get the -8 stuff still :)
p1880317_2.jpg


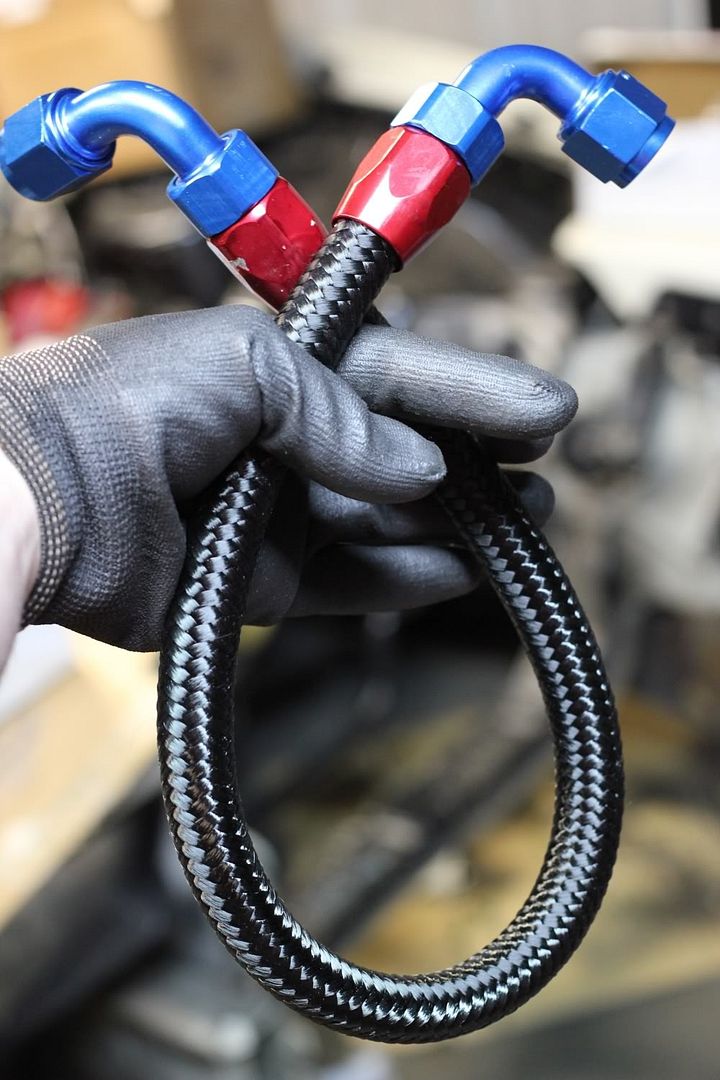
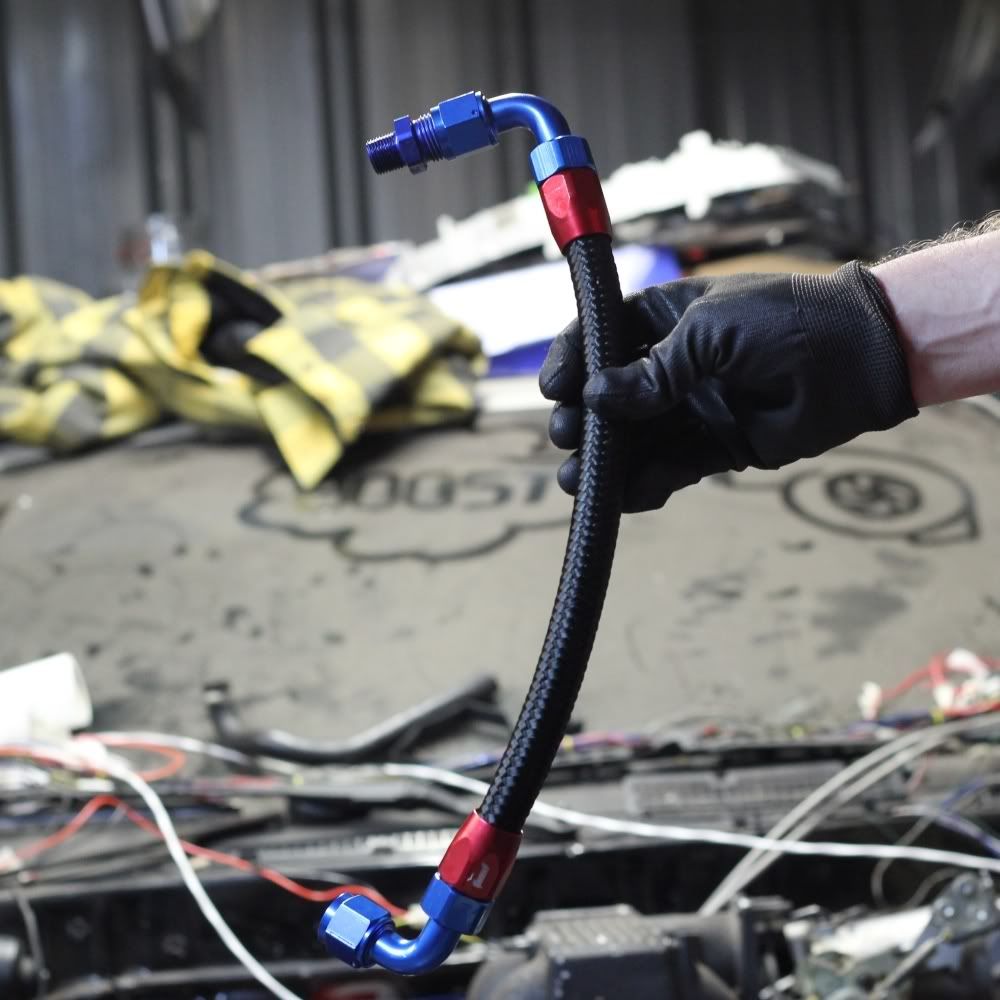
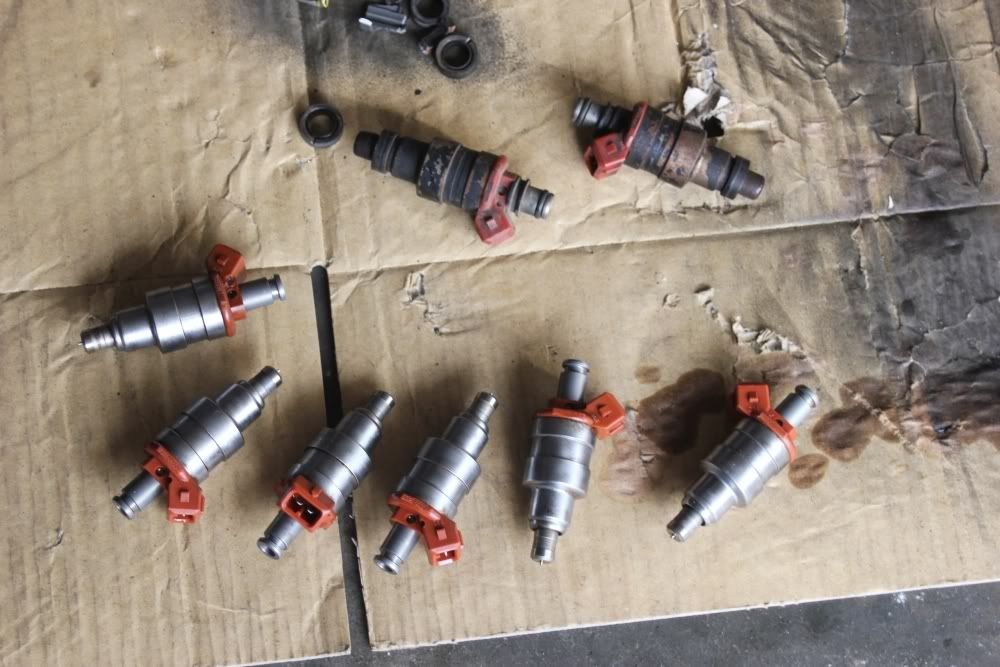
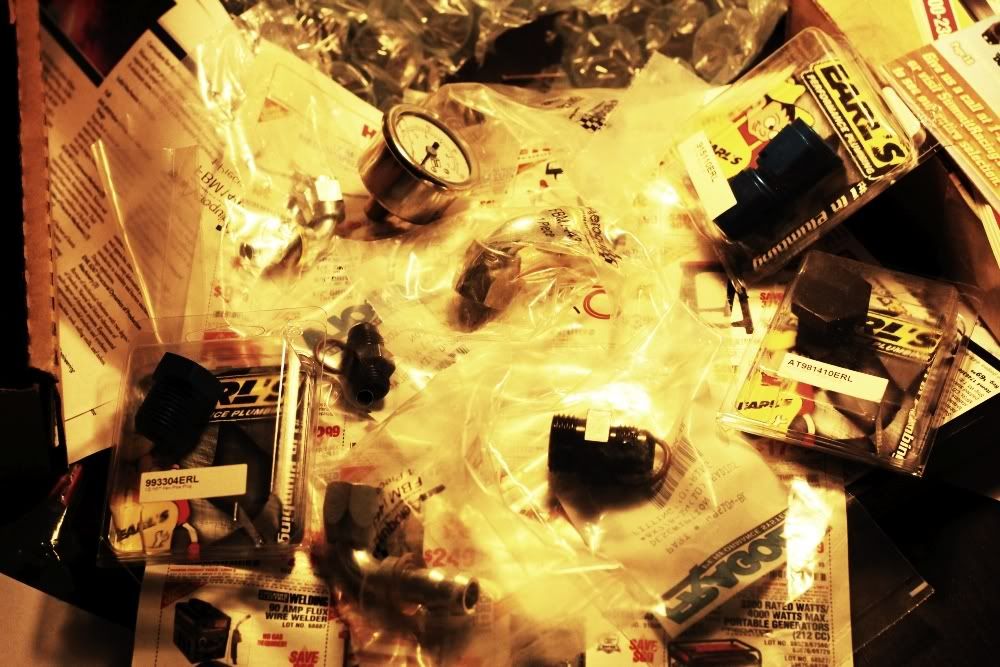
More stuff from Summit... Aeroquip socketless hose ends, Fragola ORB fittings for my regulator, misc Earls stuff, (not shown are Mr. Gasket Shadow series fittings), and a 100psi gauge for my regulator.
p1880317_3.jpg


Picked up a used HAHN intercooler with same side entry/exit. Will be a little creative getting it to work, but its a 3.5 core, bar plate... and fits nice. I want to get the S2 Airguide for this still.
p1880317_4.jpg


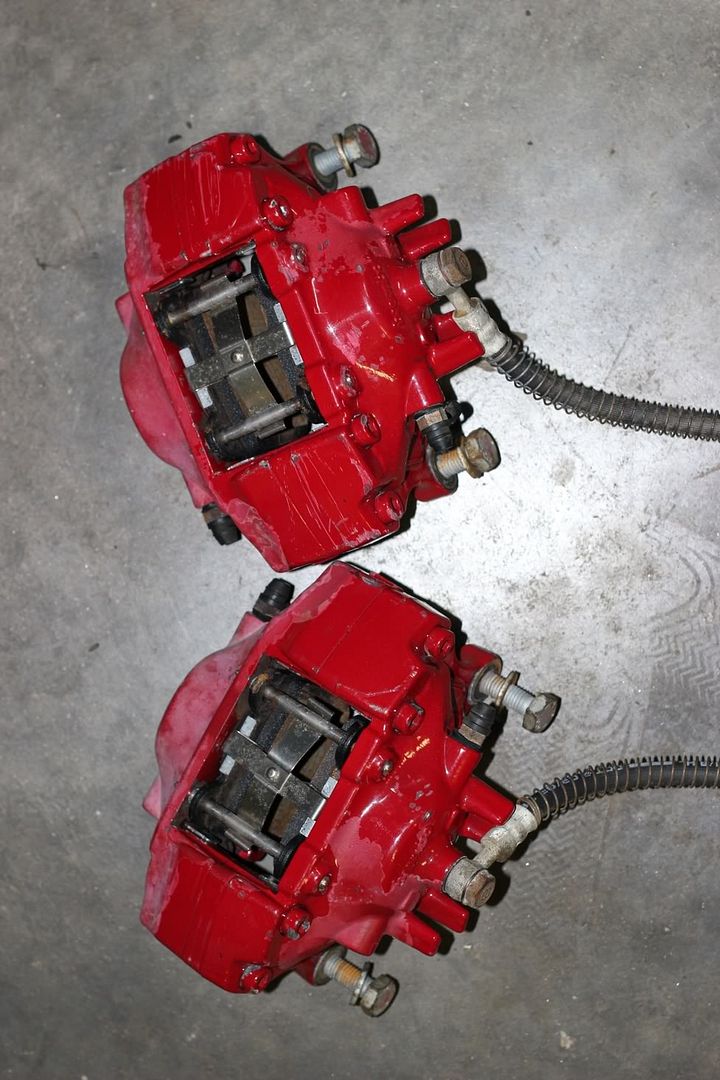
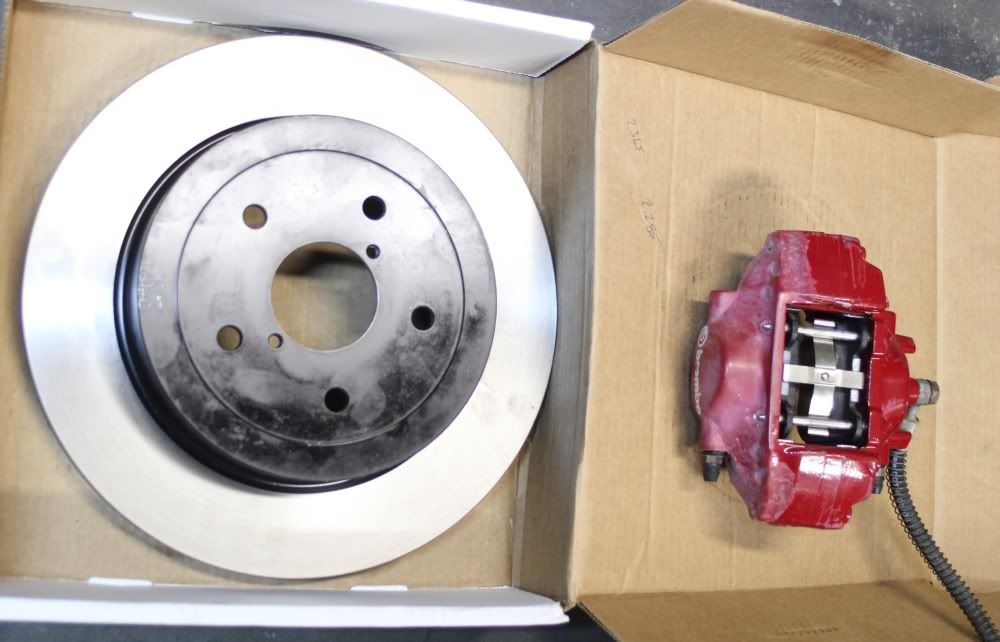
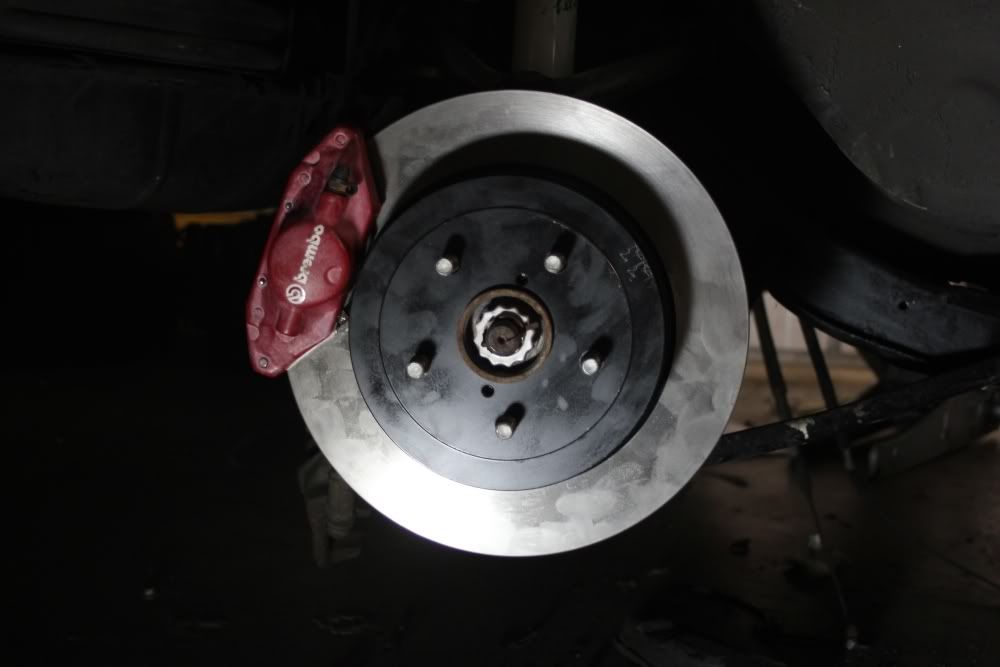
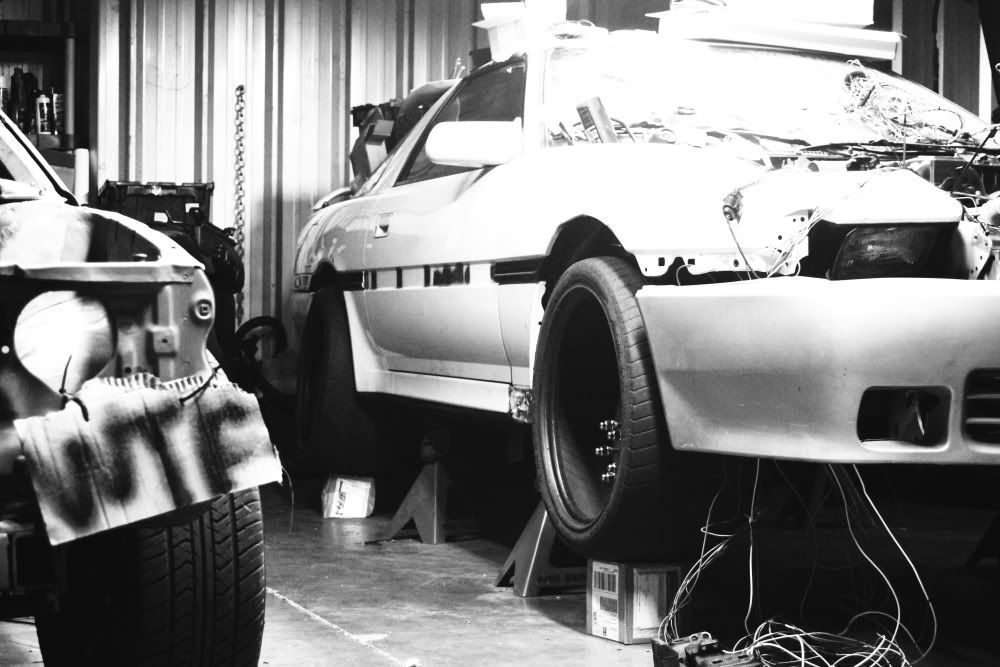
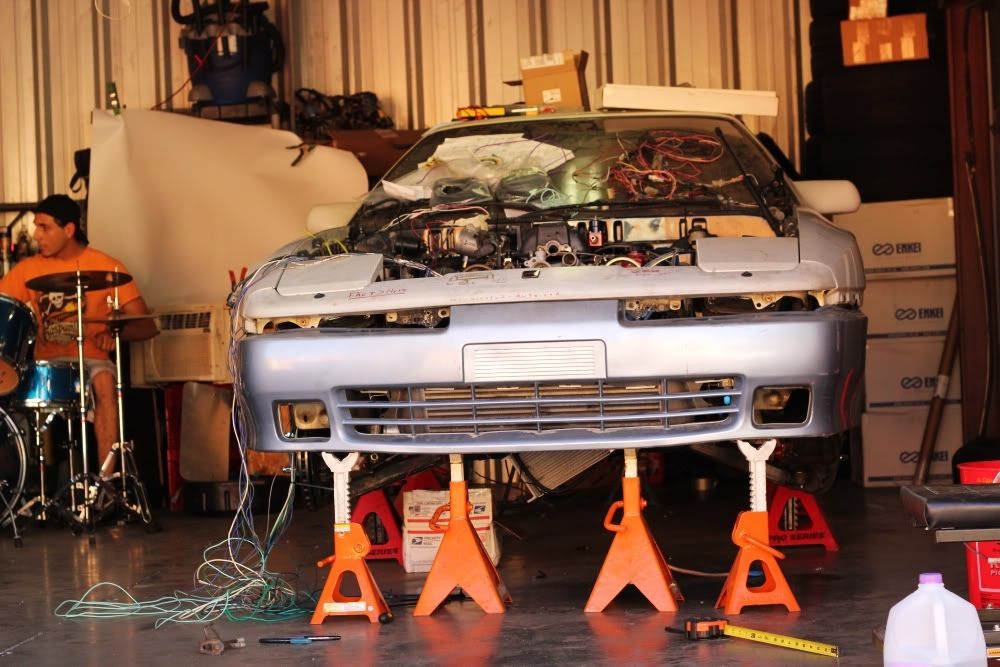
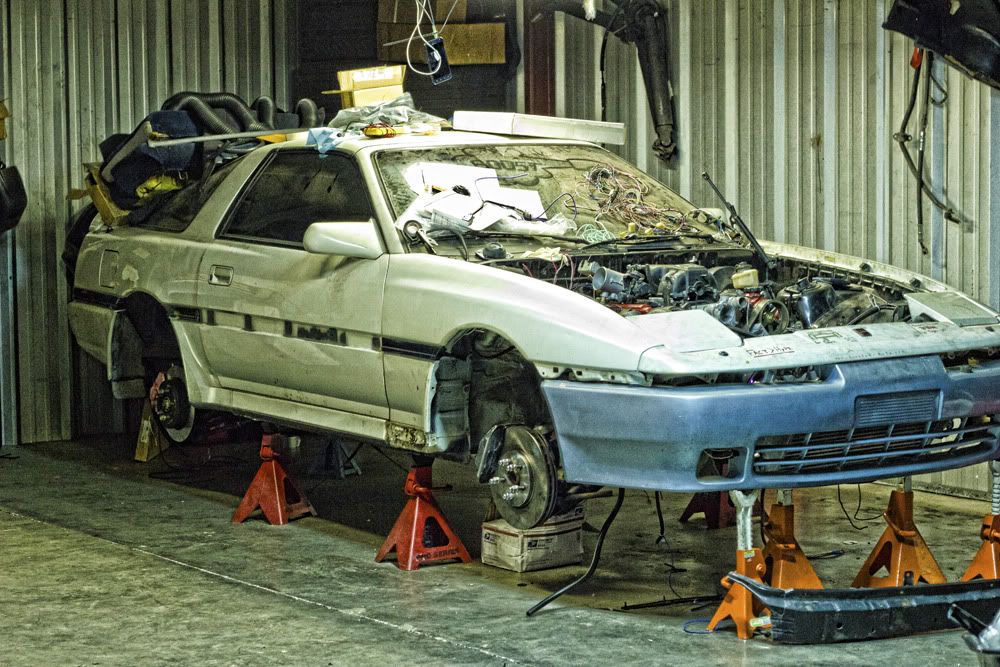
Just a random shot - you can see my Brembo Sti/EVO hybrids rear brakes and my Wilwood/Mustang rotor (yep not the vette rotor) hybrid setup... this isnt finished, but everything lines up. Needs rings for the rotor and misc hardware still.
p1880317_5.jpg


And that isnt rust on that lower front side skirt piece. One of the previous owners siliconed the shit out of it and the old piece that went there (which WAS rusting).... I just need a creative way to remove all of that shit.
 

#04

New Member
Sep 7, 2009
526
0
0
Cambridge
^silicone removal solution is available from Rona/Lowes... home depot.....

I've used it to clean up some high end flatware that was originally silicone'd to a retail display panel...now in my kitchen drawer...