Kevin's 7M low hp build

Kevin

7mgte -> 7mgte swap done.
Apr 20, 2009
865
0
0
Windsor Ontario Canada
i might aswell start a thread.
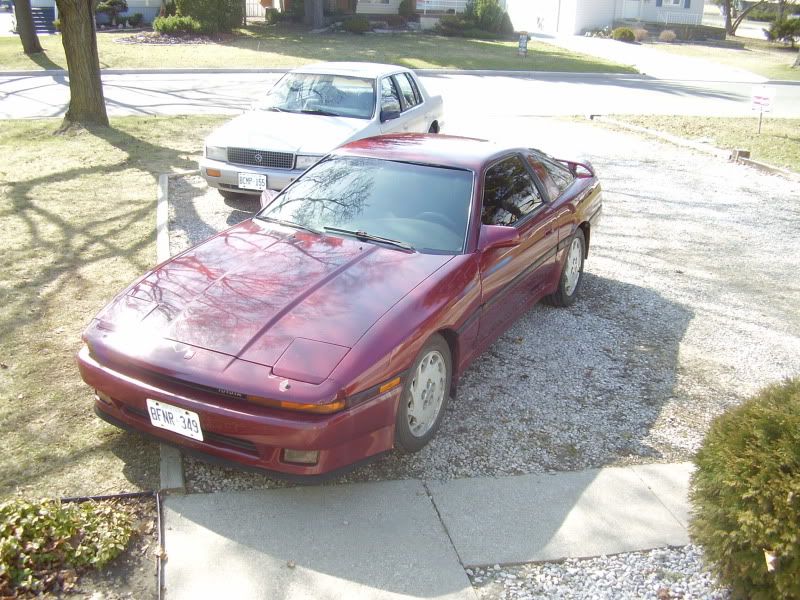
background on car.
1987 turbo.
bought in may 2009
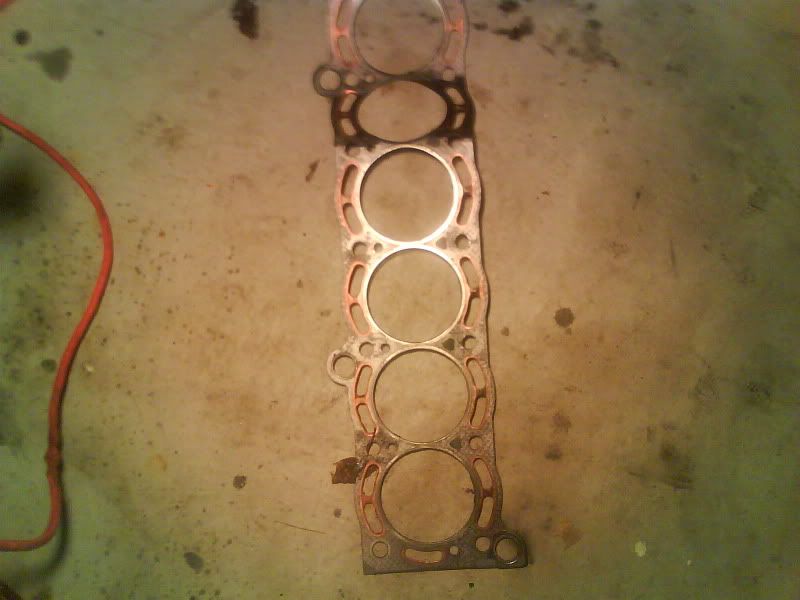
bhg.. 3 months to change it.. (im just a student. and i dont live with my parents anymore..) i had no garage so i borrowed a friend's.. but his house was A LONG WAYS AWAY. so i could only work on the car like once a week for a few hours at a time. anyway.. i was real poor and i couldt afford to get it done right... i threw in a stock hg and arp bolts. torqued it down and called it a day.. i didnt machine nothin. today she still runs ok.. other then a crappy idle.. due to the fact that i am an idiot i had the valves out and i flipped over the head and accidentally mixed up all the buckets and shims.. LOL dont yell at me.. im just learning as i go. plus that was when i was new to supras and cars for that matter.

this time.. i wanna do things right.. i have a spare engine.. and i will take my time get the head and block machined.. new bearings and whatever else i may need.

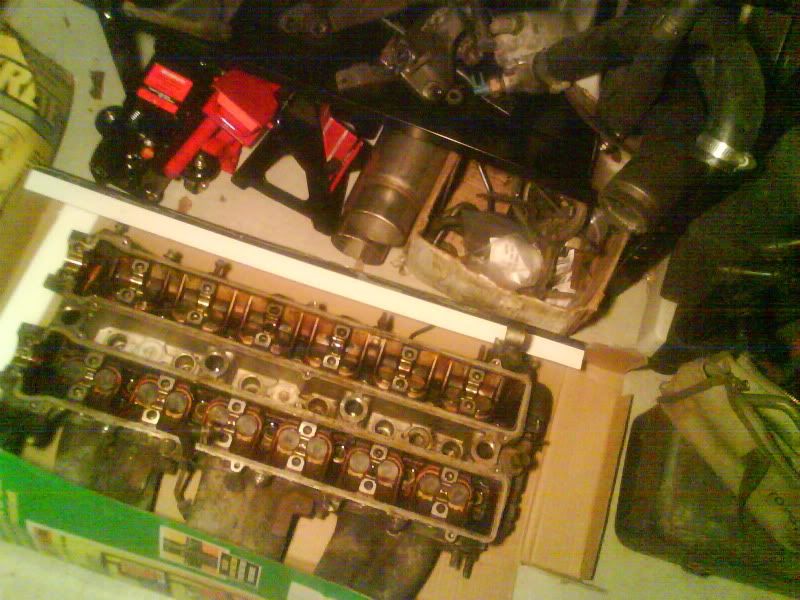
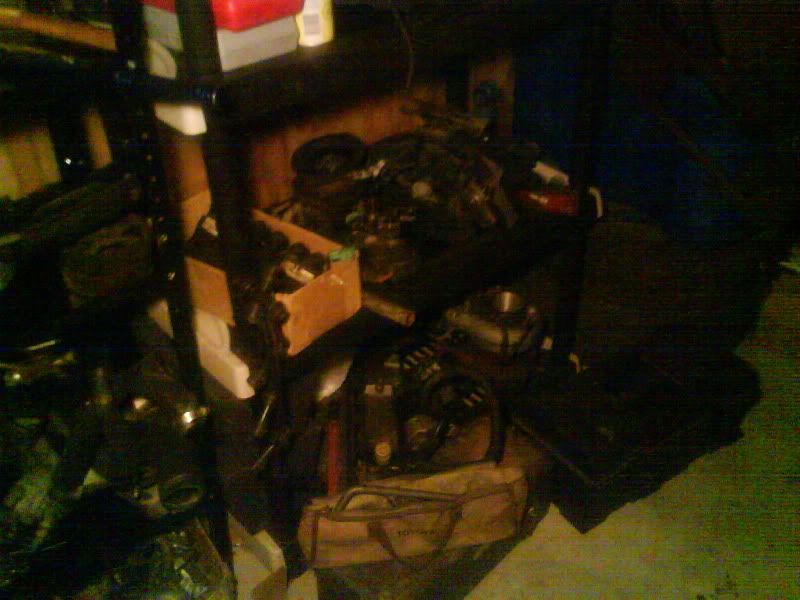
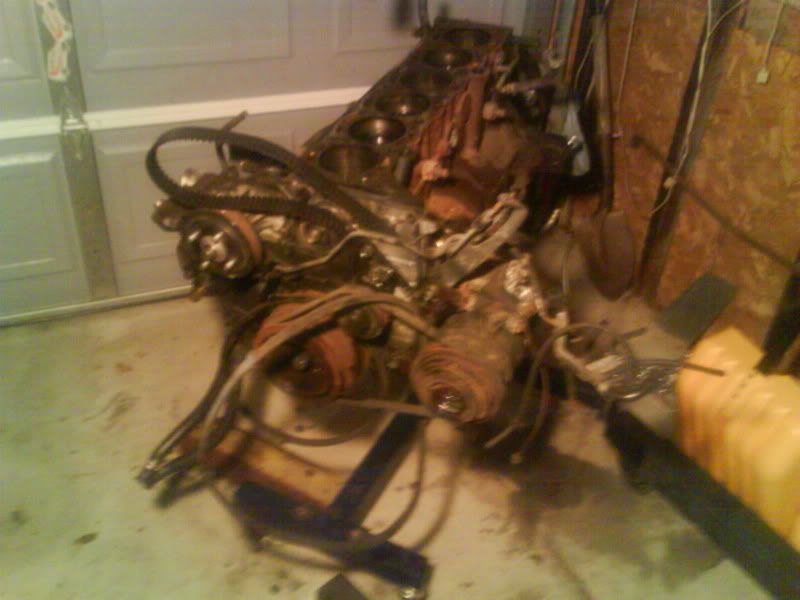
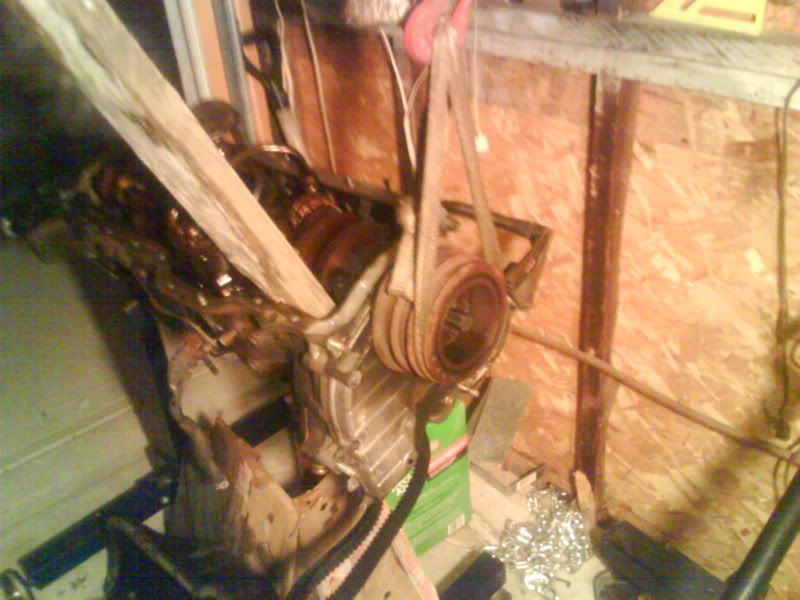
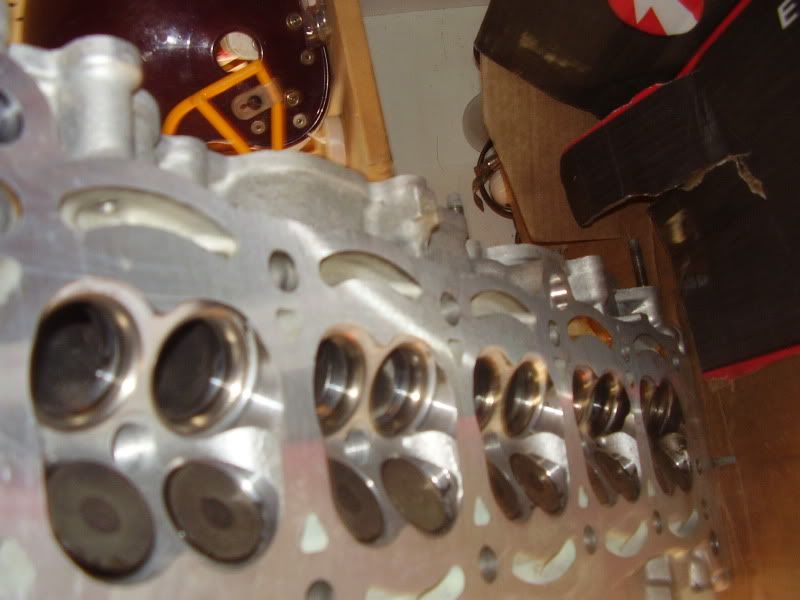
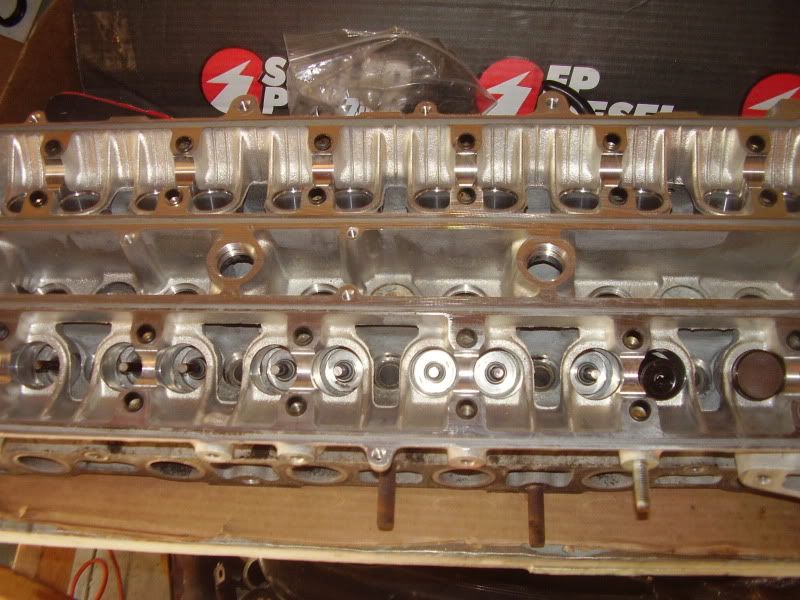
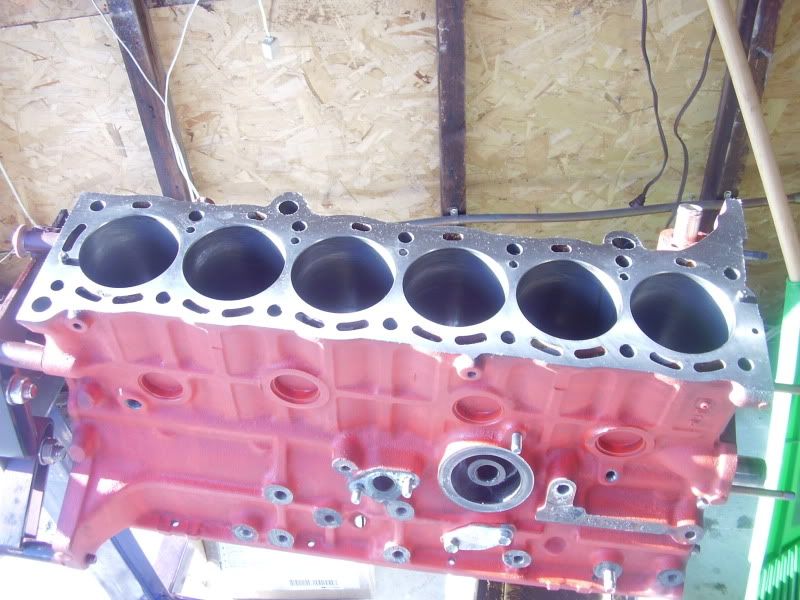
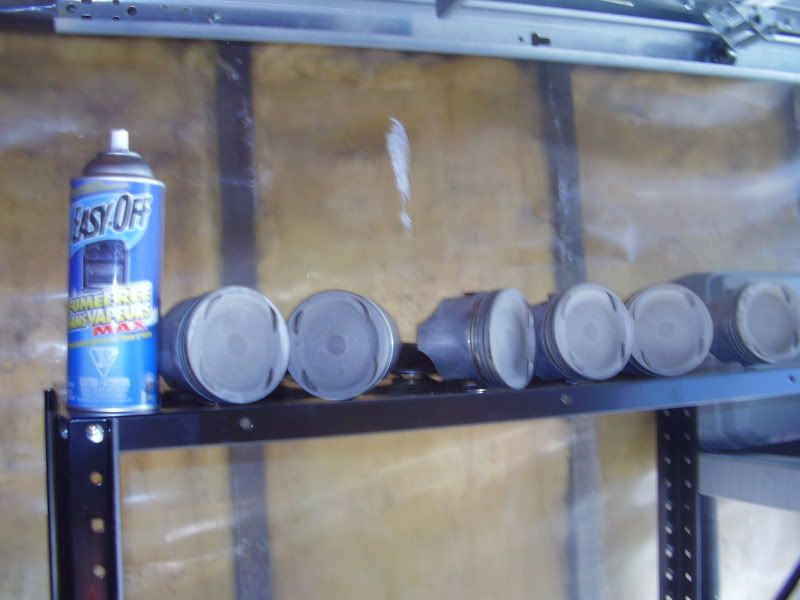
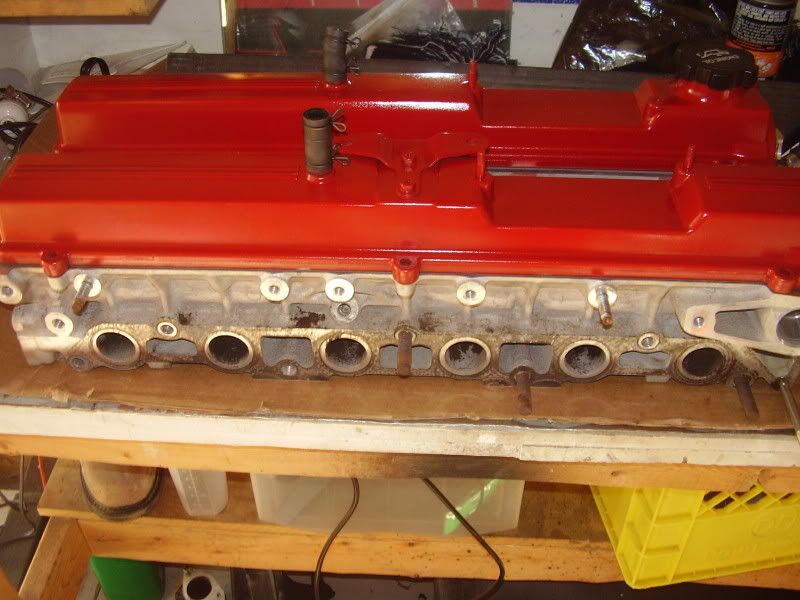
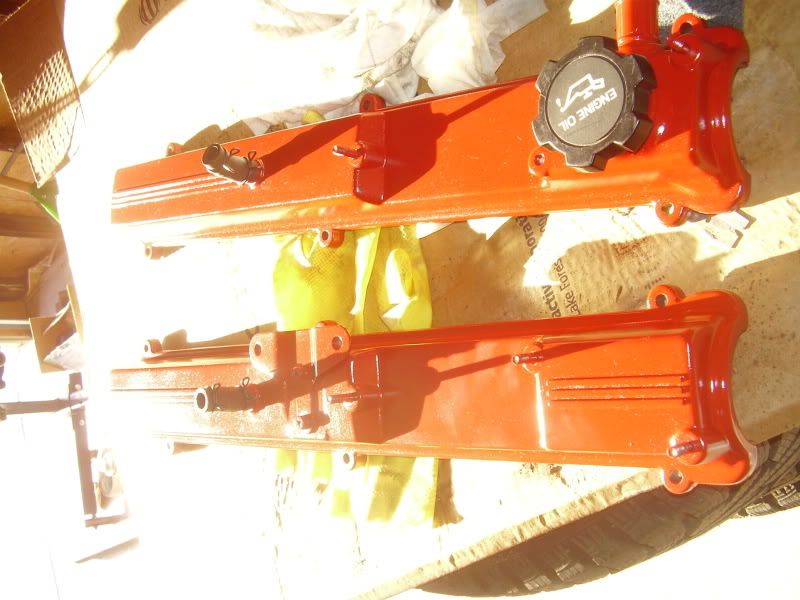
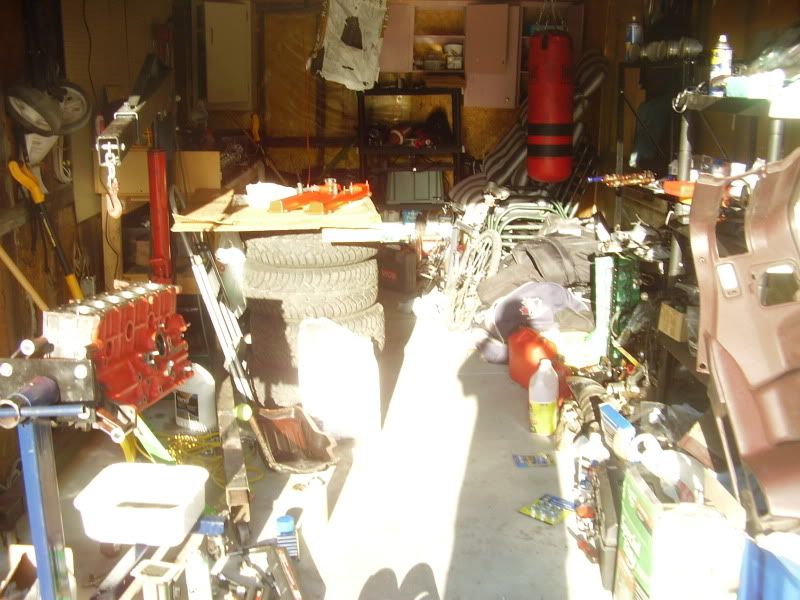
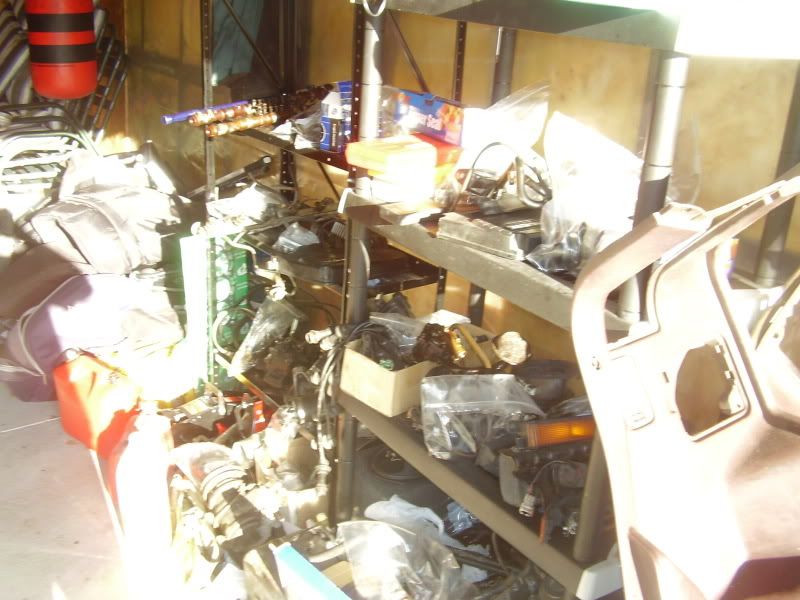
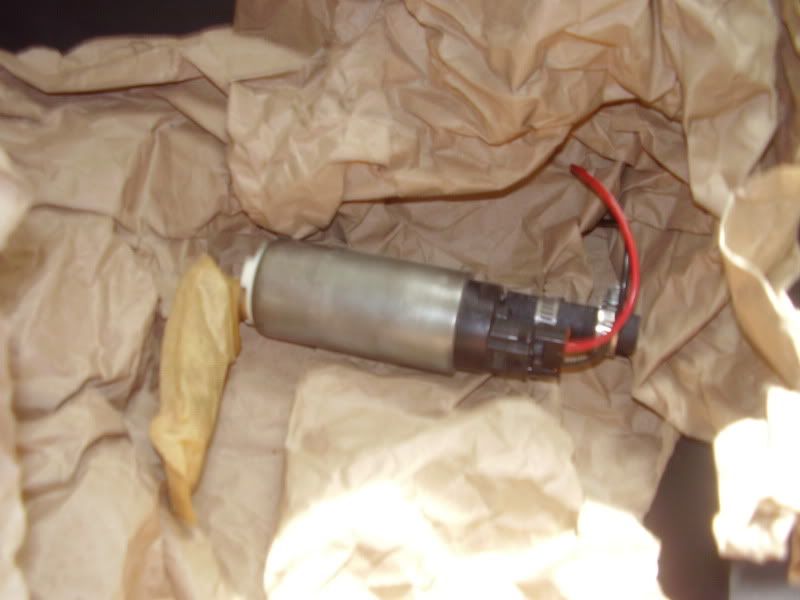
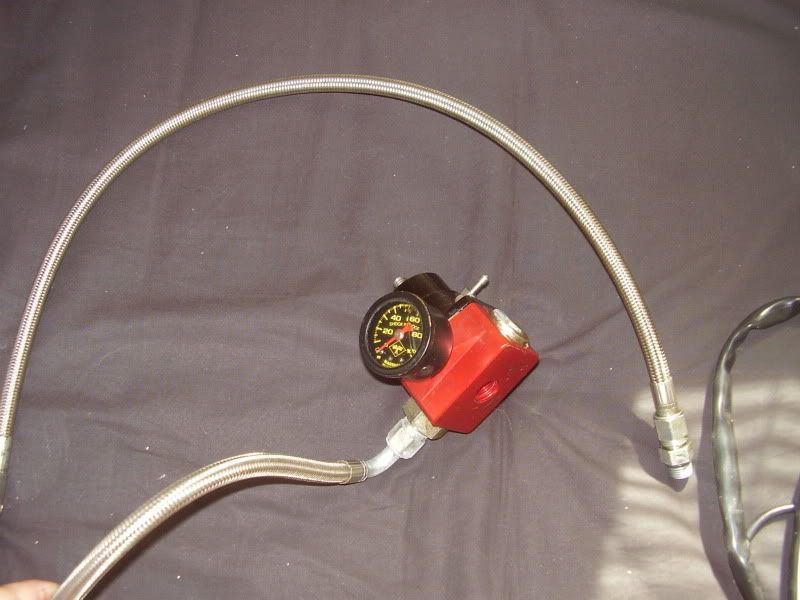
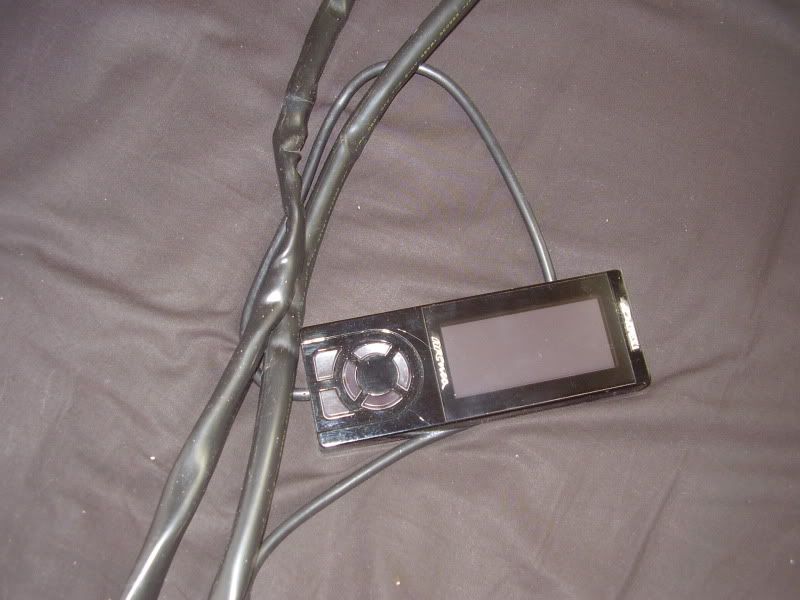
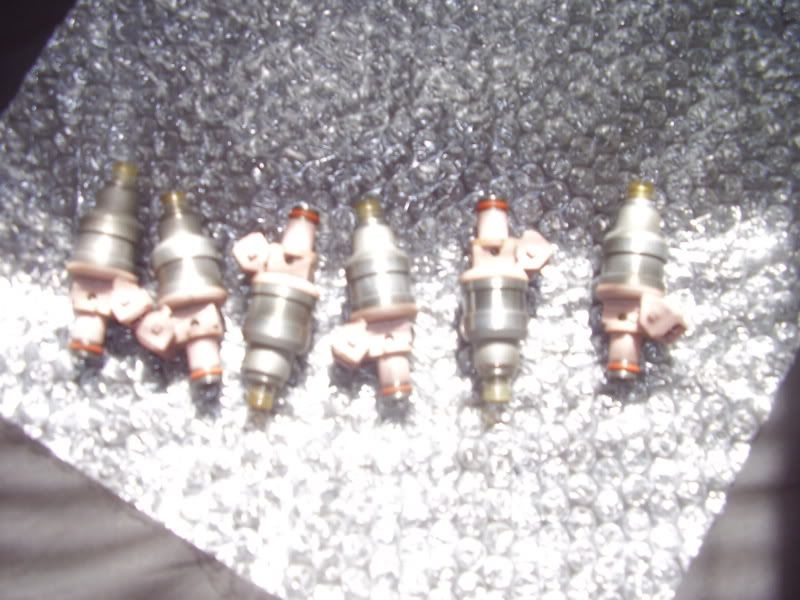
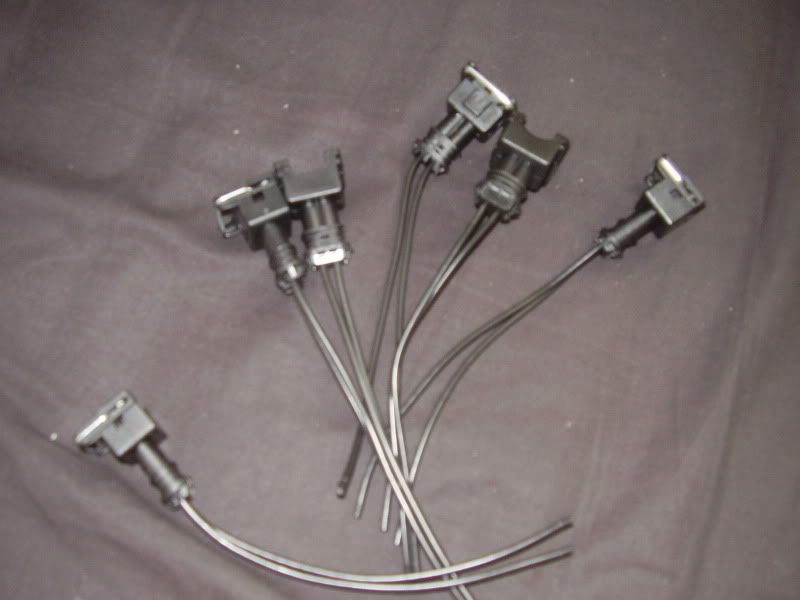
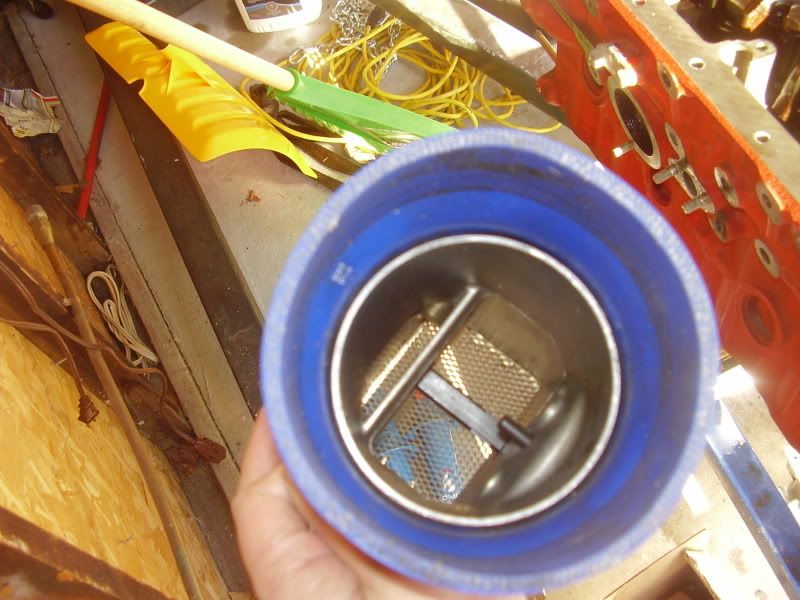
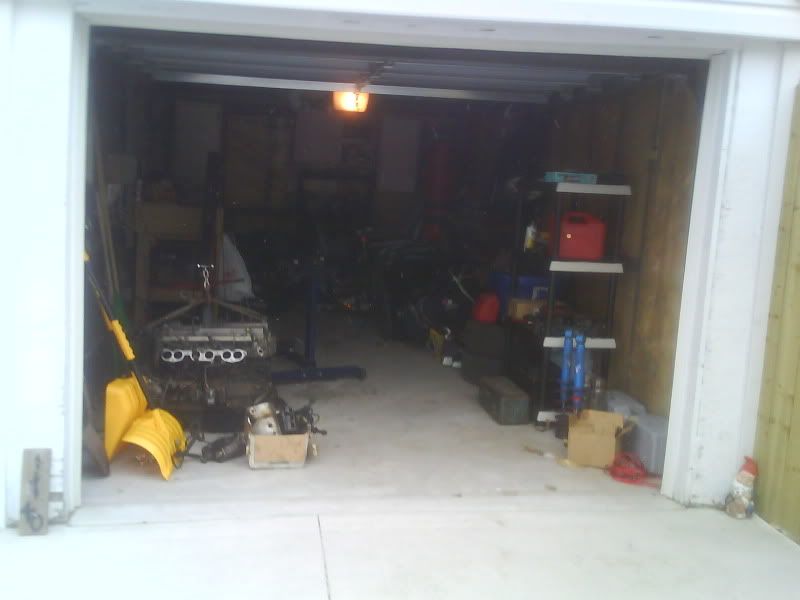
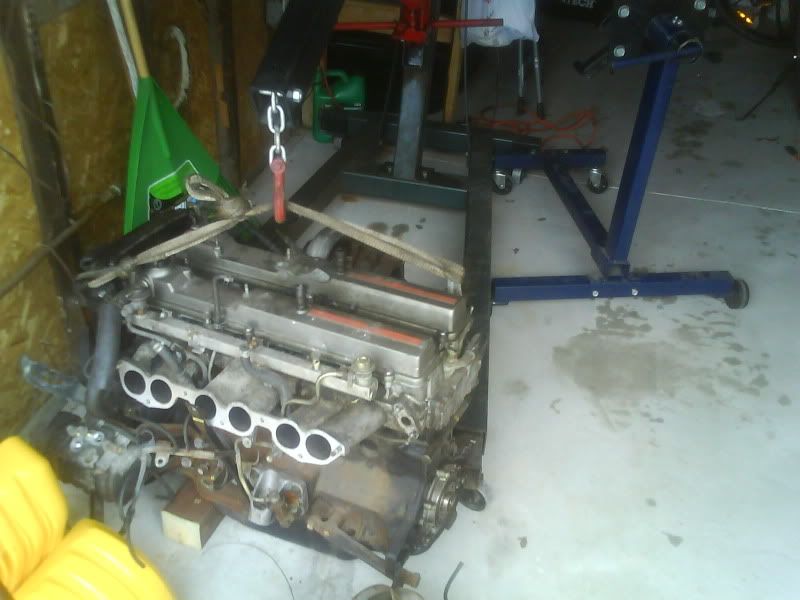
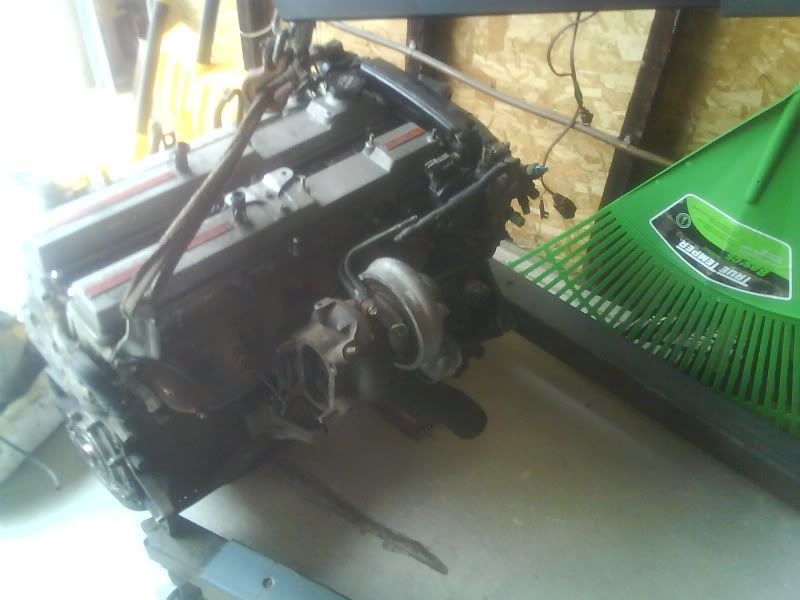
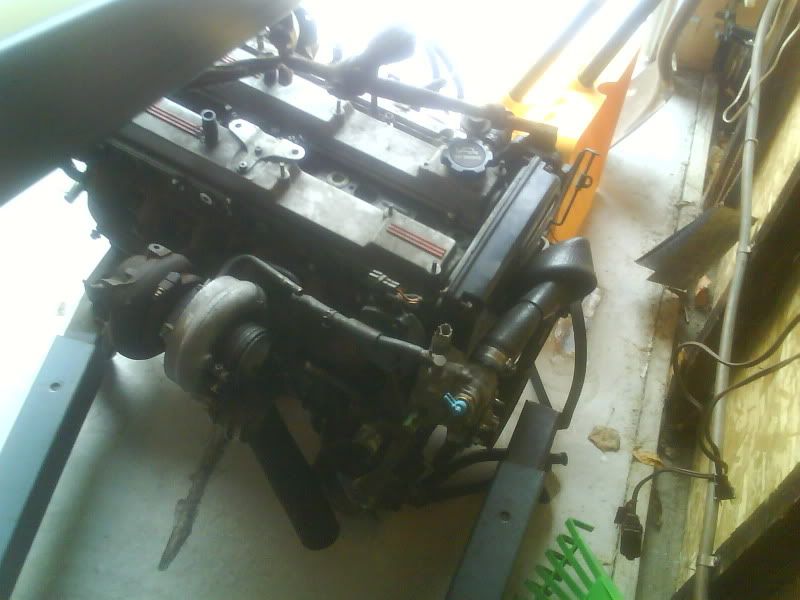
heres pics of the engine

p1506136_1.jpg


p1506136_2.jpg


p1506136_3.jpg


p1506136_4.jpg


I'll have it on the stand tomorrow when i get bolts (u probably saw my other thread about the bolts lol)

just a few moments ago this happened..

http://www.supramania.com/forums/showthread.php?t=116116

sucks lol

more updates to come.. will have tons of pics hopefully
 

suprahero

naughty by nature
Staff member
Aug 26, 2005
14,971
0
36
53
Roll Tide
Good luck with the build. It's easy to make low horsepower with the 7m..........:biglaugh:
 

Kevin

7mgte -> 7mgte swap done.
Apr 20, 2009
865
0
0
Windsor Ontario Canada
update!
I got the head off today and a few other mics items :) i'm pretty amazed at how easy it is to work on an engine outside of the car. this is my first.
i also made sure i had plenty of ziplock bags and marked each one for bolts and random stuff this time. (last time i didnt.. lol it was a nightmare)
i am suprised at how fast i got everything done, being prepared.. unlike my last hg which.. i was totally un prepared.. unfamiliar..and took forever.. and i fucked up alot lol... i even bought another shelf unit so i can put more parts in an organized mannar... i think it took me longer to put the shelf together than to strip the head and remove it lol here are some random pics
p1507923_1.jpg

p1507923_2.jpg

it feels good to be organized for once.. ( i am not an organized person at all... i'll take a pic of my tool box tomorrow to show u guys lol)
p1507923_3.jpg

p1507923_4.jpg

p1507923_5.jpg

the head gasket actually doesnt look soo bad.. compared to my last hg.. (i'll try to dig up a pic)
ohwell.. gonna go mhg anyway.

hmmm.. now i need to get the crank bolt off somehow..\anyone have any suggestions on how to do this.. when the engine is on the stand.. ?
 

Moy

It's broken...
Aug 6, 2008
2,432
0
36
Beach Park, IL
buy a tool, it's like 60 bucks if you get it on Amazon: Schley 64300

I used that along with two breaker bars to break the bolt free. Works great :D
 

Kevin

7mgte -> 7mgte swap done.
Apr 20, 2009
865
0
0
Windsor Ontario Canada
Moy;1508115 said:
buy a tool, it's like 60 bucks if you get it on Amazon: Schley 64300

I used that along with two breaker bars to break the bolt free. Works great :D

how did you use two breaker bars at once? lol
 

gaboonviper85

Supramania Contributor
Jan 13, 2008
3,236
0
0
38
Northeast Philly
Kevin;1508135 said:
how did you use two breaker bars at once? lol

just pull the oilpan off and jam a 2x4 between the crank counter balance and the inside block wall....then use a pipe over a wrench to break the bolt loose...real easy stuff.
 

Kevin

7mgte -> 7mgte swap done.
Apr 20, 2009
865
0
0
Windsor Ontario Canada
update. oilpan off. powersteering, waterpump, a/c and a few other misc things off.

now i have to tackle the crank bolt ... :(

gonna save it for this sometime week. sprayed some liquid wrench on and around the bolt last night and tonight. gonna repeat so to make sure it soaks in lol
 

Kevin

7mgte -> 7mgte swap done.
Apr 20, 2009
865
0
0
Windsor Ontario Canada
tried the 2x4 and breaker bar method.. and failed lol.

p1514972_1.jpg


p1514972_2.jpg


i couldn't find my 1/2" drive 19mm soo i had to use a 1/2" ro 3/8" adapter with my 3/8" 19mm deep socket.. im an idiot lol
anyway. i ended up twisting the adapter

p1514972_3.jpg

yay!

anyway.. after a little bit of swearing. i called up a friend and borrowed his impact gun and 19mm socket. took a little bit but finally got the bolt off!!
started pulling the rods and main caps out.. inspecting the bearings i was supprised at the condition.. they dont look too worn at all especially for a motor with suposedly 290000km's on it
i will be replcing the bearings anyway

more pictures later
 

IBoughtASupra

New Member
Mar 10, 2009
4,455
0
0
Queens, NY
Make sure you don't mix up the caps. Each cap must go back to the rod it came off of. You can label it 1,2,3,4,5 and 6 from the from of the engine. if you mixed up the buckets and the shims, it is no problem. Put in each bucket and shim and then measure the clearances after you torqued down the caps. Turn each cam and check the clearance under each lobe. It should be between .08-.12 on the Exhaust side, I like to keep it in the middle at .10. The Intake side should be at .08 thou, .06-.10 is the range, try and keep it in the middle.

After you do that, some should be extremely tight and one should be loose, so them you can mix and match the shims, not the buckets. When you place the buckets in the holes, it should slide down simply without forcing it down. Oil will be your friend. PM me for any questions.

Trust me, I know about the crappy idle. We sent my first 7M head to a machine shop and they mixed up all the valve shims and the engine would raise between 600-1,200RPM and then die. It had to vaccum leak because we made sure of that, silicone on every gasket where possible. We even smoke tested it. I did the shims on the head by myself, after getting new ones from GoodSon Engine Builders and it worked fine. The clearances were up to .16 on the exhaust side which were horrible. I knew to myself it was the shims because when an engine warms up, parts expand. When that happens, the clearances between parts become less. So, the clearance would decrease and approach back to stock specs but not exact, and guess what, the engine would run better. After doing the shims, everything was fine and we sold the car.

We sold that car and the people are rebuilding the engine. Why? I have no darn clue. It had all new parts. New oil pump, water pump, stock NPR piston and rods, full gasket set and new bearings with the crank cut .10 under. We sold it to a 16 year old kid, whose parents bought it for him, so he must be new to cars. I have no clue what is going through his head. Probably let the oil go low and rod knock.
 

Kevin

7mgte -> 7mgte swap done.
Apr 20, 2009
865
0
0
Windsor Ontario Canada
update: head gasket came in.. nicely packed between two planks of plywood as to not damage it :)
still waiting on bottom end parts. so basically projects at a slow-standstill.
im cleaning parts here and there. sanding and painting valve covers, etc
 

Kevin

7mgte -> 7mgte swap done.
Apr 20, 2009
865
0
0
Windsor Ontario Canada
turbotom88;1530671 said:
hey Kevin, did you get the afm yet?
no not yet :S


update: so.. just trying to tie up loose ends.. started putting the valves back in the head.. WTF!!!! took me 45 mins for 2 VALVES!!!!!!!!! fucken keepers are nearly IMPOSSIBLE!!!!!!!!!!!
is there some kind of secret way to get them in????

on a side note.. got the pistons cleaned.. oven cleaner works sooo well for removing carbon.... i'll get pics up as soon as i get my hands on a camera
 

Kevin

7mgte -> 7mgte swap done.
Apr 20, 2009
865
0
0
Windsor Ontario Canada
update with some pics!! (finally got a camera lol)

so far i have the crank in with new acl bearings
p1533714_1.jpg


made sure to use PLENTY of assembly lube.. mmmmm royal purple
p1533714_2.jpg


here is how the head looks after machining
p1533714_3.jpg


as you can see.. i have two valves, cuckets, shims etc.. in
i started on the next... but got too pissed off.. really.. how the hell do you guys do this?!!??
p1533714_4.jpg


heres the block after machining
p1533714_5.jpg


i cleaned the pistons :) oven cleaner works the best!
p1533714_6.jpg


painted valve covers :)
p1533714_7.jpg

p1533714_8.jpg


orgaization ftw
p1533714_9.jpg

p1533714_10.jpg


how my car sits now.. (such a nice day out. 17 degrees C!!)
p1533714_11.jpg


p1533714_4.jpg
 

Kevin

7mgte -> 7mgte swap done.
Apr 20, 2009
865
0
0
Windsor Ontario Canada
some more stuff going into the car soon
255 walbro
p1534229_1.jpg


apfr
p1534229_2.jpg


apexi afc neo
p1534229_3.jpg


valve cover bolts
p1534229_4.jpg


boost controller and turbo timer
p1534229_5.jpg


560cc injectors
p1534229_6.jpg


new injector clips
p1534229_7.jpg


lexus afm
p1534229_8.jpg


more to come :)