
Jeff's MKIII picture/progress thread
- Thread starter monster2j
- Start date
You are using an out of date browser. It may not display this or other websites correctly.
You should upgrade or use an alternative browser.
You should upgrade or use an alternative browser.
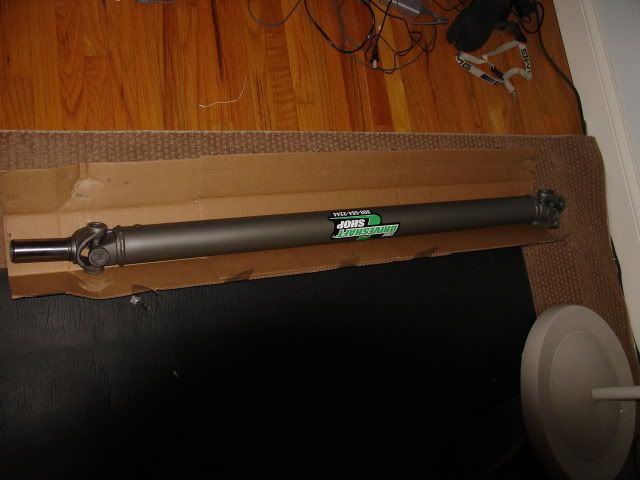
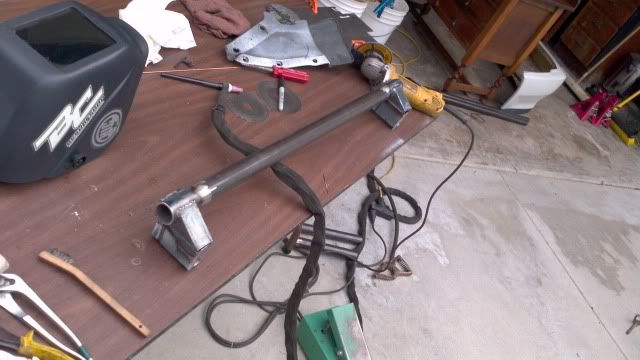
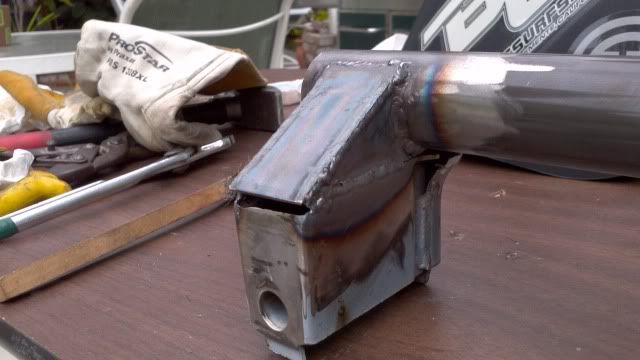
soon soon, sorry i had a problem with my center support bearing going out on my drive shaft leaving the car un-driveable. I suspect that the increase in power has caused it to go to hell in a handbasket. So i ordered a 1 peice steal drive shaft from the Drive Shaft Shop, i should have it by the end of the week if everything goes to plans which it should!
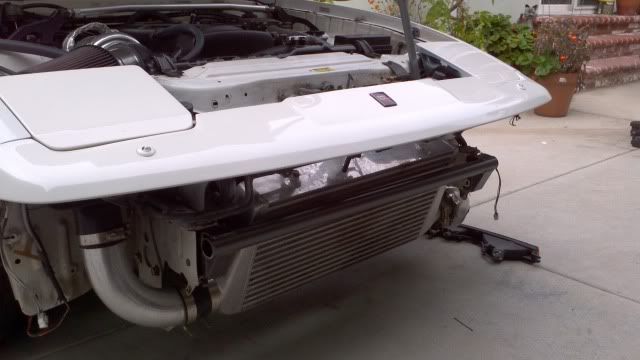
Removing the stock twin on an engine stand is enough of a PITA, I can't imagine what you went through. Very cool car, nice job...............monster2j;1724965 said:............. Let me tell you that removing the stock turbo's was a complete pain in the A$$ and im glad i never have to do it again!
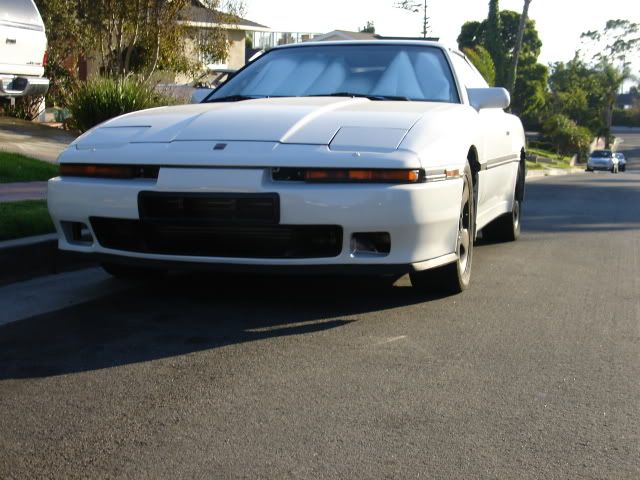
Oh yeah, paint the wheels white though, those just look all kinds of wrong.................something like this perhaps

---------- Post added at 12:12 AM ---------- Previous post was at 12:06 AM ----------
One of the best in the industry, the work speaks for it's self, meeting the person is a plus!IBoughtASupra;1639064 said:Aaron is a cool dude...............
Rajunz;1748422 said:Removing the stock twin on an engine stand is enough of a PITA, I can't imagine what you went through. Very cool car, nice job...............
Oh yeah, paint the wheels white though, those just look all kinds of wrong.................something like this perhaps
---------- Post added at 12:12 AM ---------- Previous post was at 12:06 AM ----------
One of the best in the industry, the work speaks for it's self, meeting the person is a plus!
Yeah ive always liked white on white, maybe some white te37's. got a hook up on rays

---------- Post added at 11:41 AM ---------- Previous post was at 11:33 AM ----------
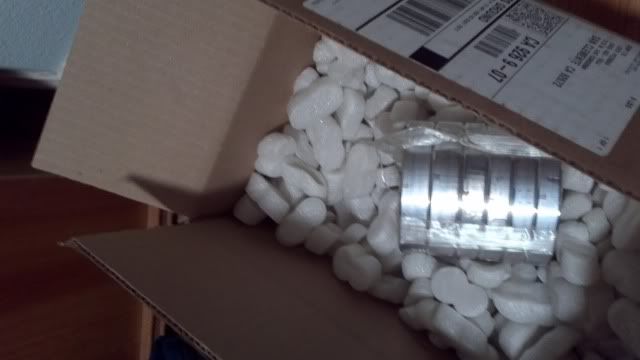
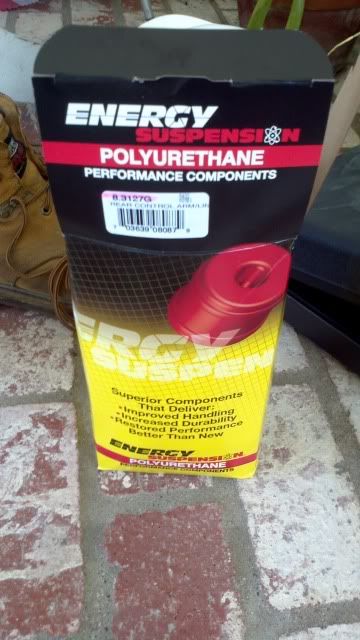
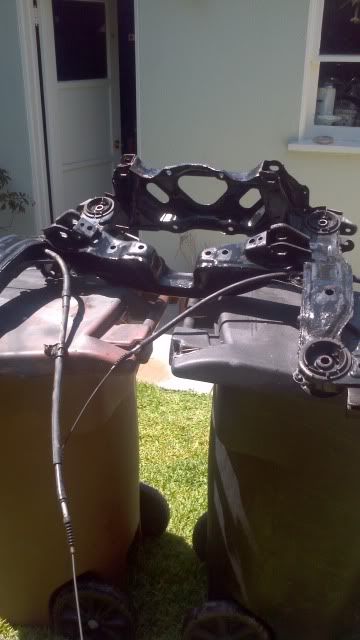
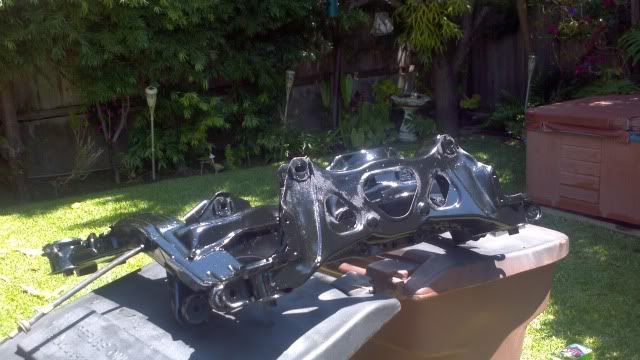
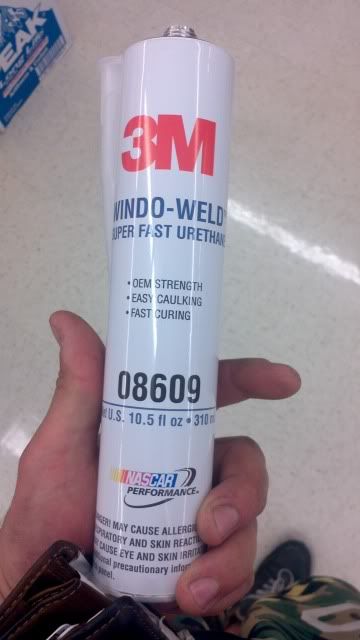
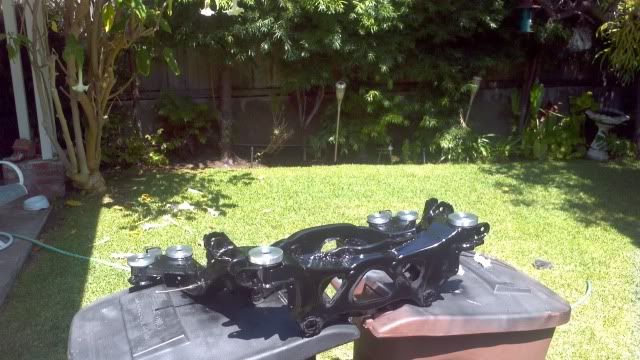
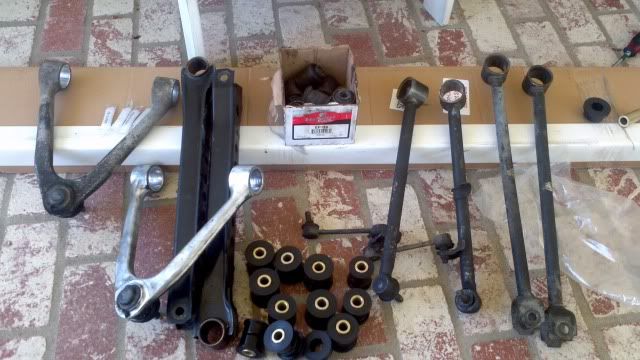
I have started my suspension renovation project in the rear. I got some beach performance subframe spacers, and im going to buy a tube of polyurethane window weld to fill the actual rubber bushings in the subframe. Plus i got polyurethane bushings for all the suspension arms in the rear, im hoping all this work will make a big difference in the ride.
beach performance:
polyurethane kit
before:
After:
please document your install of bushings and subframe spacers, i have to do my CTRL ARM bushings next week.
IMO the poly suspension bushings tighten up the suspension, but you will notice that bumps in the road are transmitted more directly to you (and the CD player). Nothing too horrible for me, but I could see where people would not like it.
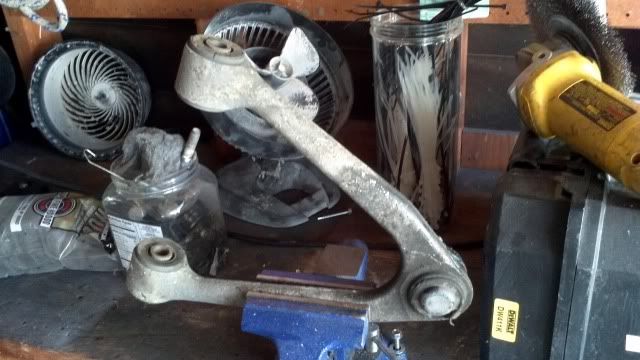
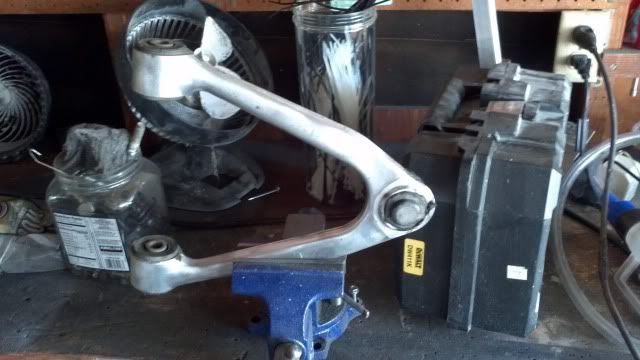
For the upper control arm bushings, I used a c-clamp style ball joint installer to remove the old bushings- it worked like a dream.
For the rest I had to use a shop press and a variety of diff. sized steel discs to press the old bushings and sleeves out of the arms. Kinda a pita, even with a shop's equipment.
OneJArpus;1753055 said:please document your install of bushings and subframe spacers, i have to do my CTRL ARM bushings next week.
Yes sir, i will take alot of pictures. pretty simple so far, all you need is a big cheater bar to get the bolts loose cause they are tight as hell. Also it would probably help to have two people on this project im doing this by my self
toyotanos;1753062 said:IMO the poly suspension bushings tighten up the suspension, but you will notice that bumps in the road are transmitted more directly to you (and the CD player). Nothing too horrible for me, but I could see where people would not like it.
For the upper control arm bushings, I used a c-clamp style ball joint installer to remove the old bushings- it worked like a dream.
For the rest I had to use a shop press and a variety of diff. sized steel discs to press the old bushings and sleeves out of the arms. Kinda a pita, even with a shop's equipment.
thanks for the info!
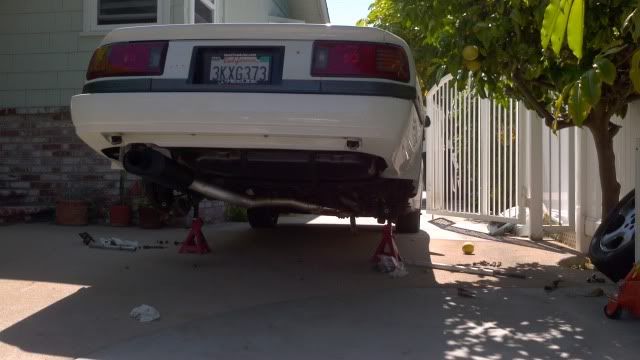
Soo finally got my project done by myself it was a PITA! I got the car aligned after every thing was finished and then went to the local canyon to test everything out. The back end it soo much more solid its amazing, like night and day. Before the back end would float around like a boat now its completely solid like a sports car. The difference should be comparable to going from your stock swaybar to a upgraded one, Its hard to believe that just doing that would make this big of a difference in the way the car handles; mind you i still have a stock swaybar and tired Bilstiens in the back. Ill be doing the bushings in the front very soon!
Another thing i noticed was the increase in drivetrain noise being transmitted through the frame like a megaphone. I knew my differential was partially blown but now its crazy apparent, lots of grinding and winning noises now
I would definatly recommend this to every one on here, it was worth every dollar!
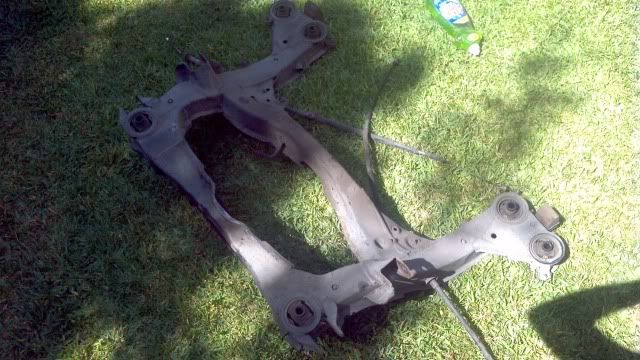
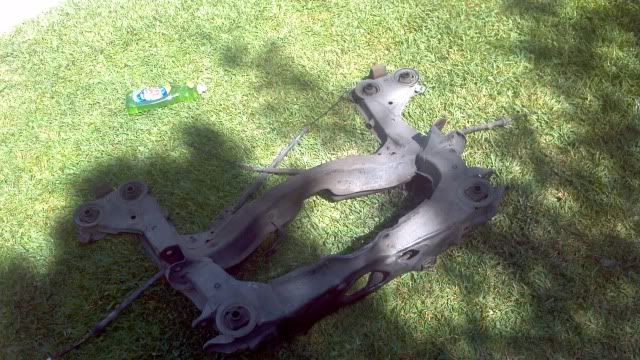
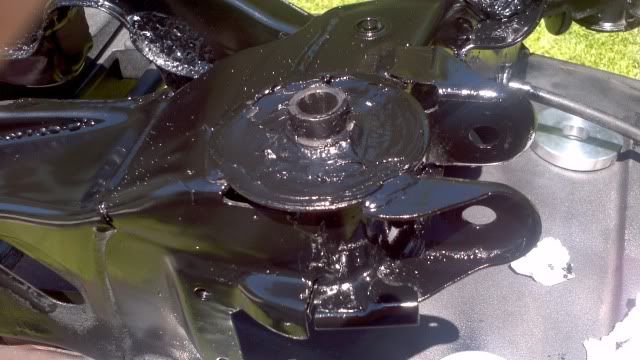
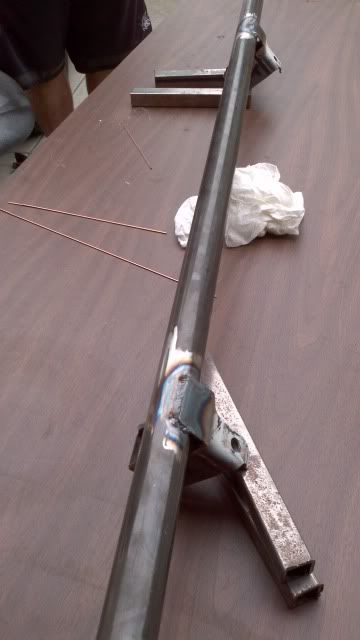
After i cleaned the subframe up:
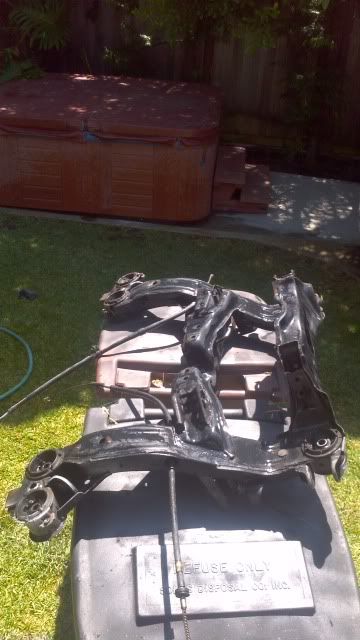
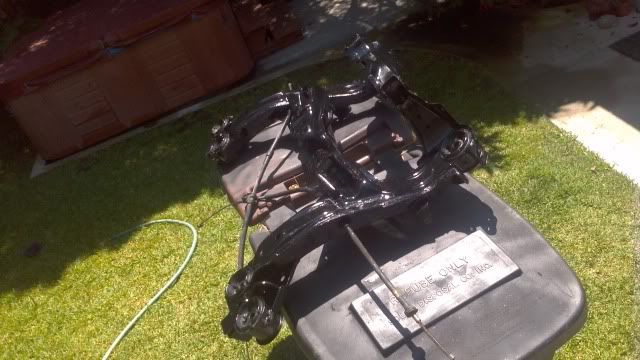
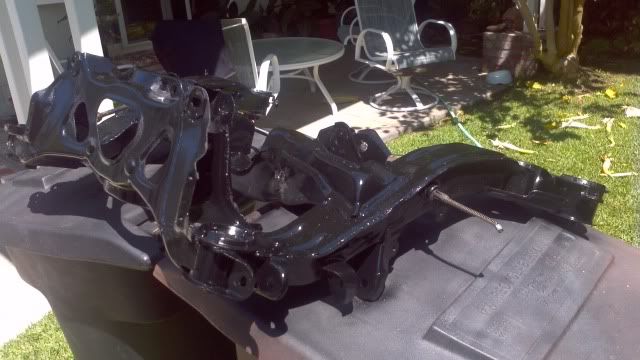
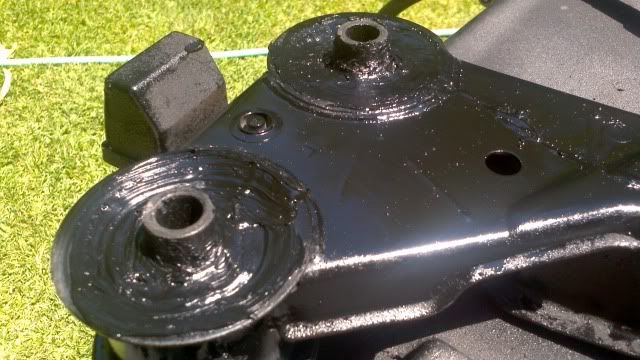
Painted:
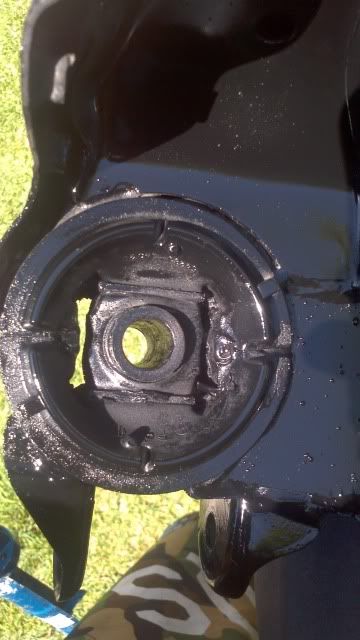
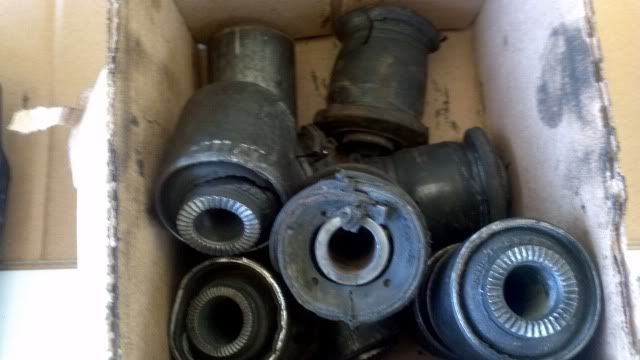
stock bushings:
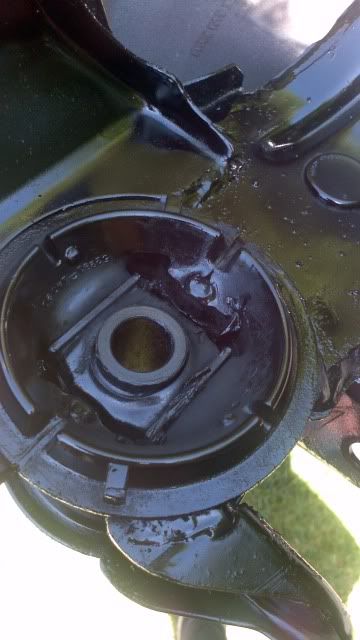
window weld polyurethane:
Modified bushings filled with polyurethane:
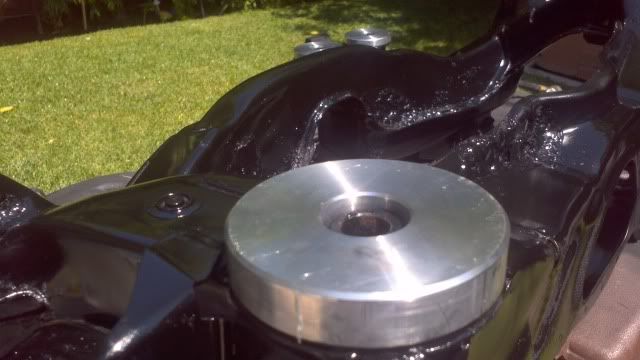
beech performance subframe locking bushings:

After the control arm bushings were pressed out:
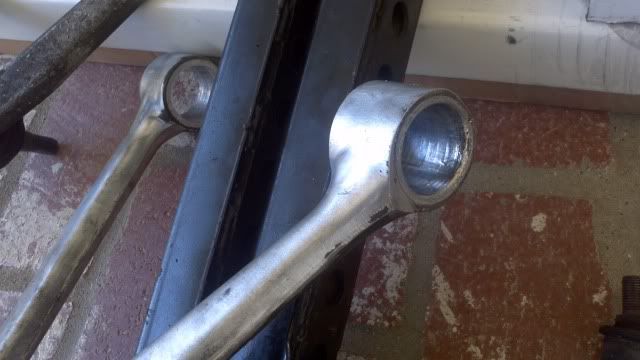
the old wornout bushings:
Another thing i noticed was the increase in drivetrain noise being transmitted through the frame like a megaphone. I knew my differential was partially blown but now its crazy apparent, lots of grinding and winning noises now
I would definatly recommend this to every one on here, it was worth every dollar!
After i cleaned the subframe up:
Painted:
stock bushings:
window weld polyurethane:
Modified bushings filled with polyurethane:
beech performance subframe locking bushings:
After the control arm bushings were pressed out:
the old wornout bushings:
lithium14;1755610 said:man. Nice work!! I take it this is not a project easily finished in one weekend. *sigh I really need to do this as well, but I have the unfortunate case of having my supra be my daily
Actually this work only took me two days by my self, If you had some one to help you out it would probably only take a day and a half. Totally doable in one weekend, and trust me it is soo worth it.
Nice!!!! Good thinking, keep up the hard work buddy. It's paying off...., your car is going to be a beast!!
mk3tattoos;1762425 said:Nice!!!! Good thinking, keep up the hard work buddy. It's paying off...., your car is going to be a beast!!
thanks man, recently ive been trying to improve on looks too. Shine s2 air guide, and Shine Turbo A duct installed:
That's looks really good! I wanna see more pics in better lighting though. Were did you find the A-duct?
Yeah ill have to find some better lighting somehow. Shine makes the Turbo A duct, its not on their site you have to email them to order it. The A duct was $100 and the air guide was $125, In person it looks soo much better it changes the front end of the car and makes it look soo much more aggressive; i love the way it looks now. All i need now for the front is a lip