
Not sure if I should put this in the other car forums or not, since it's not really about another car, just about doing something yourself. Off-Topic it is!
Over the past years I have become more and more disillusioned with glass installers. I've seen car after car get windshield after windshield poorly installed, with excess adhesive, misalignment, scratches, etc., etc. They just don't care, and they often times get paid per install. Customers want cheap and fast installations, they don't want to leave their car to get taken apart and then wait for the proper curing time, nor do they want to pay for the time it takes to do that.
After having numerous problems with my own various cars, I decided that I would no longer let someone else do for me what I believe I can do myself. I've since installed 3 windshields in various types of cars and am gaining a pretty decent ability. It takes me a long time and a lot of preparation, but it's done right and I know no steps were skipped.
All that being said, I still never look forward to having to replace a windshield, and when I got a large chip 2 weeks ago that spread very quickly before I could get it repaired, I knew I was going to need to install another one. :sad: I haven't finished the job yet, I will be installing the new glass tomorrow, but I figured I'd post what I've done so far in case anyone is interested in seeing how Lexus actually says to do the glass versus what most people have probably seen happen when they got their windshield replaced.
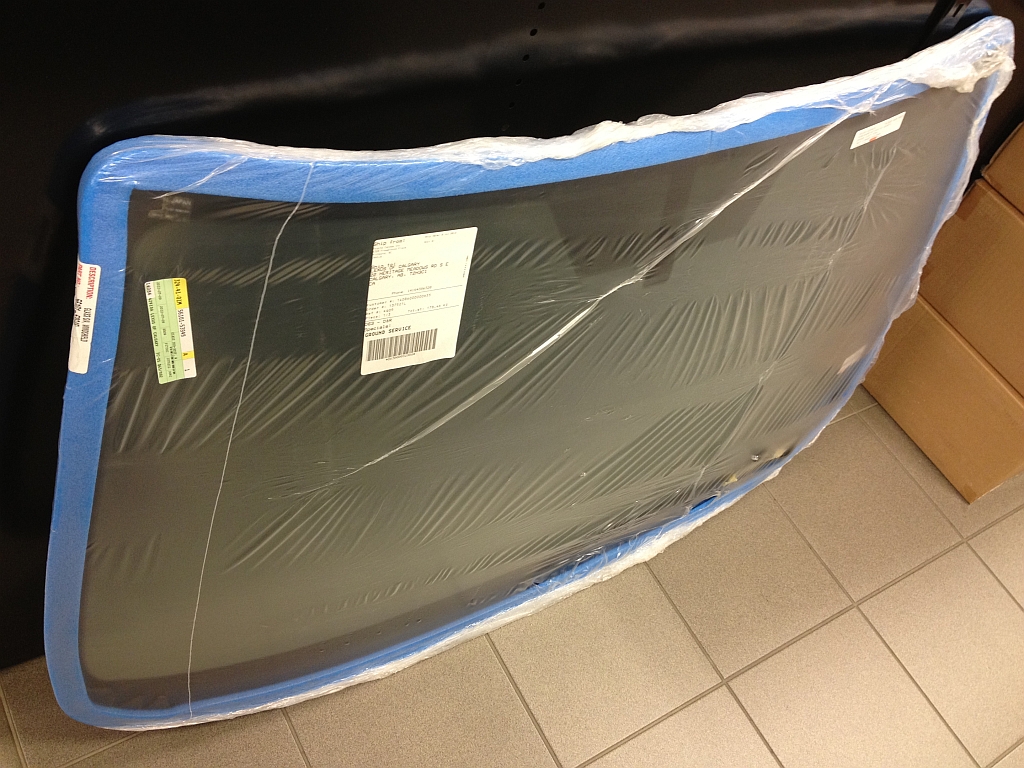
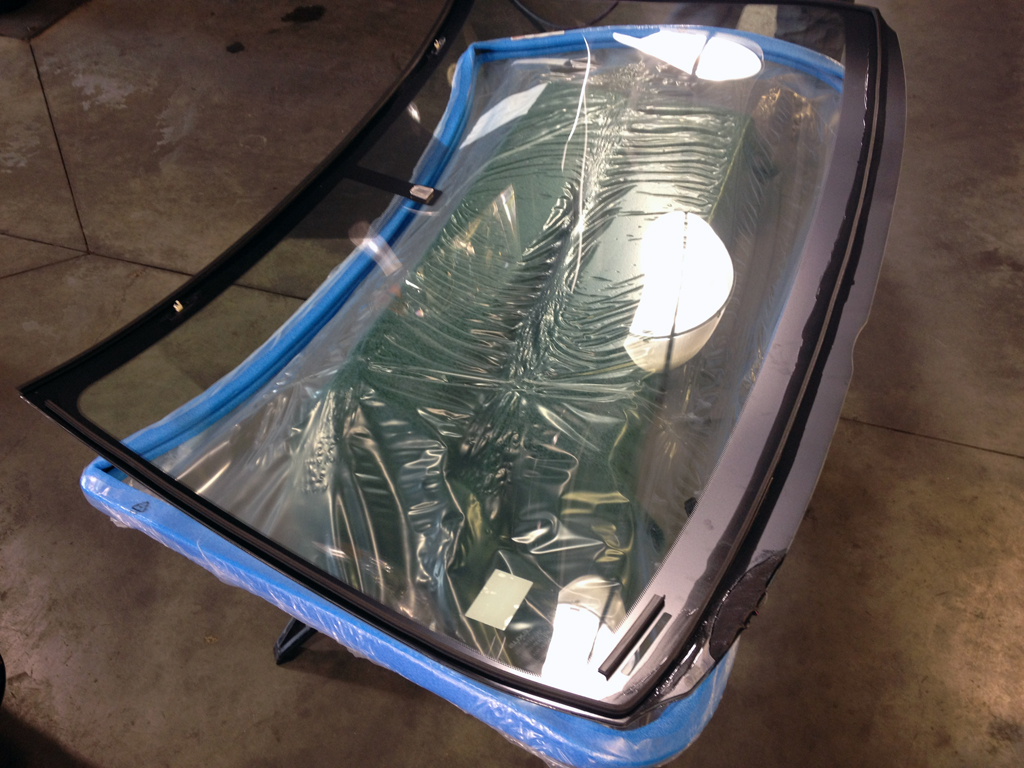
We'll start with a new factory windshield glass from Lexus, heated without auto wipers:
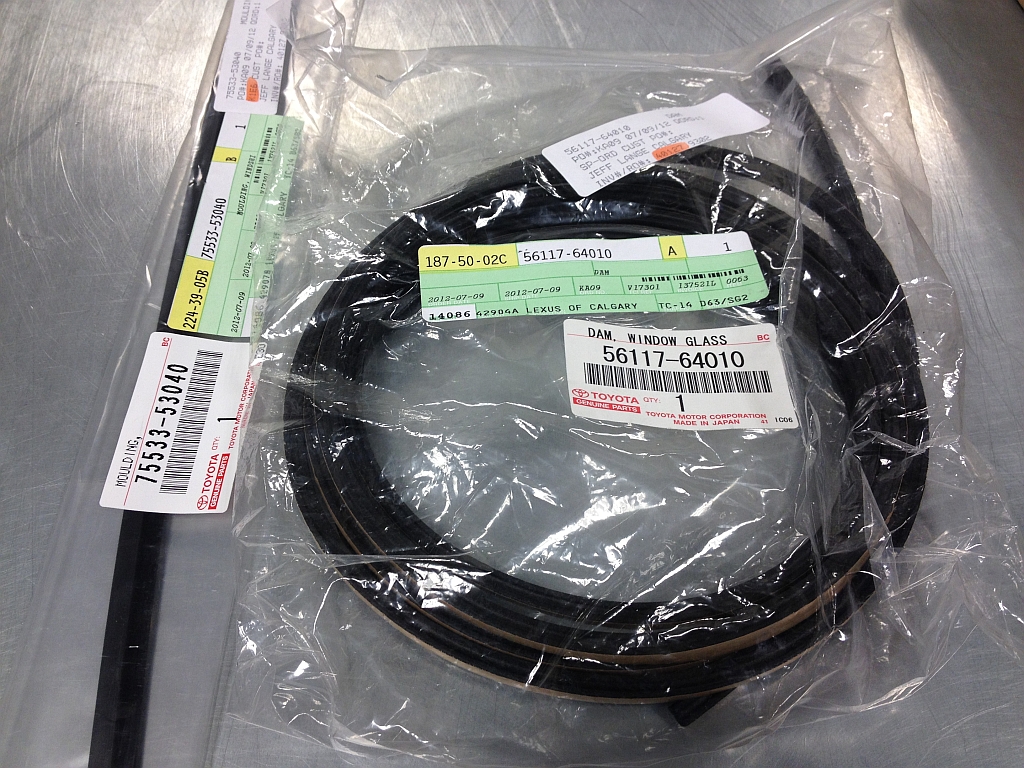
There are also a few other parts you'll need, as most of these are damaged while removing the old glass. This includes the top moulding, adhesive dam, some clips. The side mouldings are reusable if you can get them off without breaking them. I almost did, but there was a bit too much adhesive and it held them on too tightly so they broke.
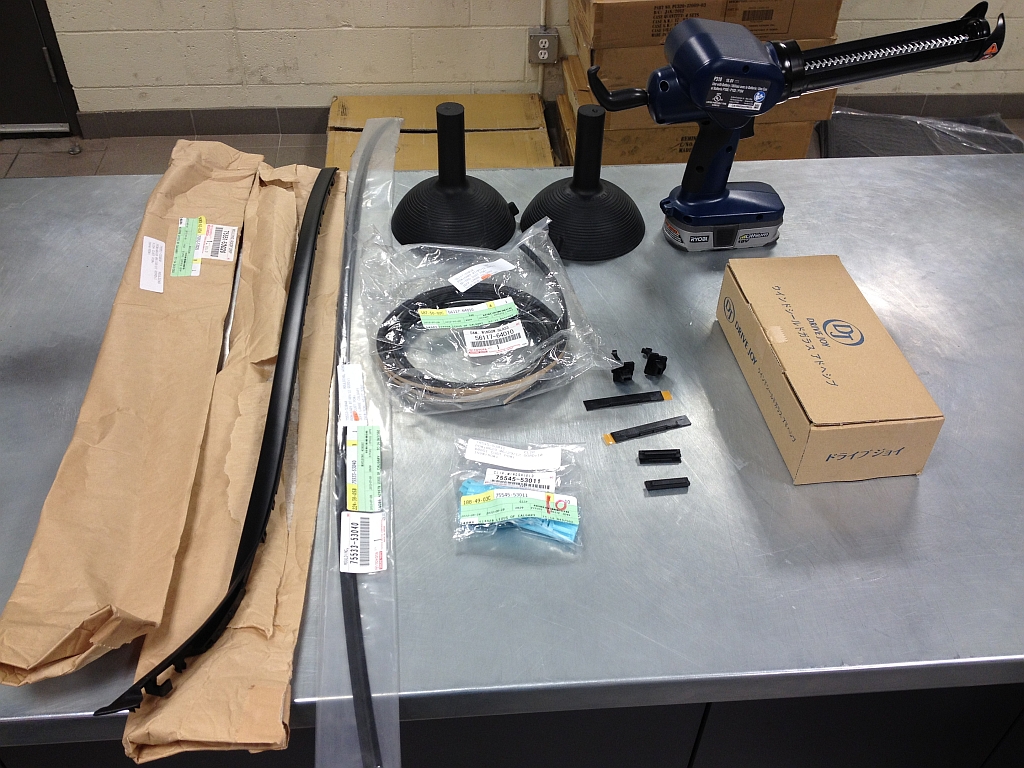
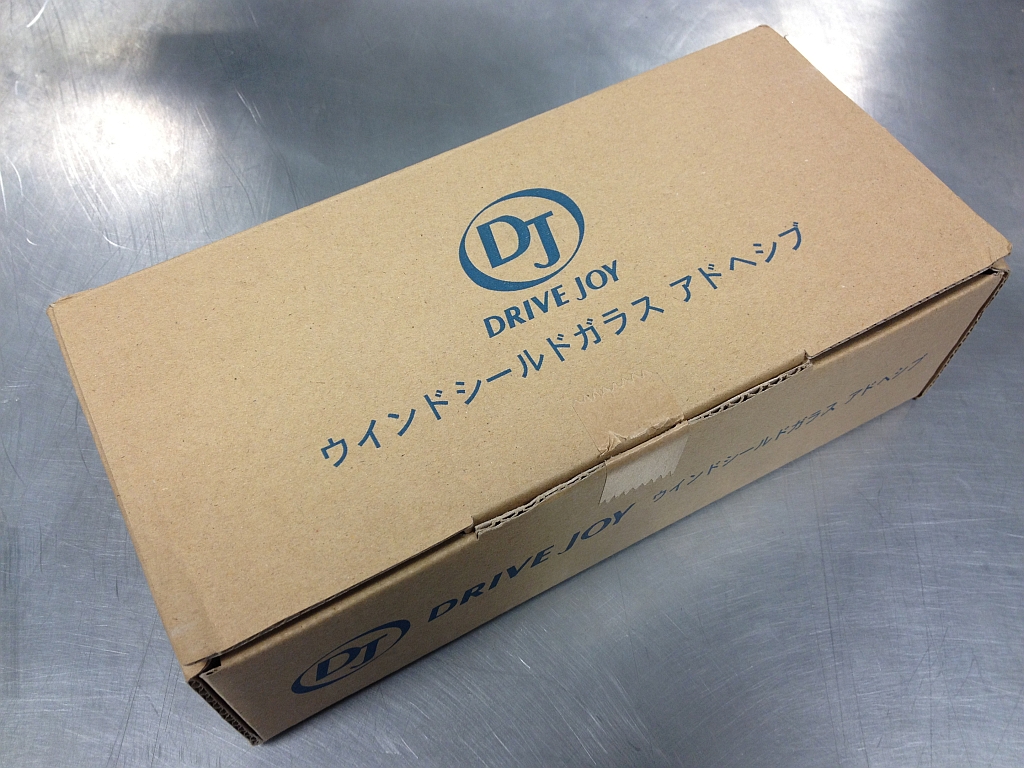
Brought in a windshield glass installation kit from Japan. Drive Joy is Toyota's aftermarket brand in Japan, I tried to get the genuine kit from Toyota, but they don't sell it, had to get the Drive Joy kit.
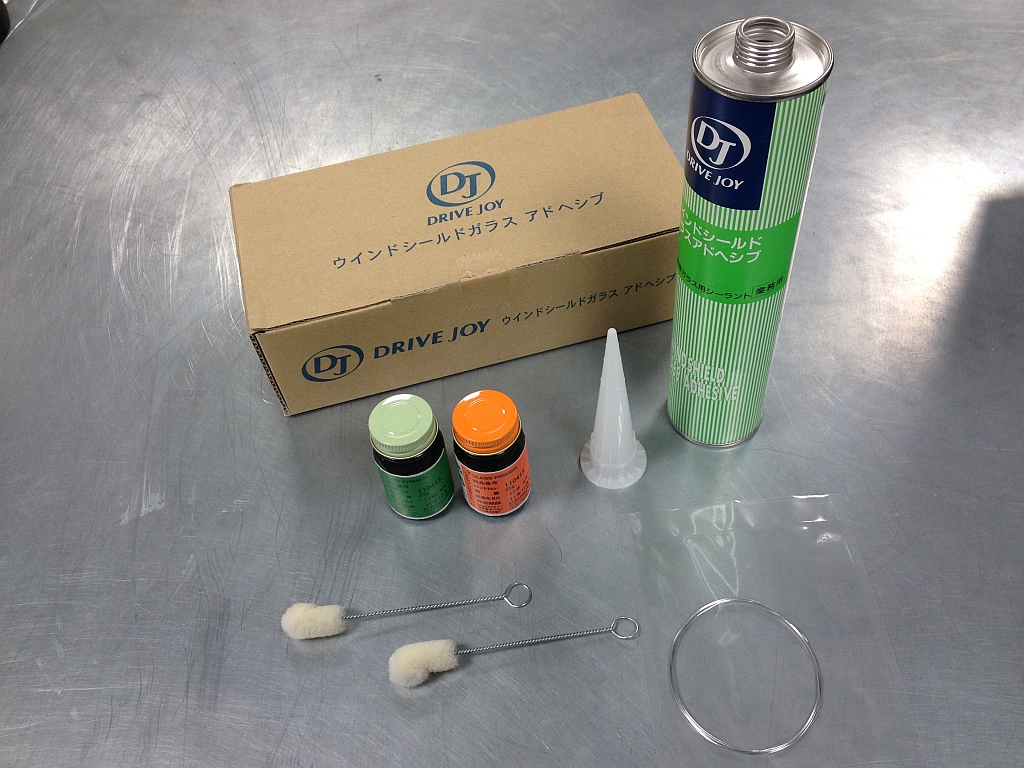
Installation kit includes body primer, glass primer, piano wire and the adhesive itself. Lexus instructions give specific instructions on how the adhesive is to be applied.
No.1 and No.2 upper retainers, on the body and glass to hold it in place while the adhesive cures. Should make sure the glass keeps the 4mm gap between the glass and body at the top. A-pillar interior and exterior trim clips to make sure things are tight.
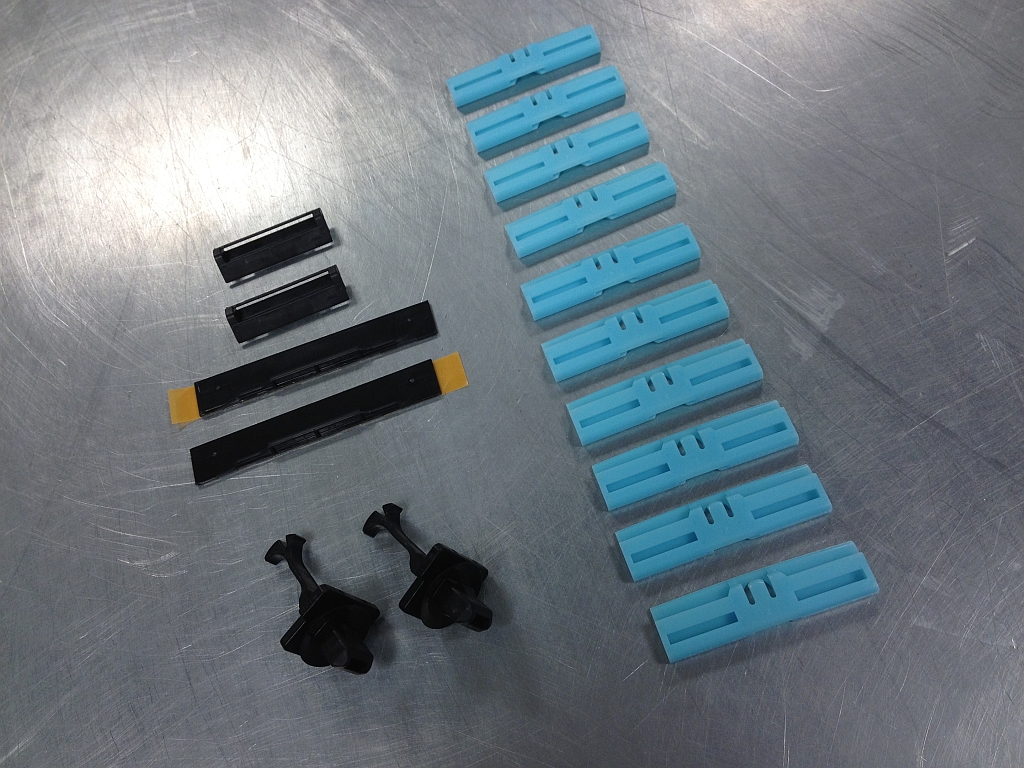
Upper moulding and adhesive dam. The adhesive dam is very rarely used by glass installers I've found. It prevents the adhesive from moving inwards to wards the interior while curing, it also provides a nice guide for laying down the urethane.
Now that I've got all of the parts I'll need, I can start prepping the car to remove the glass, here I've pulled the door sill plates and dash side panels to be able to remove the interior A-pillar trim.
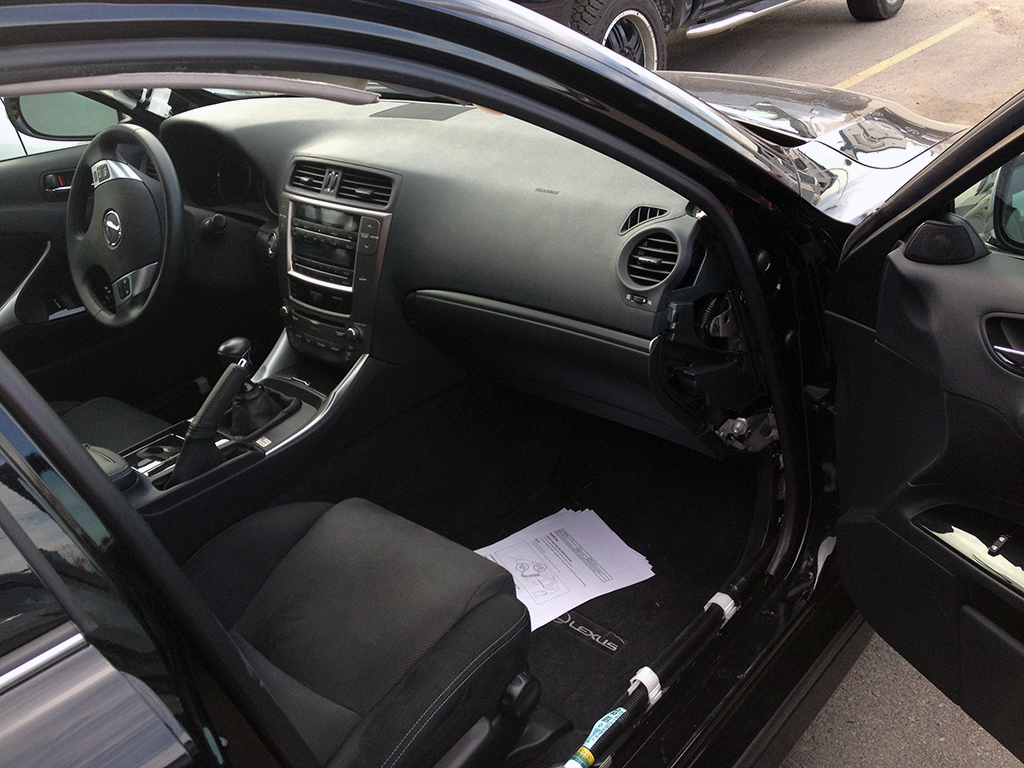
After removing these parts I've taped the door sills, sometimes when trying to get a good angle to cut/remove/install the glass this area is stepped on. I didn't want the factory scuff plates or paint scratched or damaged if this happened.
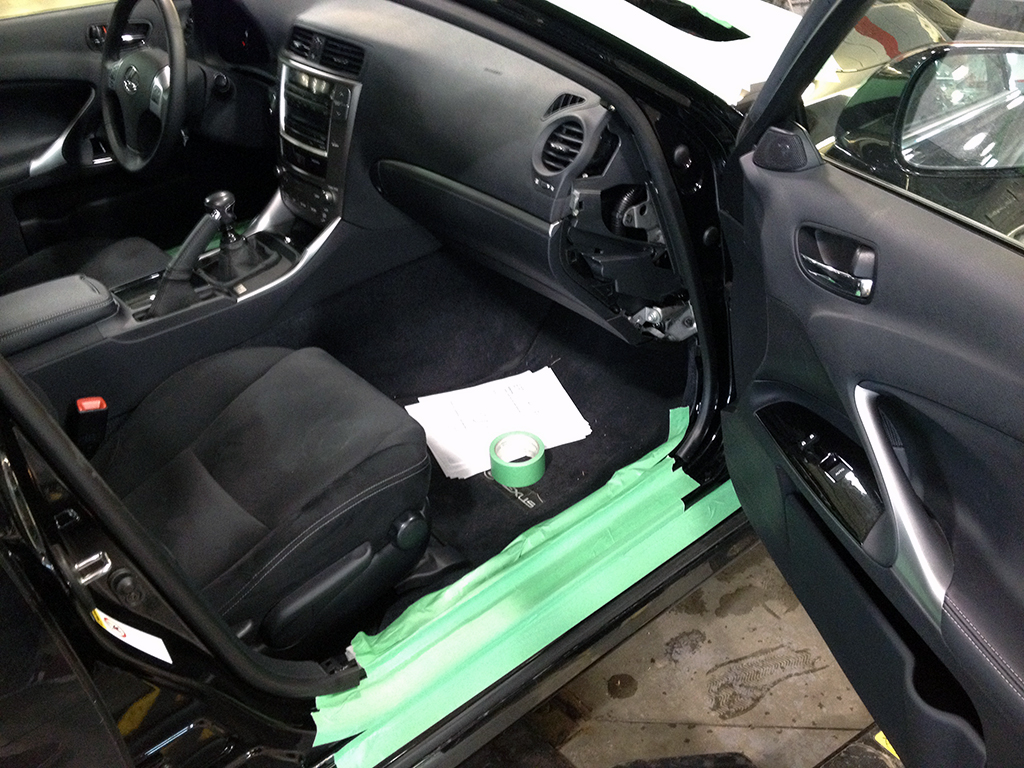
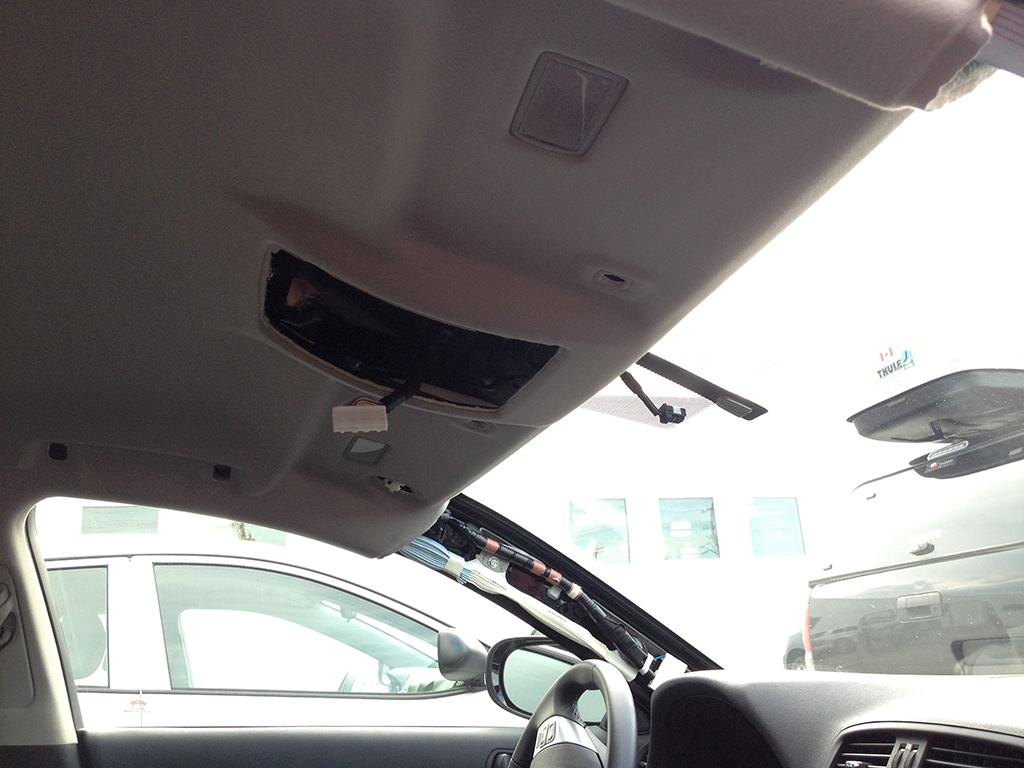
Here I've carefully removed the grab handles, sunvisors, dome light assembly, rear view mirror and interior A-pillar trim to slightly drop the headliner and allow more access to cut out the glass without risking a nick or cut to the headliner.
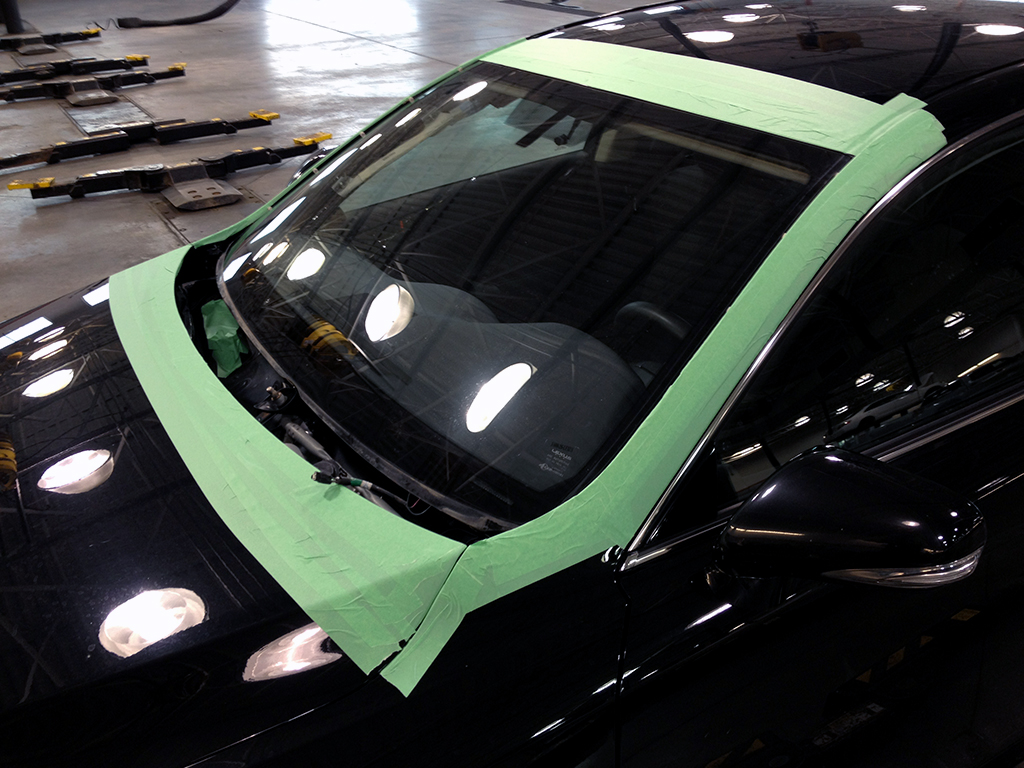
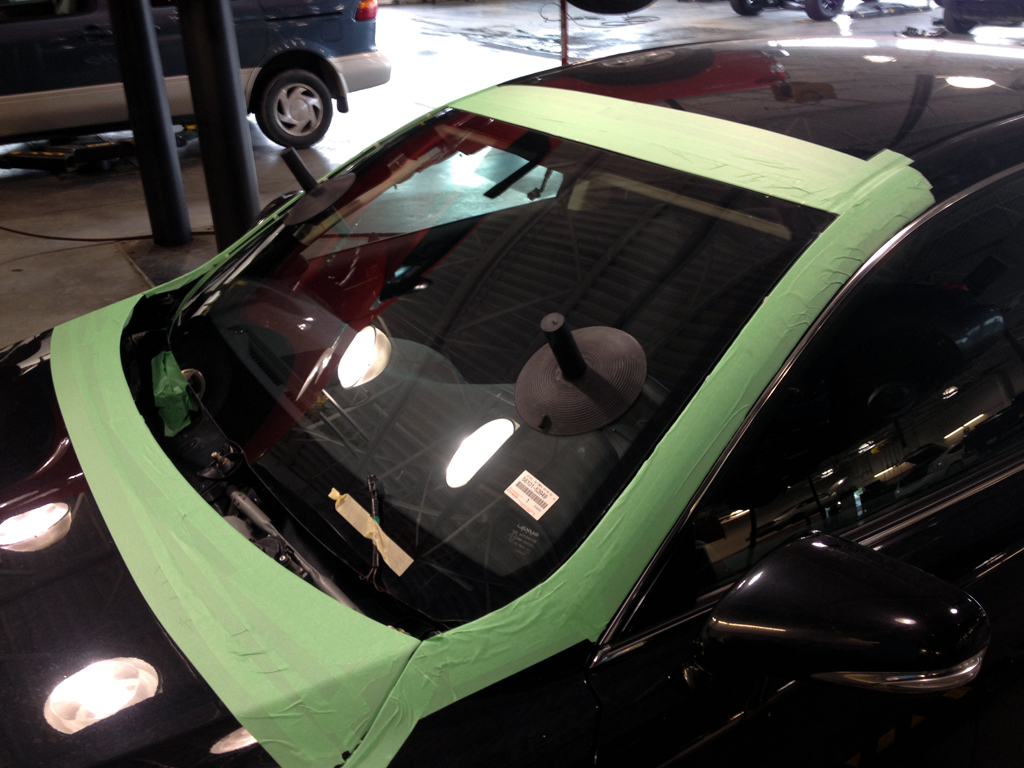
I then taped the exterior A-pillars, roof and hood around the windshield to prevent scratching the paint when removing/installing the mouldings or glass, and to prevent any adhesive from getting on the paint if there is a mistake while installing the glass. The wiper arms and cowl were also removed to allow access to the glass.
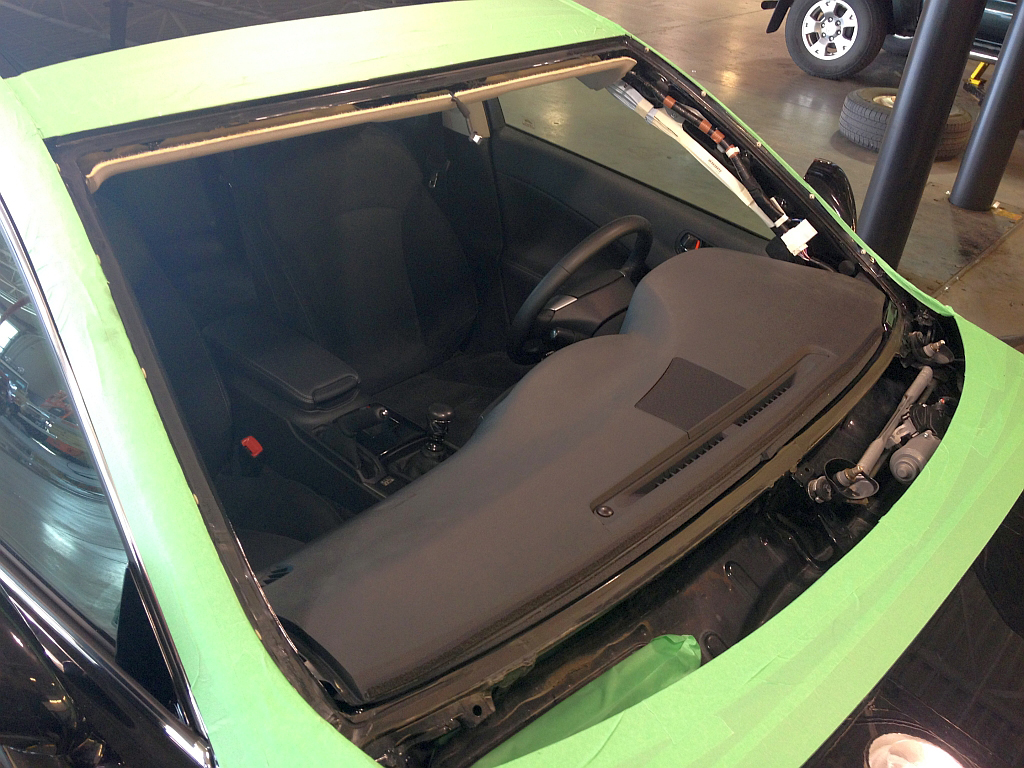
Glass removed. While I have done this myself in the past, I had someone come and do this one step for me. Mainly because of how close the glass is to the body at the top of the windshield (4mm gap) on the Lexus. I didn't want to risk damaging the body, while I don't normally trust glass people, I do know one person with the tools who takes his time and doesn't damage anything, if I wasn't installing it myself, I'd have gotten him to do it for sure.
Covered it up for the weekend so nothing gets in.
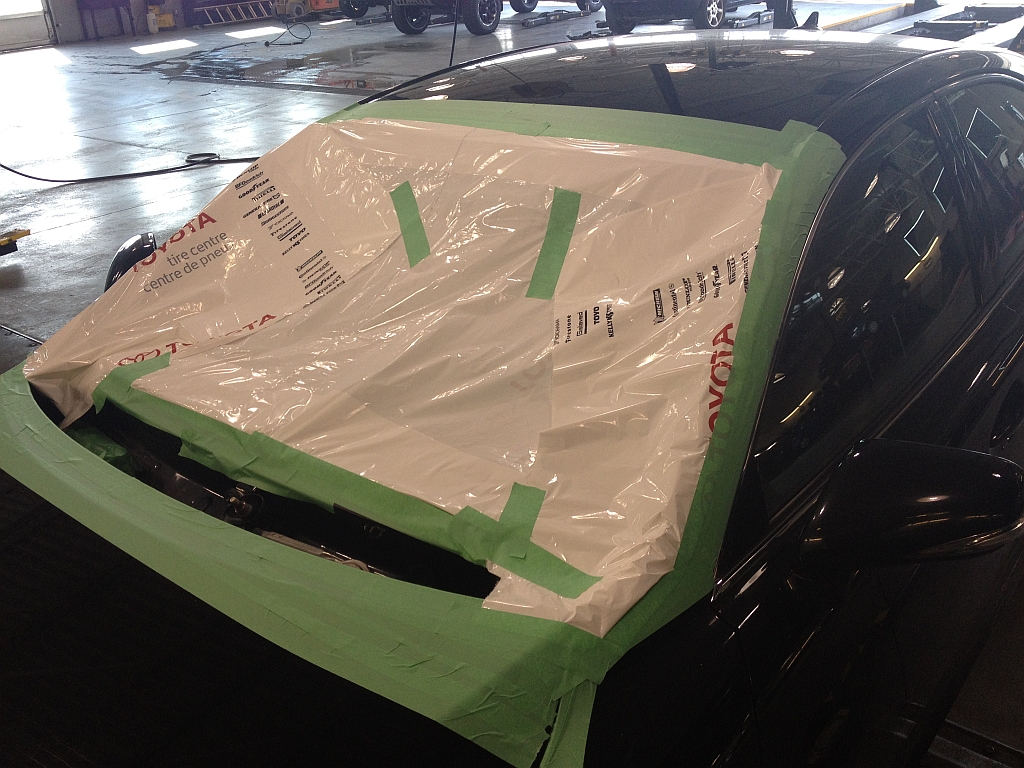
JDM tyte!

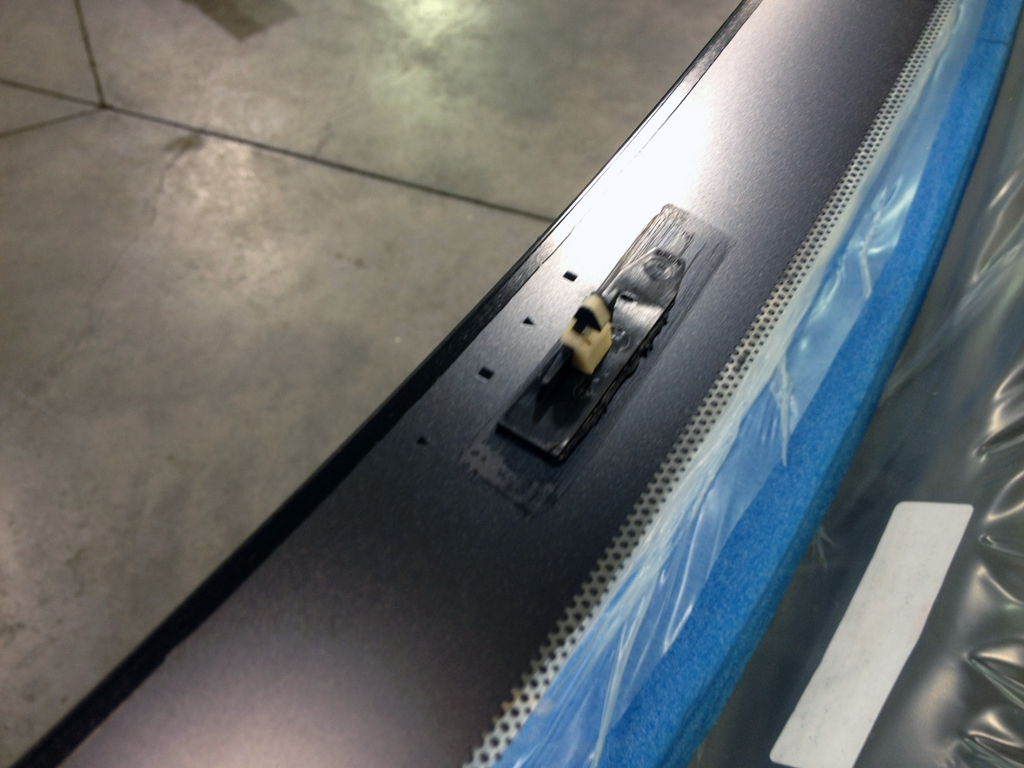
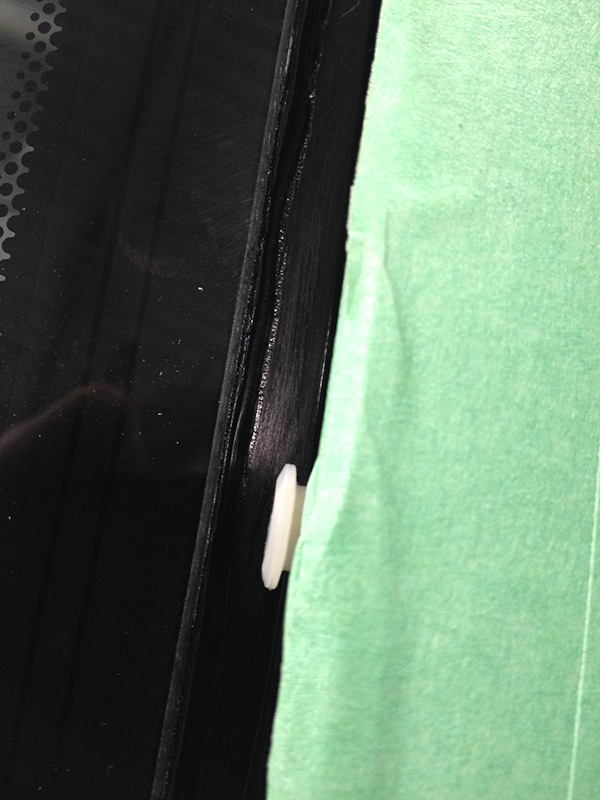
So after opening up the new factory glass, I found that the new glass had the factory-style 1-piece stopper clips already installed on the glass. The ones I previously posted (2-piece), are to be used when reusing the glass I guess, or if you wanted to use them on aftermarket glass I guess you could. You can see the markings on the glass for positioning the stoppers.
The first step to prep the glass is to apply glass primer to all of the areas where adhesive is going to be applied, this includes where the upper moulding and adhesive dam go. After applying the primer and letting it dry for 3 minutes, I installed the upper moulding and adhesive dam to the glass, making sure to take careful measurements so it all went in the right place.
I then test fit the glass in the car to make sure it was correct, the factory upper stoppers worked beautifully to position the glass, and after a slight adjustment to the right it was sitting perfect.
After the successful test fit, I cut the tip for the urethane to a V-shape as per Lexus' instructions. Using a V-shape actually makes it easier to apply an even bead as well I've found versus using a round bead. V-shape: 8mm x 12mm high, though it actually ends up being about 6-7mm wide as you go, which is on par Lexus' instructions stating a 3mm centre-line for the V.
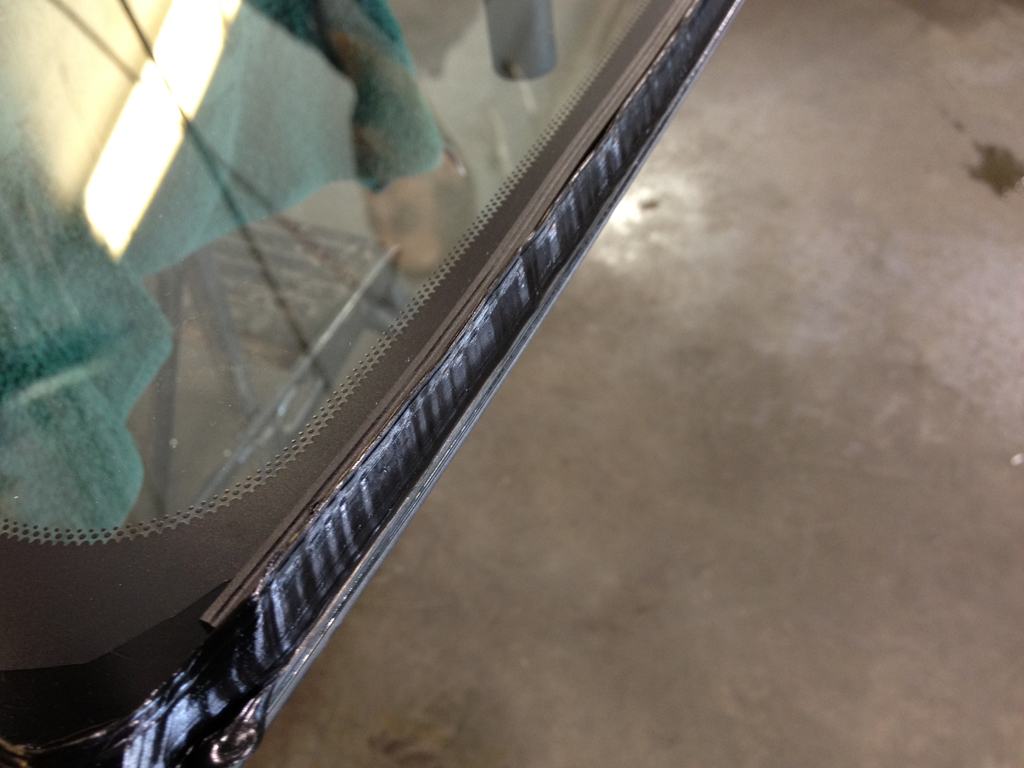
You can see that once the glass is in place, there is almost no excess. The upper stoppers again held the glass in place and I had marks for left/right position so that it would also be perfect. Here you can see the side area and the perfect amount of urethane without any excess to bond to the side moulding, etc.
Here you can see the glass installed with the new blue side moulding clips installed on each side. These are to be removed/replaced when changing the windshield. They are basically 1-time use clips and I had to replace them all.
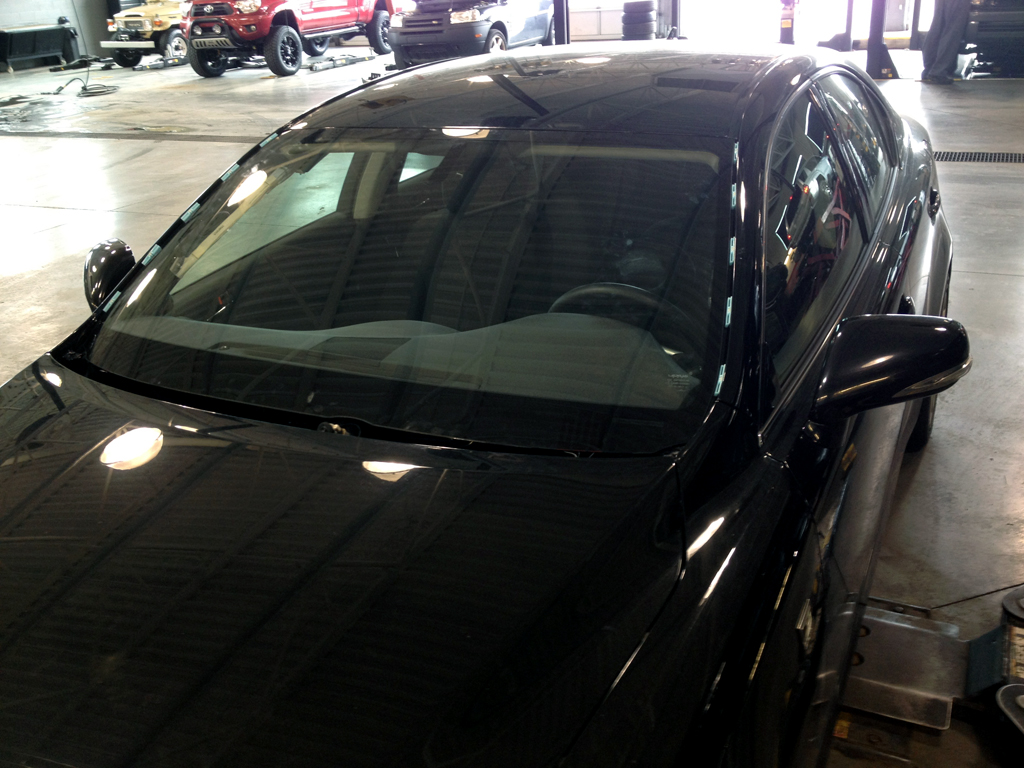
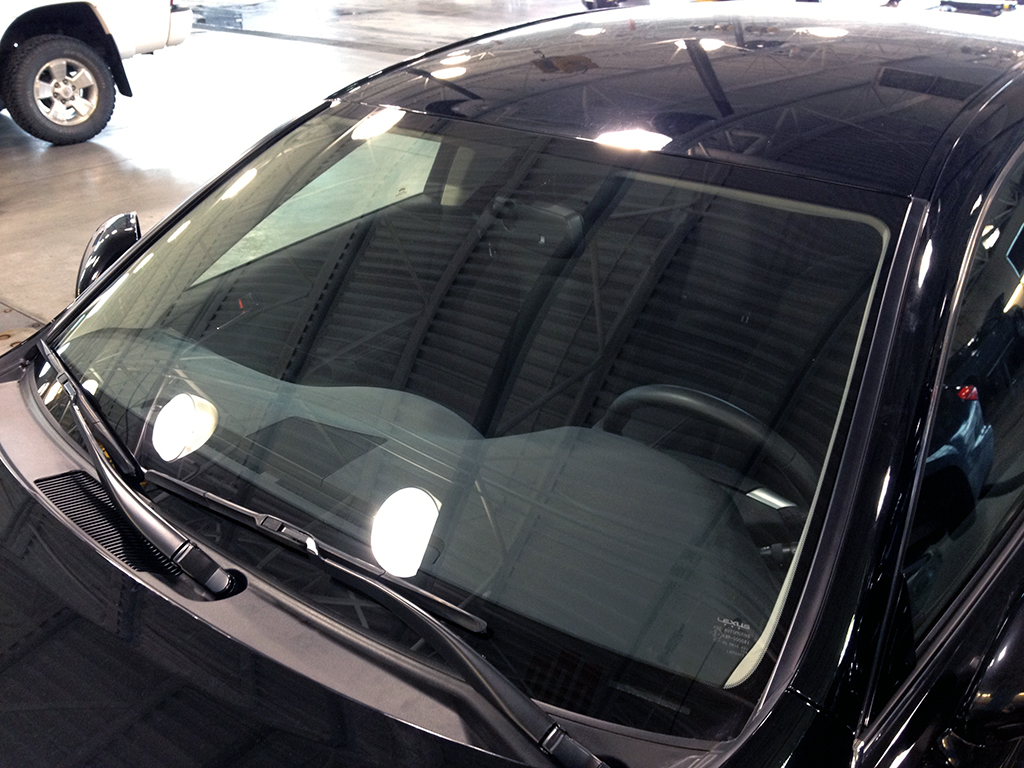
Finally after waiting the prescribed 5-hours for curing, the car was ready to drive. New windshield installed, all interior put back in, no excess urethane, nothing scratched or cut. I didn't even get any urethane on my hands (a first) while doing this installation. I am very pleased to say the least.
Jeff
Over the past years I have become more and more disillusioned with glass installers. I've seen car after car get windshield after windshield poorly installed, with excess adhesive, misalignment, scratches, etc., etc. They just don't care, and they often times get paid per install. Customers want cheap and fast installations, they don't want to leave their car to get taken apart and then wait for the proper curing time, nor do they want to pay for the time it takes to do that.
After having numerous problems with my own various cars, I decided that I would no longer let someone else do for me what I believe I can do myself. I've since installed 3 windshields in various types of cars and am gaining a pretty decent ability. It takes me a long time and a lot of preparation, but it's done right and I know no steps were skipped.
All that being said, I still never look forward to having to replace a windshield, and when I got a large chip 2 weeks ago that spread very quickly before I could get it repaired, I knew I was going to need to install another one. :sad: I haven't finished the job yet, I will be installing the new glass tomorrow, but I figured I'd post what I've done so far in case anyone is interested in seeing how Lexus actually says to do the glass versus what most people have probably seen happen when they got their windshield replaced.
We'll start with a new factory windshield glass from Lexus, heated without auto wipers:
There are also a few other parts you'll need, as most of these are damaged while removing the old glass. This includes the top moulding, adhesive dam, some clips. The side mouldings are reusable if you can get them off without breaking them. I almost did, but there was a bit too much adhesive and it held them on too tightly so they broke.
Brought in a windshield glass installation kit from Japan. Drive Joy is Toyota's aftermarket brand in Japan, I tried to get the genuine kit from Toyota, but they don't sell it, had to get the Drive Joy kit.
Installation kit includes body primer, glass primer, piano wire and the adhesive itself. Lexus instructions give specific instructions on how the adhesive is to be applied.
No.1 and No.2 upper retainers, on the body and glass to hold it in place while the adhesive cures. Should make sure the glass keeps the 4mm gap between the glass and body at the top. A-pillar interior and exterior trim clips to make sure things are tight.
Upper moulding and adhesive dam. The adhesive dam is very rarely used by glass installers I've found. It prevents the adhesive from moving inwards to wards the interior while curing, it also provides a nice guide for laying down the urethane.
Now that I've got all of the parts I'll need, I can start prepping the car to remove the glass, here I've pulled the door sill plates and dash side panels to be able to remove the interior A-pillar trim.
After removing these parts I've taped the door sills, sometimes when trying to get a good angle to cut/remove/install the glass this area is stepped on. I didn't want the factory scuff plates or paint scratched or damaged if this happened.
Here I've carefully removed the grab handles, sunvisors, dome light assembly, rear view mirror and interior A-pillar trim to slightly drop the headliner and allow more access to cut out the glass without risking a nick or cut to the headliner.
I then taped the exterior A-pillars, roof and hood around the windshield to prevent scratching the paint when removing/installing the mouldings or glass, and to prevent any adhesive from getting on the paint if there is a mistake while installing the glass. The wiper arms and cowl were also removed to allow access to the glass.
Glass removed. While I have done this myself in the past, I had someone come and do this one step for me. Mainly because of how close the glass is to the body at the top of the windshield (4mm gap) on the Lexus. I didn't want to risk damaging the body, while I don't normally trust glass people, I do know one person with the tools who takes his time and doesn't damage anything, if I wasn't installing it myself, I'd have gotten him to do it for sure.
Covered it up for the weekend so nothing gets in.
JDM tyte!
So after opening up the new factory glass, I found that the new glass had the factory-style 1-piece stopper clips already installed on the glass. The ones I previously posted (2-piece), are to be used when reusing the glass I guess, or if you wanted to use them on aftermarket glass I guess you could. You can see the markings on the glass for positioning the stoppers.
The first step to prep the glass is to apply glass primer to all of the areas where adhesive is going to be applied, this includes where the upper moulding and adhesive dam go. After applying the primer and letting it dry for 3 minutes, I installed the upper moulding and adhesive dam to the glass, making sure to take careful measurements so it all went in the right place.
I then test fit the glass in the car to make sure it was correct, the factory upper stoppers worked beautifully to position the glass, and after a slight adjustment to the right it was sitting perfect.
After the successful test fit, I cut the tip for the urethane to a V-shape as per Lexus' instructions. Using a V-shape actually makes it easier to apply an even bead as well I've found versus using a round bead. V-shape: 8mm x 12mm high, though it actually ends up being about 6-7mm wide as you go, which is on par Lexus' instructions stating a 3mm centre-line for the V.
You can see that once the glass is in place, there is almost no excess. The upper stoppers again held the glass in place and I had marks for left/right position so that it would also be perfect. Here you can see the side area and the perfect amount of urethane without any excess to bond to the side moulding, etc.
Here you can see the glass installed with the new blue side moulding clips installed on each side. These are to be removed/replaced when changing the windshield. They are basically 1-time use clips and I had to replace them all.
Finally after waiting the prescribed 5-hours for curing, the car was ready to drive. New windshield installed, all interior put back in, no excess urethane, nothing scratched or cut. I didn't even get any urethane on my hands (a first) while doing this installation. I am very pleased to say the least.
Jeff
")