
2J Response Build
- Thread starter DaleH
- Start date
You are using an out of date browser. It may not display this or other websites correctly.
You should upgrade or use an alternative browser.
You should upgrade or use an alternative browser.
toy_dremer;1468228 said:Subscribed! Looking good there Dale!
Mr.PFloyd;1468274 said:sweet looking build. Nice seats, and clean car! Good Luck!
Thanks! :icon_bigg
Today:
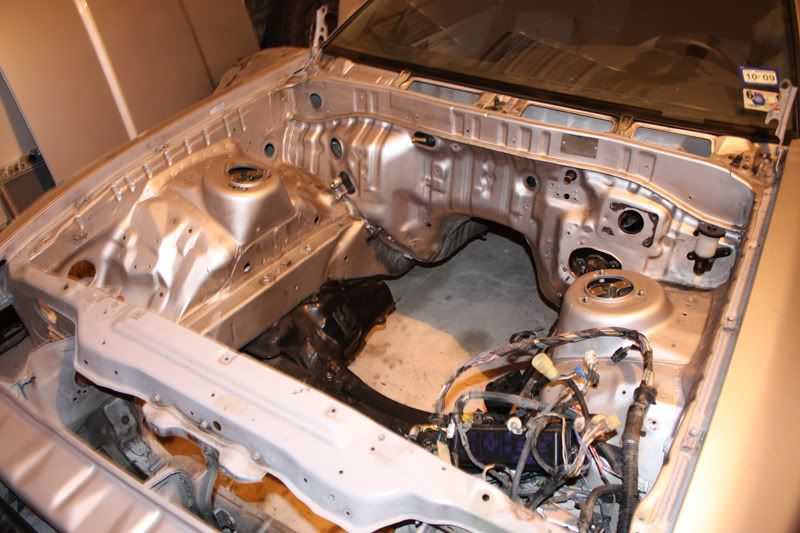
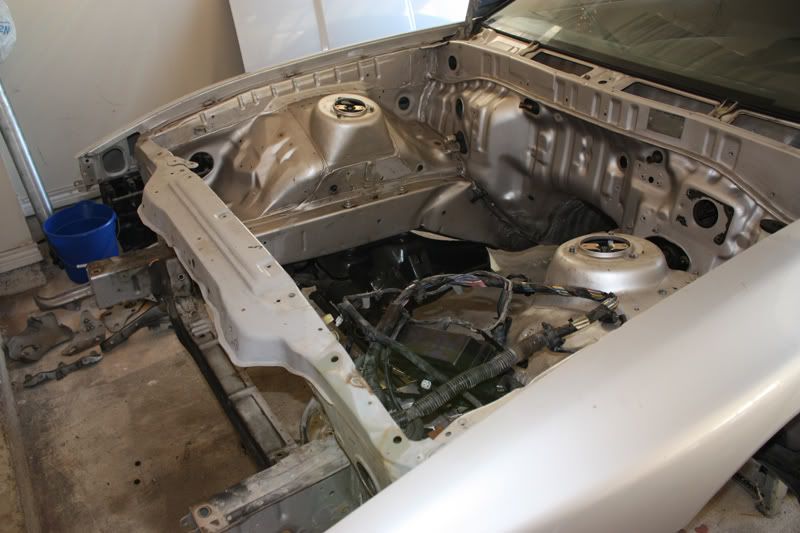
I got the bay/front pretty much ready to start prepping for paint. I have to remove the Clutch Master Cylinder and possibly the front impact bumper; might make it easier to paint. I also coiled all of the front clip wires up, going to figure out if I can disconnect the whole thing easily or if I'll have to hang it up while I paint.
I am going to take this time to completely remove all the stock loom/tape/wrap, clean the wires and re-loom/tape/wrap. Also, deleting a few of the connectors I won't ever use again; Fuel Pump Relay, Resistor, AC Crap, etc.
I have been thinking about what color black to paint it for a couple years and I finally picked one..... going with BMW Jet Black 668!
You live in Texas and NOT going to have A/C :aigo::aigo::aigo::aigo:
Are you nuts! Last time I checked it gets pretty warm down there. Maybe it is just me but I don't like to sweat wile driving. 90+ degrees with the targa off is still hot as hell inside the car. I would have fixed / repaired it. Never the less nice progress.
Are you nuts! Last time I checked it gets pretty warm down there. Maybe it is just me but I don't like to sweat wile driving. 90+ degrees with the targa off is still hot as hell inside the car. I would have fixed / repaired it. Never the less nice progress.
^^^ me too, its get hot up here in VA. Cant stand it, i did my sway and didnt have time to put the ac pulley and belts back on for a few days. OMG, couldnt take much of the heat anymore.
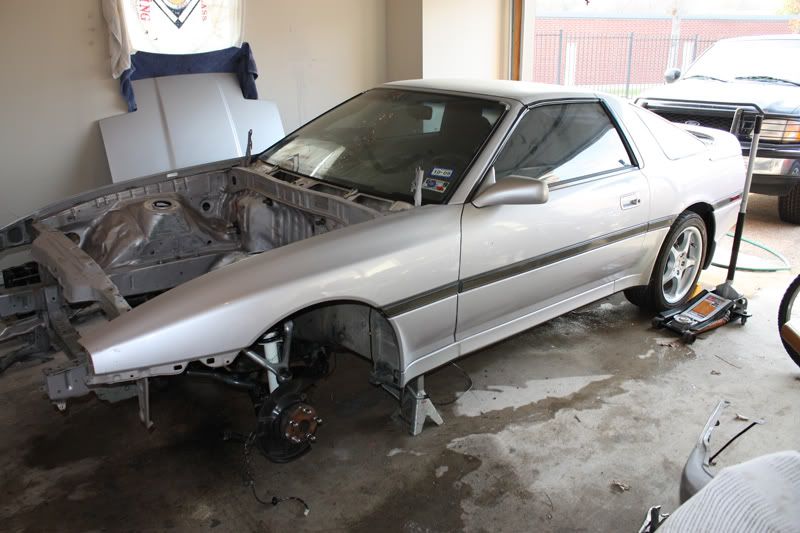
Sweet build dude, i like the silver, definitely not common. Nice interior, where did u get it?
Sweet build dude, i like the silver, definitely not common. Nice interior, where did u get it?
92nsx;1469737 said:You live in Texas and NOT going to have A/C :aigo::aigo::aigo::aigo:
Are you nuts! Last time I checked it gets pretty warm down there. Maybe it is just me but I don't like to sweat wile driving. 90+ degrees with the targa off is still hot as hell inside the car. I would have fixed / repaired it. Never the less nice progress.
akito;1469777 said:^^^ me too, its get hot up here in VA. Cant stand it, i did my sway and didnt have time to put the ac pulley and belts back on for a few days. OMG, couldnt take much of the heat anymore.
Sweet build dude, i like the silver, definitely not common. Nice interior, where did u get it?
ahuynh12;1469840 said:sweet build...good luck with everything
Thanks!
LoL, it does get pretty hot here... humid as well; but it hasn't worked in 9 years! I'm moving to Oregon in May anyways :icon_bigg. So, what better time to drop some weight and clean up the bay!
The seats are a mix of about five MKIII Recaros I picked up off ebay. Took them completely apart and put together two identical ones and had new skins made. They are a pain in the ass to assemble! The back seat is the stock one, just reupholstered to match.
Today:
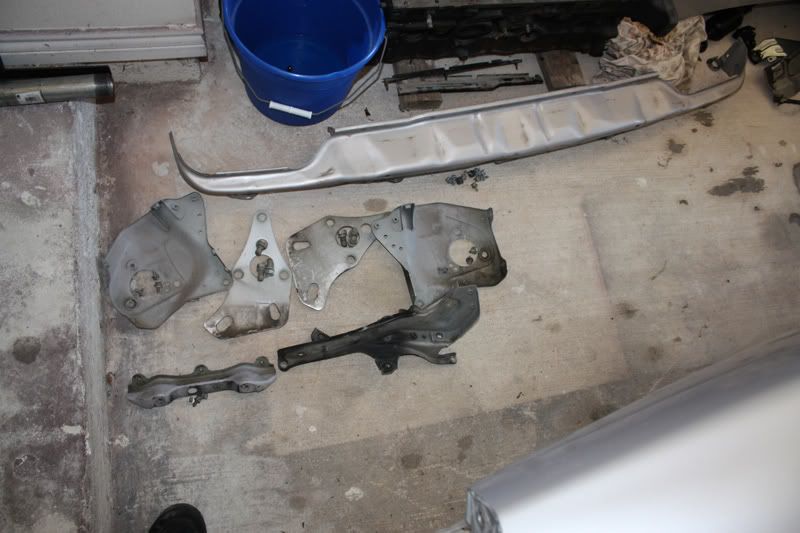
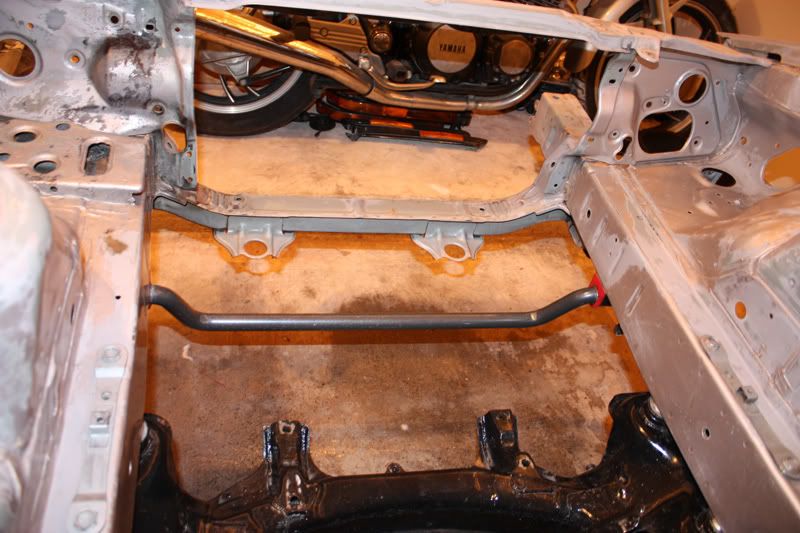
Didn't really get too much done today, removed all of the front bumper and nose piece bracing. I am going to have them powdercoated black instead of painting them. Also, removed the front braking system to go in for powdercoating.
I keep cleaning on the bay but it's slow progress, oil/grease in tiny gaps. I should hopefully start wet sanding it early this week.
Brackets to be powdercoated.
Damn, very clean car you have there.
This is very motivating for me to get me swap done this year while I have a big garage!
This is very motivating for me to get me swap done this year while I have a big garage!
I did a moderate wire tuck during my build and I found it much better and easier to do it with the fenders off, if you take the inner fenders out, you can undo the the harness inside below the dash kick panels and pull the entre engine bay harness out as one piece. much like the engine harness through the firewall. It definitly makes it easier to hide cruise control, ac relays, and all other unecessary items. Also did a good battery relocaion with a battery terminal thats hidden so I dont have ugly battery wires all over the place
suprarx7nut;1470033 said:Damn, very clean car you have there.
This is very motivating for me to get me swap done this year while I have a big garage!
Thanks! :icon_bigg
grifter679;1470153 said:I did a moderate wire tuck during my build and I found it much better and easier to do it with the fenders off, if you take the inner fenders out, you can undo the the harness inside below the dash kick panels and pull the entre engine bay harness out as one piece. much like the engine harness through the firewall. It definitly makes it easier to hide cruise control, ac relays, and all other unecessary items. Also did a good battery relocaion with a battery terminal thats hidden so I dont have ugly battery wires all over the place
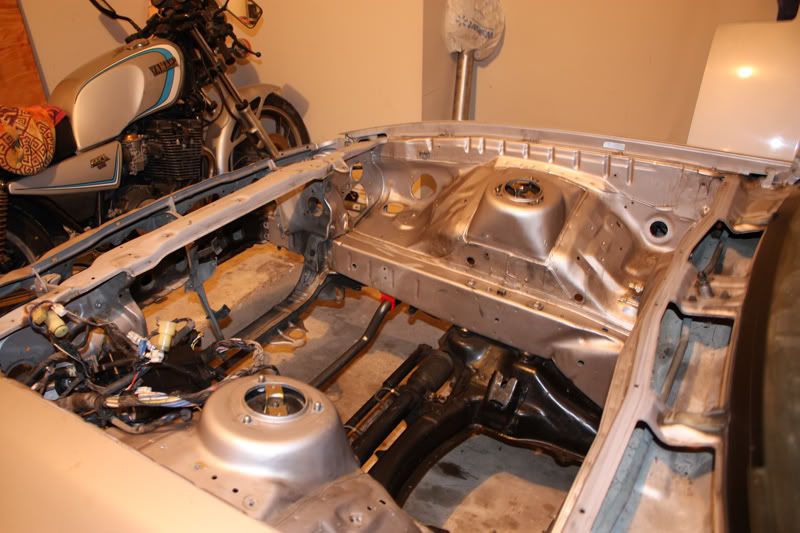
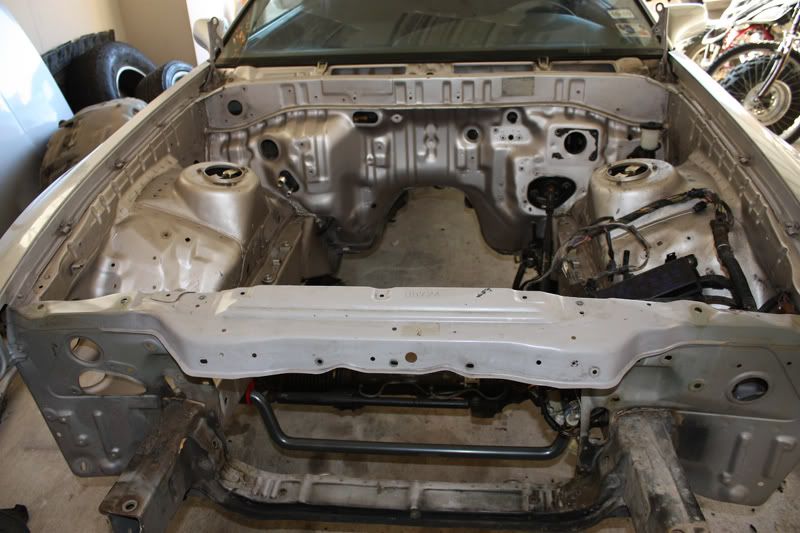
Got it completely out today! Wasn't as bad as I thought it would be.
dmiller;1470778 said:where in oregon are you moving too?
I would like to settle in Bend/Sunriver area, but if the job situation doesn't work out.... most likely Portland.
Today:
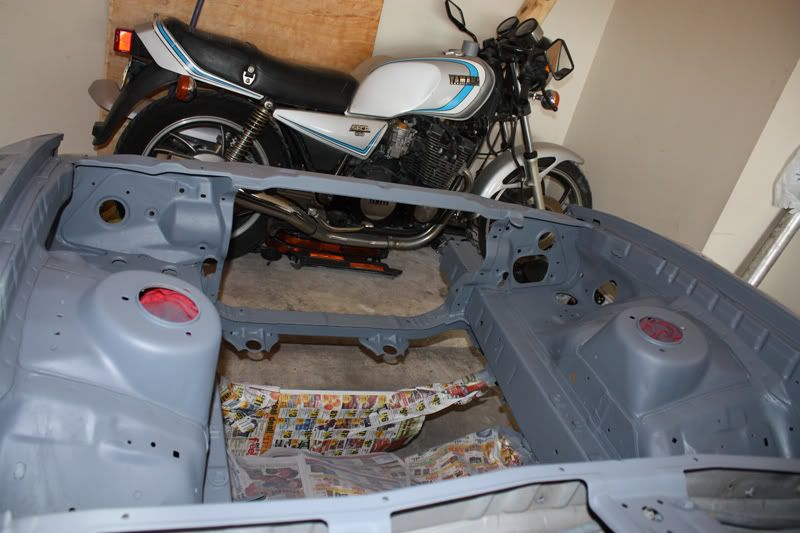
I have a new found respect for automotive painters, sanding sucks! I have been cleaning/degreasing/wetsanding the entire front clip/bay for the last two days! I did manage to get the full wiring harness out, as well as the rack. I am hoping to have it primed tommorrow.
I am not a painter in the slightest, but I do know prep is very very important :icon_razz. I have never painted a base coat/clear coat project either, so this will be a first. Had the paint mixed yesterday, BMW Jet Black 668. If anyone has any suggestions for how many layers and type of sanding in between I am all ears! As of now, I am doing two coats of primer w/ 400 grit inbetween..... then 3 base coats 400 grit inbetween.... then 3 coats of clear 400 inbetween and maybe something really high grit on the last... 600-1000?
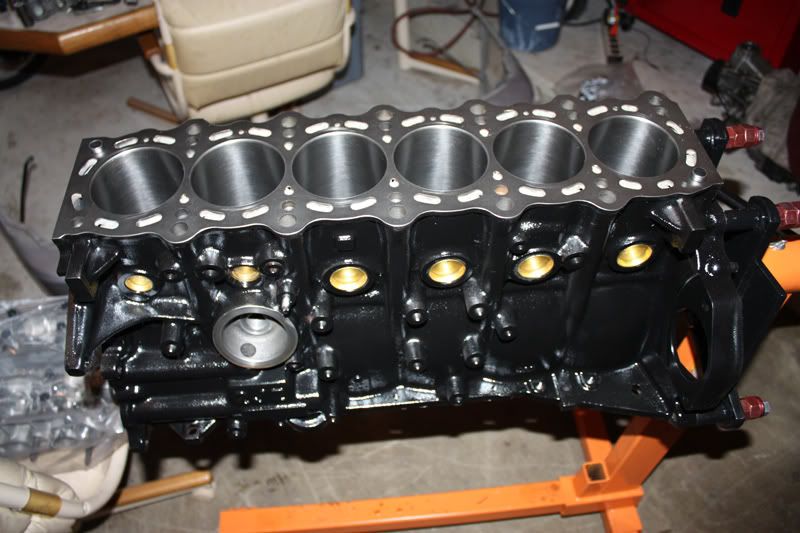
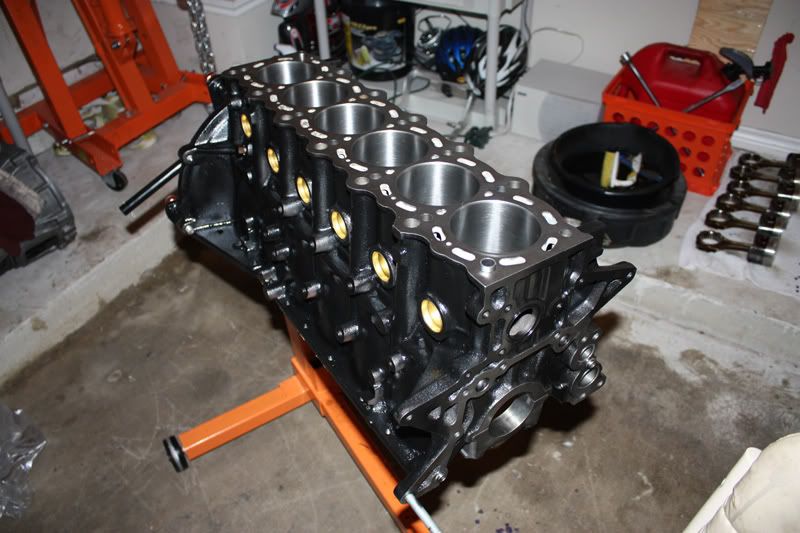
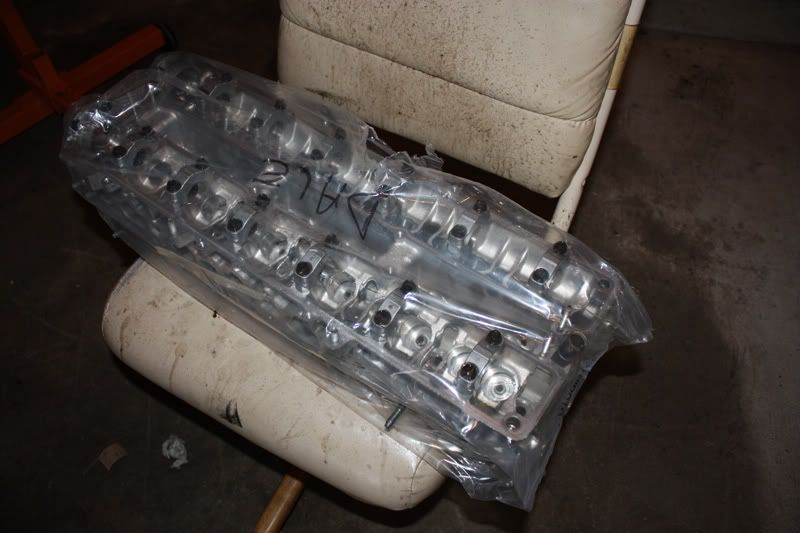
Gasket set should get here Thursday, so I will be assembling the head minus the cams then!

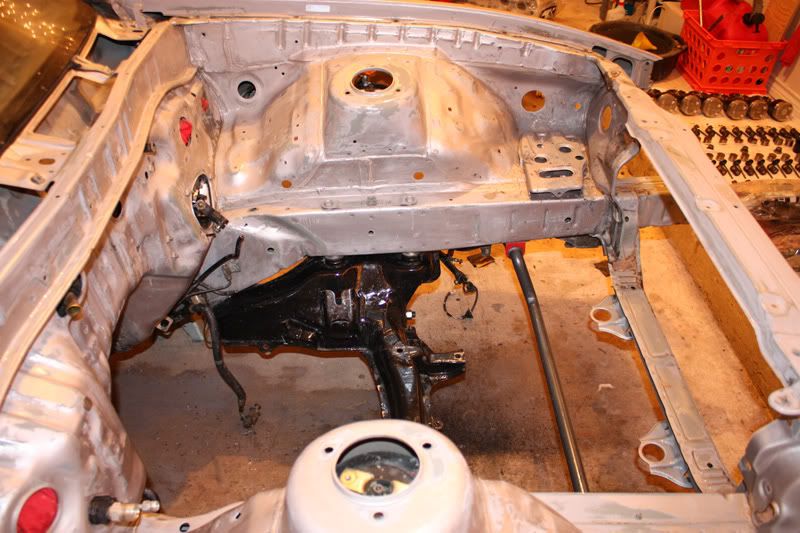

I have a new found respect for automotive painters, sanding sucks! I have been cleaning/degreasing/wetsanding the entire front clip/bay for the last two days! I did manage to get the full wiring harness out, as well as the rack. I am hoping to have it primed tommorrow.
I am not a painter in the slightest, but I do know prep is very very important :icon_razz. I have never painted a base coat/clear coat project either, so this will be a first. Had the paint mixed yesterday, BMW Jet Black 668. If anyone has any suggestions for how many layers and type of sanding in between I am all ears! As of now, I am doing two coats of primer w/ 400 grit inbetween..... then 3 base coats 400 grit inbetween.... then 3 coats of clear 400 inbetween and maybe something really high grit on the last... 600-1000?
Gasket set should get here Thursday, so I will be assembling the head minus the cams then!
for sanding, use 180-240 for the initial sanding in order to get the prmer to stick.
For the first coat, lay it on thick over a course of 2-3 coats, dont worry about runs.
now use 240-400 grit for the next sanding, get it all smooth, and use guide coat if your OCD, eventhough there arent any big panels to really need it.
primer again but be more careful this time, you just want to get good coverage, and smoothness counts.
final sanding 400-600 grit, you can use dry sandpaper or for a good finish use 600 grit wet sand.
Final Prep
clean with wax and grease remover, use tack rags to get all of the left over shit off
then shoot sealer
tack between sealer and base ( I suggest going with single stage instead of 2 stage color with clear)
dmiller;1471570 said:im just across the river from portland. I plan on seeing your supra around
:icon_bigg
grifter679;1471614 said:for sanding, use 180-240 for the initial sanding in order to get the prmer to stick.
For the first coat, lay it on thick over a course of 2-3 coats, dont worry about runs.
now use 240-400 grit for the next sanding, get it all smooth, and use guide coat if your OCD, eventhough there arent any big panels to really need it.
primer again but be more careful this time, you just want to get good coverage, and smoothness counts.
final sanding 400-600 grit, you can use dry sandpaper or for a good finish use 600 grit wet sand.
Final Prep
clean with wax and grease remover, use tack rags to get all of the left over shit off
then shoot sealer
tack between sealer and base ( I suggest going with single stage instead of 2 stage color with clear)
Thanks for the info, I am going to mix together a couple of methods I have been reading on. I have to use lots of clear! :biglaugh: I like the looks of a base/clear bay too much to just stick with the base.
Today:
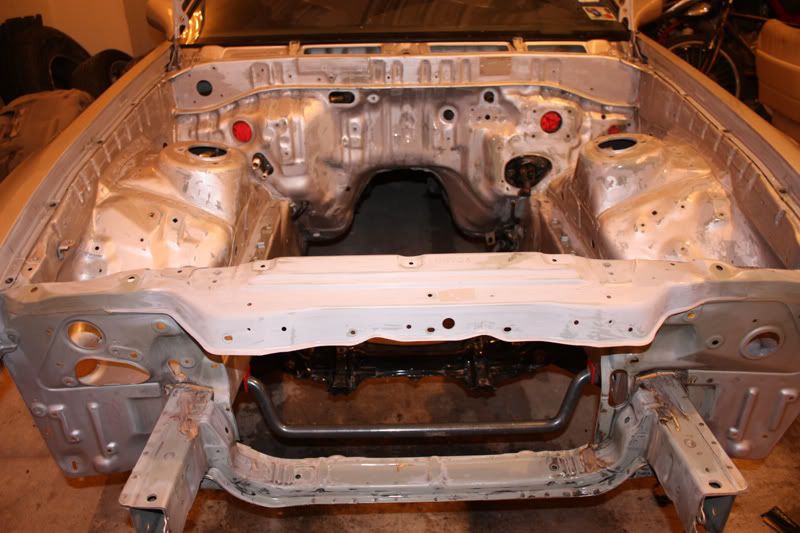
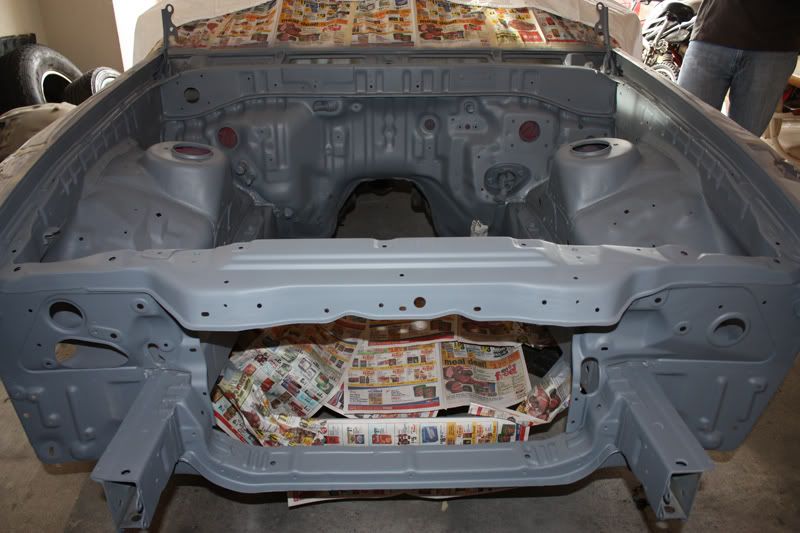
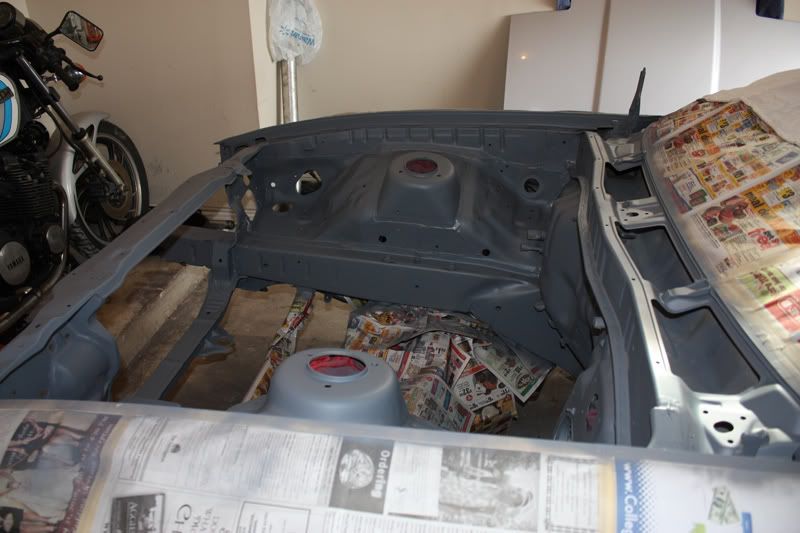
It has two coats of primer on it now! Going to do a little wet sanding and shoot the color tommorrow!
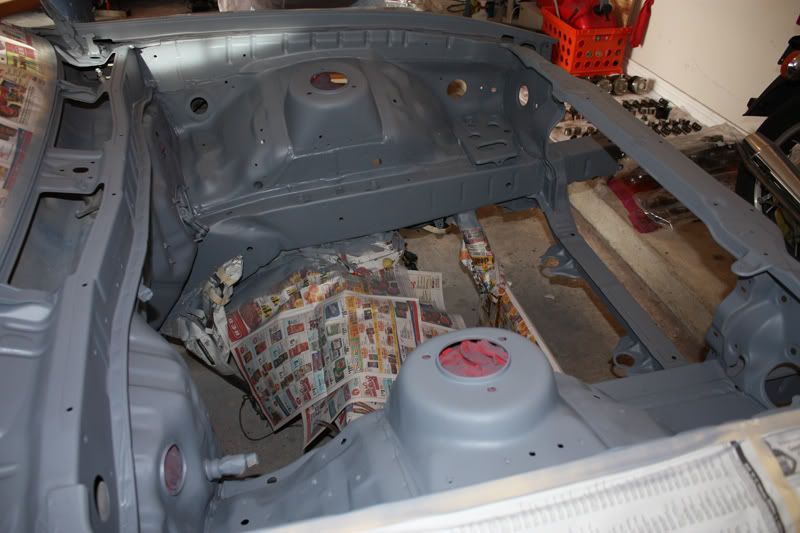
dslocal;1471918 said:looking nice but i'm wondering why you sisn't fill the wholes in the engine bay you aren't using?
I thought about doing it, but unsure as to which holes I will put to use with the 2J swap. There are alot of holes showing now because I pulled every rubber cap out. I am going to recap all of the frame holes, but have to figure out a clean/slick way to take care of some of the relay mounting holes.
ahuynh12;1471931 said:Cool project
Thanks!