Chambers Build Thread - "Daily Eighty-Seven"
- Thread starter Chambers
- Start date
You are using an out of date browser. It may not display this or other websites correctly.
You should upgrade or use an alternative browser.
You should upgrade or use an alternative browser.
Yea, they seem to wreck stuff in a short amount of time... I put out two traps with some peanut butter, and allready have got three.
So, I just orderd Dyna-mat today, so now I just got to get the stock sound sound material out. I KNOW thats gonna be fun! I'm also going to pull out the AC evaporator in the dash ductwork.
So, I just orderd Dyna-mat today, so now I just got to get the stock sound sound material out. I KNOW thats gonna be fun! I'm also going to pull out the AC evaporator in the dash ductwork.
How do you plan on removing the stock sound deadening? Just going at it with a scrapper?
I am going to be removing mine as well, just trying to find the easiest way to do it
I am going to be removing mine as well, just trying to find the easiest way to do it
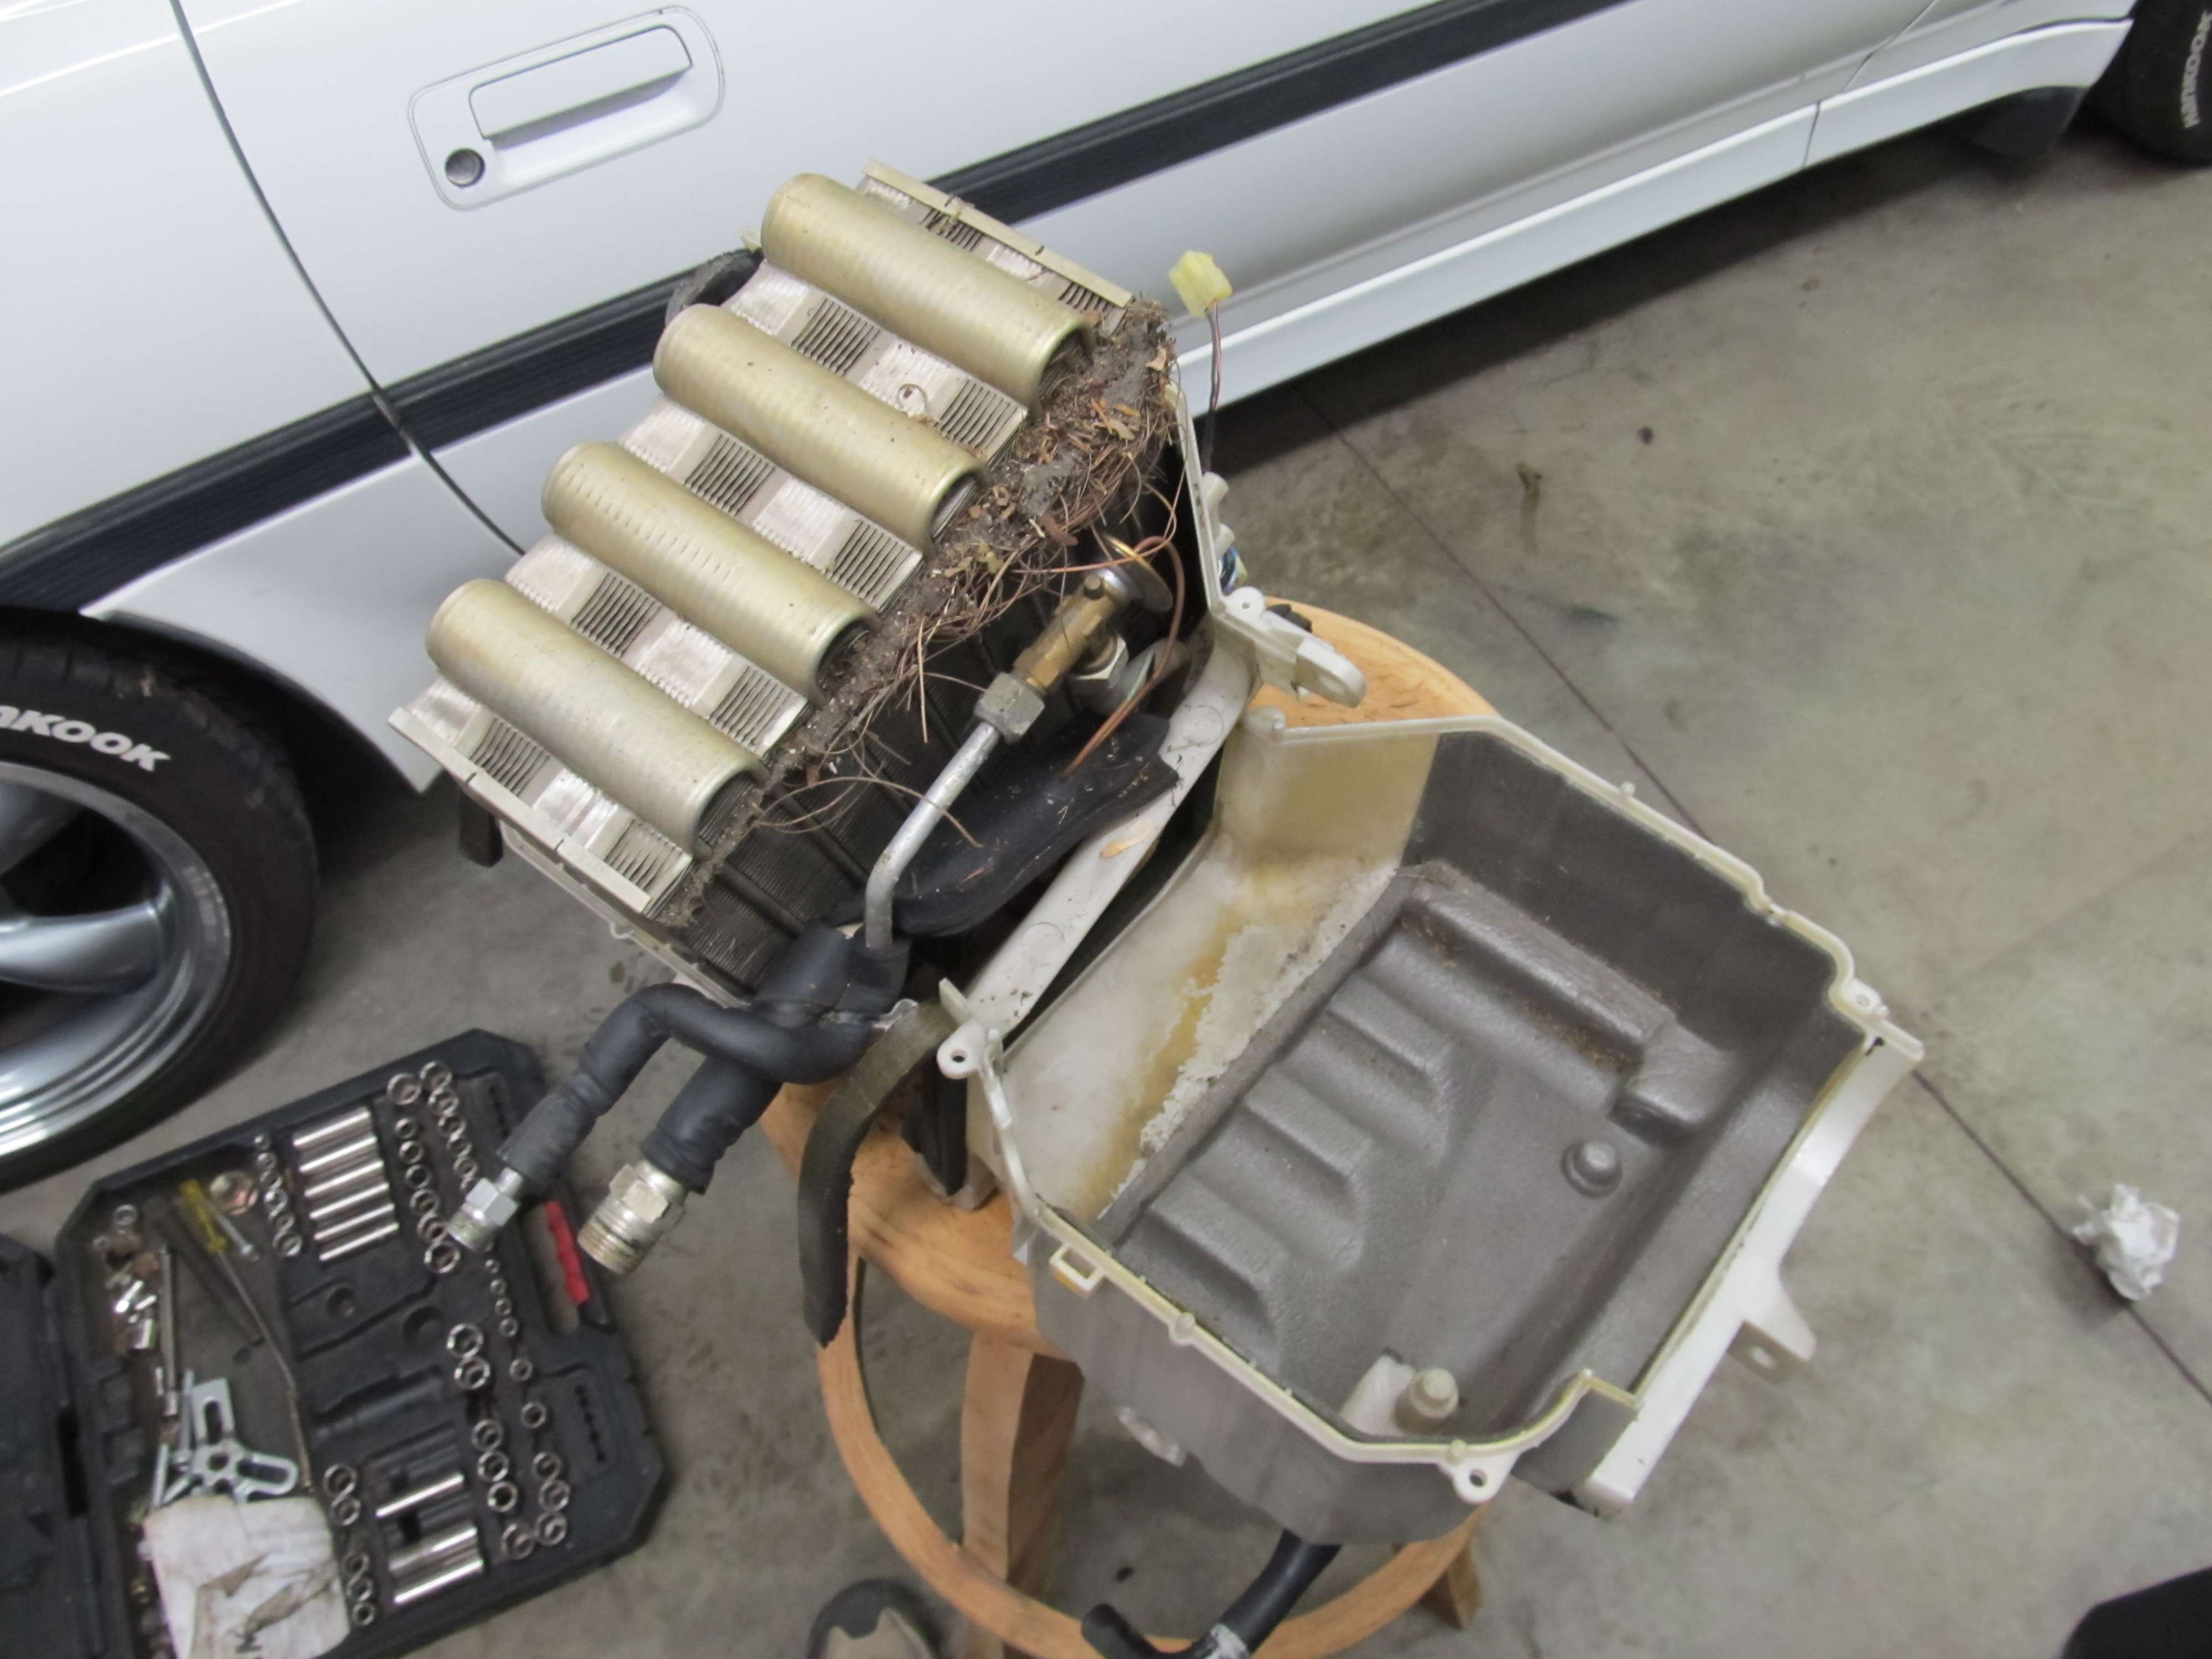
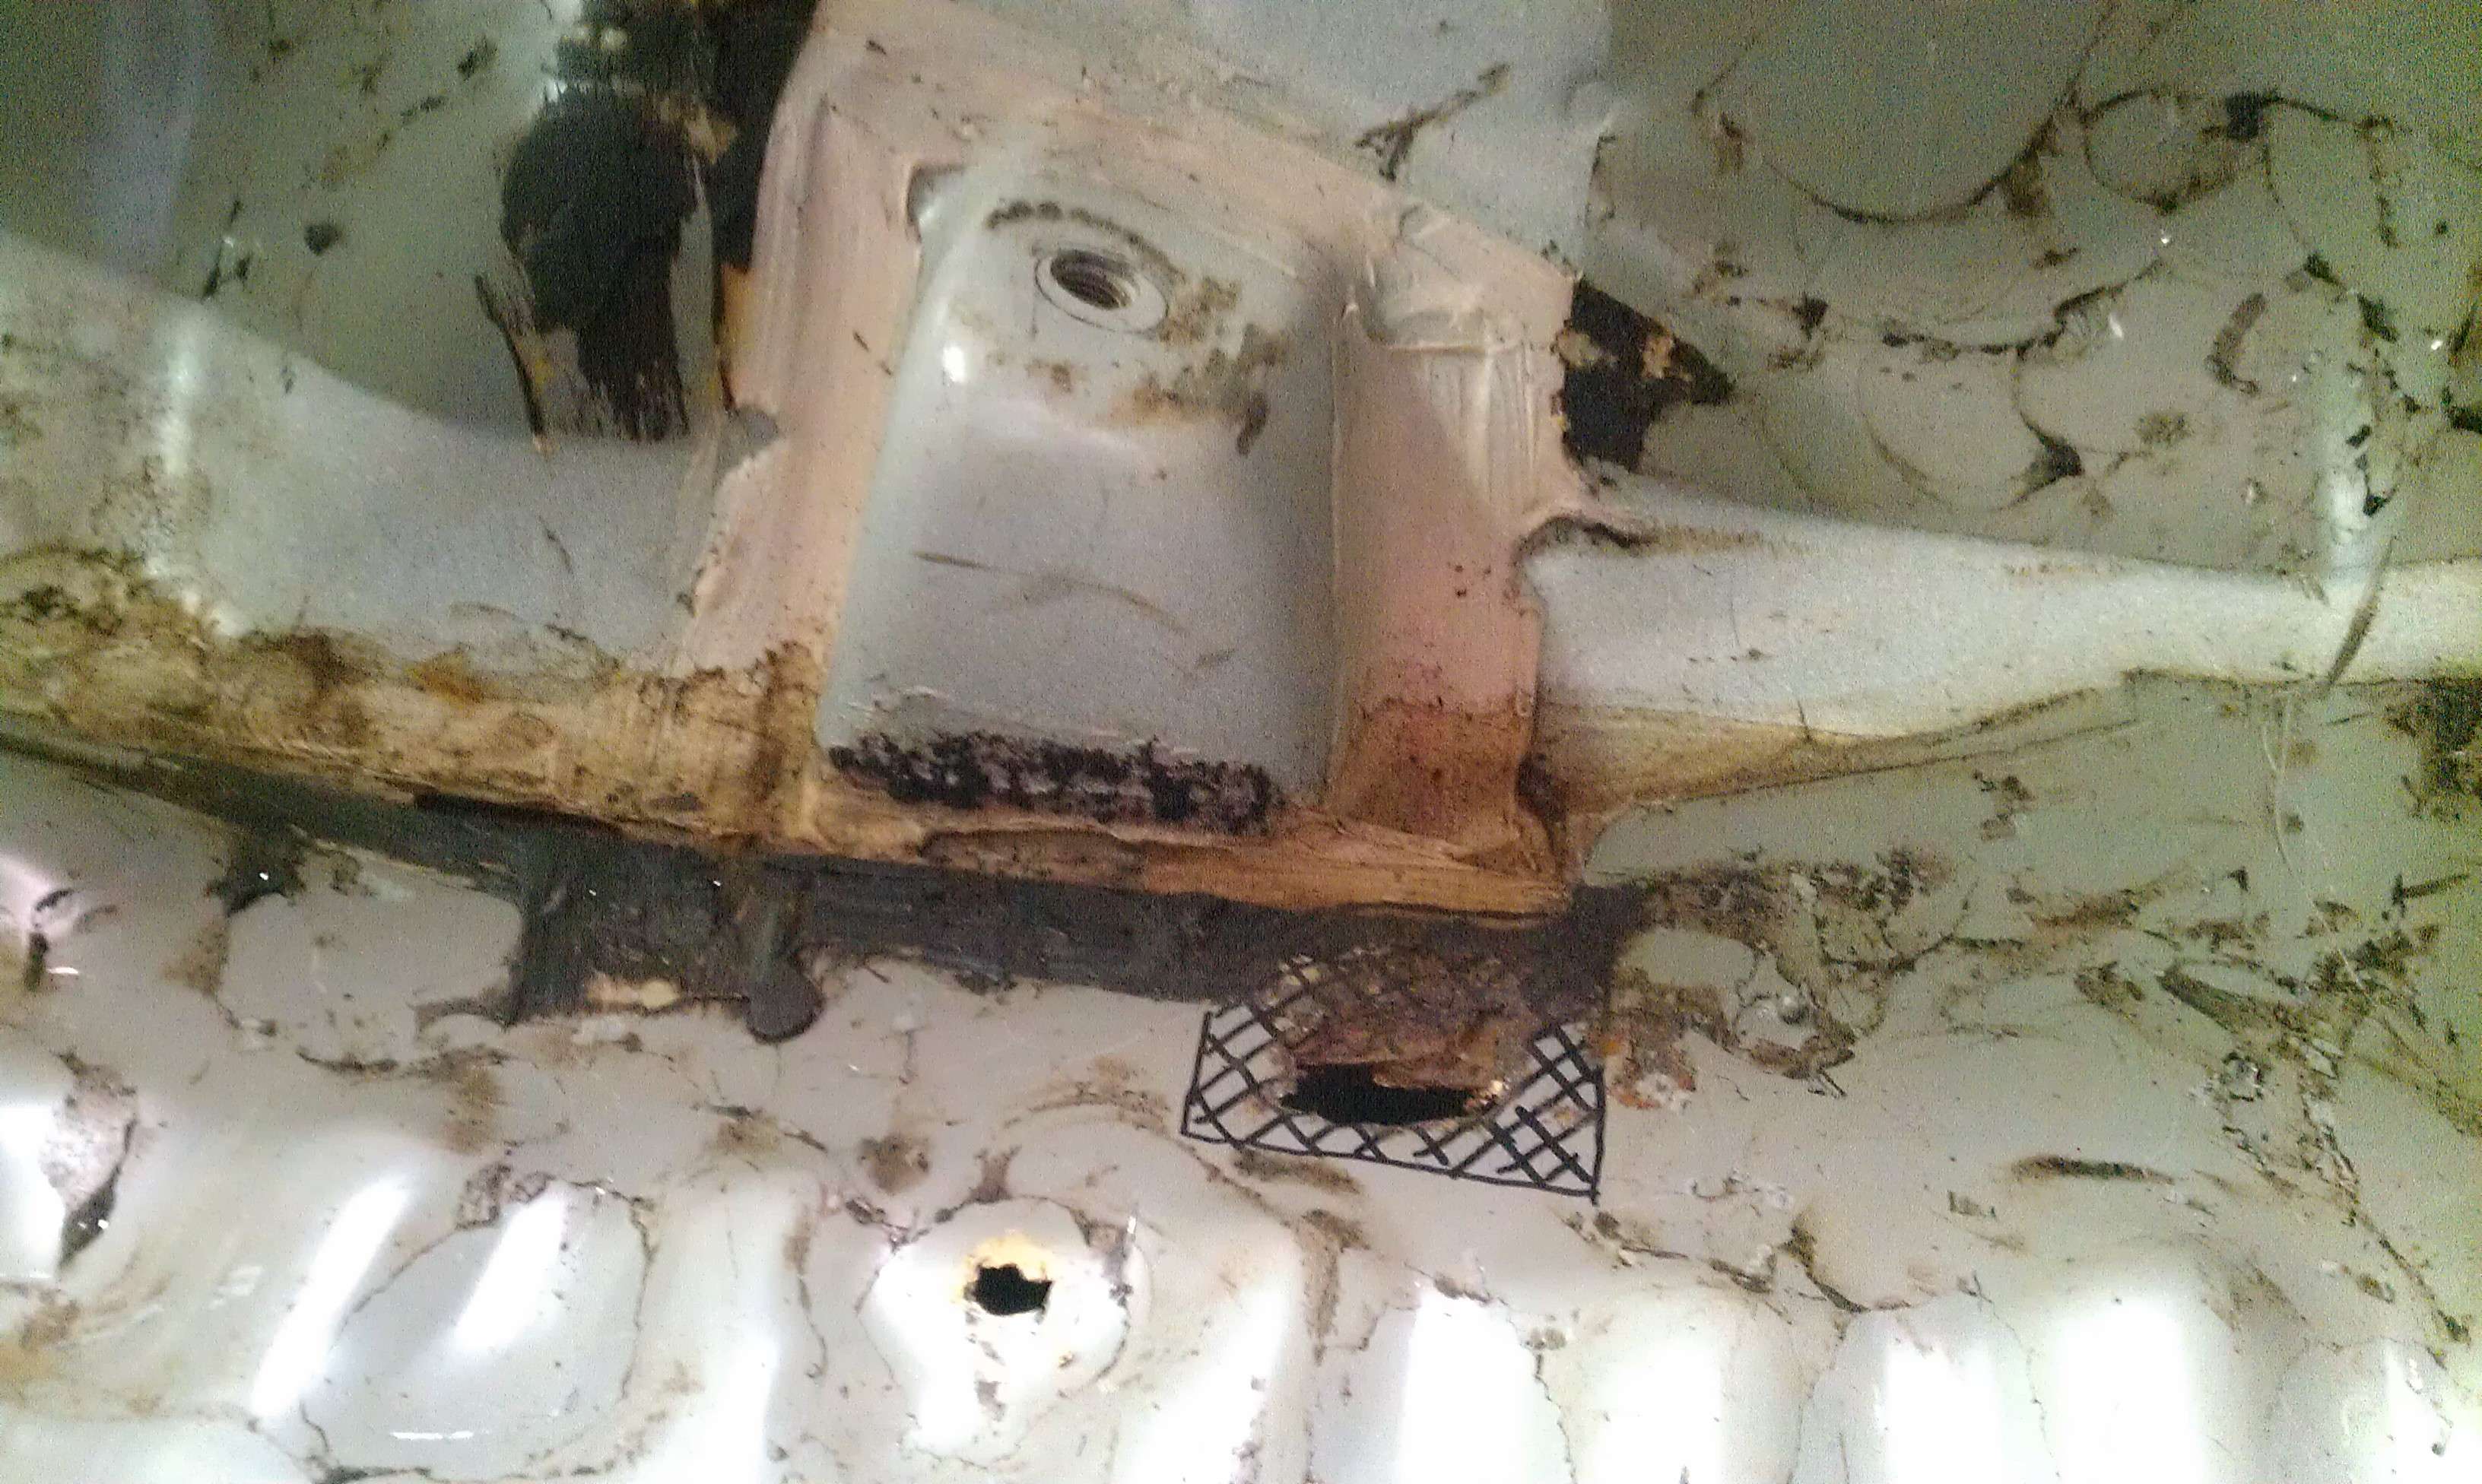
I pulled some stuff apart lastnight. It seems that the heater core was intact, and the pipe going to the heat valve in the engine bay is fine too... I don't know, maybe the factory hose clamp finnaly gave out and by some crazy means leaked into the gromett into the interior only? So I didnt replace the heater coil, yet. I'm going to keep working on the interior of the car first then go back and get the heater core sorted.
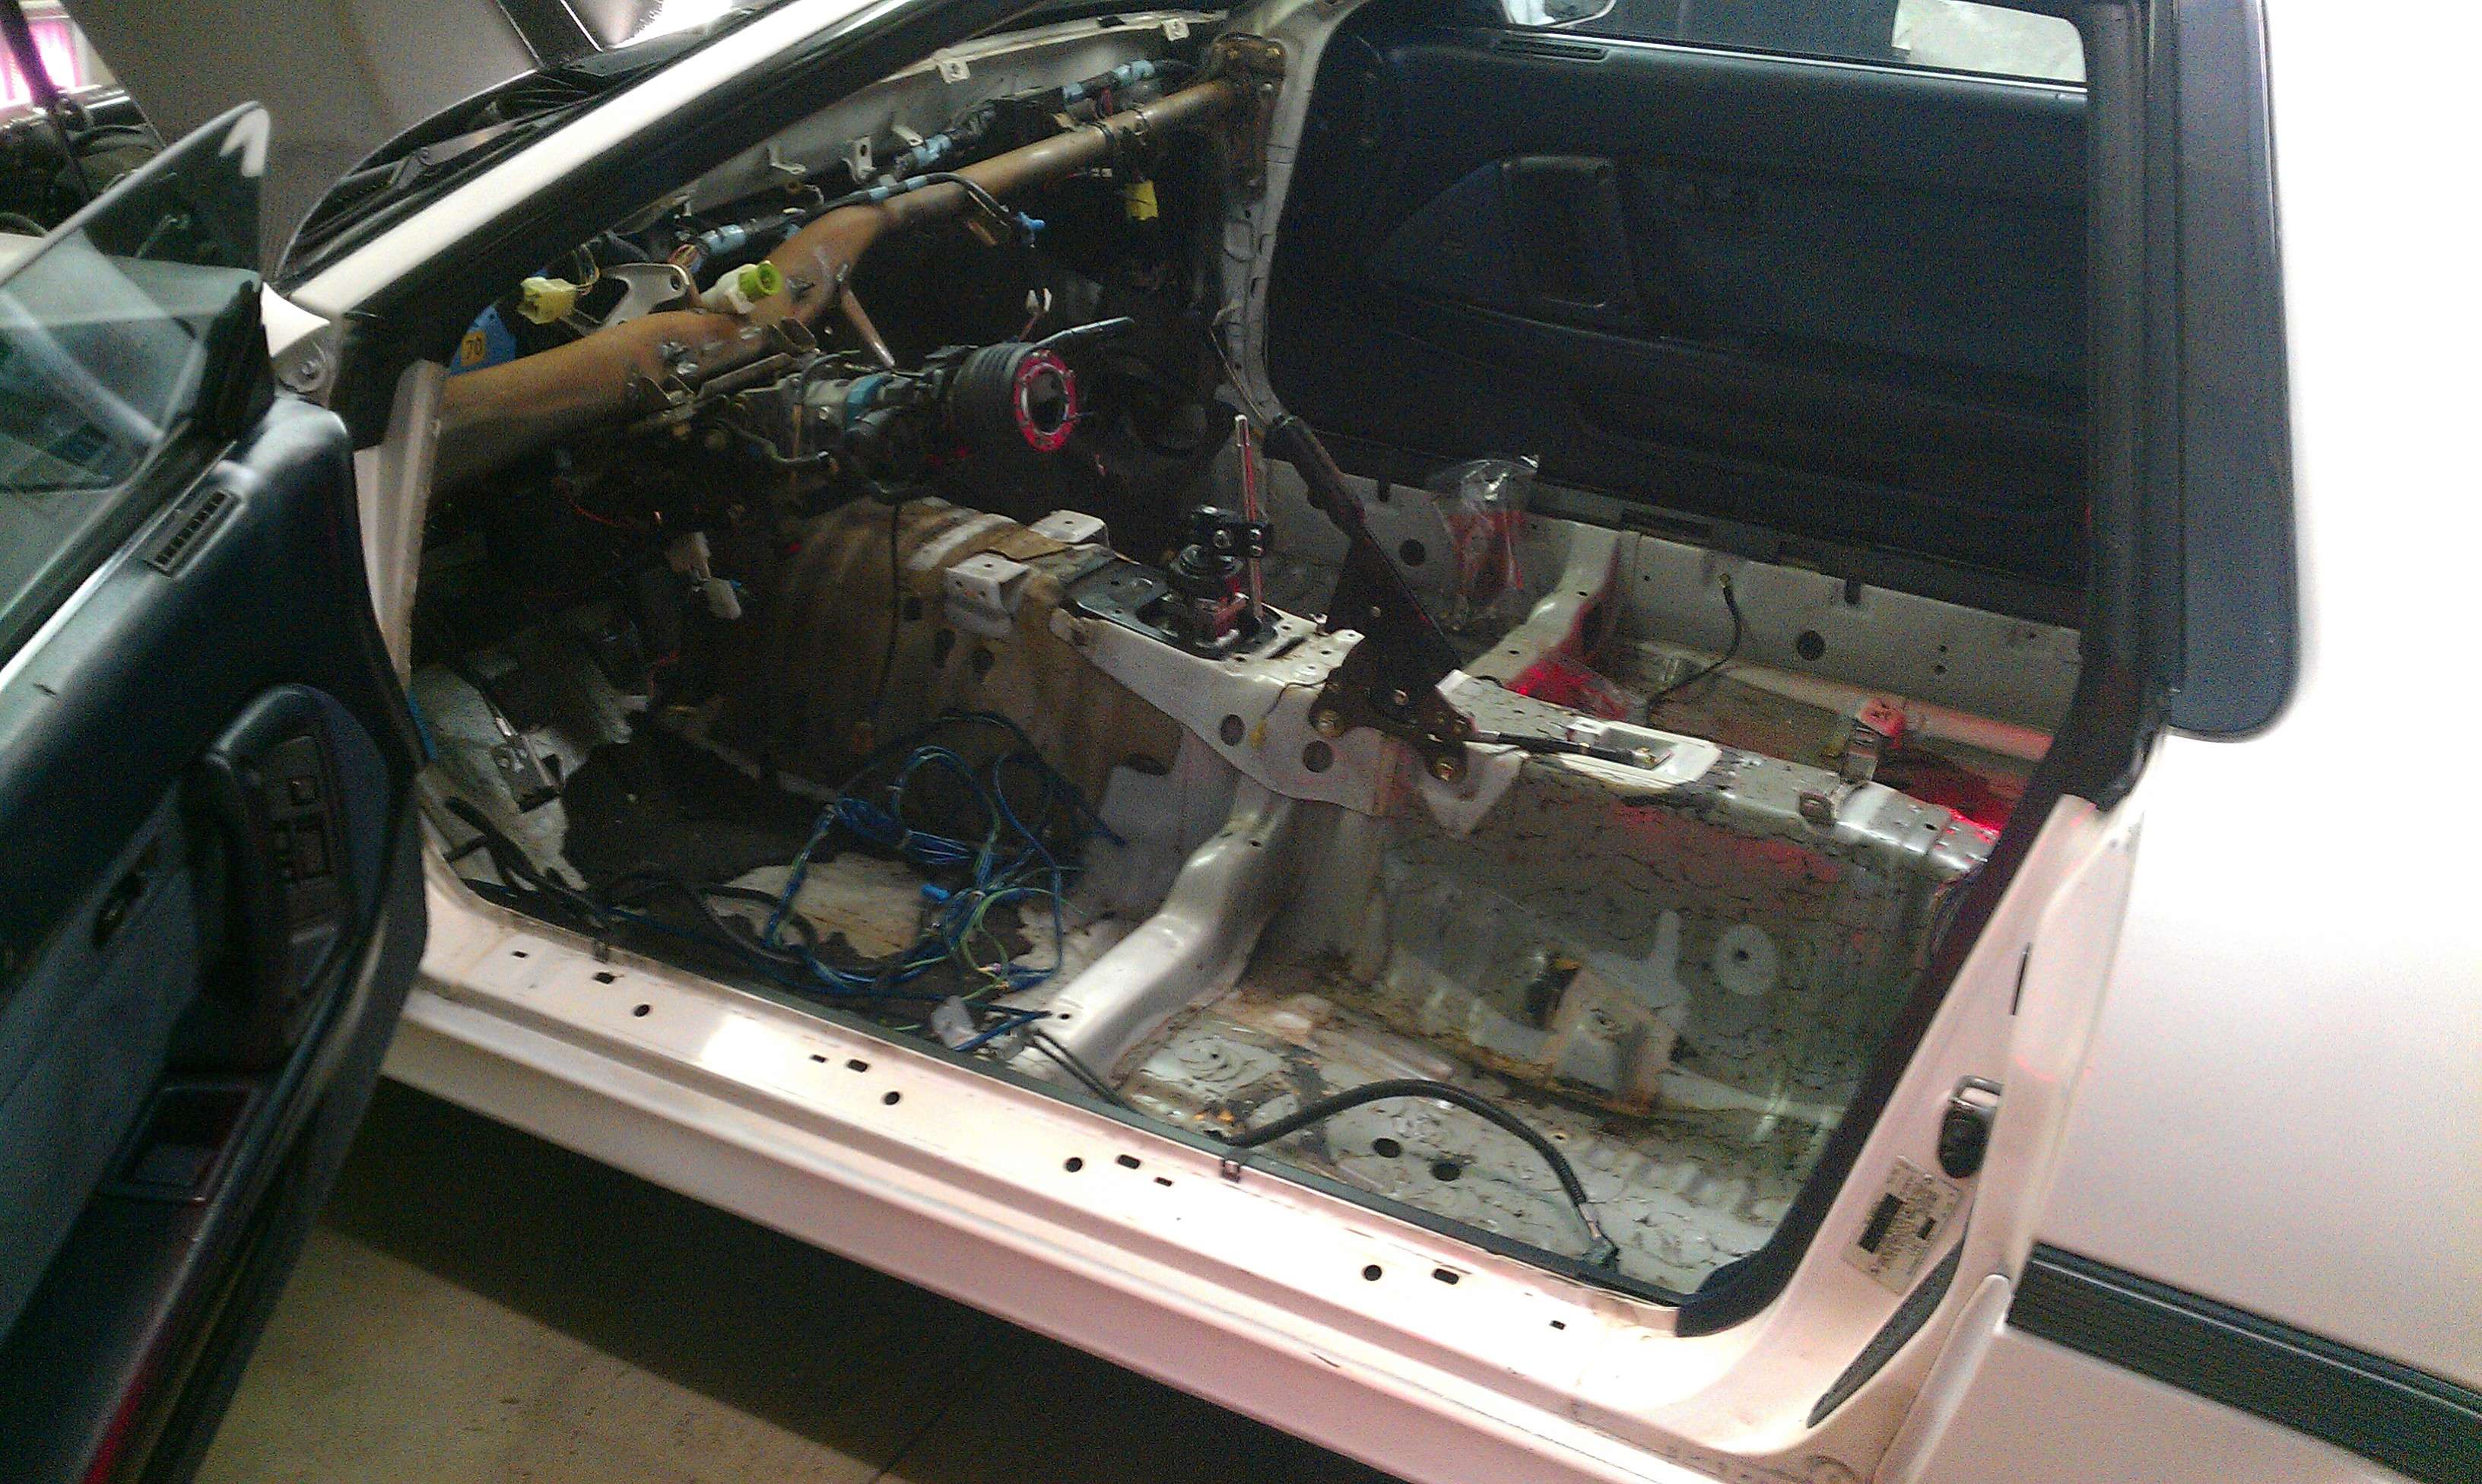
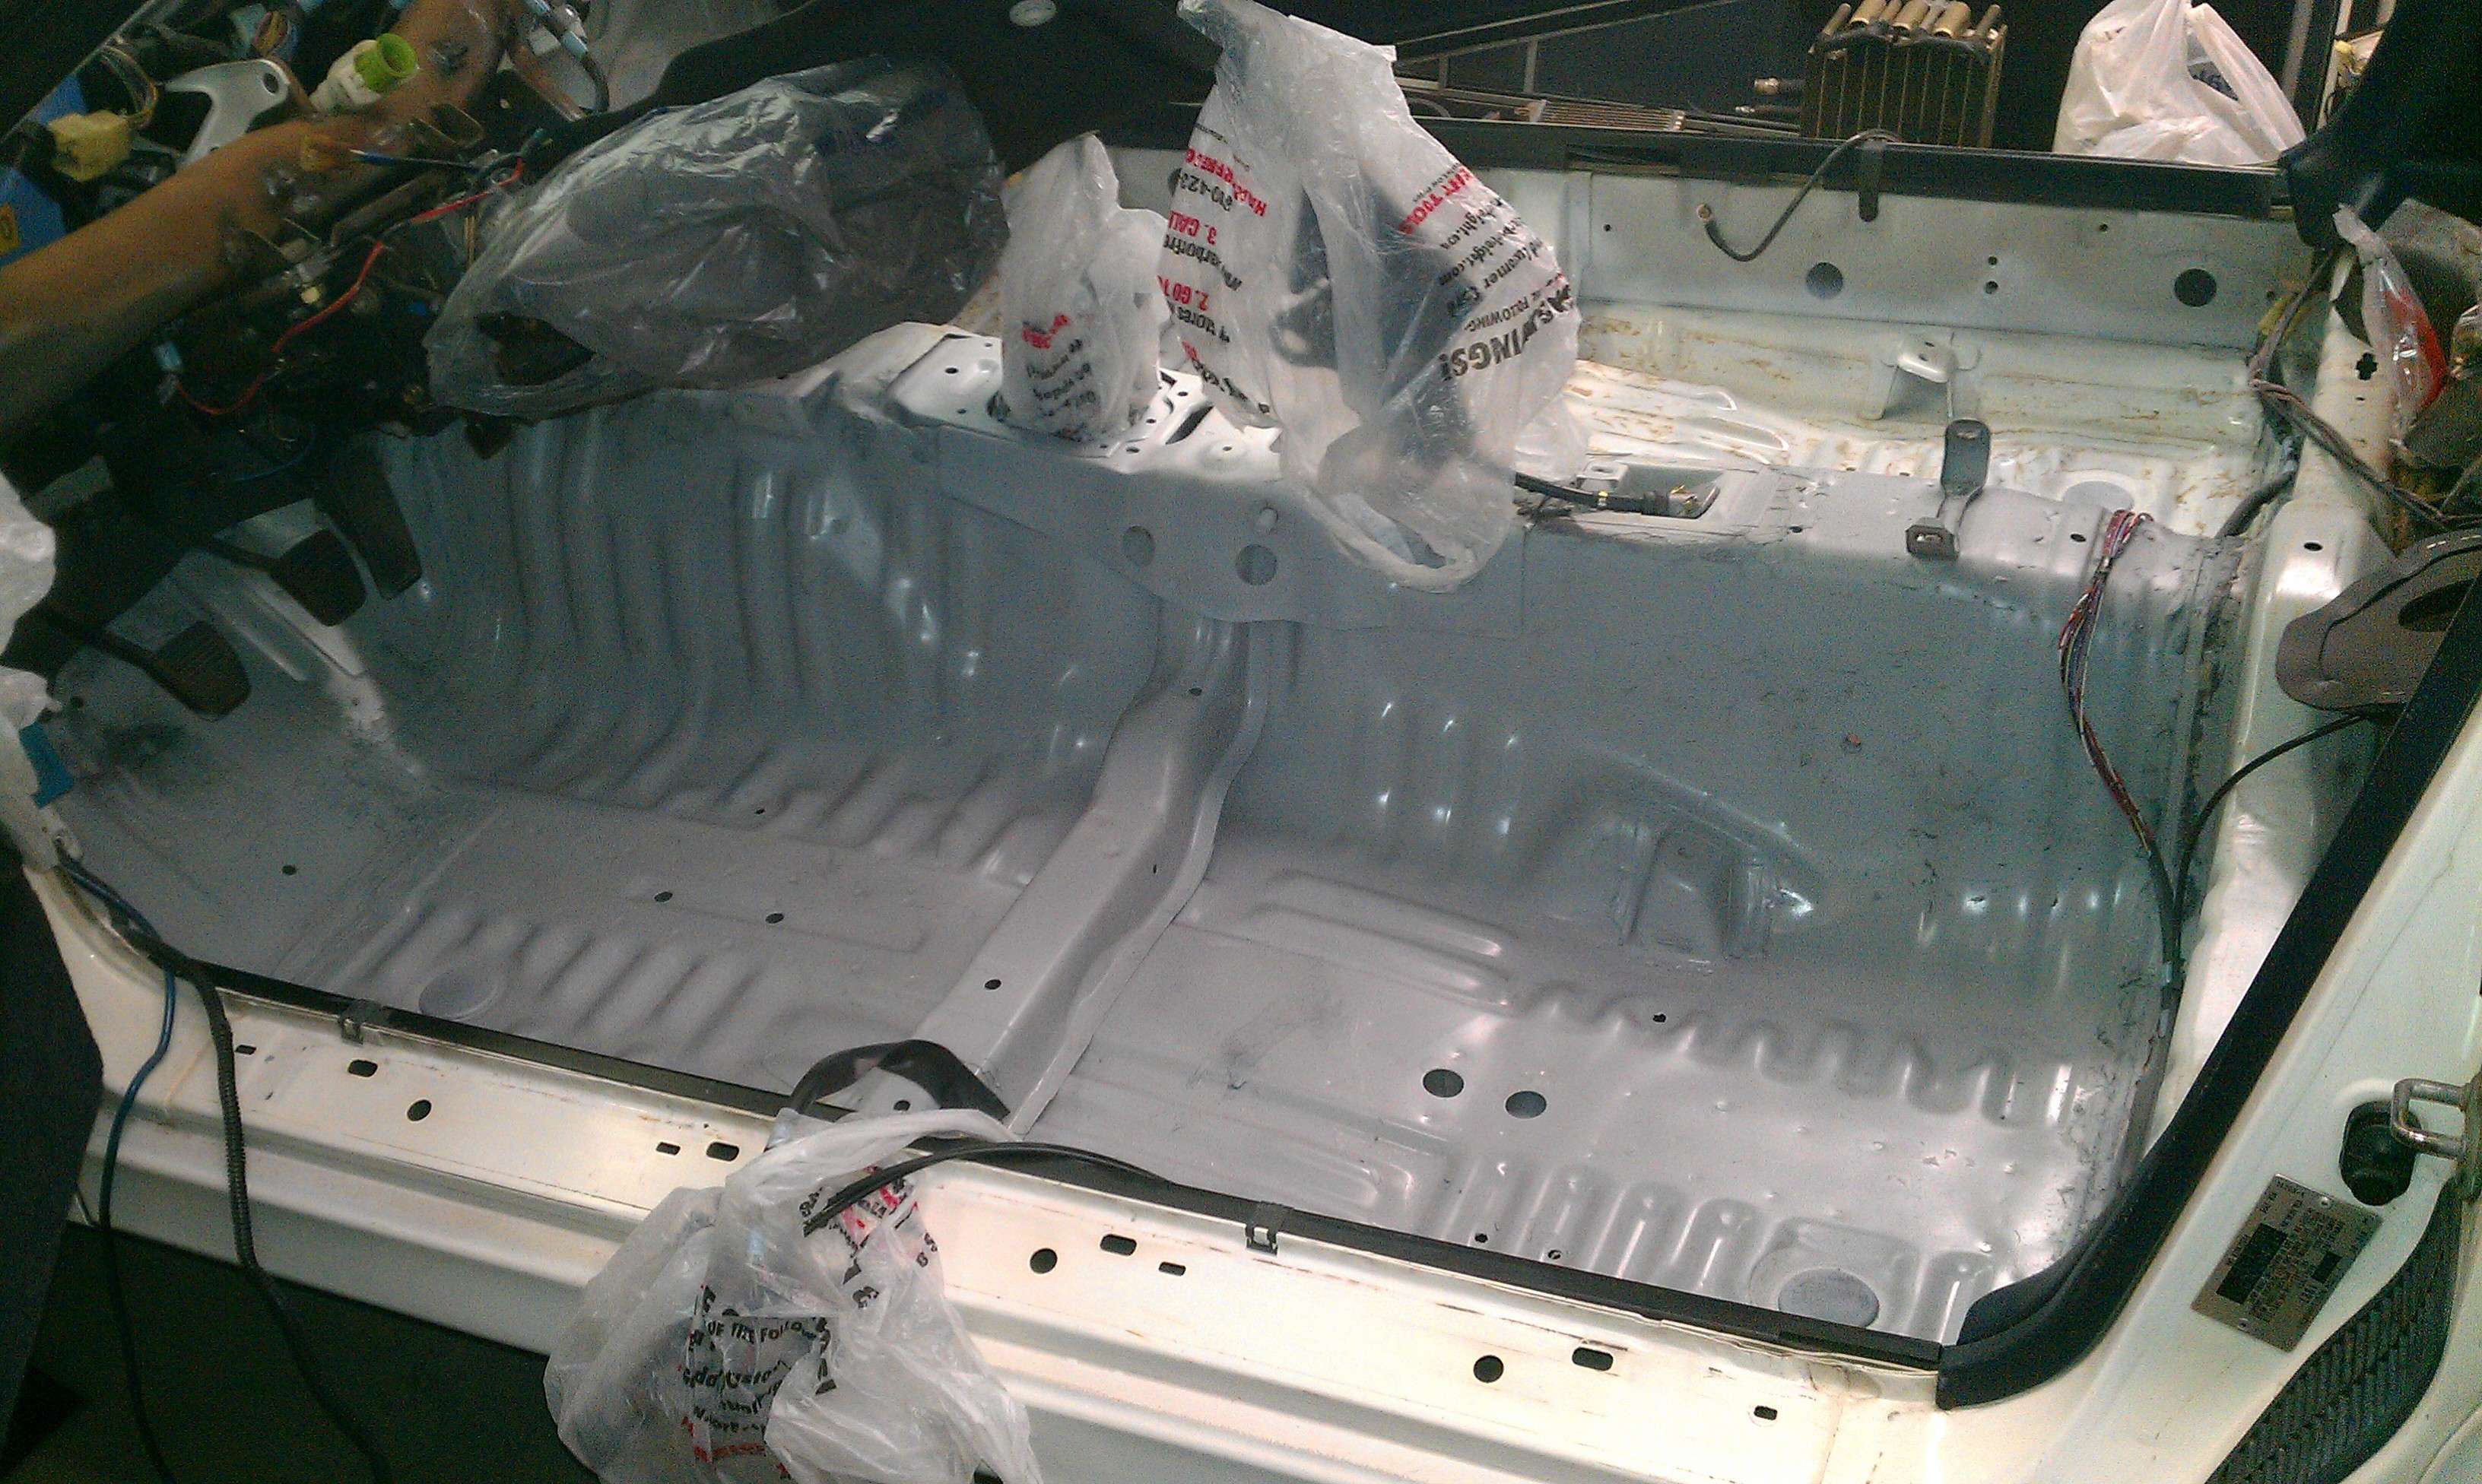
I also started removing the sound deading material, its coming up in a decent matter, but there is A LOT of it, so its taking some time. I just used a hammer and large flat head screw driver. I managed to break apart large cunks in some areas. I'm glad I decided to pull this stuff, there was more coolant/water below the sound insulation than I thought would be.

I also started removing the sound deading material, its coming up in a decent matter, but there is A LOT of it, so its taking some time. I just used a hammer and large flat head screw driver. I managed to break apart large cunks in some areas. I'm glad I decided to pull this stuff, there was more coolant/water below the sound insulation than I thought would be.
Enraged;1897280 said:I've heard of people using those new multitools with a scraper bit to remove the sound deadening, like this: amazon
Or dry ice and a bigger hammer.
Yea, there are many ways to get this done. I think if you used that tool you may end up cleaning out all the valleys with a hammer and chisel anyway. It wasnt as bad as I thought it was going to be. At this point I could take a gasket scraper to the flat areas and scrape any residue left and be good to go on with prepping for the dyna-mat.
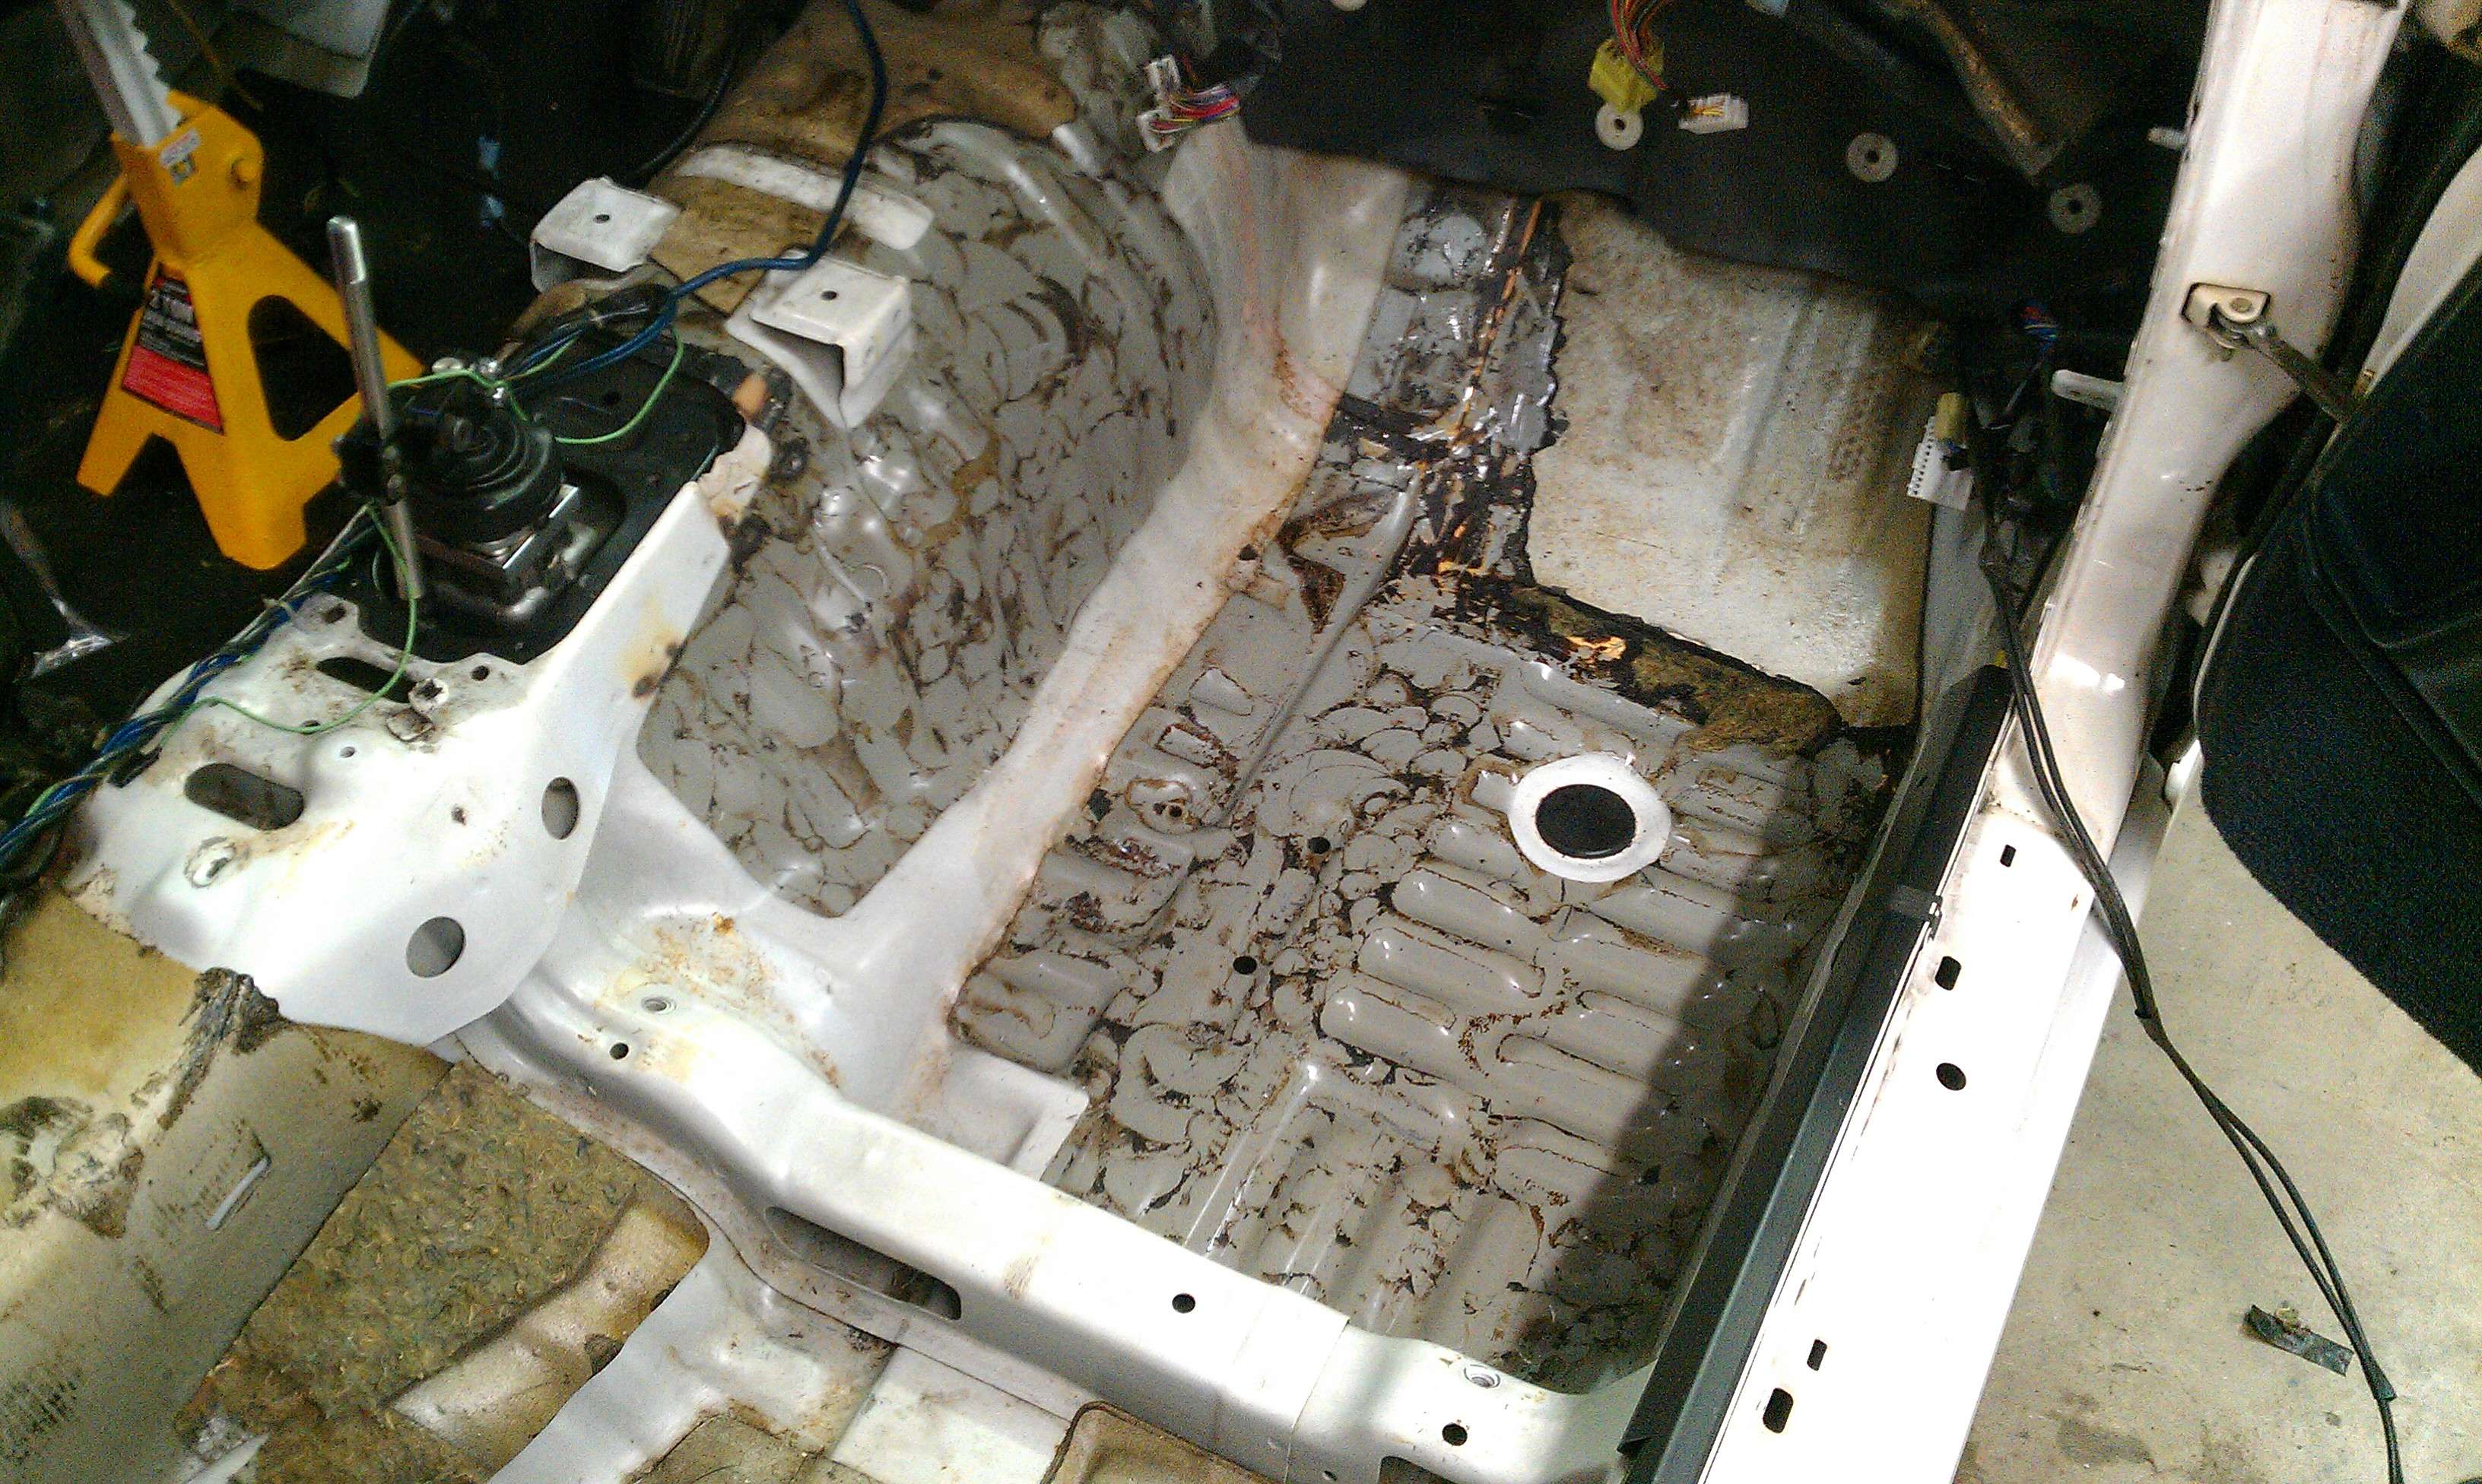
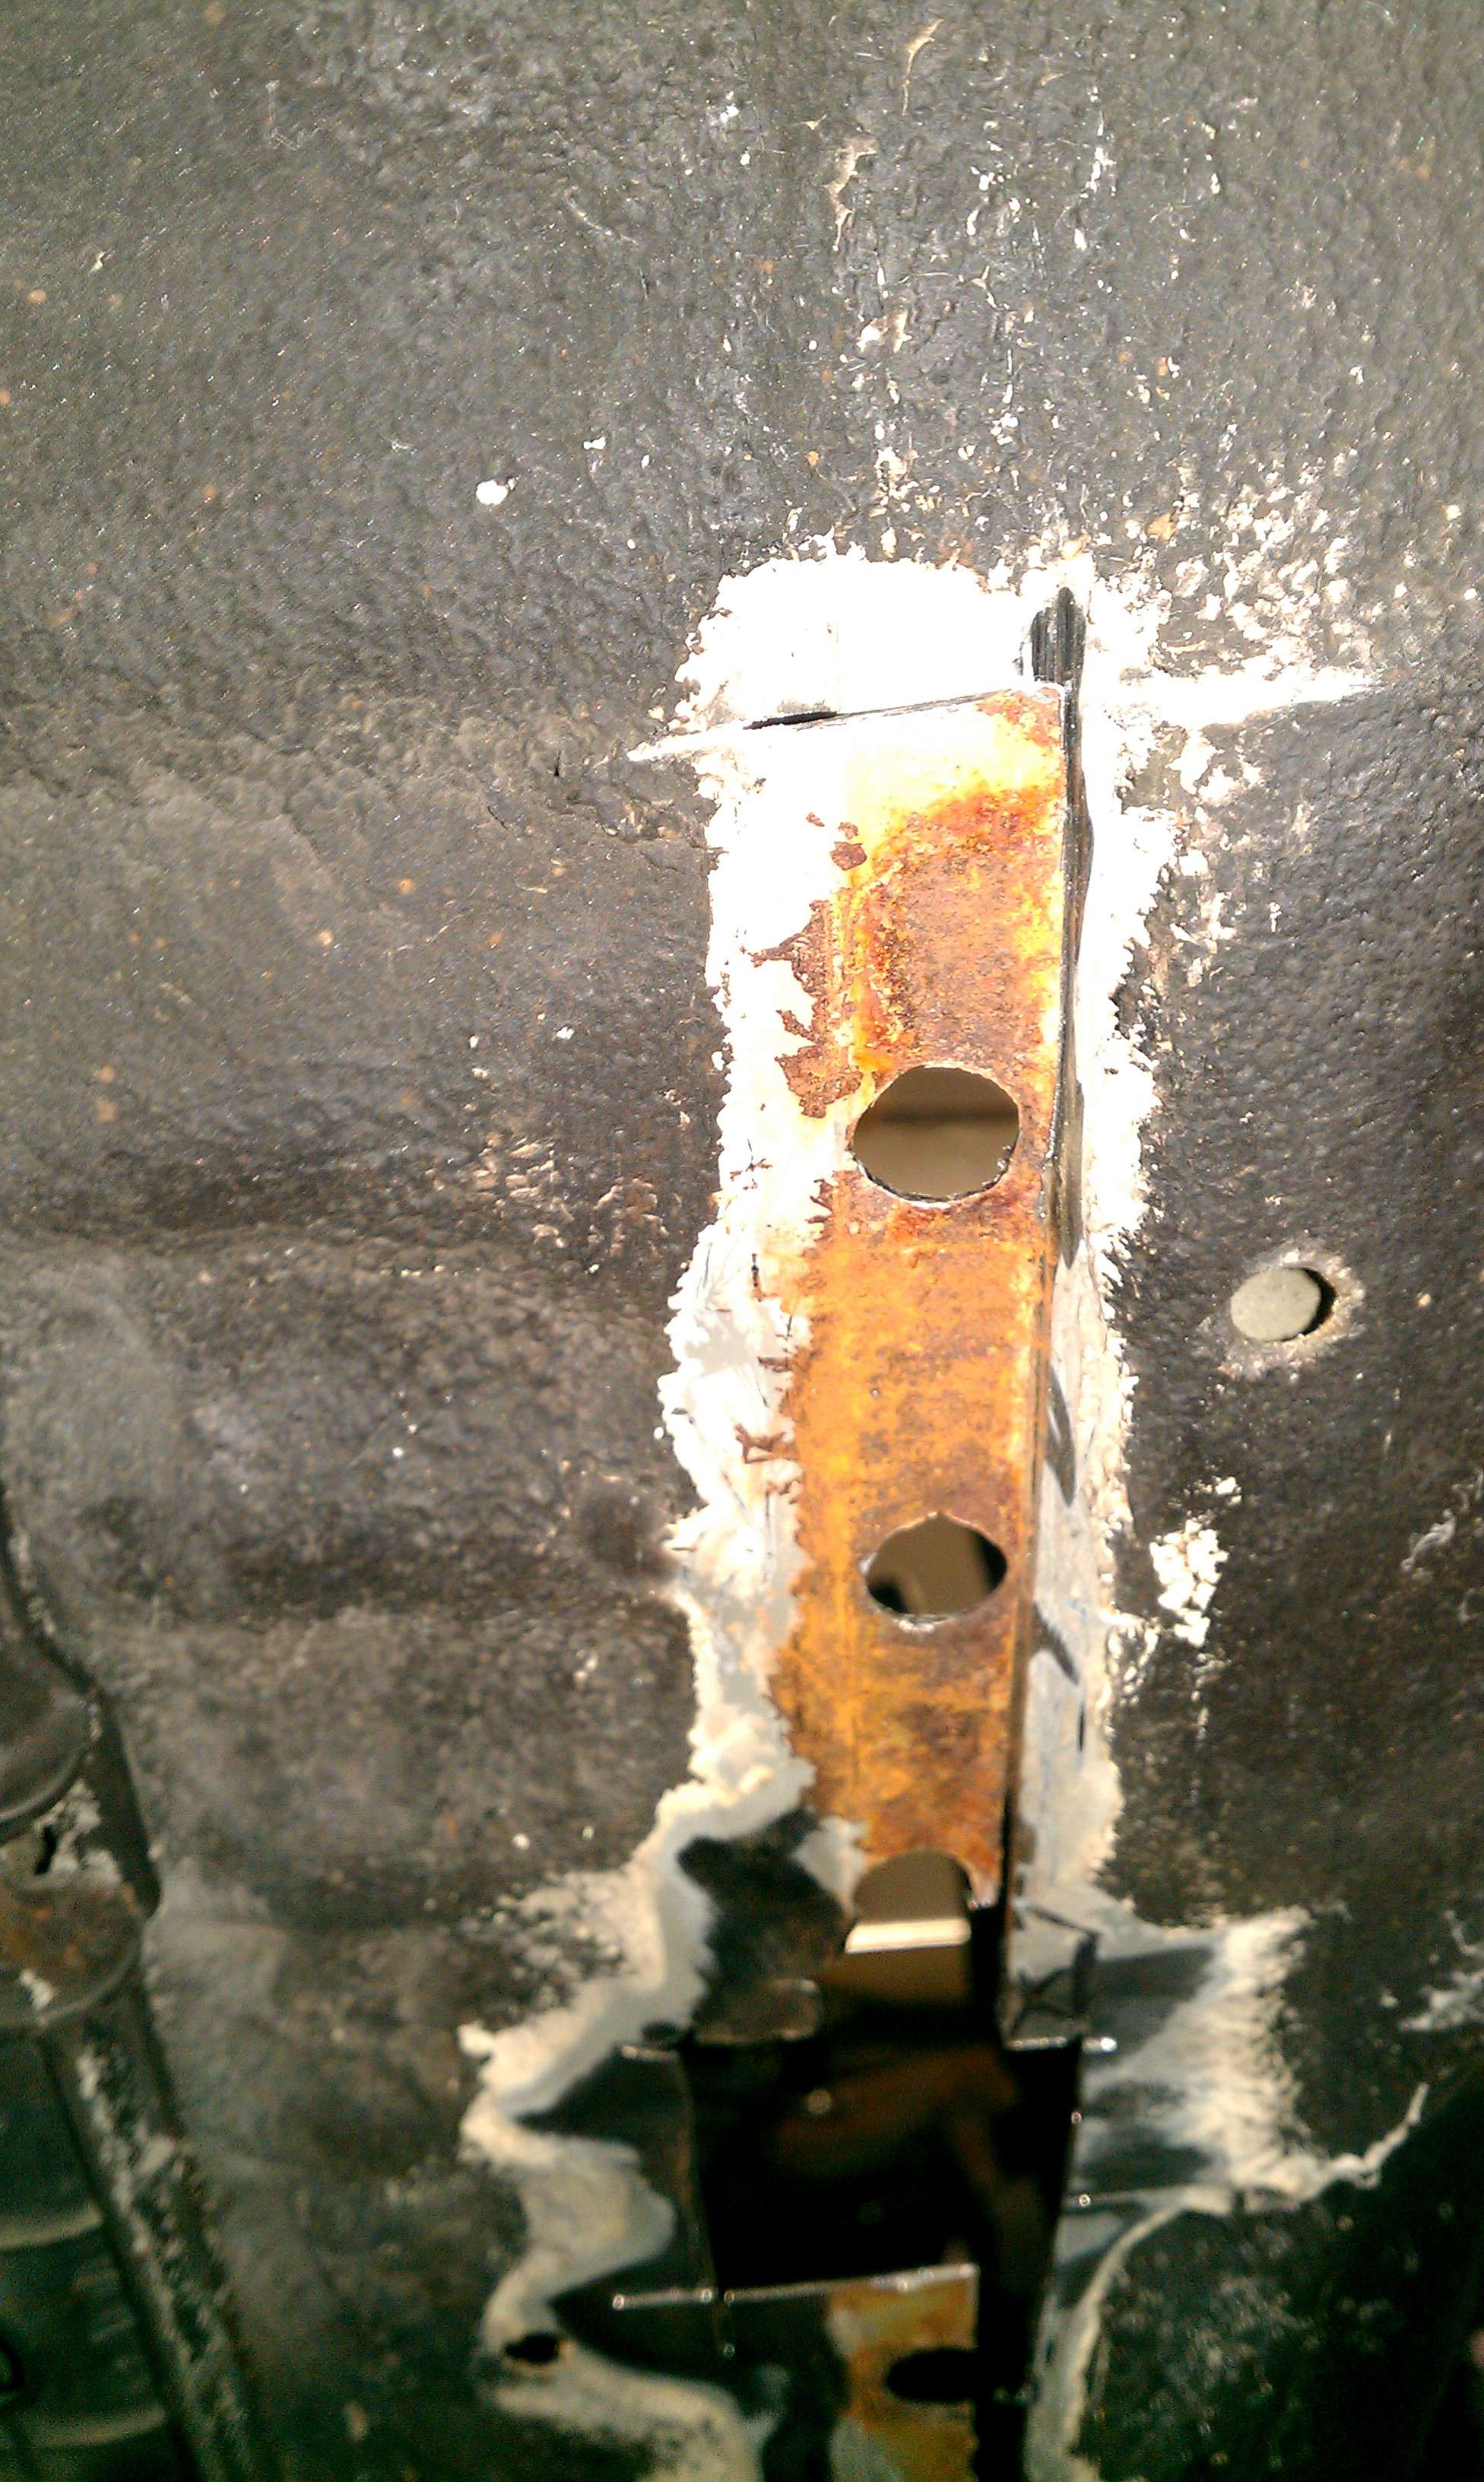
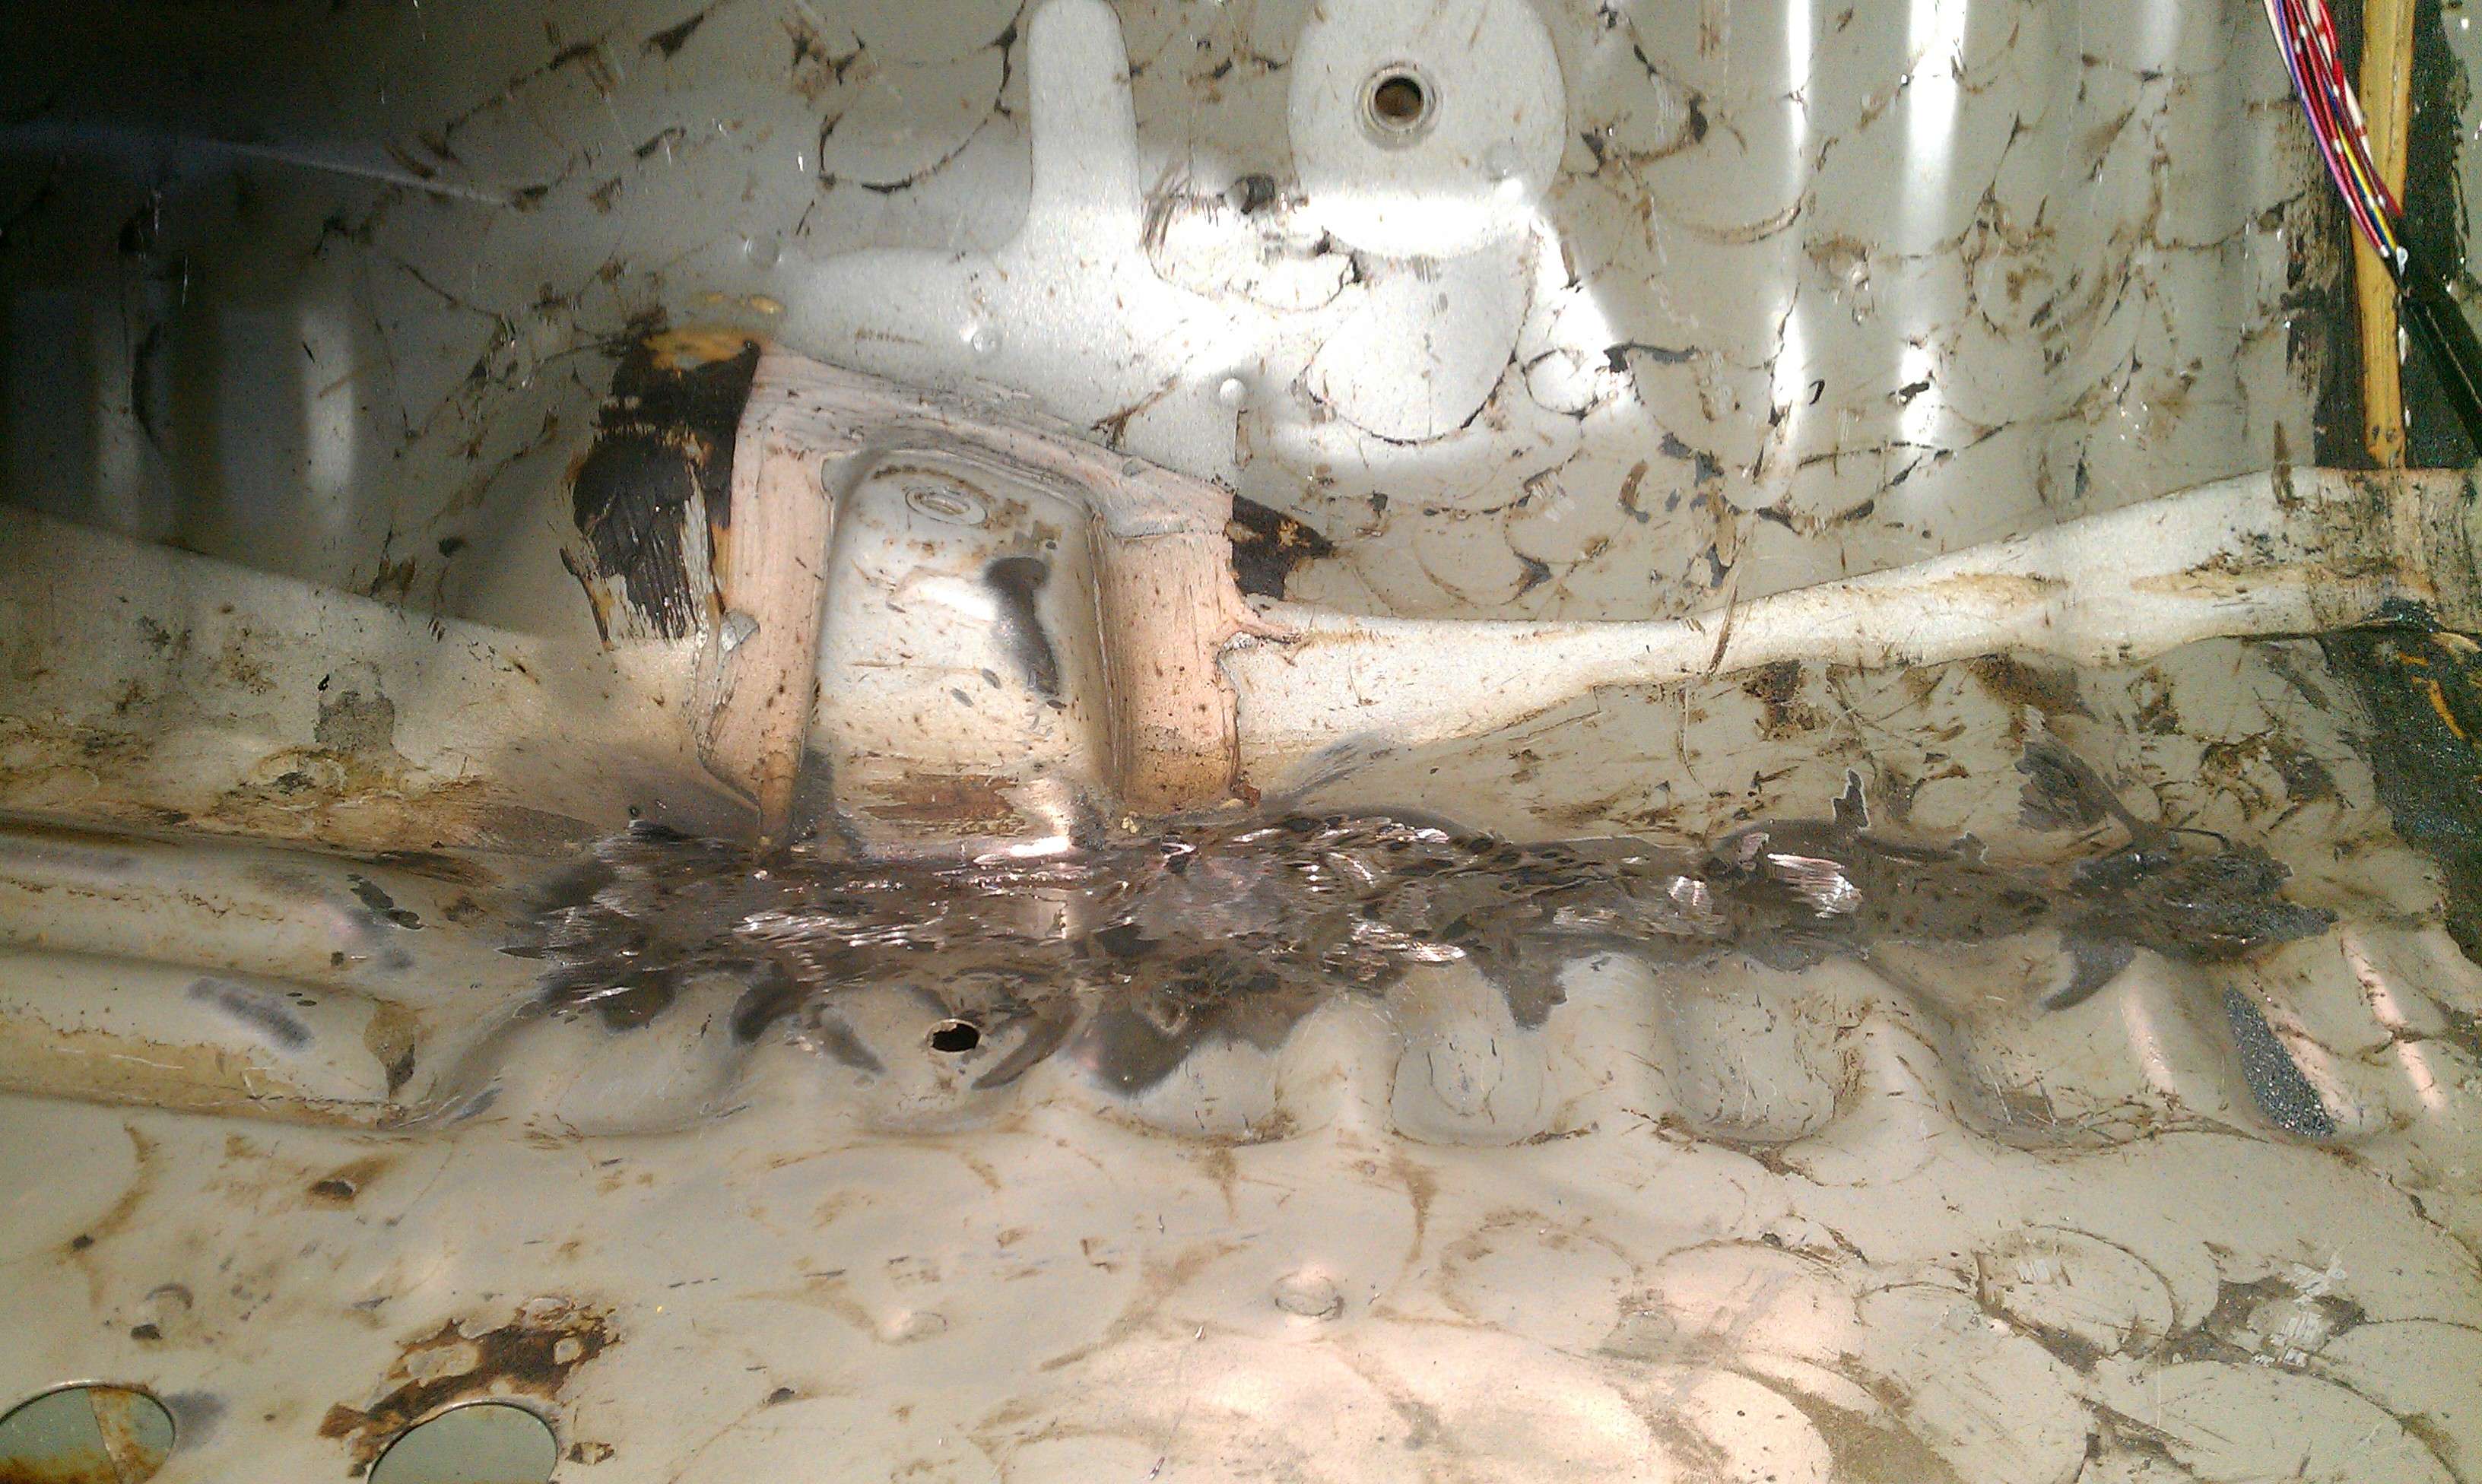
I continued the stripping process, and all was well untill I got under the rear drivers seat mount. Ahh shoot... Rust... Hole... So I need to buy some materials and tools to fix this.
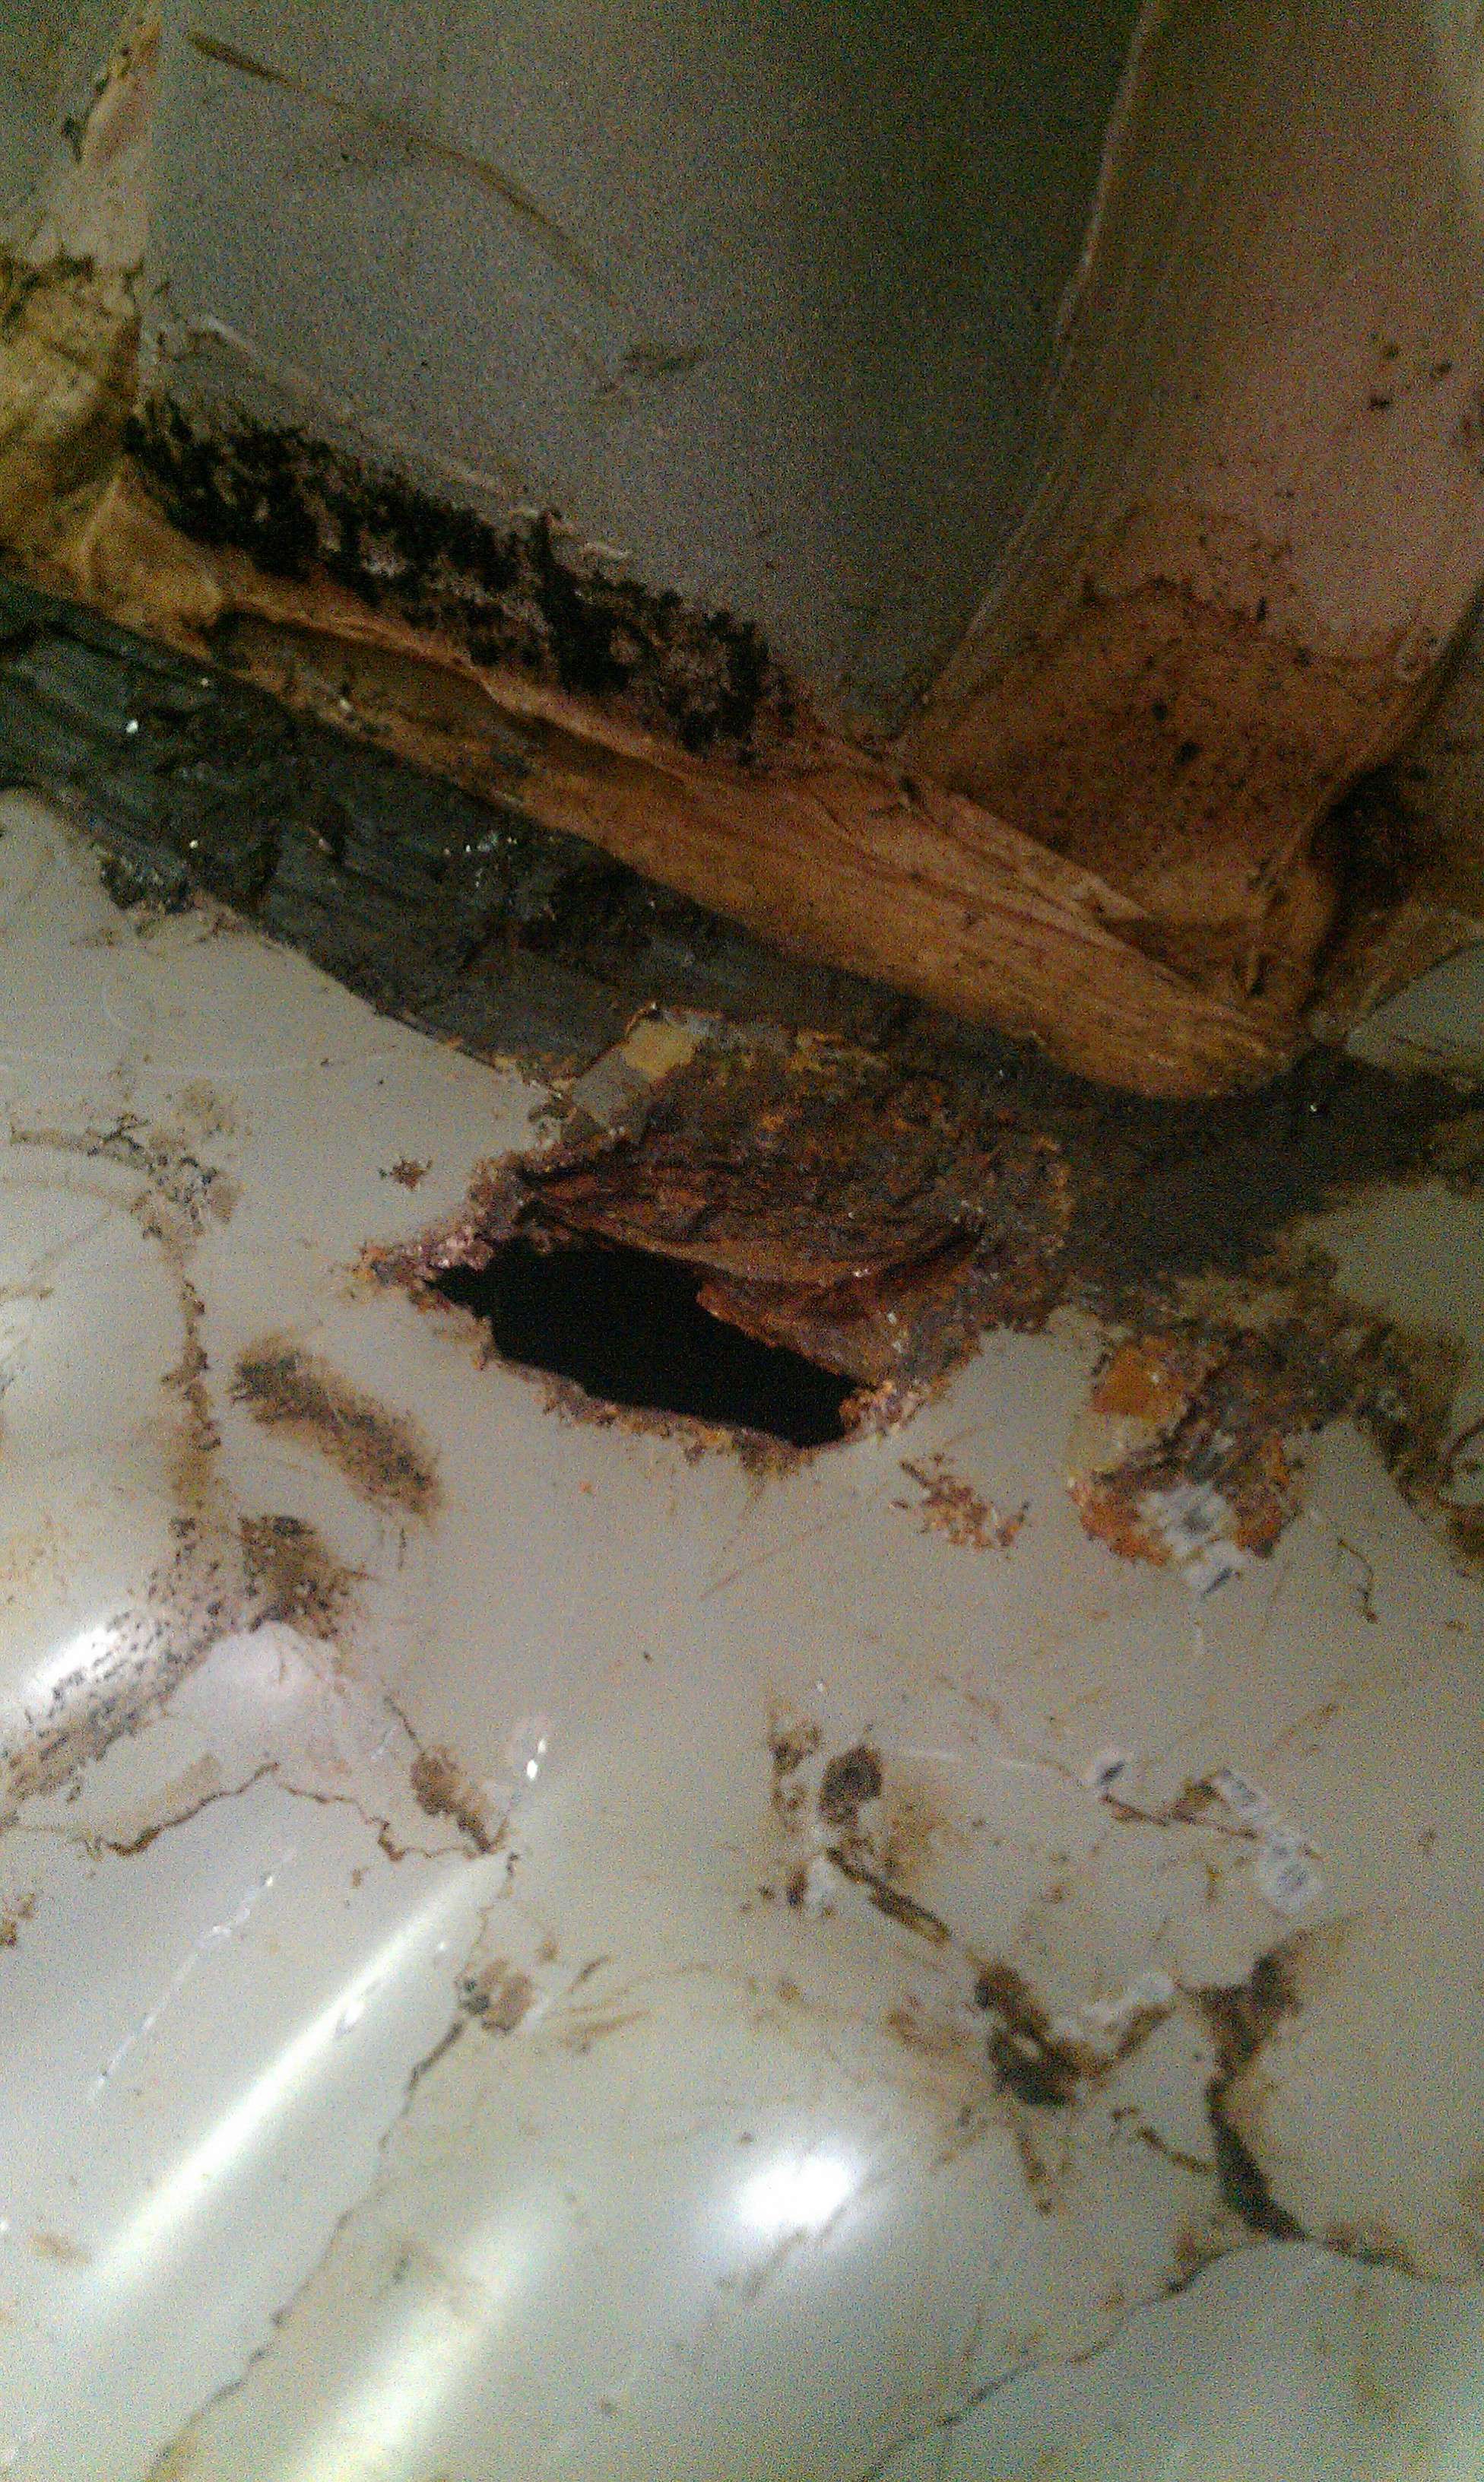
I continued the stripping process, and all was well untill I got under the rear drivers seat mount. Ahh shoot... Rust... Hole... So I need to buy some materials and tools to fix this.
looks like your cancer spot might be a bit bigger than that... definitely want to get all of it.
Dry ice is the easiest way to remove that stuff Ron. Get a block from the grocery store and bust it up quick.
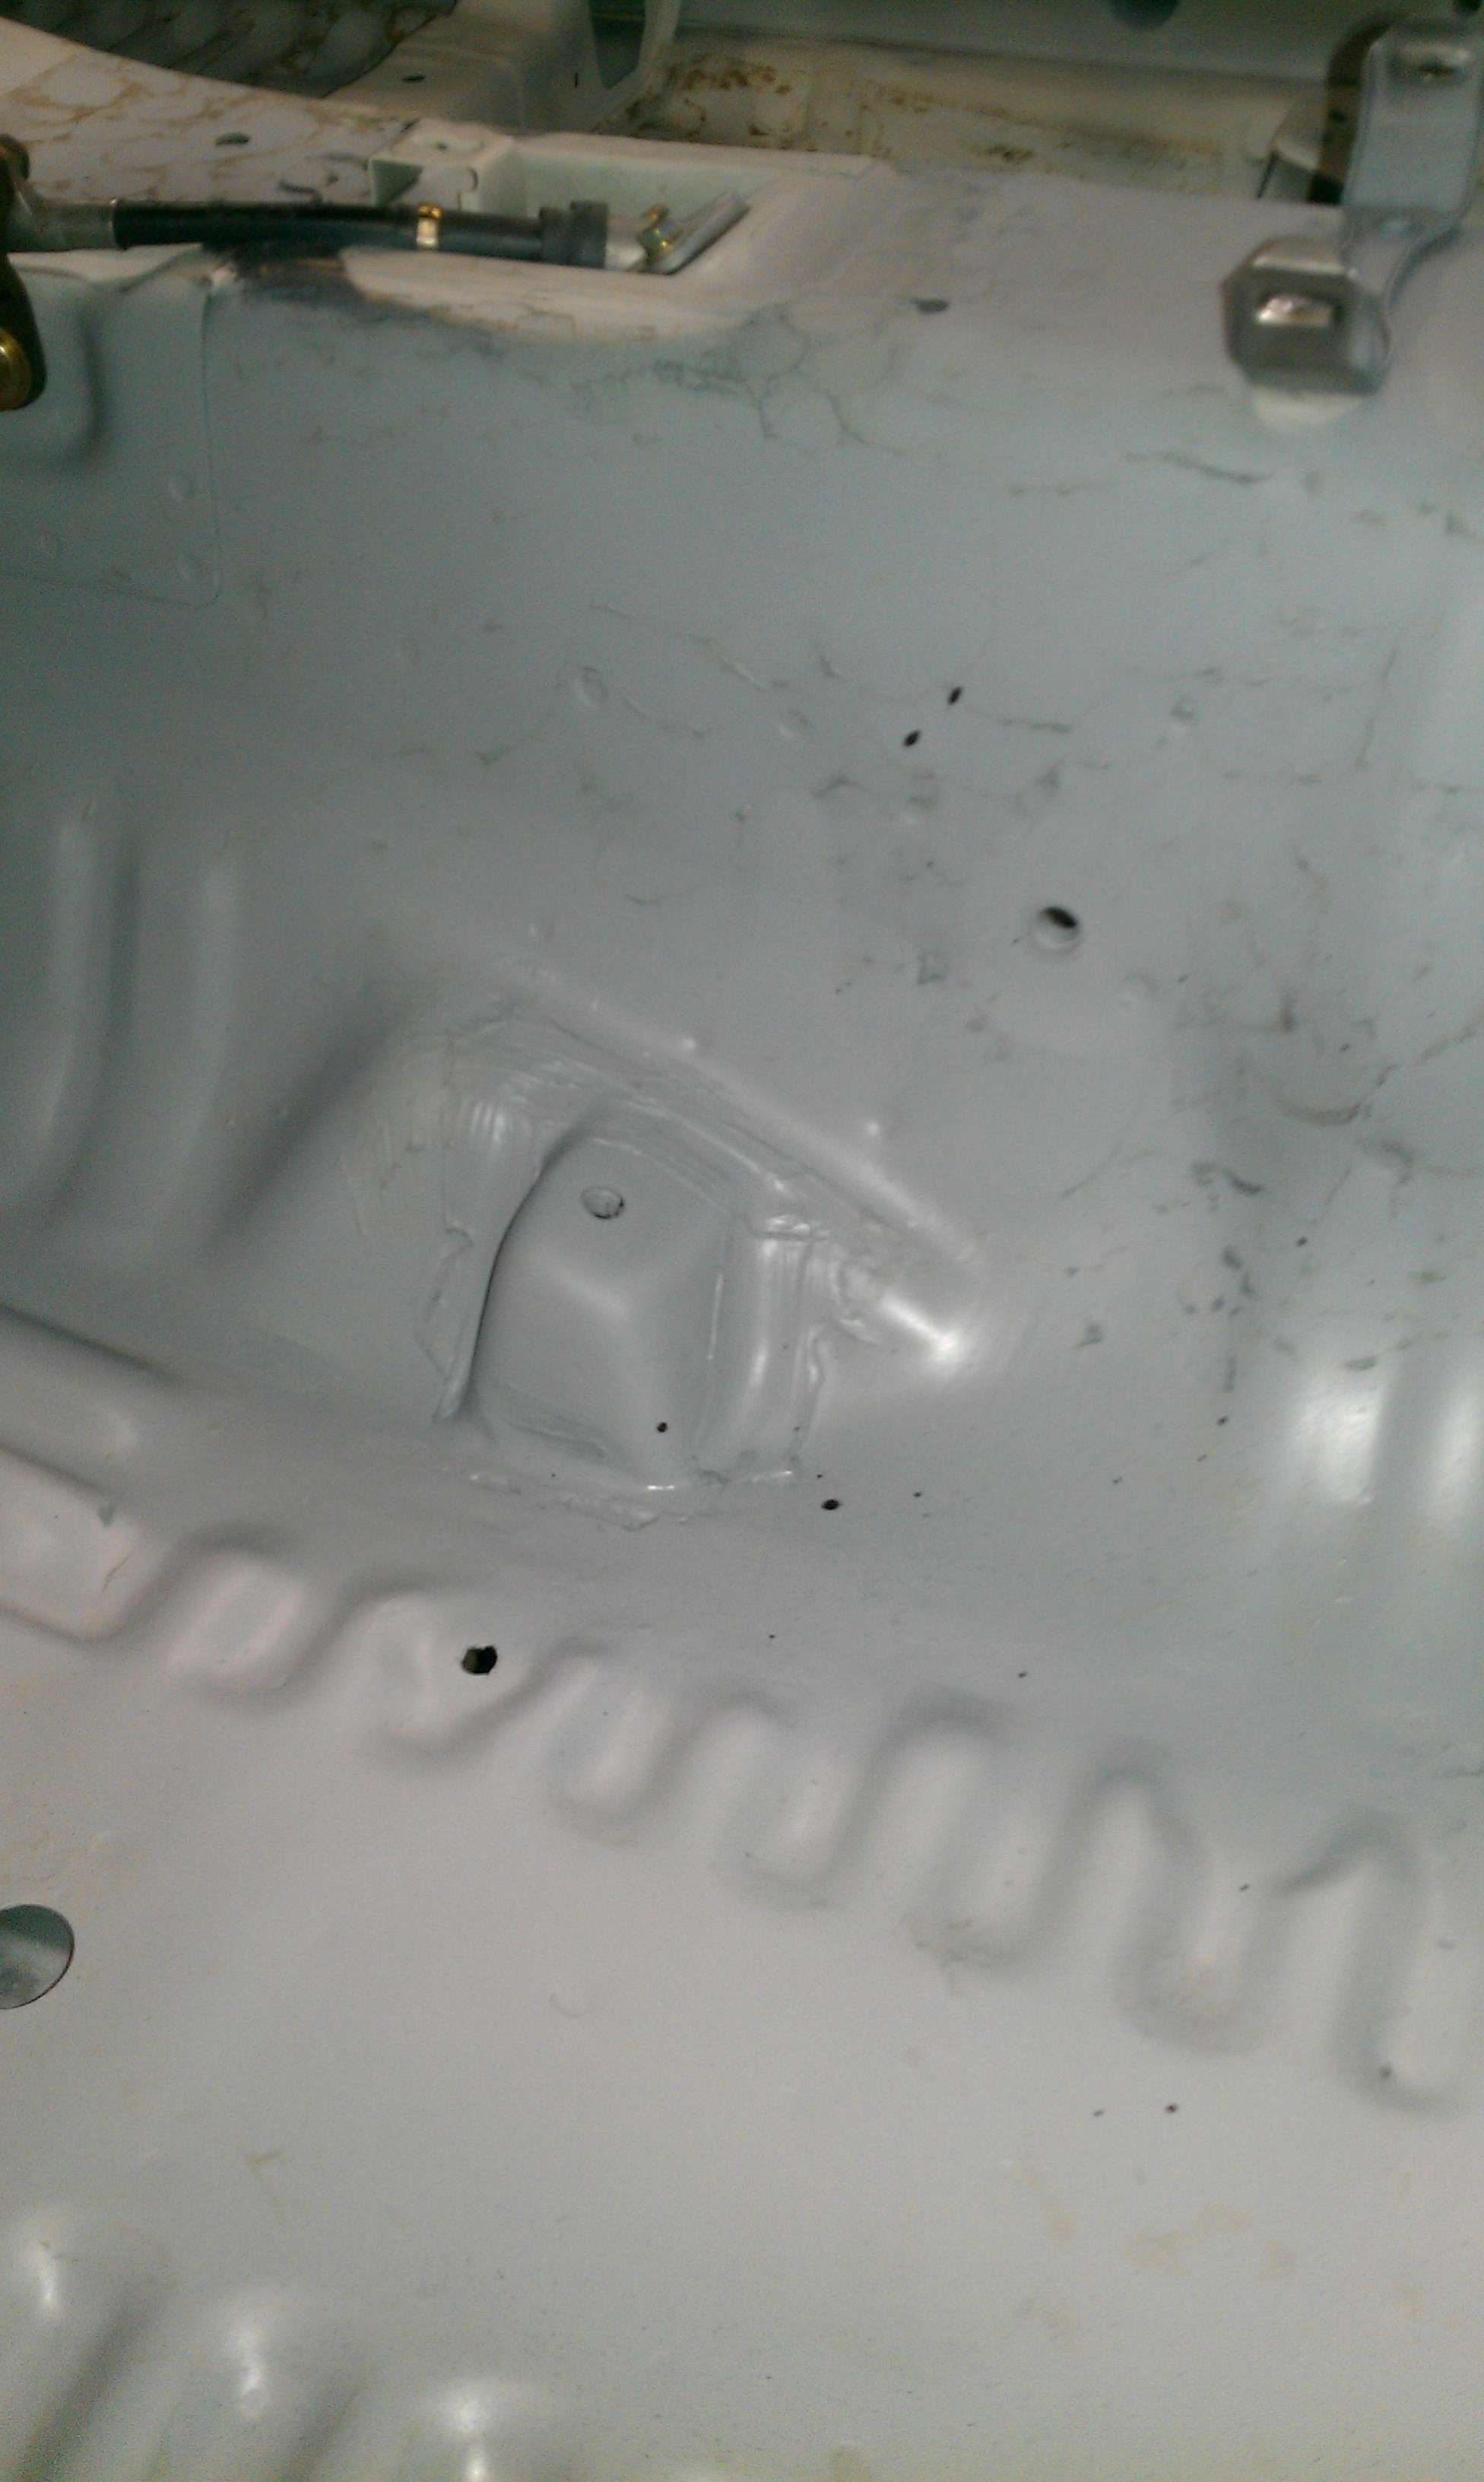
Yup, looks like that rust was a little more invasive than what I could see, I ended up cutting out about 10" of the bottom "layer" of metal. There were three total in that area. I then replaced the metal, welded it all in. I'm happy that I managed to do this all my self. This was the first time I did sheet metal on a car, it was difficult in some spots.
I had so much of the sound deading out allready I just chiseld out the remainder. Next time I do somthing like this I will get dry ice though.
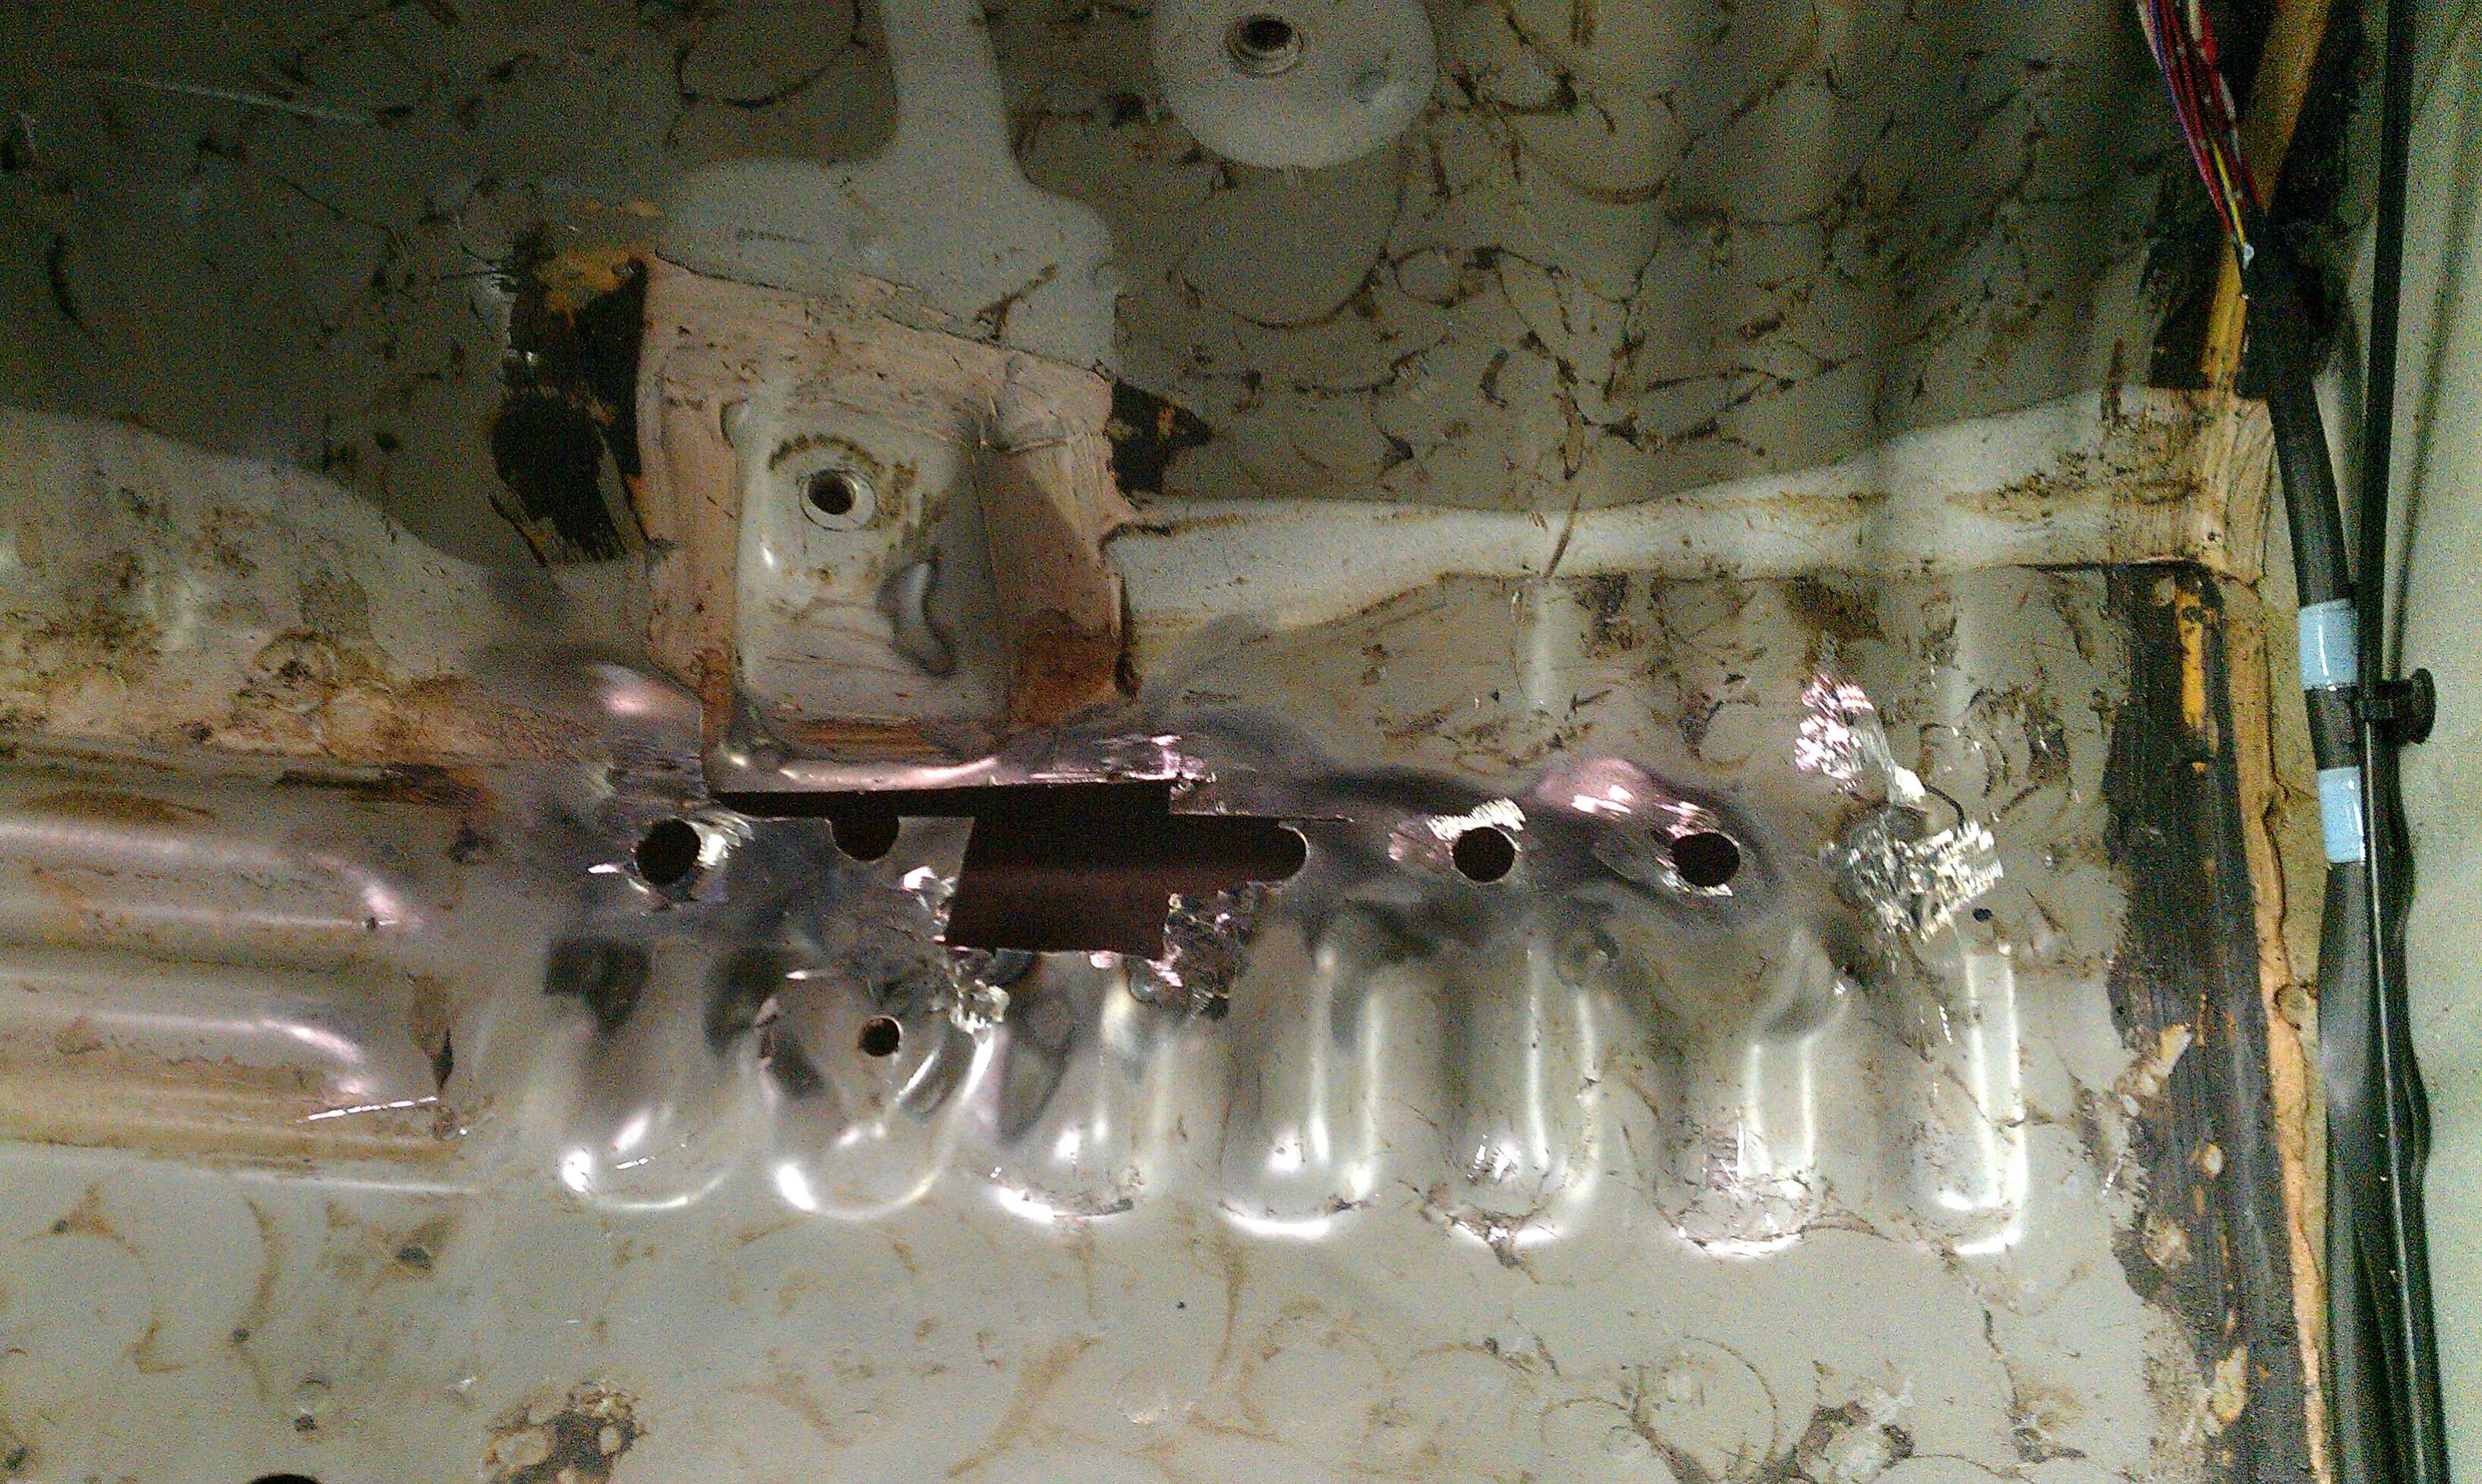
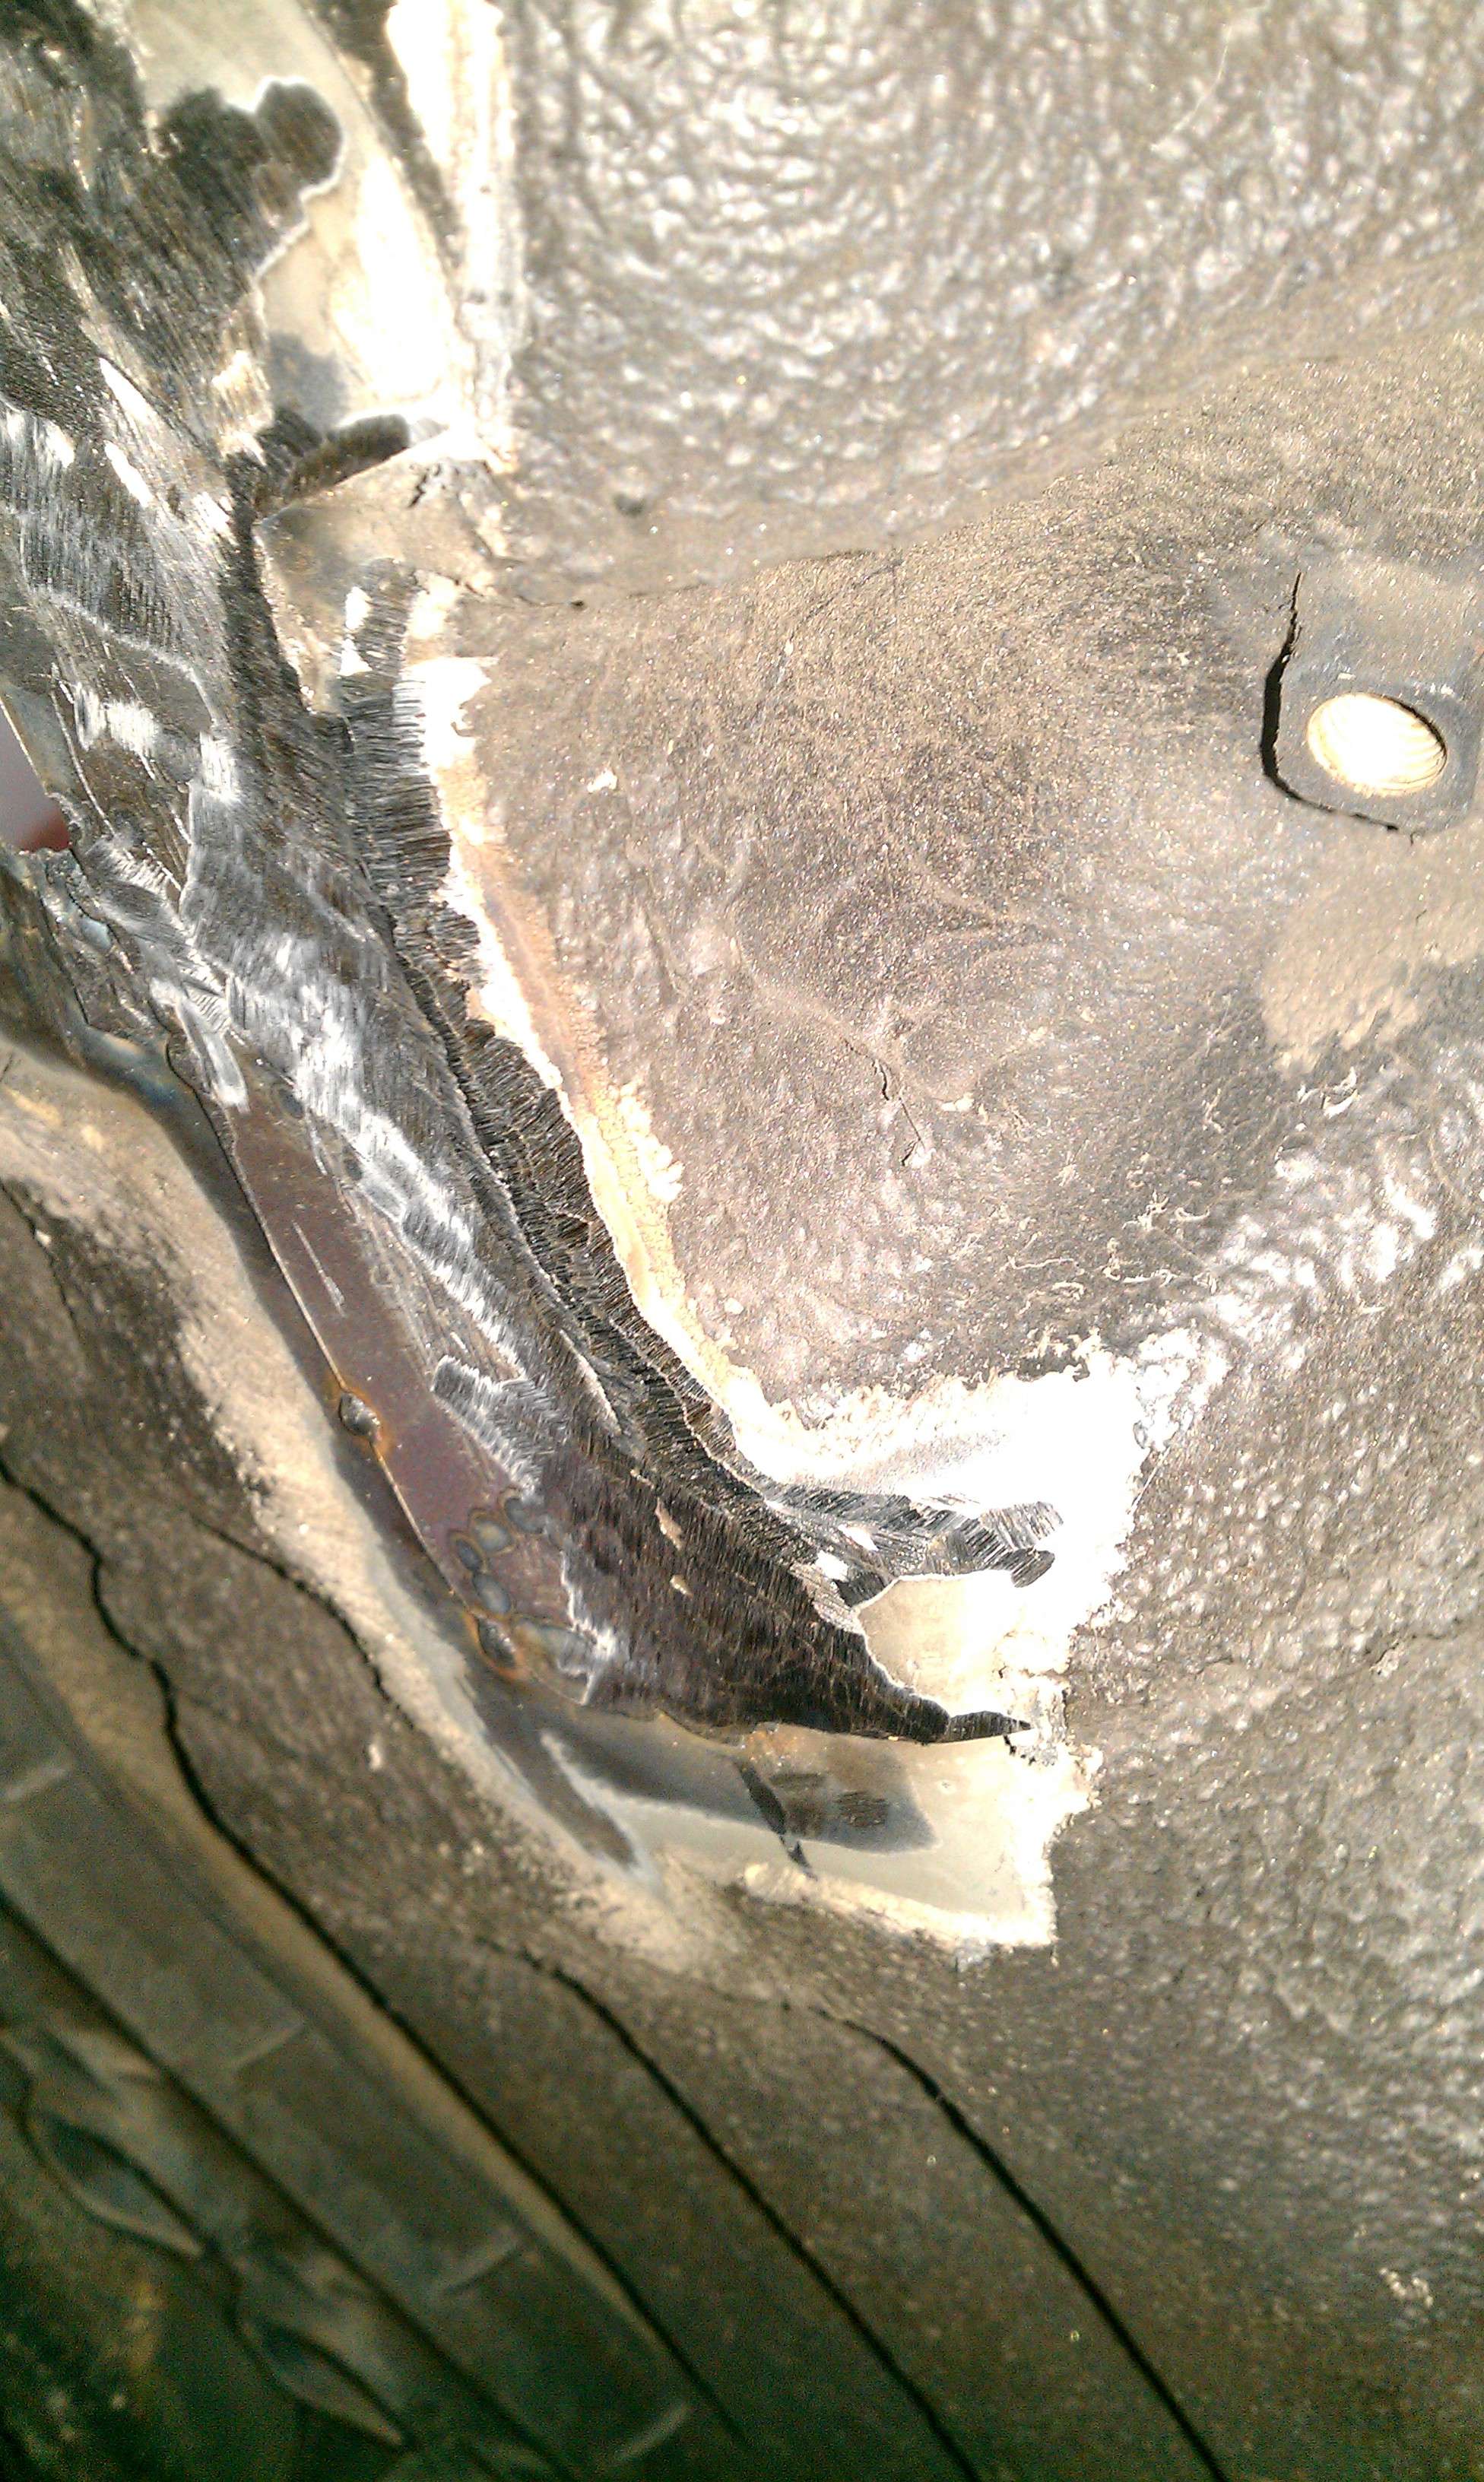
I had so much of the sound deading out allready I just chiseld out the remainder. Next time I do somthing like this I will get dry ice though.
Wow! Nice job with the floor repair. I'm hoping that I dont find anything like that once I get the sound deadening out.
You planing on repainting the the rest of the interior?
You planing on repainting the the rest of the interior?
ok bro itbs are gonna be awesome lemme know when your working on that i wanna see that in person lol
Prism11;1898500 said:Wow! Nice job with the floor repair. I'm hoping that I dont find anything like that once I get the sound deadening out.
You planing on repainting the the rest of the interior?
Thanks, I'm just doing a coat of primer on the floor to get a nice base for the Dynamat.
taka21;1898502 said:ok bro itbs are gonna be awesome lemme know when your working on that i wanna see that in person lol
Ya sure will, I sent out the AEM ECU to be modded, hopefully that gets done soon so I can install the necessary parts to make it run the stock engine. Then its ITB time!
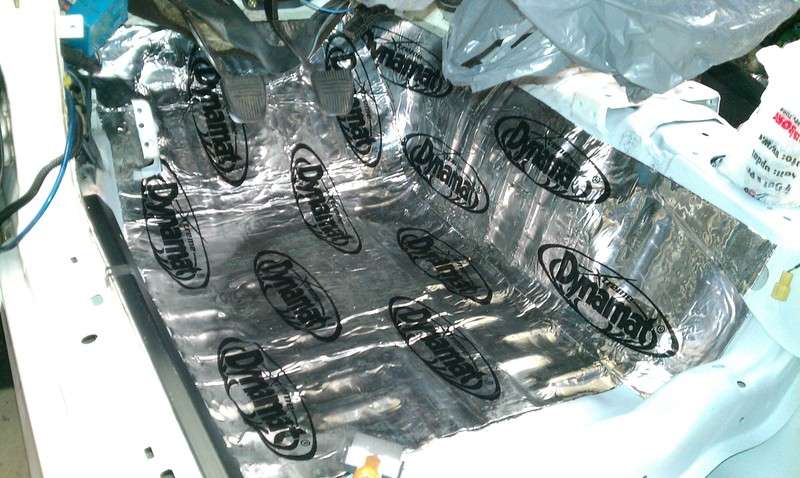
Last night I started installing the Dynamat, the stuff is actually easy to work with. Cuts with normal scisors, I got three sections down, and it looks like the allotted 9 in the box will not be enough to finish the forward cab (back seats to fire wall). Kinda sucks, but I wont mind ordering more so I can do the rear seats back.
4U2QUIK
1UZFE SWAP DUDE!!!
I know it's too late, but next time you remove the factory sound deadener go buy a bunch of dry ice and let it freeze the deadener. then you can go in with a hammer and the stuff just breaks off. Then you just sweep it all up and you're good.
Yea, next time I will do it that way!
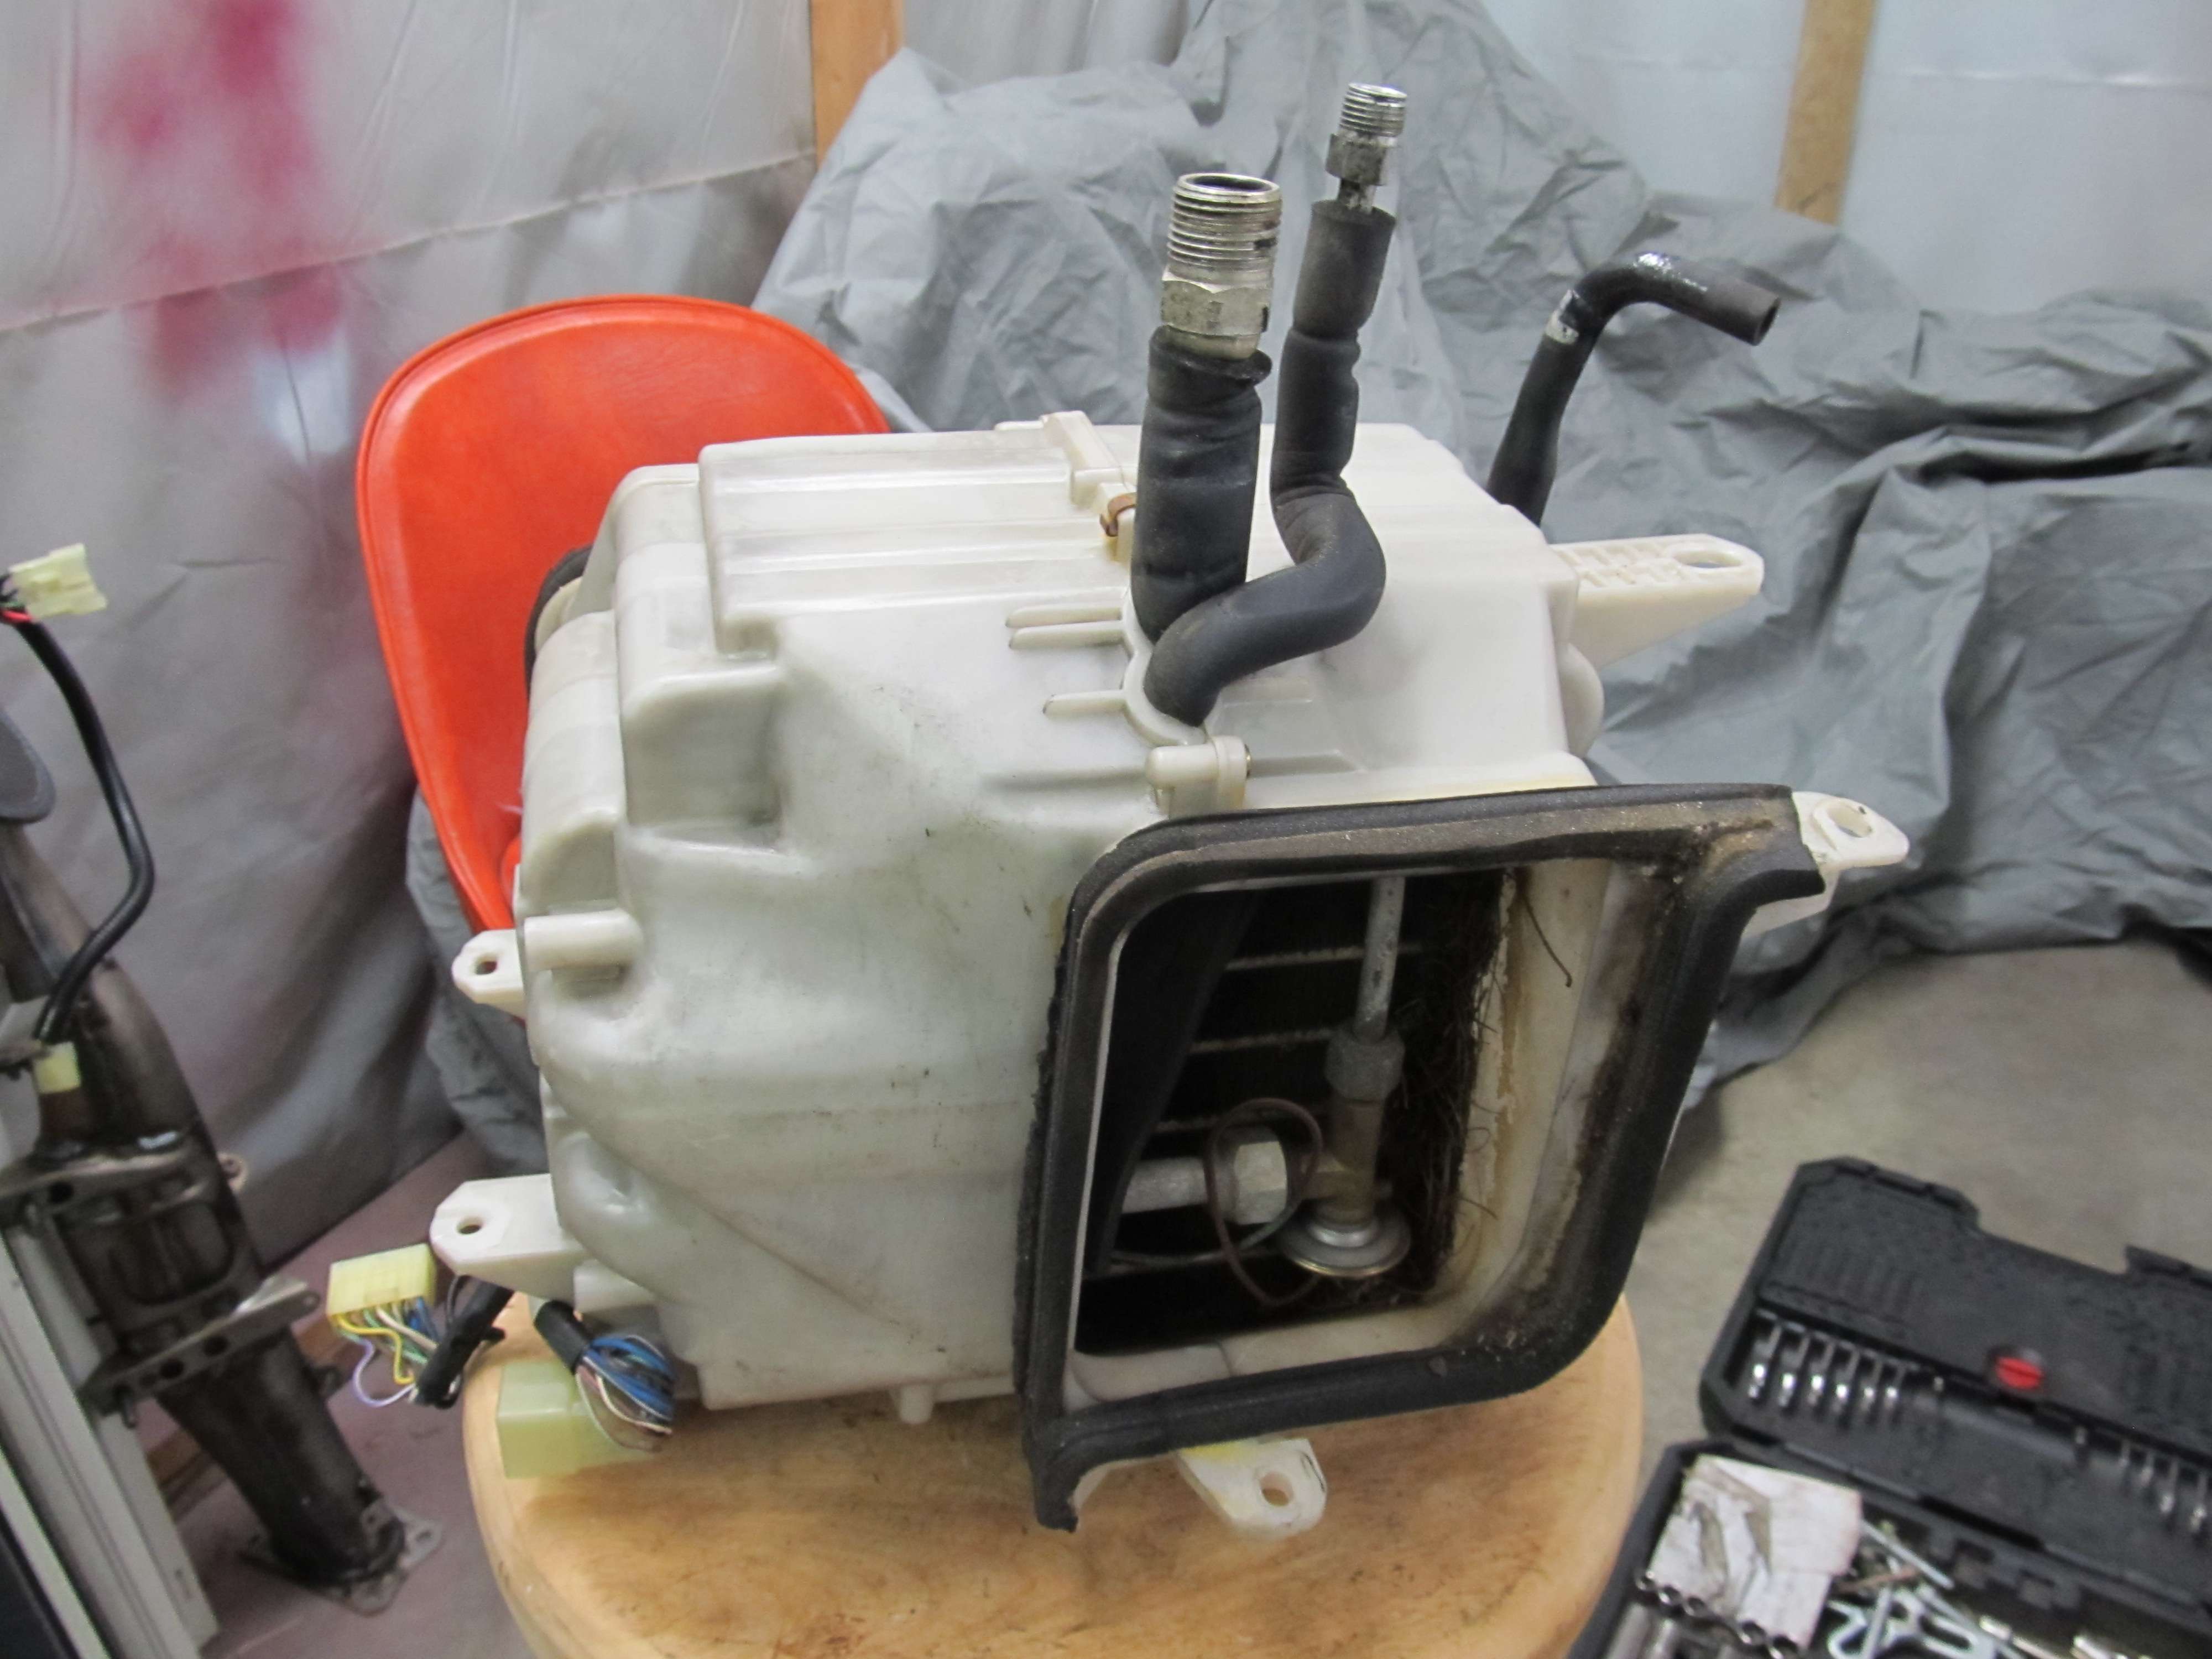
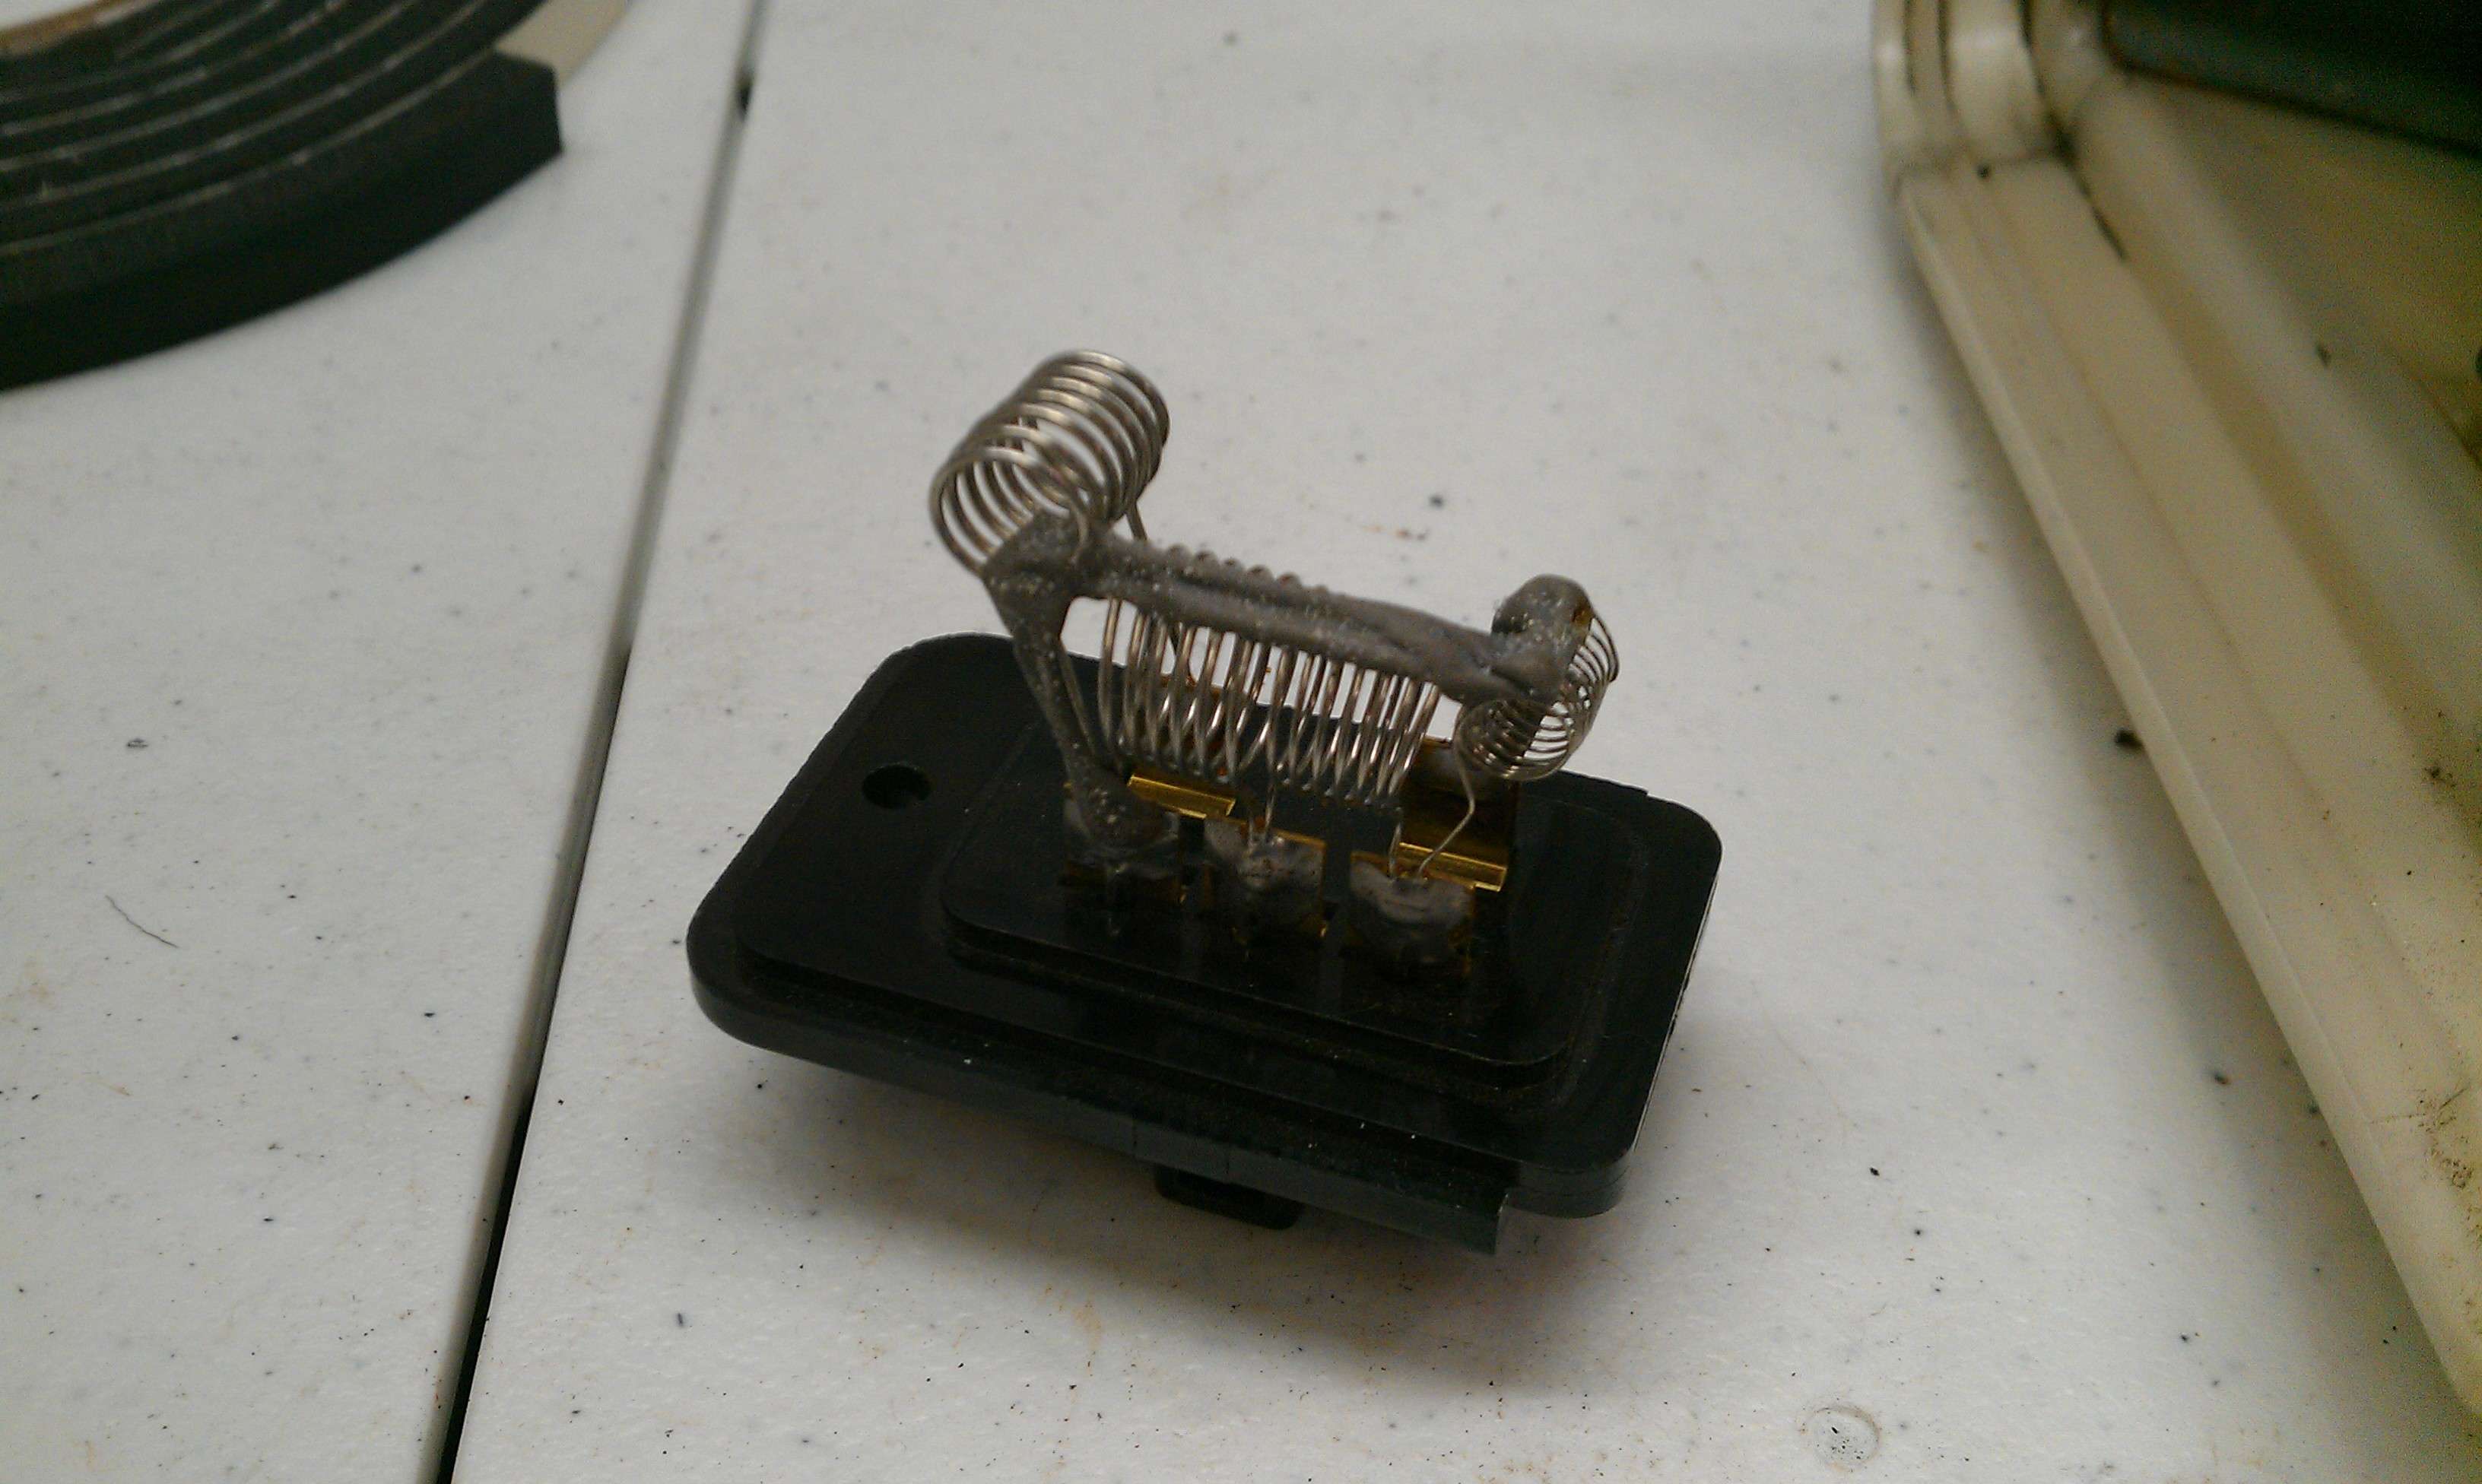
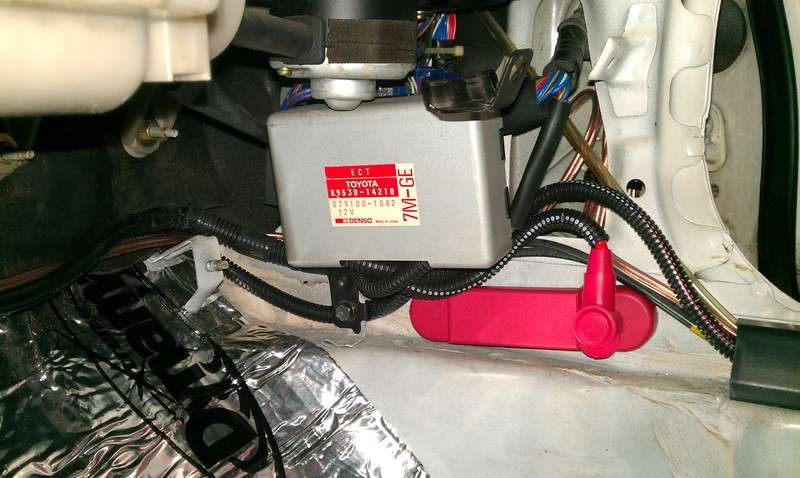
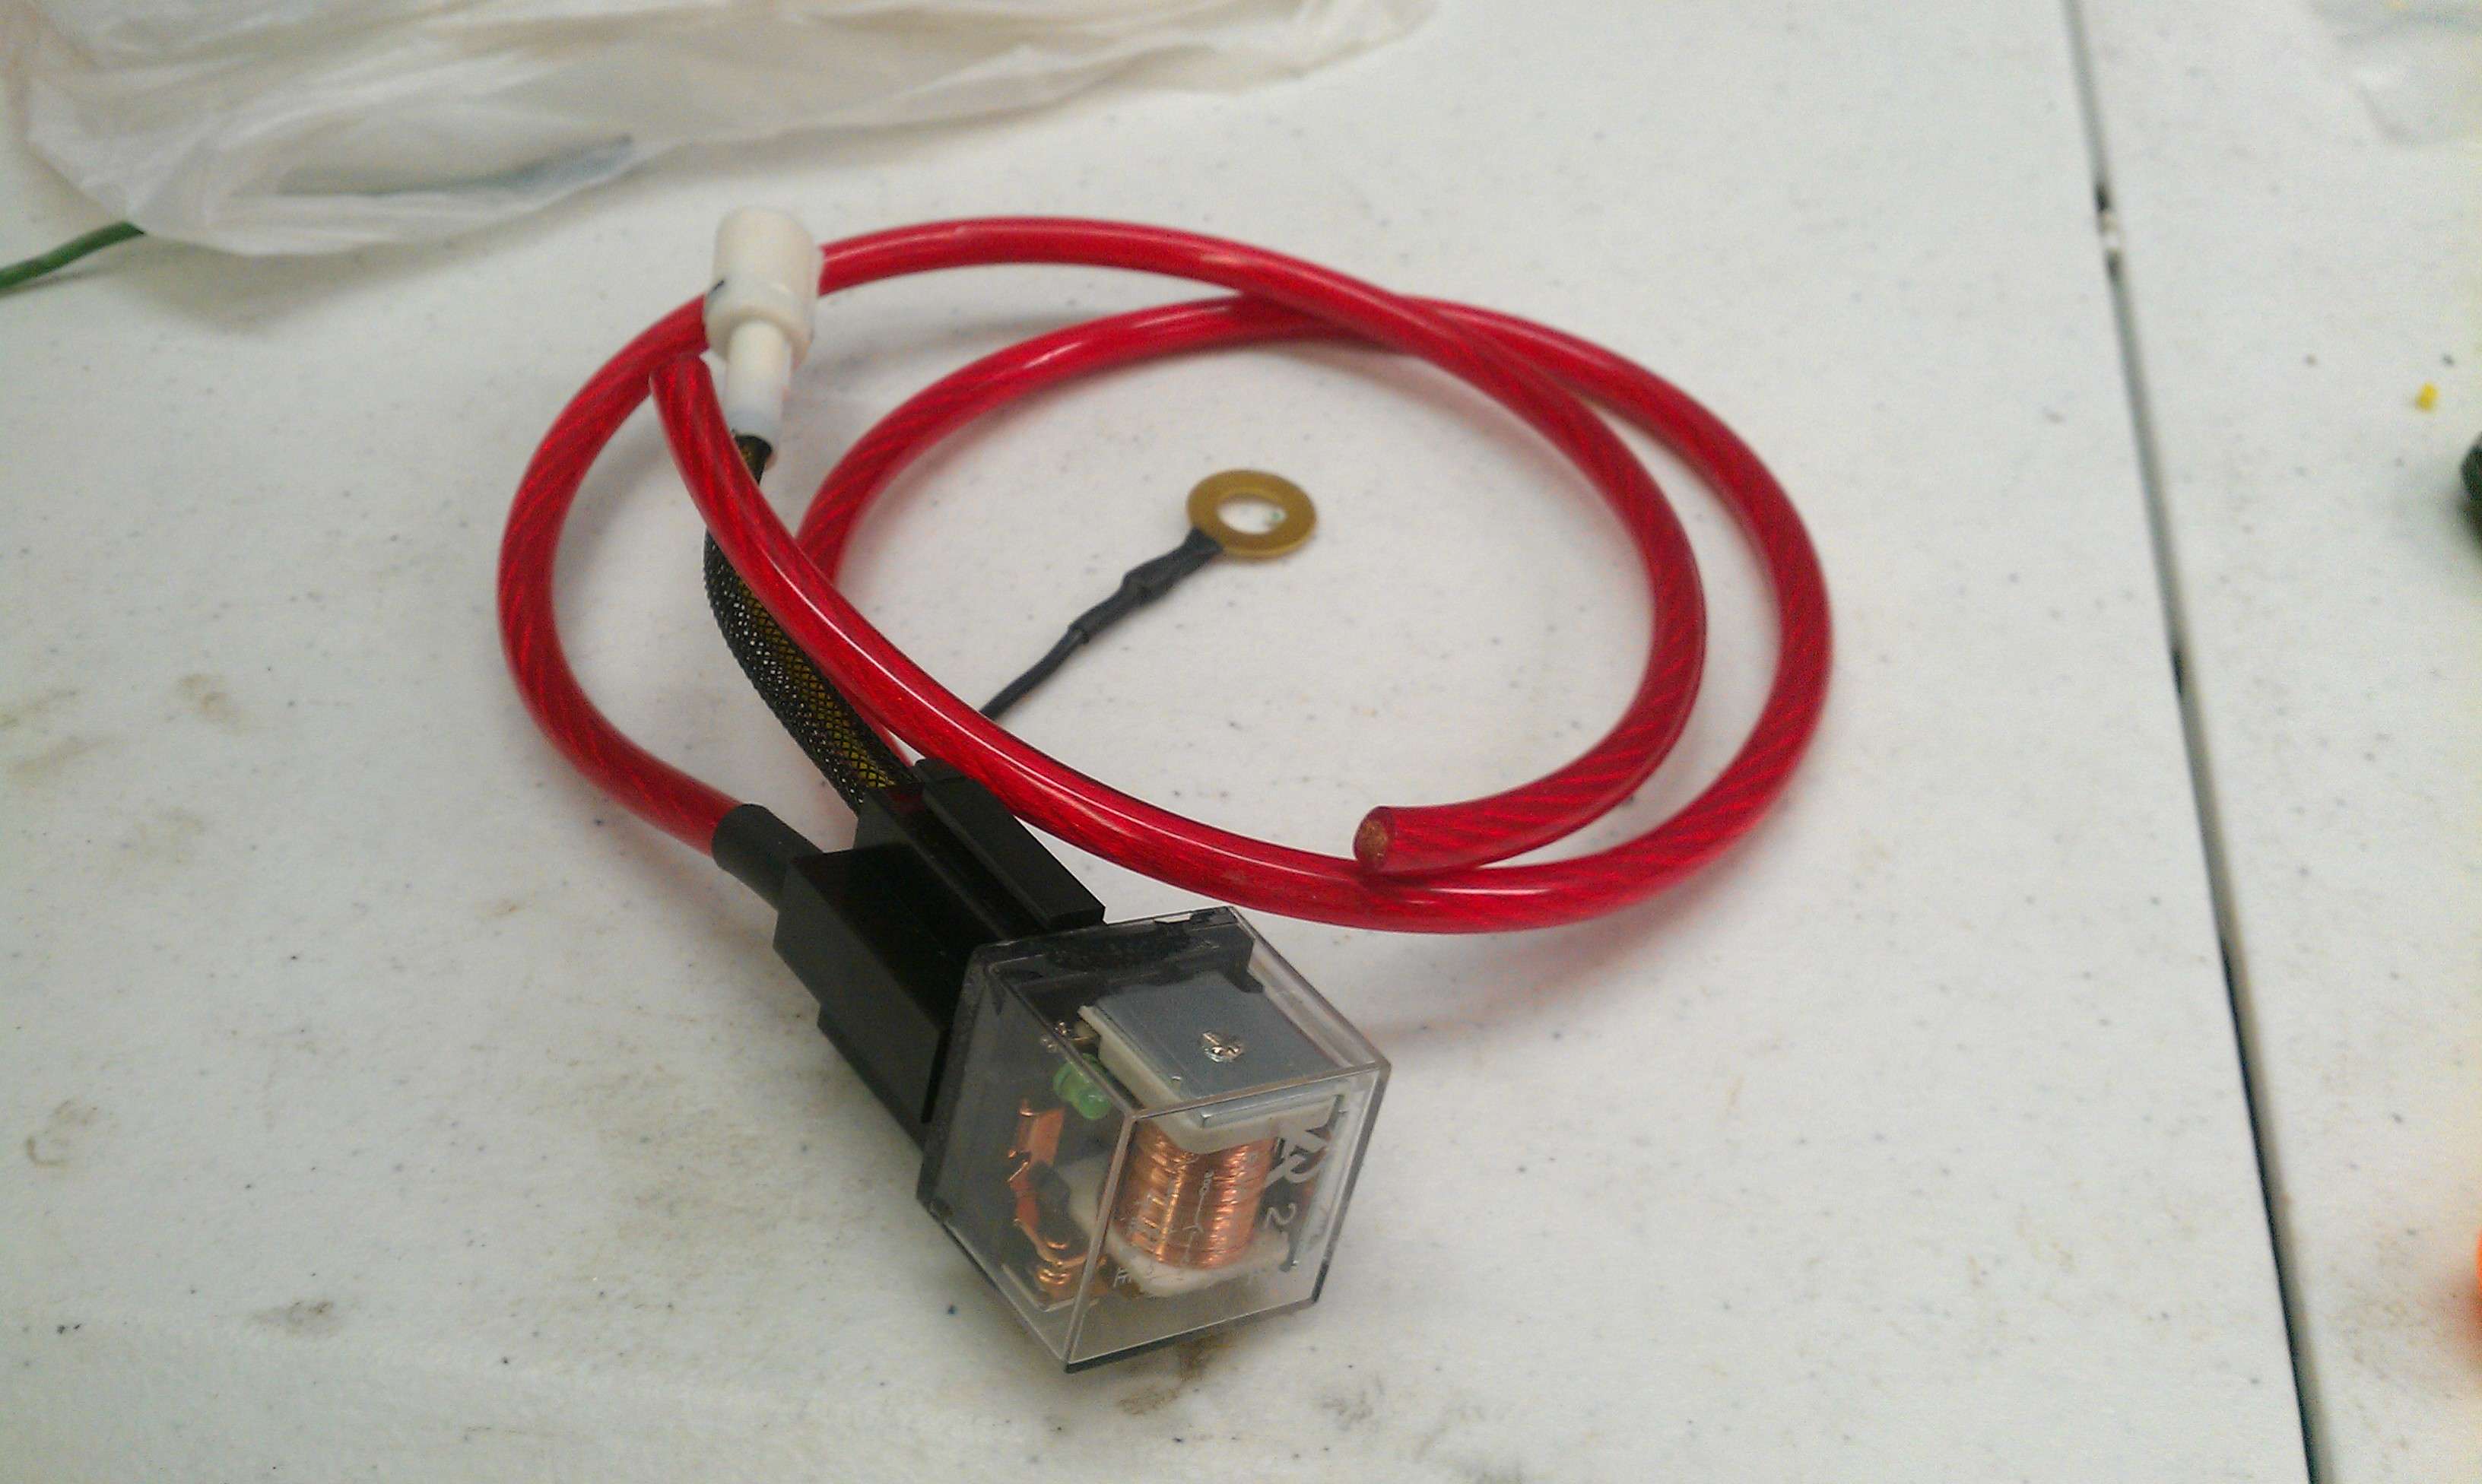
So I got some parts in, and did some tinkering. The plan is to pull a single power wire through a relay into the cab. Then split that wire in a distribution block to the AMP for the woofer and to the extra gauges or any other accessories I add. I was trying to figure out where to mound the distribution block when I looked aound and saw the ECT computer it hit me. Gut it, put the block in it, and BAM! Easy to access, easy to mount, and it gets covered up like nothing is out of the ordinary. Also started to restore my heater control valve assembly. Upon pulling the fan assembly apart to clean it I noticed the resistor pack for the fan speed, and I also noticed on the L circuit the wire had melted and broke, that would be why my low fan speed doesnt work. Time to find a new one!
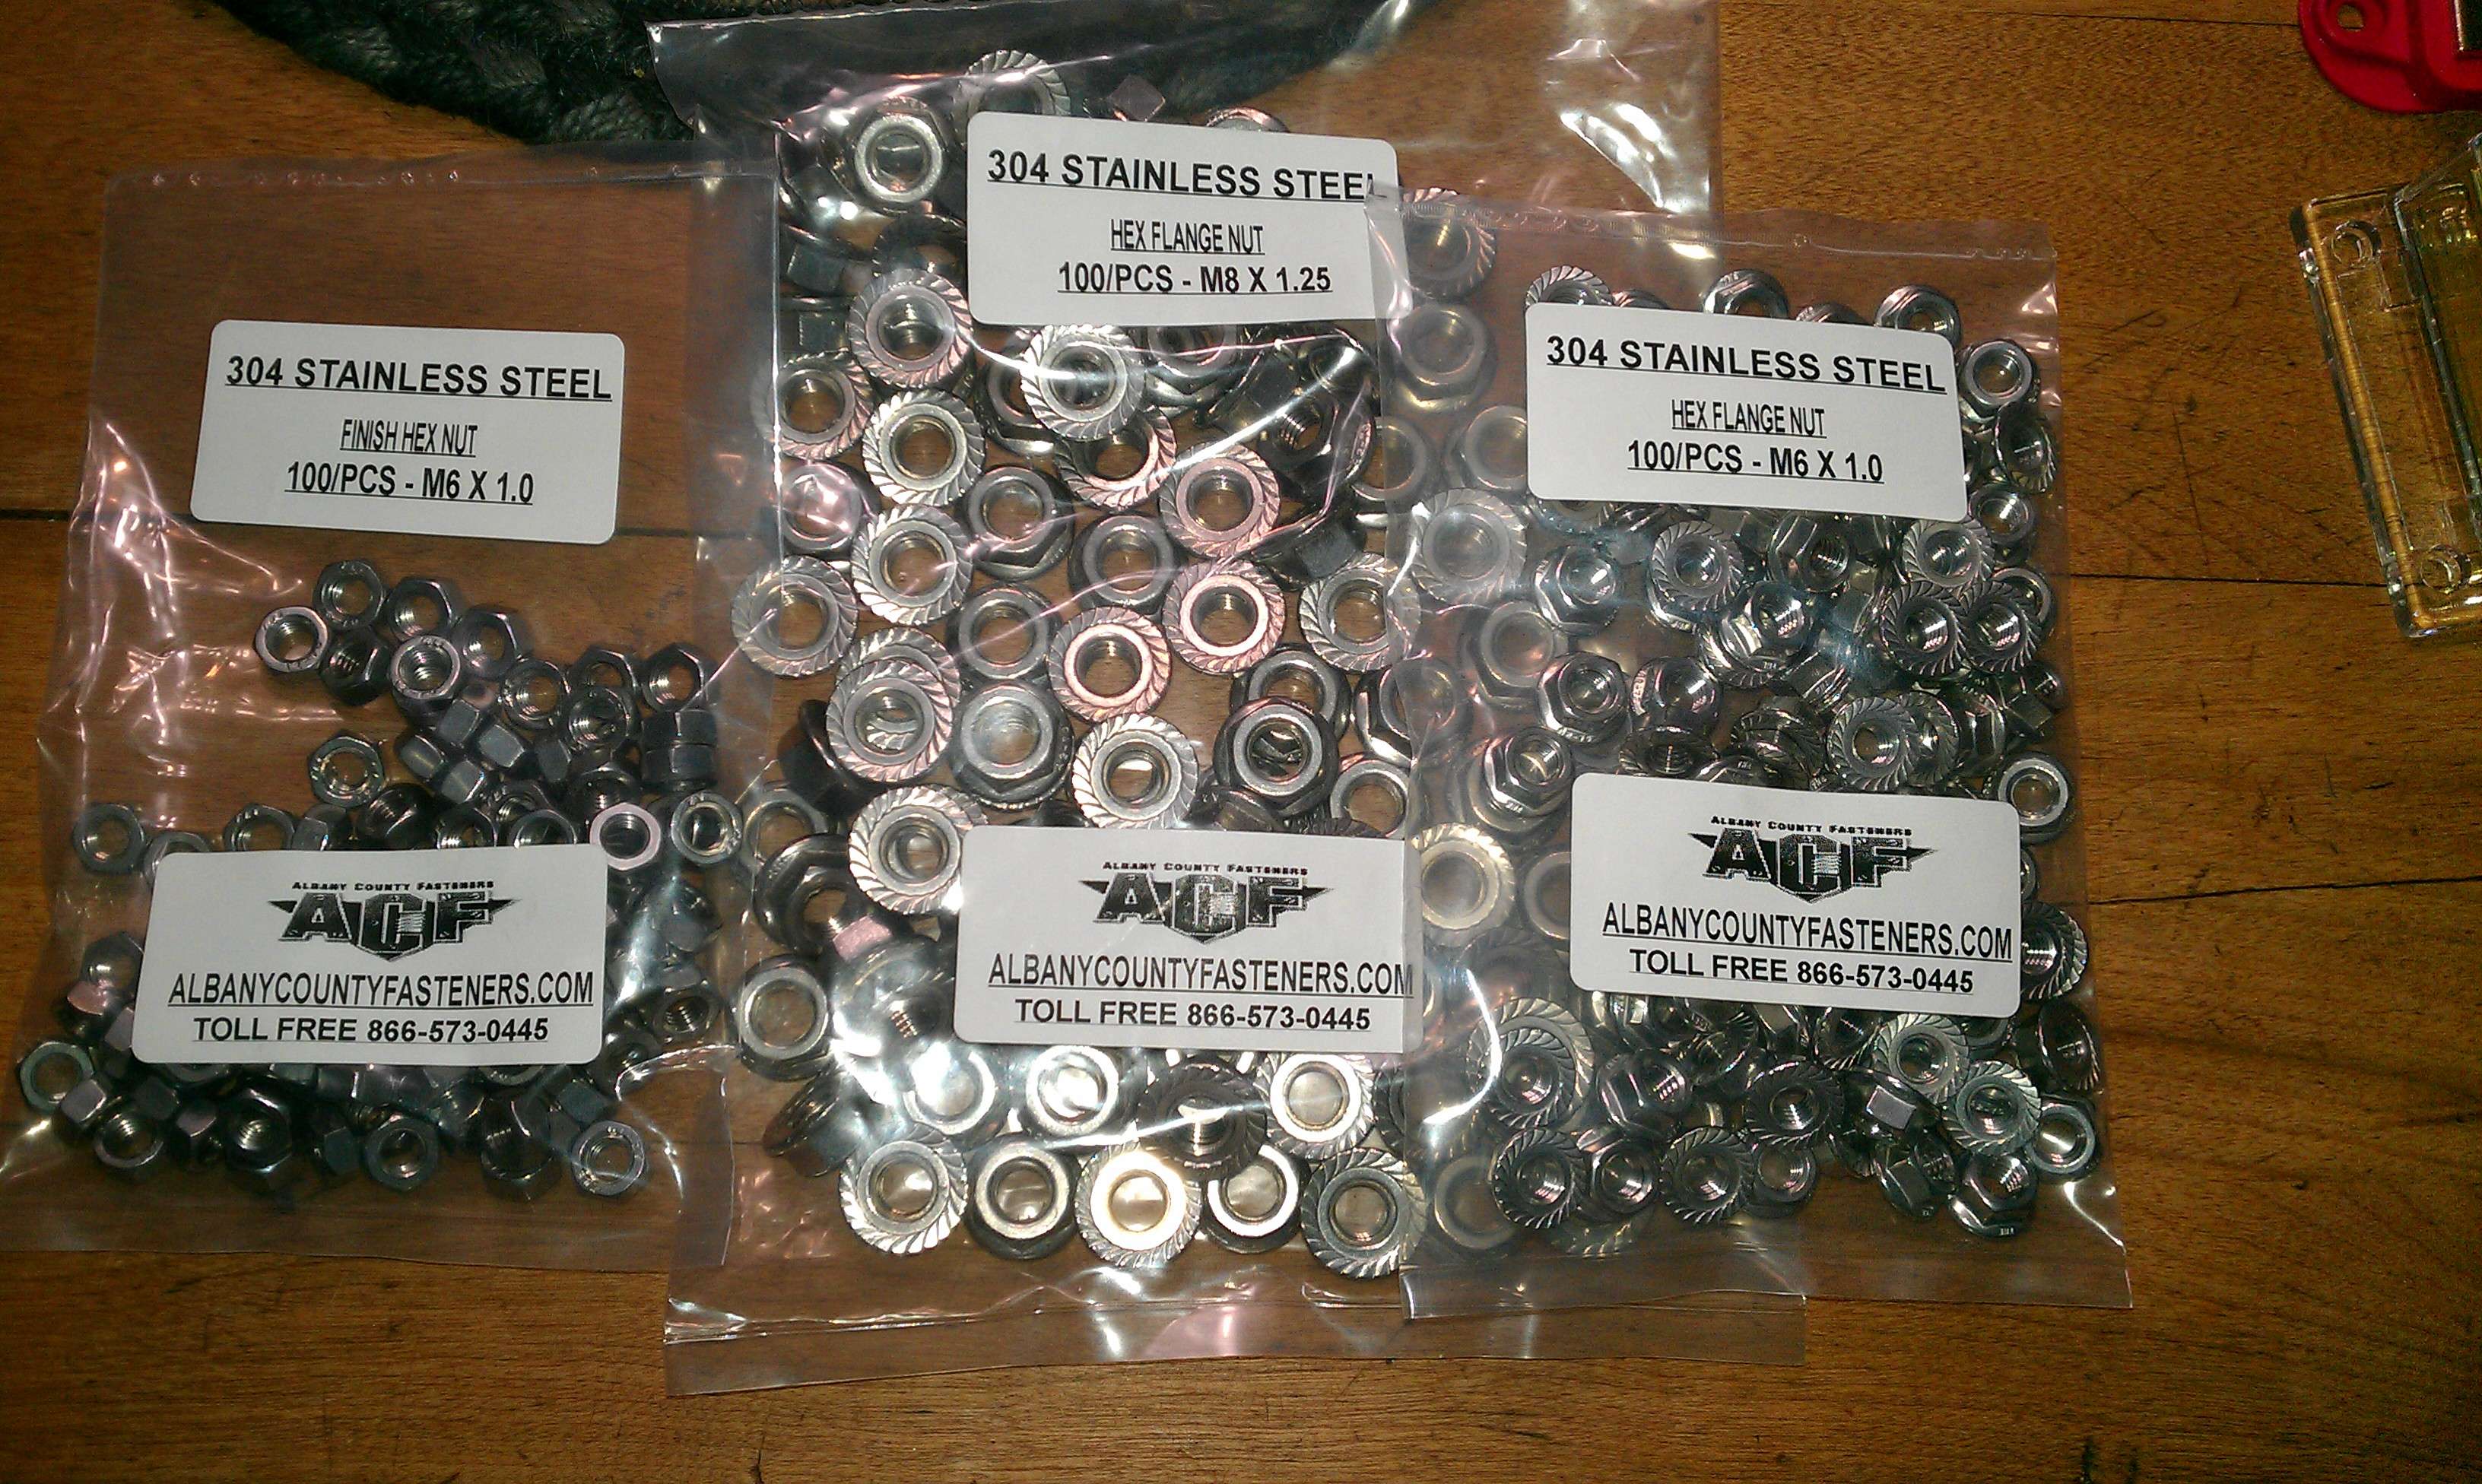
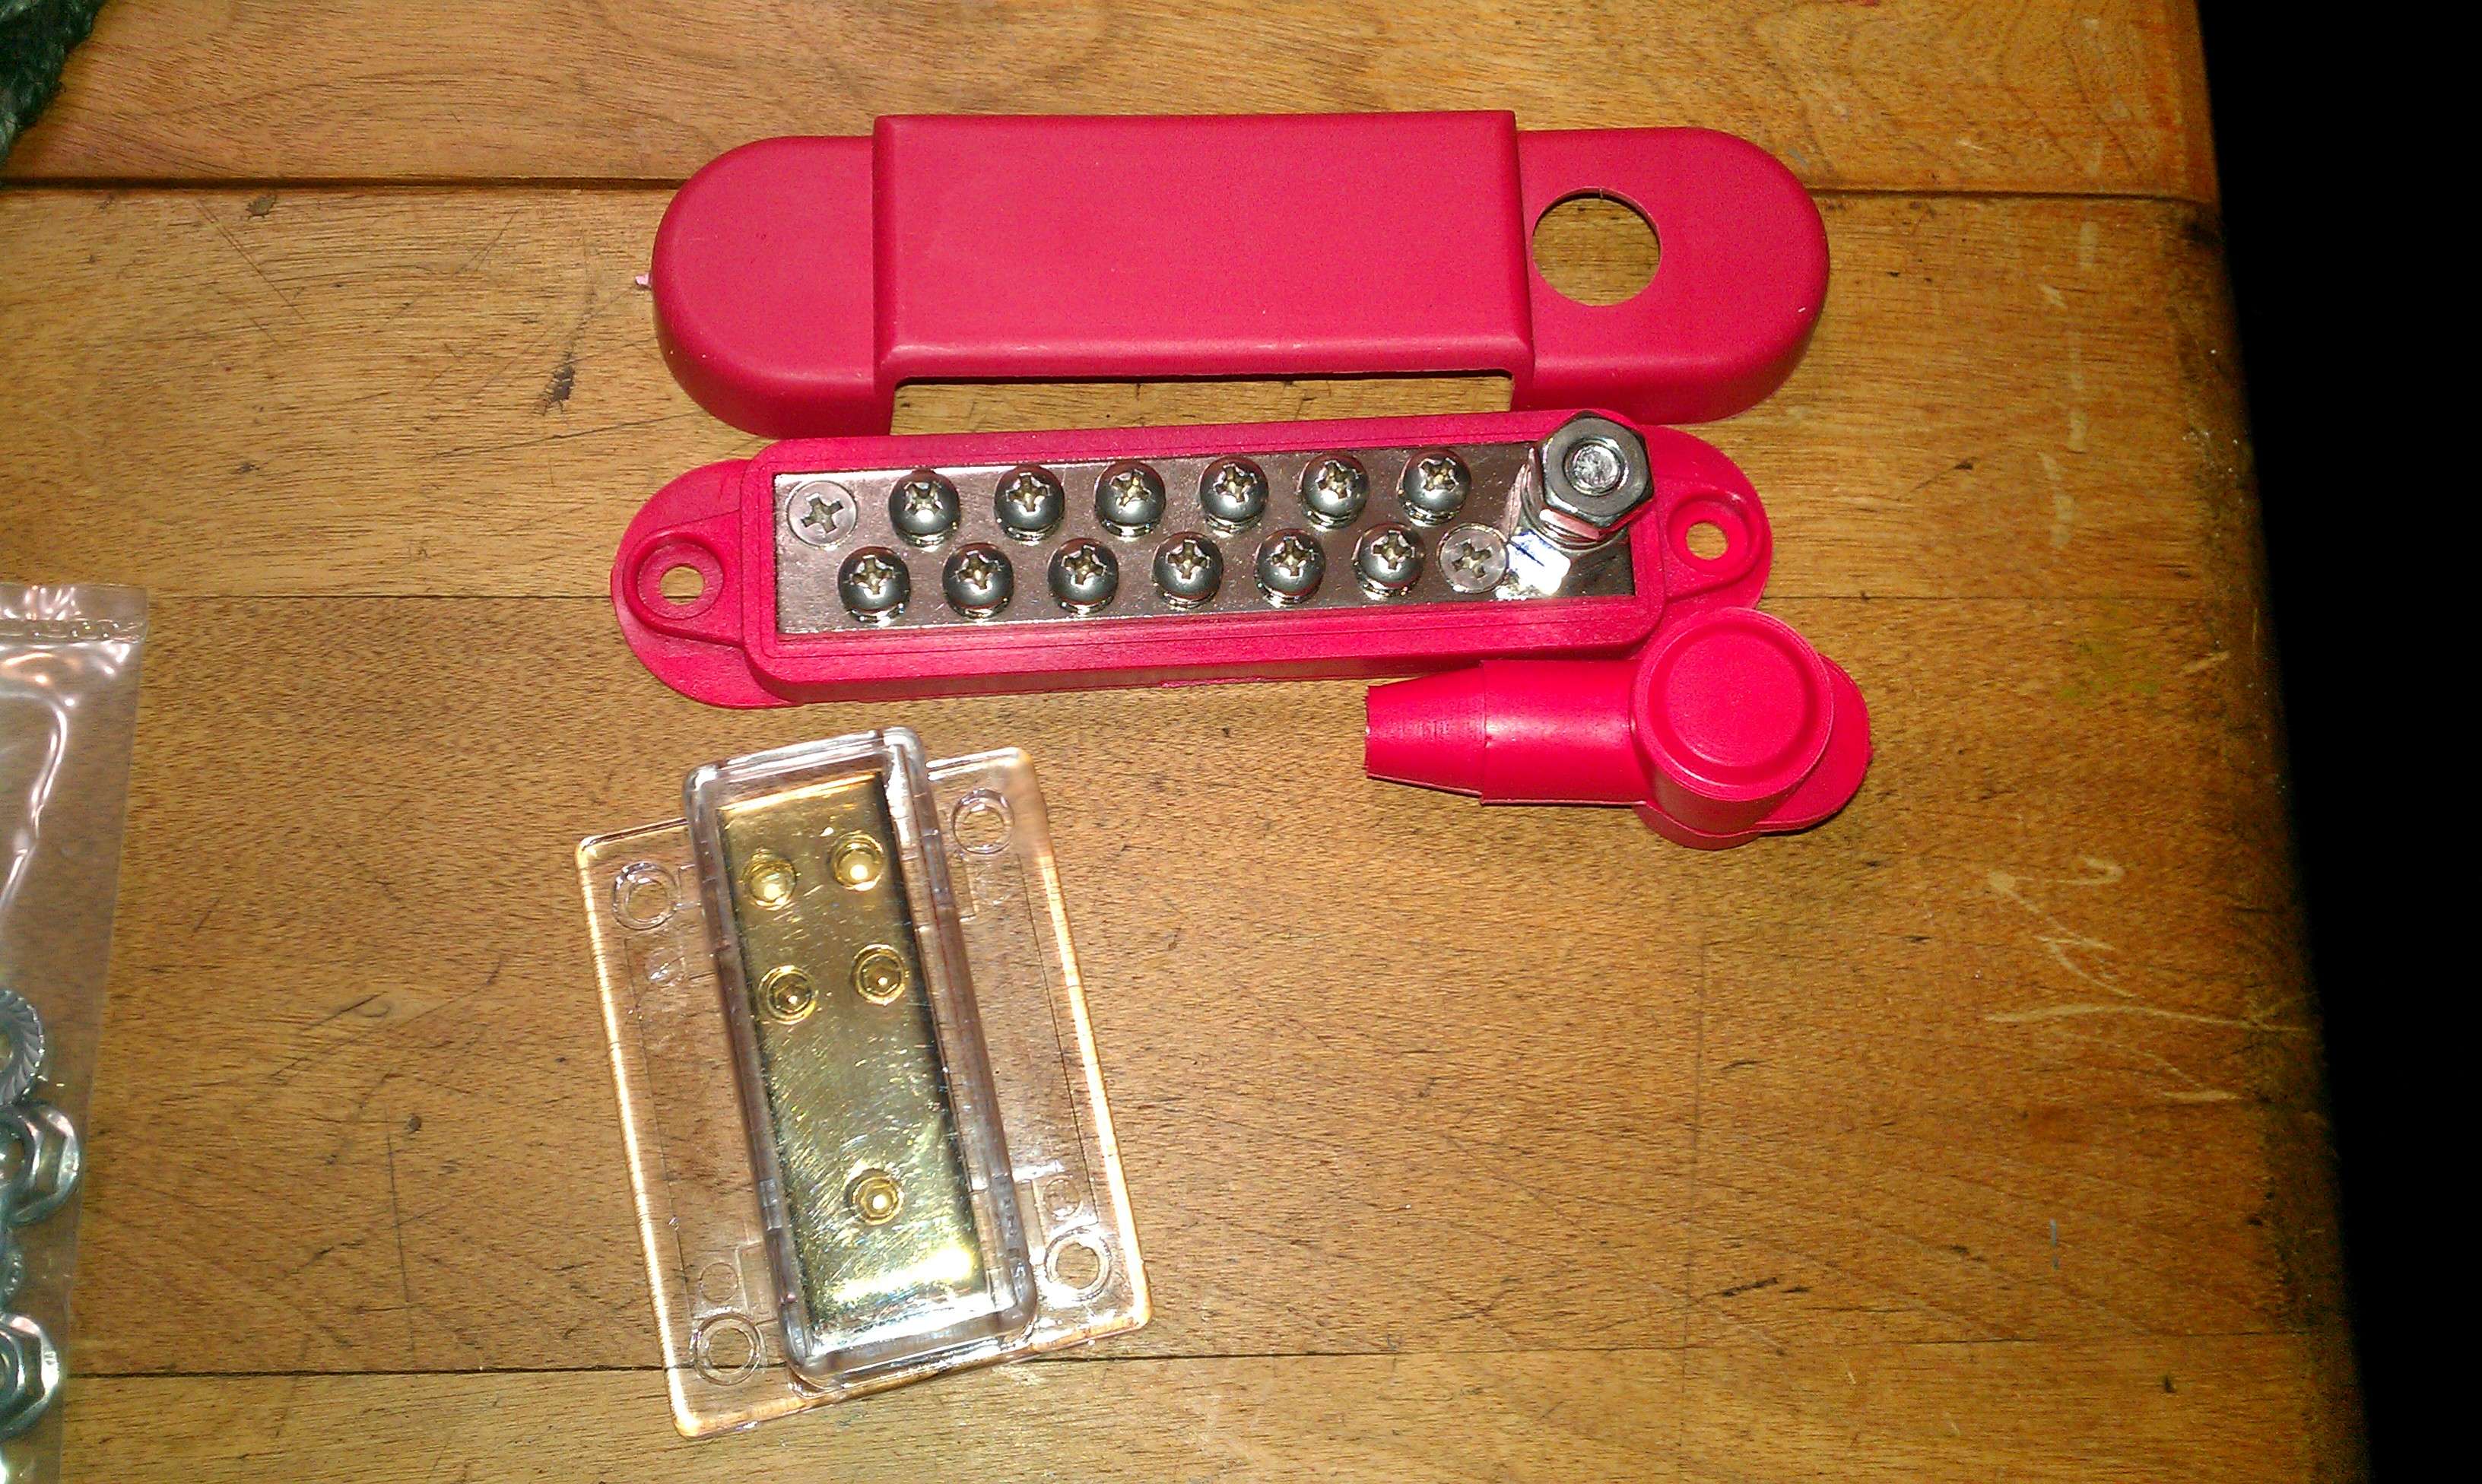
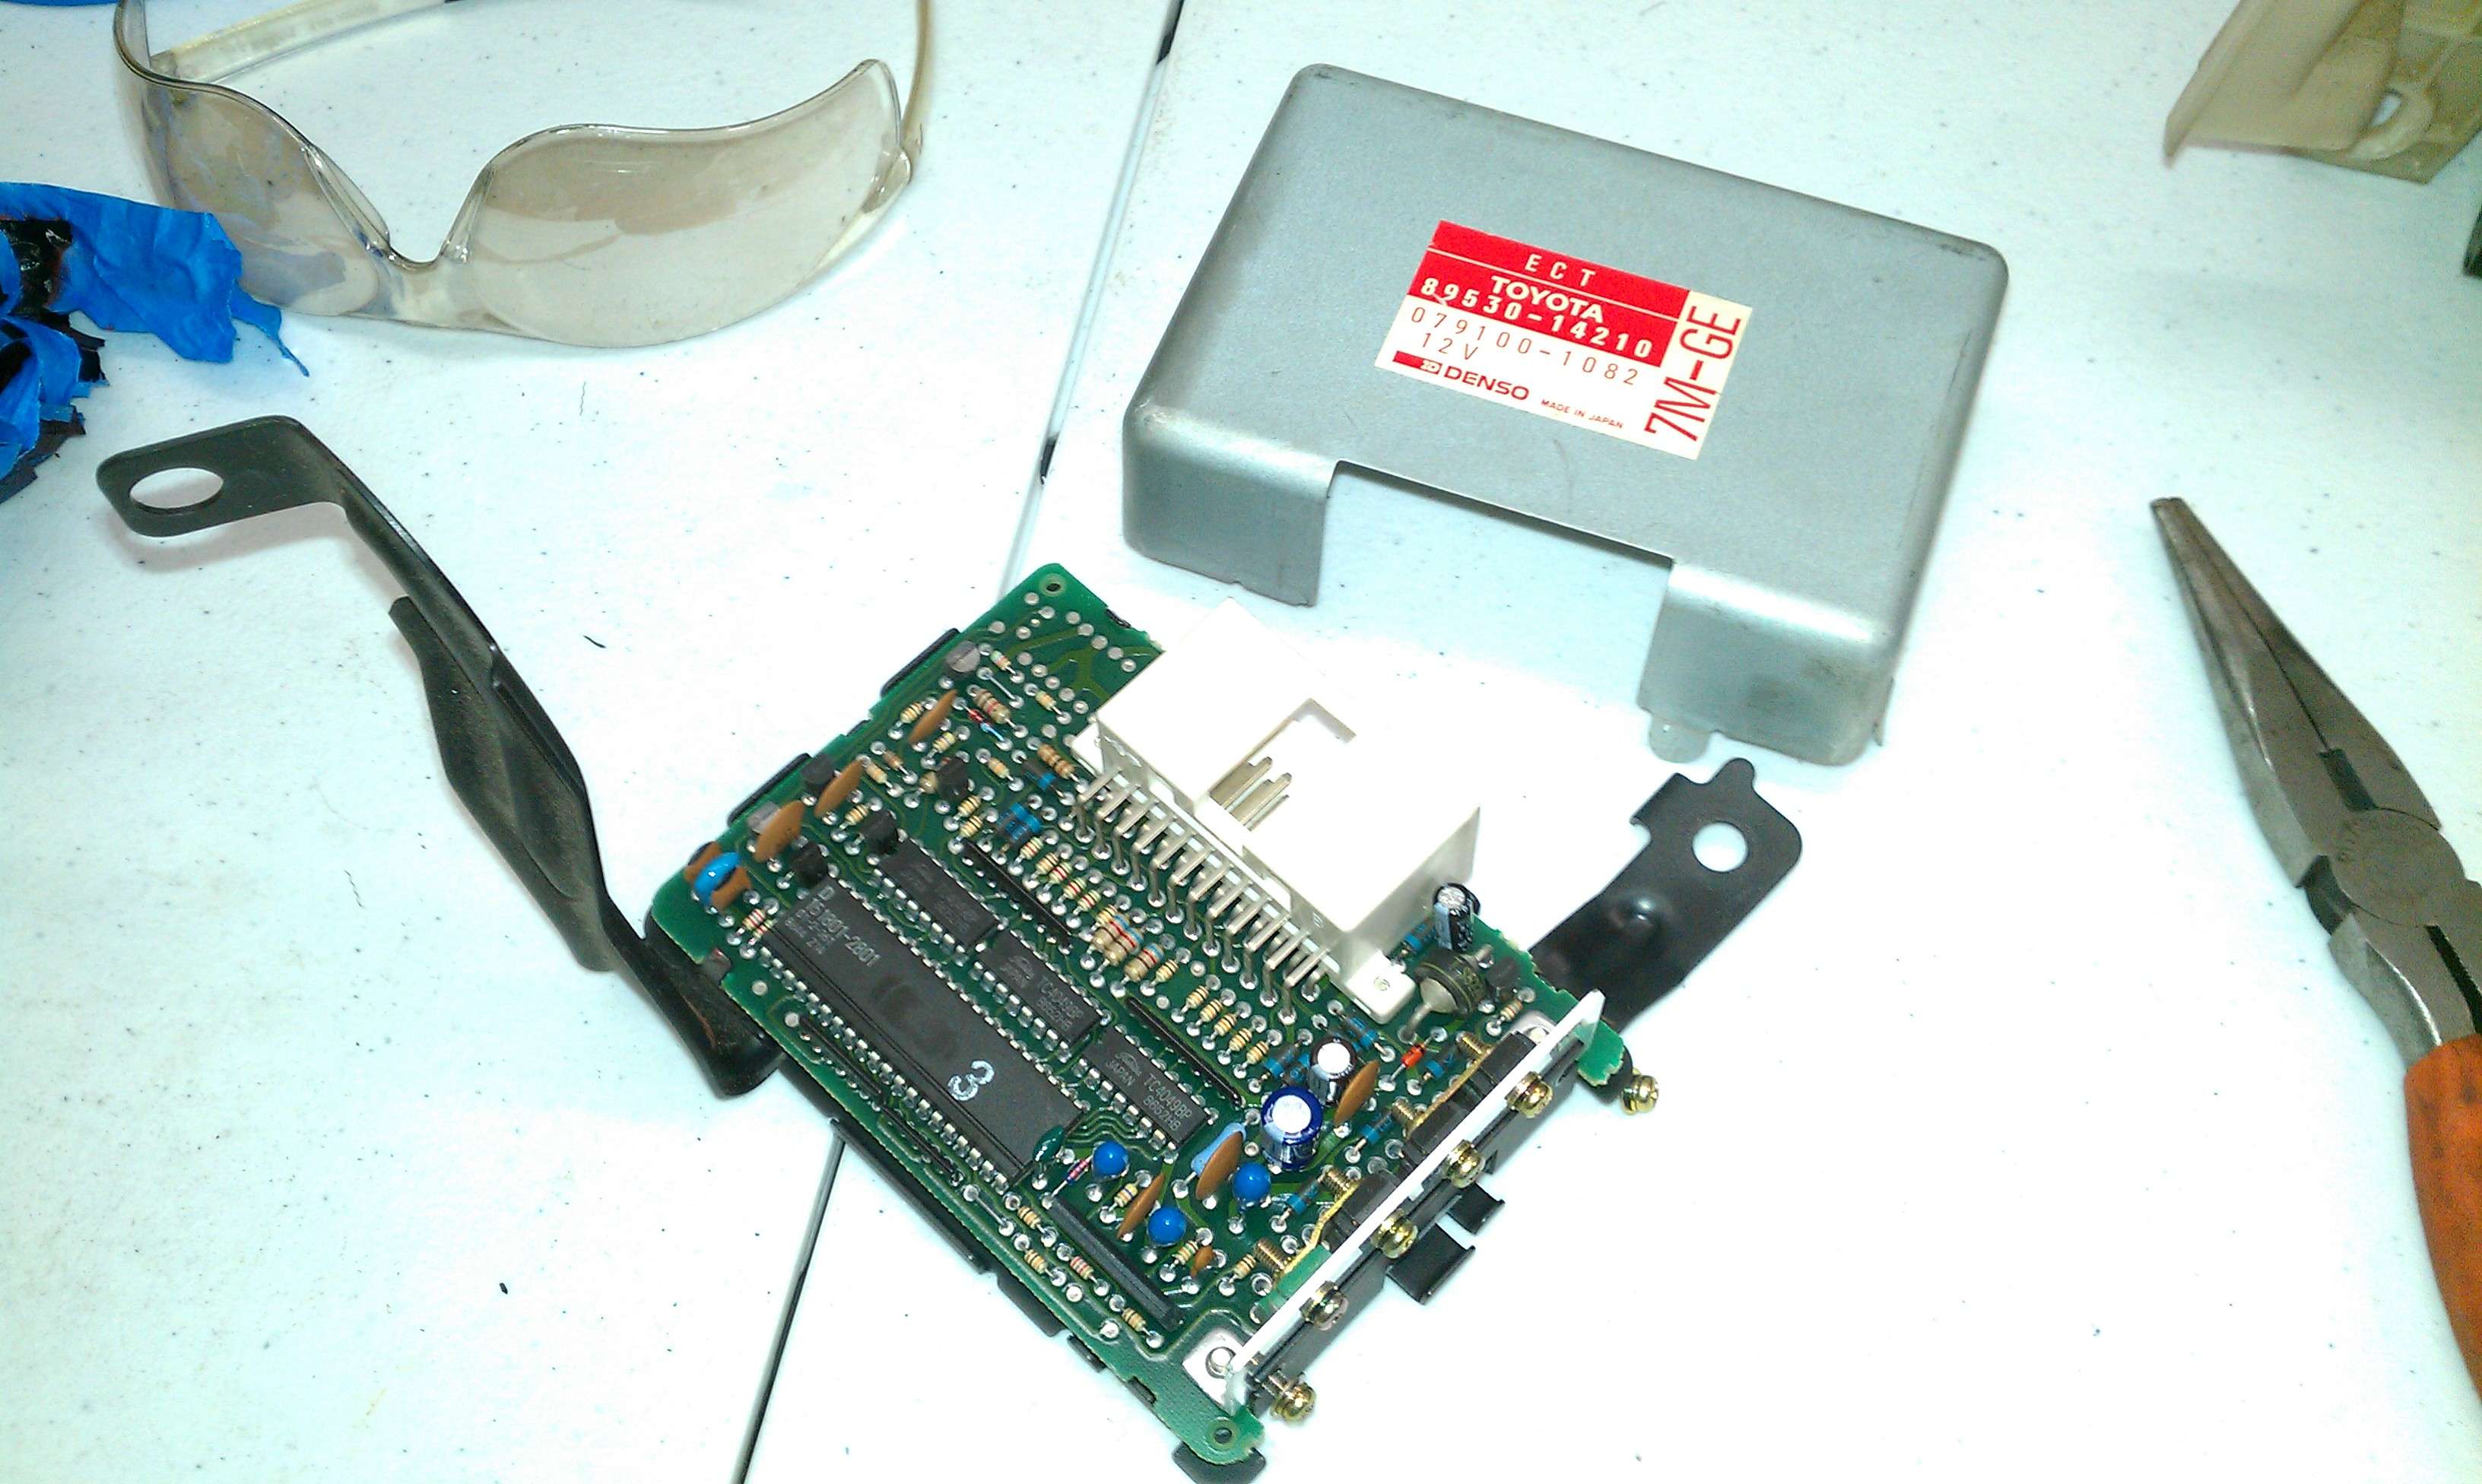

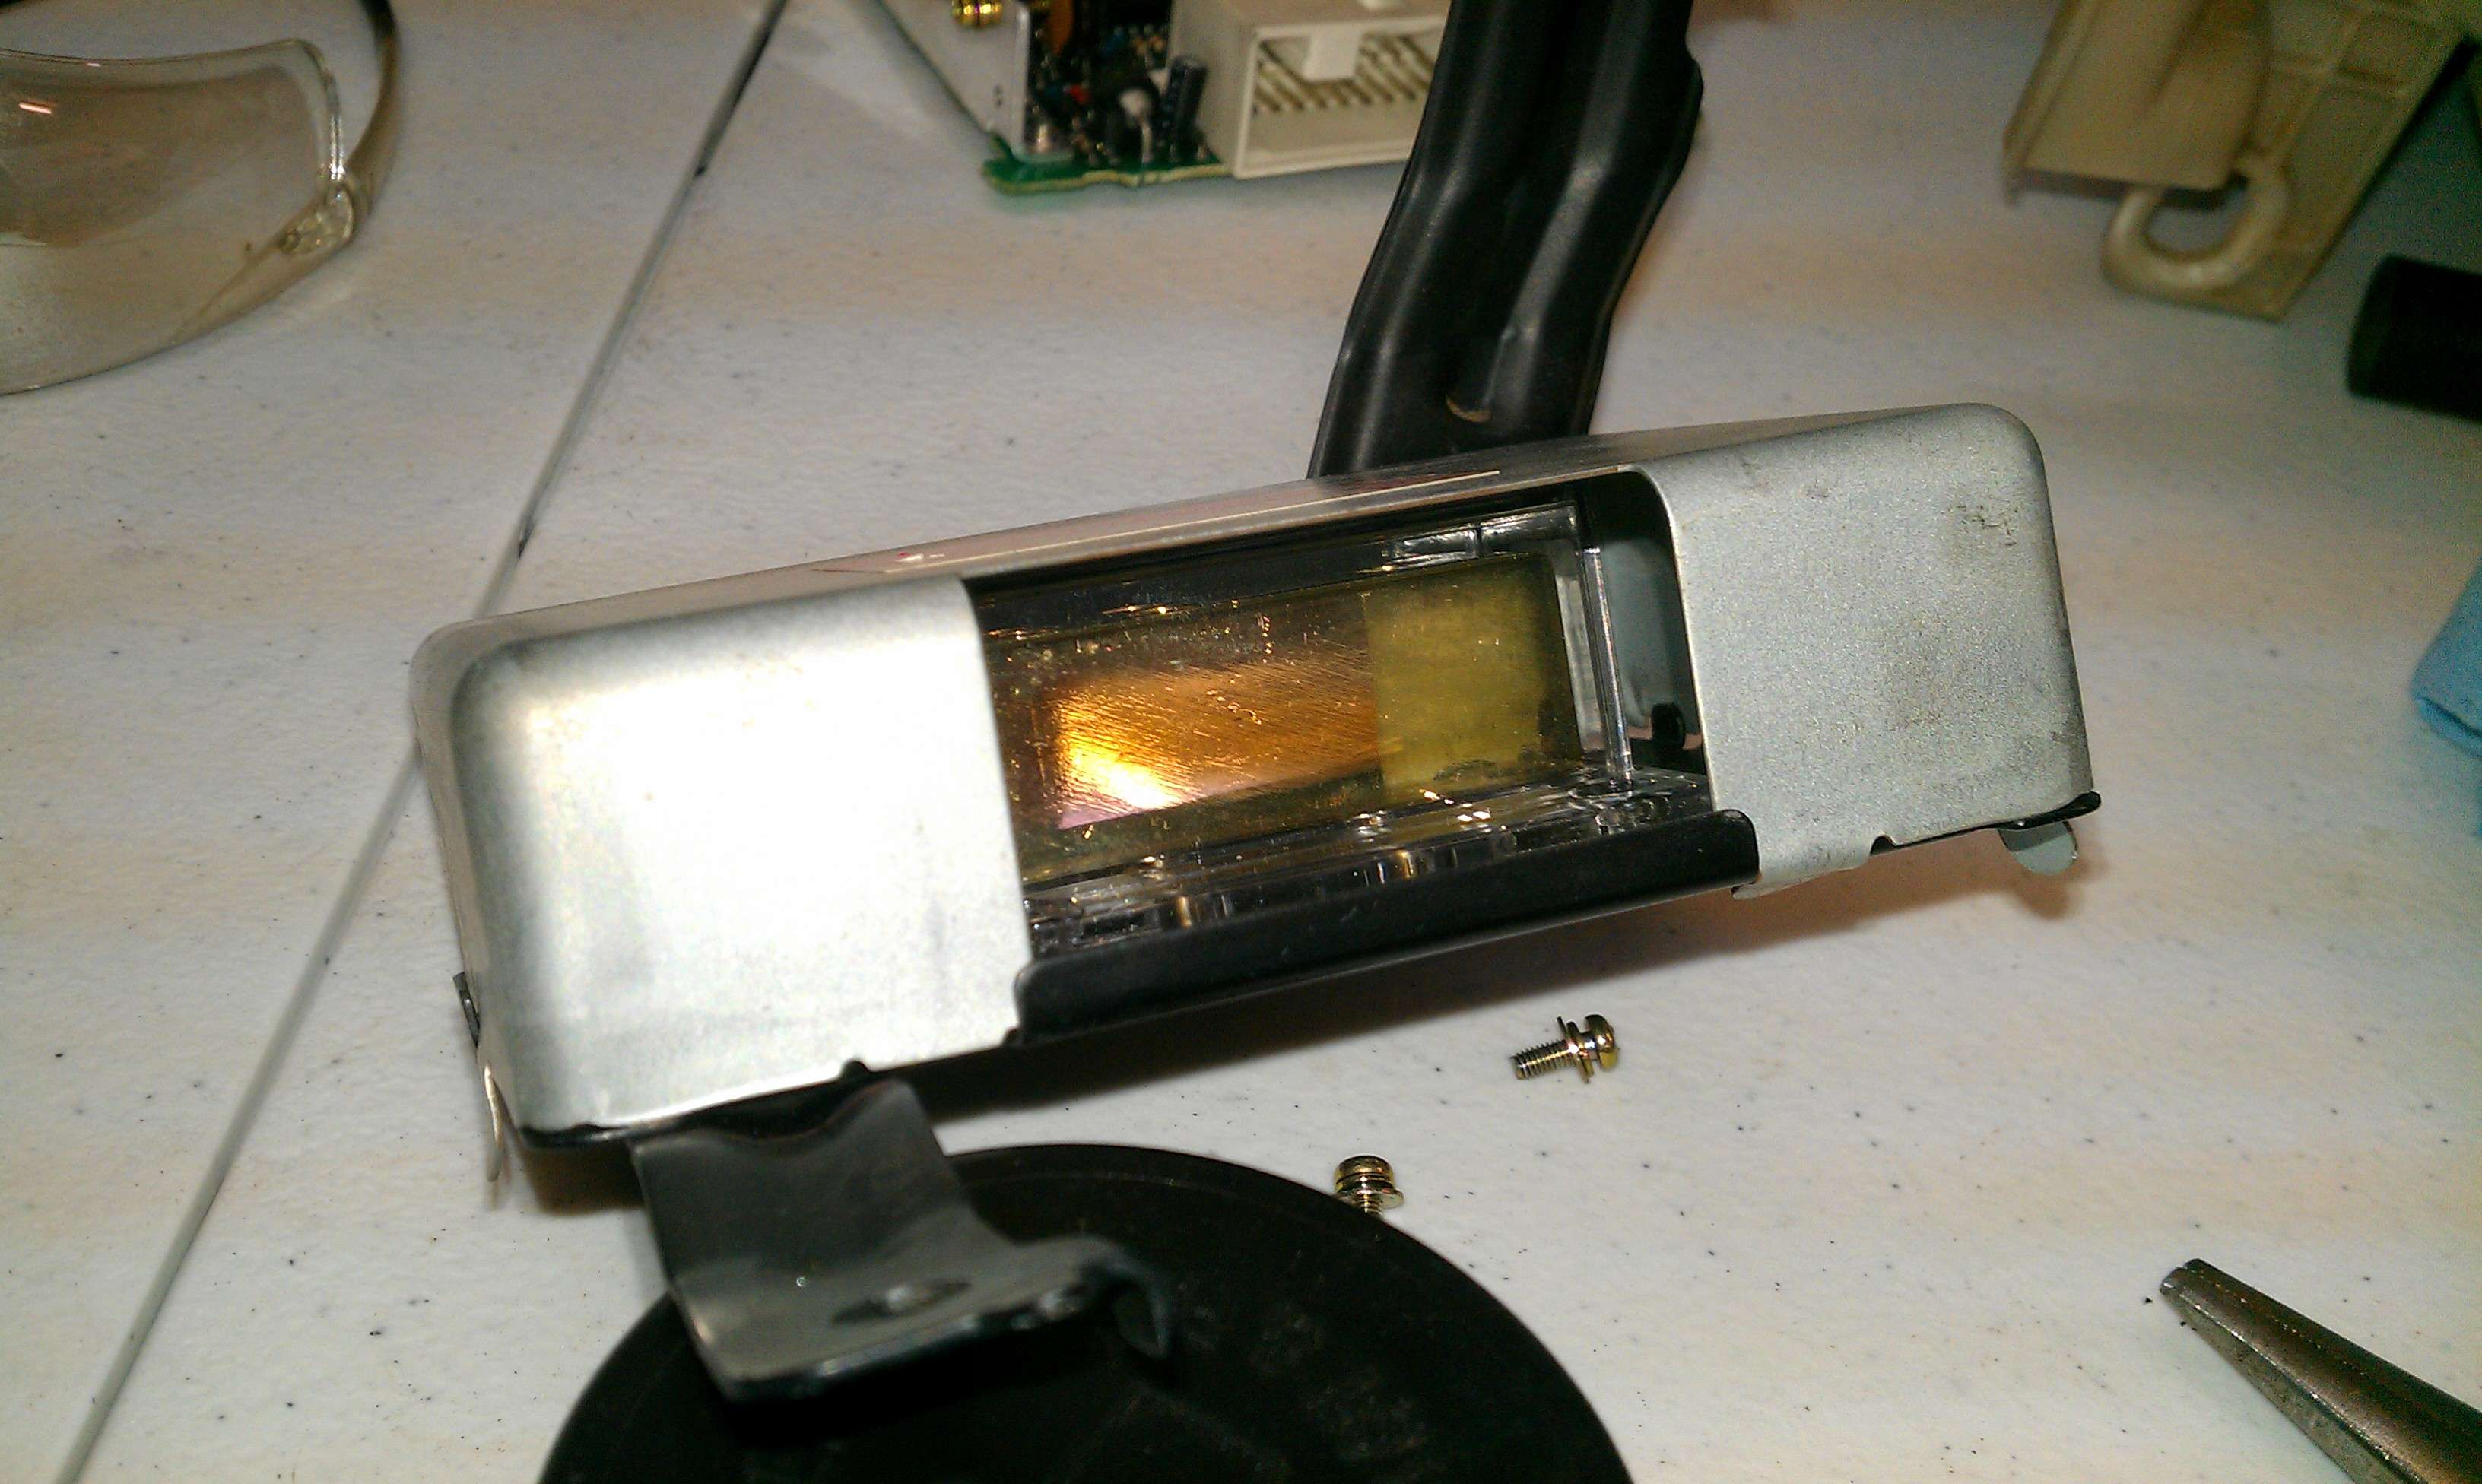
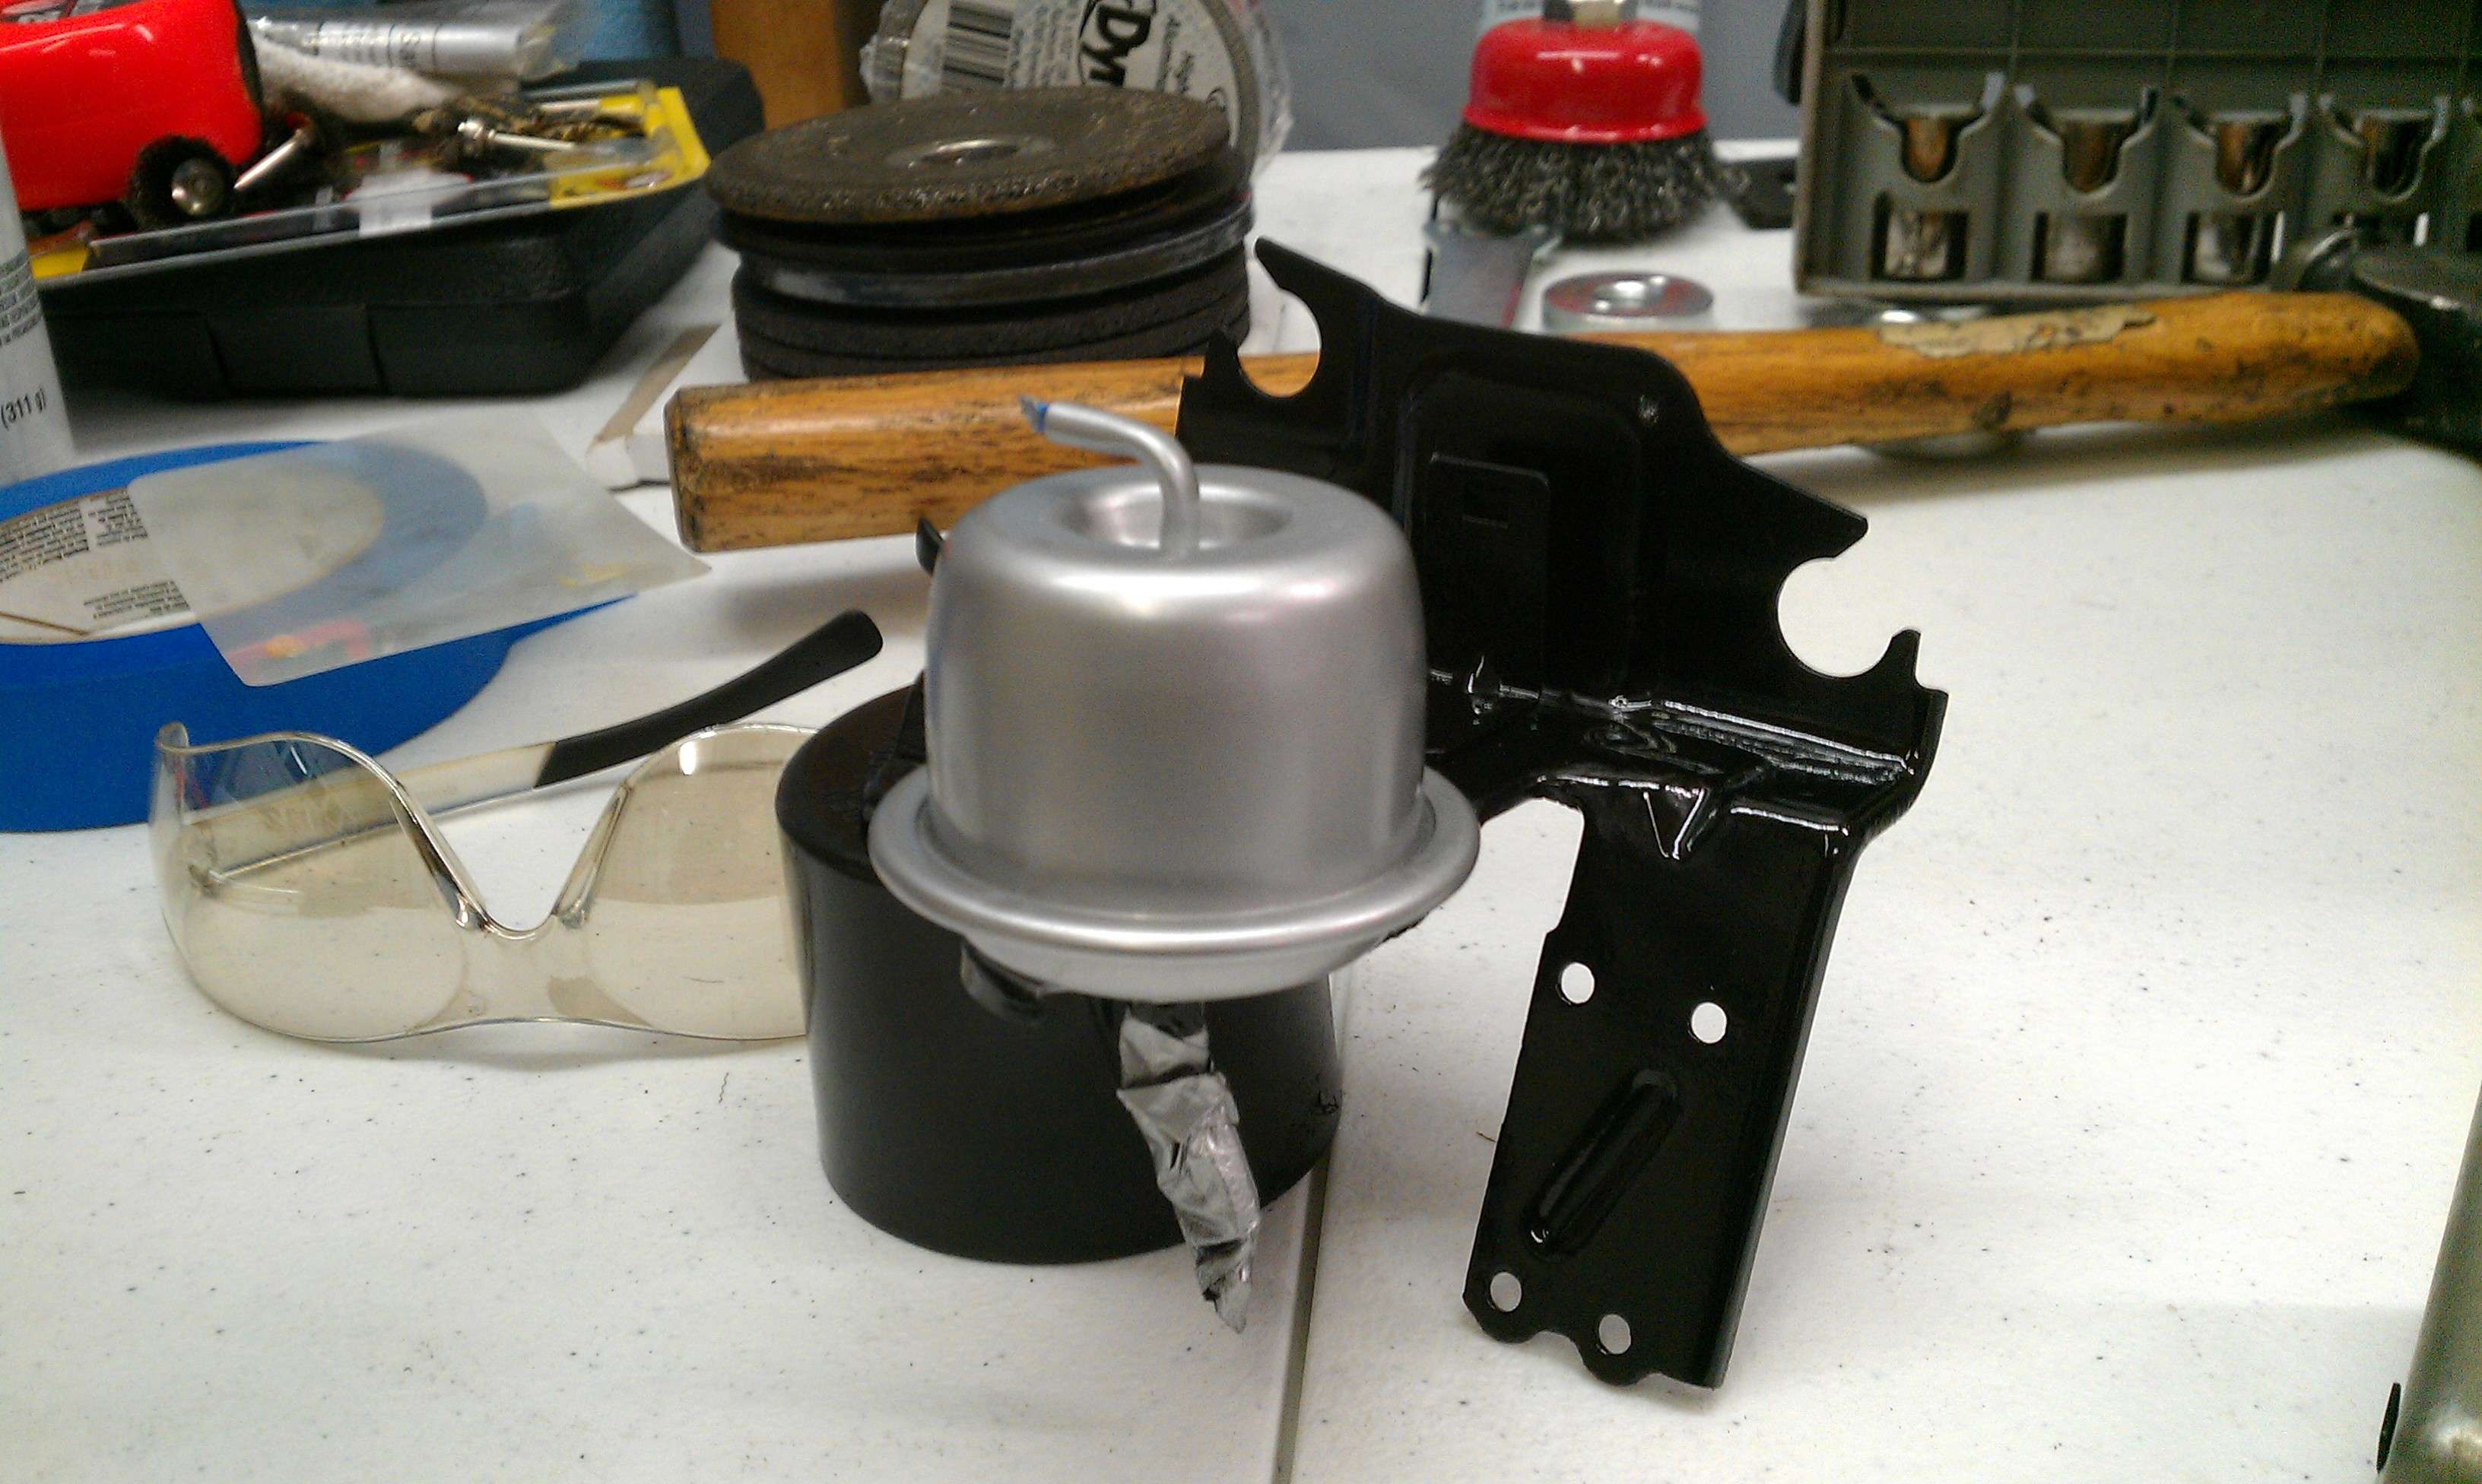
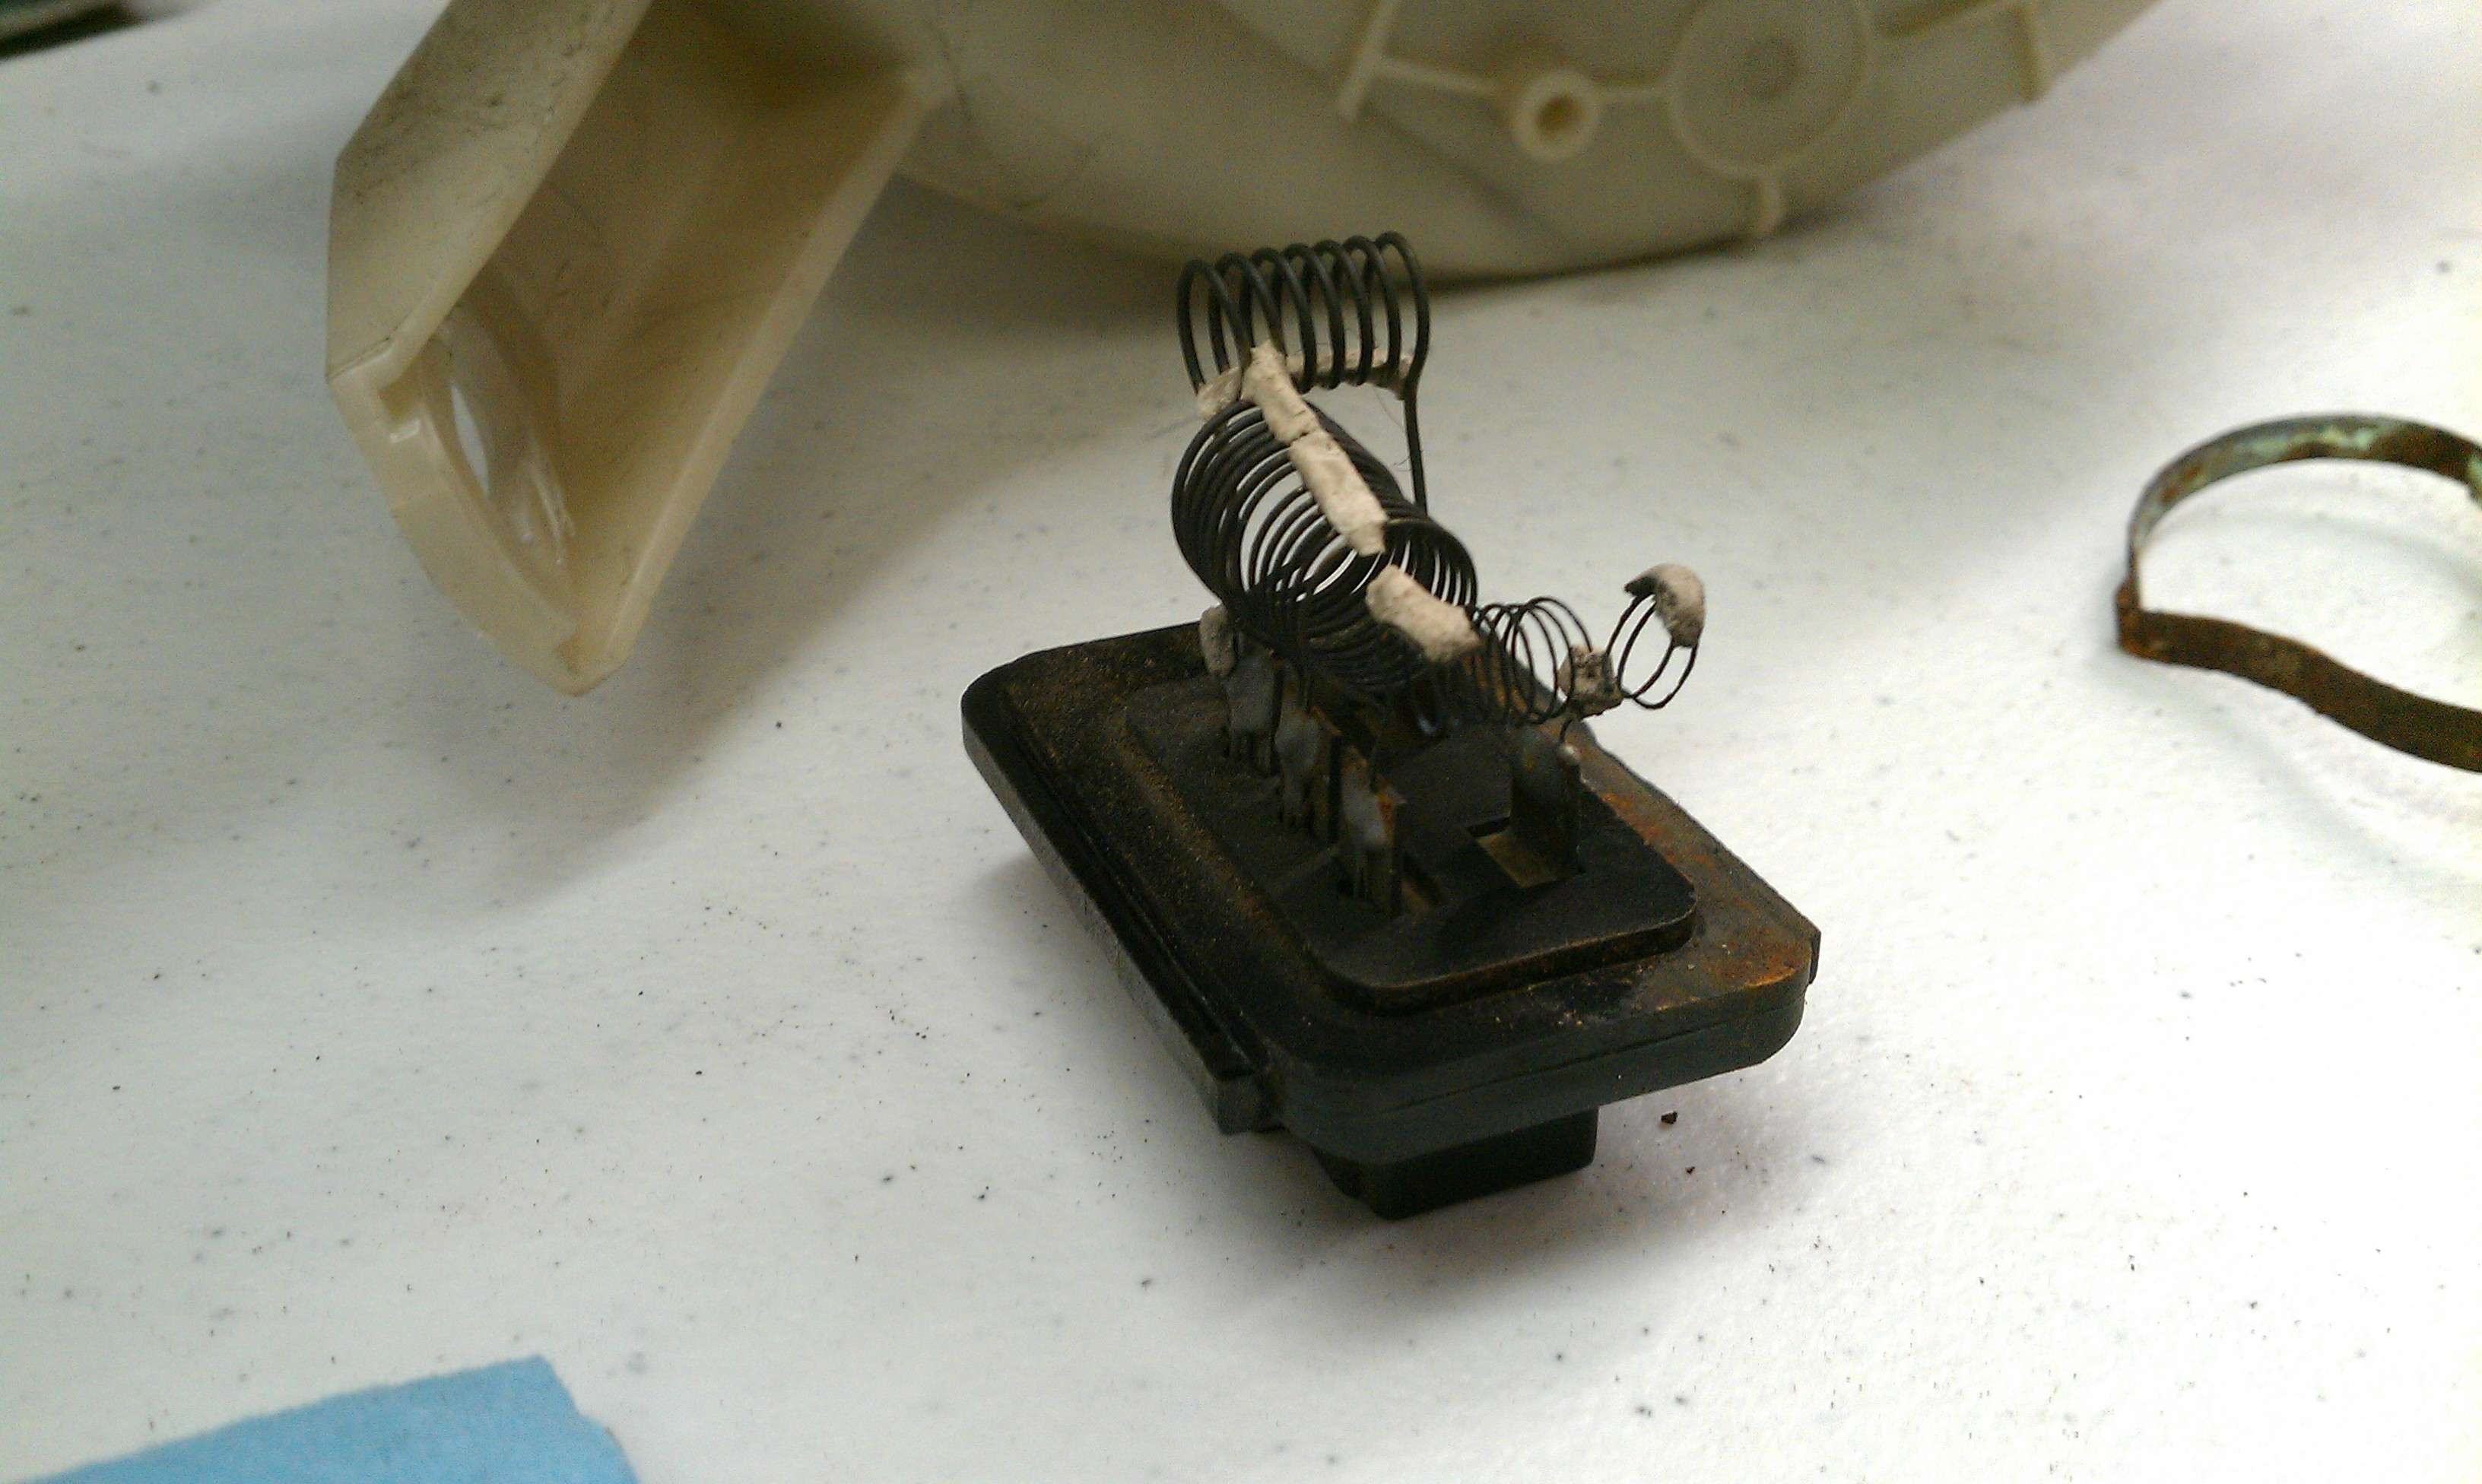
So I got some parts in, and did some tinkering. The plan is to pull a single power wire through a relay into the cab. Then split that wire in a distribution block to the AMP for the woofer and to the extra gauges or any other accessories I add. I was trying to figure out where to mound the distribution block when I looked aound and saw the ECT computer it hit me. Gut it, put the block in it, and BAM! Easy to access, easy to mount, and it gets covered up like nothing is out of the ordinary. Also started to restore my heater control valve assembly. Upon pulling the fan assembly apart to clean it I noticed the resistor pack for the fan speed, and I also noticed on the L circuit the wire had melted and broke, that would be why my low fan speed doesnt work. Time to find a new one!
Last edited:
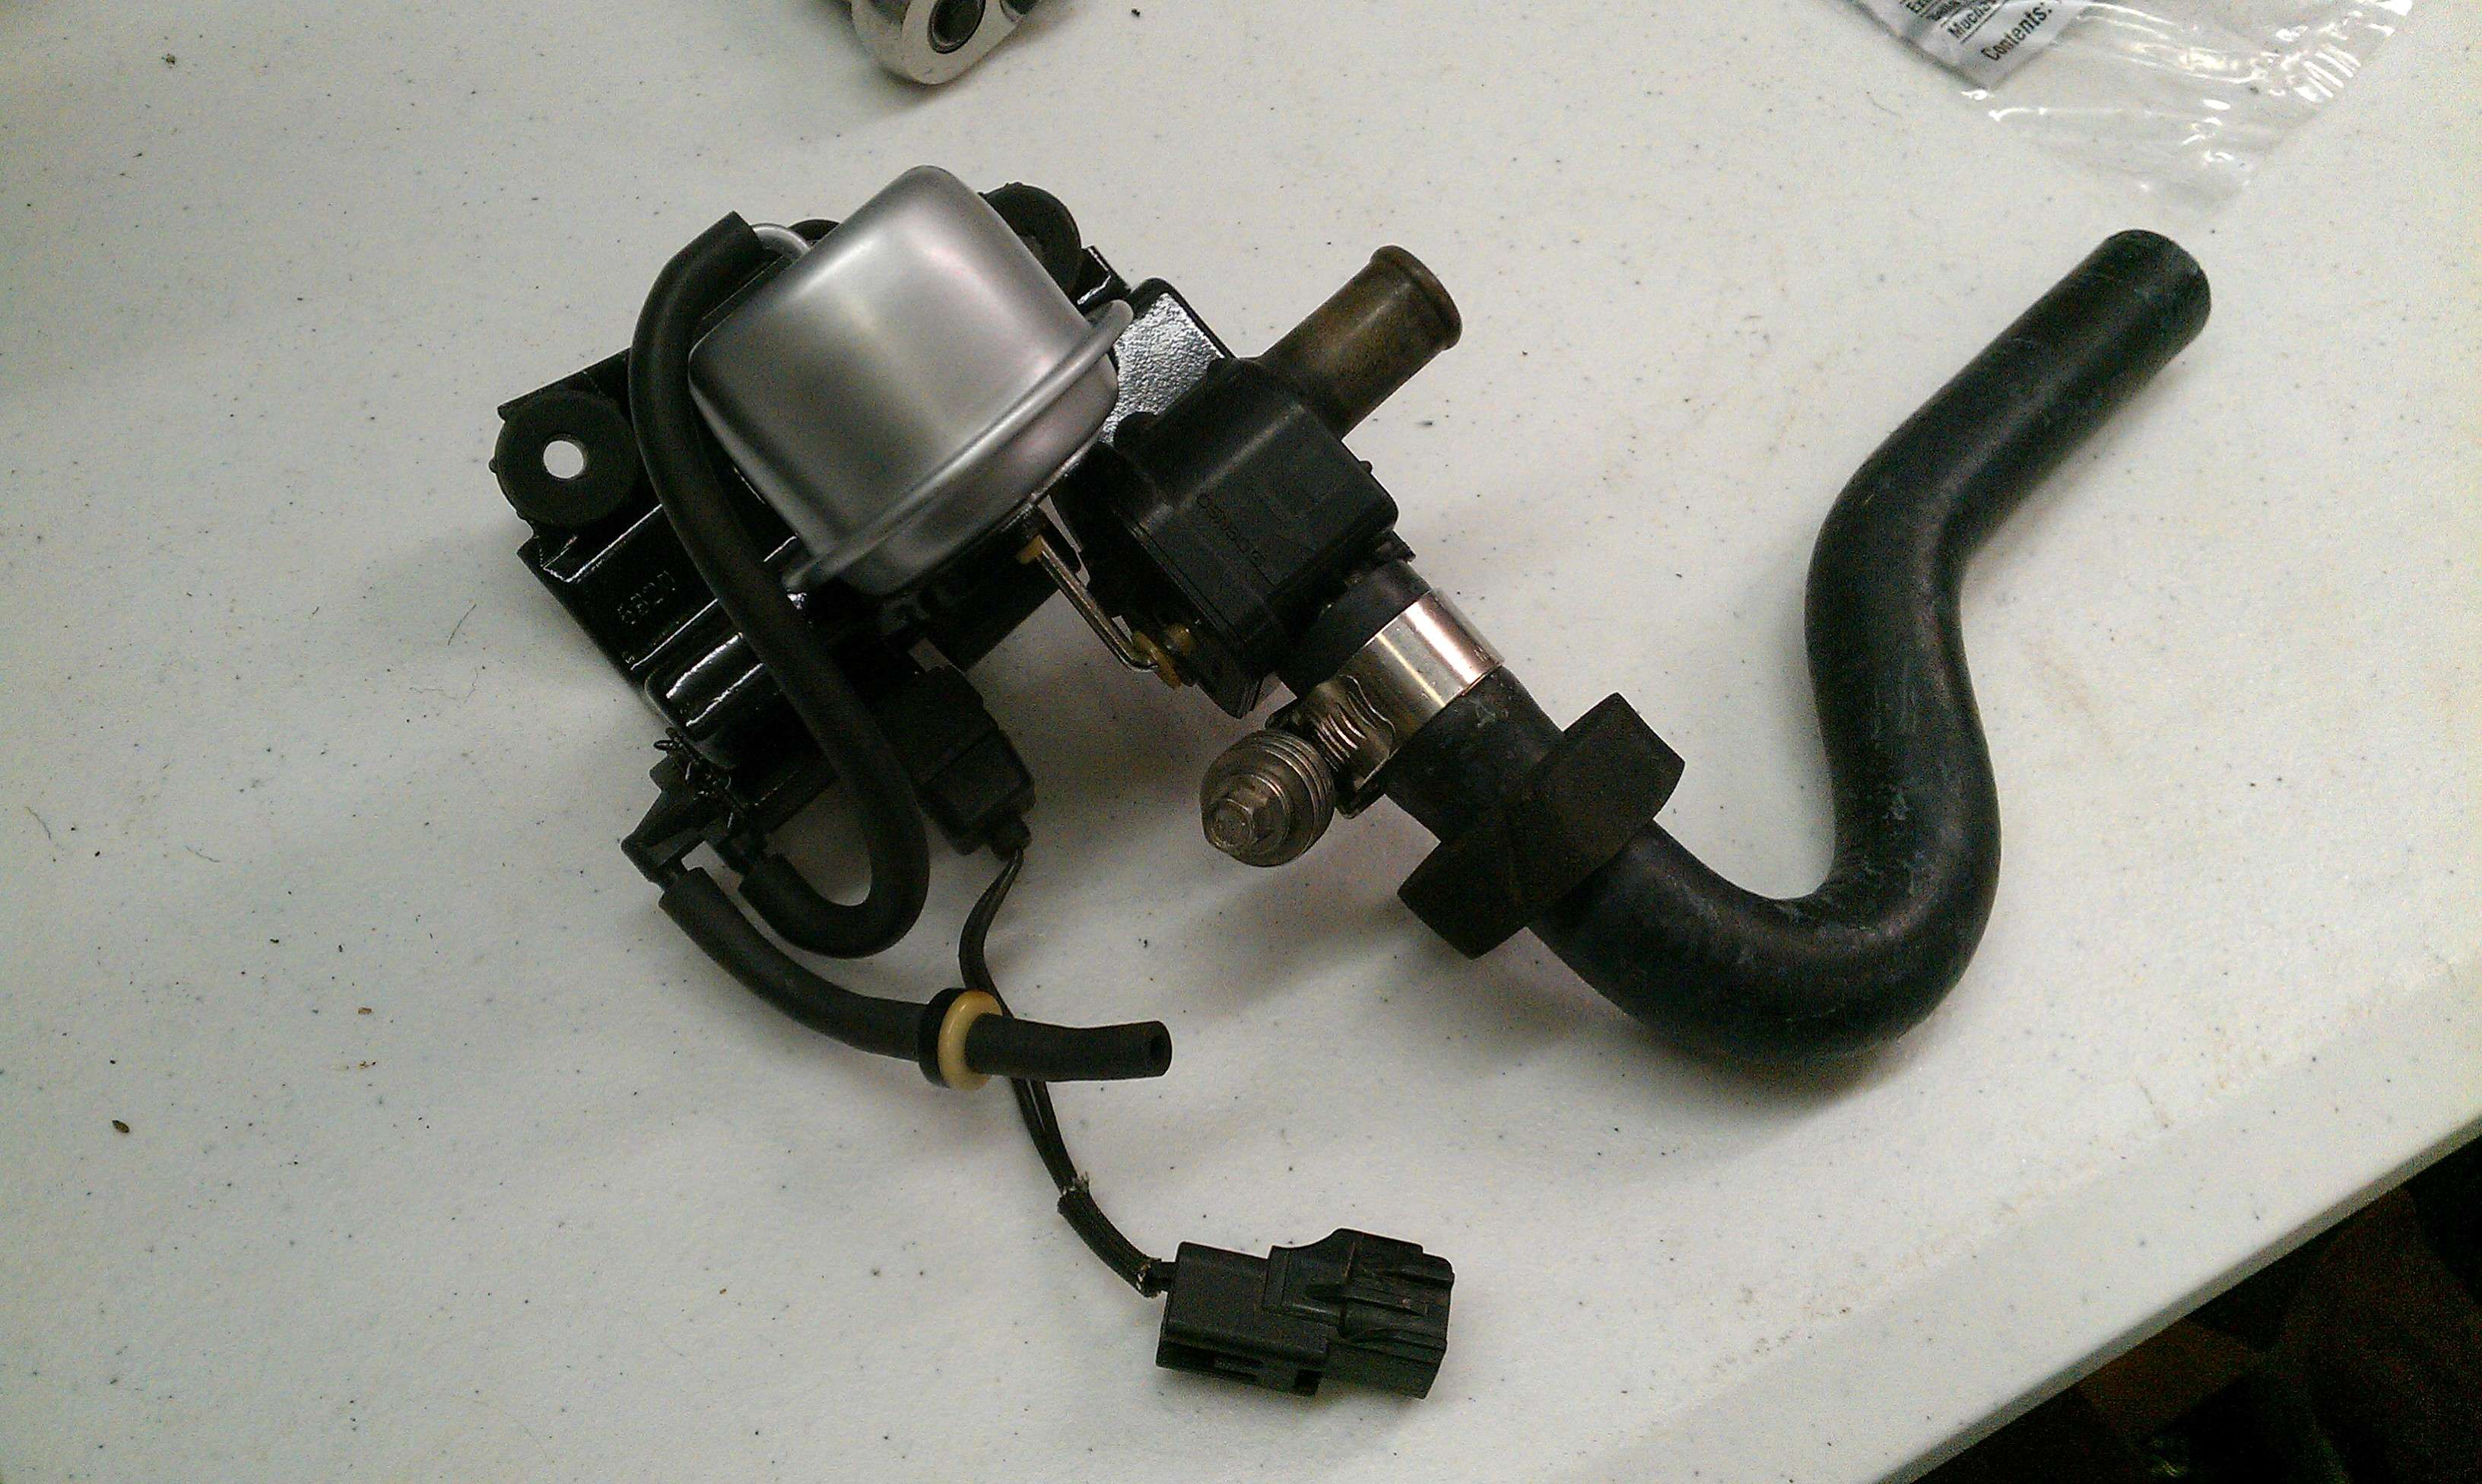
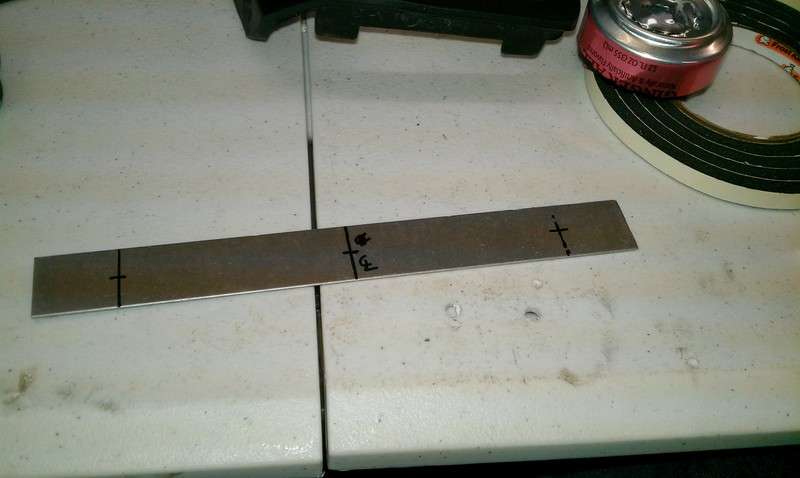
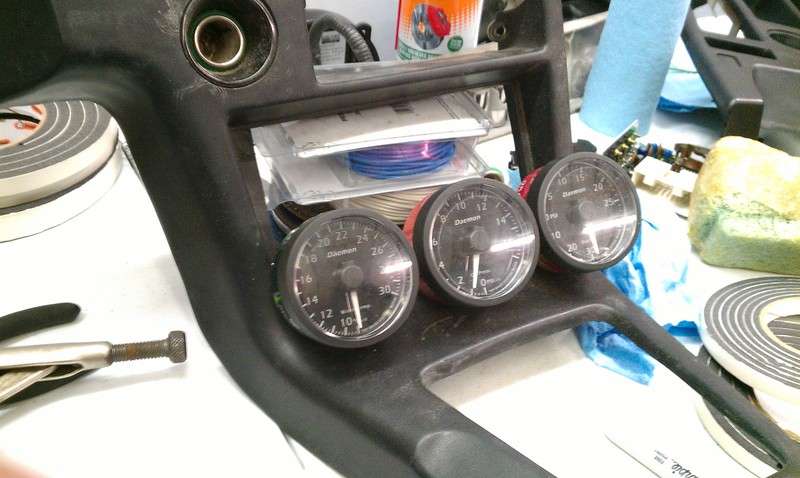
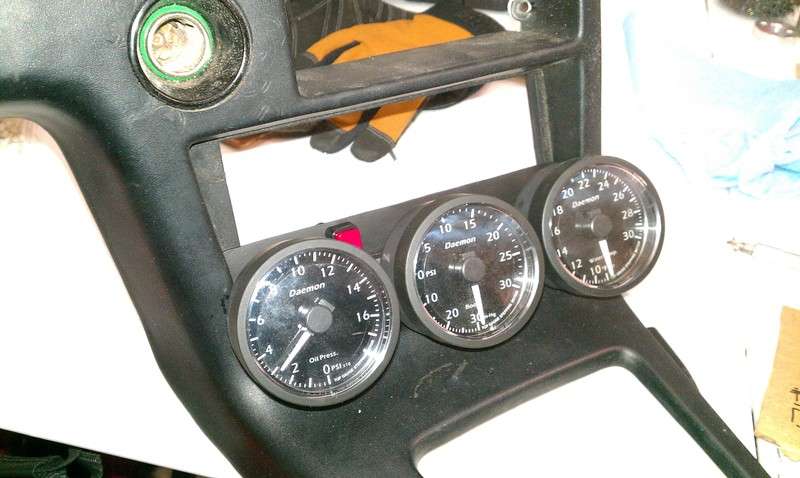
I finished with the heater control valve assembly, I really like how it turned out. Along with the new rehostat I re-installed all the "ductwork" for the HVAC with new foam on all the sealing points. I also finished the power distribution for switched 12v+ in the cabin, I have 8ga wire running from the battery to a relay that will excite when the key is on accsory or on, then the power splits up; one to the AMP for the sub, and one to power any extra stuff I'm running such as gauges and relays. For a while I have had a set of gauges I picked up from another local Supra owner, Daemon ones. They are electronic 60mm ones. I have been fighting with my self trying to pick a spot for them. I fabbed up a fiberglass gauge pod but it was stupid huge and looked bad. I then thought, wait... I have sheet metal, soda cans, and a welder. I can make this out of metal! So I did, I first mocked it up and then built a backing plate. From there I tacked on the plate I bent that the gauge pods mount to. Then I filled in the empty spots with more sheet metal. I'm very happy with the results. I'm not master welder but this turned out nice. I even have a spot to mount a switch for my electric fan relay circuit.
Started off with some layouts, and taking measurements, and moching it all up:
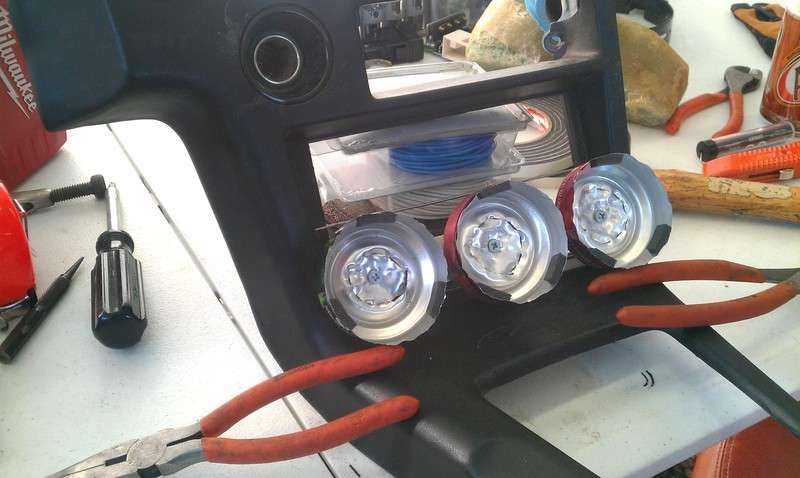

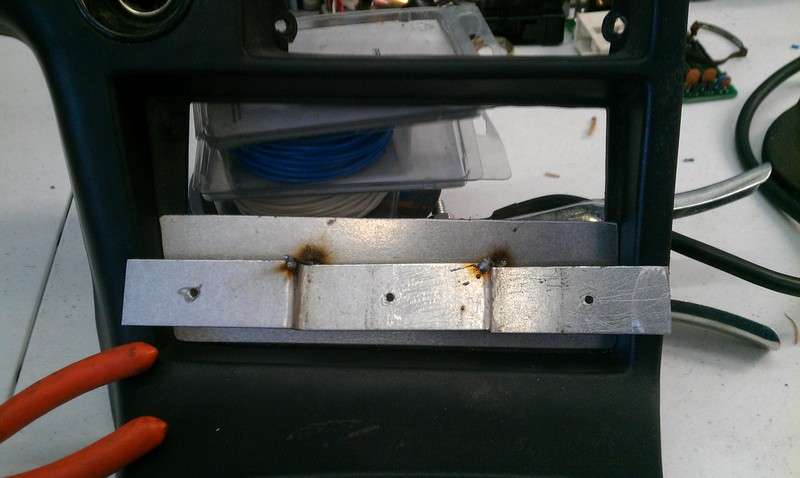
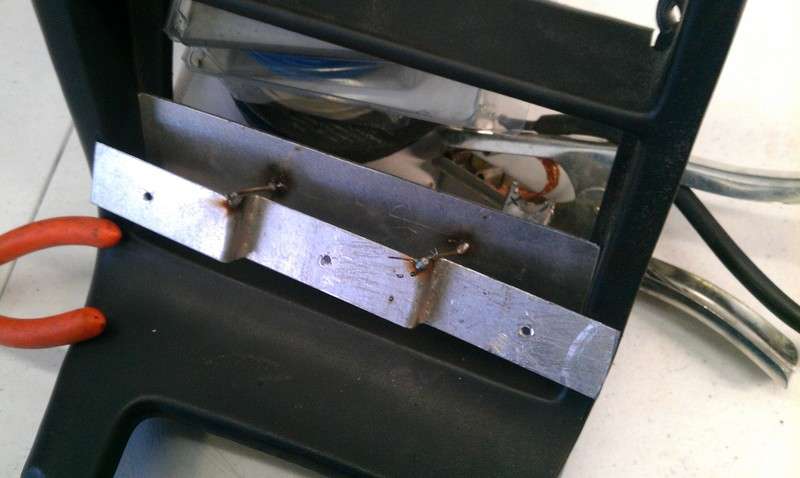


The wiring fits perfectly:

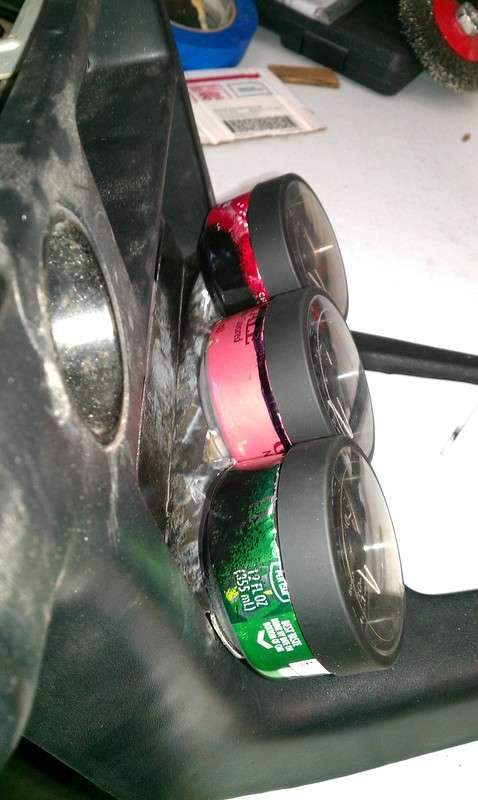
Final:
Started off with some layouts, and taking measurements, and moching it all up:
The wiring fits perfectly:
Final:
 haha nice!
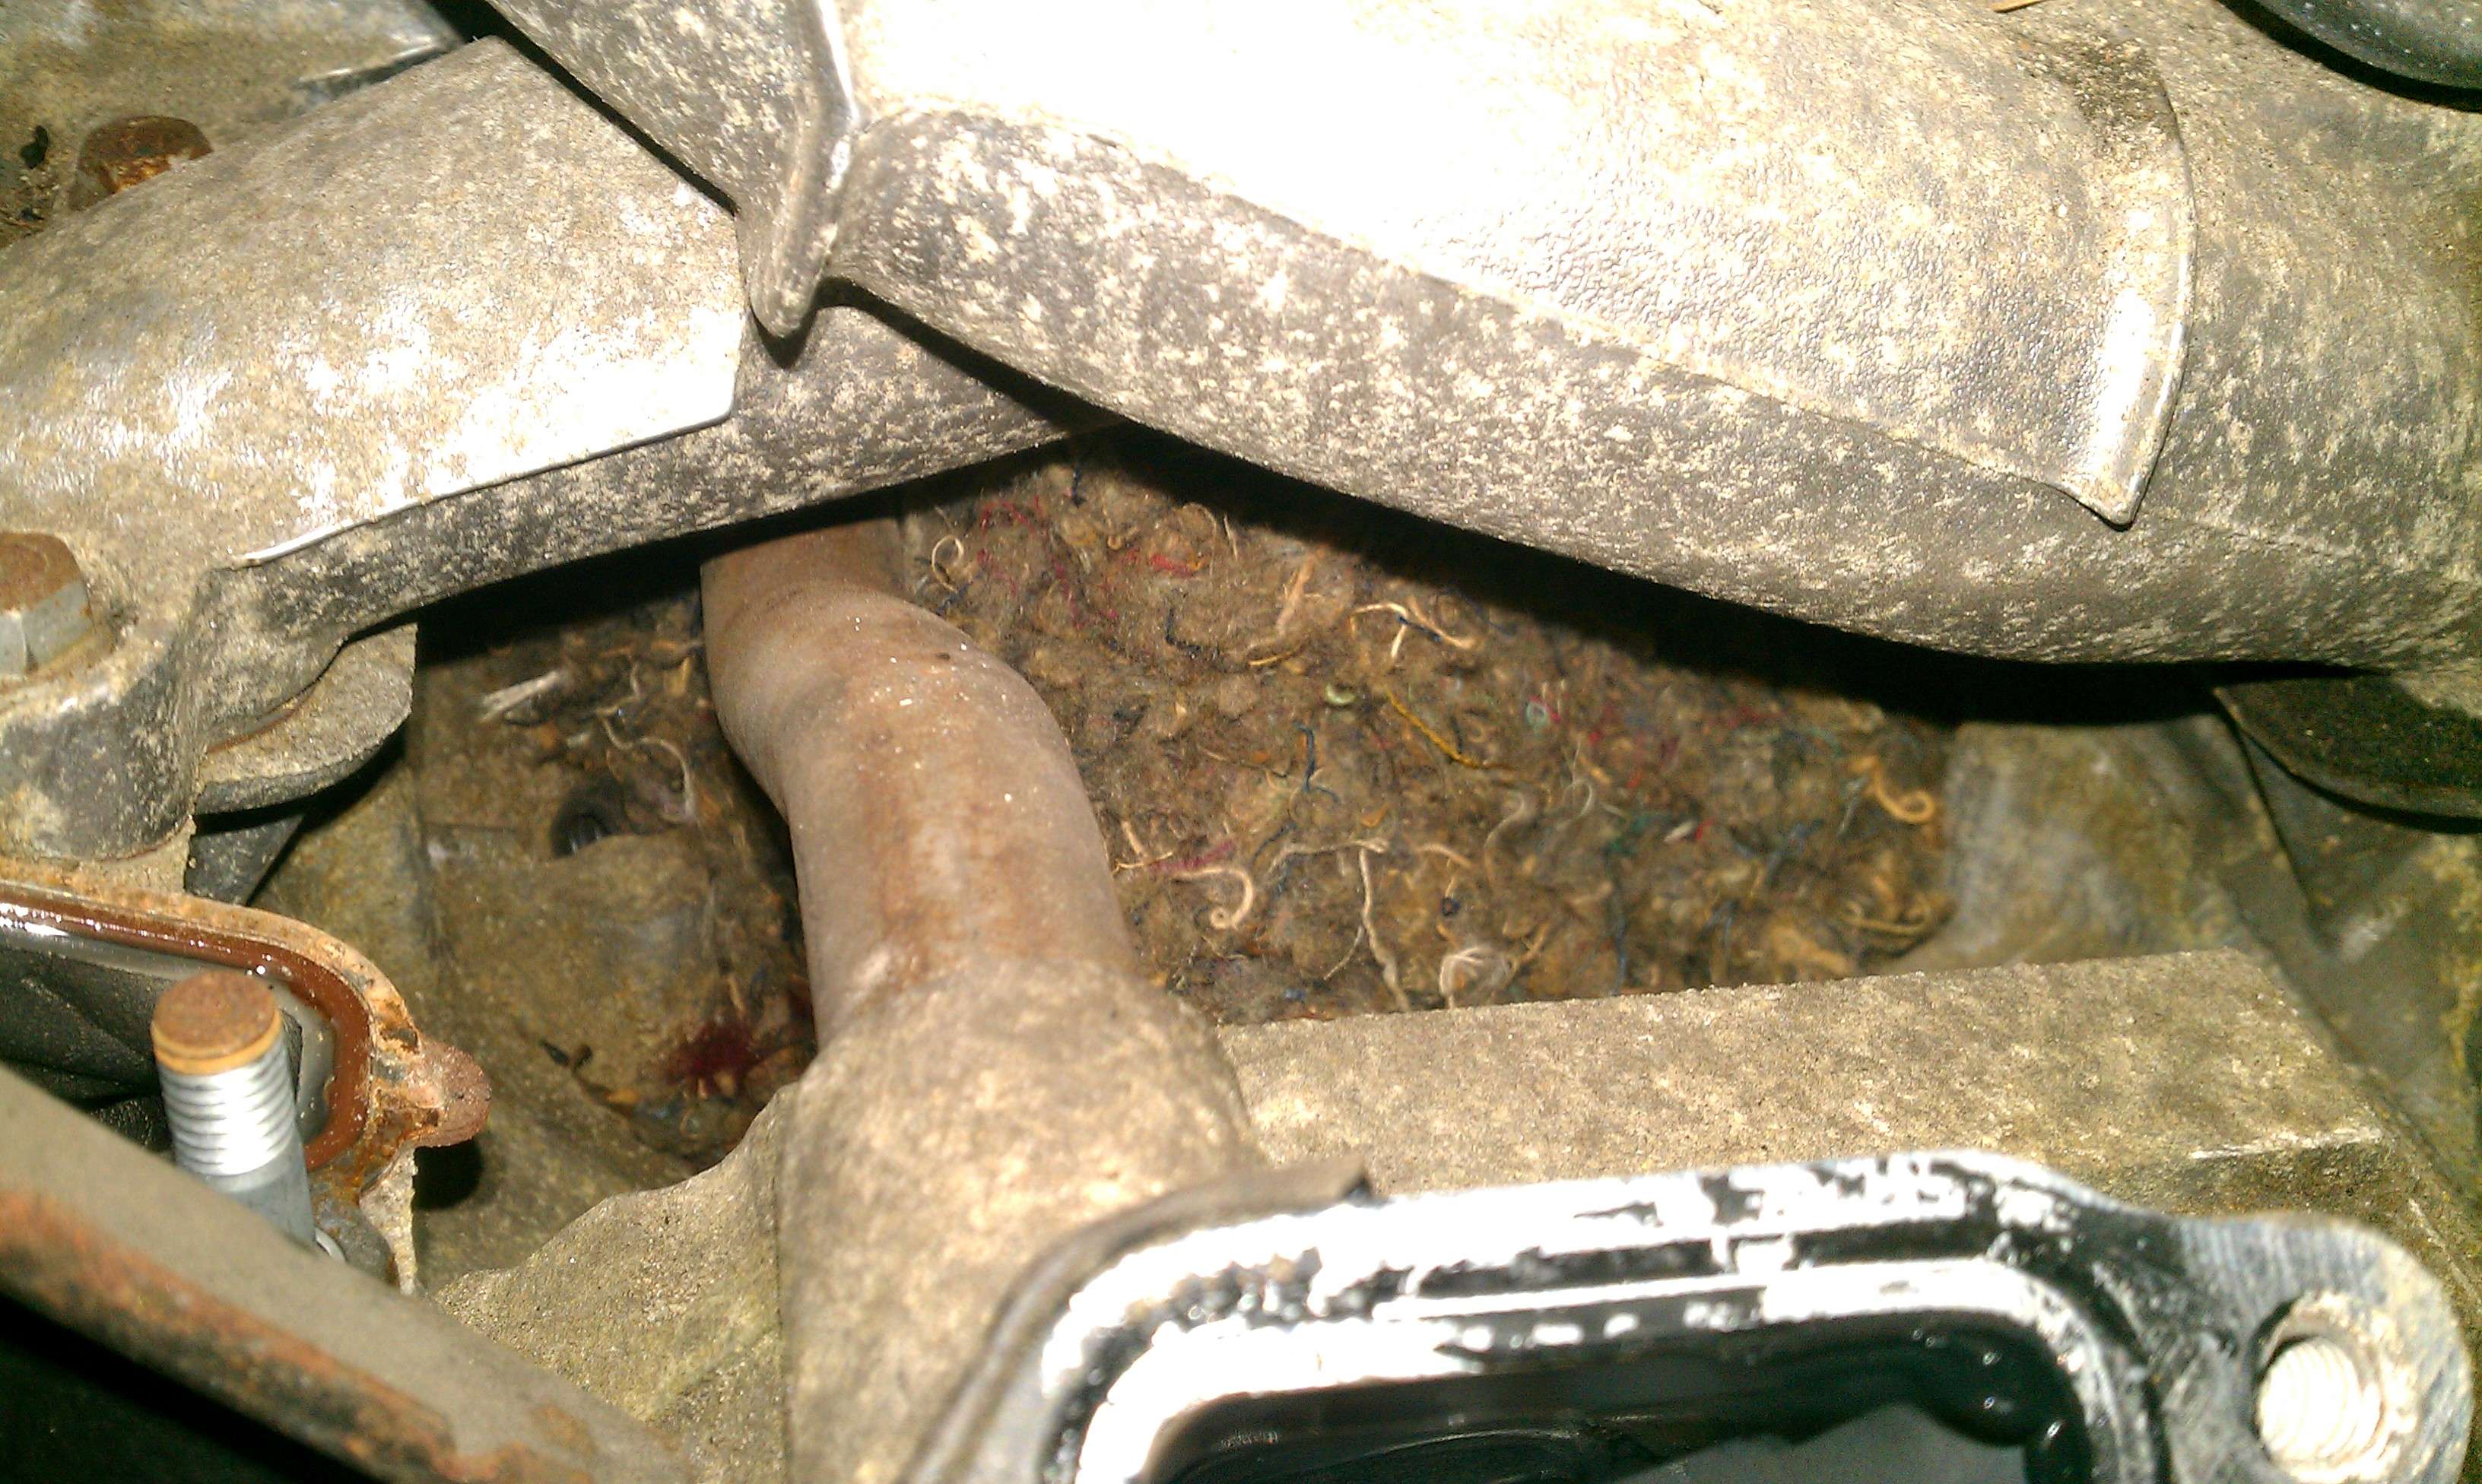
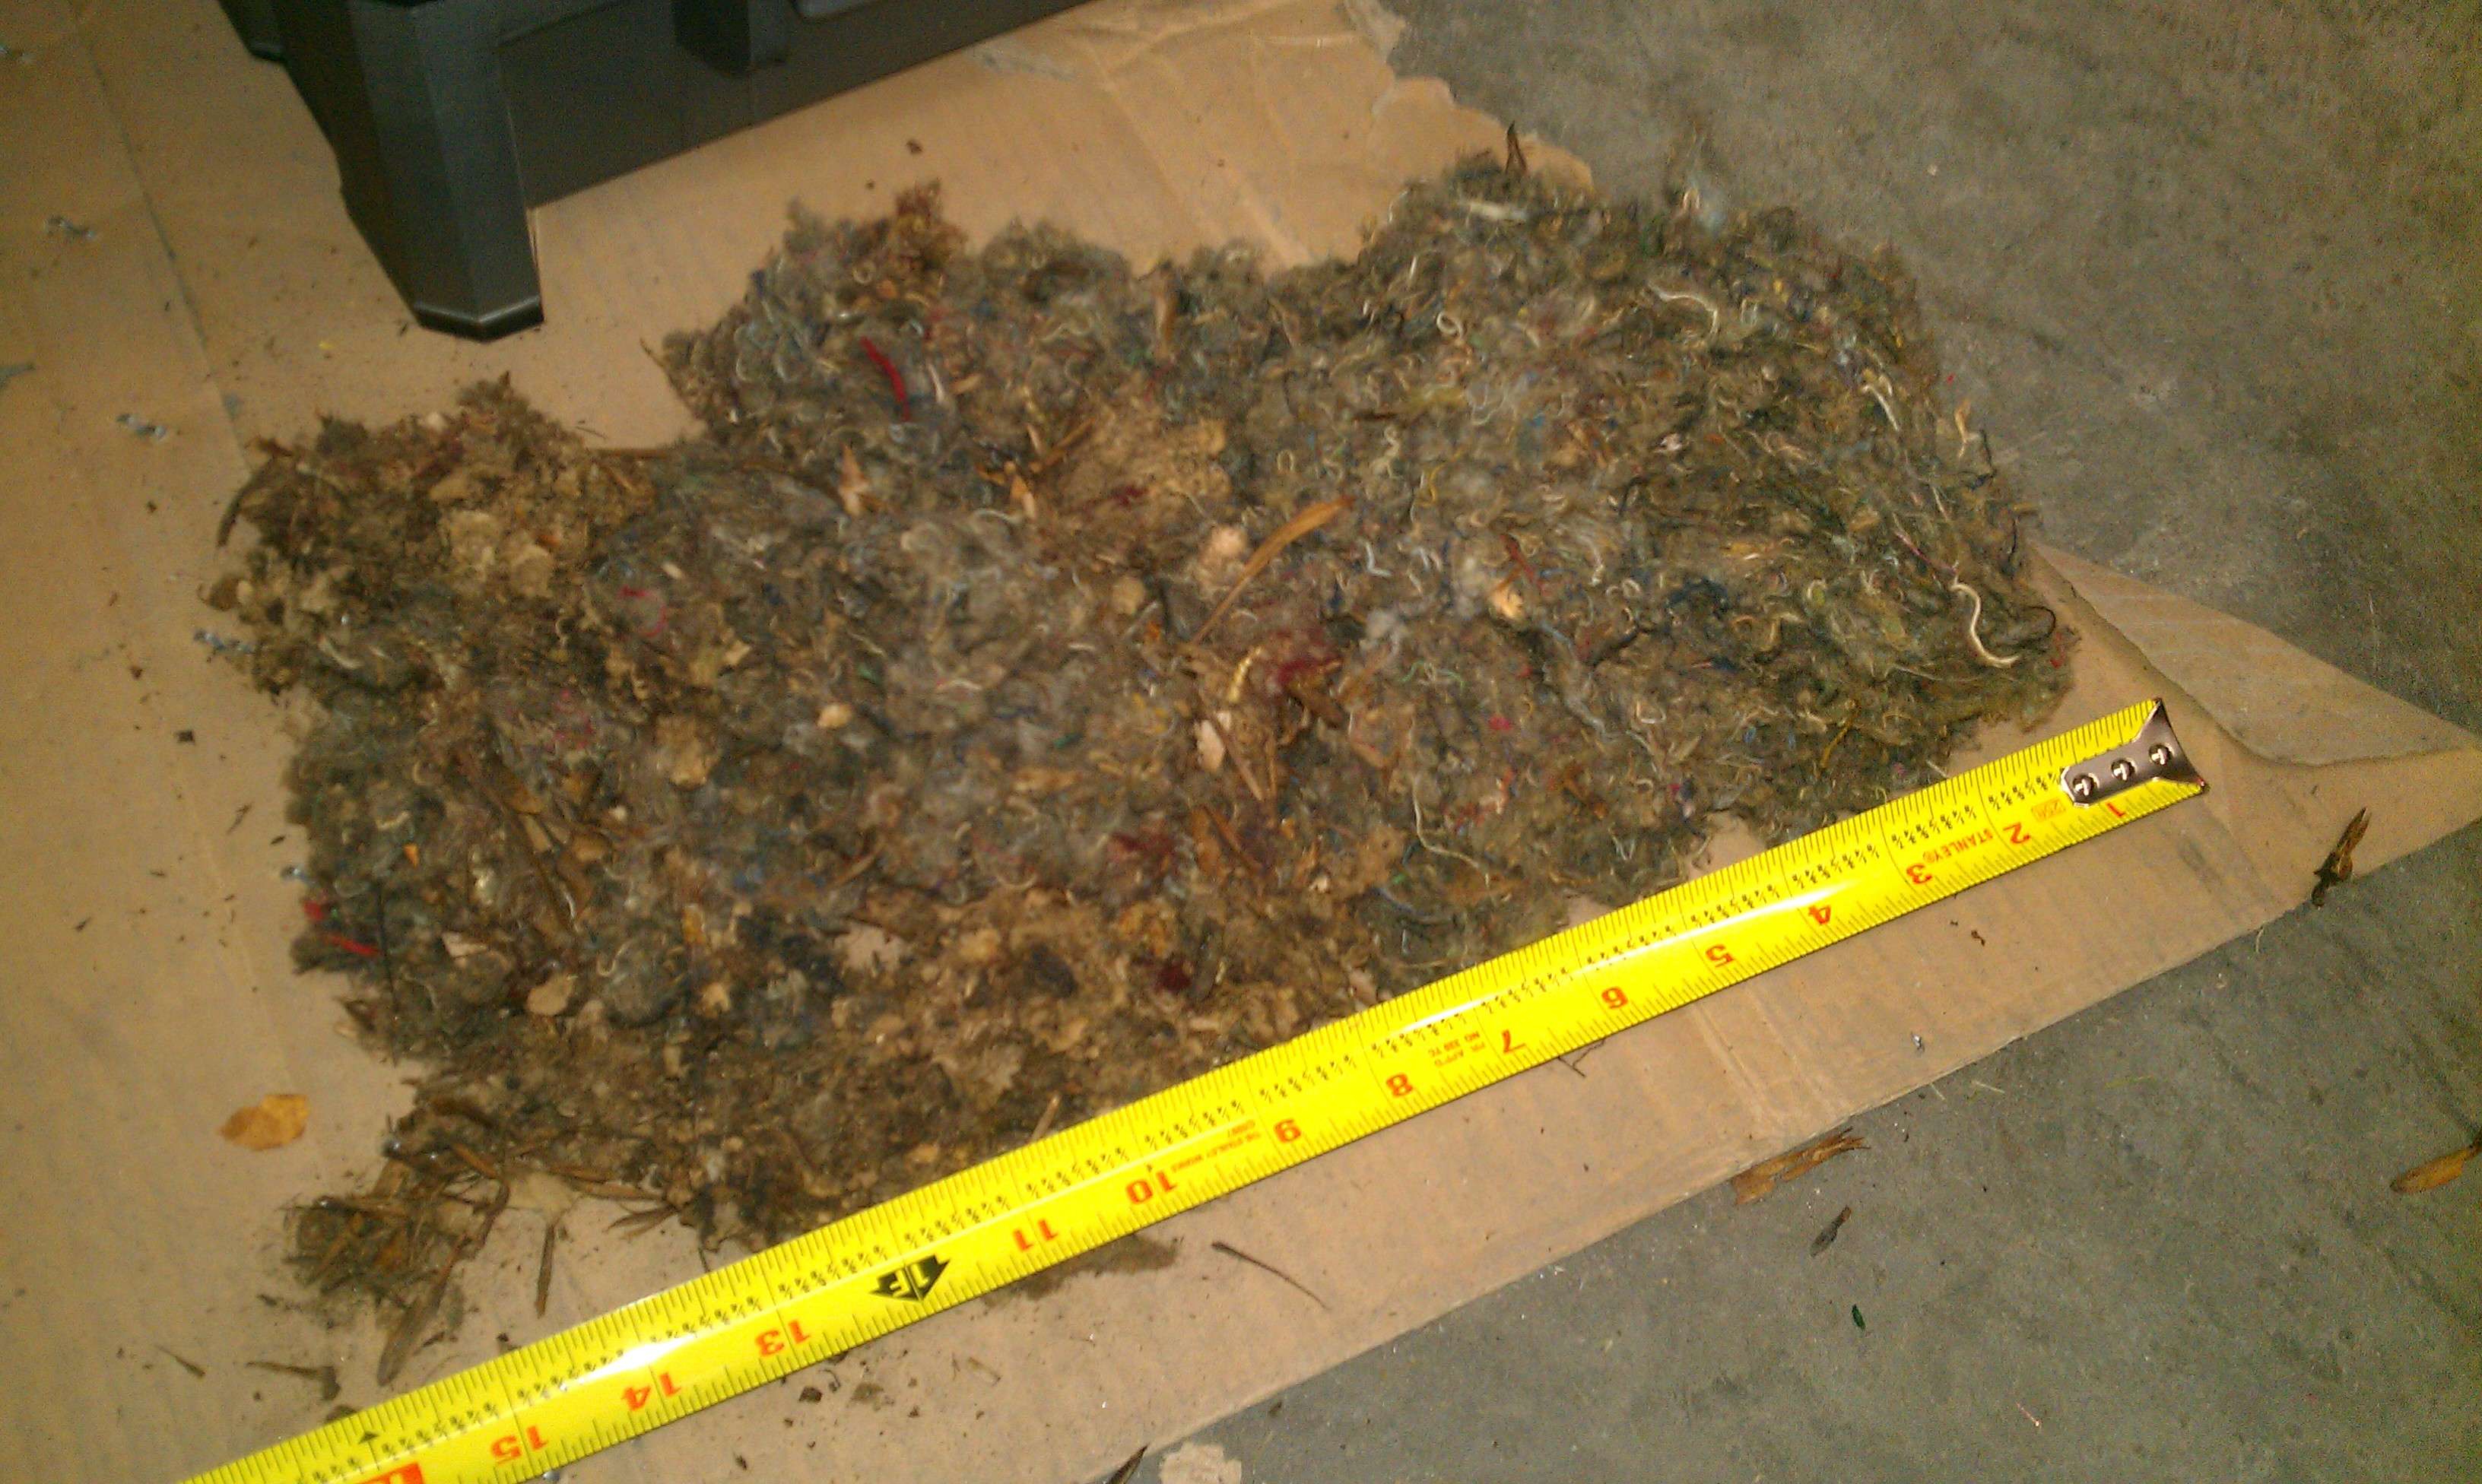
So, I while looking for a spot for my water temp sending unit I peaked through a opening under the intake manifold. The mice had built up a substantial nest under the intake manifold, enough that I feared a fire if the engine ran for long. Since the only way to install the sending unit and remove the nest without disturbing the intake manifold was to remove the engire front end of the engine including the timing belt I went that route. After pulling it apart I am so glad I did, there was a CRAZY amount of crud in there. You can see in the pics what was pulled out with long needle nose pliers, the rest I had to use my mini shop vac to remove it.