
1uz mkII build/full on resto
- Thread starter the ghoul
- Start date
You are using an out of date browser. It may not display this or other websites correctly.
You should upgrade or use an alternative browser.
You should upgrade or use an alternative browser.
Supraholics;1465226 said:Looks like you're moving along quite fast! Hopefully it would be on the road soon!
hey thank you!
yeah i would love to see it on the road soon, but in all reality i wouldnt feel right throwing it into the snow right away, so i will probably loaf it till spring...
speaking of progress
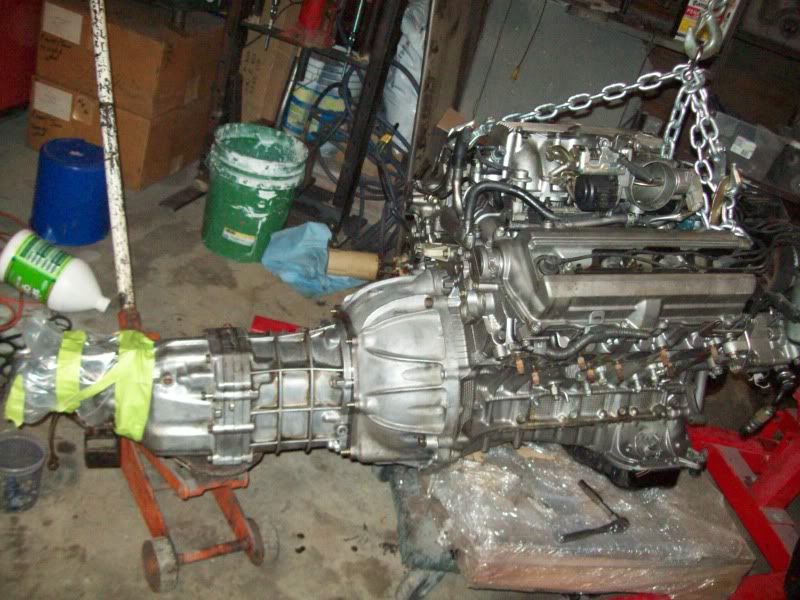
i installed a whole bundle of happy into it last night!
well...
sorda...
but the engine is in place, tied to the transmission with the auto trans bracket holding it up.
turns out the engine mount plates i got were too narrow... like wayyy to narrow... so i have to get some other ones cut tomorrow and then i can start fabbing them.
I stuffed an old balled up towel on the K member and its resting on that currently.
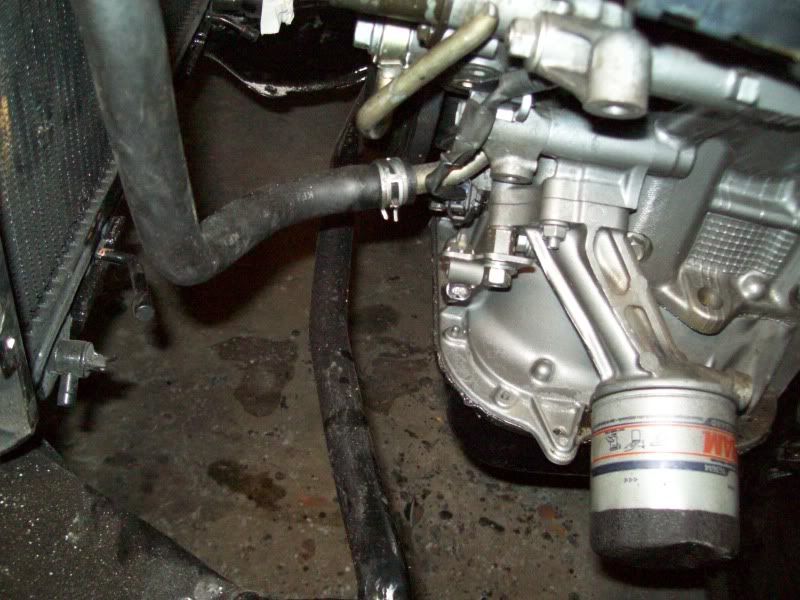
looks like ill have bunches of room between the engine and fire wall and assuming i can find a shifter housing far enough back to make it work, this looks like the ideal engine placement. Only interference im seeing is the oil sender connecter is right next to the motor mount, but all that will take to correct is a 90* elbow...
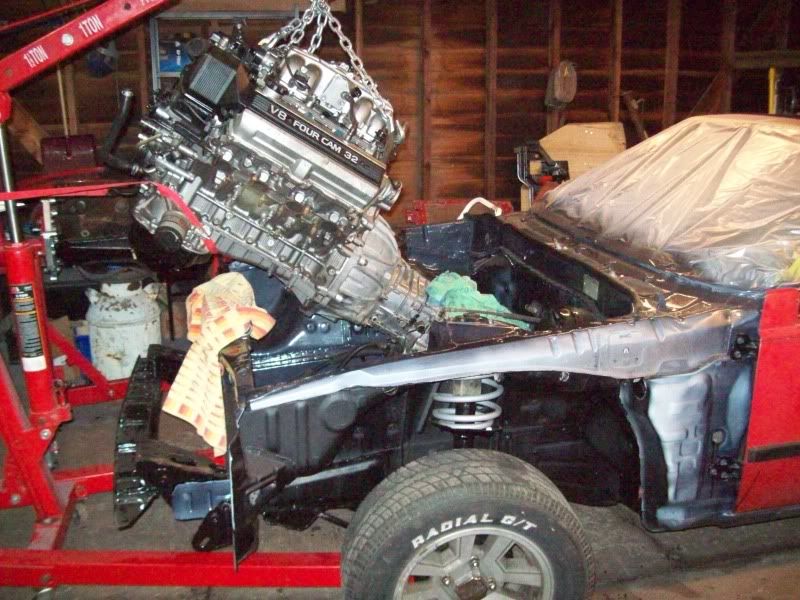
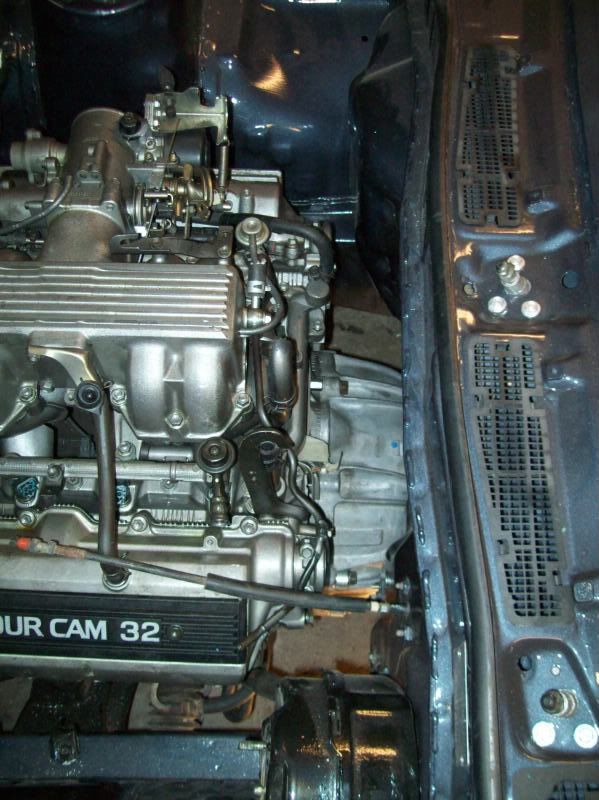
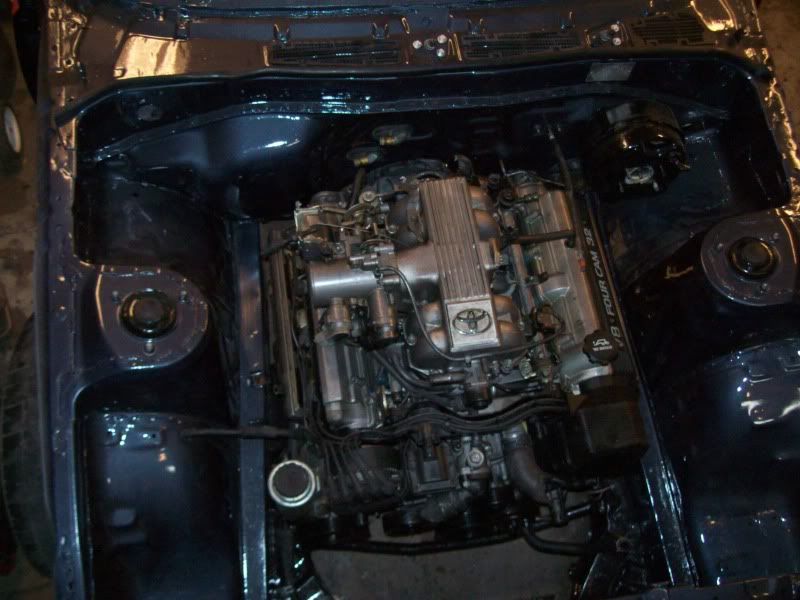
yeah, i was shocked how much room i had between the fire wall and the engine, and how much room there was on the sides... then once i started to look at it i noticed the steering shaft is going to be the pinch point for the headers...
it looks like it will take alot of work to go around that!
it looks like it will take alot of work to go around that!
Lee_MA61;1466001 said:the drivers side header is the fun part of this swap i hear..")
i know i can make due by modding a sc400 manifold, thats been a fairly well documented fix to the issue, but i still want to get a cheap set of 2uz tubular headers and dink with them... just to try to get a bit more flow...
ive got a band saw, a welder, and all winter to f around...
speaking of
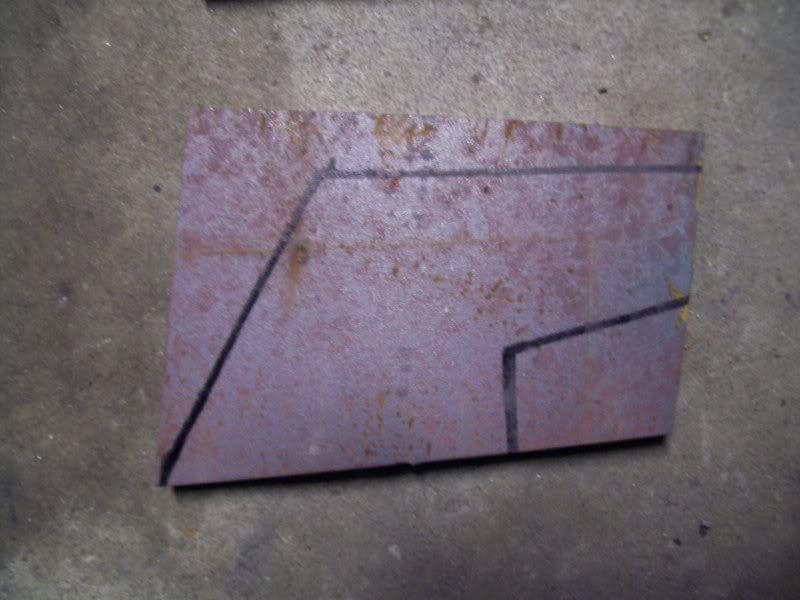
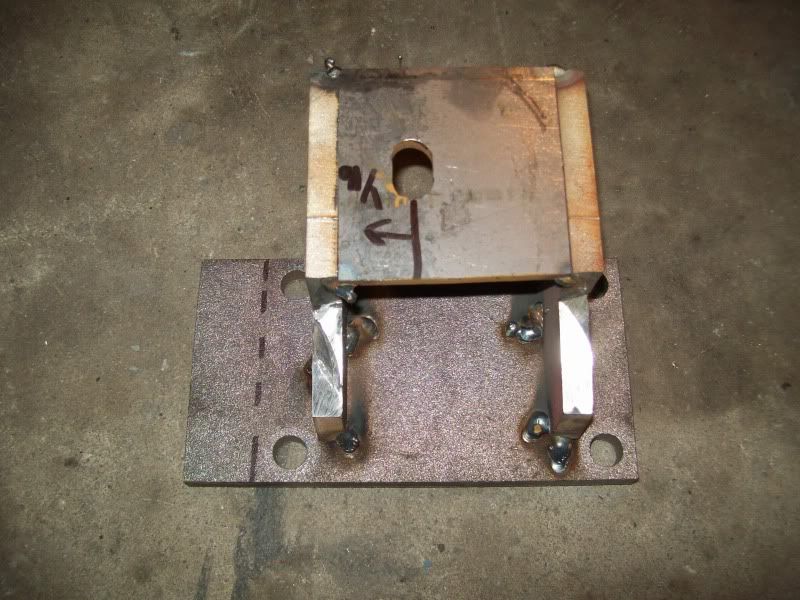
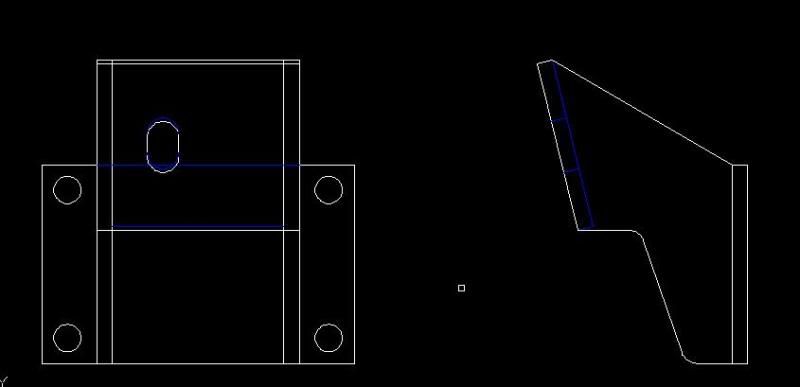
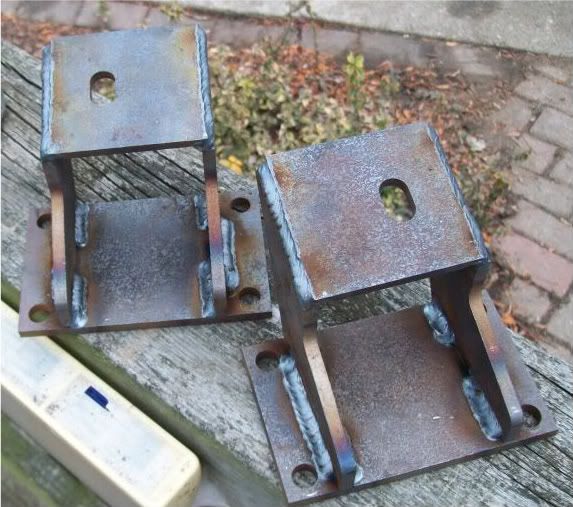
started working on the motor mounts... had to modify the mkIII plates i had cut up.... Ive got a rough draft of the mount.
i will refine it a bit more and make my finals.
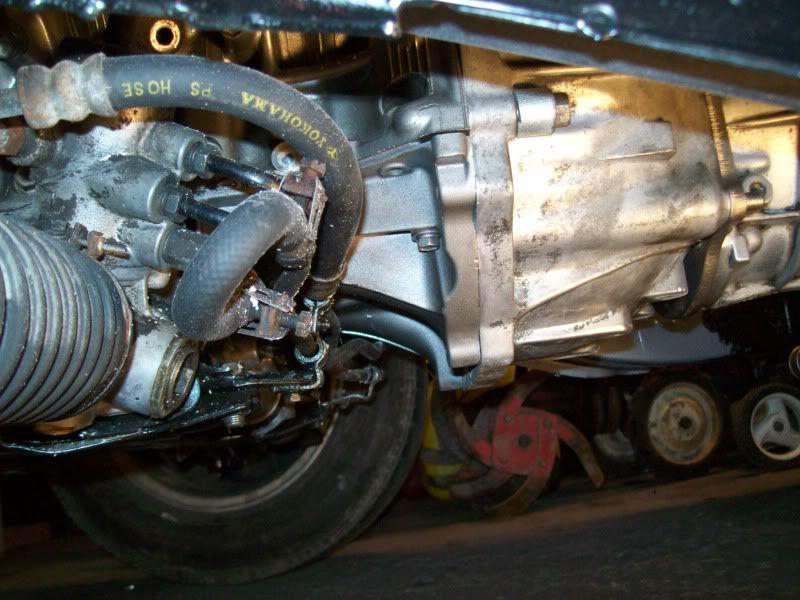
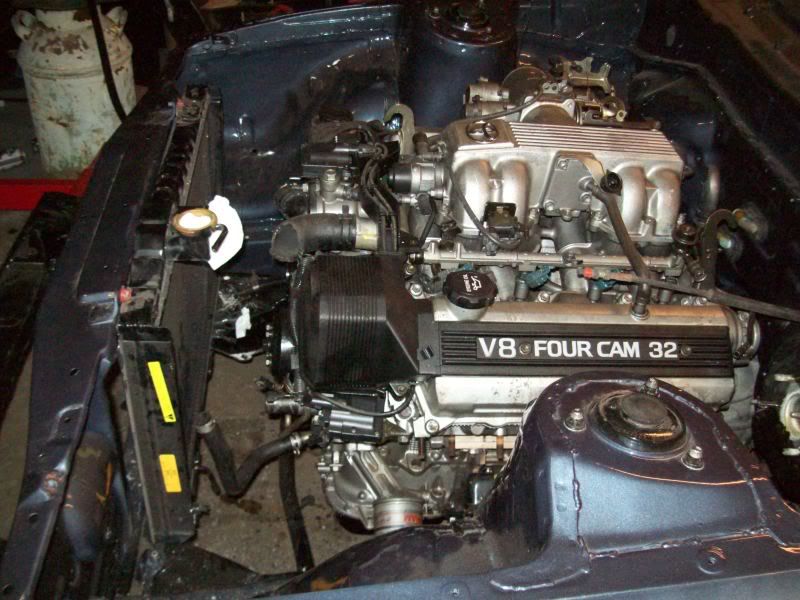
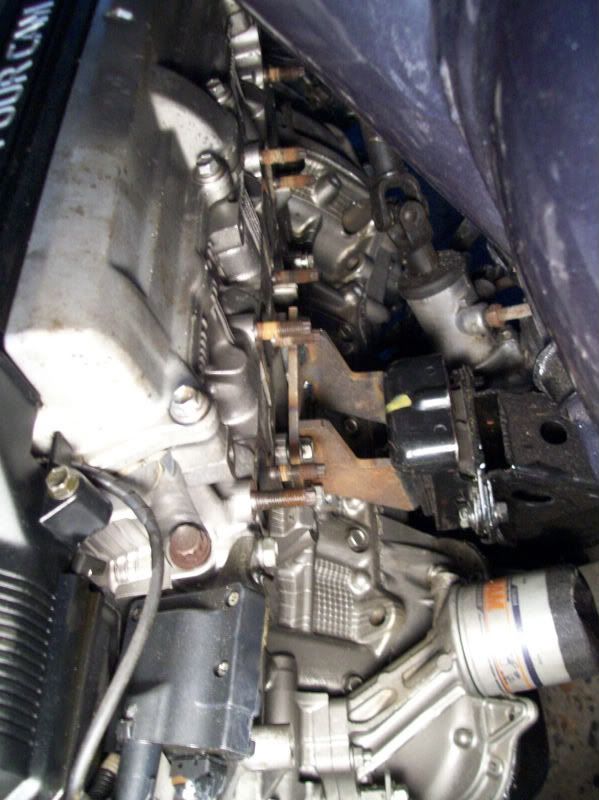
I also tossed in my radiator to see what kind of room im working with up from (apparently, lots!) and i also took a closer look at the trans shifter location... i should be able to get away with the ma70 shifter setup no prob.... (what you are seeing in the picture of the trans area is the very back portion of the shifter housing opening).
Hell, looks like if the shifter isn't right where you need it to be you could move it back even farther...
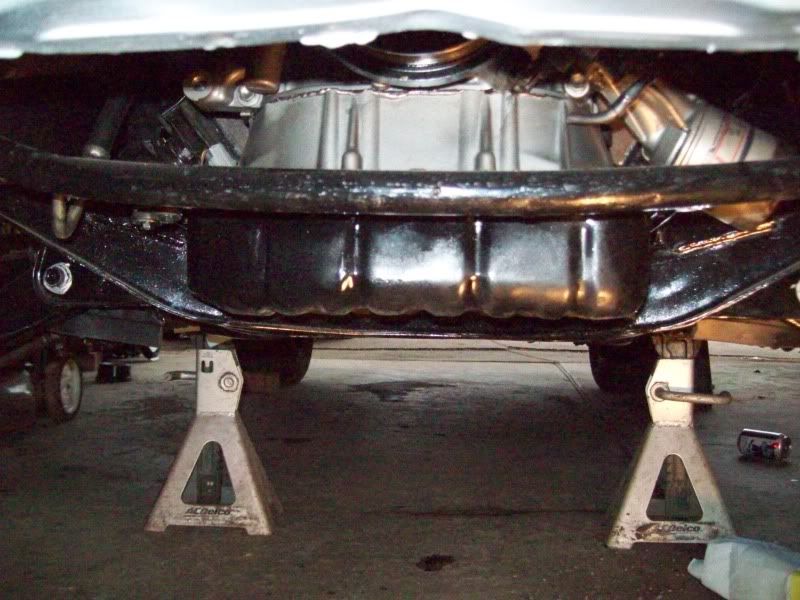
darkspeed;1466261 said:Probably not; I'm guessing the front sump is too close to the x-member
Looking great!
yep you got it, only have about 1/8-1/4"
yeah, and im not all too sure why its not posted here....Poodles;1466278 said:I know you can extend the shifter housing if needed (IIRC done on SC300 R154 swaps)
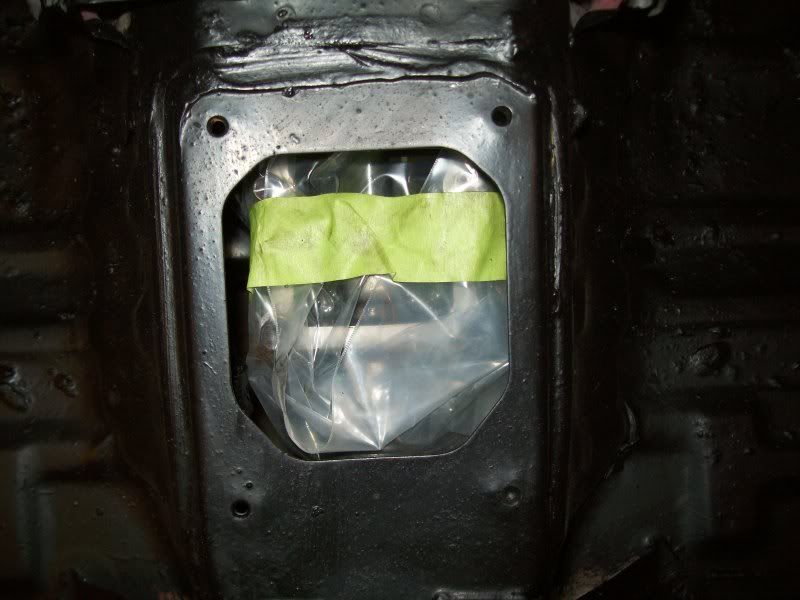
this pic shows all the stock w series shifter housings. Its a fairly simple swap, basically you have to split the tail shaft from the rest, slide the shifter yoke off the rod its on, and just snag the shifter housing and stick and what not...
I was told, running the auto cross member and the ma70 (mk III supra) shifter housing will give me the room i need....
if not the SA63 will move it even further back..

drew them up and cut them on brakes,
buddy in welding tacked the for me before lunch (last time i touched a welder here some raised holy hell about it....)
I test fitted them on lunch
and buddy chad welded them up.
pics of them will be up when i get home tonight.
buddy in welding tacked the for me before lunch (last time i touched a welder here some raised holy hell about it....)
I test fitted them on lunch
and buddy chad welded them up.
pics of them will be up when i get home tonight.
more!!
mounts 1.0 think i will thicken it up a bit and lower them down some for the next version.
installed passingers side
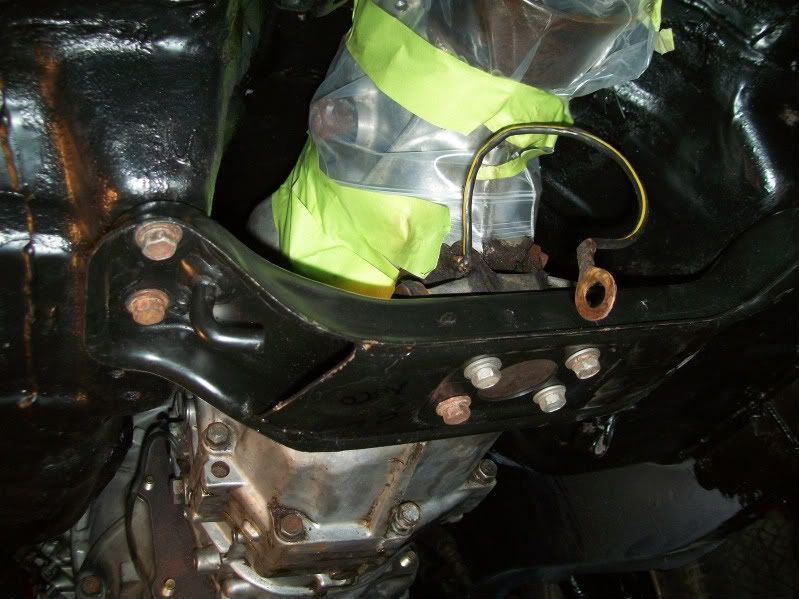
3-4" to the sway bar
1/8-1/4" to the cross member
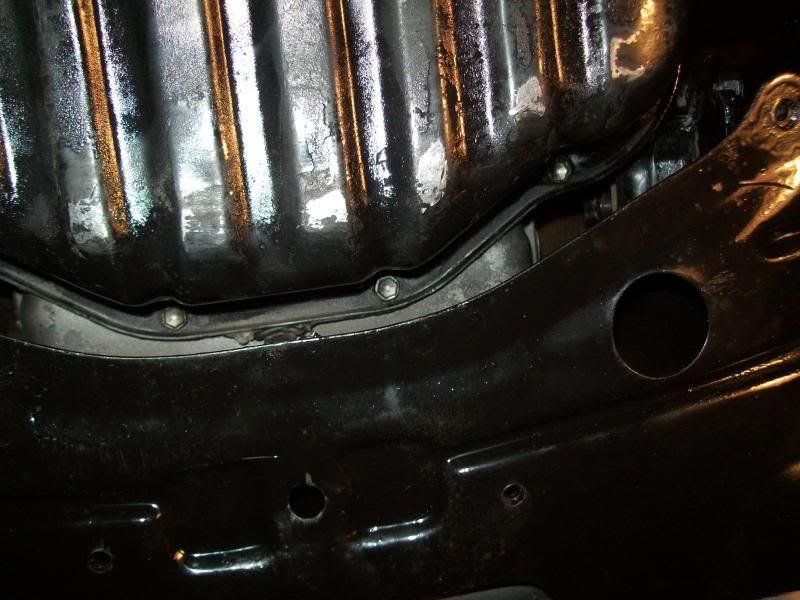
bottom of the oil pan is a touch above flush with the cross member (1 1/2" between the sump and cross member up top)
and now the REAL fun starts!
lookie what came to the house today
mounts 1.0 think i will thicken it up a bit and lower them down some for the next version.
installed passingers side
3-4" to the sway bar
1/8-1/4" to the cross member
bottom of the oil pan is a touch above flush with the cross member (1 1/2" between the sump and cross member up top)
and now the REAL fun starts!
lookie what came to the house today
IJ.;1466607 said:What was stopping you moving the lump further back in the Bay??
engine cross member as it sits now the oil pan is only 1/8"to1/4" away from it. to move every thing back closer to the firewall i would need to modify the cross member.
I dont really see it gaining me any thing other than making it a bit more pleasing to the eye.
I understand the more weight you have closer to the nose the worse its going to handel , but i cant justify putting all the work into it just to get about 3" that i doubt ill notice... plus this way when i have to pull the engine it will alot easier becuase i can get to all the bell housing bolts no prob!
been burried alive under wire!!!
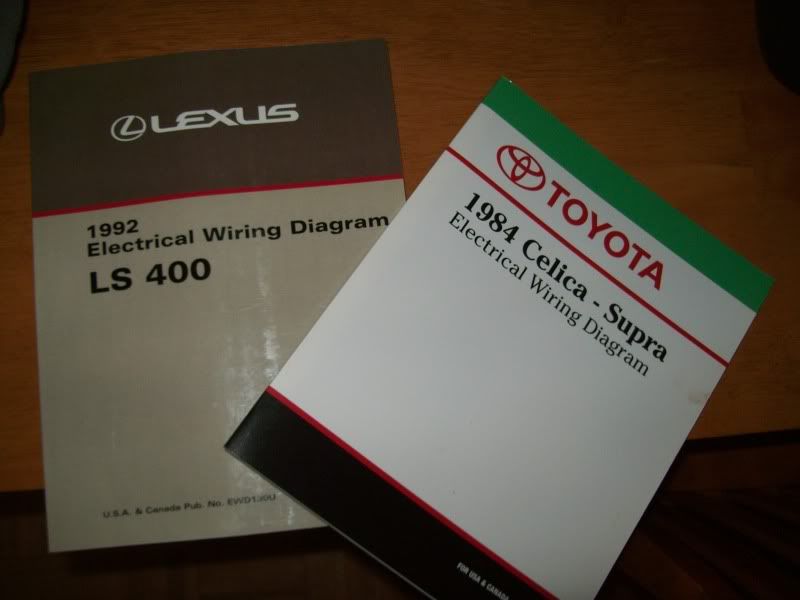
broke out my old lap top, got comfie infront of the tv and popped in a movie ive seen a million times before (boondock saints) and started to go thru the wire manuals indicating what pins on what connectors do what. Im dissapointed that the mauals did have a simple diagram of the connector, and a pin out, for each connector on the car... that would have saved me alot of time!
now im going to sift thru the excell spred sheets and identify what wires are un-needed and what connections i need to make for the swap.
the ghoul;1469698 said:been burried alive under wire!!!
broke out my old lap top, got comfie infront of the tv and popped in a movie ive seen a million times before (boondock saints) and started to go thru the wire manuals indicating what pins on what connectors do what. Im dissapointed that the mauals did have a simple diagram of the connector, and a pin out, for each connector on the car... that would have saved me alot of time!
now im going to sift thru the excell spred sheets and identify what wires are un-needed and what connections i need to make for the swap.
I feel your pain, this is a glaring omission on Toyota's part.
You can't even go by wire color, as sometimes there are two of the same color in a connector.
back to the grind.
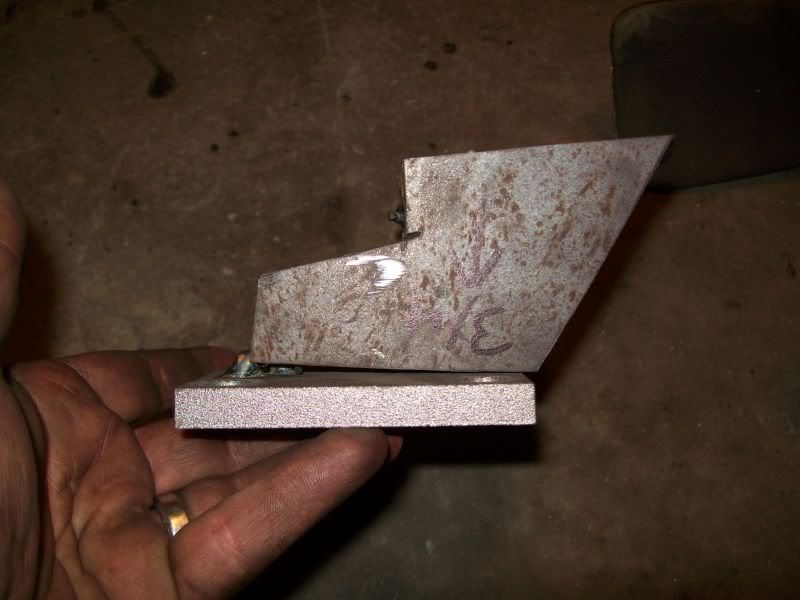
test fitted the motor mounts v 2.0 (made of 5/16" steel vs 1/2" and about 3/4")
They are too short, so v 3.0 will be 1/4" shorter than the first mount and should be just about perfect.
I did a massive garage clean out and organization,
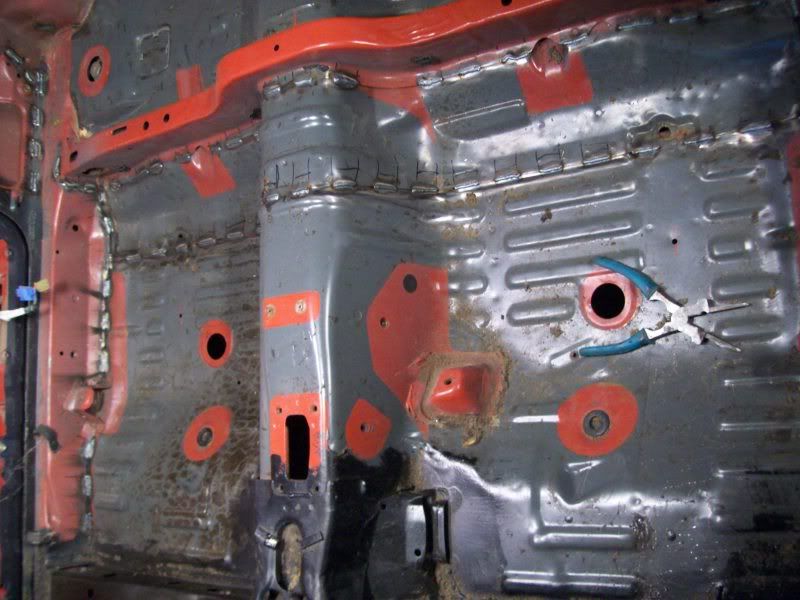
got the supra back on jack stands and slid the rear cradle out.
Then i knocked the rest of the sound deadening material out of the floor boards and got to work on more stitch welding...
I honestly dont know why i put off the stitch welding.. other than the prep work being loud and dirty there is really nothing all that tough or unpleasant about the process.... I guess since there’s no challenge in it for me there is really no motivation....
ah well, either way, i want it done!!
test fitted the motor mounts v 2.0 (made of 5/16" steel vs 1/2" and about 3/4")
They are too short, so v 3.0 will be 1/4" shorter than the first mount and should be just about perfect.
I did a massive garage clean out and organization,
got the supra back on jack stands and slid the rear cradle out.
Then i knocked the rest of the sound deadening material out of the floor boards and got to work on more stitch welding...
I honestly dont know why i put off the stitch welding.. other than the prep work being loud and dirty there is really nothing all that tough or unpleasant about the process.... I guess since there’s no challenge in it for me there is really no motivation....
ah well, either way, i want it done!!
Poodles;1466278 said:I know you can extend the shifter housing if needed (IIRC done on SC300 R154 swaps)
also done on any 240 with a JZ