Hey guys,
sorry to pick up in the middle of a build like this, but im just way too deep into the project to re-capp in a non-pain-in-my-ass-fassion....
so here is a link to one of my local forums ive been documenting the build on.
http://www.xceedspeed.com/forums/showthread.php?t=147183
and this is the quick recapp i did in the introduction area
Hey all,
Name is Kevin
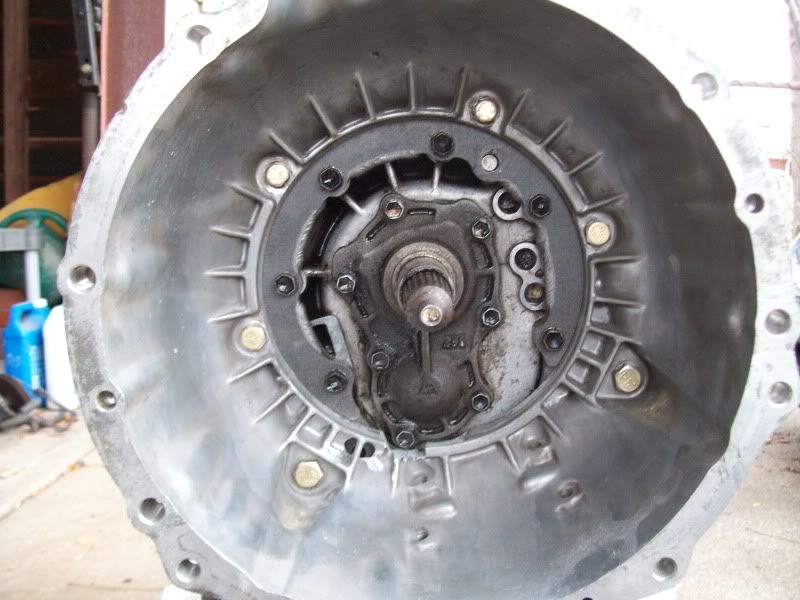
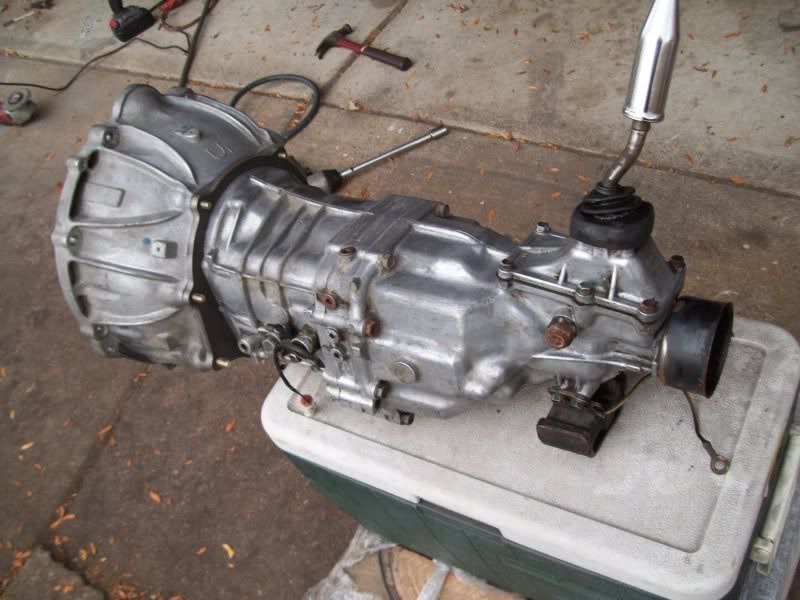
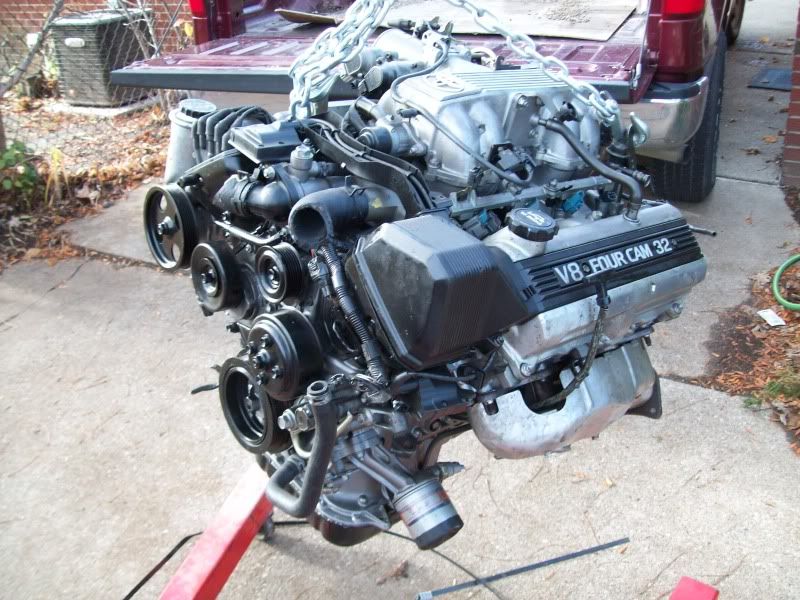
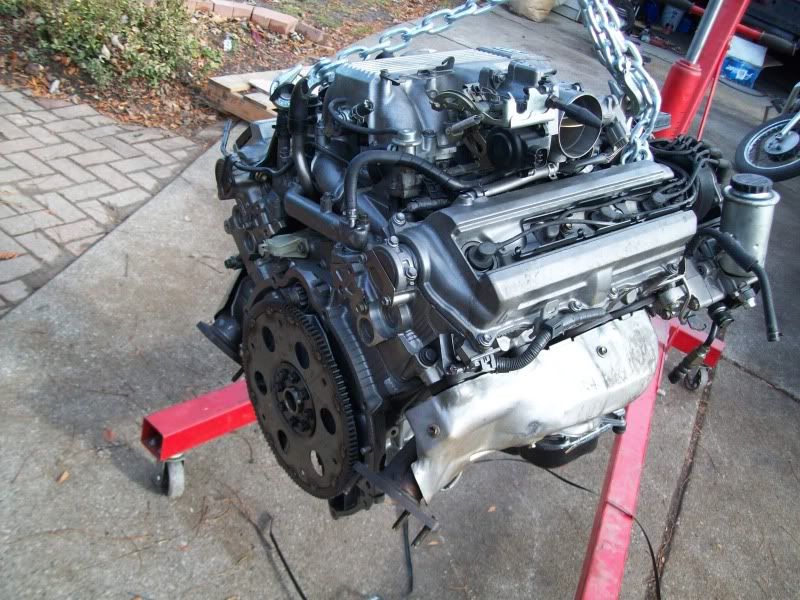
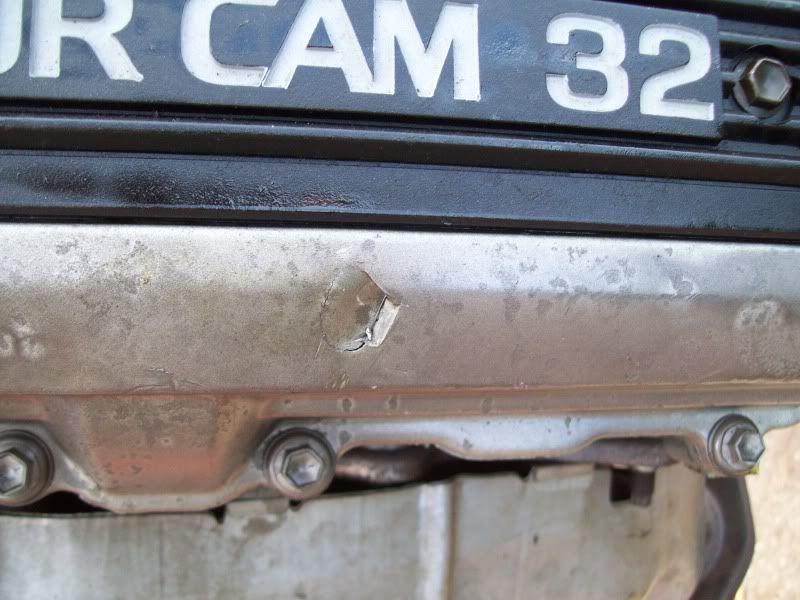
for the last few months ive been working on a full gut and rebuild 84 supra project. It wasn’t till a few weeks ago that i decided to scrap my idea of boosting the stock 5mge and just doing an engine swap from the get go. Im a fan of old school muscle so the quad cam v8 1uzfe seemed like the way to go.
if you guys want to see specifics on my build ive got plenty of info on a local michigan forum
http://www.xceedspeed.com/forums/showthread.php?t=147183
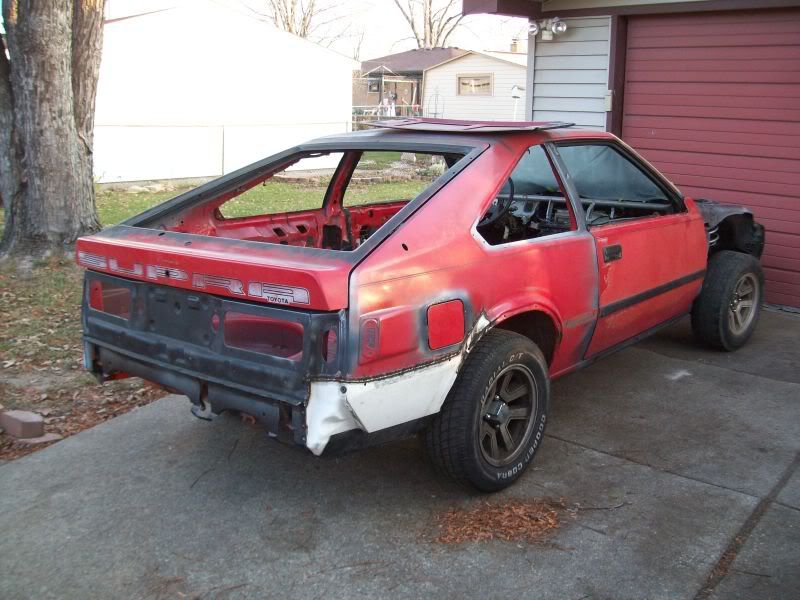
basically the intent of this build is to take an old tired 84 supra, take it down to bare shell, get rid of all the things i deem unnecessary (cruse, AC, seat belt warning system ect) and rebuild it as smooth and clean as possible with all the modern toys i love for daily driver use.
so here is a quick blow by blow; (will be posted in build section soon enough.
10-4-09
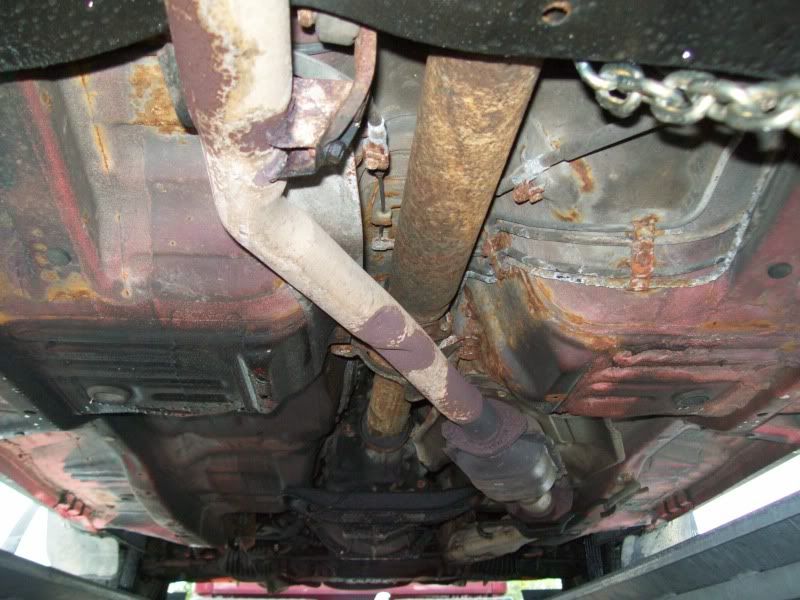
84 supra 240k miles running (just barely) is bought for $750 and trailer home from Ohio.
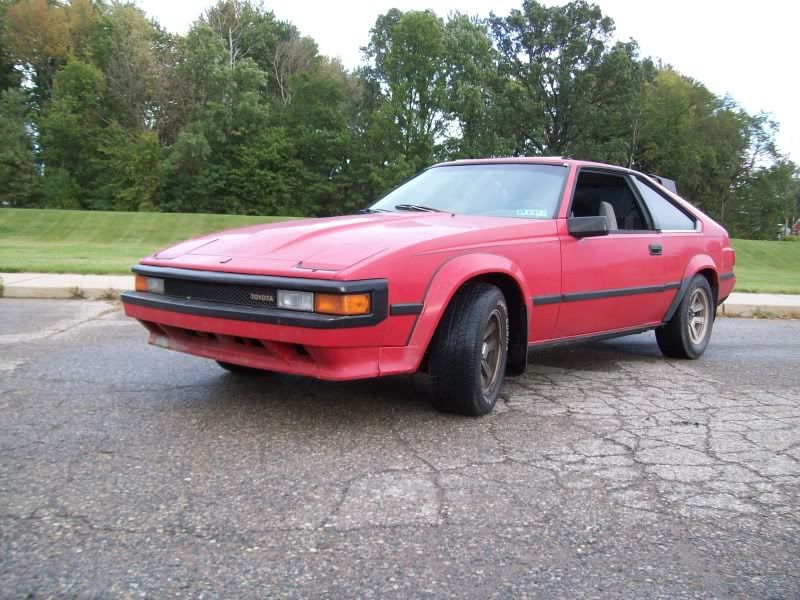
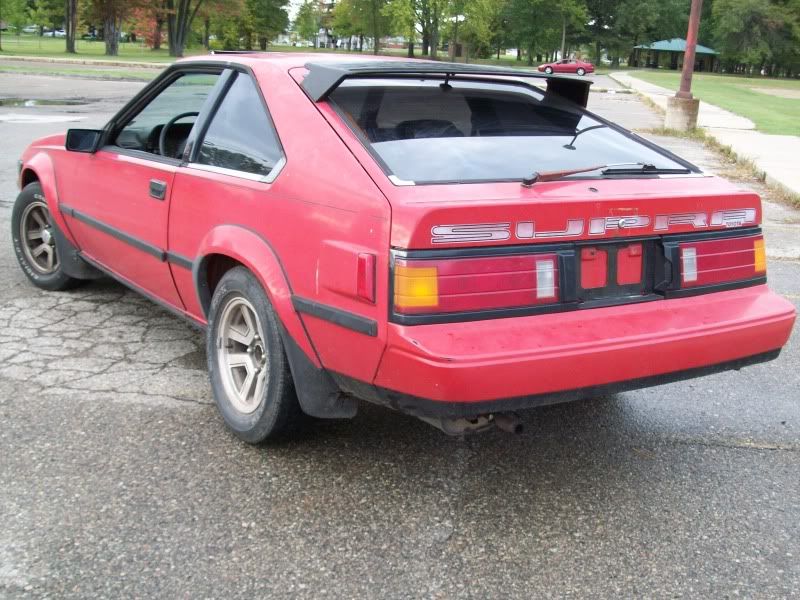
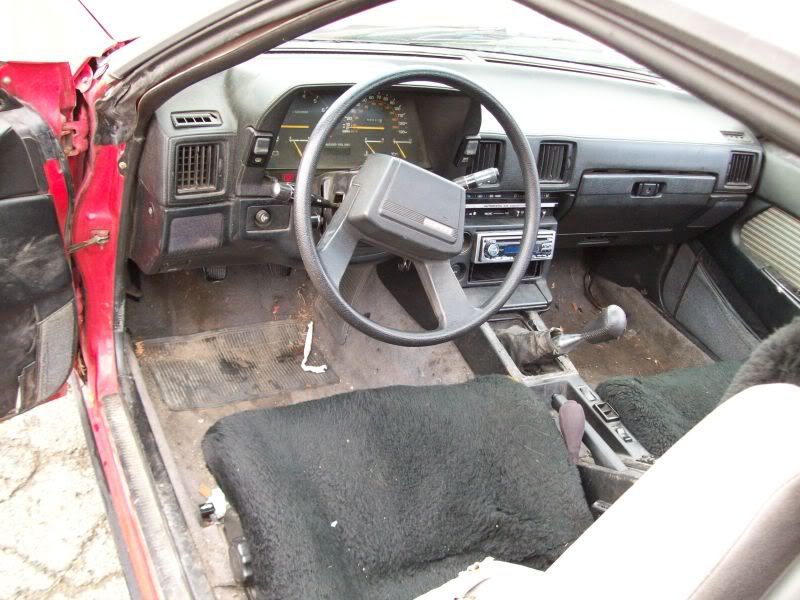
I am amazed at how relatively rust free the car is
10-20-09
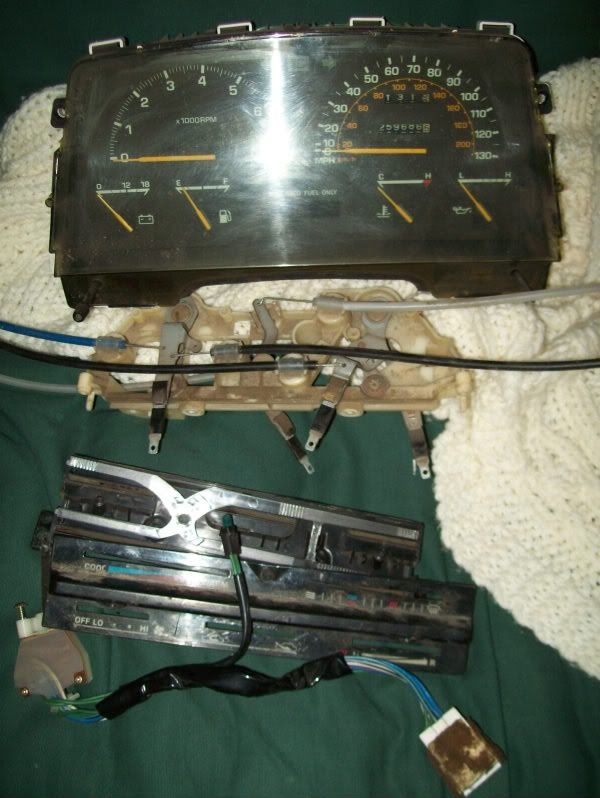
car is stripped to bare shell and the garage is stocked with new and used replacement parts
10-24-09
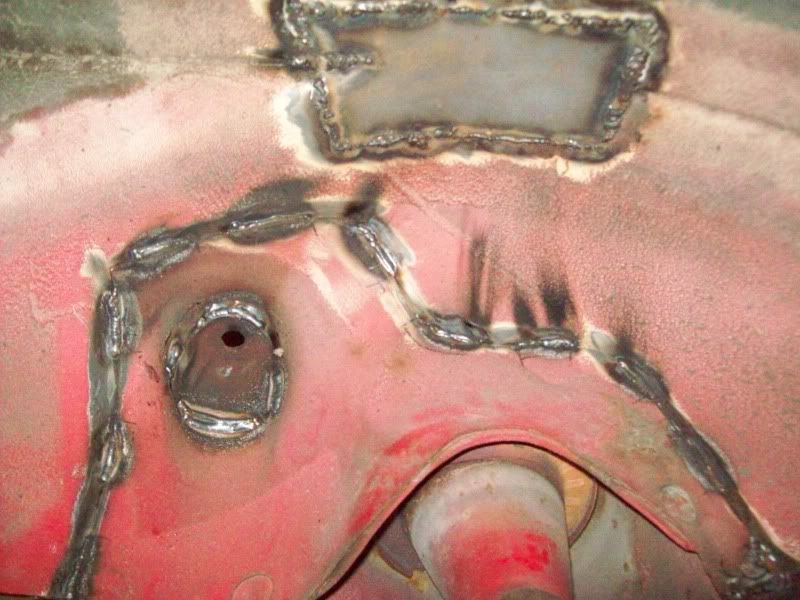
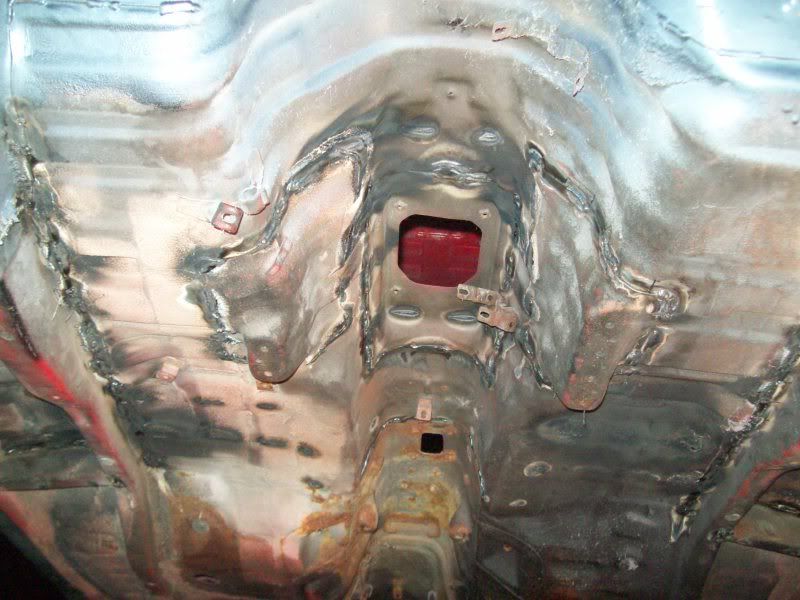
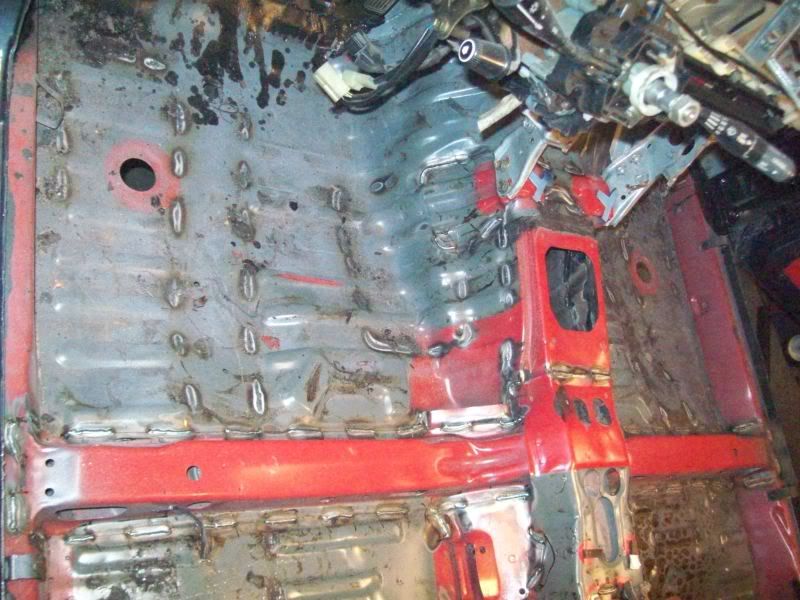
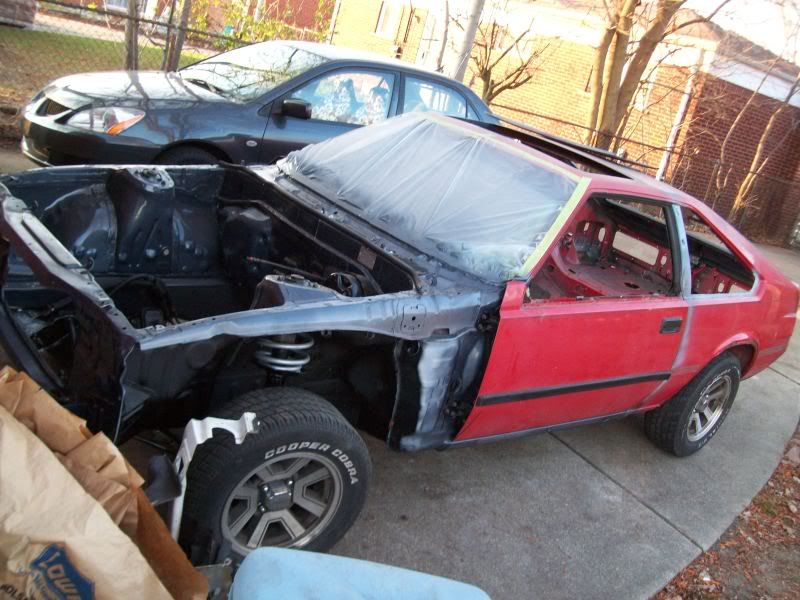
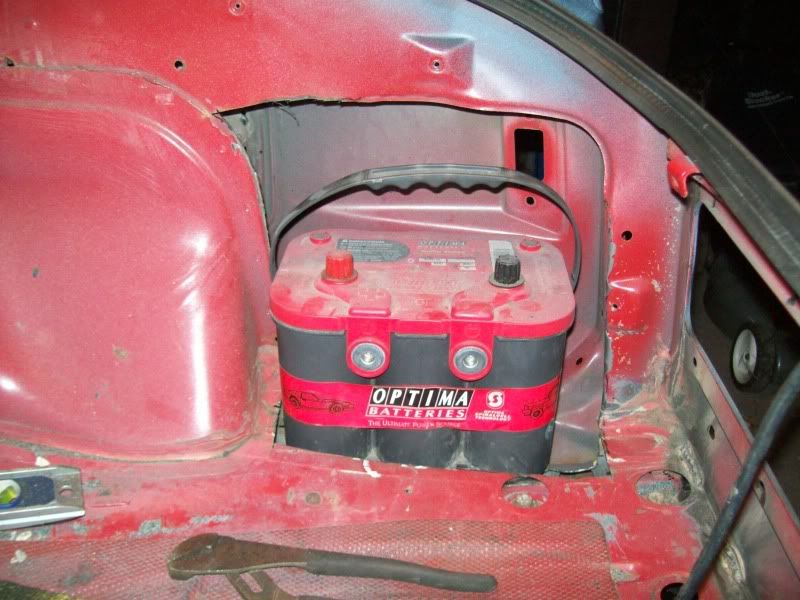
Engine compartment is stitch welded, and all unnecessary holes are patched (going for an aggressive wire tuck and battery/fuse box relocation)
door jambs, and rear hatch are also stitch welded
10-26-09
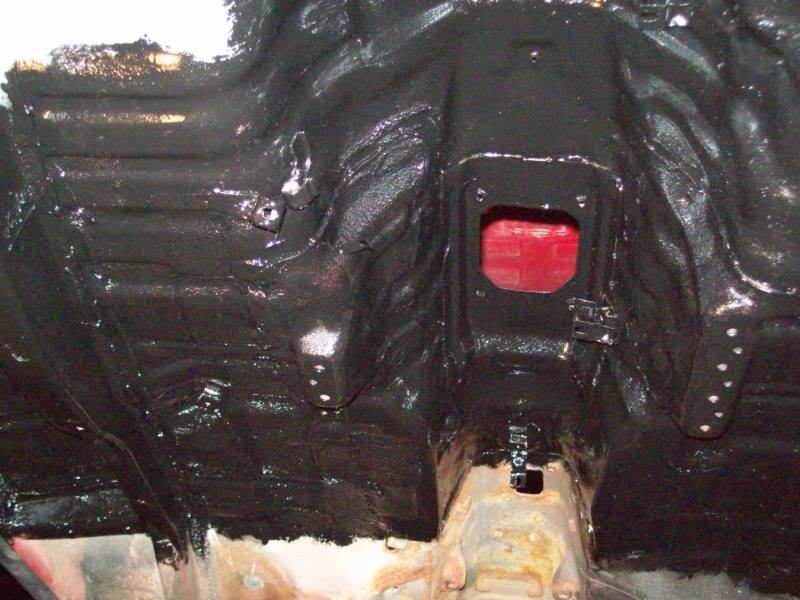
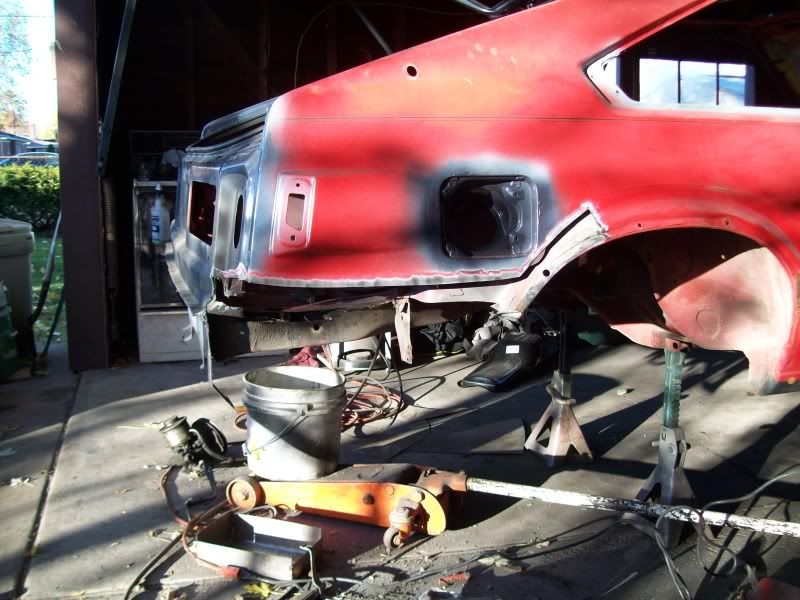
Engine compartment, door jambs, sun roof, fuel door, underside of hood, back sides of doors and hatch and in general all the 'hard to reach' areas are prepped, primed and painted. This was done so early in the game so that i could assemble the car over winter and then get it re-painted come spring and not have red door jambs and such!
11-2-09
Paid way too much for a non-ac heater box from an 82 celica, rebuilt it with new foam, repainted the fire-wall, and all the under dash brackets with por-15 (semi gloss black and silver respectively) and installed it all.
11-8-09
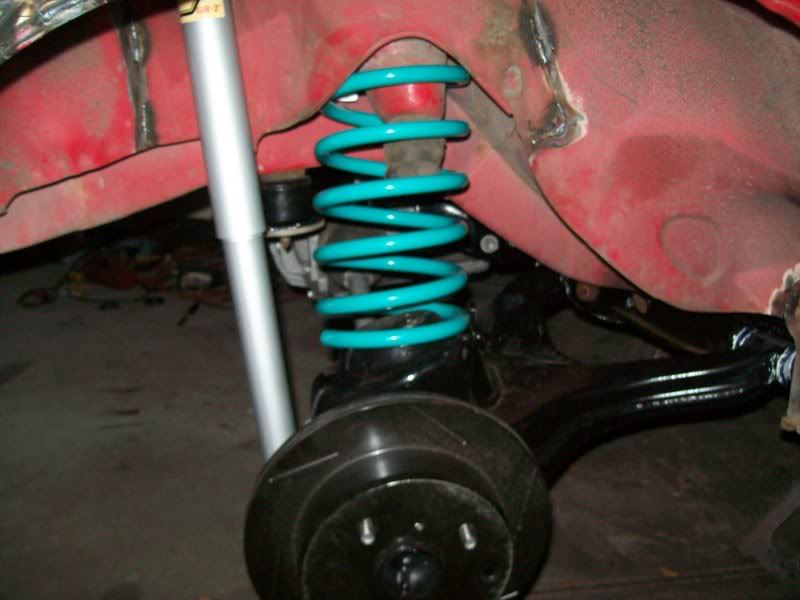
Installed a freshly rebuilt front suspension with KYB gr2 struts, super-pro poly bushings, vented black zinc rotors, and Dobson drop springs. I didn’t bother messing with the sway bar setup because that will be upgraded down the road. Also looked into it and made the decision to sell off all my 5mge stuff and pick up a 1uzfe.
(again, i used por-15 where ever i could)

11-11-09
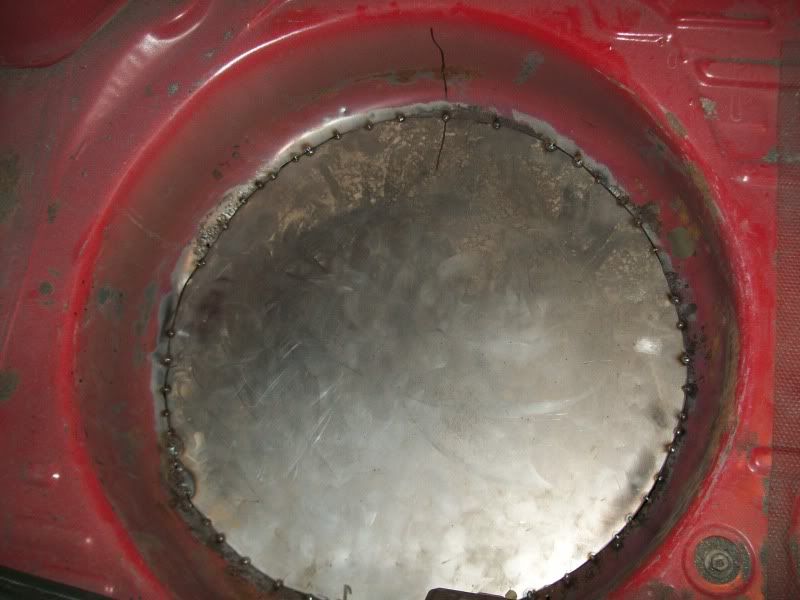
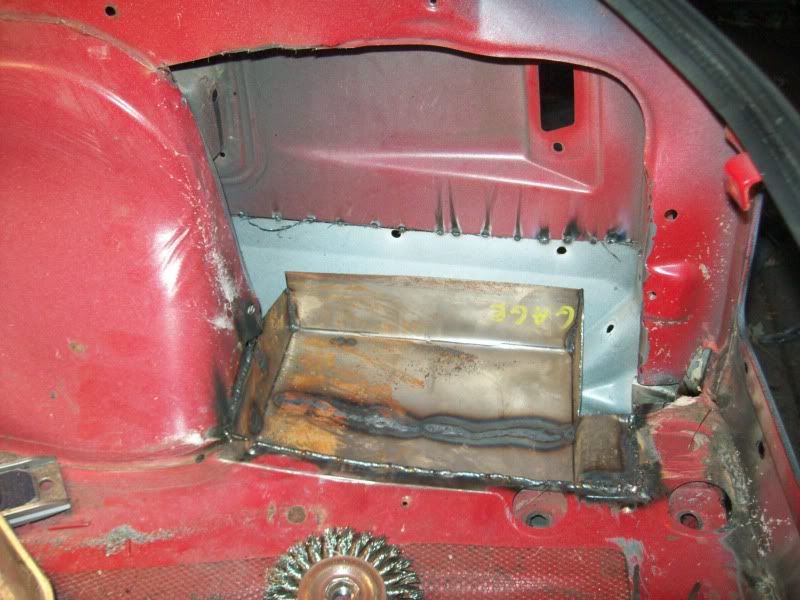
Got a good jump on rust replacement/battery box fabrication
sorry to pick up in the middle of a build like this, but im just way too deep into the project to re-capp in a non-pain-in-my-ass-fassion....
so here is a link to one of my local forums ive been documenting the build on.
http://www.xceedspeed.com/forums/showthread.php?t=147183
and this is the quick recapp i did in the introduction area
Hey all,
Name is Kevin
for the last few months ive been working on a full gut and rebuild 84 supra project. It wasn’t till a few weeks ago that i decided to scrap my idea of boosting the stock 5mge and just doing an engine swap from the get go. Im a fan of old school muscle so the quad cam v8 1uzfe seemed like the way to go.
if you guys want to see specifics on my build ive got plenty of info on a local michigan forum
http://www.xceedspeed.com/forums/showthread.php?t=147183
basically the intent of this build is to take an old tired 84 supra, take it down to bare shell, get rid of all the things i deem unnecessary (cruse, AC, seat belt warning system ect) and rebuild it as smooth and clean as possible with all the modern toys i love for daily driver use.
so here is a quick blow by blow; (will be posted in build section soon enough.
10-4-09
84 supra 240k miles running (just barely) is bought for $750 and trailer home from Ohio.
I am amazed at how relatively rust free the car is
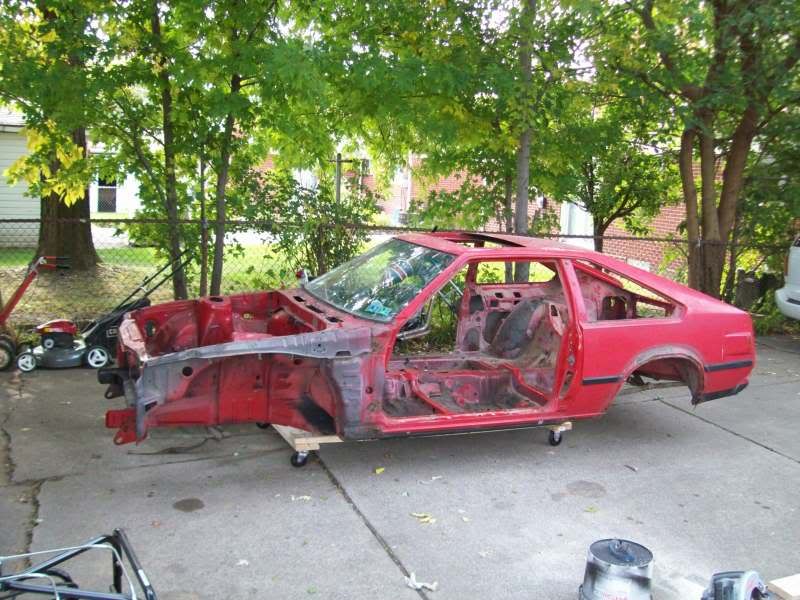
10-20-09
car is stripped to bare shell and the garage is stocked with new and used replacement parts
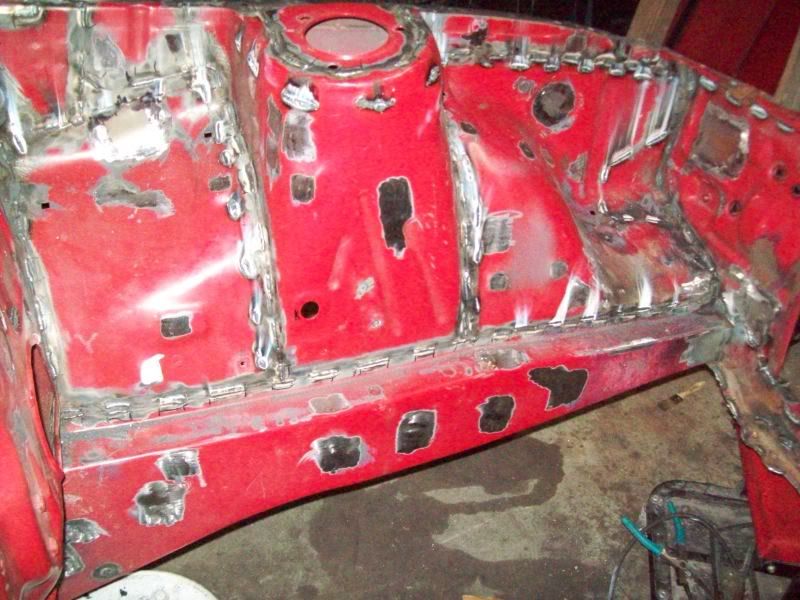
10-24-09
Engine compartment is stitch welded, and all unnecessary holes are patched (going for an aggressive wire tuck and battery/fuse box relocation)
door jambs, and rear hatch are also stitch welded
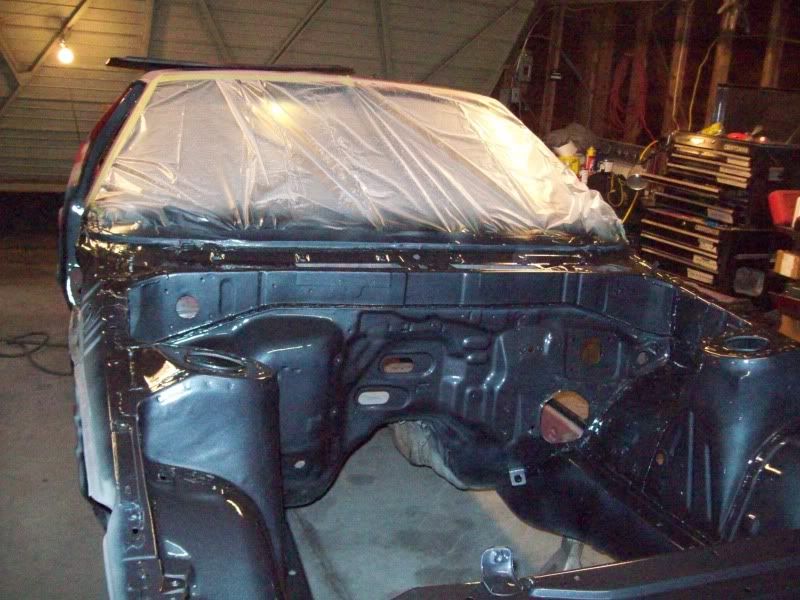
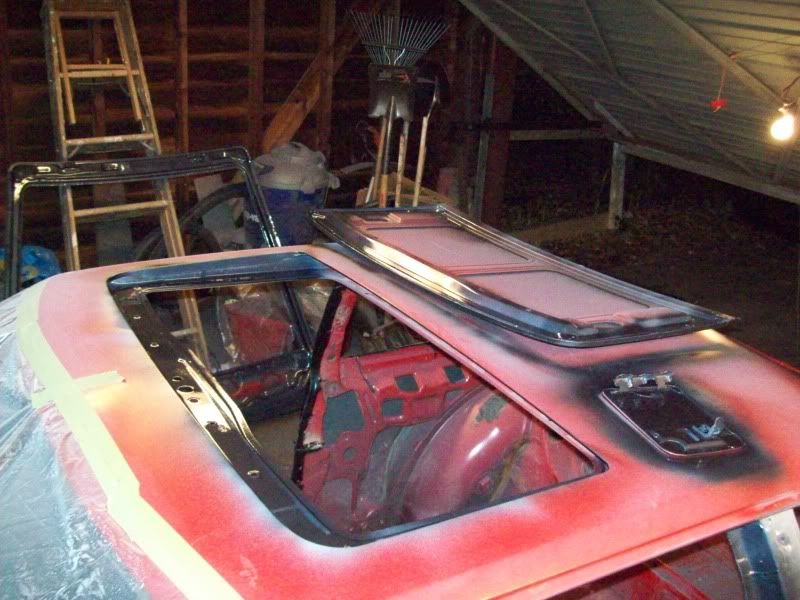
10-26-09
Engine compartment, door jambs, sun roof, fuel door, underside of hood, back sides of doors and hatch and in general all the 'hard to reach' areas are prepped, primed and painted. This was done so early in the game so that i could assemble the car over winter and then get it re-painted come spring and not have red door jambs and such!
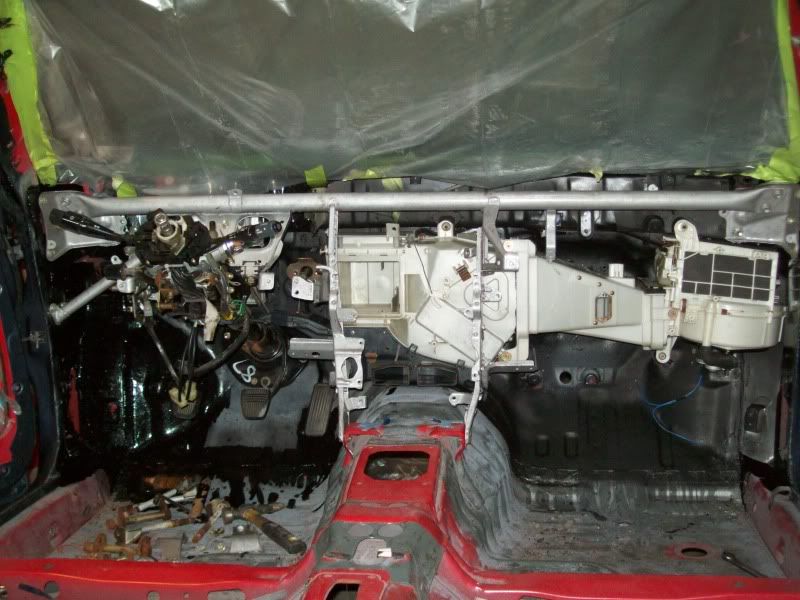
11-2-09
Paid way too much for a non-ac heater box from an 82 celica, rebuilt it with new foam, repainted the fire-wall, and all the under dash brackets with por-15 (semi gloss black and silver respectively) and installed it all.
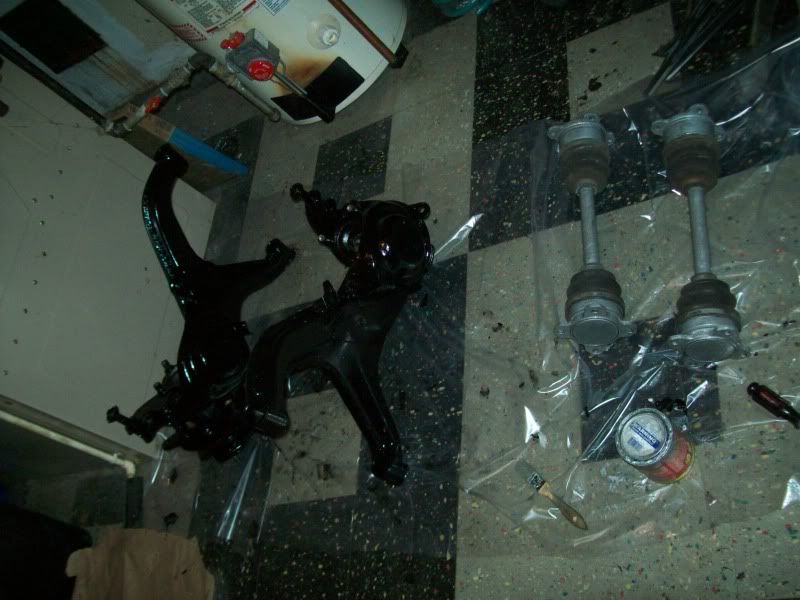
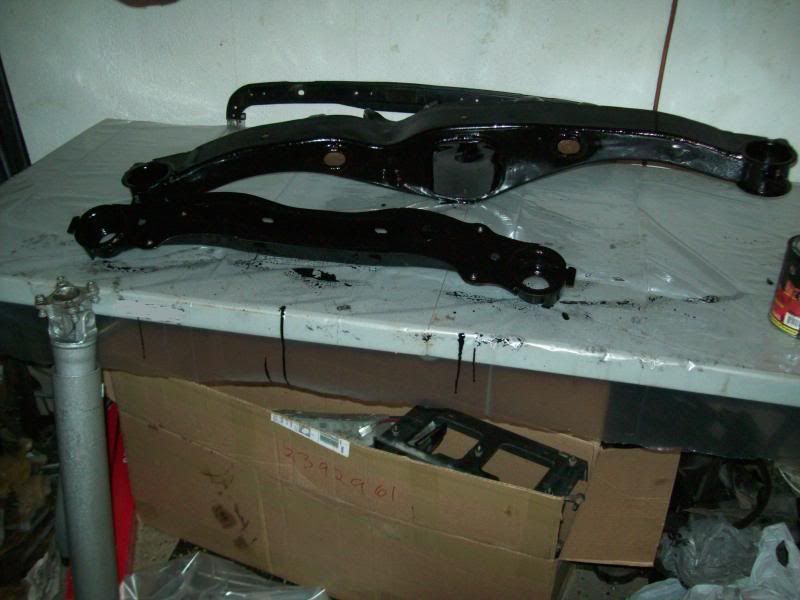
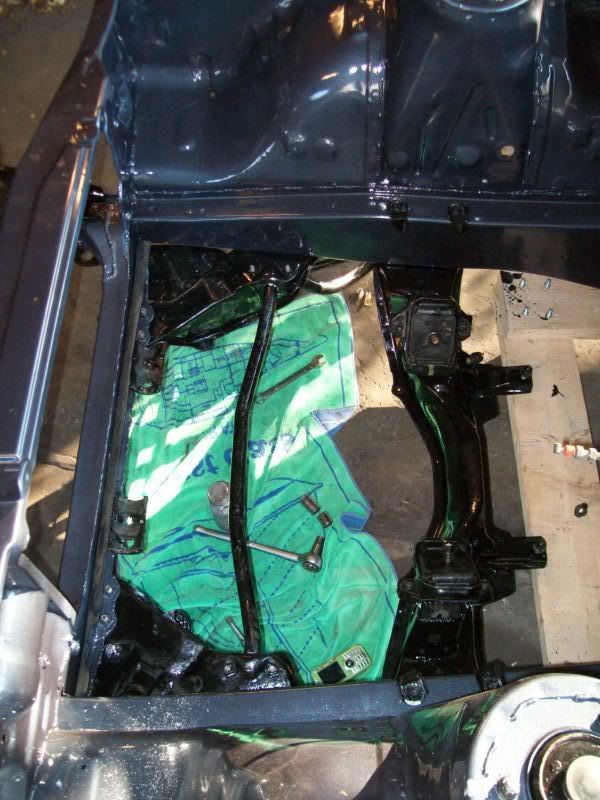
11-8-09
Installed a freshly rebuilt front suspension with KYB gr2 struts, super-pro poly bushings, vented black zinc rotors, and Dobson drop springs. I didn’t bother messing with the sway bar setup because that will be upgraded down the road. Also looked into it and made the decision to sell off all my 5mge stuff and pick up a 1uzfe.
(again, i used por-15 where ever i could)
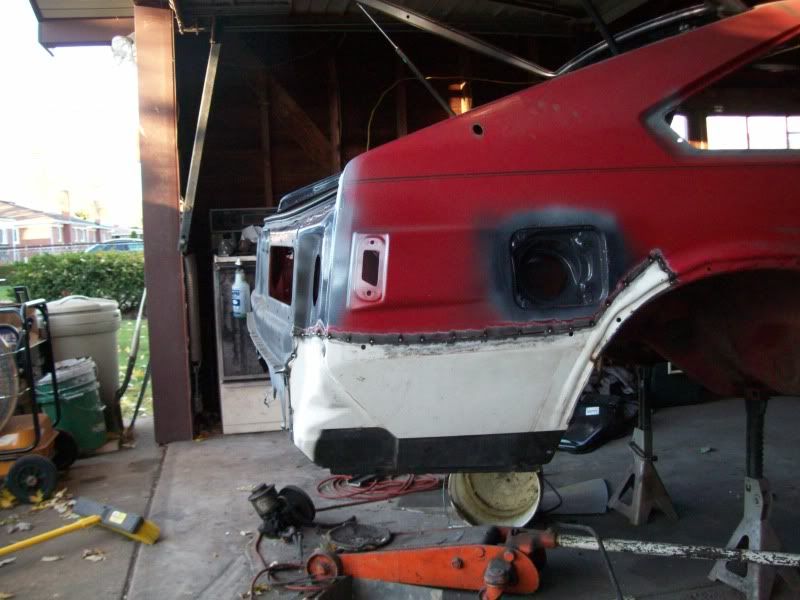
11-11-09
Got a good jump on rust replacement/battery box fabrication