
Step 1 - Follow the guide for removing the PCV pipework and coil pack
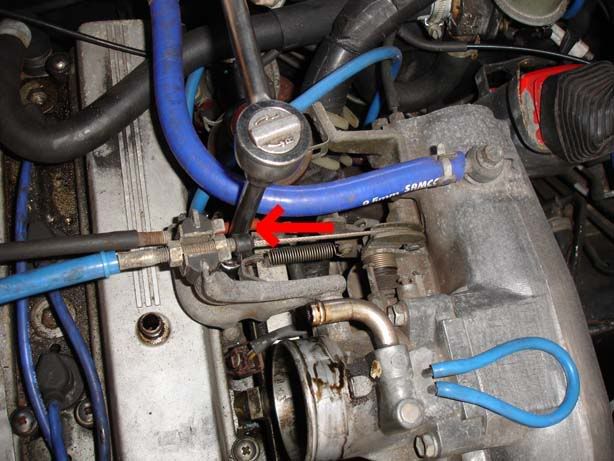
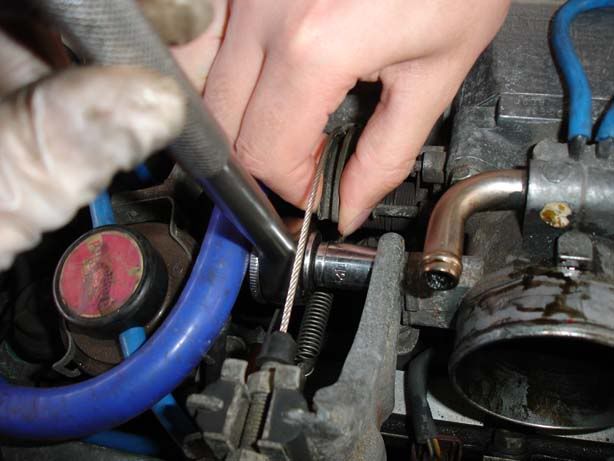
Step 2 - The bracket holding the throttle cable in place will be in the way for removing the inlet cam cover so we need to remove this. Undo the two 12 mm bolts shown
Note that in the second picture it is easier to get to the bolt if you can hold some slack on the throttle cable
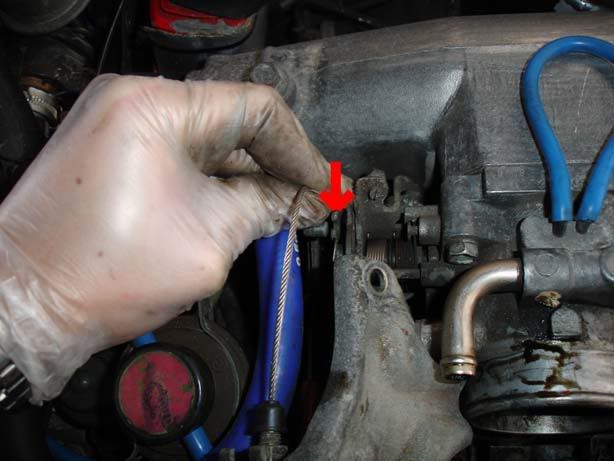
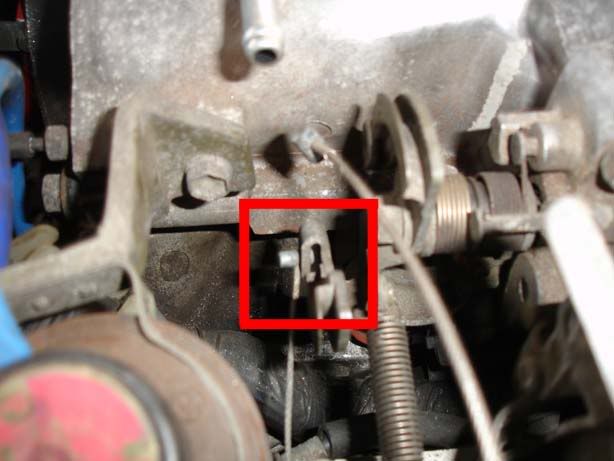
Step 3 - Unhook both the twisted metal cables going to the throttle bracket. These are removed by moving the cable round uintil it lines up with a gap on the bracket so it can just slide out. See pictures for a pointer to the part of the bracket that holds the cable in (and the slot you line up the cable with)
The second picture shows the second cable being removed
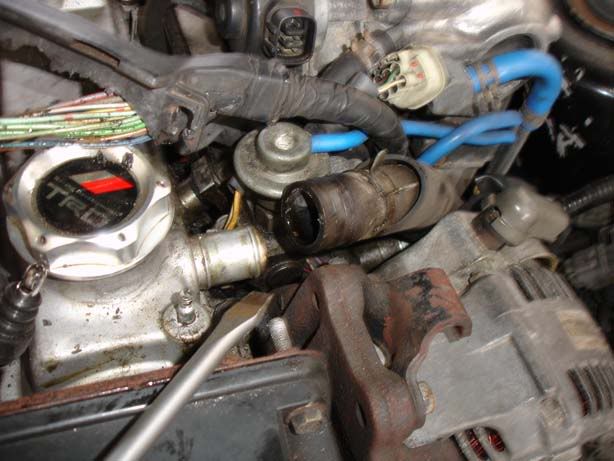
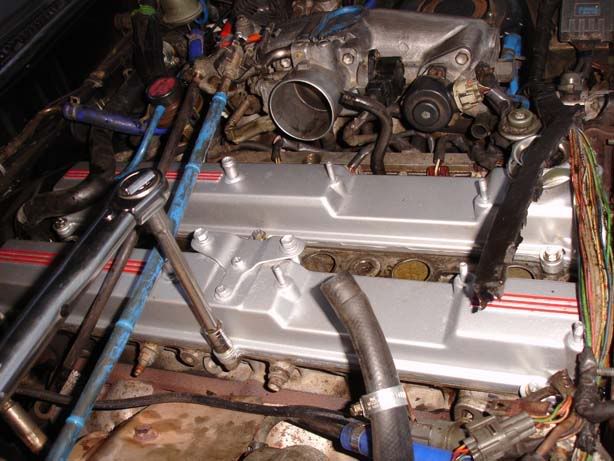
Step 4 - Remove the pipework to the inlet manifold by squeezing the spring slip, sliding it down the hose then pulling the hose off (Might be quite tight). Move the bracket holding the throttle cable clear of the cam cover
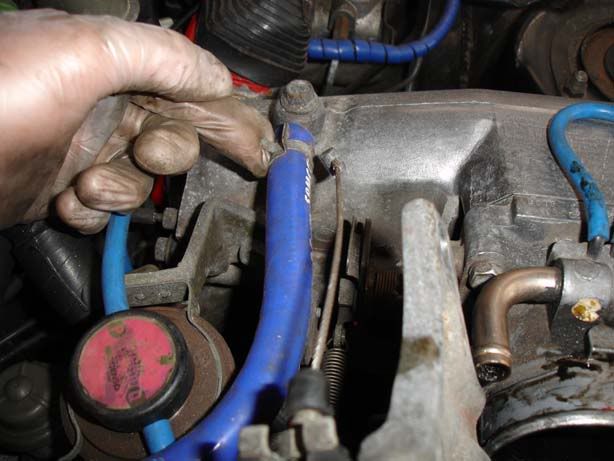
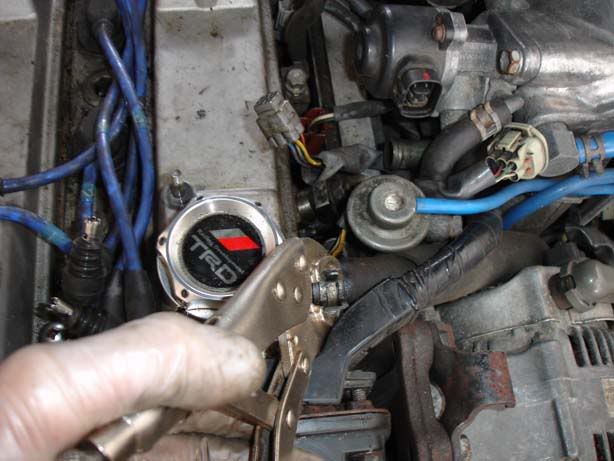
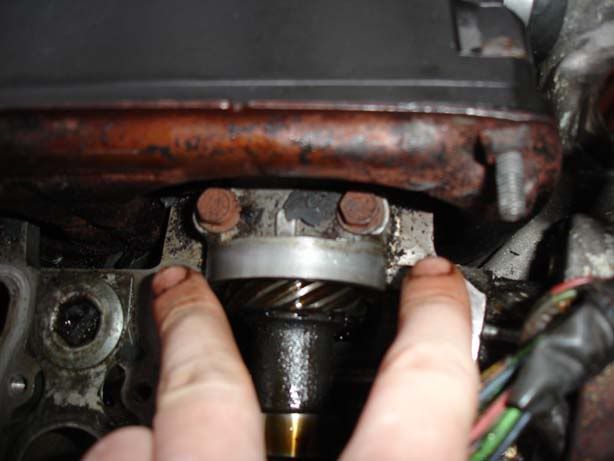
Step 5 - There is an oil line going to the nearside head by the oil filler cap. Removing isn't too difficult, refitting is a sod! To remove it, use mole grips or something similar to squeeze the spring clip then slide it back down the hose (Picture 1). Then try and ease the pipe off with your hand but if really necessary use a screwdrive (picture 2) but be very careful not to split the hose!
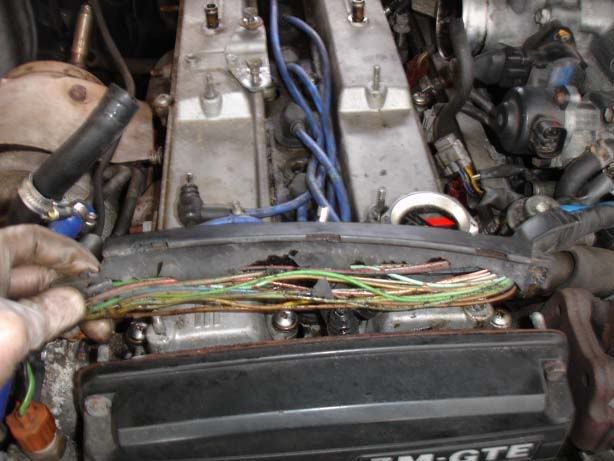
Step 6 - Have a look at your wiring loom cover running across the front of the engine bay (it just lifts up), don't panic if yours looks like this but you might want to address this with some kind of cable run
Step 7 - Undo all the screws holding your cam covers down. They should put up some resistance but if you've got leaking cam cover gaskets don't be surprised if they are very loose

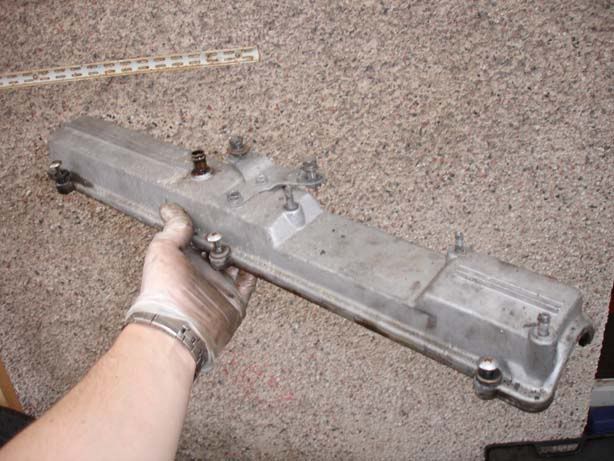
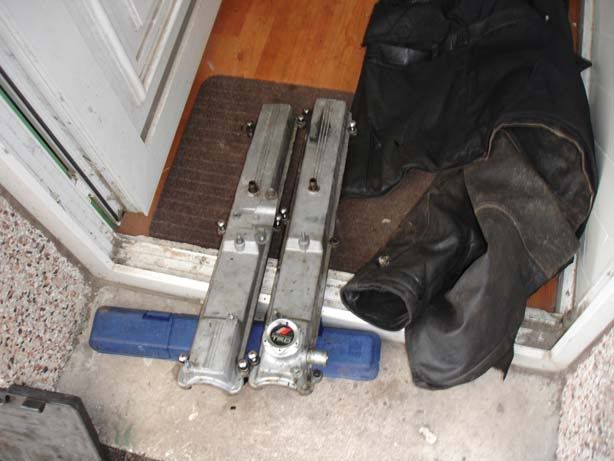
Step 8 - Remove the cam covers
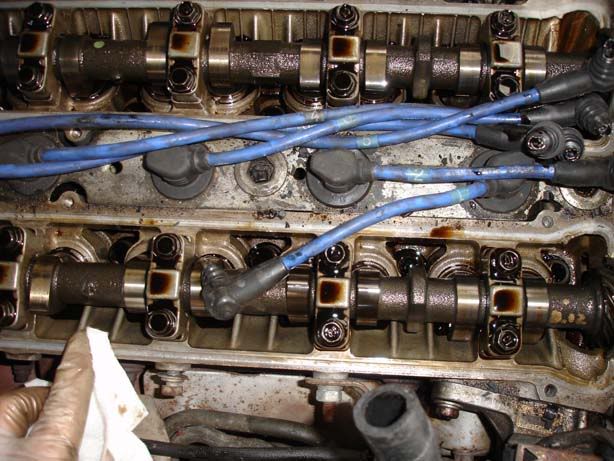
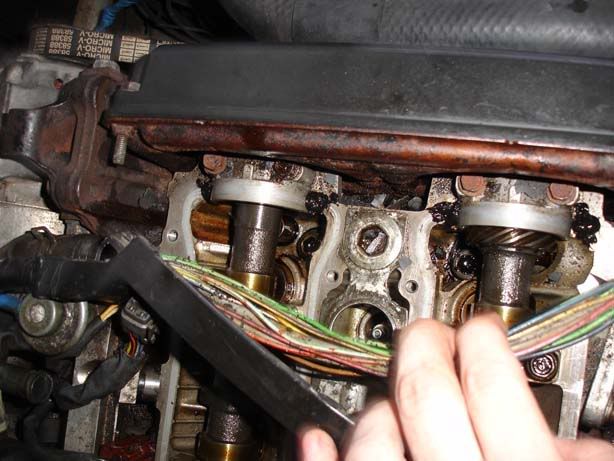
Step 9 - This is what you should see when you remove the covers.
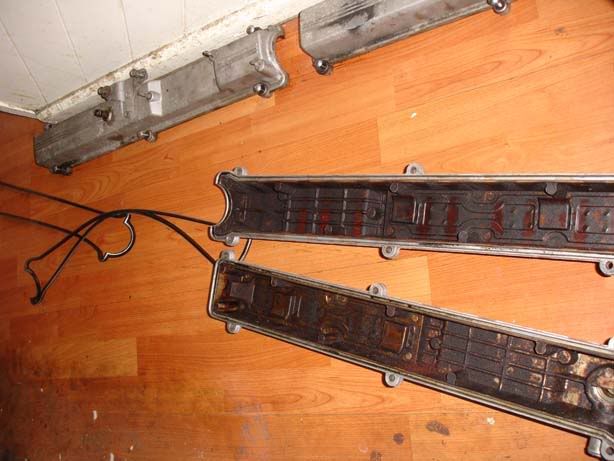
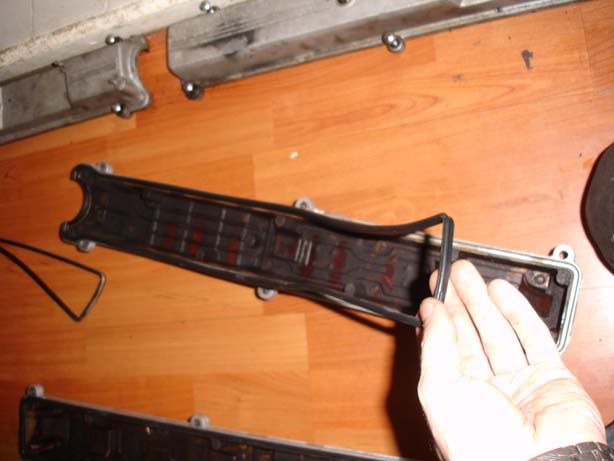
Step 10 - Remove the gasket from your old cam covers (they just pull out)
Step 11 - Get your nice new Toyota gaskets (£16 for the pair including VAT), and fit them starting from the semi-circular cut out end and working back up the cam cover. When you have done about half of the gasket (see pic) insert the squared off end in and then work it back towards the middle to take up the slack. This just makes it a bit easier or it'll be quite tight when you get to the square end
Step 12 - Apply a small amount of sealant to the front of both cam shafts (Clean here first). Second picture shows the 4 blobs of sealant
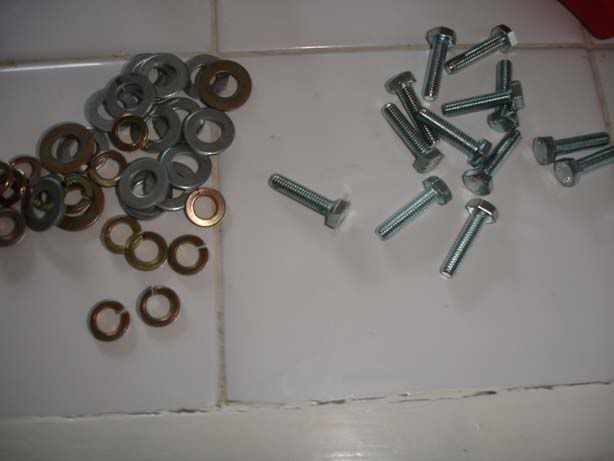
Step 13 - Ditch the horrible screws!! Cam cover bolts won't get chewed up and allow you to use an accurate torque wrench so it is well worth changing. Also get a penny washer and spring washer for each bolt (This lot will cost you about £3)
Step 14 - Get to work fitting your new bolts and washers. Note that the torque value for the cam covers is 22 INCH pounds not foot pounds. Don't be tempted to overtighten them because that will make them leak
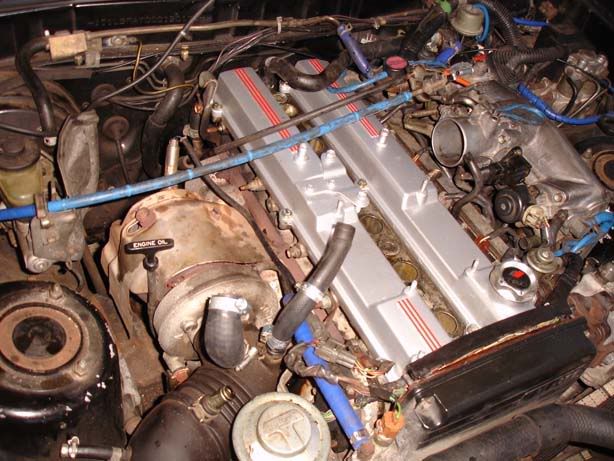
Step 15 - That's it, job done. If you followed the cam cover painting guide then you can stand back and admire your work!
Step 2 - The bracket holding the throttle cable in place will be in the way for removing the inlet cam cover so we need to remove this. Undo the two 12 mm bolts shown
Note that in the second picture it is easier to get to the bolt if you can hold some slack on the throttle cable
Step 3 - Unhook both the twisted metal cables going to the throttle bracket. These are removed by moving the cable round uintil it lines up with a gap on the bracket so it can just slide out. See pictures for a pointer to the part of the bracket that holds the cable in (and the slot you line up the cable with)
The second picture shows the second cable being removed
Step 4 - Remove the pipework to the inlet manifold by squeezing the spring slip, sliding it down the hose then pulling the hose off (Might be quite tight). Move the bracket holding the throttle cable clear of the cam cover
Step 5 - There is an oil line going to the nearside head by the oil filler cap. Removing isn't too difficult, refitting is a sod! To remove it, use mole grips or something similar to squeeze the spring clip then slide it back down the hose (Picture 1). Then try and ease the pipe off with your hand but if really necessary use a screwdrive (picture 2) but be very careful not to split the hose!
Step 6 - Have a look at your wiring loom cover running across the front of the engine bay (it just lifts up), don't panic if yours looks like this but you might want to address this with some kind of cable run
Step 7 - Undo all the screws holding your cam covers down. They should put up some resistance but if you've got leaking cam cover gaskets don't be surprised if they are very loose
Step 8 - Remove the cam covers
Step 9 - This is what you should see when you remove the covers.
Step 10 - Remove the gasket from your old cam covers (they just pull out)
Step 11 - Get your nice new Toyota gaskets (£16 for the pair including VAT), and fit them starting from the semi-circular cut out end and working back up the cam cover. When you have done about half of the gasket (see pic) insert the squared off end in and then work it back towards the middle to take up the slack. This just makes it a bit easier or it'll be quite tight when you get to the square end
Step 12 - Apply a small amount of sealant to the front of both cam shafts (Clean here first). Second picture shows the 4 blobs of sealant
Step 13 - Ditch the horrible screws!! Cam cover bolts won't get chewed up and allow you to use an accurate torque wrench so it is well worth changing. Also get a penny washer and spring washer for each bolt (This lot will cost you about £3)
Step 14 - Get to work fitting your new bolts and washers. Note that the torque value for the cam covers is 22 INCH pounds not foot pounds. Don't be tempted to overtighten them because that will make them leak
Step 15 - That's it, job done. If you followed the cam cover painting guide then you can stand back and admire your work!