
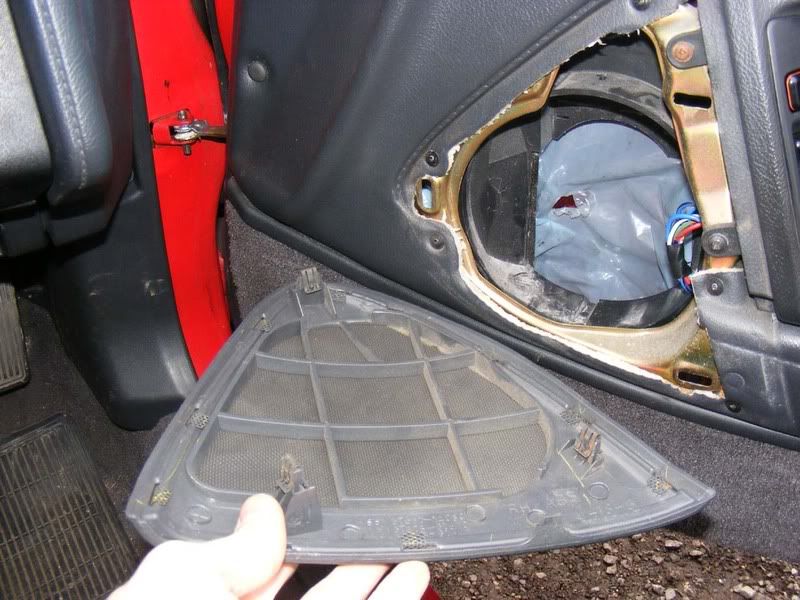
Step 1 - Remove the speaker grill, this simply pulls off and there are three clips. It will require moderate force but nothing too hefty

Step 2 - Ensure you have the 3 metal clips on the back of the speaker grill as shown, if you left any behind retrieve them now
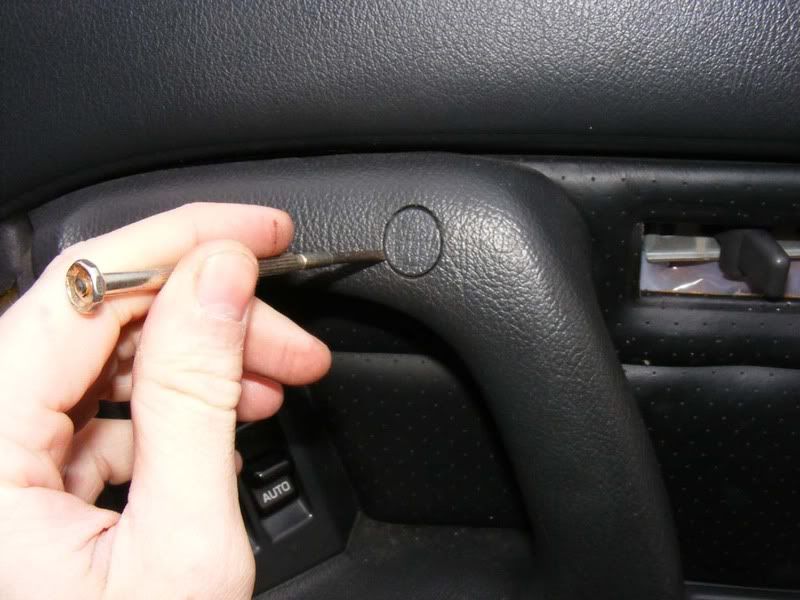
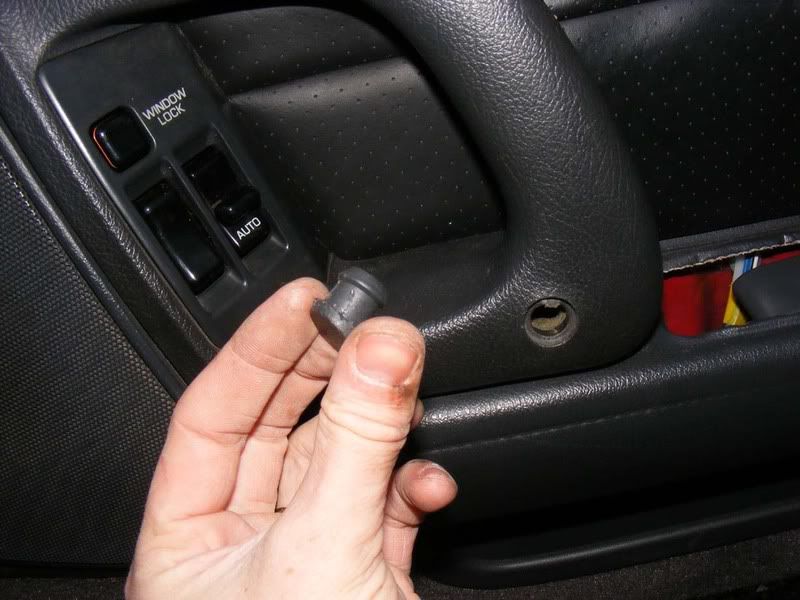
Step 3 - Use a jewellers screwdriver (I use 2 actually, one either side) to ease out the screw covers for the door handle
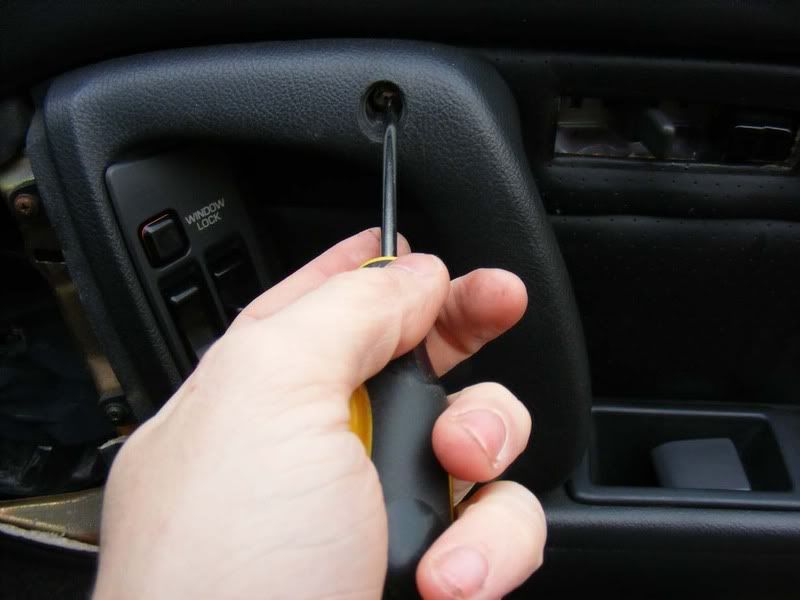
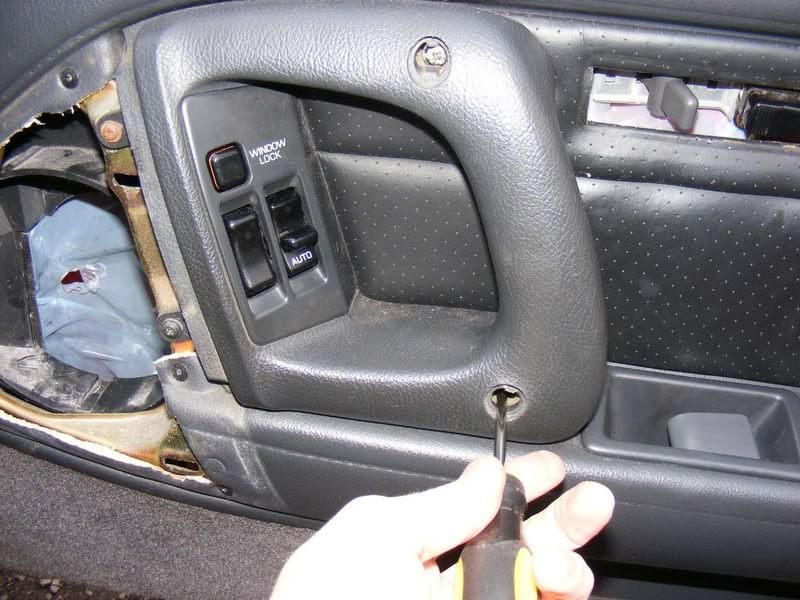
Step 4 - Now use a philips screwdriver to undo the two long screws holding the handle on, these will be quite stiff so make sure you don't thread the screw head by applying lots of pressure on the end of the screwdriver whilst turning
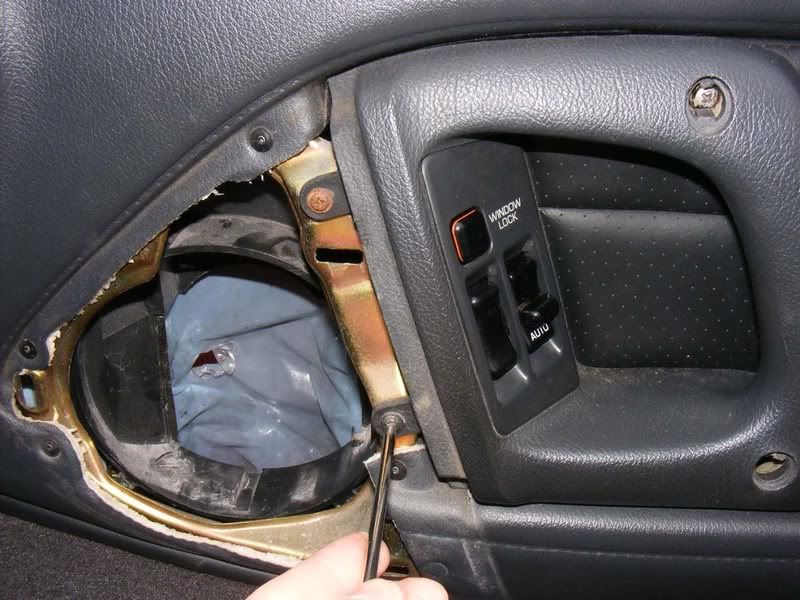
Step 5 - Now remove the two small screws holding the handle to the speaker metalwork
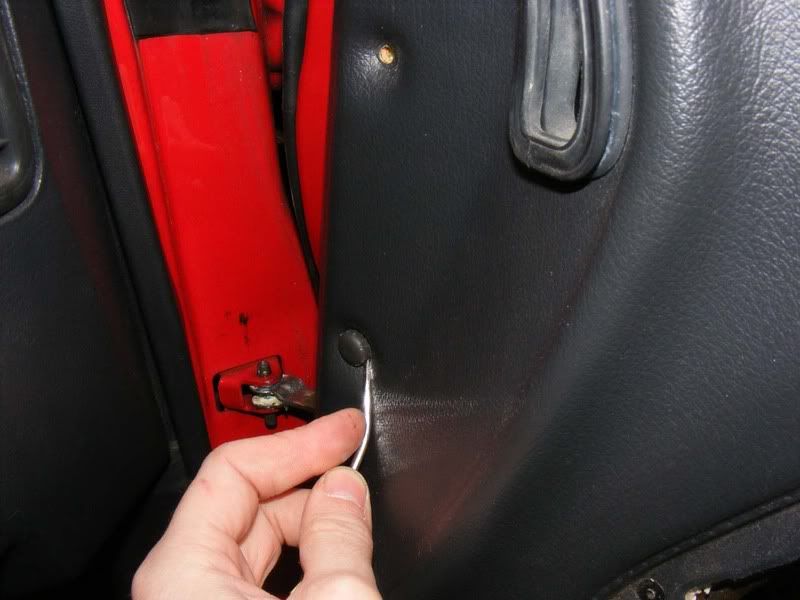
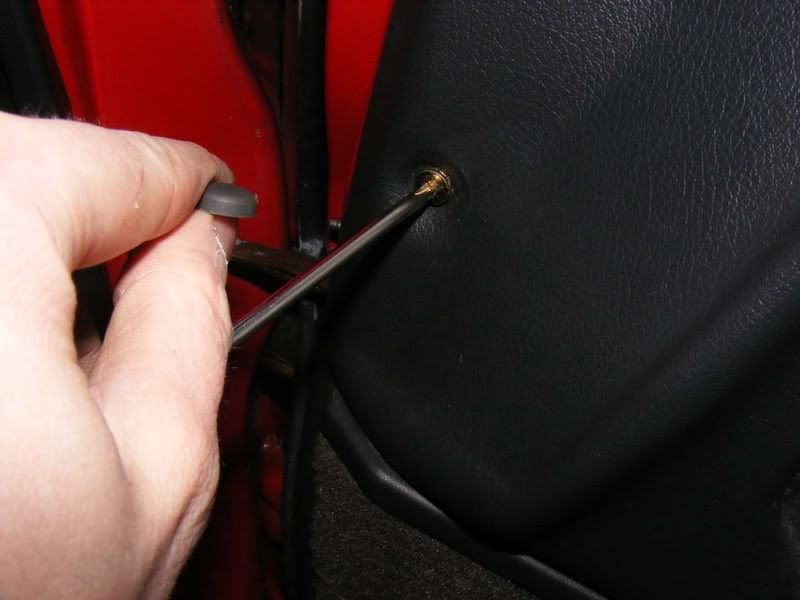
Step 6 - Where the door joins the bodywork at the top you'll see two plastic caps, ease these off with a flatblade screwdriver
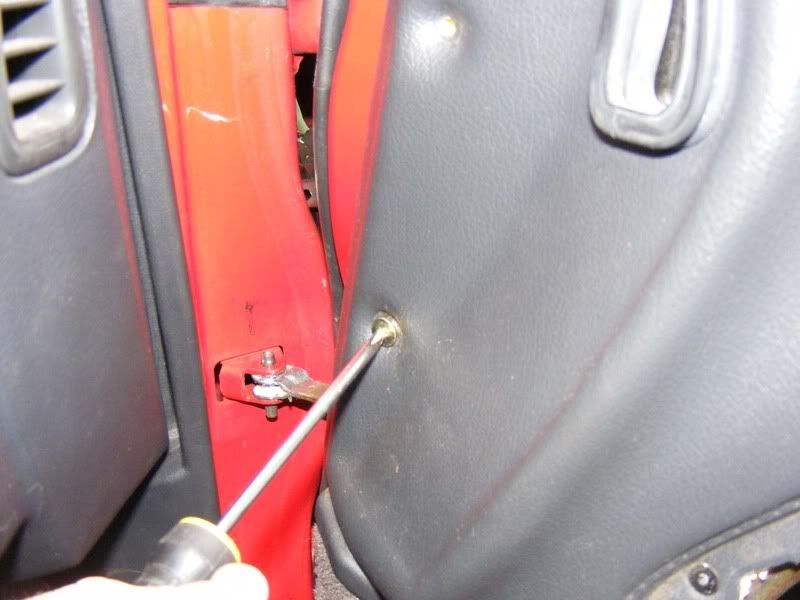
Step 7 - Now remove the two gold screws with washers
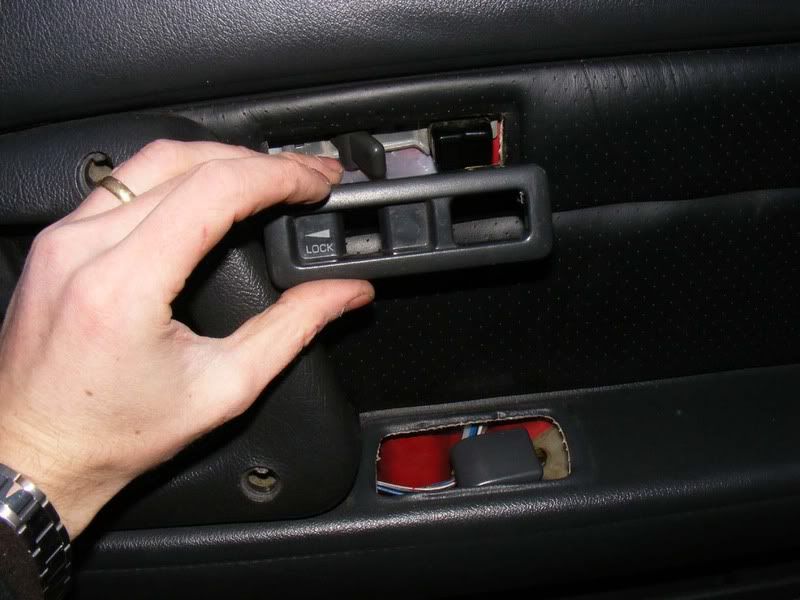
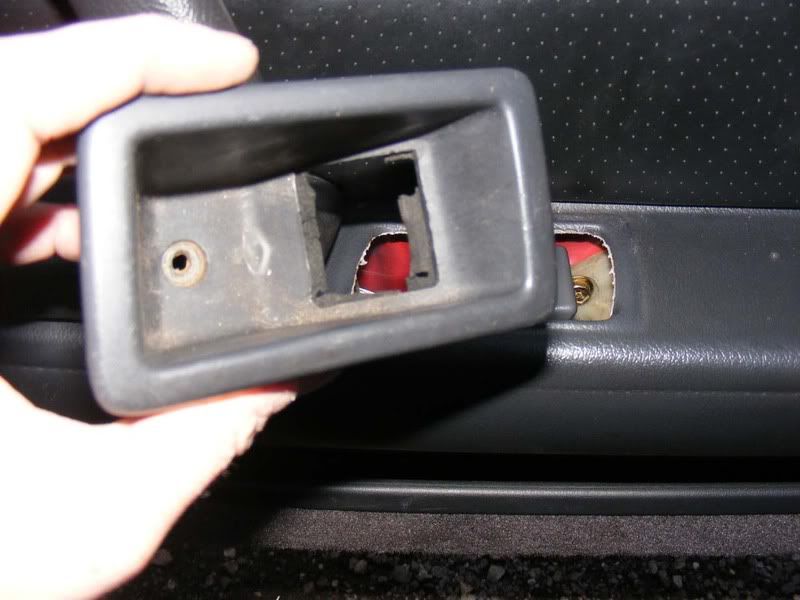
Step 8 - Unclip the lock surround, this should just pull off with a bit of wiggling. Don't tug anything too hard or you'll break the clips

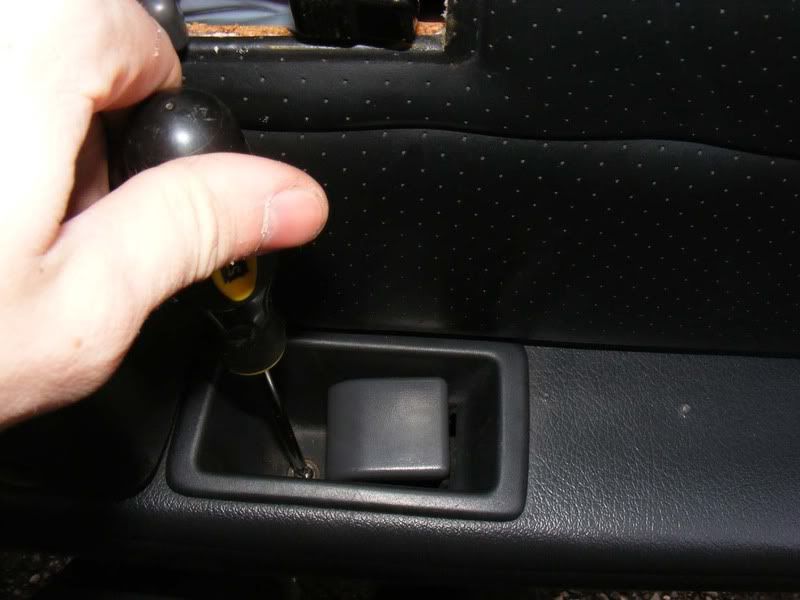
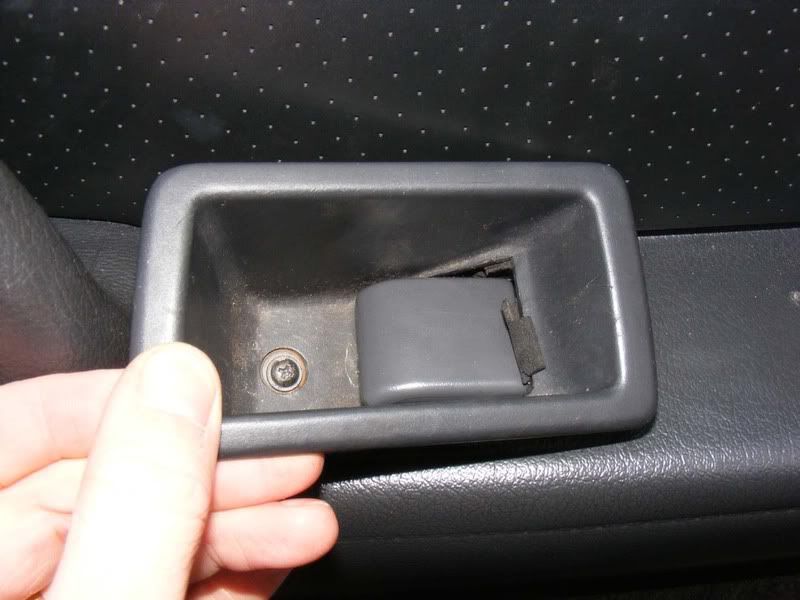
Step 9 - Remove the single screw in the door release lever's recess
Step 10 - Pull the door release and then work the plastic surround out over the handle
Step 11 - Remove the door handle but be careful, you have wiring attached.
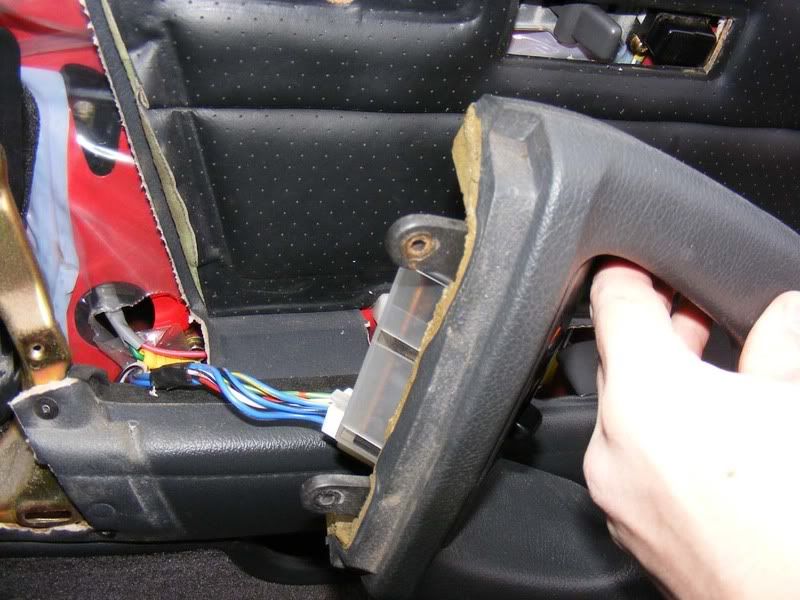
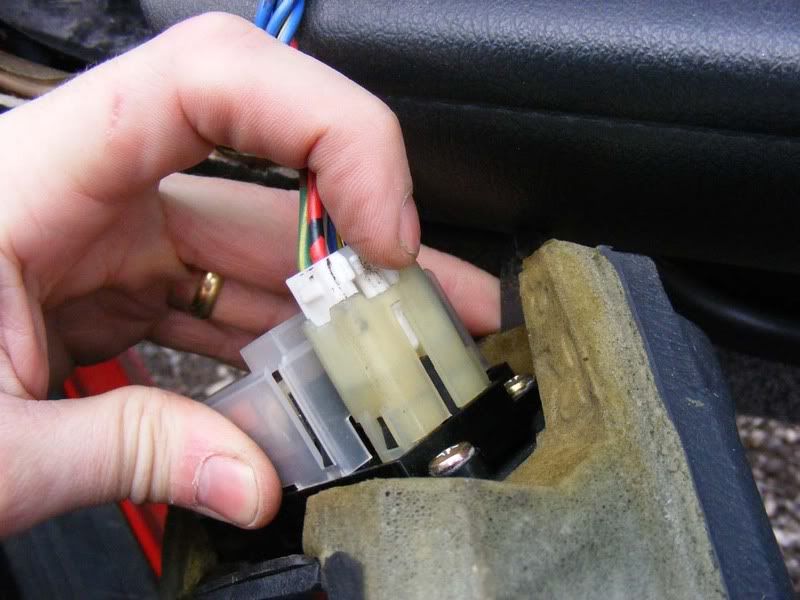
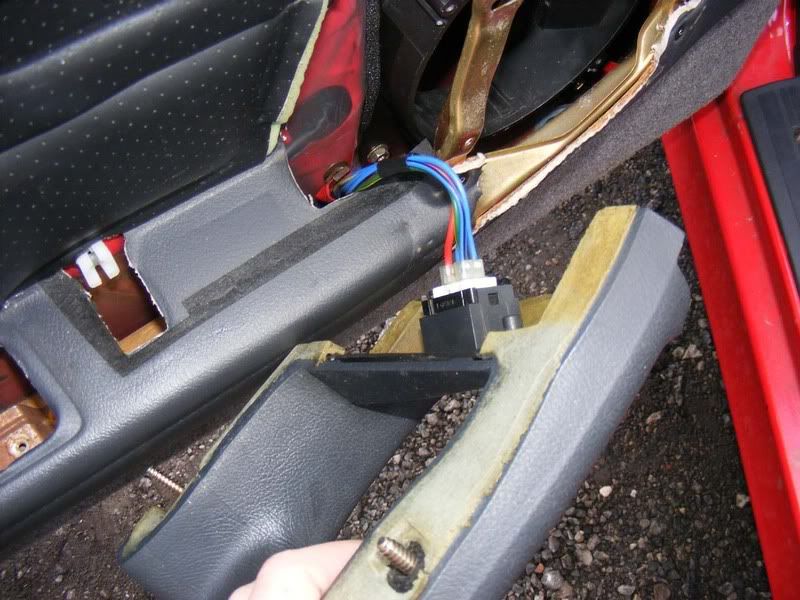
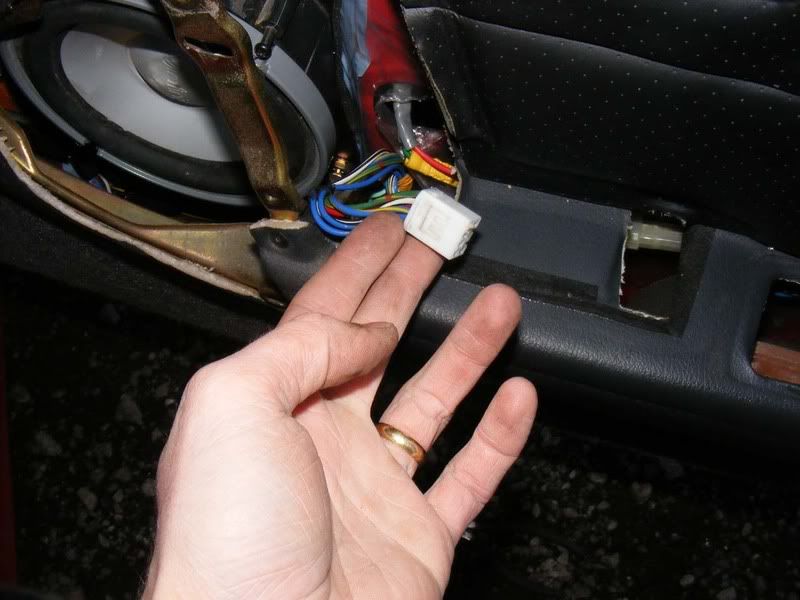
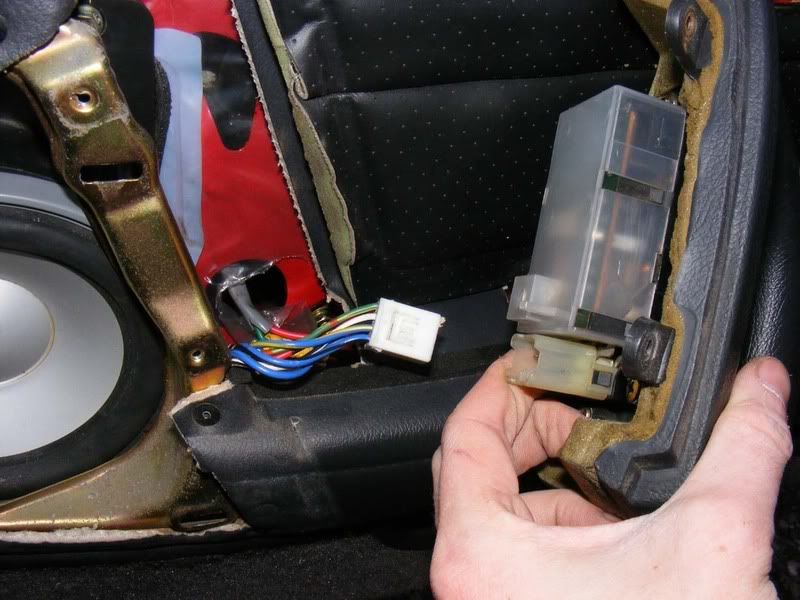
Step 12 - Disconnect the electric window switch loom by pressing the connector as shown. The second picture shows the passenger side which is slightly different but removed in the same way
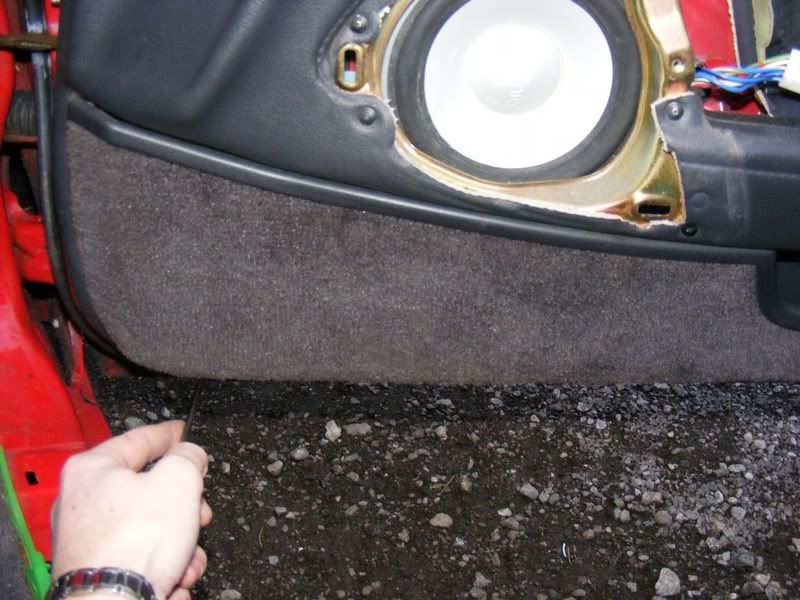
Step 13 - Now work your way along the bottom of the door card, you should have about 5 screws holding it in place, remove them all
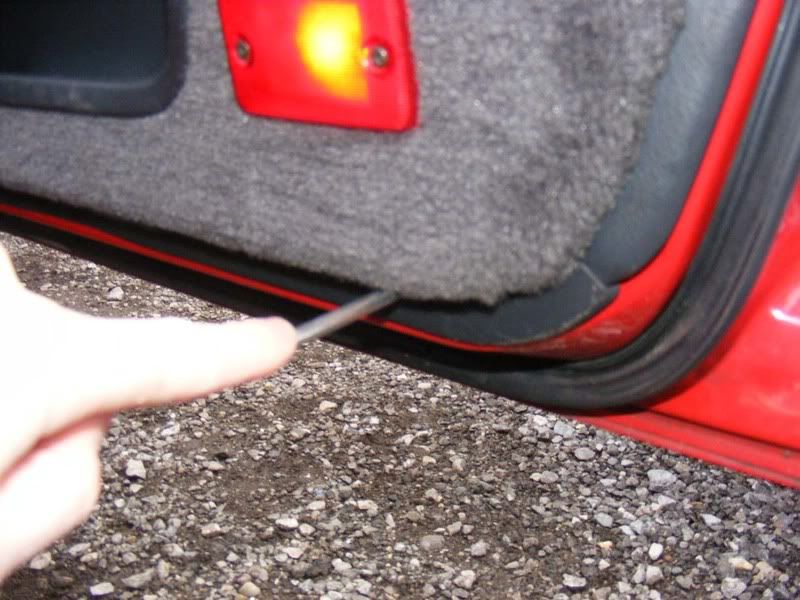
Step 14 - Once they are all removed you should be able to pull the bottom of the door card clearly away from the door with no resistance, if you can't then you've missed a screw
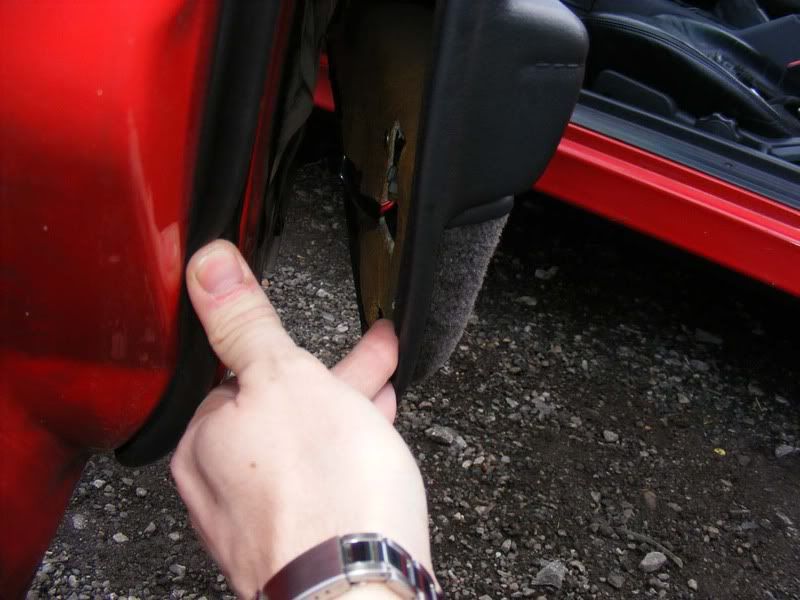
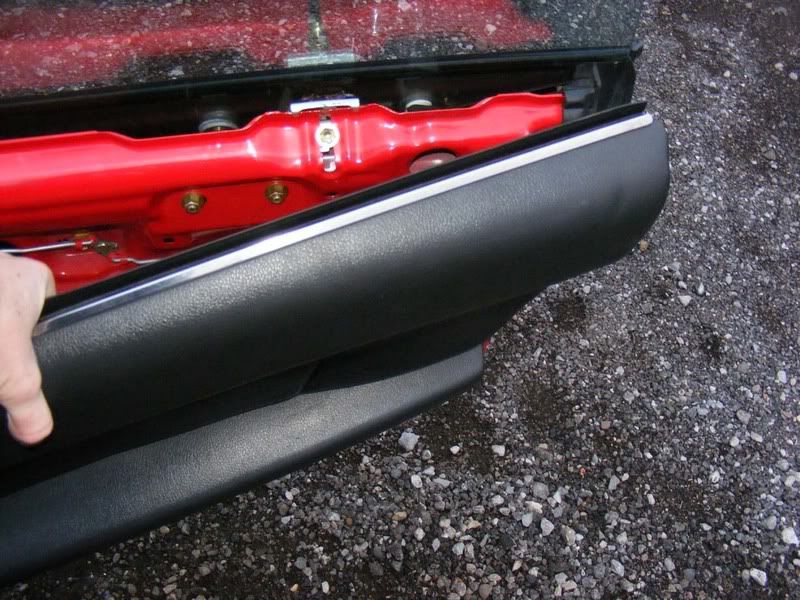
Step 15 - Lift the rear of the door card upwards to free the clip at the top of the card
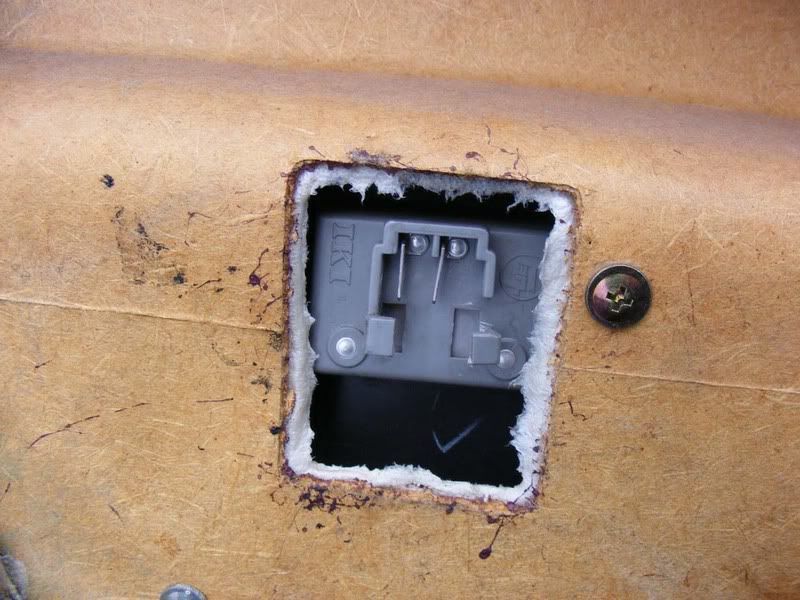
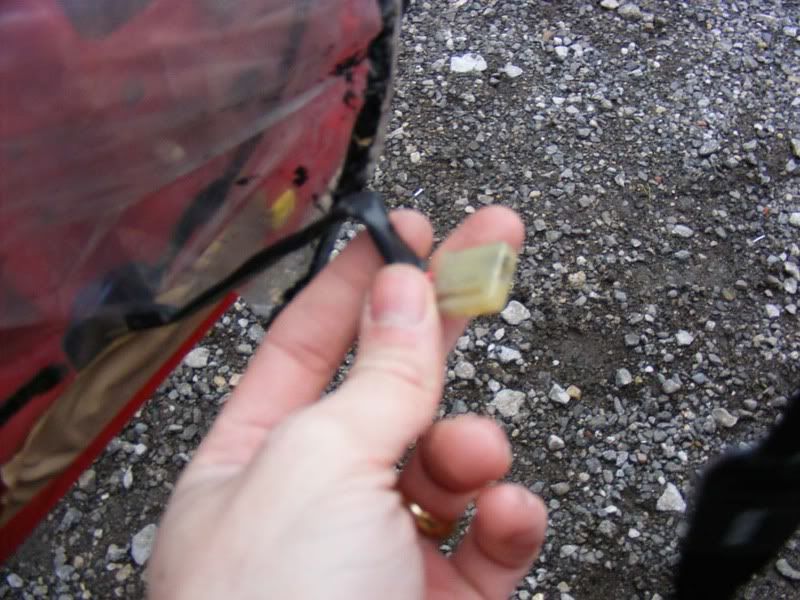
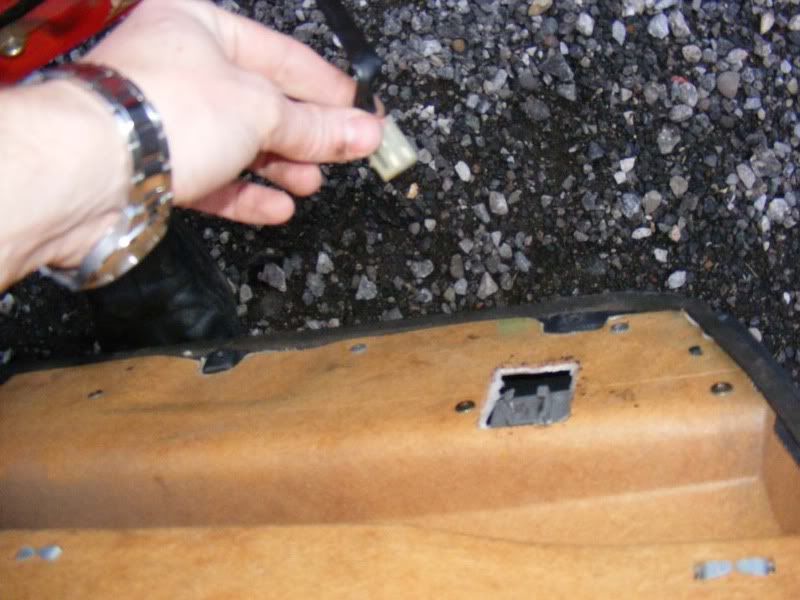
Step 16 - Ease the door card forward (this shows the passenger side) so you can gain access to the courtesy light wiring, disconnect this by squeezing the clip and sliding upwards. The second picture shows the connector you are removing from and the third picture shows the bit you squeeze (sorry it blurred)
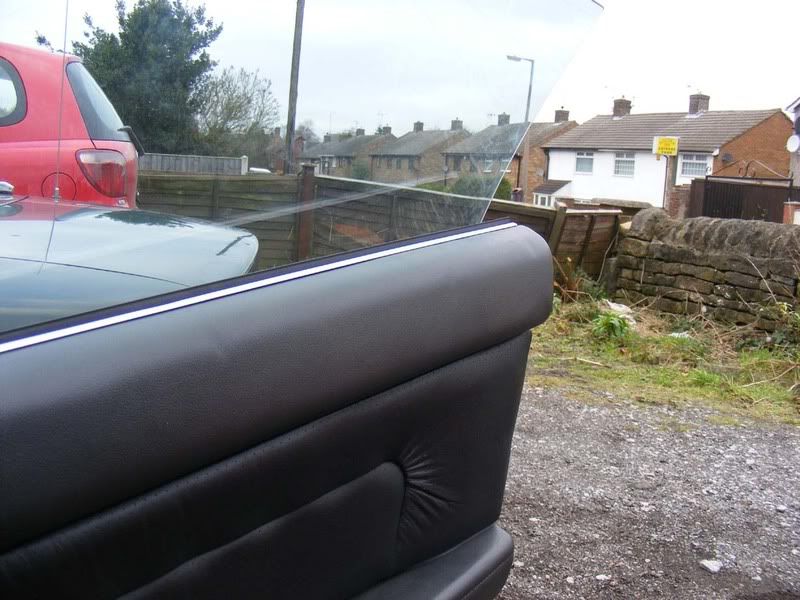
Step 17 - Now you can lift the door card free from the car, ensure the top of it is completely unhooked from where the window seal is and then place carefully to one side
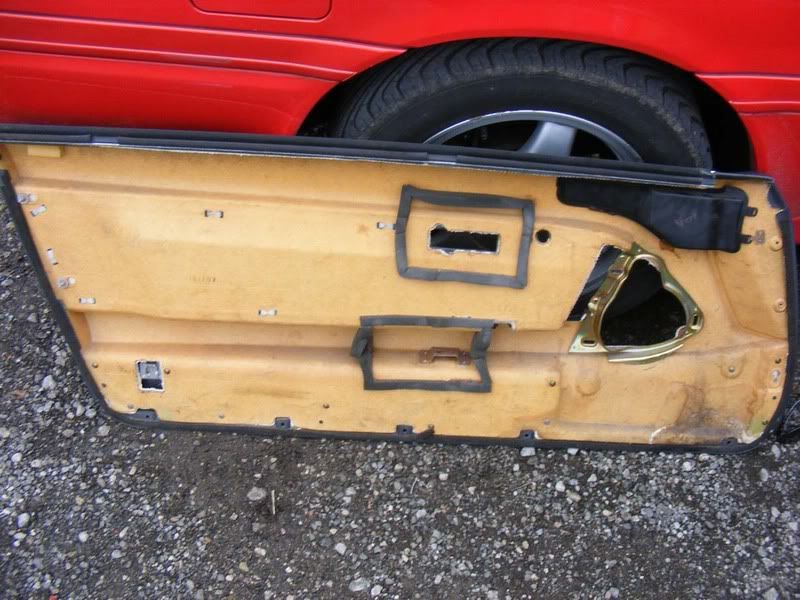
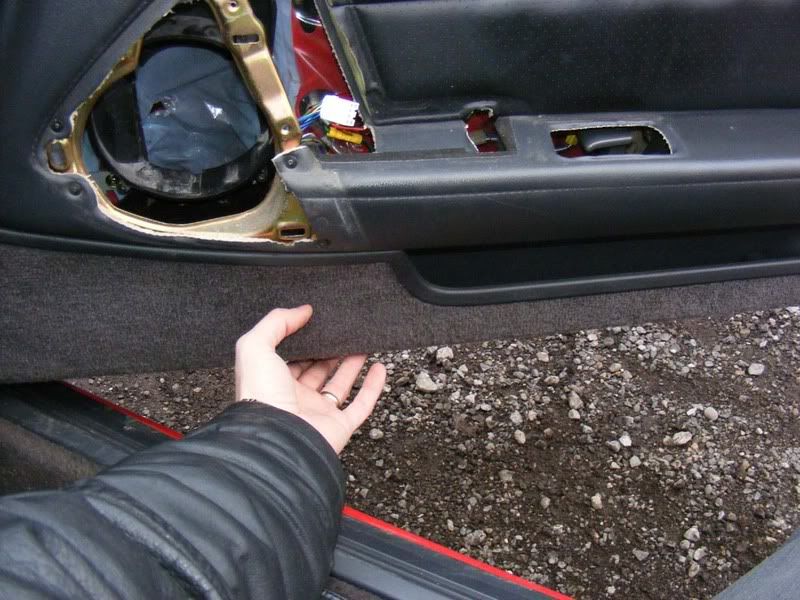
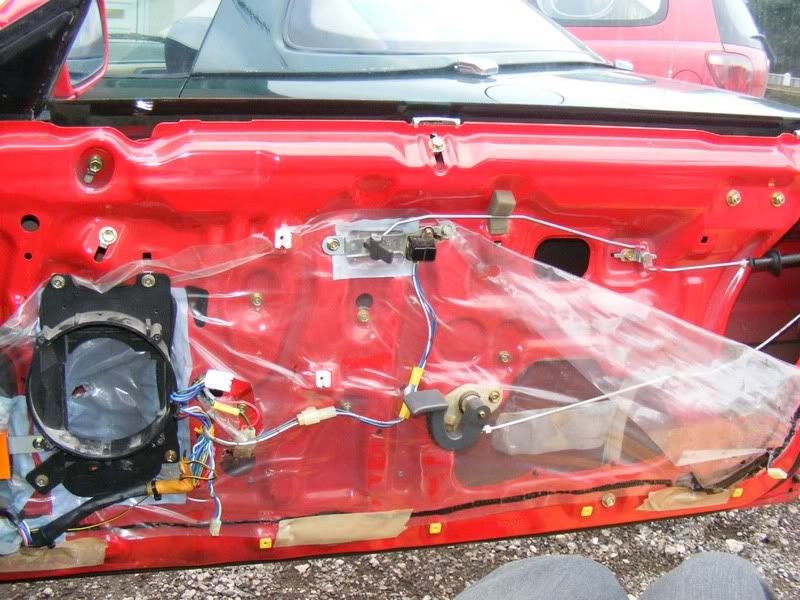
Step 18 - You now have good access ot the guts of the door
Refitting the door card:
Step 19 - This is much the same as removal, start by clipping the courtesy light wiring back on
Step 20 - Hook the door card over the top lip as shown, I find angling the bottom of the door card away from the door makes it easier to hook it in place, it should securely clip down into place
Step 21 - Ensure you thread the electric window connector through so you can fit it to the switch, there should be a bit of slack
Step 22 - Refit all the screws along the bottom of the door card
Step 23 - Now put the two gold screws back in then pop the caps on (they just clip straight on by hand)
Step 24 - Connect the window switches to the loom again
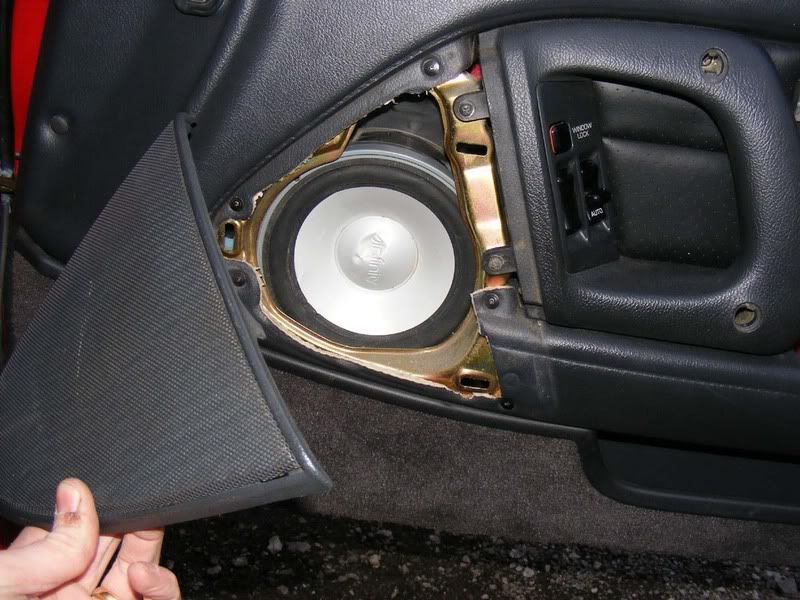
Step 25 - Fit the two screws for the door handle then clip the speaker grill back into place (note I have speakers rather than holes now!)
Step 26 - Push the lock surround back into the clips, you can just make out one of the holes for the clips at the top of the cap in the door card, these should click in or they will just fall out
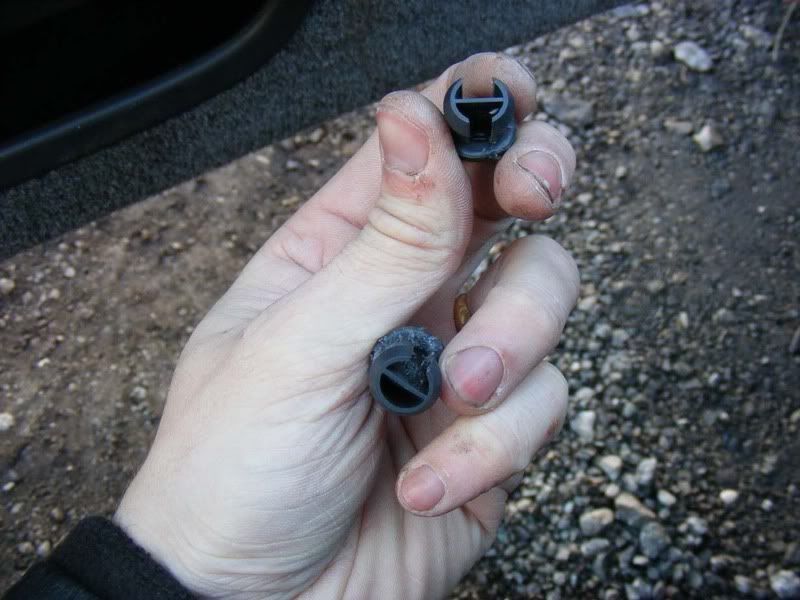
Step 27 - Tighten thw two large screws in the handle and then refit the covers, note that the top cover has two cut outs and the bottom cover only has one as shown in the second picture
Step 28 - Fit the plastic surround over the door release lever then replace the lone philips screw to hold it in place
You're all done, it's not a bad job and can be done in 5-10 minutes once you get used to it
Step 2 - Ensure you have the 3 metal clips on the back of the speaker grill as shown, if you left any behind retrieve them now
Step 3 - Use a jewellers screwdriver (I use 2 actually, one either side) to ease out the screw covers for the door handle
Step 4 - Now use a philips screwdriver to undo the two long screws holding the handle on, these will be quite stiff so make sure you don't thread the screw head by applying lots of pressure on the end of the screwdriver whilst turning
Step 5 - Now remove the two small screws holding the handle to the speaker metalwork
Step 6 - Where the door joins the bodywork at the top you'll see two plastic caps, ease these off with a flatblade screwdriver
Step 7 - Now remove the two gold screws with washers
Step 8 - Unclip the lock surround, this should just pull off with a bit of wiggling. Don't tug anything too hard or you'll break the clips
Step 9 - Remove the single screw in the door release lever's recess
Step 10 - Pull the door release and then work the plastic surround out over the handle
Step 11 - Remove the door handle but be careful, you have wiring attached.
Step 12 - Disconnect the electric window switch loom by pressing the connector as shown. The second picture shows the passenger side which is slightly different but removed in the same way
Step 13 - Now work your way along the bottom of the door card, you should have about 5 screws holding it in place, remove them all
Step 14 - Once they are all removed you should be able to pull the bottom of the door card clearly away from the door with no resistance, if you can't then you've missed a screw
Step 15 - Lift the rear of the door card upwards to free the clip at the top of the card
Step 16 - Ease the door card forward (this shows the passenger side) so you can gain access to the courtesy light wiring, disconnect this by squeezing the clip and sliding upwards. The second picture shows the connector you are removing from and the third picture shows the bit you squeeze (sorry it blurred)
Step 17 - Now you can lift the door card free from the car, ensure the top of it is completely unhooked from where the window seal is and then place carefully to one side
Step 18 - You now have good access ot the guts of the door
Refitting the door card:
Step 19 - This is much the same as removal, start by clipping the courtesy light wiring back on
Step 20 - Hook the door card over the top lip as shown, I find angling the bottom of the door card away from the door makes it easier to hook it in place, it should securely clip down into place
Step 21 - Ensure you thread the electric window connector through so you can fit it to the switch, there should be a bit of slack
Step 22 - Refit all the screws along the bottom of the door card
Step 23 - Now put the two gold screws back in then pop the caps on (they just clip straight on by hand)
Step 24 - Connect the window switches to the loom again
Step 25 - Fit the two screws for the door handle then clip the speaker grill back into place (note I have speakers rather than holes now!)
Step 26 - Push the lock surround back into the clips, you can just make out one of the holes for the clips at the top of the cap in the door card, these should click in or they will just fall out
Step 27 - Tighten thw two large screws in the handle and then refit the covers, note that the top cover has two cut outs and the bottom cover only has one as shown in the second picture
Step 28 - Fit the plastic surround over the door release lever then replace the lone philips screw to hold it in place
You're all done, it's not a bad job and can be done in 5-10 minutes once you get used to it