I personally think GTOs are one of the best looking cars on the road. I also think the Supra would benefit from vents to relieve some of the heat build up (especially over the turbo) during a hard run and when the engine is switched off. Two birds with one stone and all that, here's a guide showing you how to fit GTO 'vents' (they aren't really vents on the GTO, purely cosmetic), to a mk3
Note : This isn't a mod for style, it serves a purpose - the positioning of the vents isn't where I'd have picked ideally but they are in the place that (in my opinion) was the best for cooling
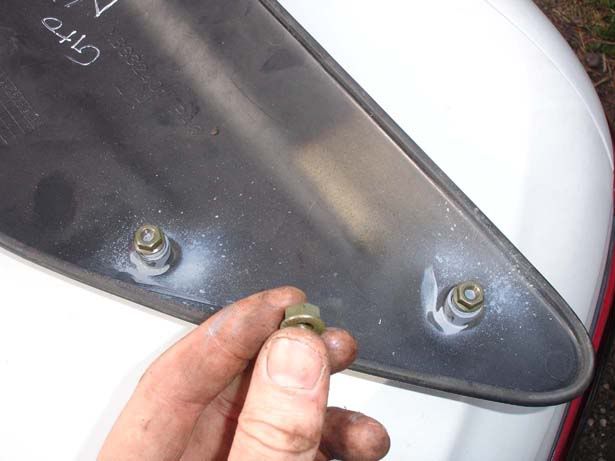
Step 1 - Acquire some Mitsubishi GTO/3000GT 'vents'. I got some black ones off ebay for £33 including delivery and the colour match was absolutely fine for my black Supra (although no red flakes on the GTO I'm afraid!).
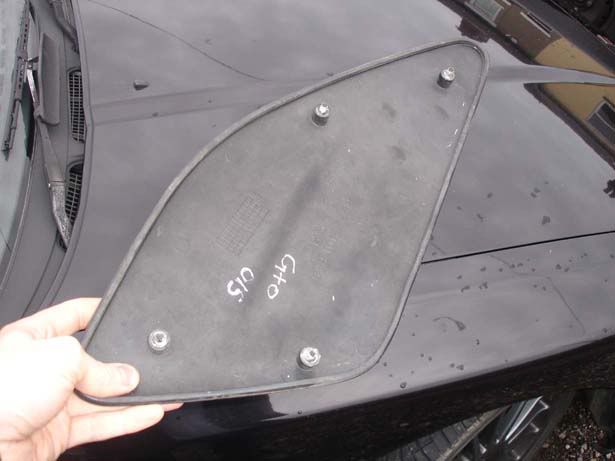
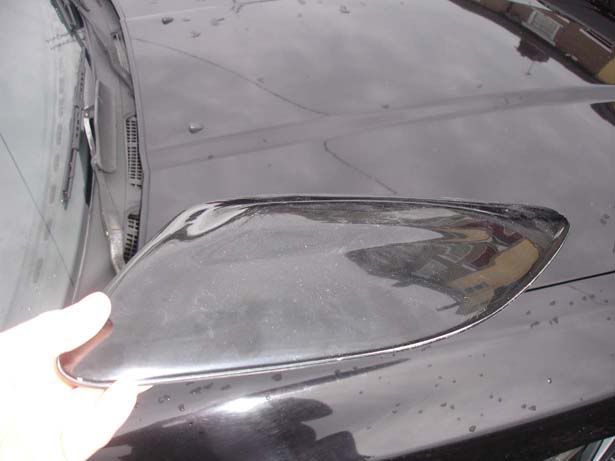
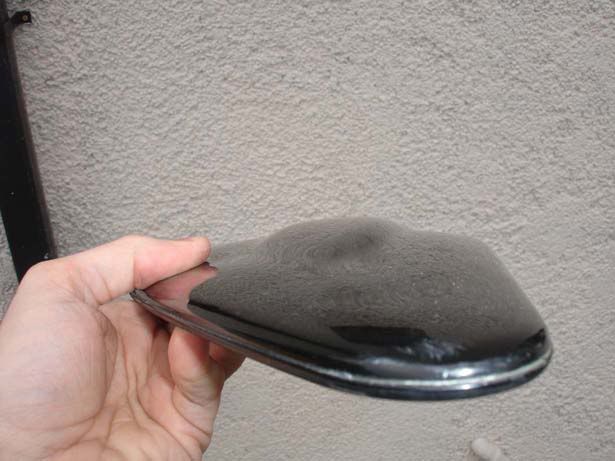
Picture 1 shows the back (note the four mounting screws), picture 2 shows the front-and the fact they aren't really vents, simply fibreglassed pieces. Picture 3 shows the profile of the vent, they don't interfere with your vision but you can see them when sat in the car.
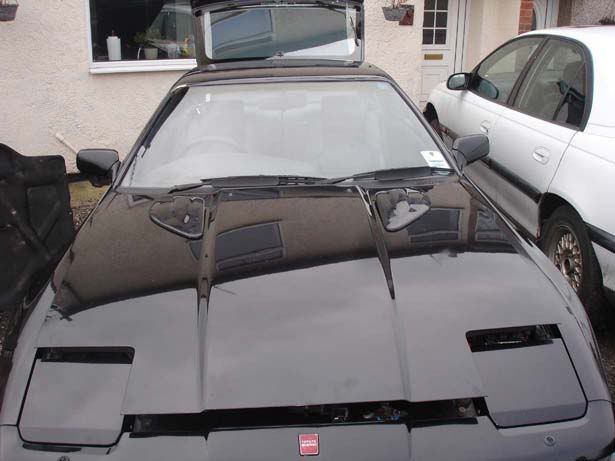
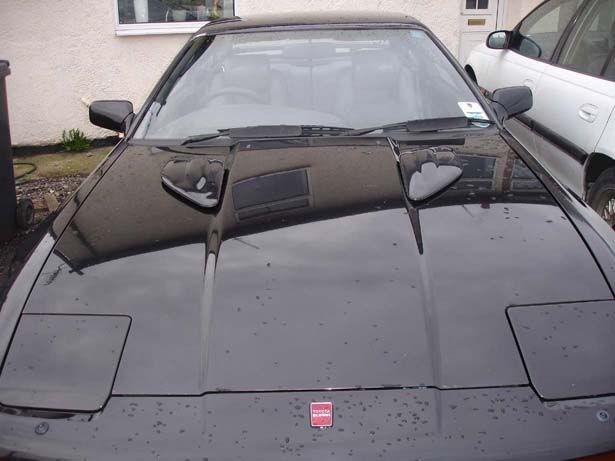
Step 2 - Place them on the bonnet in a position that suits you. I chose practical usage over style although I would have liked to put them further forward and out to the sides more. Basically, assess whether you want to do this or not!
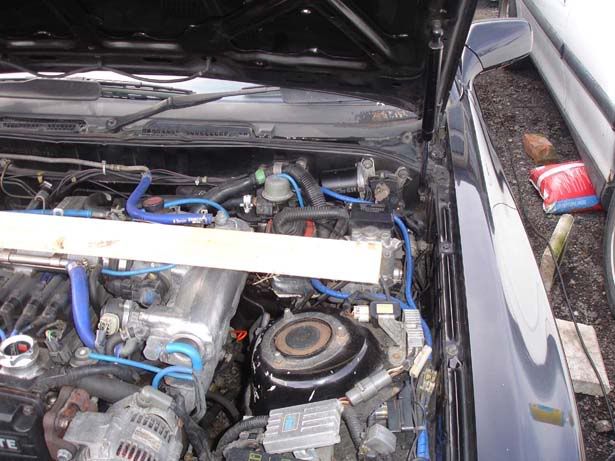
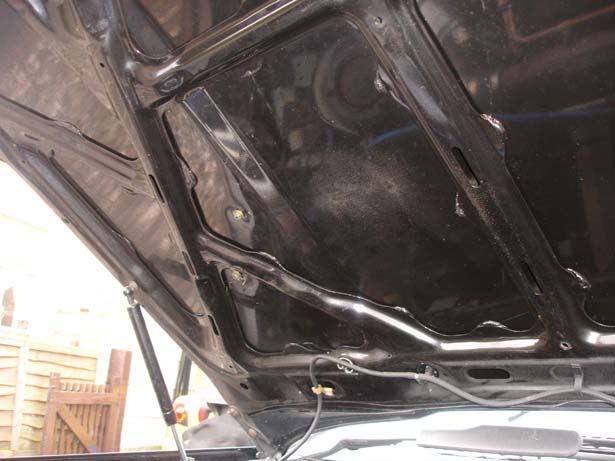
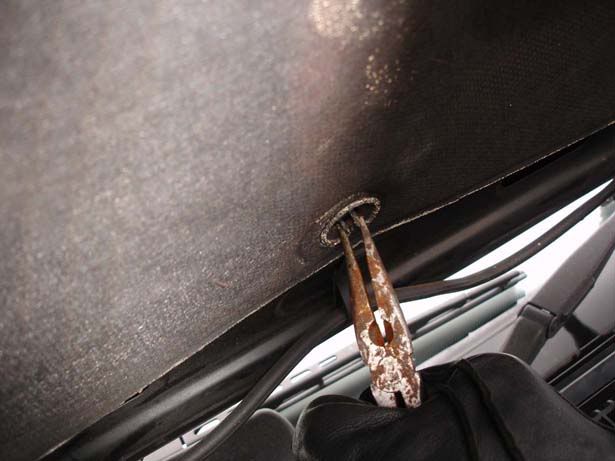
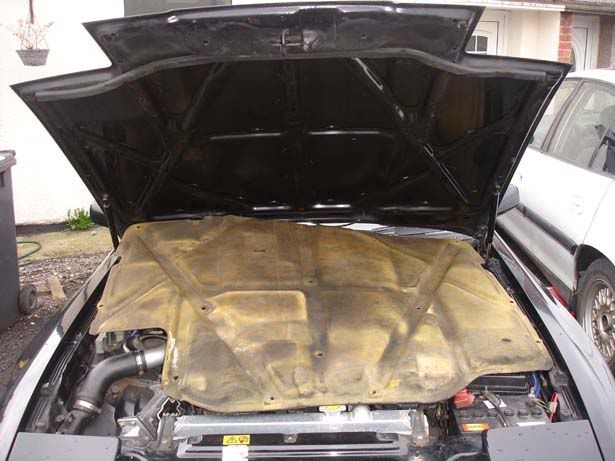
Step 3 - Remove the plastic retainers for the bonnet heat blanket/sound deadening. They simply pull out although require a bit of force and some will probably snap. Second picture shows you that there are a few (10 ish) to do
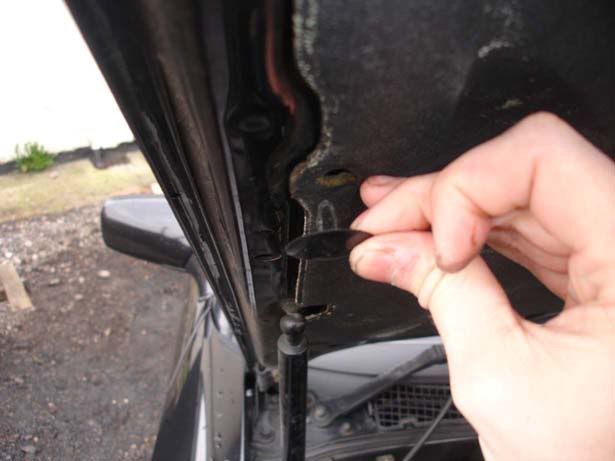
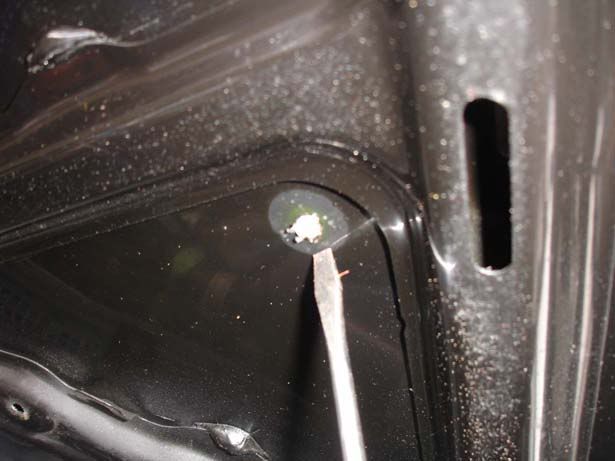
Step 4 - There are also two metal clips nearest the bulkhead, simply squeeze them with a pair of pliers and retract them. The second picture shows you the type of clip
Note : I left one of the black plastic retainers in at the front of the car until I'd removed the metal ones to stop it all falling on my head while I did them

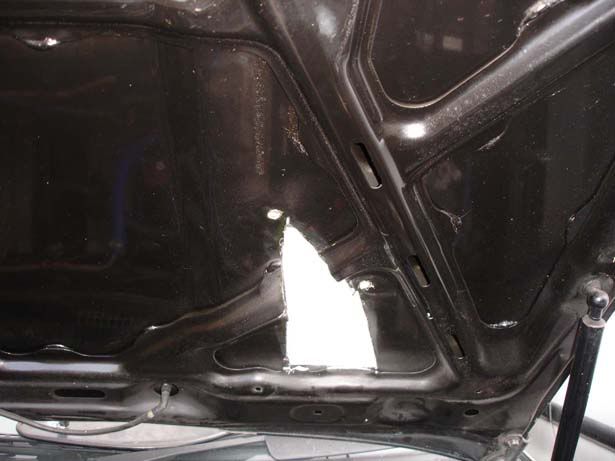
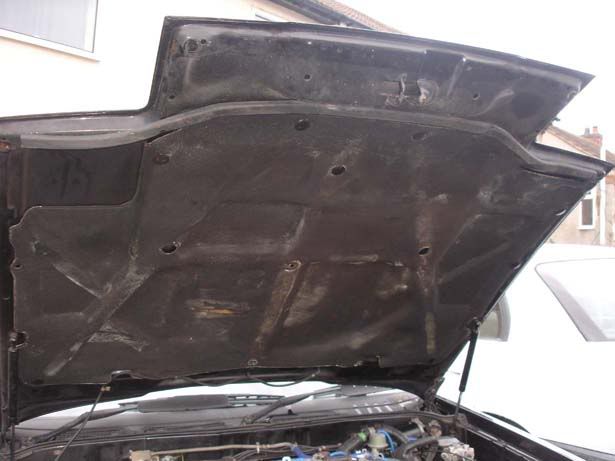
Step 5 - The padding should now be free and you can remove it from the car. I didn't refit this but that's up to you
Removing the material under the bonnet for heat dispersion/sound deadening will increase engine noise slightly and there are rumours that it COULD lead to paint blistering/discolouration. I've done this twice and never had an issue but on your head be it. If you do replace it, you obviously will need to cut out a couple of holes to allow the hot air to escape through the vents
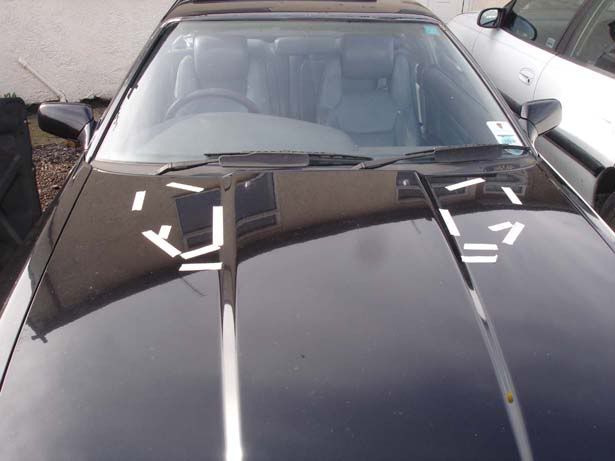
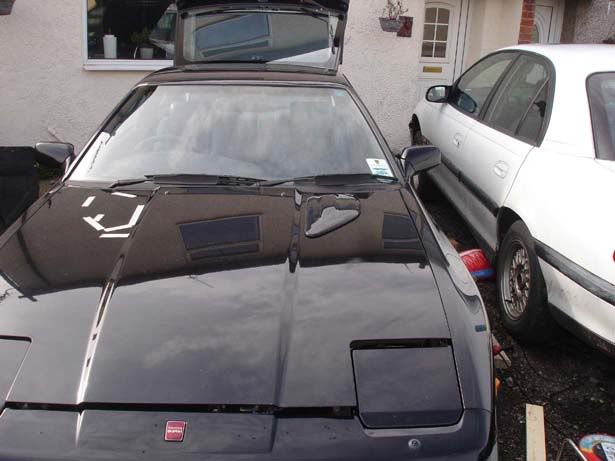
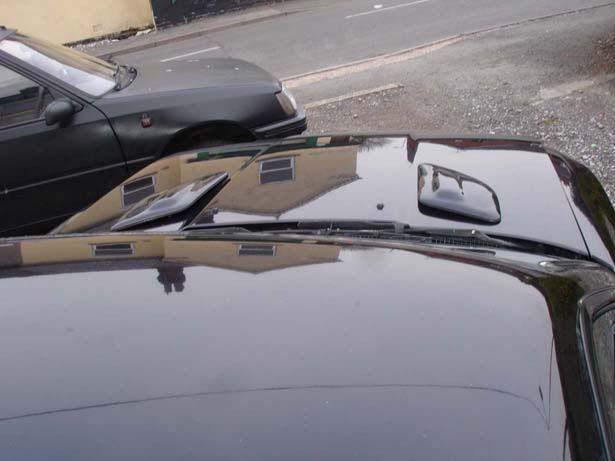
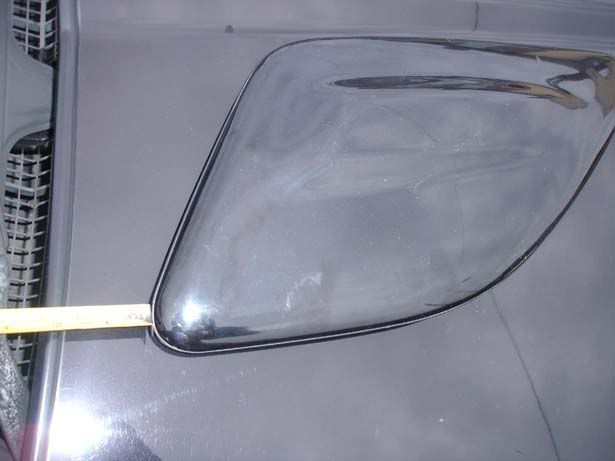
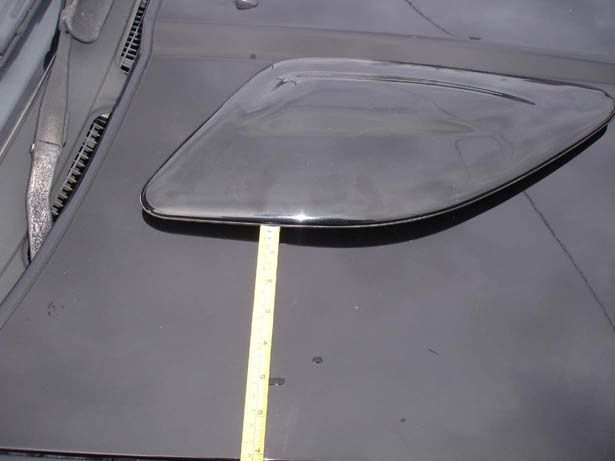
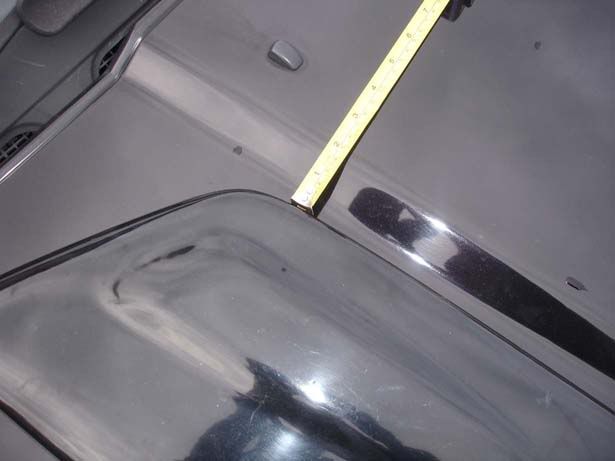
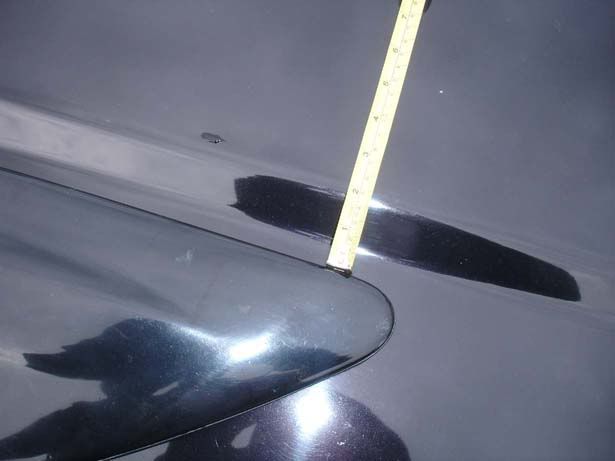
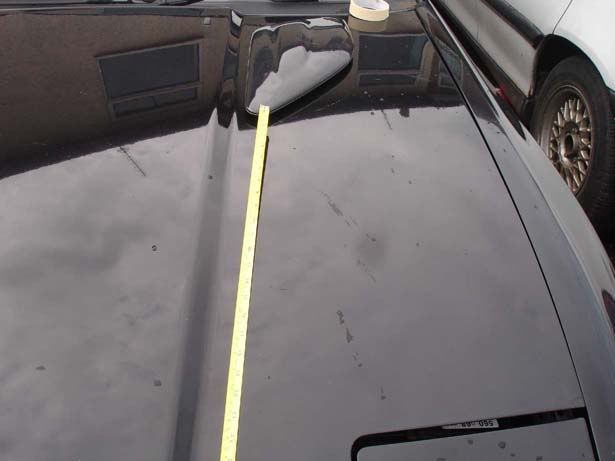
Step 6 - Close the bonnet, place the vents in position and start measuring. Do this by eye as well as with the tape measure - spend a lot of time on this bit, don't cock it up or they'll look sh*t!
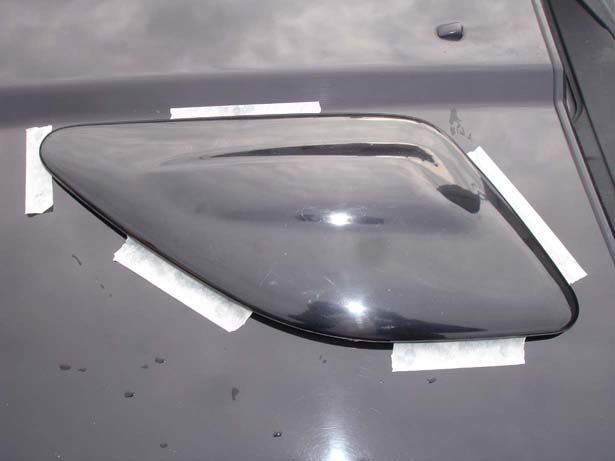
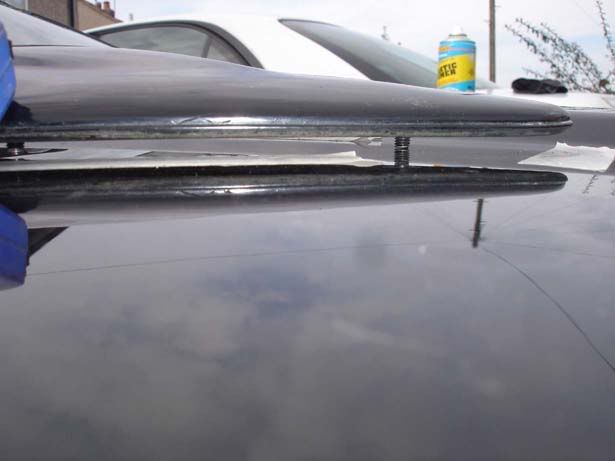
Step 7 Get some masking tape and slide it under the edges of the vents (The vent will be sitting proud on the mounting screws)
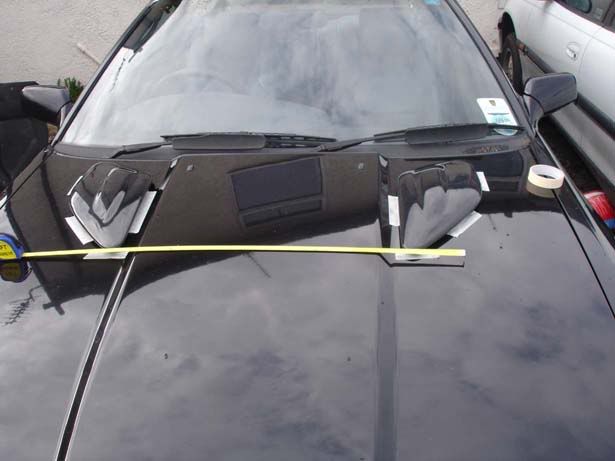
Step 8 - Even though you should have been careful in step 7 not to disturb anything, measure it all again. Second picture shows me checking they were both in line - you get optical illusions where it looks like once is lower etc, the tape measure never lies

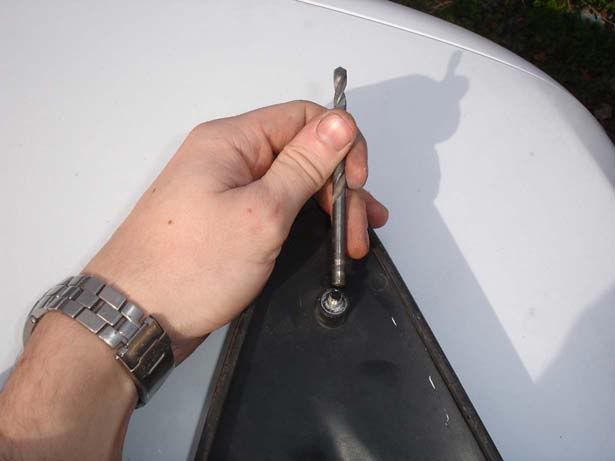
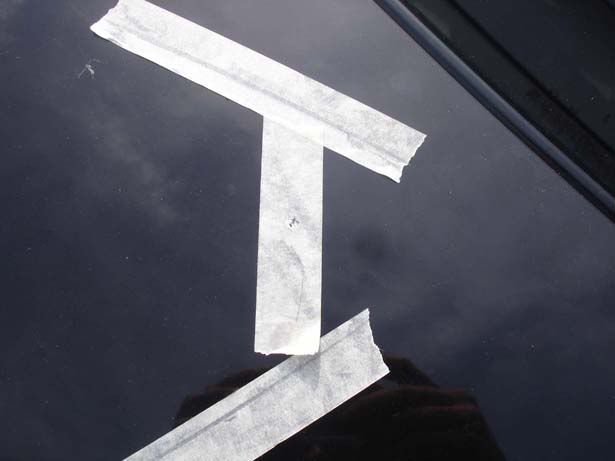
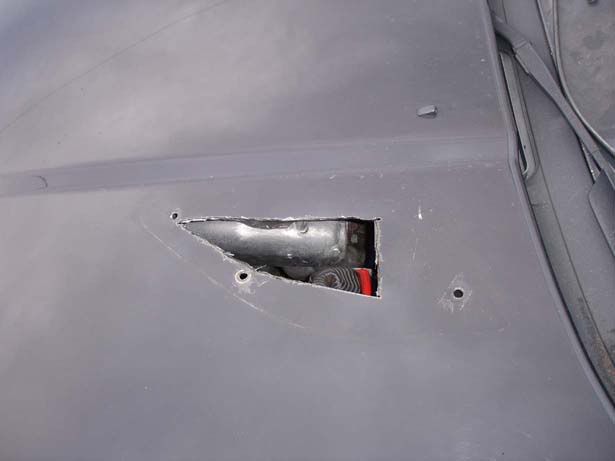
Step 9 - Mark out where the vent sits. Due to the fact it sits proud of the surface you could easily have your pencil (pen could dig in to the paintwork) at an angle so be careful to keep it perpendicular to the bonnet
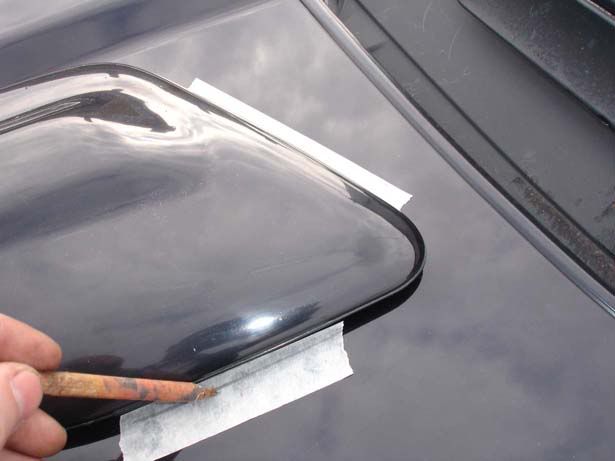
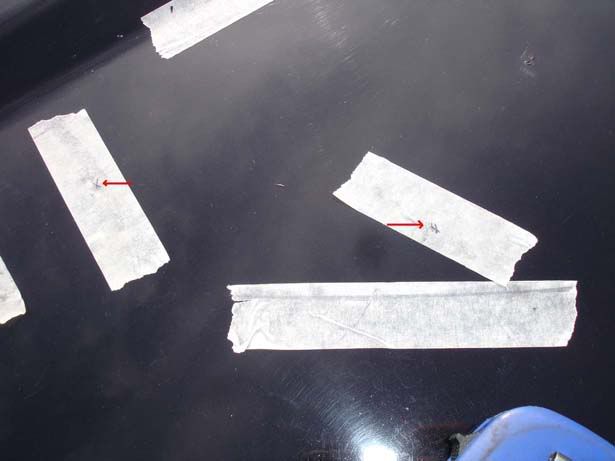
Step 10 - This bit I did by eye rather than measuring. Look under the vent and see where the mounting screws sit. Slide a piece of tape under so it is over the area the screw hits then mark a cross on the tape precisely where it sits
Note : This isn't a mod for style, it serves a purpose - the positioning of the vents isn't where I'd have picked ideally but they are in the place that (in my opinion) was the best for cooling
Step 1 - Acquire some Mitsubishi GTO/3000GT 'vents'. I got some black ones off ebay for £33 including delivery and the colour match was absolutely fine for my black Supra (although no red flakes on the GTO I'm afraid!).
Picture 1 shows the back (note the four mounting screws), picture 2 shows the front-and the fact they aren't really vents, simply fibreglassed pieces. Picture 3 shows the profile of the vent, they don't interfere with your vision but you can see them when sat in the car.
Step 2 - Place them on the bonnet in a position that suits you. I chose practical usage over style although I would have liked to put them further forward and out to the sides more. Basically, assess whether you want to do this or not!
Step 3 - Remove the plastic retainers for the bonnet heat blanket/sound deadening. They simply pull out although require a bit of force and some will probably snap. Second picture shows you that there are a few (10 ish) to do
Step 4 - There are also two metal clips nearest the bulkhead, simply squeeze them with a pair of pliers and retract them. The second picture shows you the type of clip
Note : I left one of the black plastic retainers in at the front of the car until I'd removed the metal ones to stop it all falling on my head while I did them
Step 5 - The padding should now be free and you can remove it from the car. I didn't refit this but that's up to you
Removing the material under the bonnet for heat dispersion/sound deadening will increase engine noise slightly and there are rumours that it COULD lead to paint blistering/discolouration. I've done this twice and never had an issue but on your head be it. If you do replace it, you obviously will need to cut out a couple of holes to allow the hot air to escape through the vents
Step 6 - Close the bonnet, place the vents in position and start measuring. Do this by eye as well as with the tape measure - spend a lot of time on this bit, don't cock it up or they'll look sh*t!
Step 7 Get some masking tape and slide it under the edges of the vents (The vent will be sitting proud on the mounting screws)
Step 8 - Even though you should have been careful in step 7 not to disturb anything, measure it all again. Second picture shows me checking they were both in line - you get optical illusions where it looks like once is lower etc, the tape measure never lies
Step 9 - Mark out where the vent sits. Due to the fact it sits proud of the surface you could easily have your pencil (pen could dig in to the paintwork) at an angle so be careful to keep it perpendicular to the bonnet
Step 10 - This bit I did by eye rather than measuring. Look under the vent and see where the mounting screws sit. Slide a piece of tape under so it is over the area the screw hits then mark a cross on the tape precisely where it sits