87 7MGE to 7MGTE build LOT OF PICS

supra1008

Active Member
May 2, 2007
1,179
0
36
Philadelphia
I wasn't going to post this, but then I'm bored at work and took a lot of pics during the project. I know how we all LOVE pics here so I thought I'd post them up. Enjoy! Lmk what you think

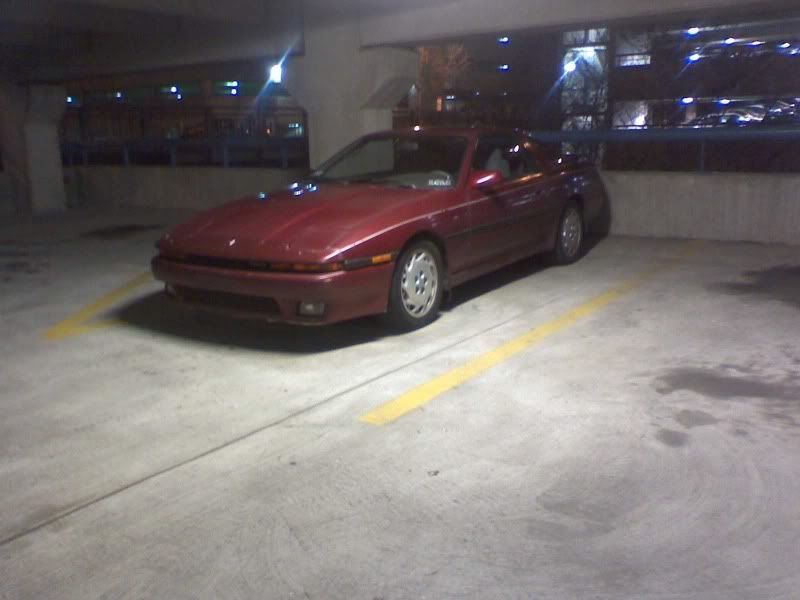
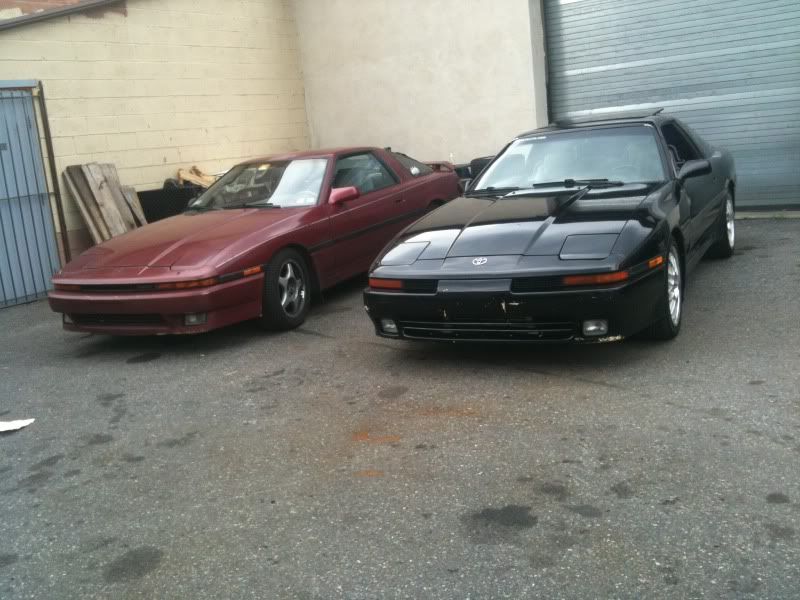
This is my sisters supra. We bought it back in 2002. It's an 87 Supra NA 5spd. We are the 2nd owners. It was bone stock when we bought it. Didn't even have the spoiler and had the stock radio. We both learned how to drive manual in this car. Lol. Been wanting to go turbo on this for awhile now. It's been god awful slow for too long now. We thought we'd finally fix it up.

This pic is from a while ago right after I put some tein ss coilovers on it.
p1671110_1.jpg


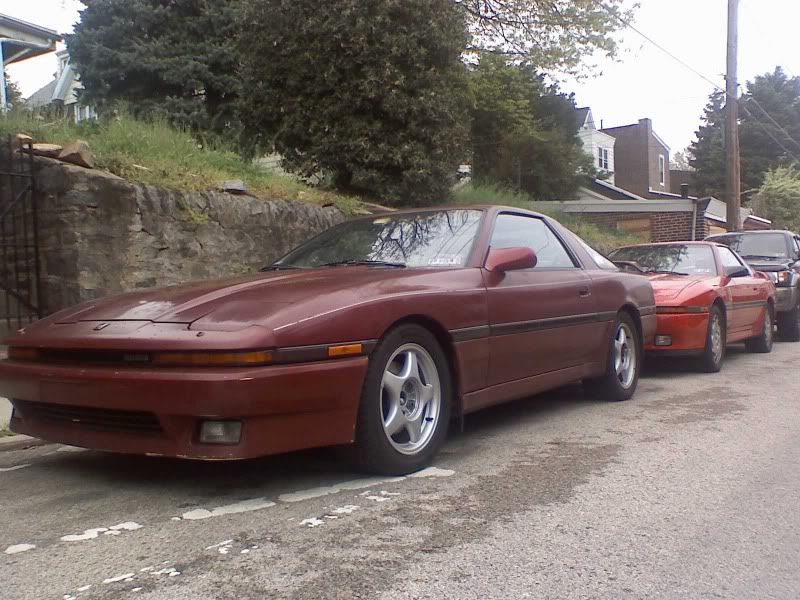
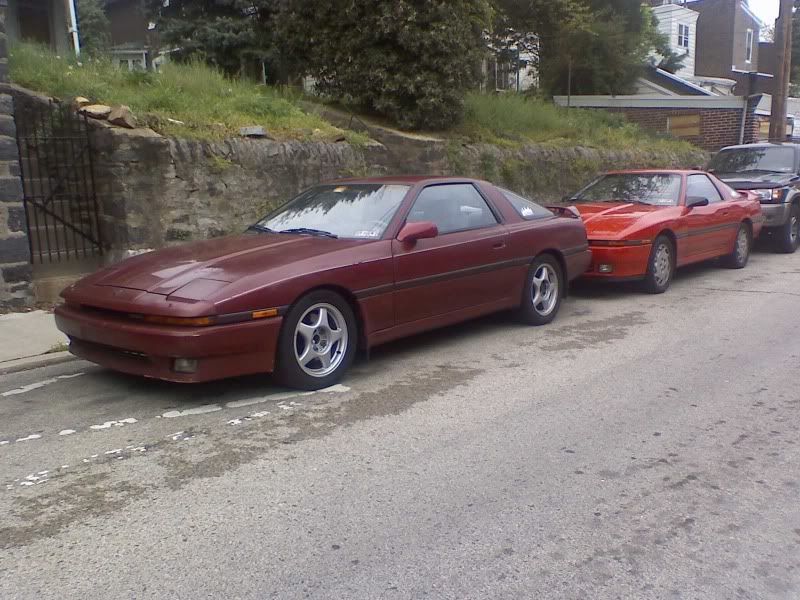
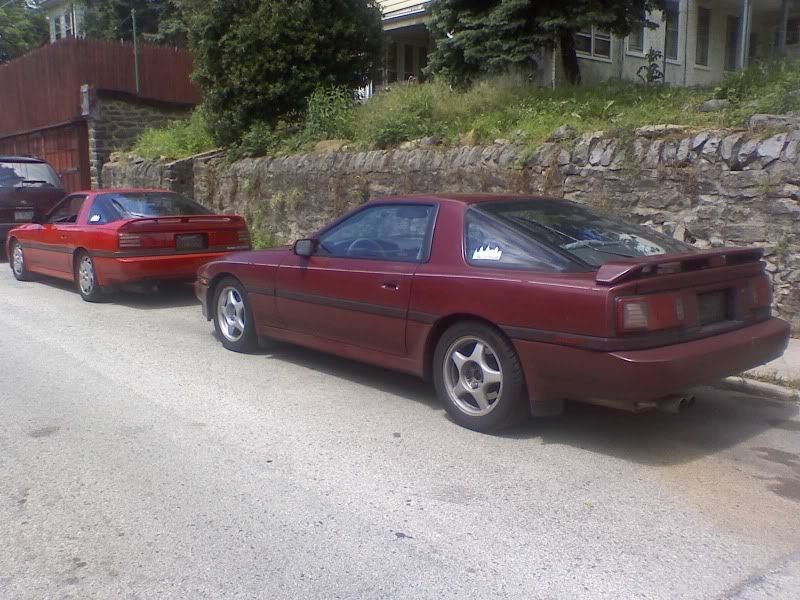
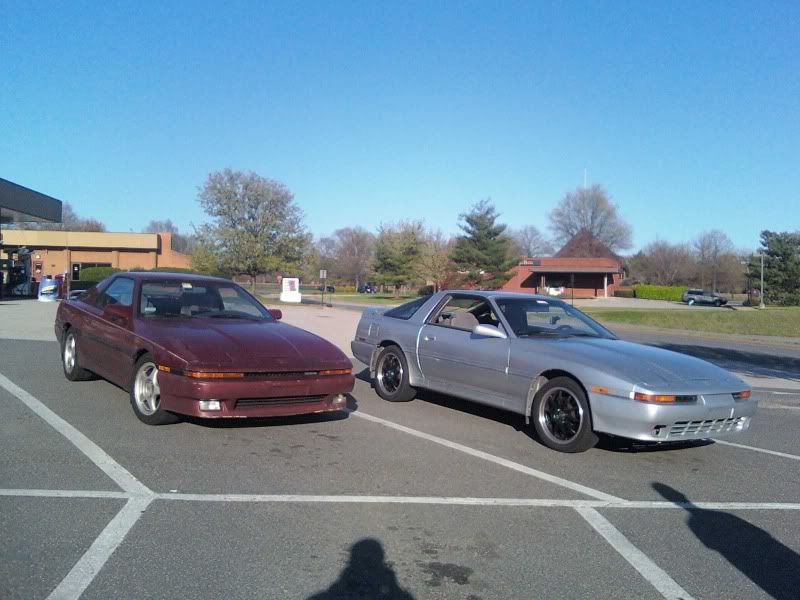
I was at a junk yard in nj and came across a supra w 91-92 5 spoke wheels. Got them on the spot!! $25/wheel!! Worked out nice cause the sawblades needed new tires badly!!! Wrapped them in some bridgestone potenza pole positions. Handles and drives like a dream now!! Even in the rain or light snow!!
p1671110_2.jpg


p1671110_3.jpg


p1671110_4.jpg


p1671110_5.jpg


p1671110_6.jpg


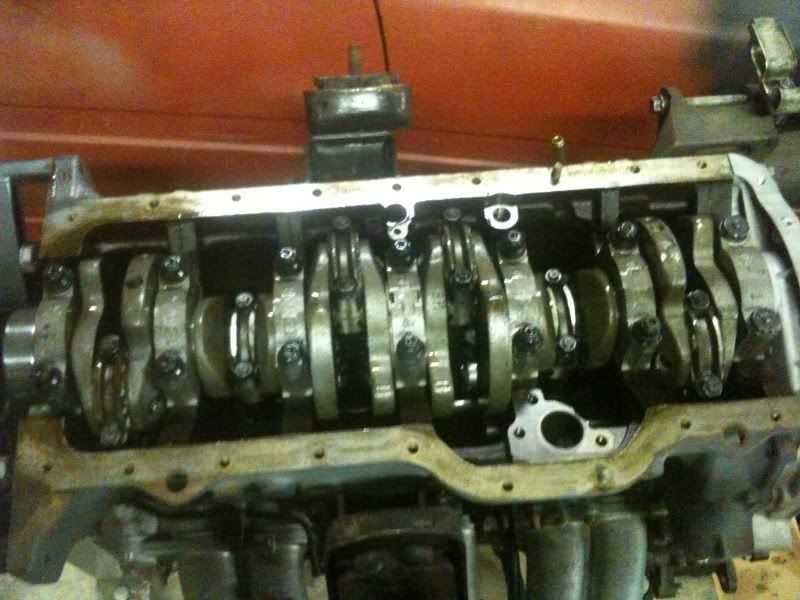
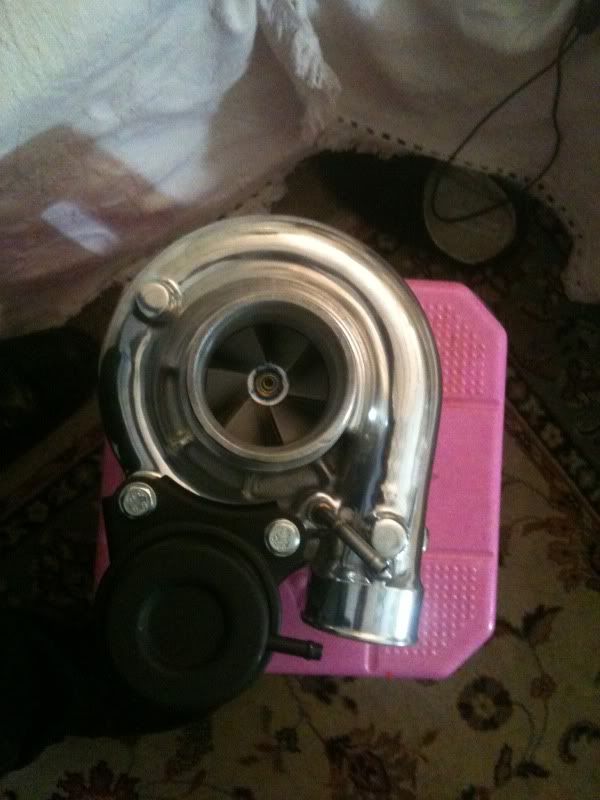
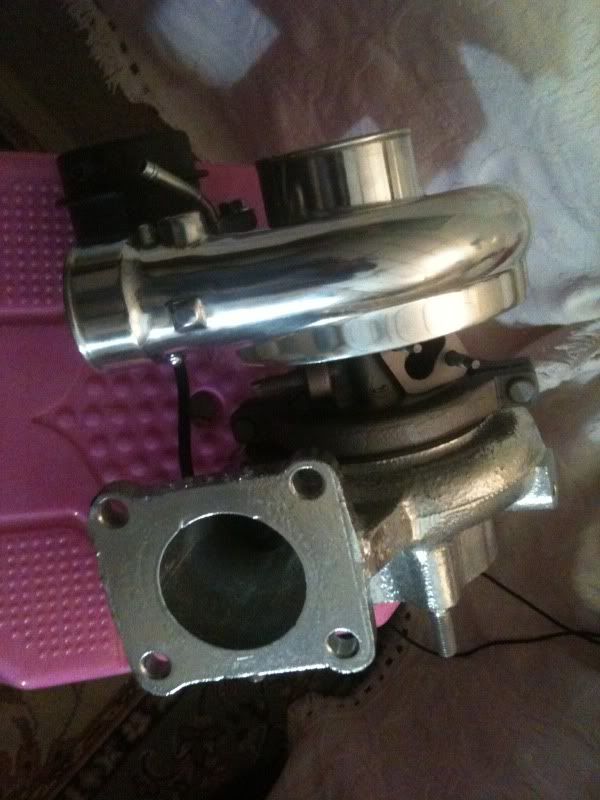
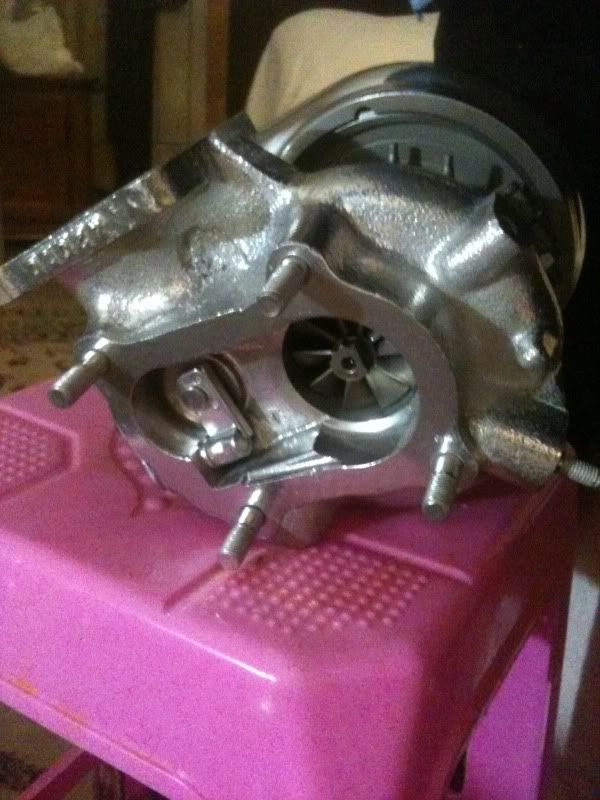
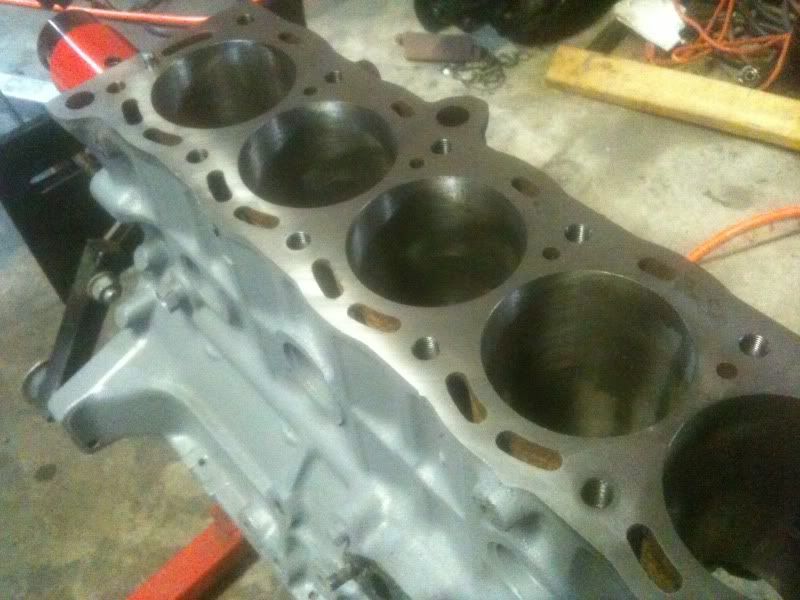
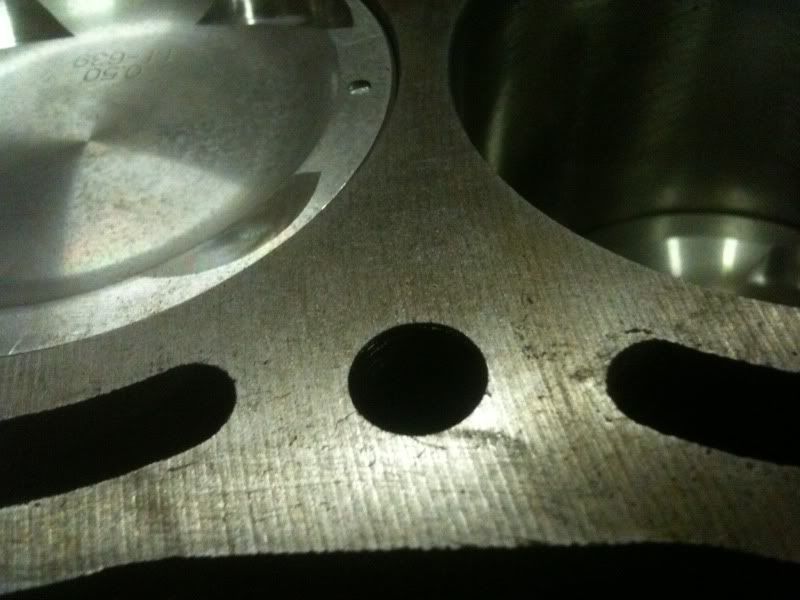
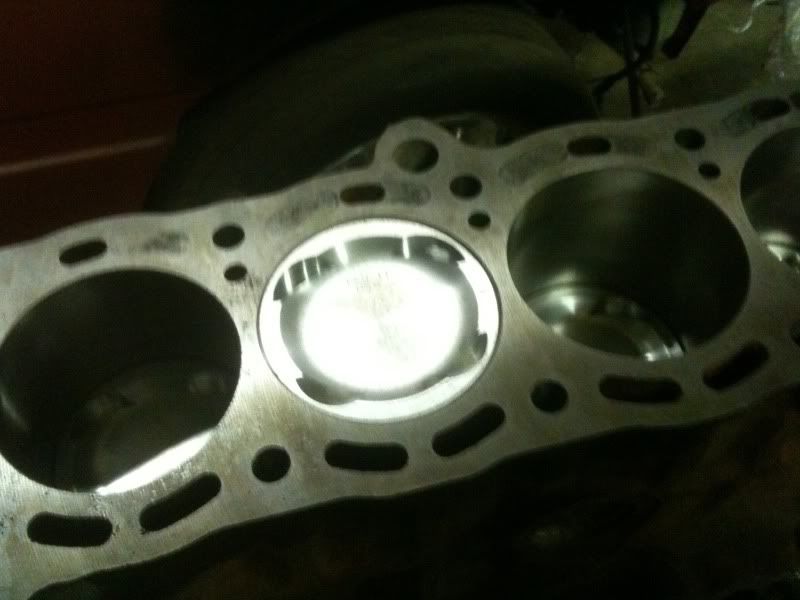
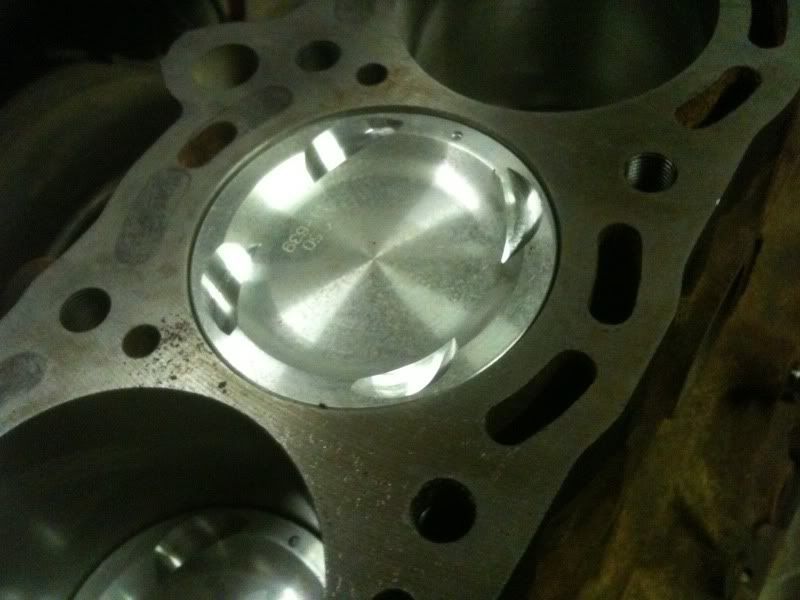
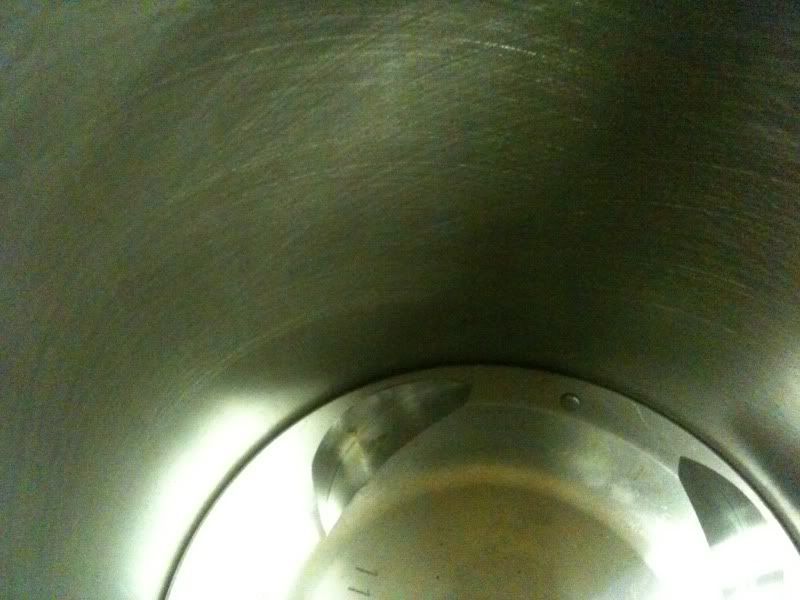
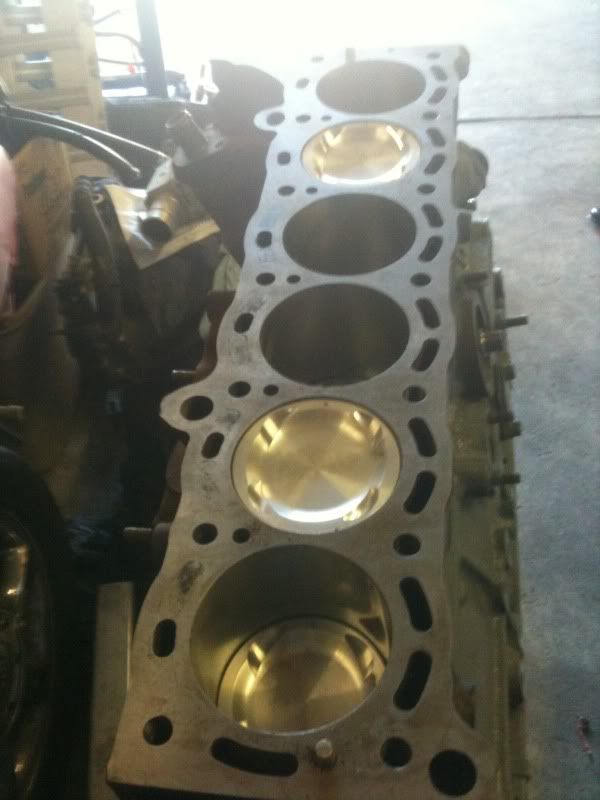
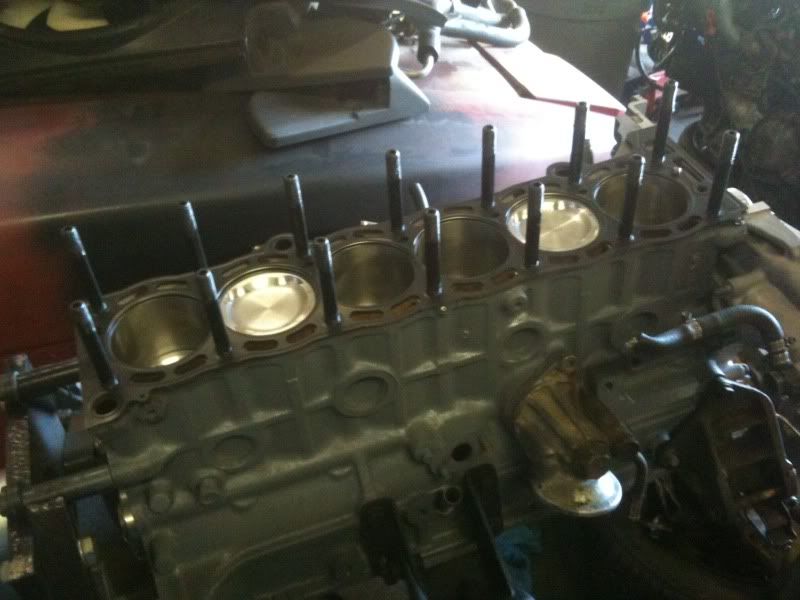
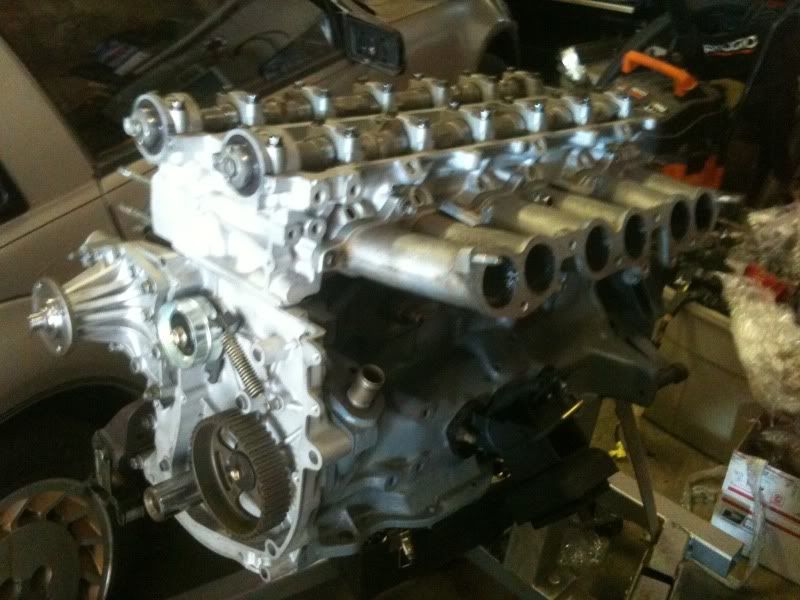
I got a turbo motor with rod knock off a friend. It actually only had under 50k miles on this but the turbo blew so all the oil went into the ic piping. He gave me an extra crank. I took it to the garage and ripped it apart, took it to the machine shop. Ordered some .020 over NPR pistons and clevite .010 under bearings and a lot more parts from Driftmotion. Thanks Aaron!

---------- Post added at 11:17 AM ---------- Previous post was at 11:11 AM ----------

Pics.

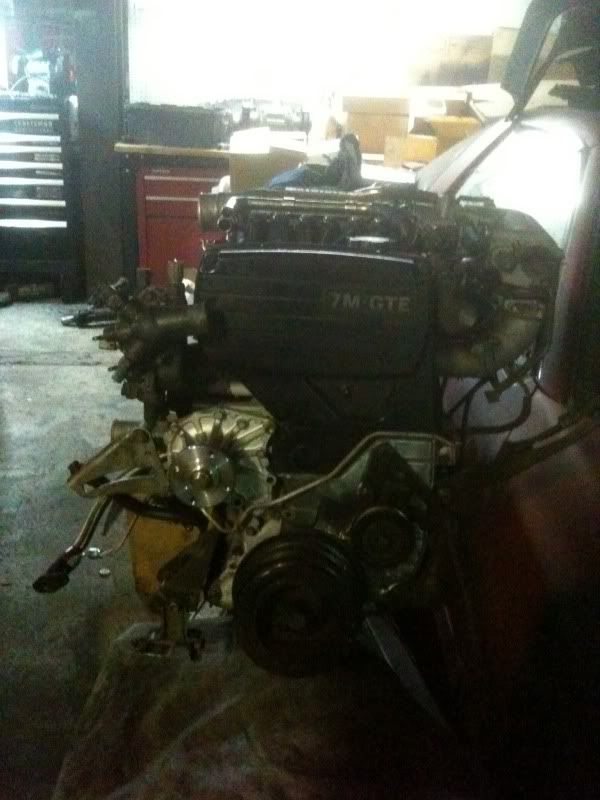
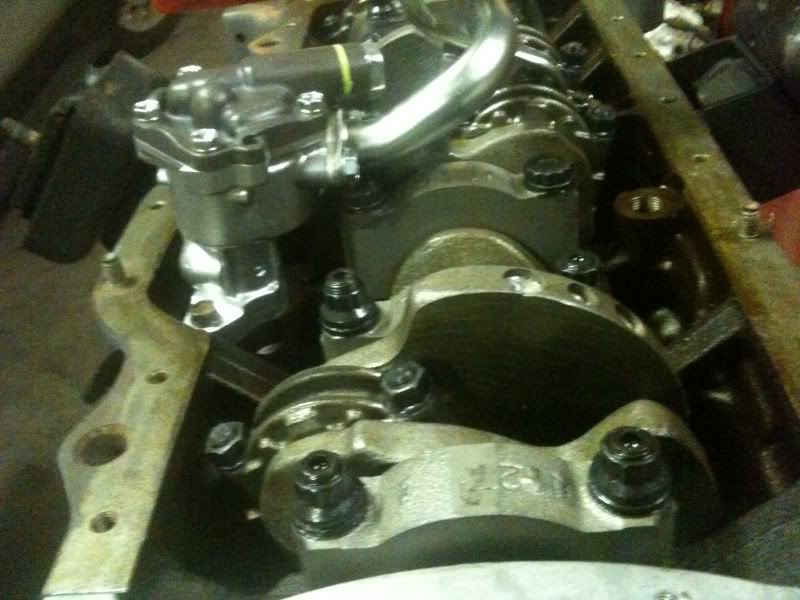
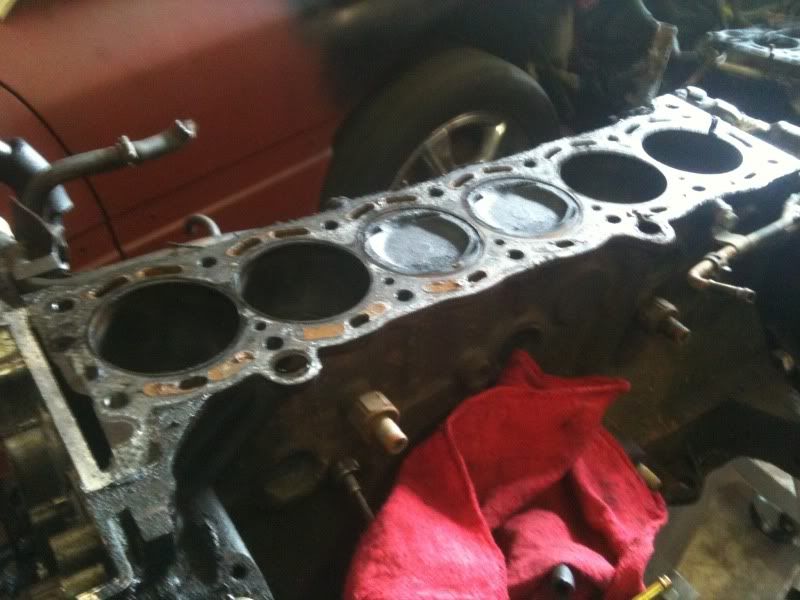
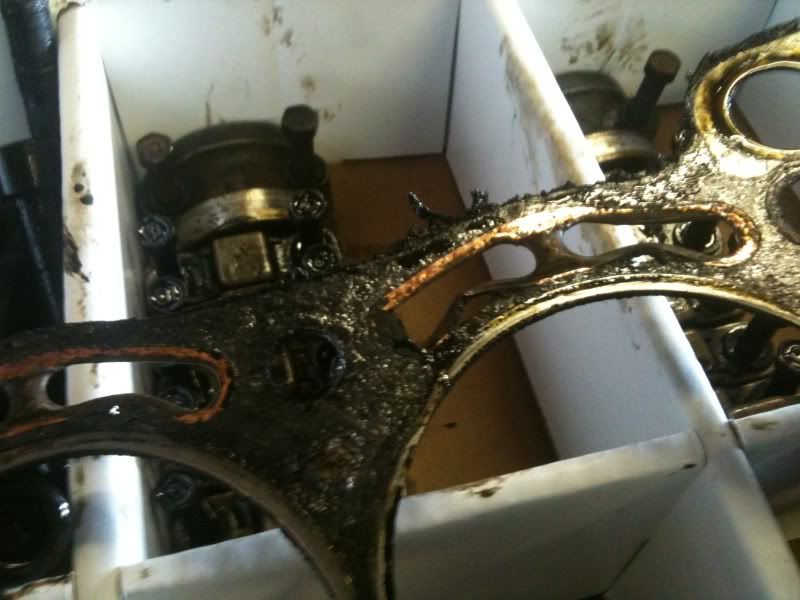
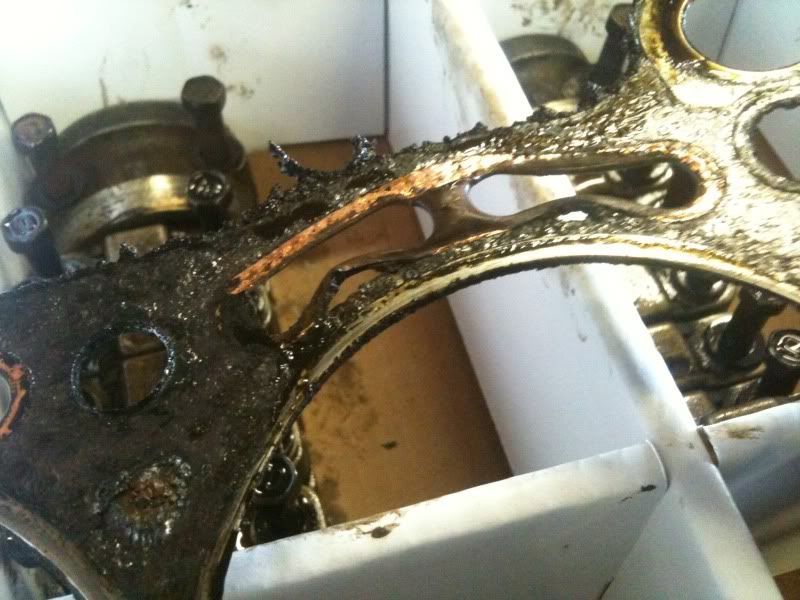
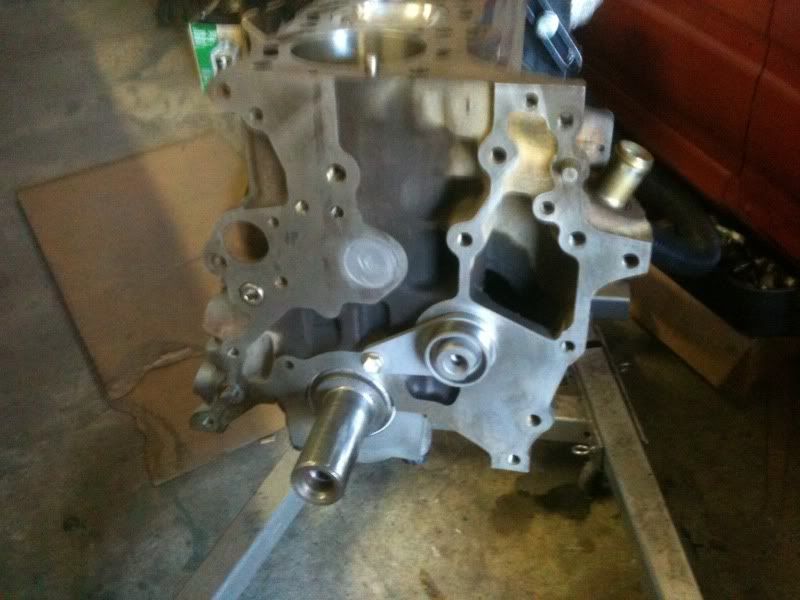
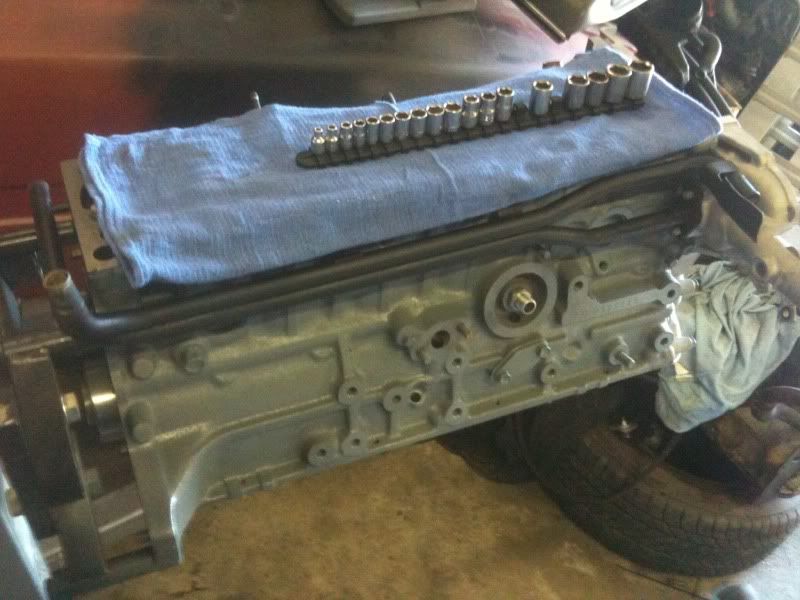
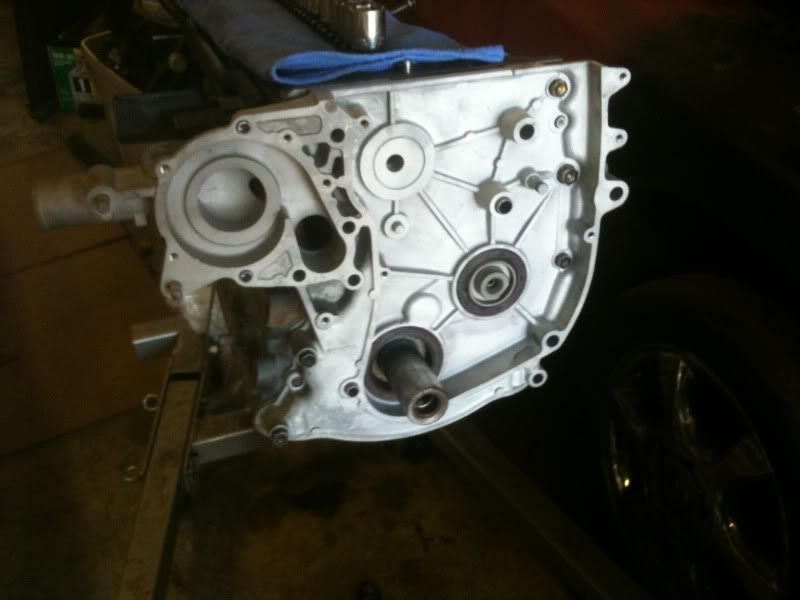
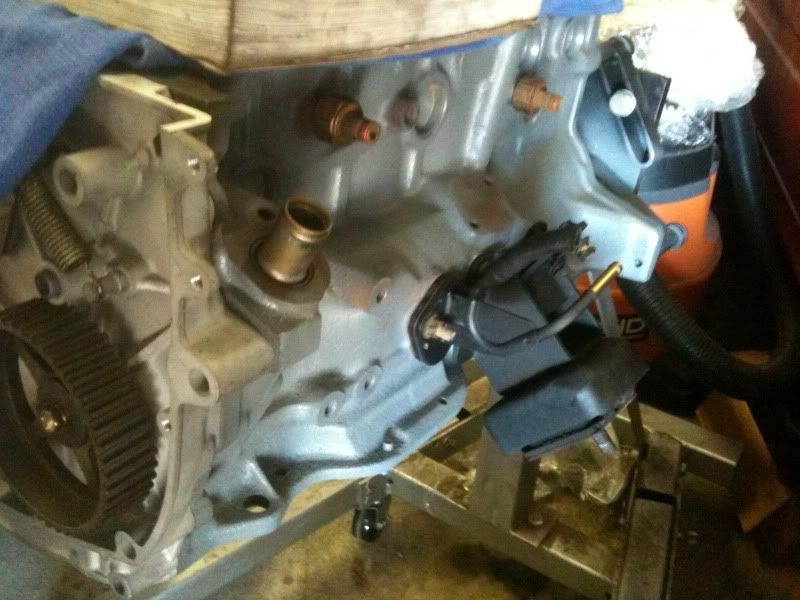
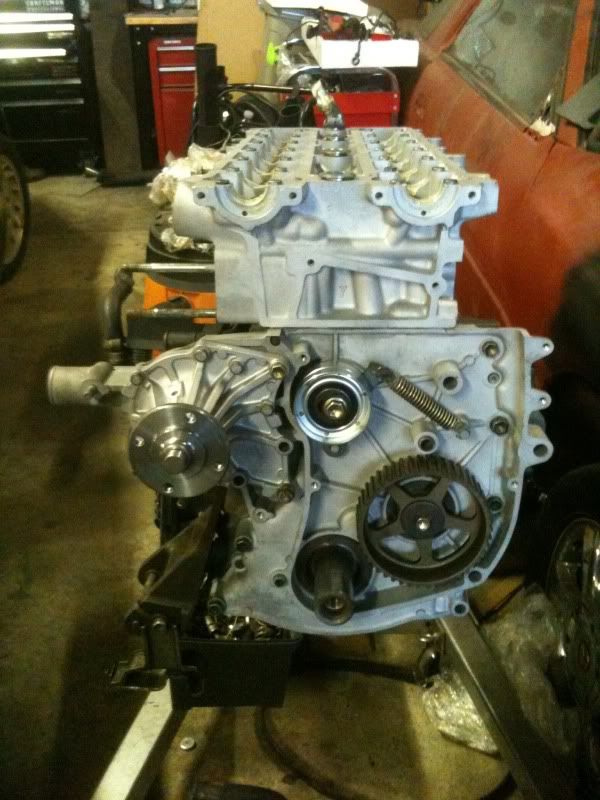
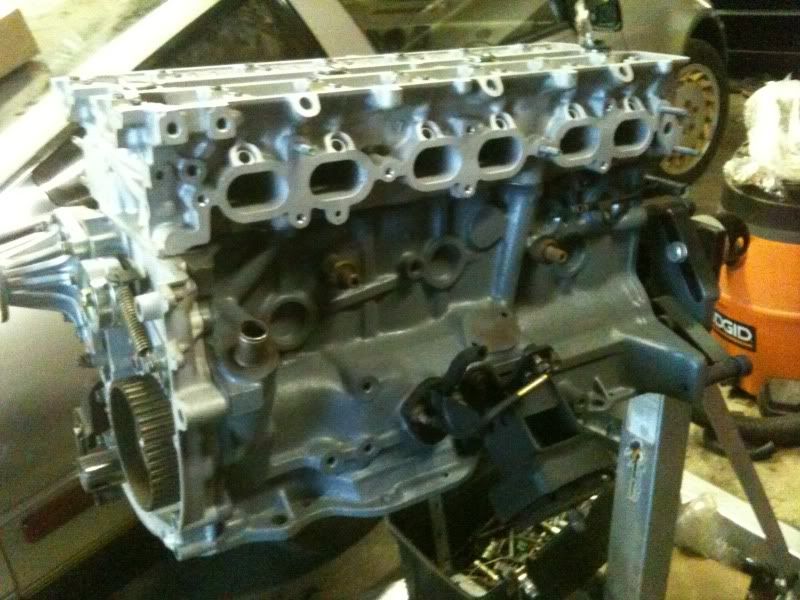
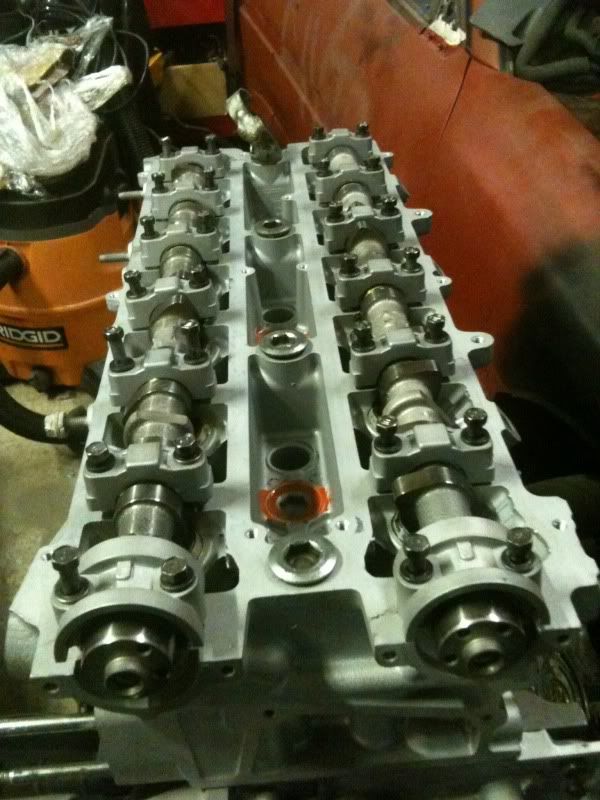
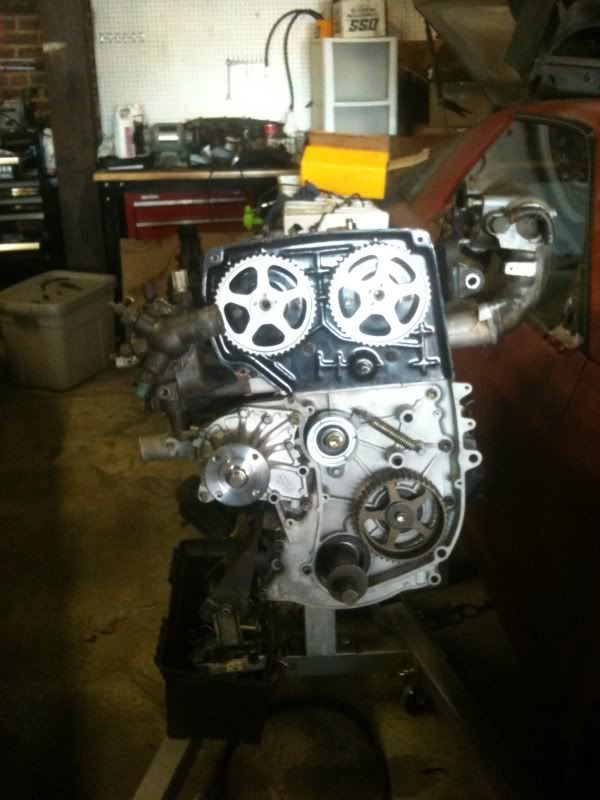
When I just got it on the stand.
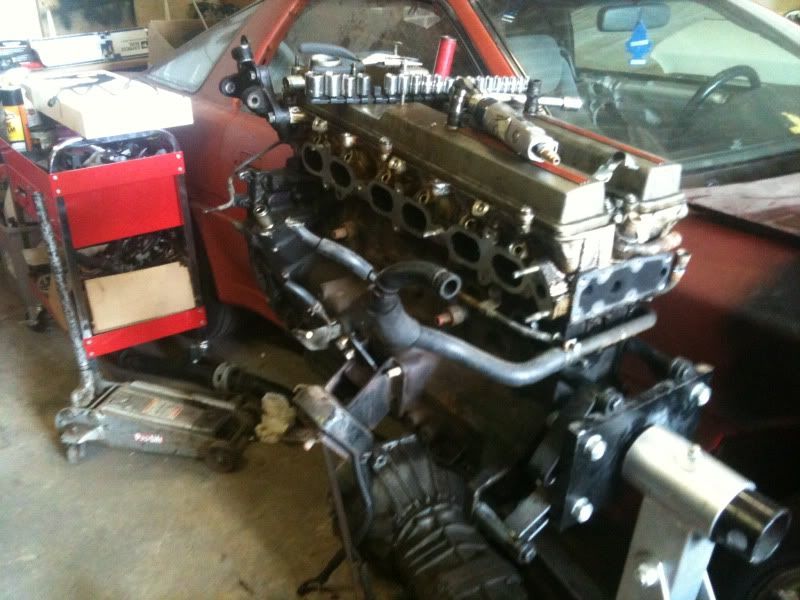
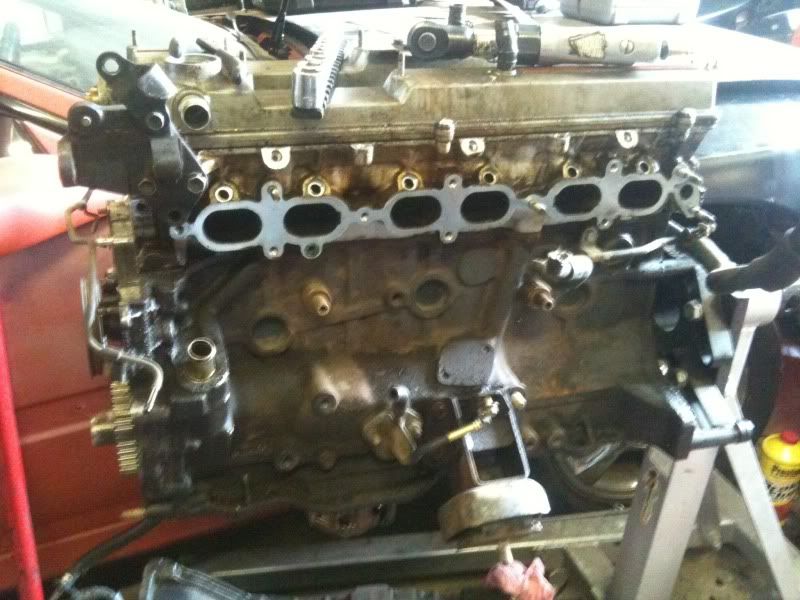
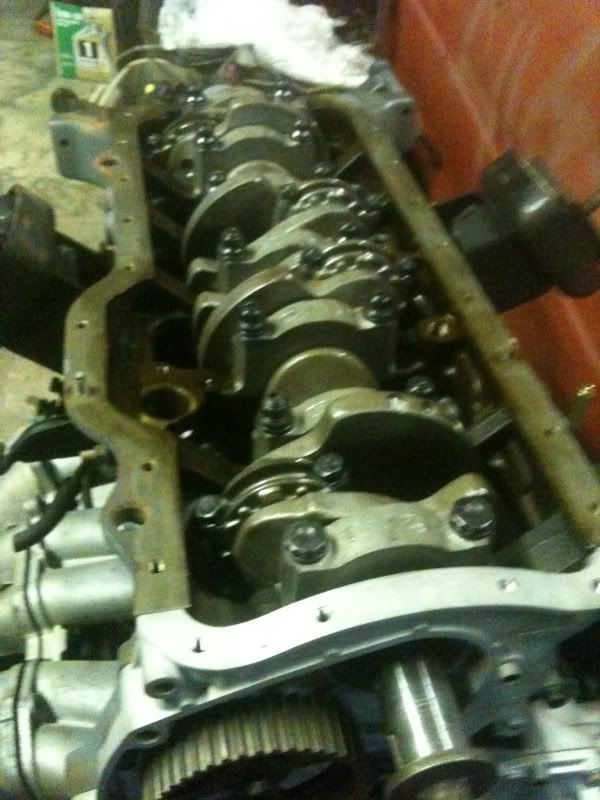
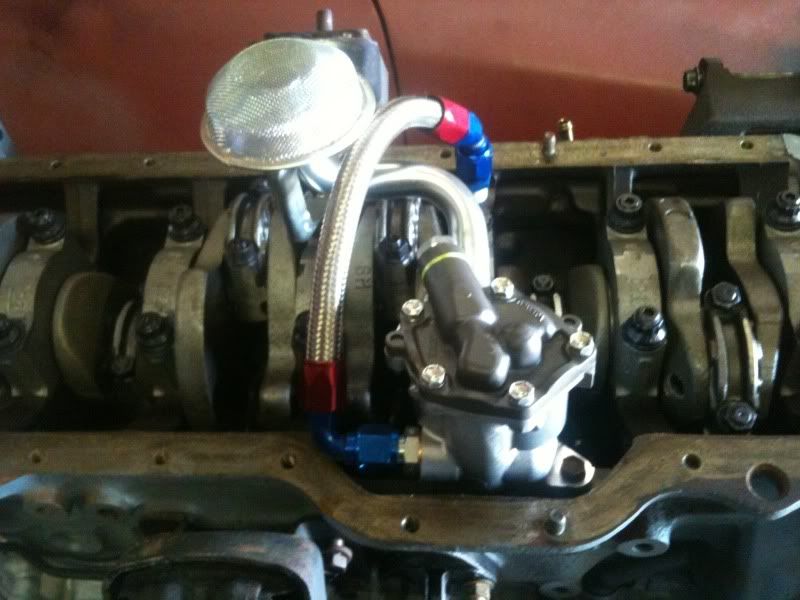
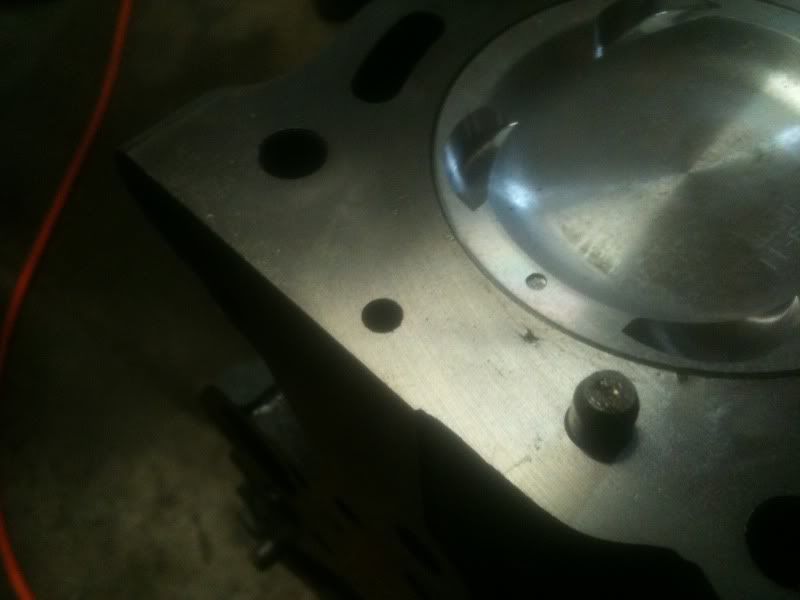
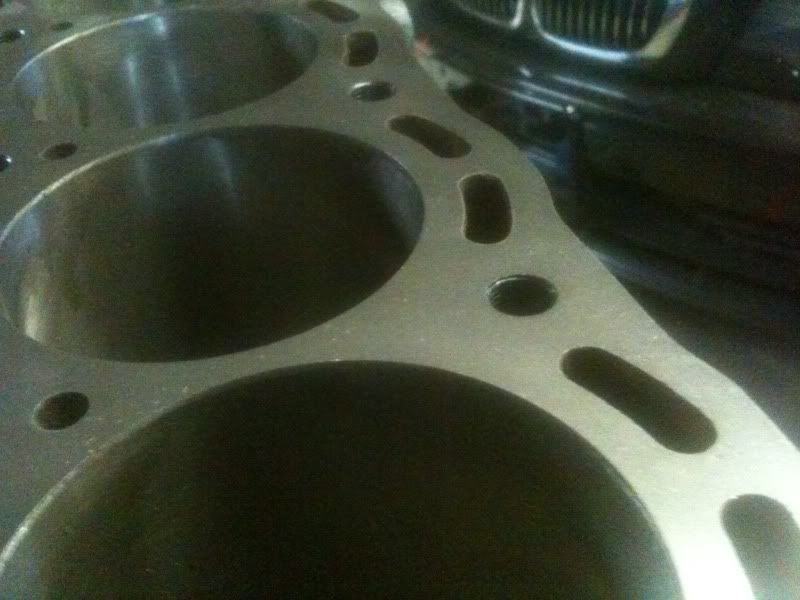
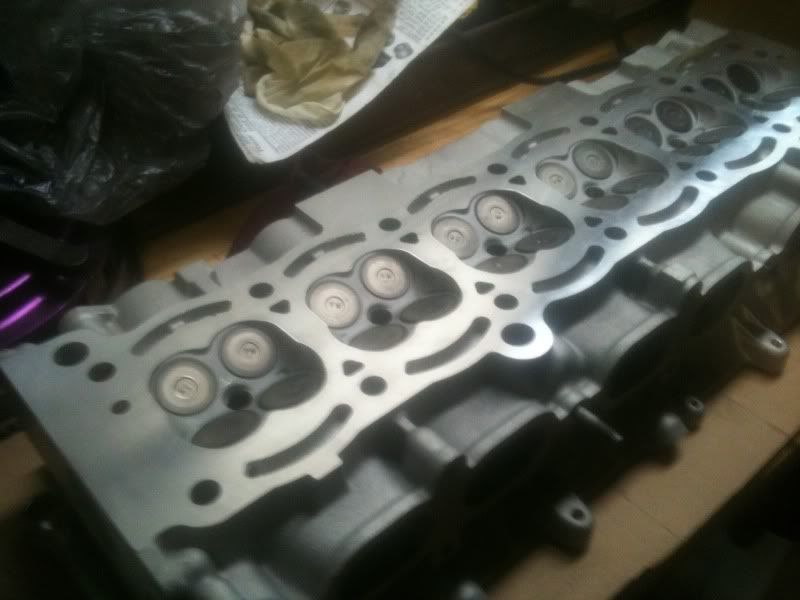
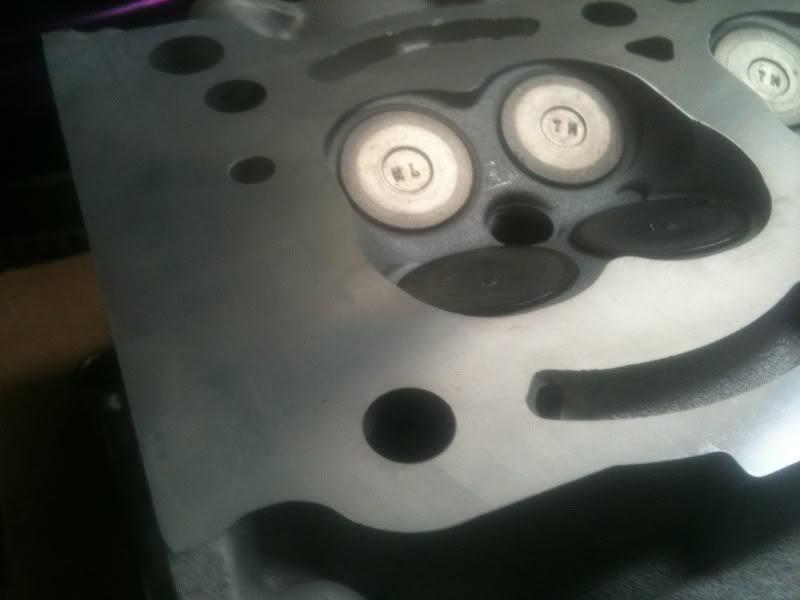
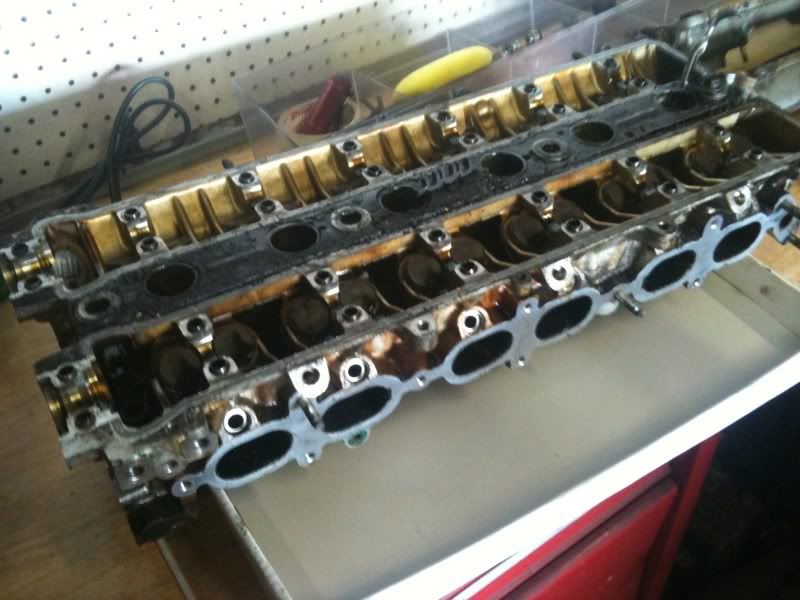
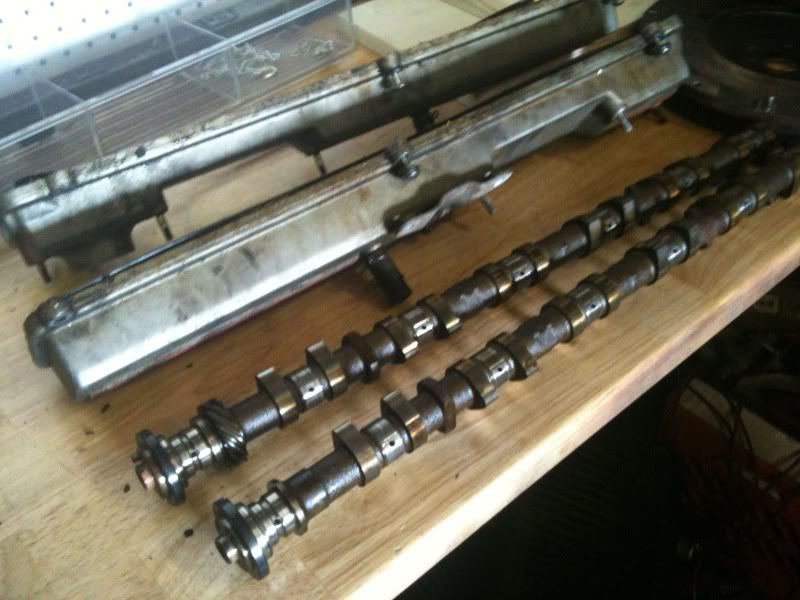
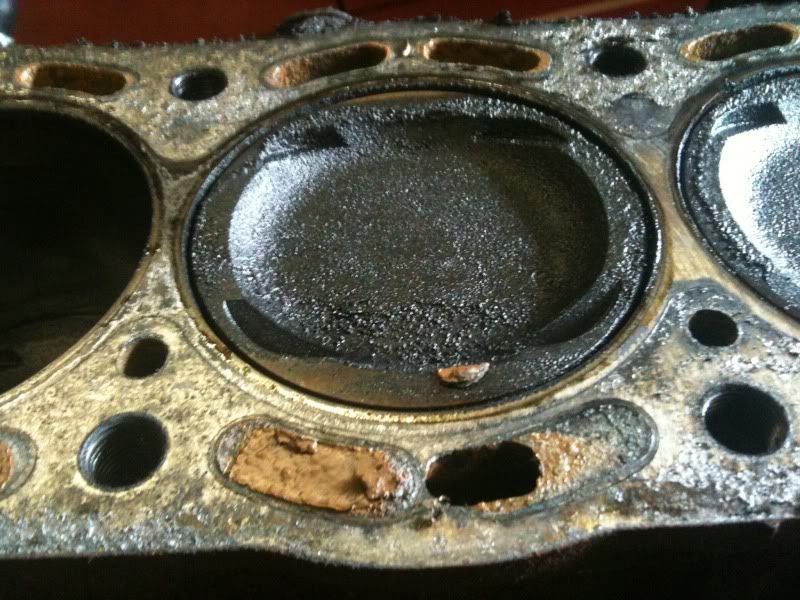
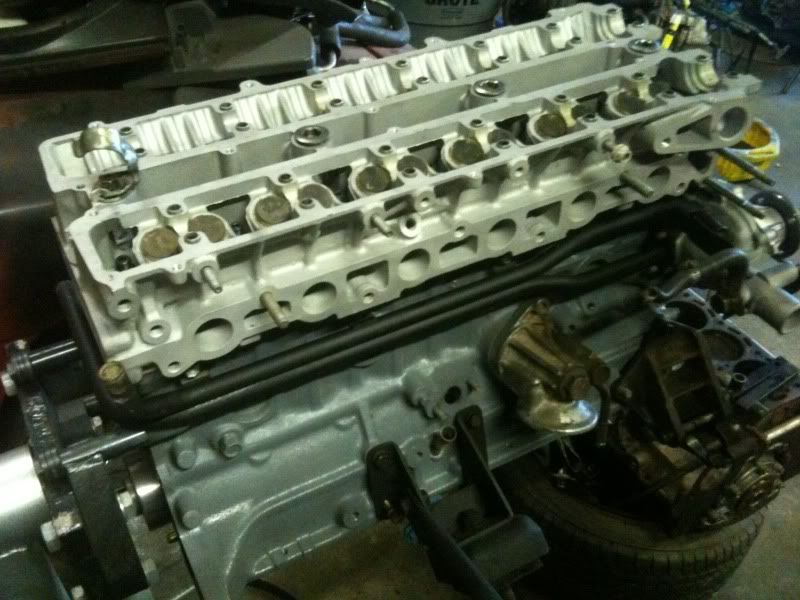
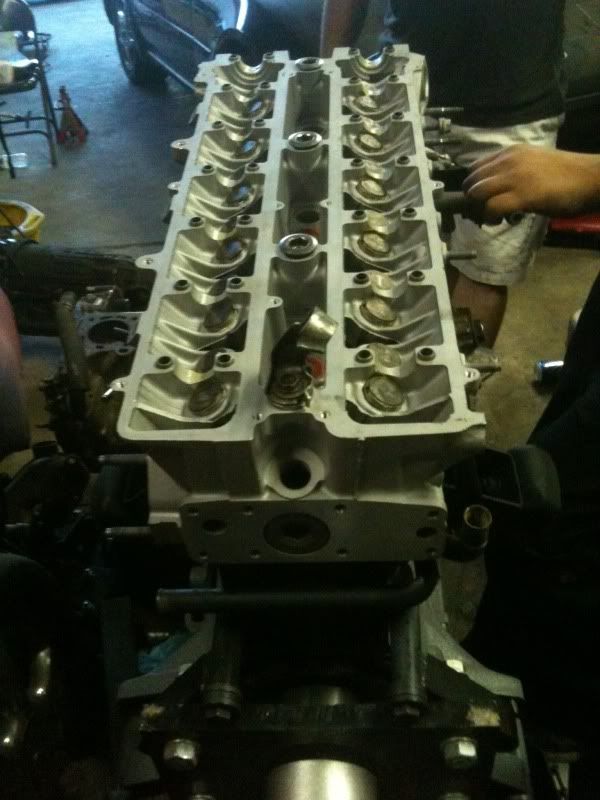
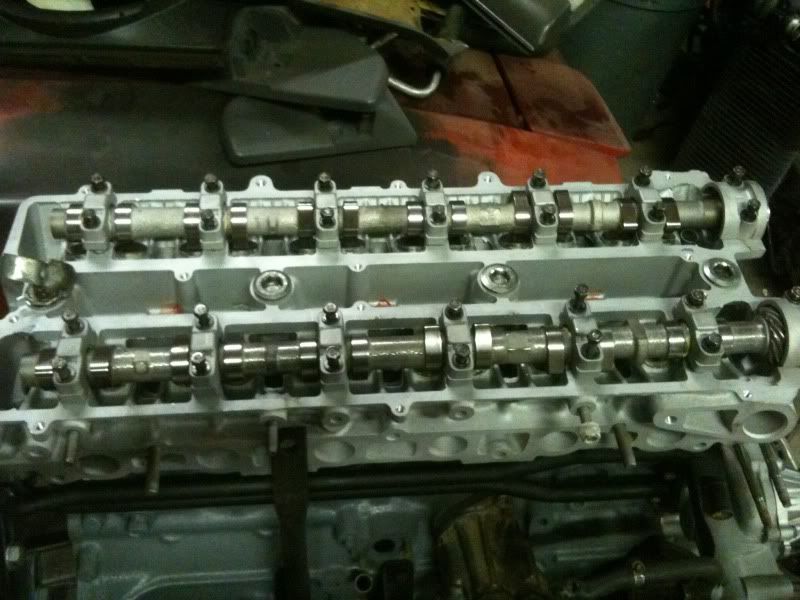
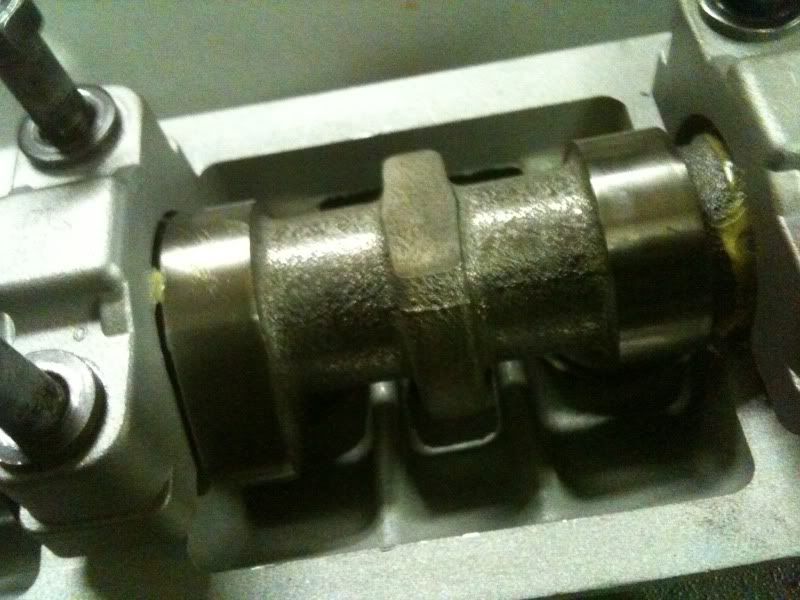
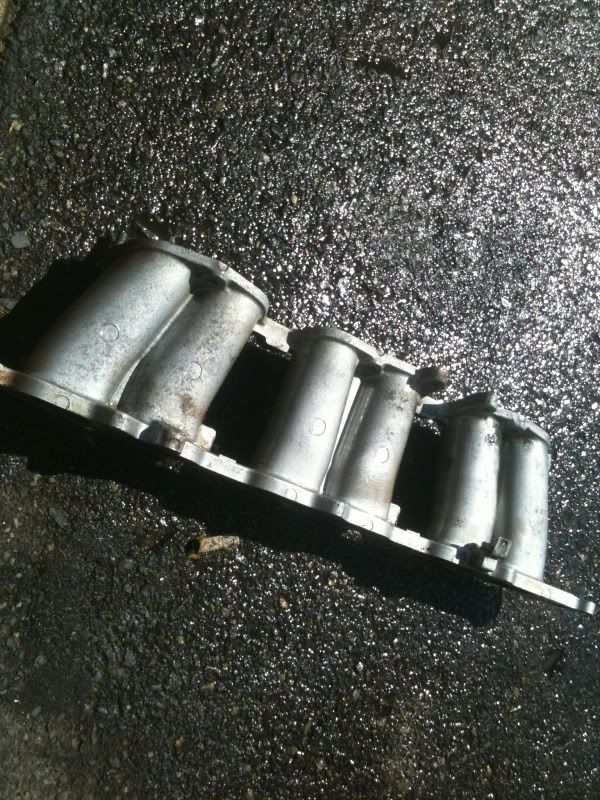
p1671110_7.jpg


p1671110_8.jpg


took off the head
p1671110_9.jpg


p1671110_10.jpg


p1671110_11.jpg


p1671110_12.jpg


p1671110_13.jpg


p1671110_14.jpg


p1671110_15.jpg
 
Last edited:

supra1008

Active Member
May 2, 2007
1,179
0
36
Philadelphia
After getting the block and head back from the machinist. NPR pistons. Stock rods. ARP rod bolts and head studs, clevite bearings, 6m crank micropolished.
p1671138_1.jpg


p1671138_2.jpg


p1671138_3.jpg


p1671138_4.jpg


p1671138_5.jpg


p1671138_6.jpg


---------- Post added at 12:17 PM ---------- Previous post was at 12:14 PM ----------

dmp316;1671112 said:
very nice build man. Keep up the good work

Thanks. Will try!
 
Last edited:

supra1008

Active Member
May 2, 2007
1,179
0
36
Philadelphia
Water pump, timing belt rear cover. Actually had to send it back cause the guy didn't deck it with the block. *sigh*
p1671187_1.jpg


p1671187_2.jpg


p1671187_3.jpg


polished stock cams
p1671187_4.jpg


p1671187_5.jpg


p1671187_6.jpg


p1671187_7.jpg


p1671187_8.jpg


p1671187_9.jpg


p1671187_10.jpg


p1671187_11.jpg


p1671187_12.jpg
.

Still have a lot more pics. I'll let you guys catch up for a bit. ;) lol
 

Moy

It's broken...
Aug 6, 2008
2,432
0
36
Beach Park, IL
Yeah when I saw that head gasket surface I'm like "please tell me he's not using a..." then saw it "yep, that sucks"

That surface finish is NOT smooth enough for a MHG, a composite type maybe, because the material would partially fill in the ridges, but for a MHG you want an almost mirror like finish
 

supra1008

Active Member
May 2, 2007
1,179
0
36
Philadelphia
I was afraid of that. ^ some said I'd be ok. I didn't think so. WTF!

---------- Post added at 02:48 PM ---------- Previous post was at 02:40 PM ----------

So either I have to take it apart and get a mirror finish or just get a cometic or something. :-/

---------- Post added at 02:48 PM ---------- Previous post was at 02:48 PM ----------

Any body wanna buy a hks stopper? No miles on it lol!
 

Moy

It's broken...
Aug 6, 2008
2,432
0
36
Beach Park, IL
even a cometic probably wouldn't seal. you'd have to use a stock type gasket. or take it all apart and have the headgasket surfaces fixed. that current surface is super rough
 

supra1008

Active Member
May 2, 2007
1,179
0
36
Philadelphia
WTF! I guess I'm taking this shit apart then and getting it machined with a mirror finish. Good thing I got a thick enough hg. Atleast I'm doing it now rather than getting bhg, fking everything up and having to spend even more money and time.
 

mecevans

Supramania Contributor
Jan 18, 2009
1,295
0
0
M-bay, cali
Getting machine work is like getting your hair cut. If you dont explicitly tell them what you want dont be disapointed by the results.

Your instructions with that gasket will have the RA requirements. Go back there and tell them to do it right or stay away and take it to someone that can.
 
Last edited:

BrandonW

New Member
Jun 25, 2007
1,300
0
0
N.J.
i saw the surface too and was like wtf nooo

same thing happened to me when i had mine machined but they forgot the rear timing case and when i sent the block back for them to redo the machining with rear timing case on the block the surface was smoother and the ra was good enough it came out to ra of 23

tyler might be able to help you out i got help from him to see what my ra was and to see what hg thickness i needed, he measured that stuff for me

and make sure none of those rivets touch any surface they were close on mine but they just cleared
 

supra1008

Active Member
May 2, 2007
1,179
0
36
Philadelphia
yea tyler saw it. He said the same thing. I'm just going to take it apart and get the mirror finish just to be safe. I'd rather spend $300 now than have to spend $1000 later.

BrandonW;1671401 said:
i saw the surface too and was like wtf nooo

same thing happened to me when i had mine machined but they forgot the rear timing case and when i sent the block back for them to redo the machining with rear timing case on the block the surface was smoother and the ra was good enough it came out to ra of 23

tyler might be able to help you out i got help from him to see what my ra was and to see what hg thickness i needed, he measured that stuff for me

and make sure none of those rivets touch any surface they were close on mine but they just cleared
 

BrandonW

New Member
Jun 25, 2007
1,300
0
0
N.J.
when we checked the ra on the head i got from dm, it was 8 i was like well im not even touching that lol
 

supra1008

Active Member
May 2, 2007
1,179
0
36
Philadelphia
Well since I have all these pics I'll post the rest anyway. Lol.

p1671585_1.jpg


p1671585_2.jpg


upgraded oil pump from Driftmotion
p1671585_3.jpg


p1671585_4.jpg


p1671585_5.jpg


p1671585_6.jpg


new ct26 57-trim with polished compressor housing and ceramic coated exhaust housing.
p1671585_7.jpg


p1671585_8.jpg


p1671585_9.jpg


p1671585_10.jpg
 

spencyg

New Member
Oct 7, 2010
141
0
0
Maine, USA
You can probably fix the HG surface on the block yourself without doing much disassembly. If it were me, I'd go find yourself a place that sells cold rolled (CR) steel. Buy a 10" long bar measuring maybe 2"x1". Deburr the cut edges so you basically have a very flat piece of rigid steel. Use that as your sanding block, and buy a bunch of different grits of wet/dry sanding paper (quality stuff). Use a skim of oil, and starting at around 320g, work the surface down. You can probably do this with the pistons still in the block and the oil ports in the block going to the head being temporarily plugged). You should be able to cut those ridges down in short order. Don't do any more than necessary, and work up to maybe 800g paper. Always use the oil to keep the paper lubricated and make sure you keep the sanding block very stable on top of the engine casting. I've done this a couple times and it works fine...actually gets a better surface in the end than what the machine shop would send back. After you're done, make sure everything is very clean, cycle the pistons up and down with lots of oil in the bores, ragging everything out as you go. Don't forget to unplug the oil galleys in the block top after you're done!

Not the end of the world here...far from it actually.

SG in NE.
 

supra1008

Active Member
May 2, 2007
1,179
0
36
Philadelphia
Ok so here's what's been going on with this project. I completely disassembled the motor down to bare block took me little over an hour. Took the block and head to a different shop cause the original shop doesn't have a machine to do a better finish. Pshh. Not gonna go there anymore. Got the head and block back. It looks much better now. This past weekend I put it back on the stand and assembled most of it back together. Here are pics.

p1692020_1.jpg


p1692020_2.jpg


p1692020_3.jpg


p1692020_4.jpg


p1692020_5.jpg


p1692020_6.jpg


p1692020_7.jpg