Stretch's Digidash thread

Stretch

Tallest MK3 driver ever!!
Mar 30, 2005
1,275
0
36
36
Toronto, Ontario
Hey guys, I felt it necessary to make a build thread for my Digidash conversion, since I'm sure some of you will be curious to see it progress, and I'm more than happy to oblige your curiousity.
Just follow my progress, check the pics, give me suggestions/comments or neg rep me ahahah whatever you want!
Enjoy!

****Update and pics on page 22!****

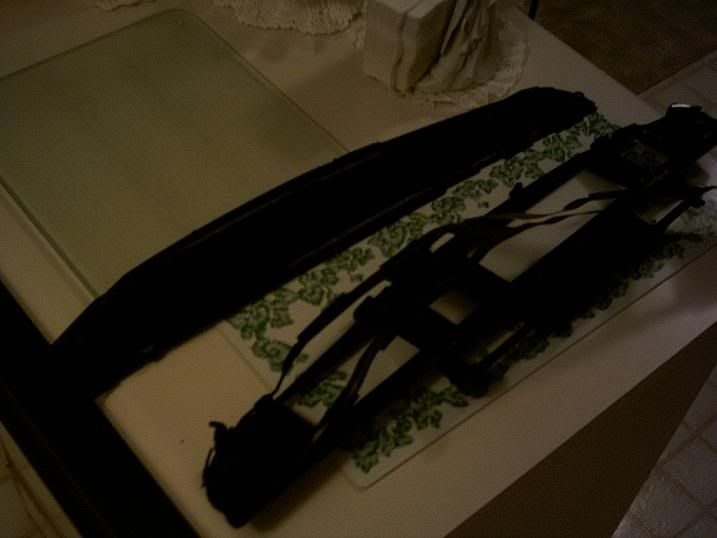
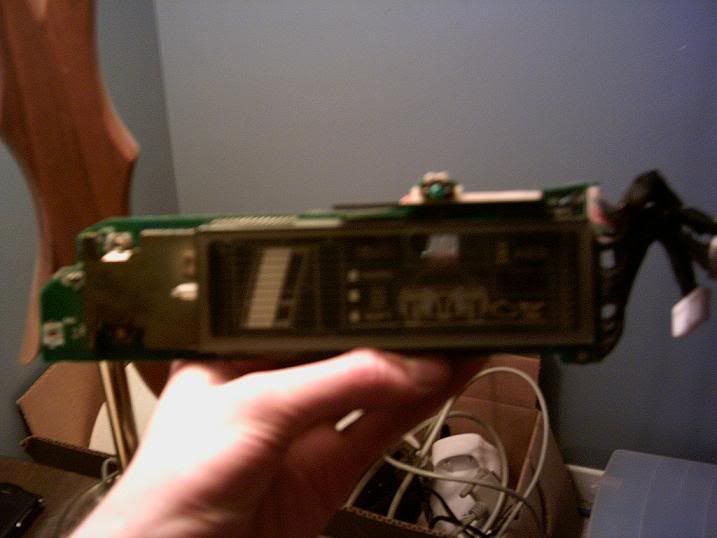
Here I am, just got it home finally, a close-up of the cluster.
p132860_1.jpg


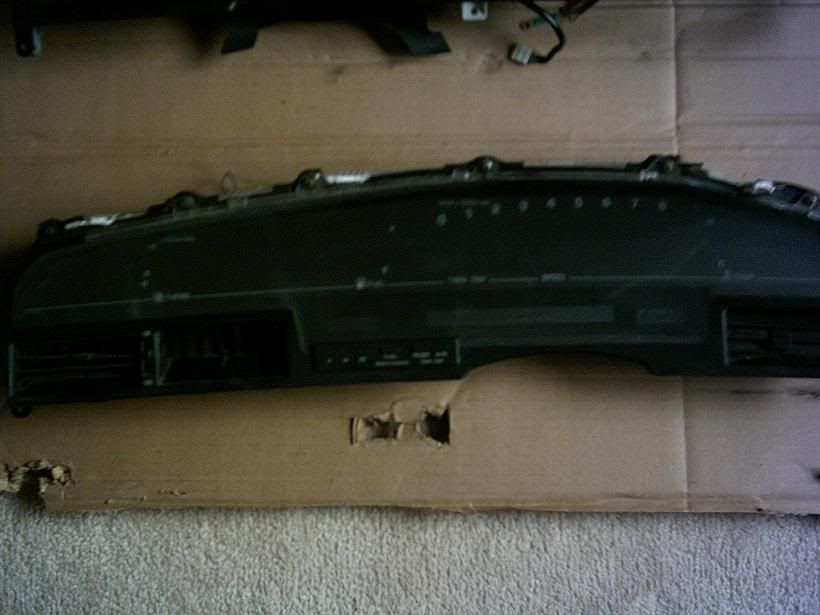
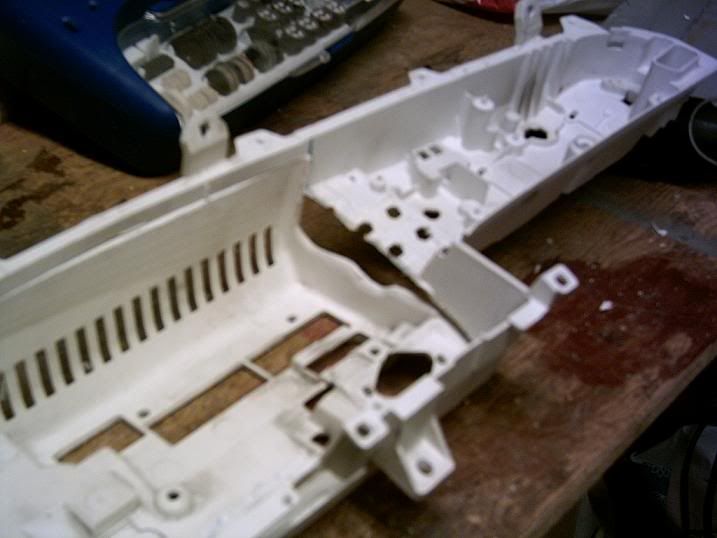
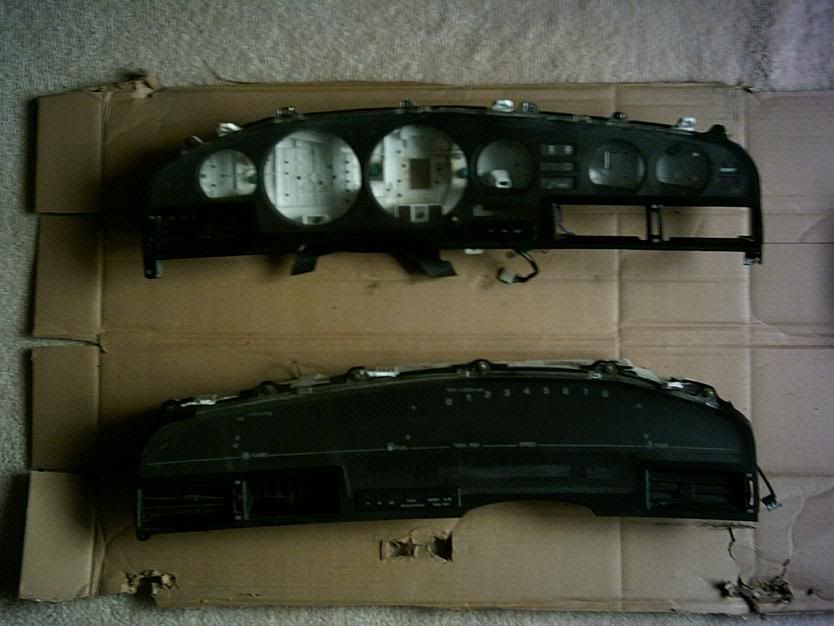
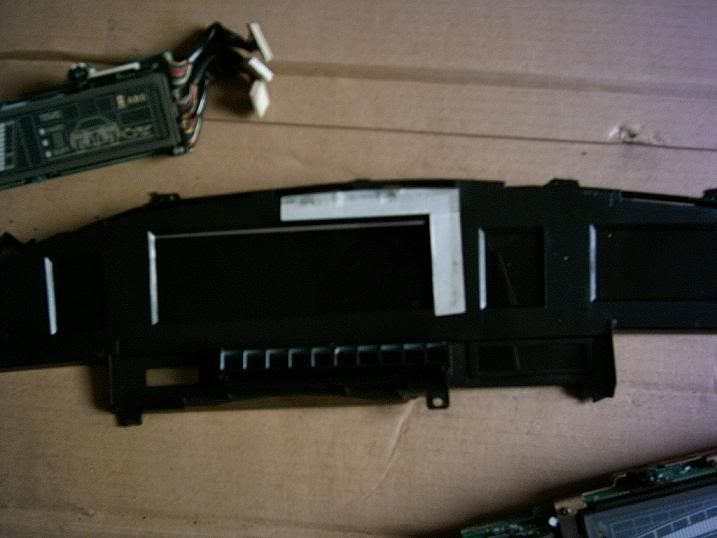
Here is it compared to the regular cluster I will graft all the neccessary parts into.
p132860_2.jpg


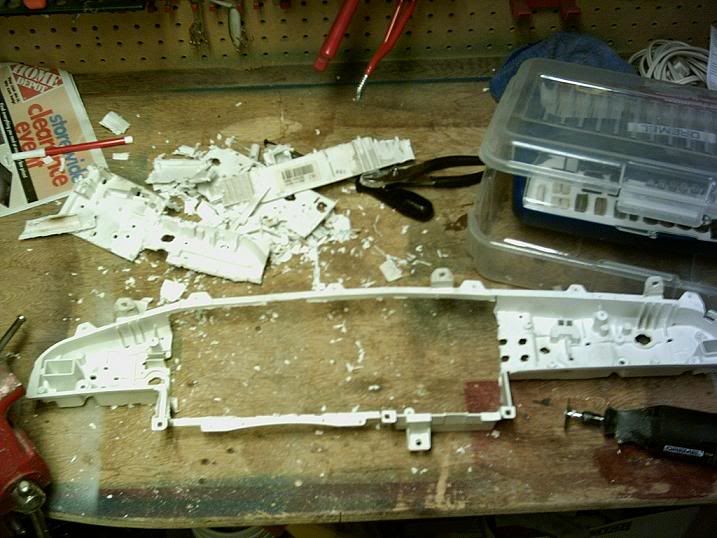
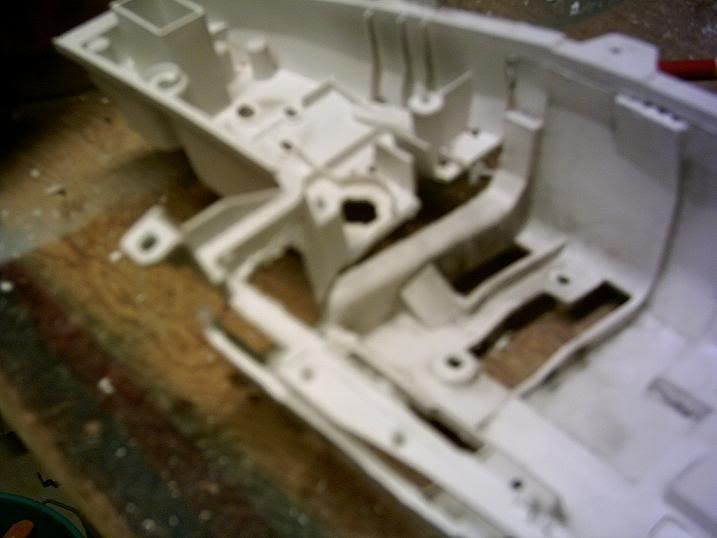
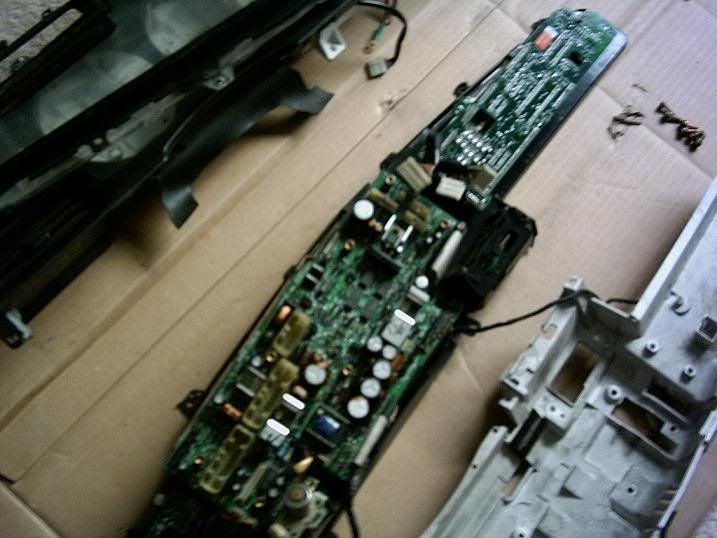
Cracked open. Isn't it cool that this is what we all look like inside?
p132860_3.jpg


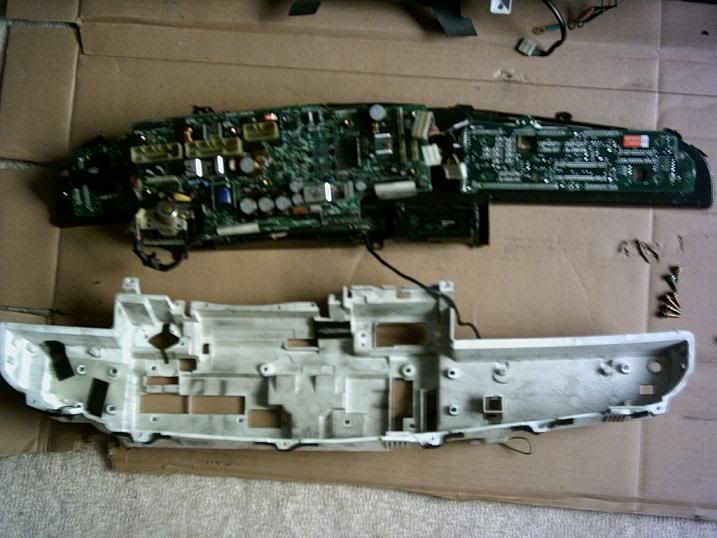
A slightly better pic showing off years of toyota engineering. This was largely considered the most powerful computer in Asia, so naturally Toyota harnessed its power for a digital guage cluster!
p132860_4.jpg


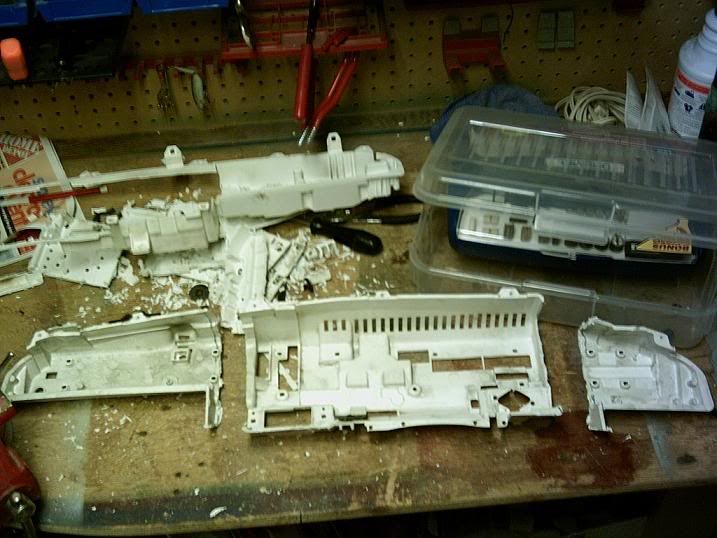
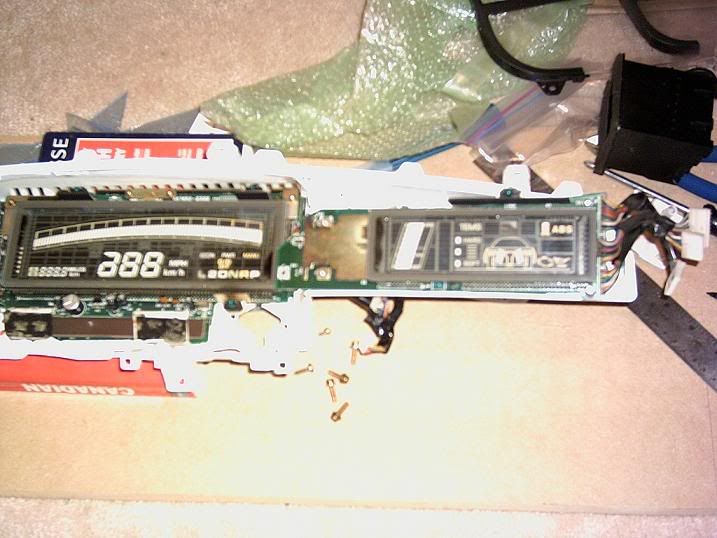
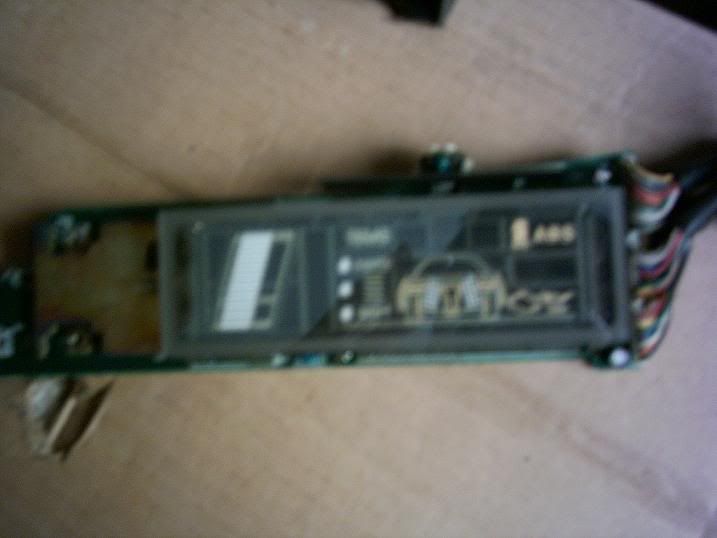
The cluster seperates into little sections, like islands. this section is for the tems, some warning lights, and the boost yeah!
p132860_5.jpg


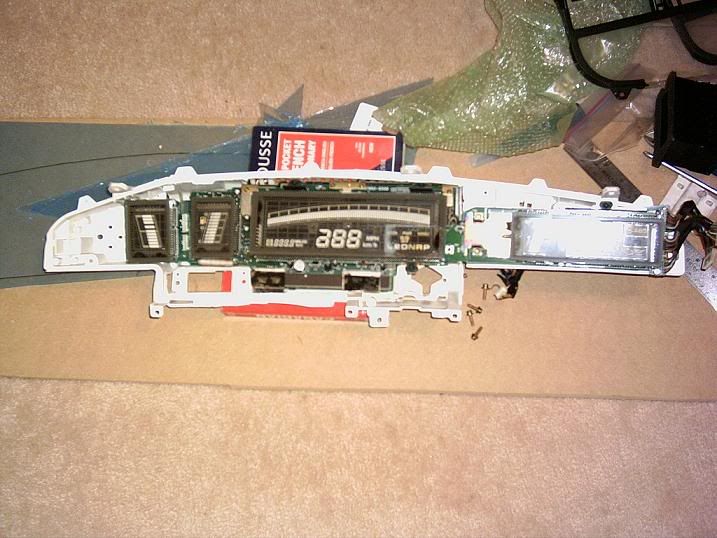
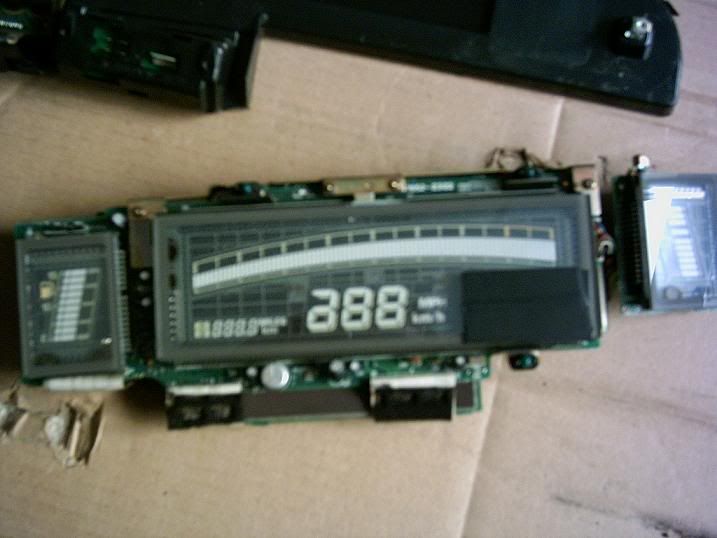
This is the main unit. It is the biggest, and therefore the coolest one. Also the heaviest. It shows the tach, speedo, left side is fuel level, right side is oil temperature.
p132860_6.jpg


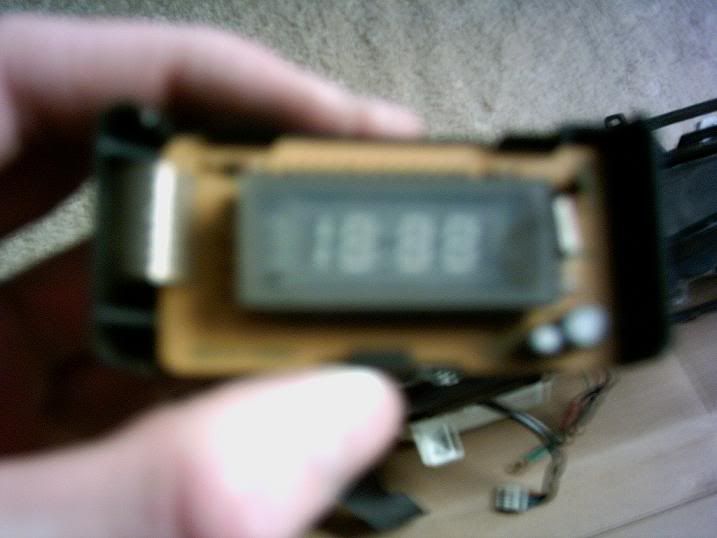
Here's the digital clock! Yes, even the clock is digital, without it the car would suck. It comes enclosed front to back in its own personal case for some reason.
p132860_7.jpg


This is the tach. My particular digidash had only 110,842 km on it! Gotta love those sweet JDM deals on low mileage parts yo. Also, notice the pic in the background. It's my old supra! Guess the colour/year!
p132860_8.jpg


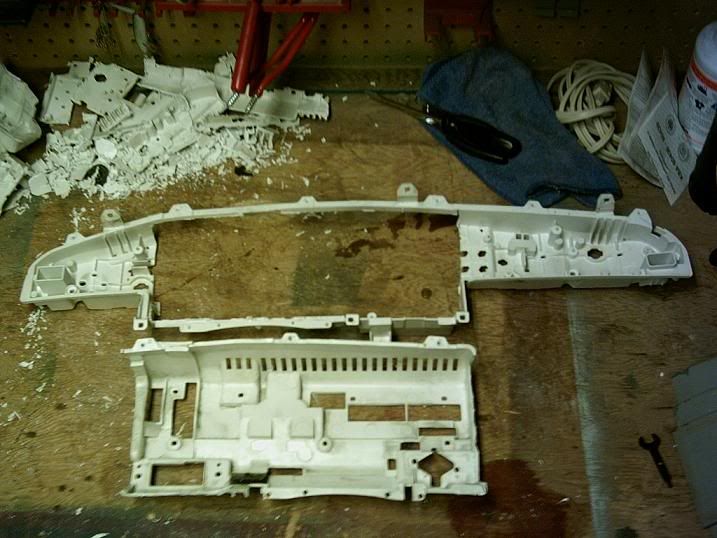
This here is the coolest seperate part of the dash. It's the overlay that seperates all the displays, and it's actually made up of 3 layers. I tore it apart tonight, and it put one hell of a fight. Thanks to GooGone tho, I removed all the goo from the glue and the parts are clean. It's a clean plastic front, metal framework for some reason, although the metal is almost like aluminum foil ahaha, followed by hard plastic backing for the displays to screw into.
All those squares on the bottom are the seperate warning lights. I plan to incorporate those into my LHD cluster, because it looks better than the USDM way of mounting it all.
p132860_9.jpg


I plan to update this fairly often. I'll have an update later this weekend for sure.
eric
 
Last edited:

Stretch

Tallest MK3 driver ever!!
Mar 30, 2005
1,275
0
36
36
Toronto, Ontario
Thanks for the tip 1J, but it's the camera that sucks. I'm not sure if I'll beable to get the use of a better one, but my dad's got a 5.0 megapixel that's crystal clear. I'll see if I can snatch that for the important pics, like the final product :naughty: . You should beable to make out some stuff in my shitty pics anyway.
eric
 

Stretch

Tallest MK3 driver ever!!
Mar 30, 2005
1,275
0
36
36
Toronto, Ontario
Ahahaha, way to show me up with your mad photo skillz. I don't have time to fix these right now tho. I have to sleep, since it's 2:33 am here.
eric
 

Looonie

Looonie
Aug 22, 2005
47
0
0
44
Auckland, New Zealand
www.boost.org.nz
Just wanted to post a minor correction :)

The guage to the right hand side of the tacho/speedo is actually the water temperature gauge... their is no oil temp gauge factory on the digital dash, there is the oil pressure and boost pressure gauges over to the left of the TEMS display units...

Unless you have some weird one :)
 

Stretch

Tallest MK3 driver ever!!
Mar 30, 2005
1,275
0
36
36
Toronto, Ontario
Thanks for the correction Loonie. I knew it was some sort of fluid temp guage, I assumed oil, but I'm glad I now know it's water. I could probably make it oil if i wanted anyway :icon_bigg
I bought some clean acrylic today, but it doesn't like to work with me properly ahahaa. This is the hardest part of the build; getting the cover plate with the markings on it correct, as the numbers have to be in the same exact places on my LHD cluster or else the bars won't line up properly. I think i know a place that mught beable to help, but I can't get there until Monday. I guess I'll just keep fitting the lcd modules into the cluster until then.
eric
 

Stretch

Tallest MK3 driver ever!!
Mar 30, 2005
1,275
0
36
36
Toronto, Ontario
After a closer look at the main unit tonight, I discovered that my digidash was from an automatic! Someone taped over the auto parts; you know, DR12N that stuff. Aswell as the ect. I removed the tape, it must have been applied in Japan since it was super sticky and gooey. I felt awesome removieng some JDM tyte tape. I need to use googone to get that sticky shit off tho, I'm not gona recover it, since it'll be hard to see anyway unless it's lit up, and it wont be so..

I also started cleaning out the rear half of the LHD cluster shell, the white half. I had to remove about a Ziplock's bag worth of the plastic, and the main digid unit still won't fit. I'm gona work some more again tomorrow, and post a pic maybe if I get it to fit. If not then I might have some other ideas...
eric
 

Stretch

Tallest MK3 driver ever!!
Mar 30, 2005
1,275
0
36
36
Toronto, Ontario
Here's a pic of my continuing destruction of the digidash unit.
p134125_1.jpg

It's the smoked acrylic part that goes directly over all the electronics. I tore it apart to clean the main smoked acrylic piece (the one farthest to the top of pic). It's nice and clean now :biglaugh: That crinkled piece is actually almost as thin as tinfoil, just a bit thicker. It held the smoked piece ontop of the other piece with the rectangular cutouts. SOOO hard to free it. i thought i was gona break it.

Here's what about 30-40 mins of Dremeling will do to the stock guage cluster rear shell.
p134125_2.jpg

I wonder why the big hole?


I'll keep working on it tonight, maybe throw in another pic or 2.
eric
 

supra90turbo

shaeff is FTMFW!
Mar 30, 2005
6,152
32
48
39
MA, 01440
Holy crap Eric! Any more Dremeling and you'd just have a small frame left. haha. Keep us updated! I'm very intrigued...
 

Stretch

Tallest MK3 driver ever!!
Mar 30, 2005
1,275
0
36
36
Toronto, Ontario
Ahahah you guys! I can't lighten the pics in Paint, I looked! The white ones turn out fine tho, they need some dark for contrast.

I pretty much finished what I set out to do tonight. Here's some pics of it.

Here is my RHD cluster rear shell. I can't get another one unless I wait days and days to buy one from a member, so I chopped it up into 3 pieces! The centre one of which is CRUCIAL to my plan working.
p134236_1.jpg


Here you see the centre section of the RHD cluster shell positionned below the cut LHD shell. Something's happening.
p134236_2.jpg


OH MY GOD! Yeah, you guessed it. Nice fit eh? Without me using this centre piece the main digi unit wouldn't fit correctly into the cluster. I tried clearing the shit out of the LHS cluster without cutting it up, but it wasn't deep enough. The digi cluster is about 2 inches deeper! And the holes are pre-cut for the plugs etc... so I found this way of doing things to be the easiest!
p134236_3.jpg


Right side pan pic. You can see the gap left when the centre piece is fitted into it's new home. I plan on using fiberglass to close it up, unless I can come up with a better idea.
p134236_4.jpg


Left side pan pic. Again, notice the holes left where the LHD shell doesn't line up with the centre section. I only hope fiberglass will treat me better than it did when I tried repairing my rear fenderwell rust!
p134236_5.jpg


eric
 

supra90turbo

shaeff is FTMFW!
Mar 30, 2005
6,152
32
48
39
MA, 01440
Nice job, Eric!
Fingers crossed here for you w/fiberglass. I hear ya w/the fender rust. My Subie needs some attention, and I suck with bodywork...
 

Stretch

Tallest MK3 driver ever!!
Mar 30, 2005
1,275
0
36
36
Toronto, Ontario
I haven't done much in the past day or so. Today I cut out the remaining pieces I'll use from the digi cluster shell. Here's some more pics.

I fit the pieces into the "shell' I have mocked up. The centre main unit is positionned correctly and will remain there forever, but the two side pieces can move around slightly. The left little one is fine, but the right one doesn't fit right, due to the fact that the chip board was shaped for the RHD cluster. Damn you toyota!
p135846_1.jpg


Here's a close-up of the overlap created when trying to fit the mis-shaped unit where it belongs. If I could flip it the fit would be perfectomundo, but then you wouldn't see the screen :biglaugh: .
p135846_2.jpg


Here is a close-up of just the board in question. You can see the shape of it, and how it seems to fit perfectly only one way.
p135846_3.jpg


i thought about leaving it out, as it only really has tems and some warning lights, but I really want the whole thing, so I'm gona have to try and make things work. If I could have a board made that was the flip of this one, then I could re-solder all the components from this one to it, but I think my dad is the only person who might have an idea how I could attain such a board. I'll have to ask him tomorrow.
eric