iamsuprman13's 91' MKIII Build

iamsuprman13

New Member
Sep 9, 2012
43
0
0
34
JBLM, WA
Thanks for recommending that site Chambers. That is going to help out alot.

So I have an update but I don't have the camera, it is my wife's camera, and she takes it with her everywhere. So when she gets home I can get my pictures off of it. I will post up the full update then. For now I will just let you guys know basically what is up.

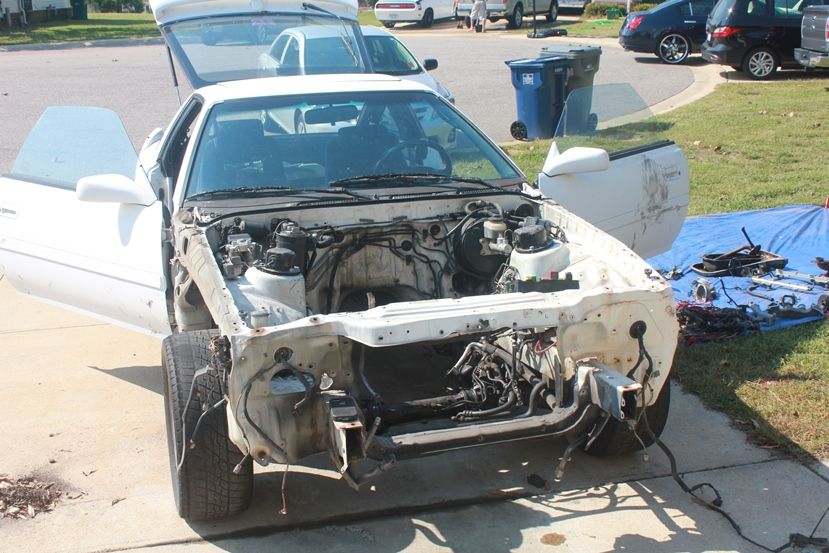
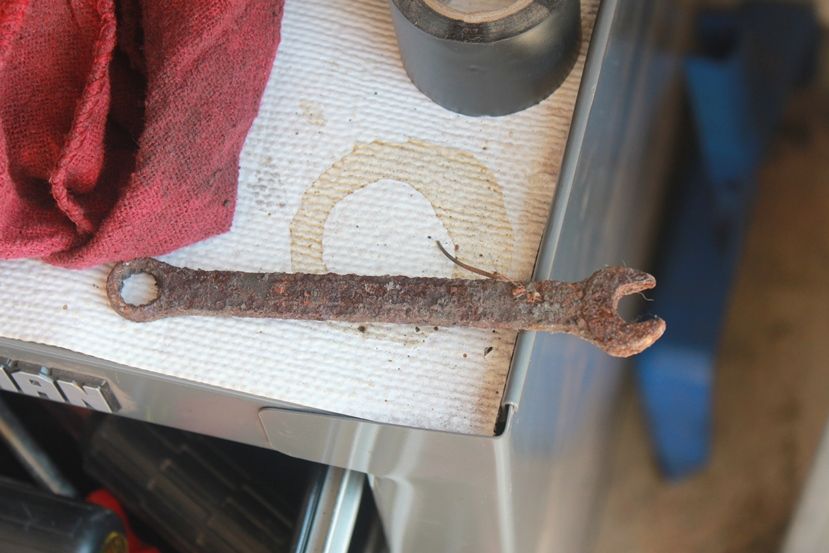
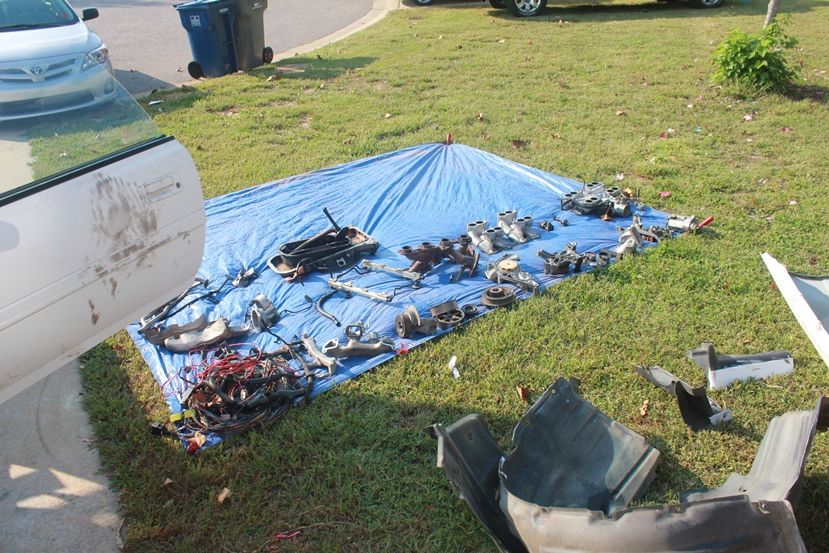
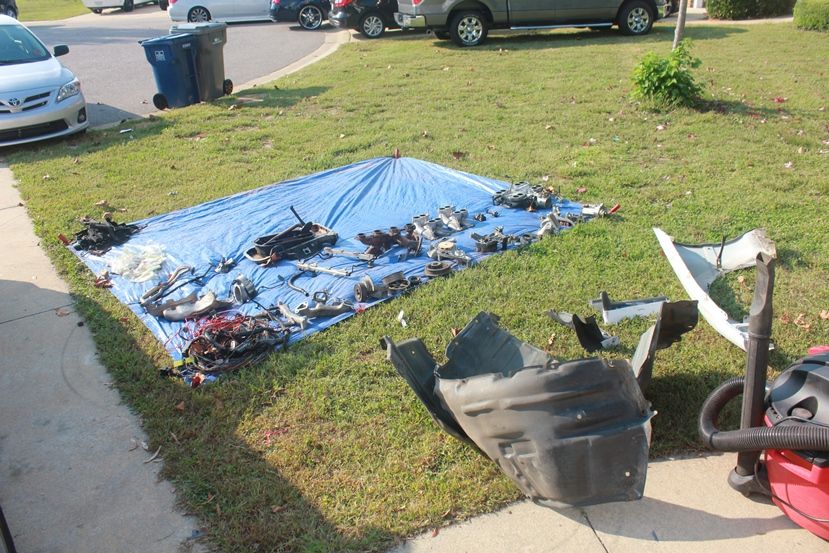
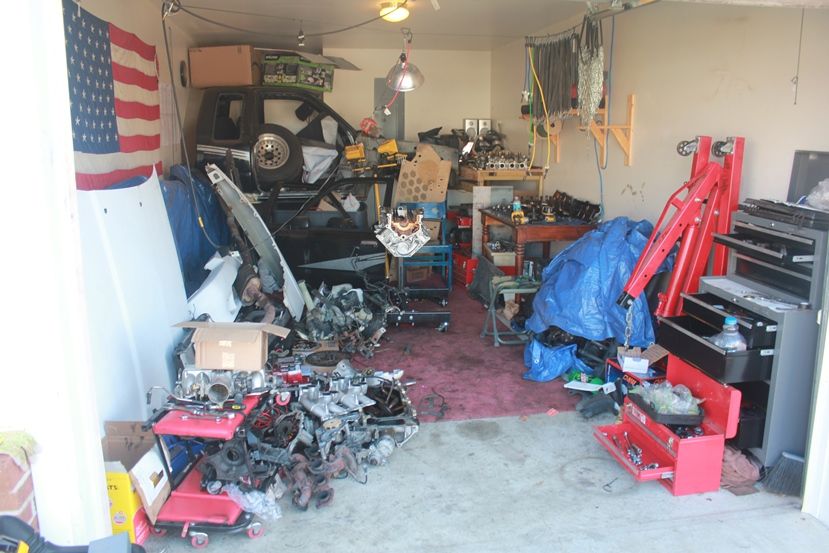
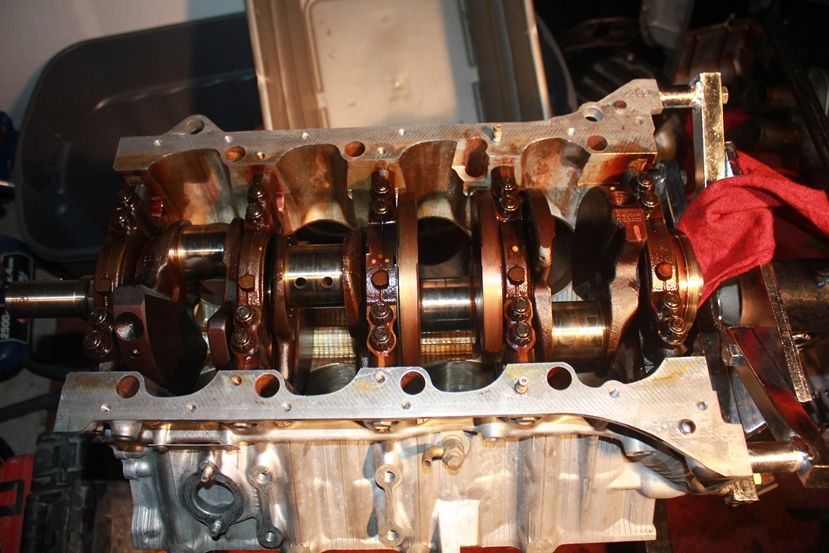
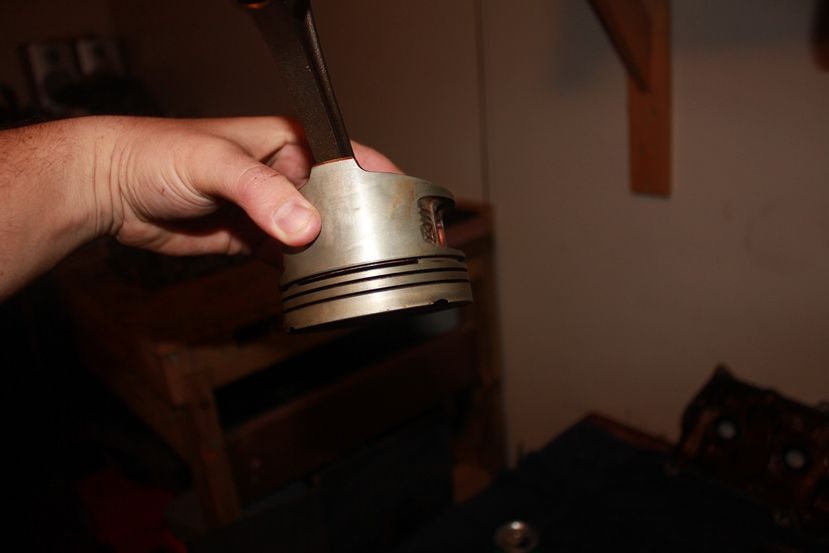
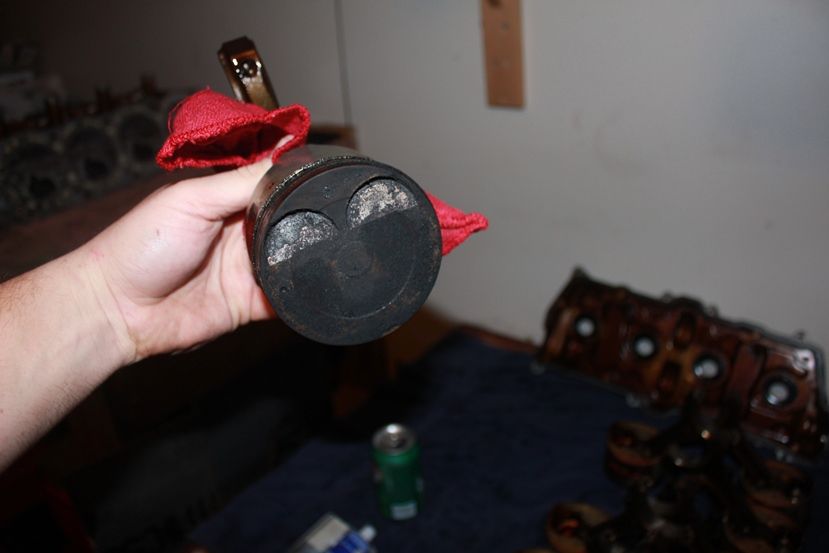
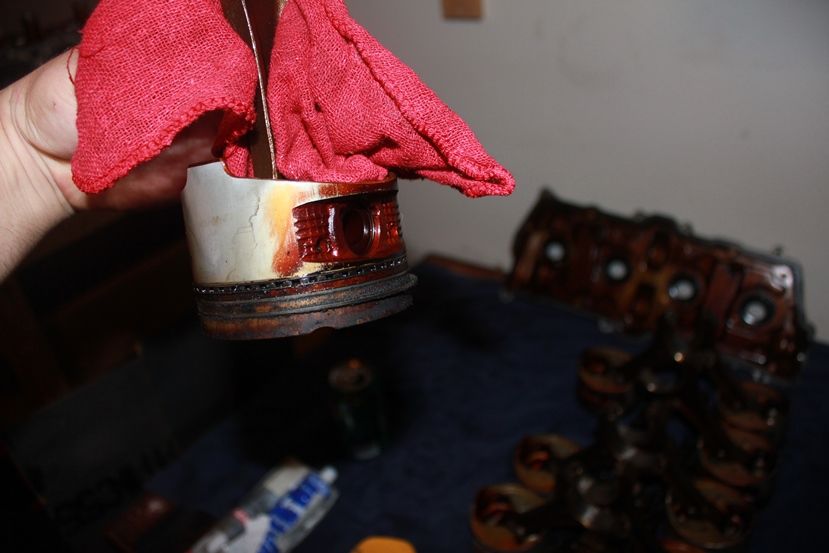
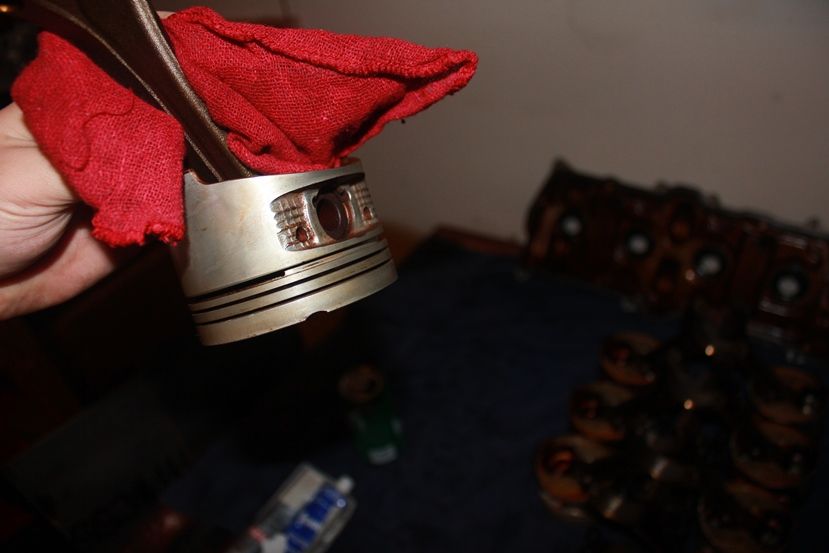
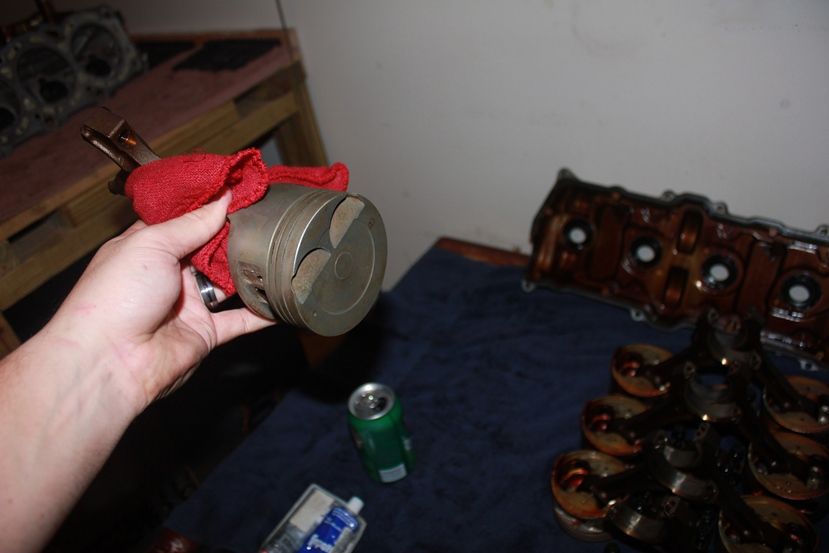
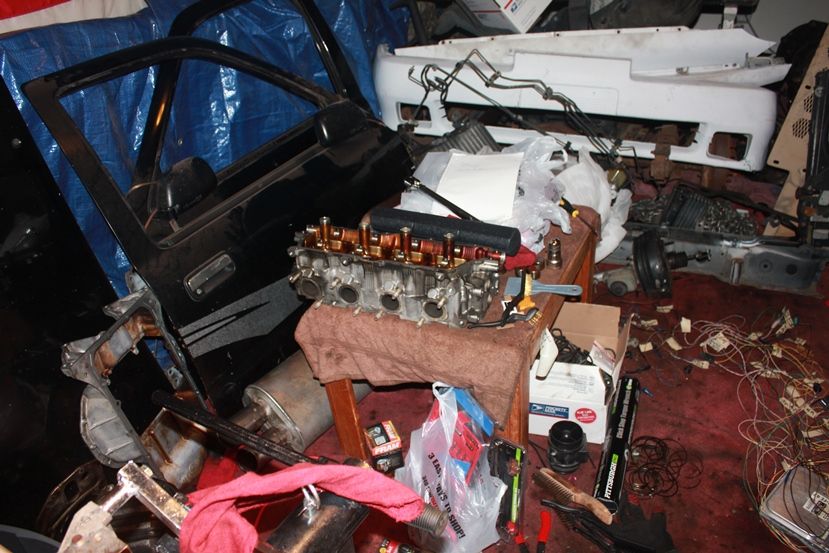
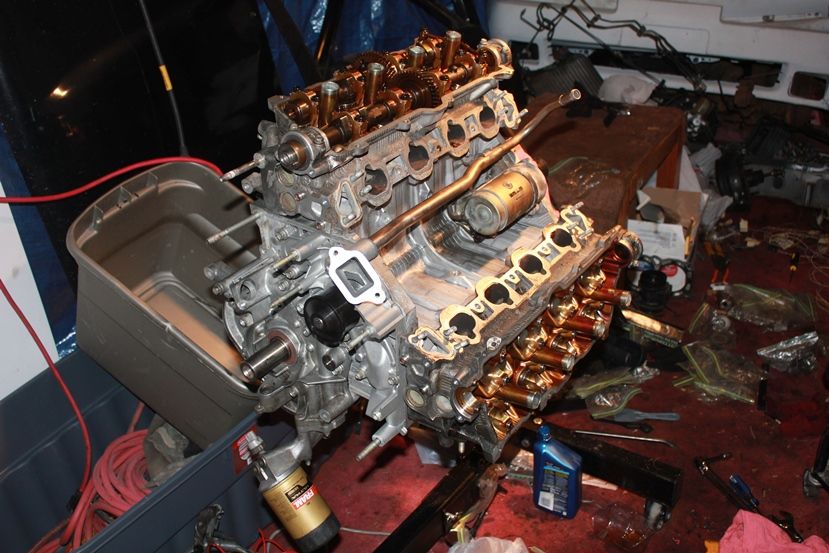
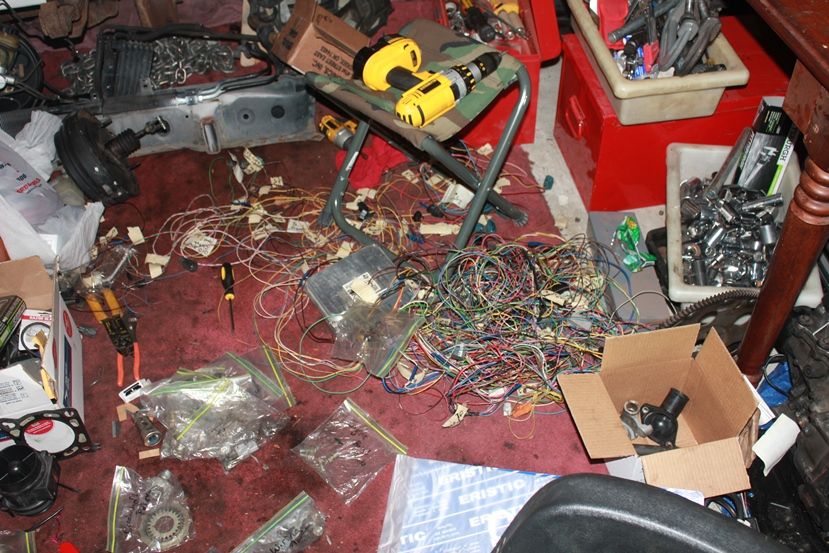
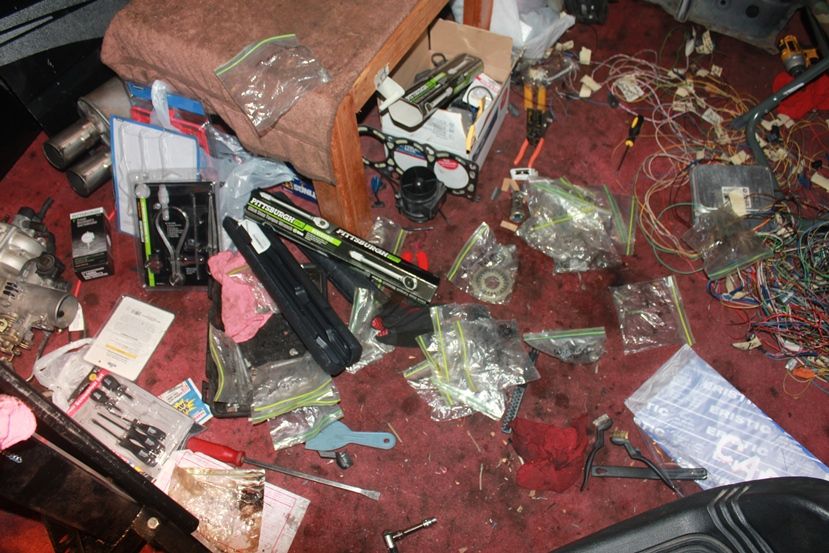
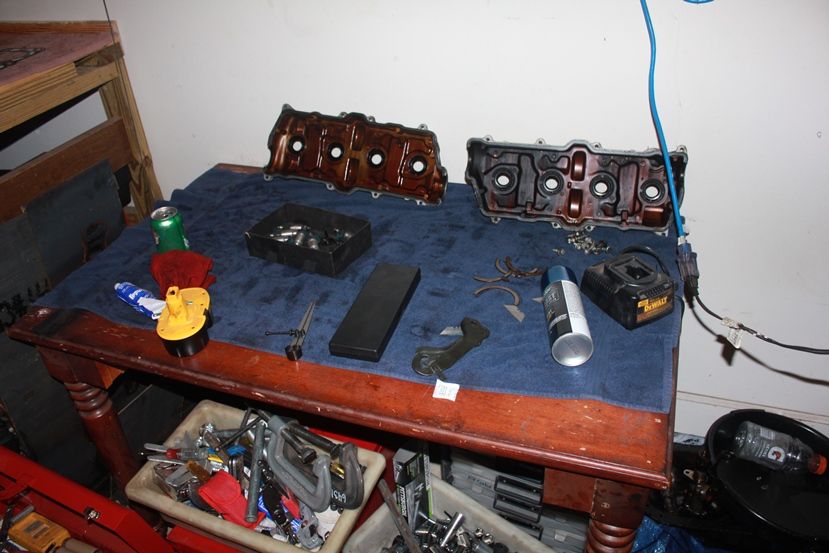
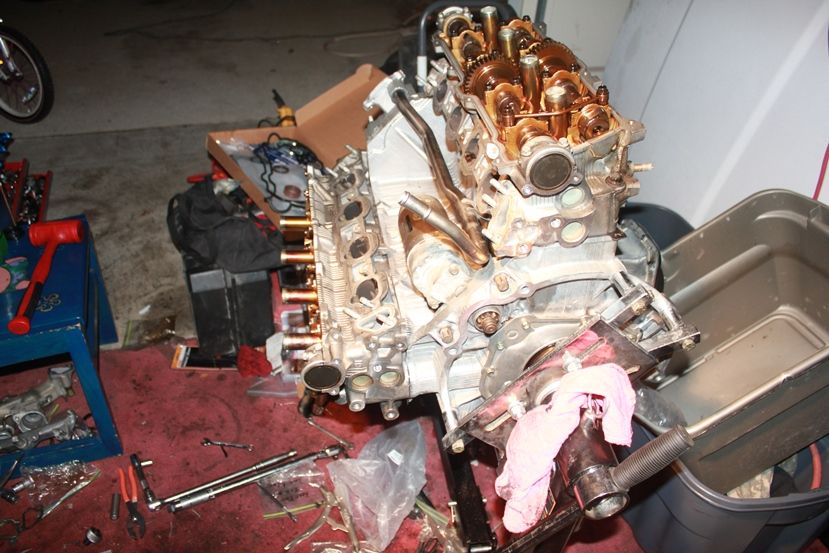
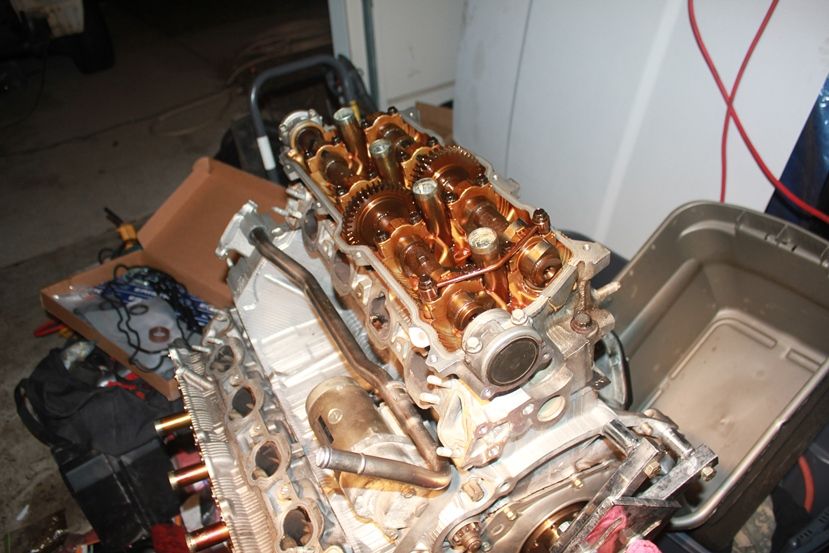
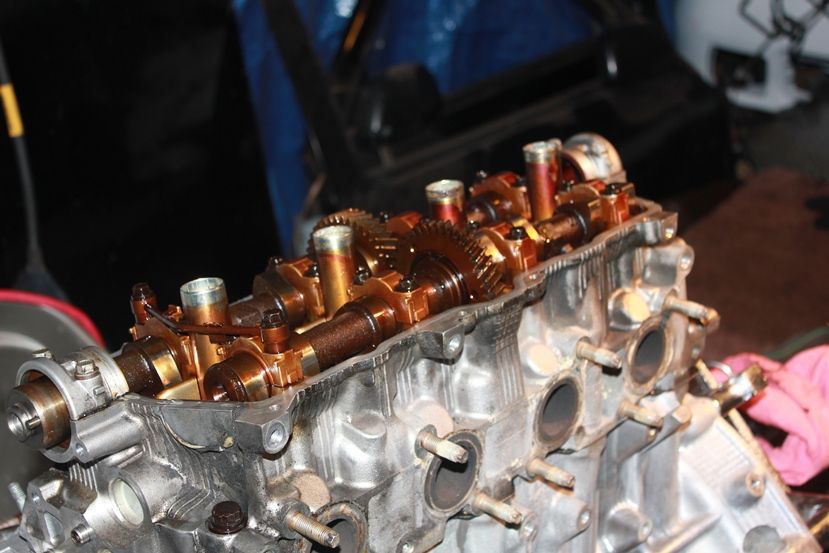
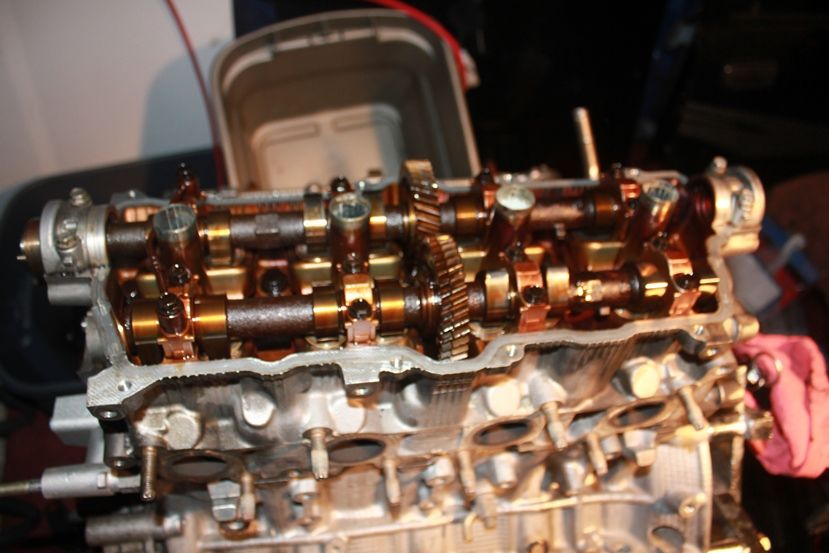
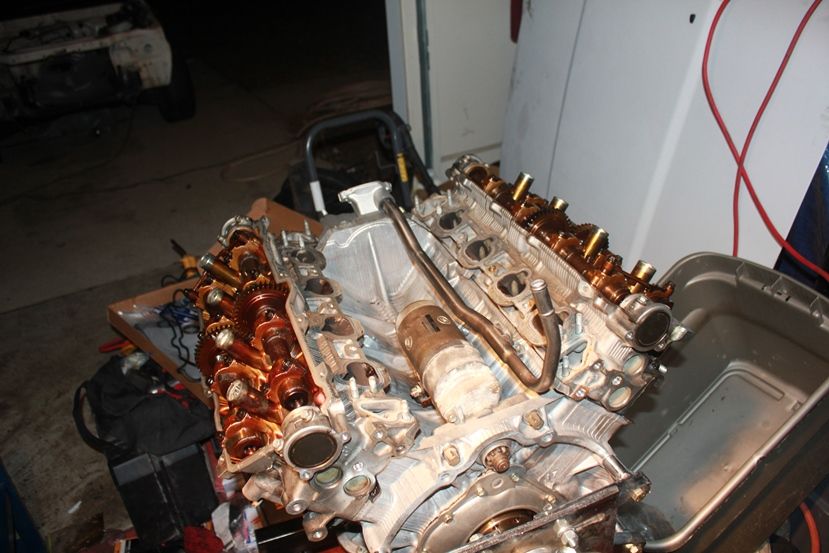
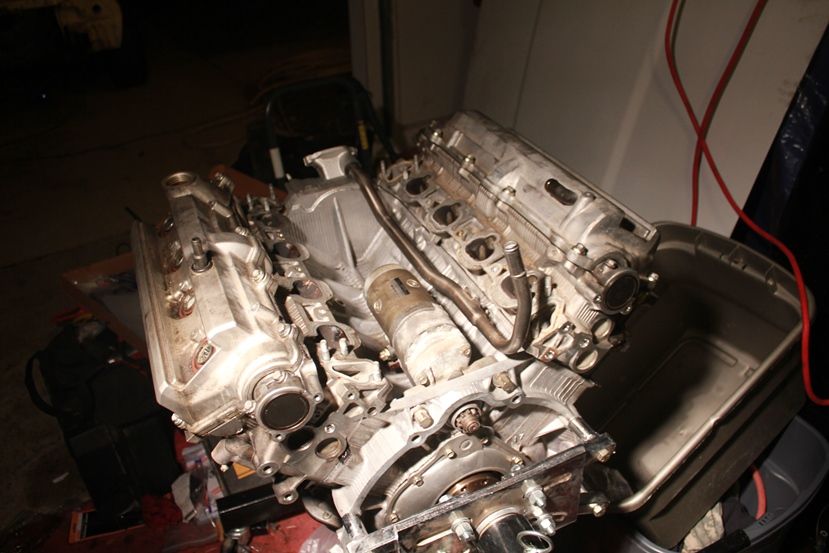
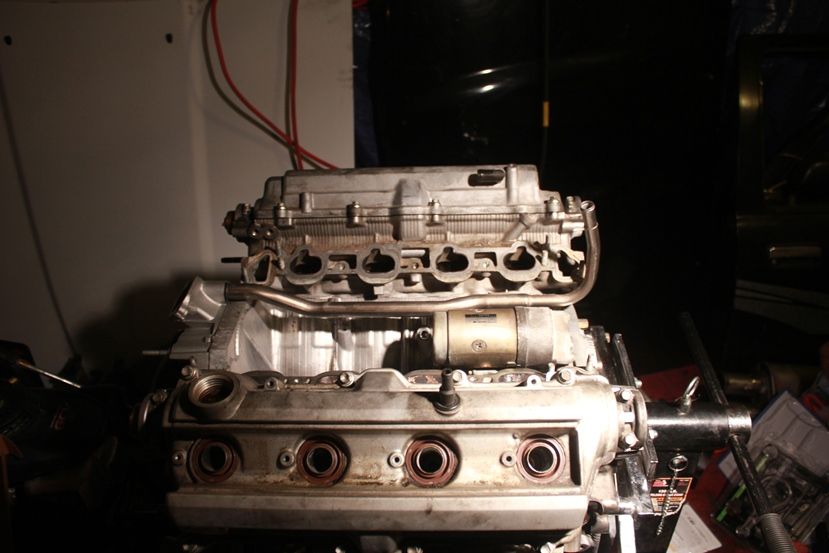
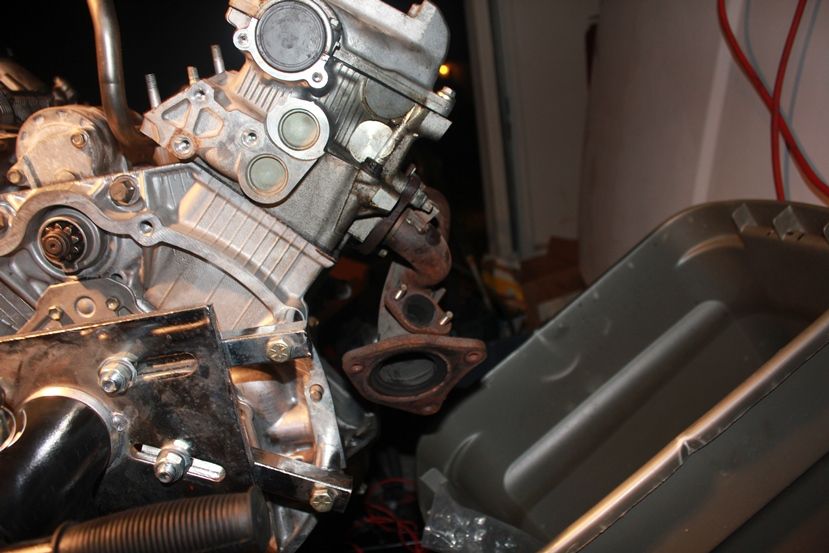
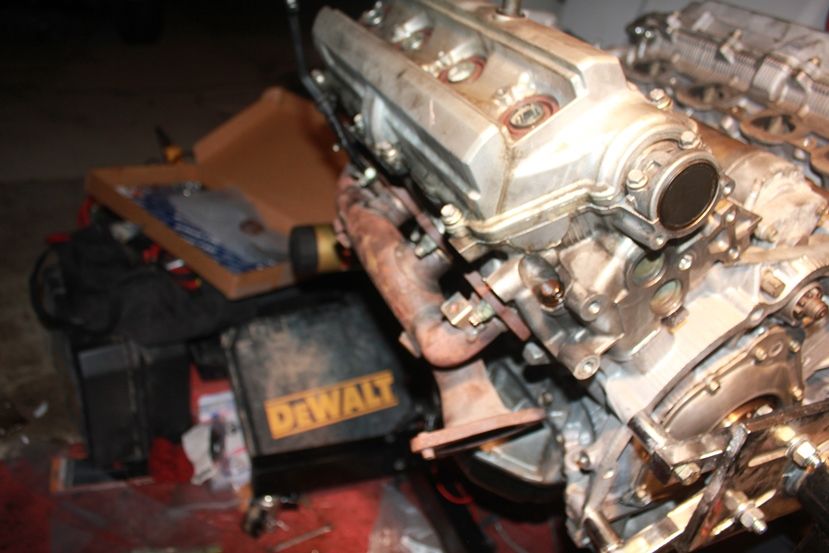
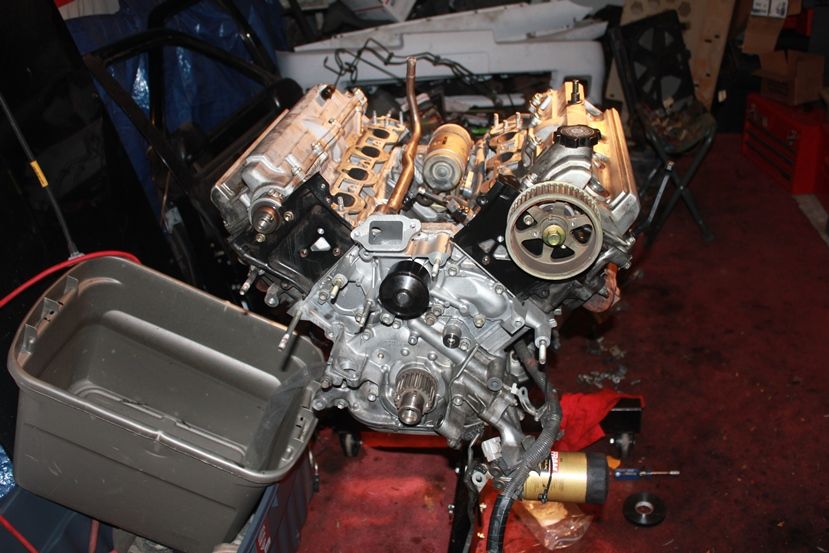
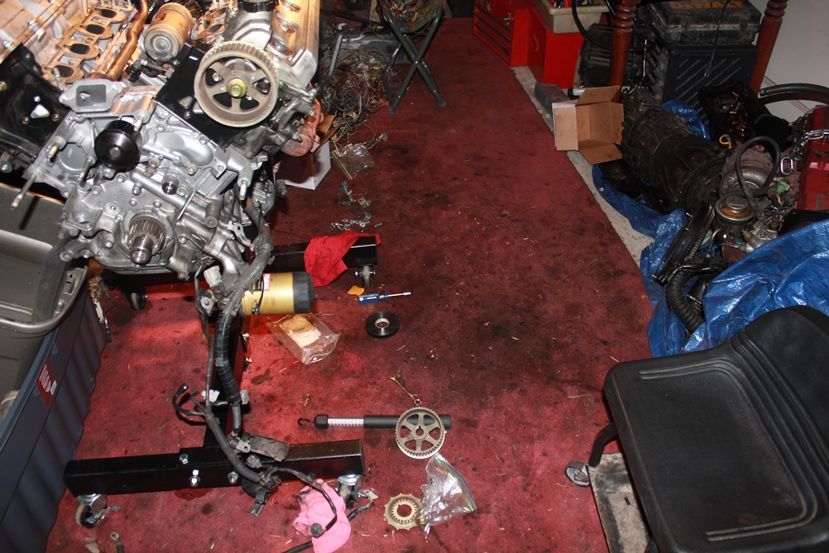
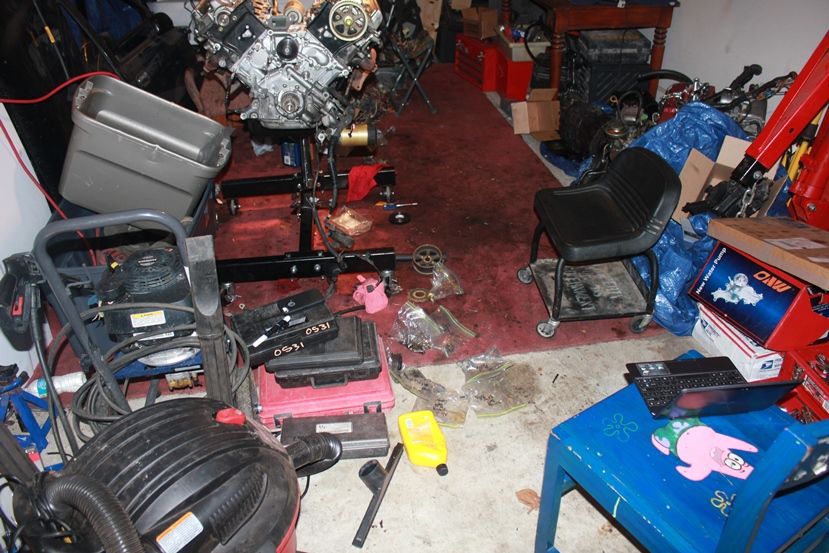
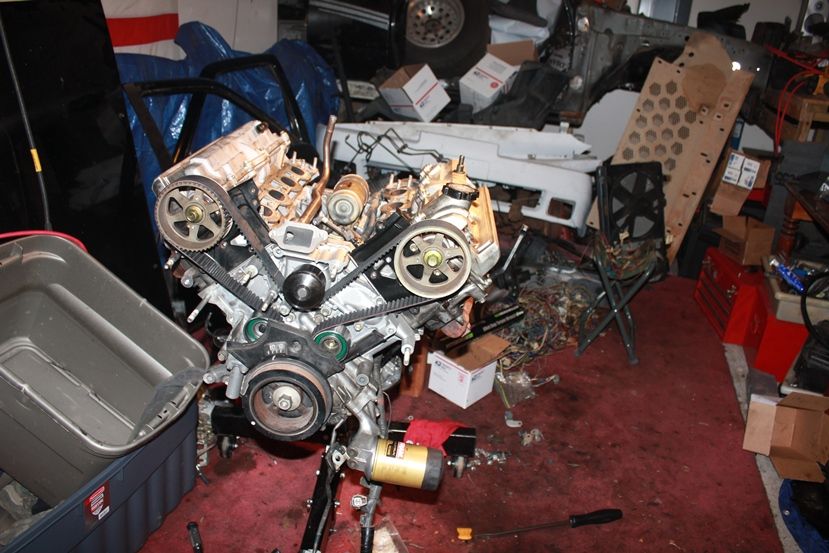
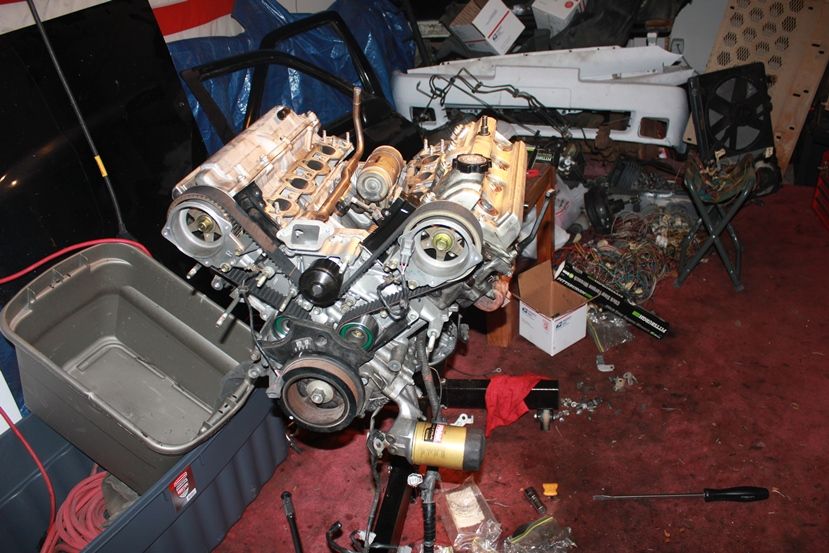
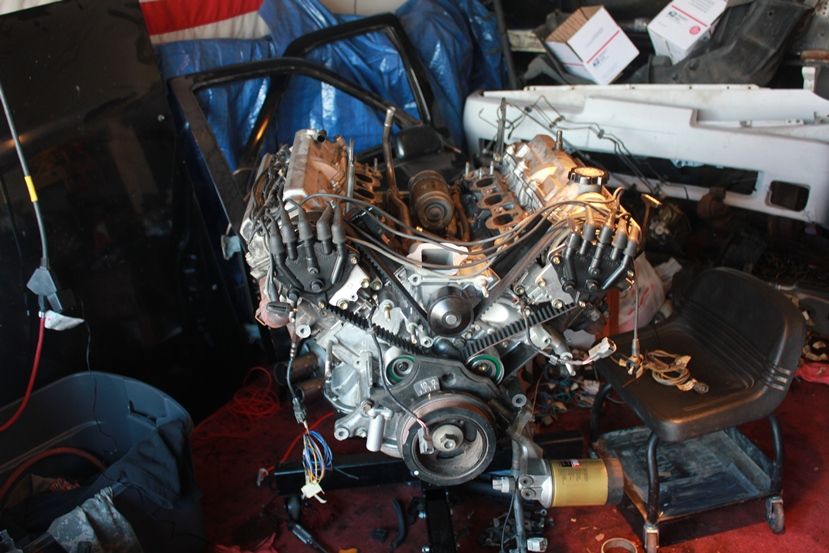
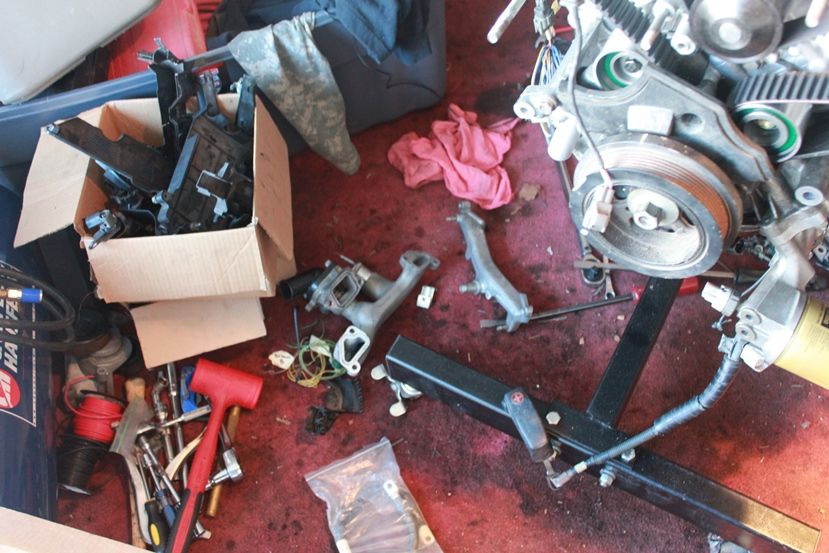
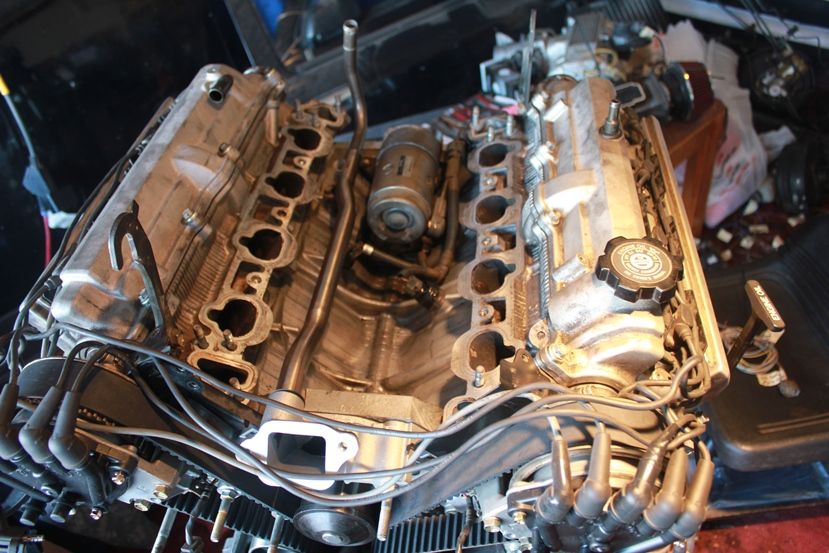
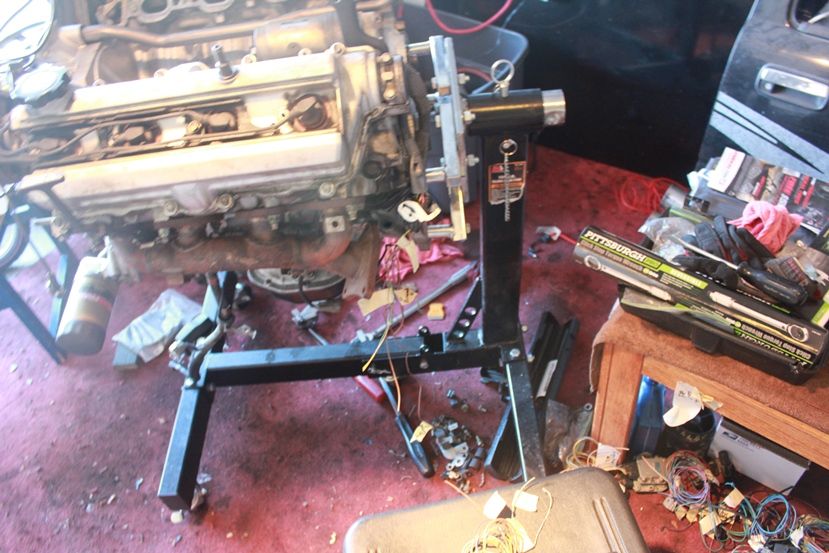
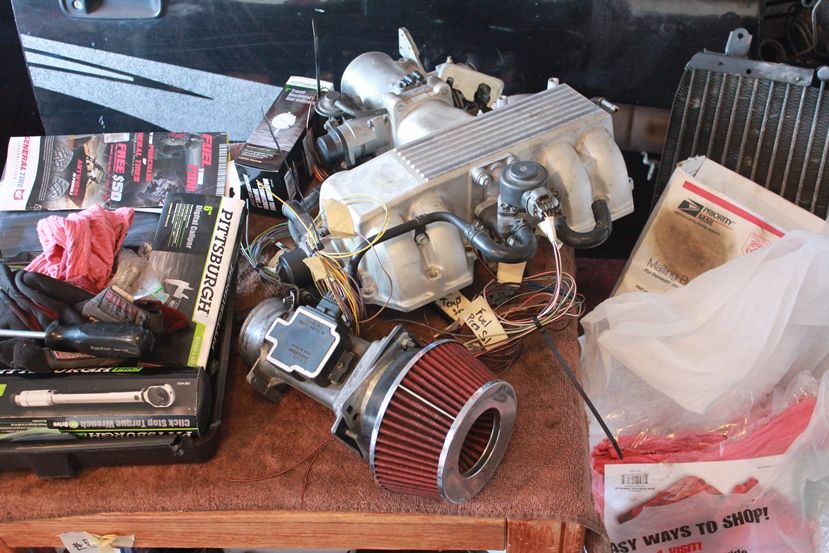
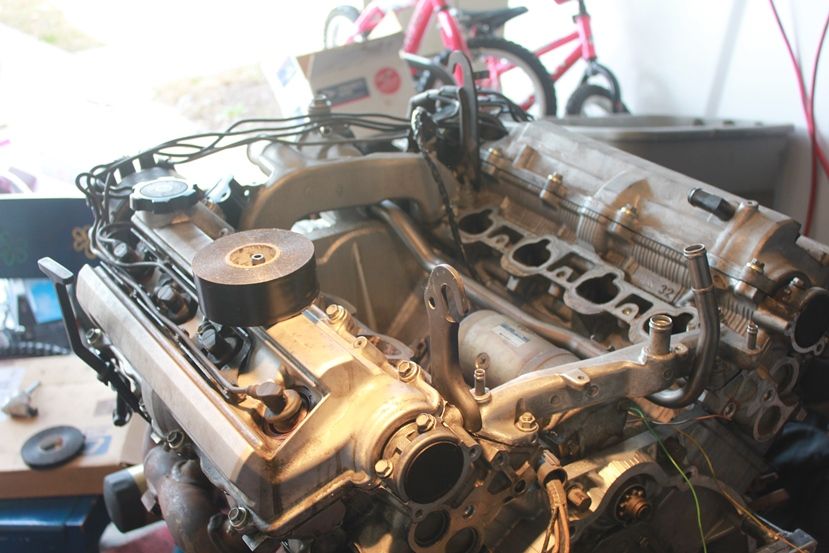
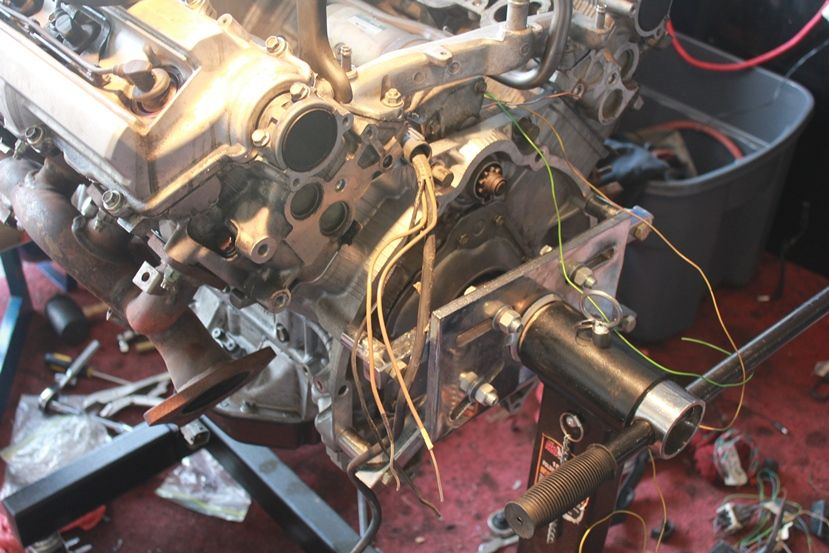
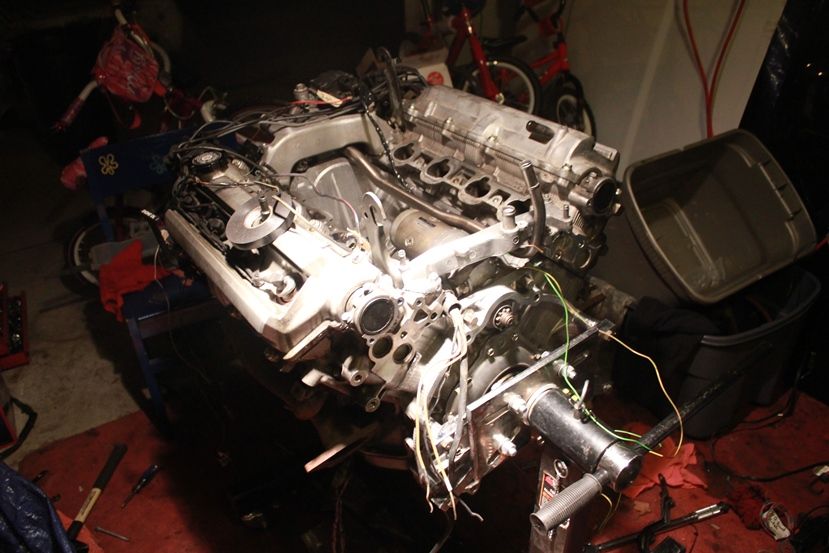
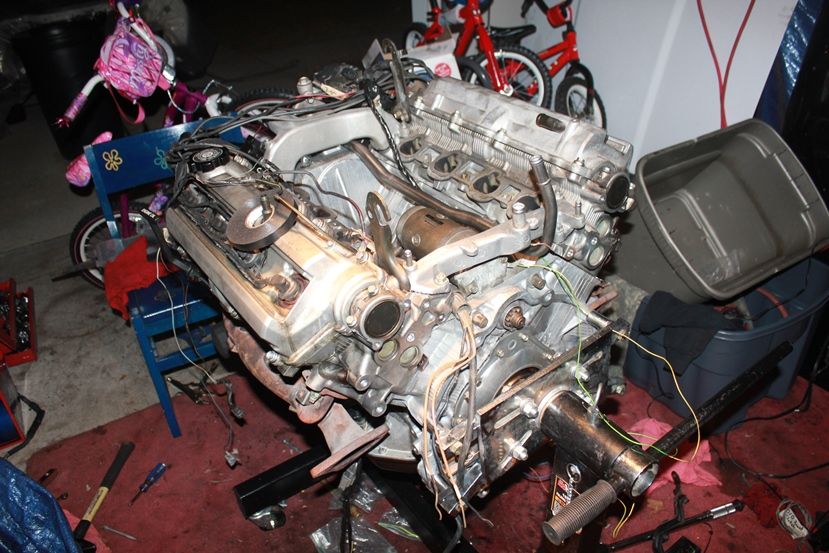
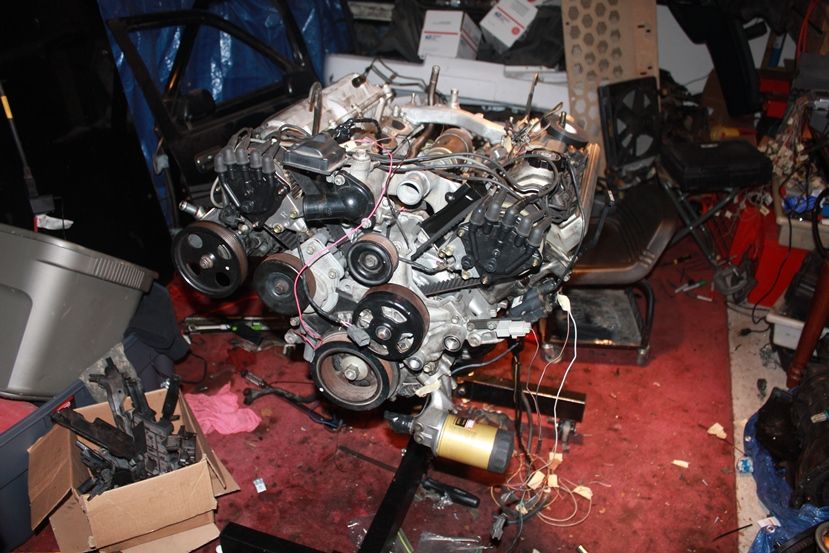
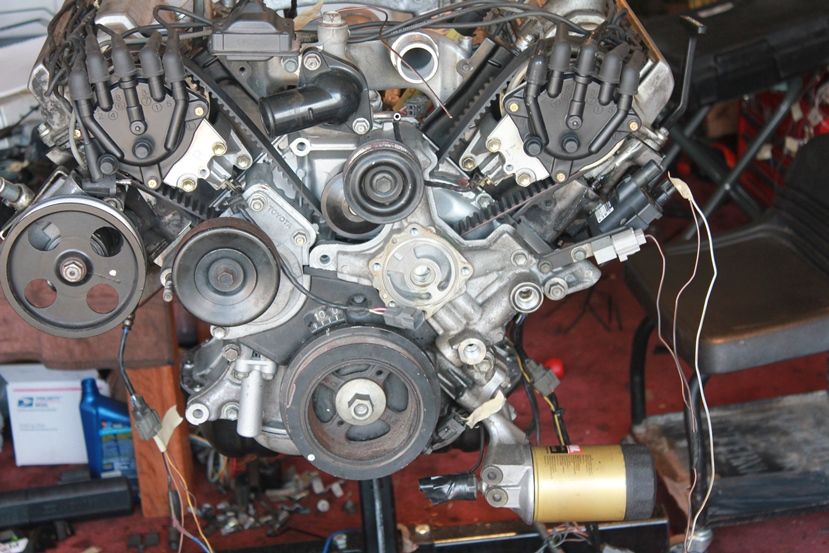
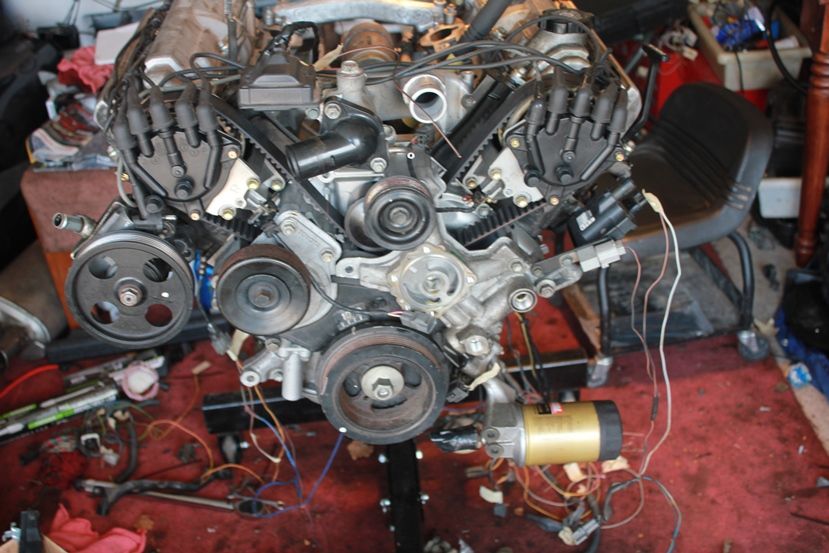
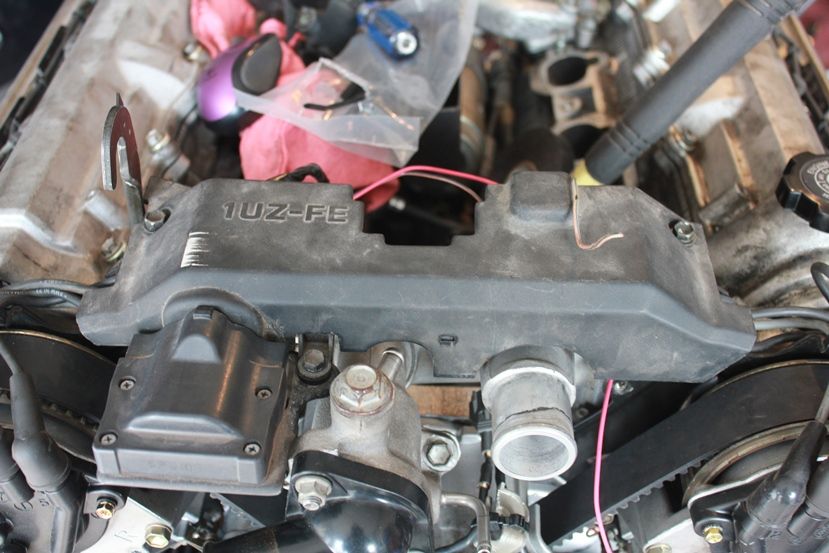
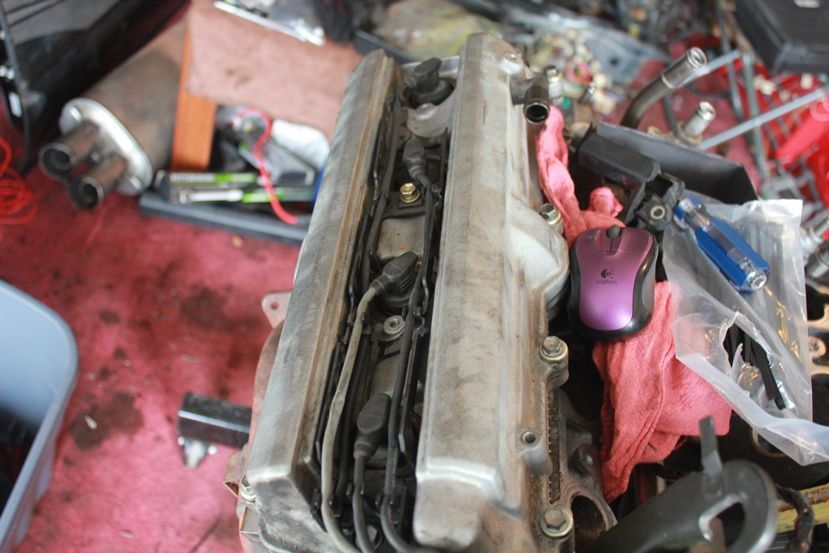
Well, as you saw I have the engine completely torn down. Sadly, a few of my tools are not here. Specifically the measurement tools I need...like the straight edge, and my bore gauge, since I want to do this right I am not about to go without properly measuring everything to ensure correct fitment. Putting the engine back together is mostly on hold until I can get my tools back. Until then, I still need to clean up the engine, and all the parts. So that is what I will be doing in the mean time.

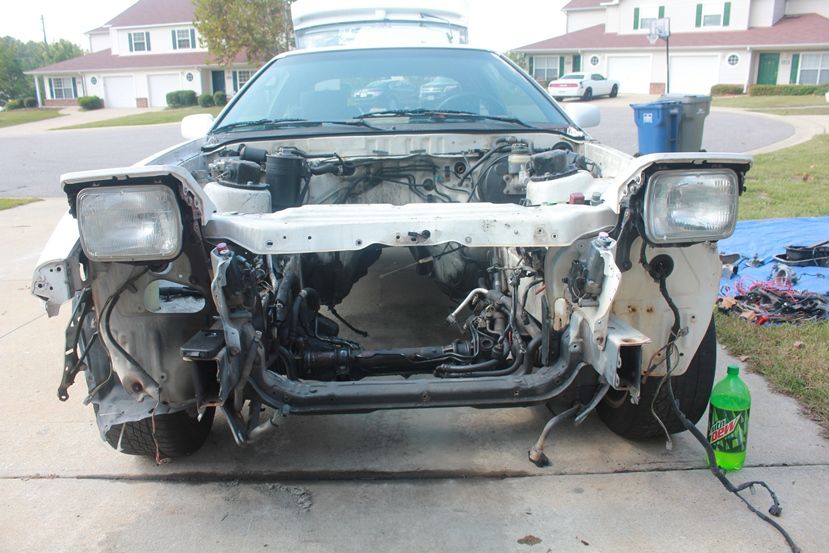
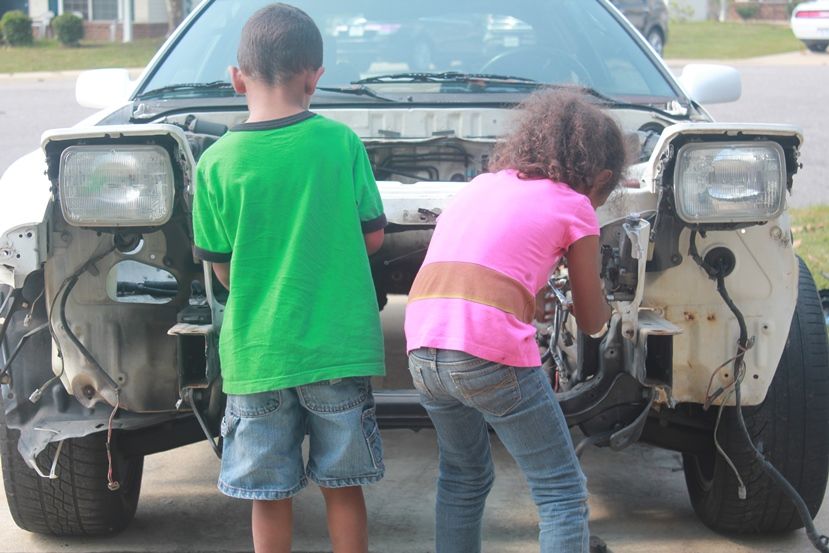
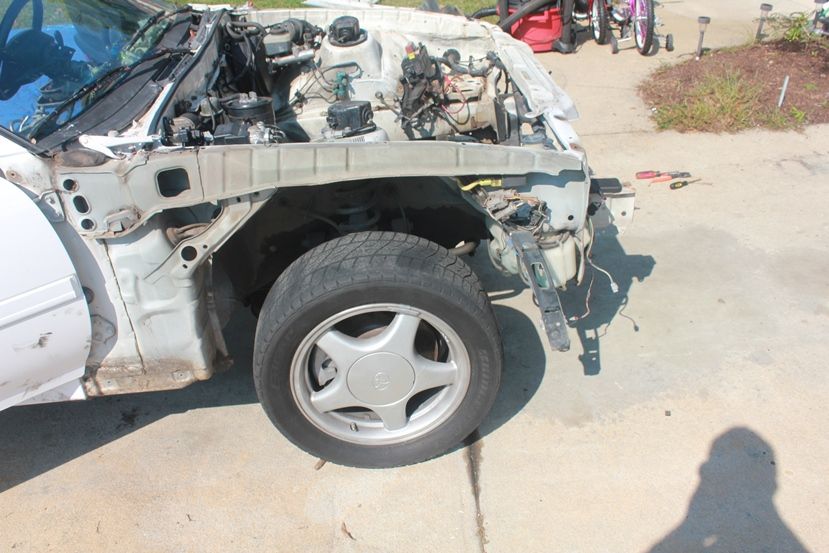
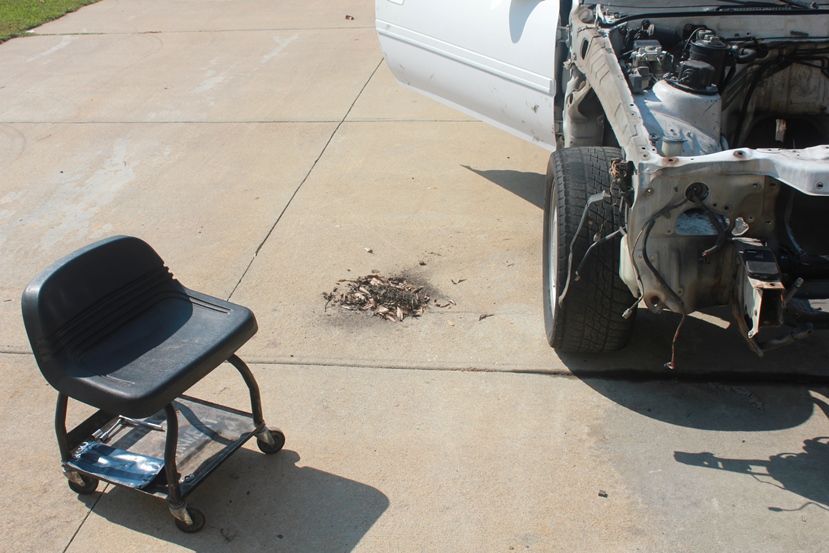
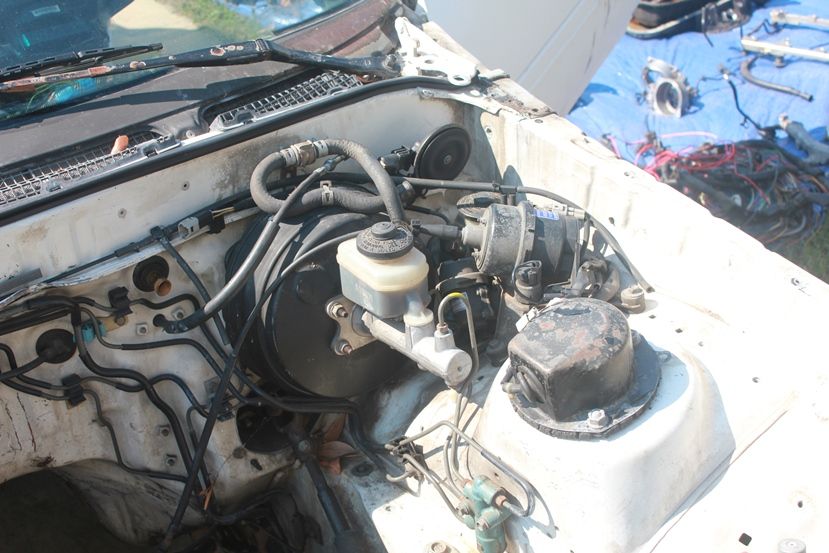
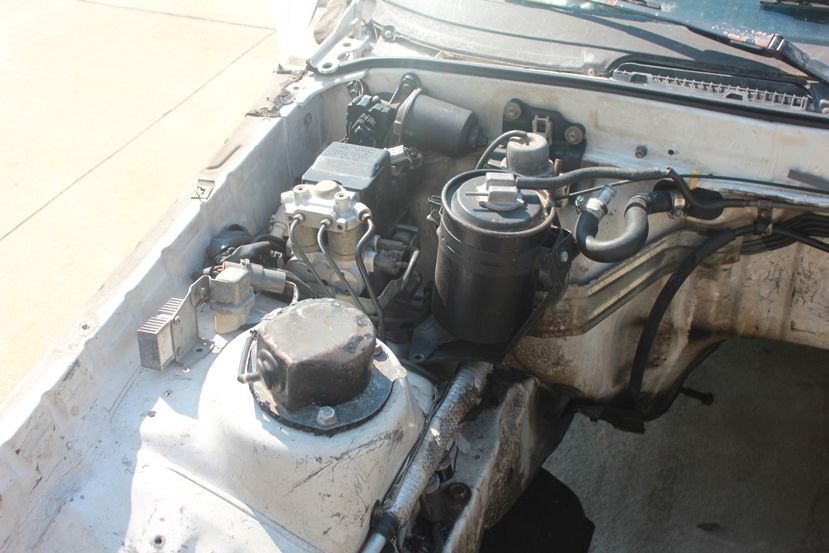
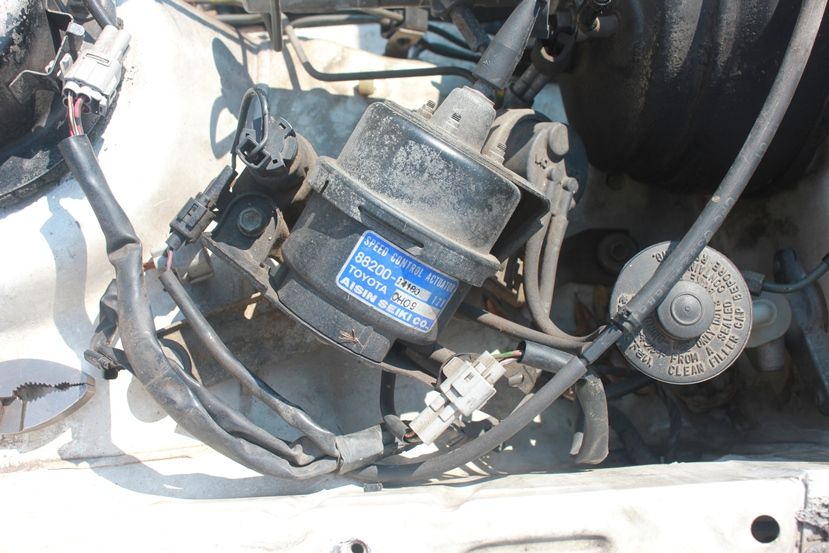
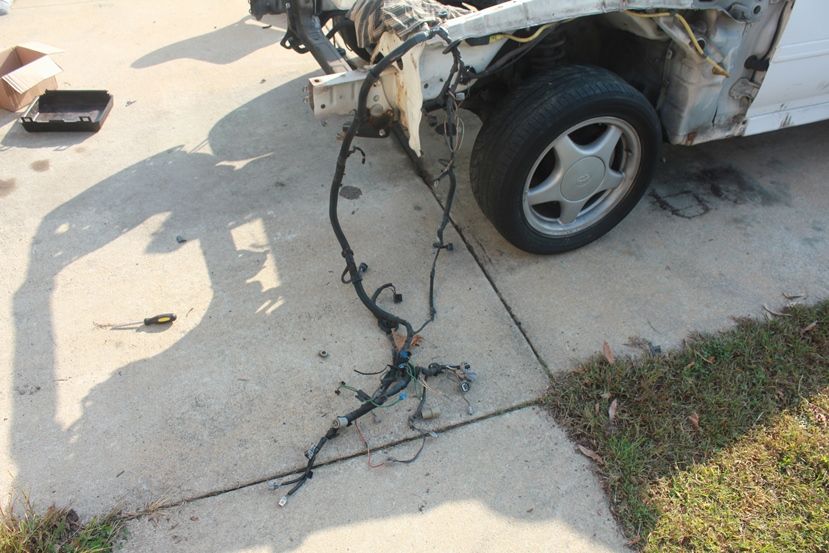
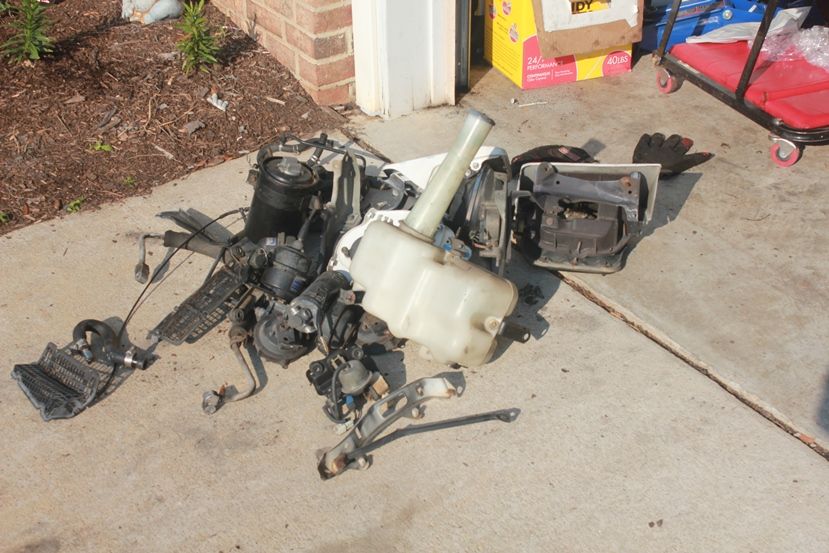
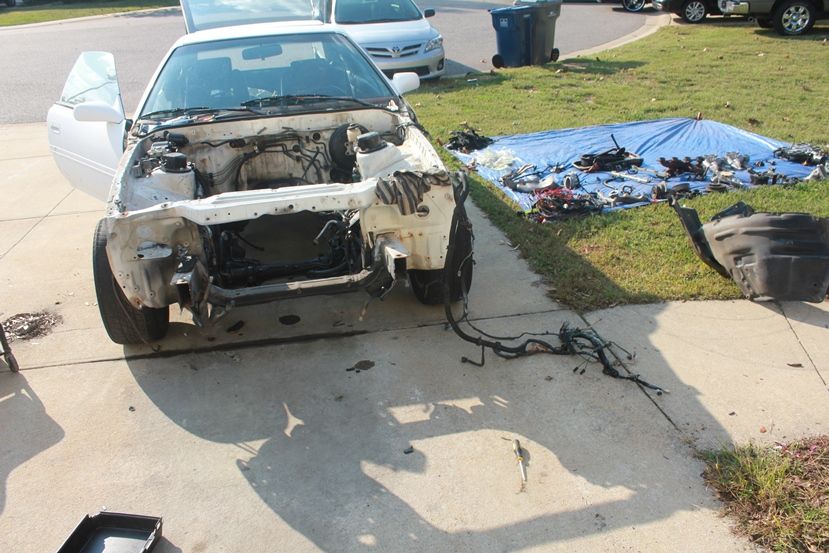
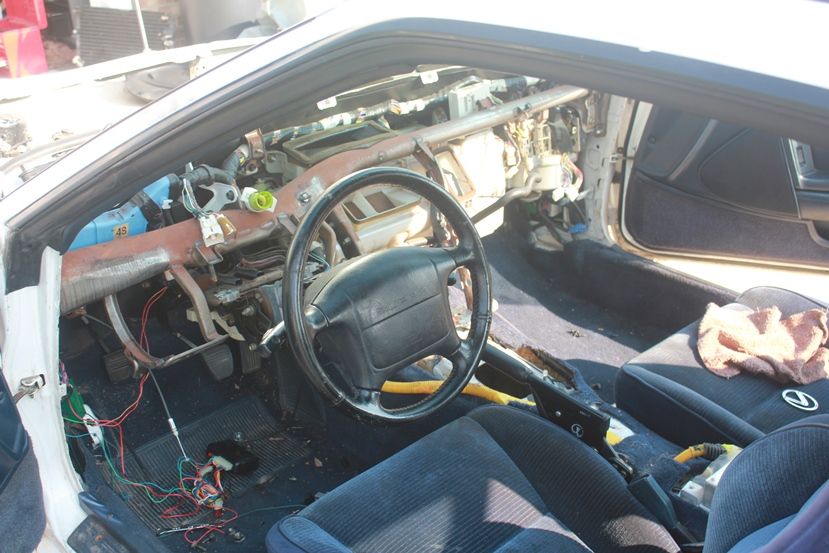
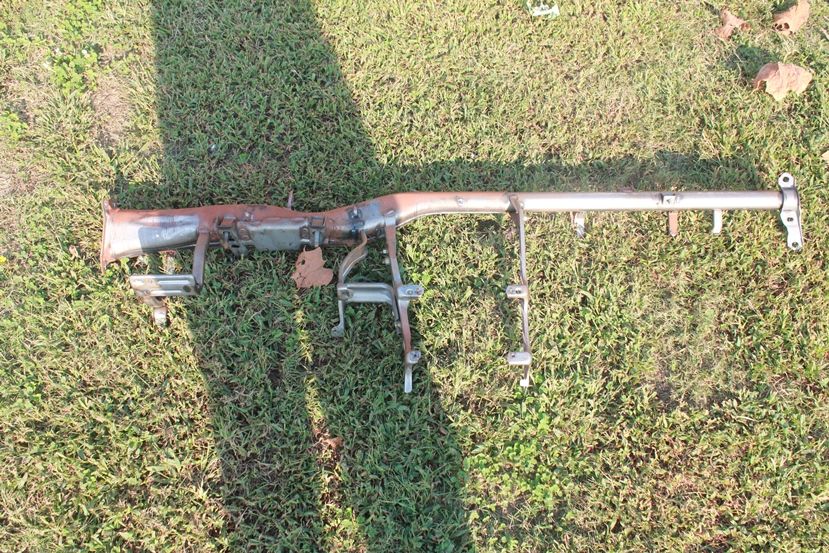
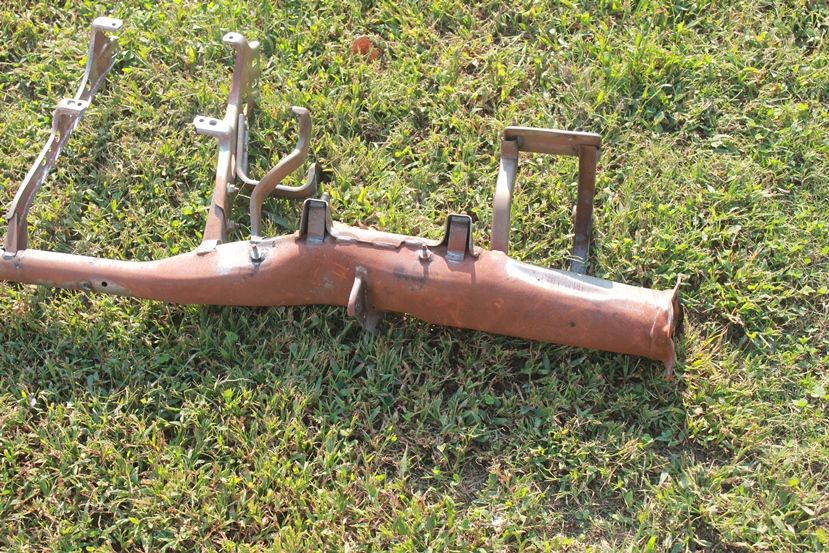
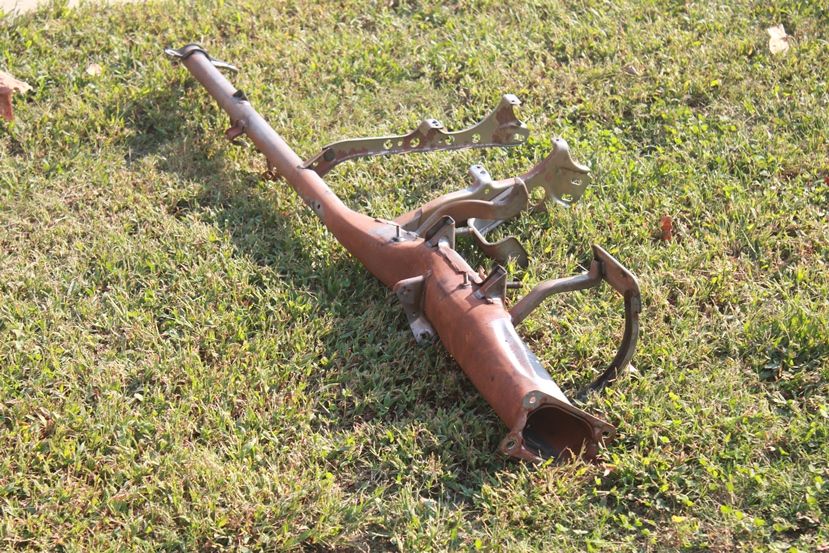
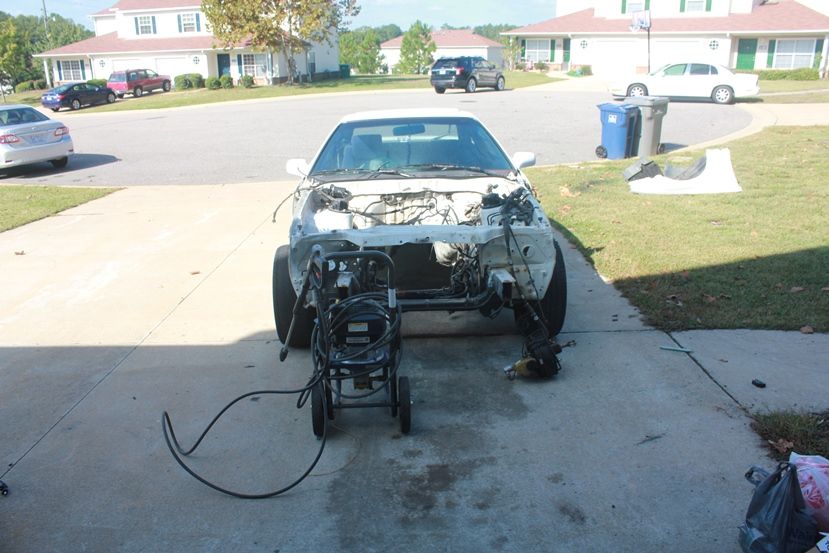
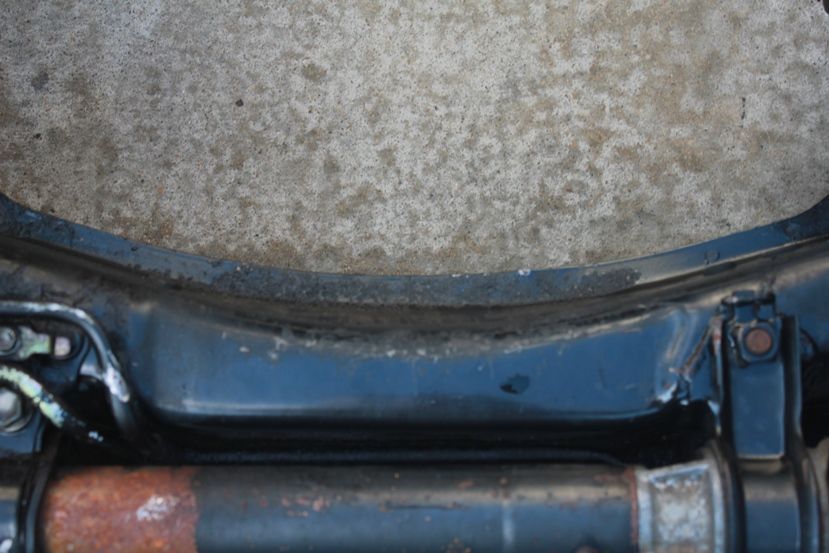
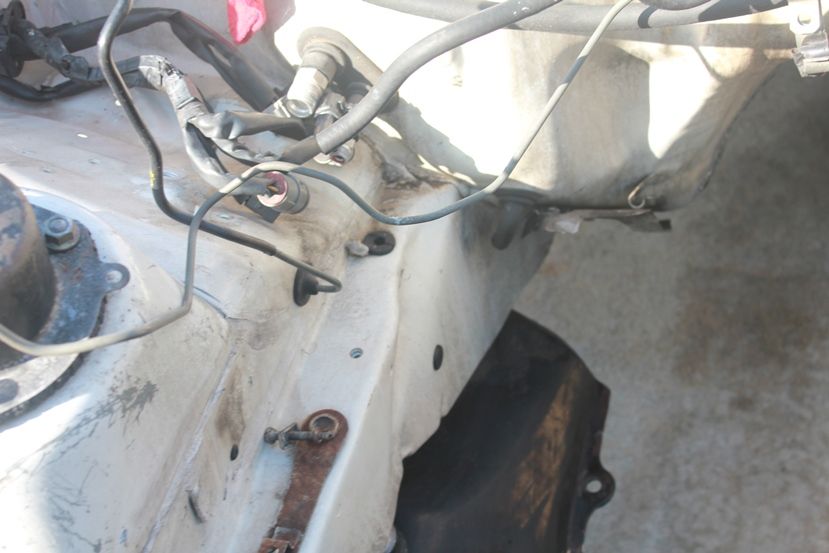
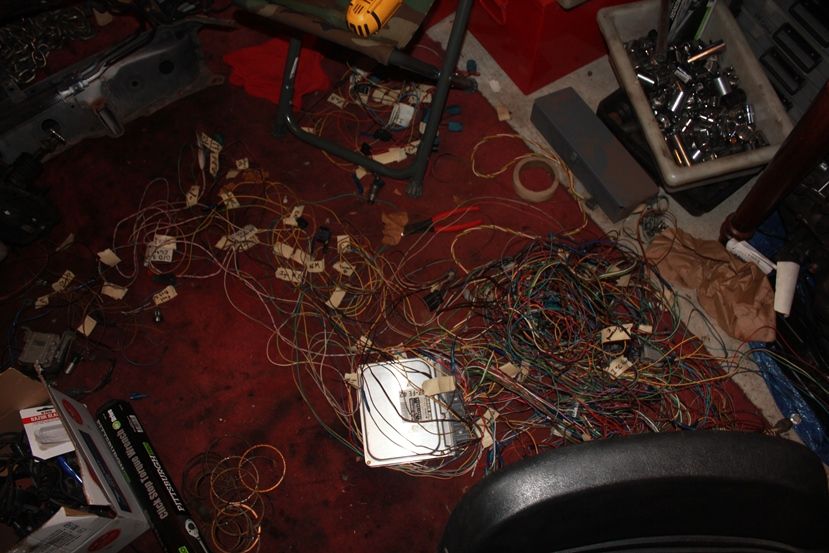
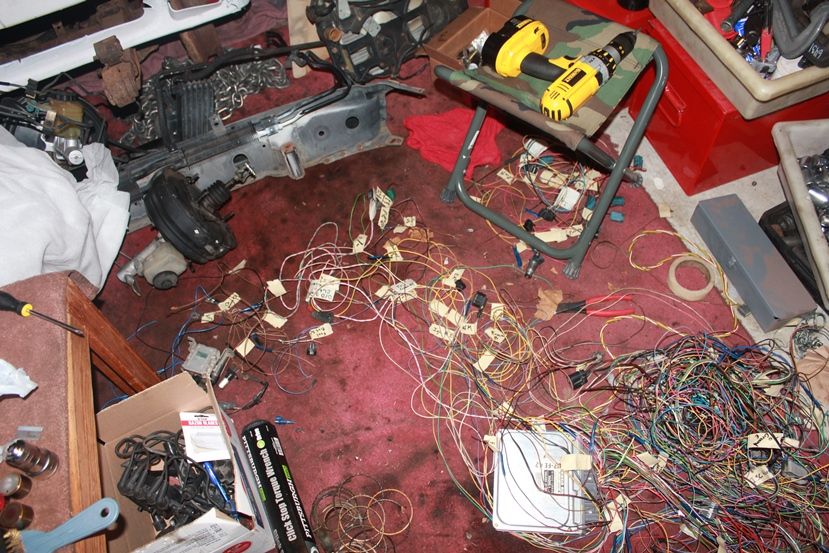
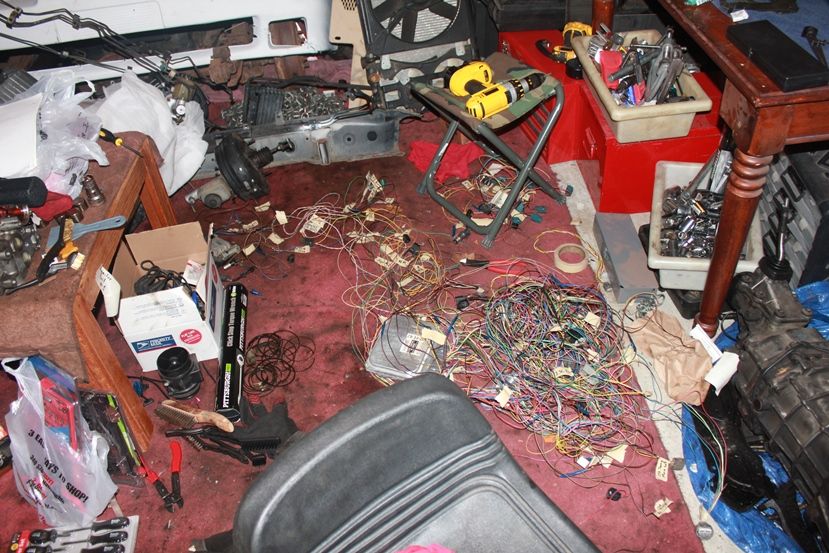
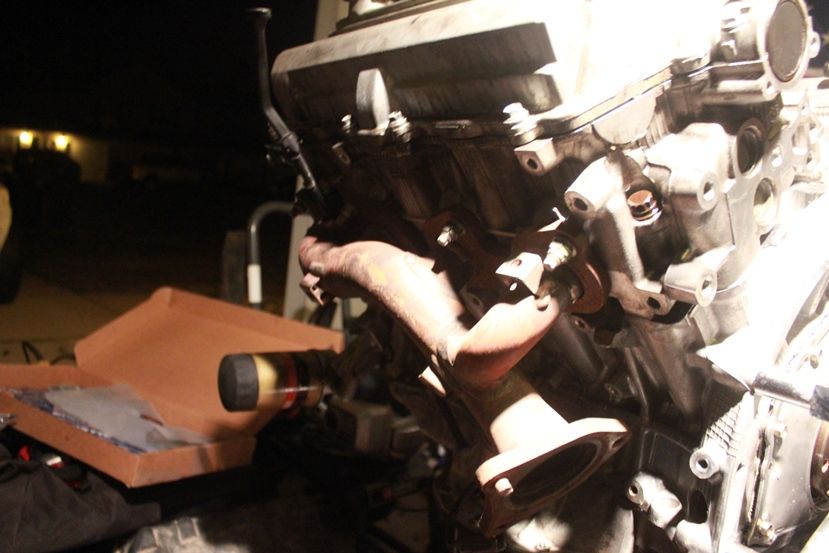
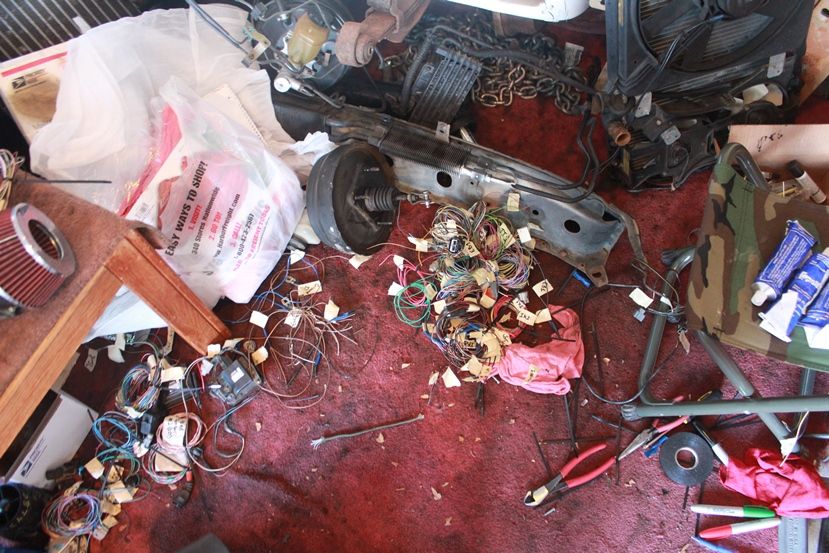
What I did get done, was the engine bay strip. I got all the parts pulled off the front end and pulled pretty much everything out of the bay. Then I sprayed some heavy duty simple green and power washed it. The simple green worked pretty well, but I picked up an actually degreaser and I am going to spray it again later. You guys know how the grease can accumulate in 21 years, and then with the pouring oil after it threw a rod it was pretty bad. So I will get some pictures up of the tear down as soon as I can.

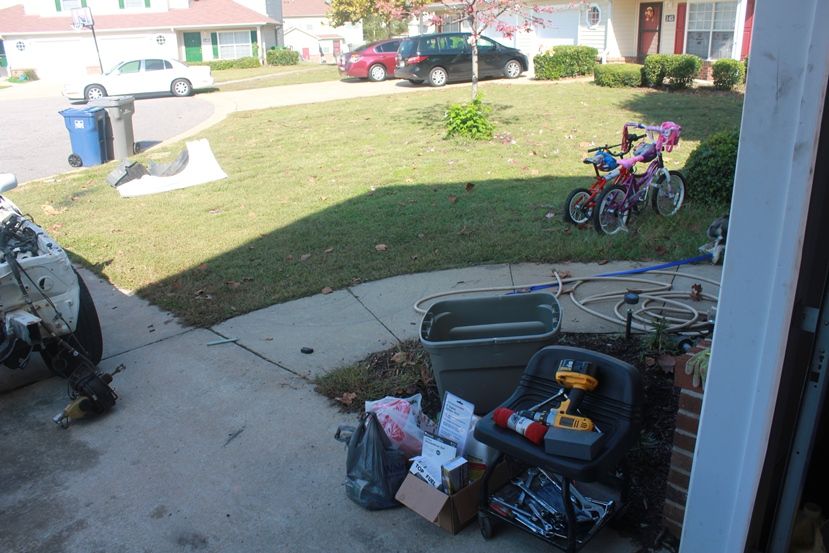
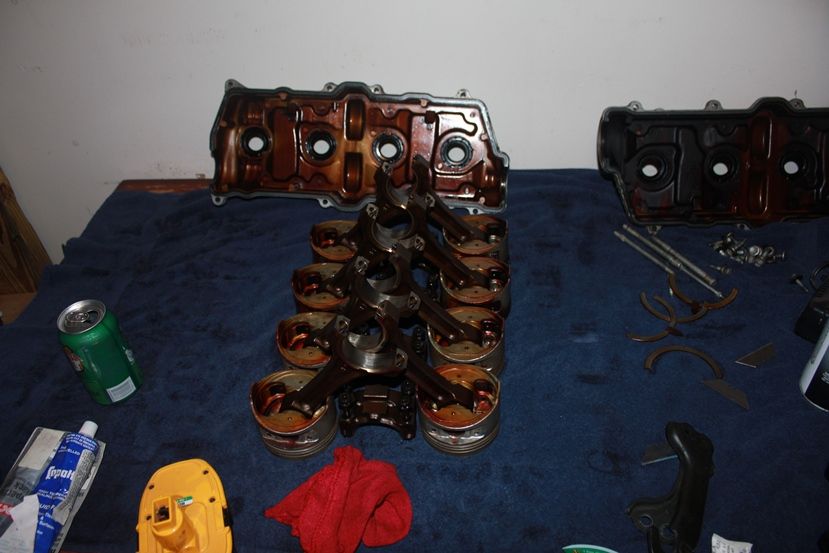
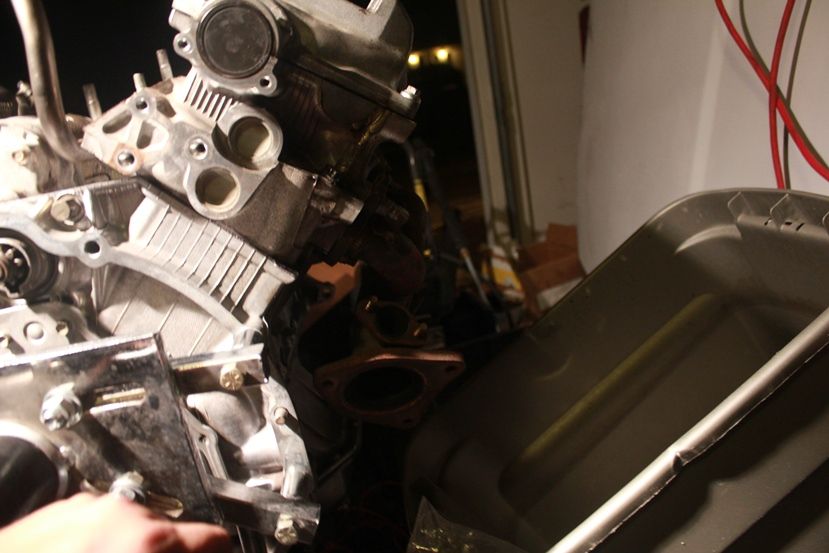
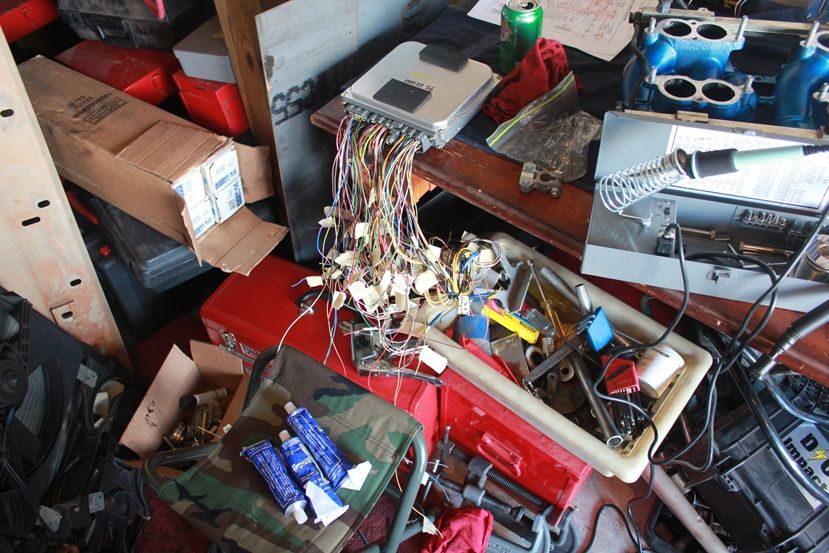
So here is what I have next. I got a bucket, and I am going to heat some water up and wash pretty much all the engine parts with some hot water degreaser and a nylon bristle brush and rags....oh lots of fun...I know! lmao

Okay, I will update again soon. Thanks guys.
 

iamsuprman13

New Member
Sep 9, 2012
43
0
0
34
JBLM, WA
Sorry for the late update. I have been so stupid busy and then after I do get some work done on the engine, I decide to just go to sleep instead of posting...sorry guys.

So I am just going to throw some pictures at you to get you up to speed.

p1884314_1.jpg


p1884314_2.jpg


p1884314_3.jpg


p1884314_4.jpg


The kids were posing again...so I just snapped a couple.

p1884314_5.jpg


Mountain Dew makes the world go round.

p1884314_6.jpg


p1884314_7.jpg


p1884314_8.jpg


p1884314_9.jpg


p1884314_10.jpg


p1884314_11.jpg


So I pulled off the other fender and I found a whole pile of dirt and debris, and it that debris was a socket, as well as this craftsman 10mm combo wrench...

p1884314_12.jpg


p1884314_13.jpg


I pulled everything out.

p1884314_14.jpg


p1884314_15.jpg


p1884314_16.jpg


p1884314_17.jpg


p1884314_18.jpg


The piles of stuff always grows...

p1884314_19.jpg


p1884314_20.jpg


p1884314_21.jpg


p1884314_22.jpg


p1884314_23.jpg


p1884314_24.jpg


p1884314_25.jpg


p1884314_26.jpg


p1884314_27.jpg


p1884314_28.jpg


So rusty, I guess I forgot to grab pics from after I painted the bar...

p1884314_29.jpg


p1884314_30.jpg


p1884314_31.jpg


p1884314_32.jpg


p1884314_33.jpg


So that was up to date, at least the last two days...I will post again in a little while to continue what I have been doing! Thanks.
 

Chambers

Now you know
Sep 9, 2007
981
0
0
34
Baltimore County, Maryland
Are you going to keep the engine bay white?

Dude, that garage is packed hoarder style! hahaha My shop used to be like that, I got fed up with it knocked down a wall threw everything out and put a new garge door in.
 

iamsuprman13

New Member
Sep 9, 2012
43
0
0
34
JBLM, WA
I am planning on painting it black. Yeah my garage is pretty packed...I have way too much stuff for a one car garage. I can't wait to move into a house with a bigger garage.
 

iamsuprman13

New Member
Sep 9, 2012
43
0
0
34
JBLM, WA
Well I have another update.

So I have been working on both the wiring and the engine, putting it back together.

p1884423_1.jpg


I have the crank already put back in. Sadly it took me two days to put the crank in because I got it in and then realized that I was missing my torque wrench.

p1884423_2.jpg


p1884423_3.jpg


p1884423_4.jpg


Here is some of the wiring I have been working on. It is a mess, taking a while to do it.

p1884423_5.jpg


p1884423_6.jpg


p1884423_7.jpg


p1884423_8.jpg


p1884423_9.jpg


p1884423_10.jpg


I cleaned up four of the pistons last night, I need to clean the other four tonight.

p1884423_11.jpg


p1884423_12.jpg


So I have been working on a little of everything and alot of nothing. Sadly with being back in work now....(btw did I mention I hate my unit)...I have had little to no time to do anything. Hopefully in the next couple days I can have the engine put back together, and then I can get the wiring completed so all I will have to wait for is my bellhousing, flywheel, clutch, and a few other small parts.
 

iamsuprman13

New Member
Sep 9, 2012
43
0
0
34
JBLM, WA
I am taking it apart and putting it back together organized...i am ocd about certain things...and once i get the ocd bug about something i cant help it...i know you cant tell from my garage but you guys havent seen how many times i have pulled everything out of my garage and put it all back in more organized...only for it to fall into disarray once again...

Well anyway...

When i started going through it i realized that so many of the wires were routed in the most ridiculous way possible. So i decided to rewire the ecu so that 1 it is more organized...2 it is routed exactly how i want it...
 

Chambers

Now you know
Sep 9, 2007
981
0
0
34
Baltimore County, Maryland
Ohh jeeze... You really should test fit it all before you do anything major. While your at it, consider making the dash wires shorter so you can mount the ECU in the stock location.

As for the black engine bay, do like I did if you want a quick finish. POR-15. I got a quart of black, did a quick sanding, and then went to down with a foam brush. It layed down very well, that is untill the waste oil heater above the car blew particulate all over the drying paint...
 

iamsuprman13

New Member
Sep 9, 2012
43
0
0
34
JBLM, WA
well I had to do something with it. So I am just taking it slow and doing it right...

So got the whole rotating assembly put it, and worked on cleaning up the heads.
 

Grandavi

Active Member
Sep 25, 2008
2,663
5
38
Calgary, Alberta, Canada
great thread. Your lucky.. if I did that in the front drive at my house... the city would tow the car away within 24 hours. (its also illegal to park your car in the rear alley in Calgary.. lol)
 

iamsuprman13

New Member
Sep 9, 2012
43
0
0
34
JBLM, WA
Its funny that you say that...i live on post at fort bragg and technically the rules say that you are not supposed to so much as change your oil. However 5 years i have been working on my cars and changing engines and pulling things apart and noone has said anything to me. Sometimes it is ridiculous too like my truck was a stripped cab and frame sitting in the driveway and nothing... Lmao
 

T3rril79

Member
Dec 10, 2010
246
0
16
Huntsville Alabama
Haha, I bet they just treat it like out "just pretend it's not there and it doesn't exist". At least that's how my mom handles it. She's the only one that I hear complaints from while we're building our cars out here in the country.
 

iamsuprman13

New Member
Sep 9, 2012
43
0
0
34
JBLM, WA
My wife complains constantly...

She absolutely hates that i do this stuff in the driveway and garage in the open. Of course now since i have two projects she is even more mad.
 

Beals

JZA70 TT-R
Feb 3, 2009
591
0
16
Alberta, Canada
ahh I;'m so jealous, my friend just bought a sc400 with a v8 and he has a soarer also with a 1jz like my supra and I would rather of had the extra two cylinders then the turbos. Are you planning on turboing this block or leaving it N/A? the mk3 has always looked more like a muscle car to me, kind of fitting as a pony car like a transam or camaro so a v8 would be perfect
 

iamsuprman13

New Member
Sep 9, 2012
43
0
0
34
JBLM, WA
I dont know yet what I am going to do to it. I would eventually like to turbo it. But I want to build the motor first if I do that. After I get it in and running. I am going to focus on the little things to get the car back into excellent condition. Right now it looks pretty rough, the P.O. rattled it white over the original white. He didn't do a very good job either...thankfully I don't want to keep it white, so it is okay.
 

iamsuprman13

New Member
Sep 9, 2012
43
0
0
34
JBLM, WA
So got another update, however, I can't add pictures yet, since my I broke my laptop cord. I will edit the pics on my desktop later and update again with the pics. Also I didn't take as many pics of the progress as I normally do. Normally I take step by step pics, well today I was in the zone and forgot to take pics until I was way far into it.

Well today I got alot done, especially considering I only worked for about 3 1/2 hours today. With breaks for both dinner and restroom...lmao

I got the heads on with the new head gaskets, camshafts in, valve covers with new valve cover gaskets as well as all new spark plug tube seals, new camshaft seals, exhaust manifolds on with new exhaust gaskets, (however, I am gonna be pulling the manifolds back off soon, I am gonna both paint them with some black exhaust paint, and wrap them in titanium wrap. I am gonna remove the heat shield brackets, and I might even end up cutting the flanges off. So that I can mock up new flanges for the exhaust system. Also I need to cut my plates for the EGR delete.) I am making the EGR delete plates myself, because 1 I have a plasma cutter, torch sets w/ gas, and a grinder...so cutting isn't an issue and 2 I don't feel like I need to spend 100 dollars on the kit when I can do it myself. I need that 100 elsewhere, turns out the complete rebuild gasket set, leaves out a shitload of gaskets for the rebuild. For example, the water bypass pipes, the o-rings for the oil pump and the rear seal plate, the oil pickup gasket, and the rear main seal, (but it has the front main seal) it is quite annoying...so yeah, I need to either get those gaskets or RTV them...they are originally metal gaskets with an inner rubber ring, so I don't think RTV will quite cut it...So I have to wait for the bypass pipe until I can order those...I also need to order the rear main seal...as well as a few other small items...another thing that really annoyed me about the rebuild kit was the complete lack of any kind of literature...no instructions, no part list, there is a bunch of o-rings that I have no idea what they go to, as well as a few other things...also the gaskets for the most part are not marked top or bottom, I am going with deductive reasoning and past experience here for those...But I guess that is what I get when I order a cheap rebuild kit...hopefully in the future when I decide to really build the engine, I can get a really good set...

Also I got the starter on, so I tested the starter a couple weeks ago and it wasn't working so I was afraid I was gonna have to replace that too...which is kinda expensive...considering the other expensive shit I still have to buy...well I was going through the wiring diagrams and I was like ohh duh I did it wrong. So i took it back out and retested it and voila it worked like a champ...doh!

I was going to modify the starter bolt up to have it bolt from the front instead of the rear, but I don't feel like doing the work, however, if I ever have to pull the starter I am going to modify the new one...so hopefully I never have too...

Well even though it doesn't really sound like a lot, most of you know how much work all of that really can be. So thanks for keeping up with my progress, and like I said the pictures I did finally take will be posted soon.

Sent from my Transformer Prime TF201 using Xparent Blue Tapatalk 2
 

iamsuprman13

New Member
Sep 9, 2012
43
0
0
34
JBLM, WA
Okay so it has been a little bit since my last update. Well I have gotten some stuff done, but not too incredibly much. I have a few pictures through to show you guys. The biggest thing I have been working on is wiring. I am seting up the engine wiring and while I am at it, I am cleaning it up a bit. Trying to make it as neat as possible. So that when I go back and clean up the wiring for the whole bay it wont be so bad. As much as I wish that I could do alot more to it now, for now I have to just get it running. I have orders to Ft Lewis now, so everything has gotten rushed and I just need to get it done now.

p1889549_1.jpg


p1889549_2.jpg


p1889549_3.jpg


p1889549_4.jpg


p1889549_5.jpg


p1889549_6.jpg


p1889549_7.jpg


p1889549_8.jpg


p1889549_9.jpg


p1889549_10.jpg


p1889549_11.jpg


p1889549_12.jpg


p1889549_13.jpg


p1889549_14.jpg


p1889549_15.jpg


p1889549_16.jpg


p1889549_17.jpg


p1889549_18.jpg


p1889549_19.jpg


p1889549_20.jpg


p1889549_21.jpg


p1889549_22.jpg


p1889549_23.jpg


p1889549_24.jpg


p1889549_25.jpg


p1889549_26.jpg


p1889549_27.jpg


p1889549_28.jpg


p1889549_29.jpg


p1889549_30.jpg


p1889549_31.jpg


p1889549_32.jpg


p1889549_33.jpg


p1889549_34.jpg


p1889549_35.jpg


p1889549_36.jpg


p1889549_37.jpg


p1889549_38.jpg


p1889549_39.jpg


p1889549_40.jpg


p1889549_41.jpg


p1889549_42.jpg


So I hope you enjoyed. The engine is almost ready to get started. I would have this weekend, but some other more important stuff came up so I barely had a chance to work on it.
 

iamsuprman13

New Member
Sep 9, 2012
43
0
0
34
JBLM, WA
Surprisingly not as much as i would have thought and that is on top of the fact that i had to rotate them different than the instructions because the set bolt was hitting the head...so i counted teeth and rotated it..but i checked it afterward and it was all timed right so i am glad it wasnt too difficult...