
88 Blue Turbo restoration/upgrade story
- Thread starter lithium14
- Start date
You are using an out of date browser. It may not display this or other websites correctly.
You should upgrade or use an alternative browser.
You should upgrade or use an alternative browser.
Damn,dude.Your engine bay is cleeeeeeaaaannnnnnnn!!!!For real, you should be proud of how good it looks as nearly stock as it is. When you get it back together again, you should post a pic of it in the Elite Engine Bay thread stickied at the top of the build thread section.
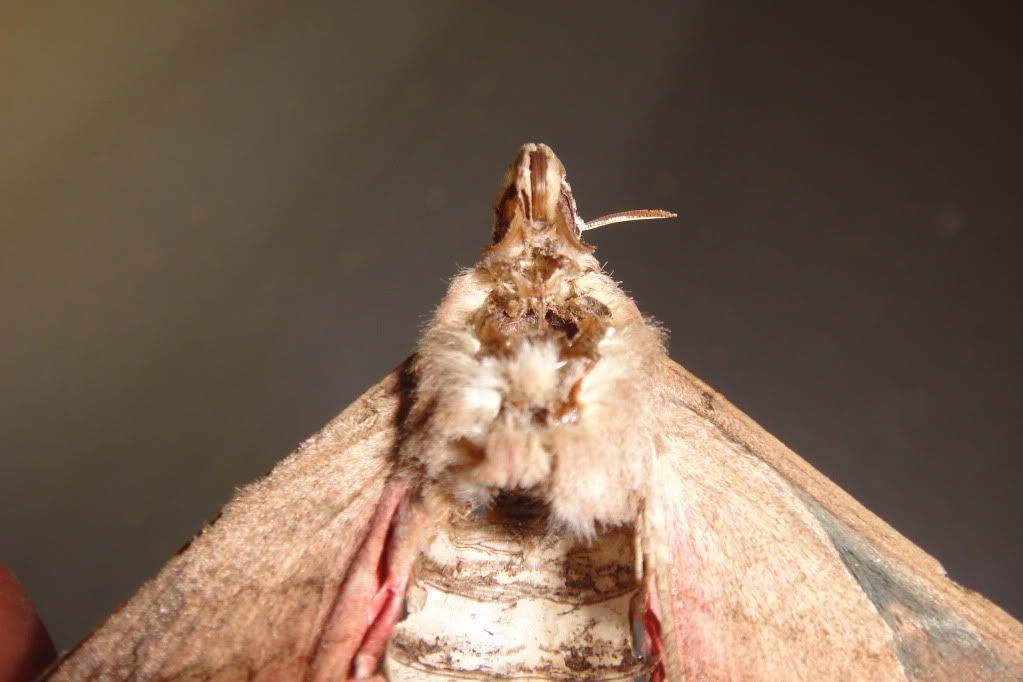
found the remains of the dead moth...
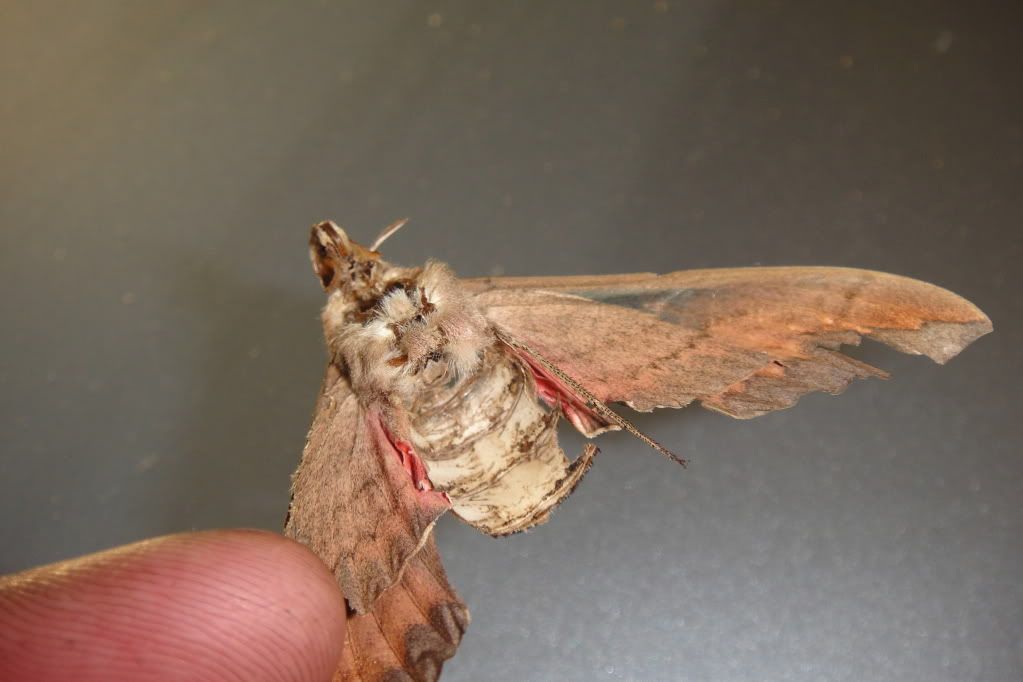
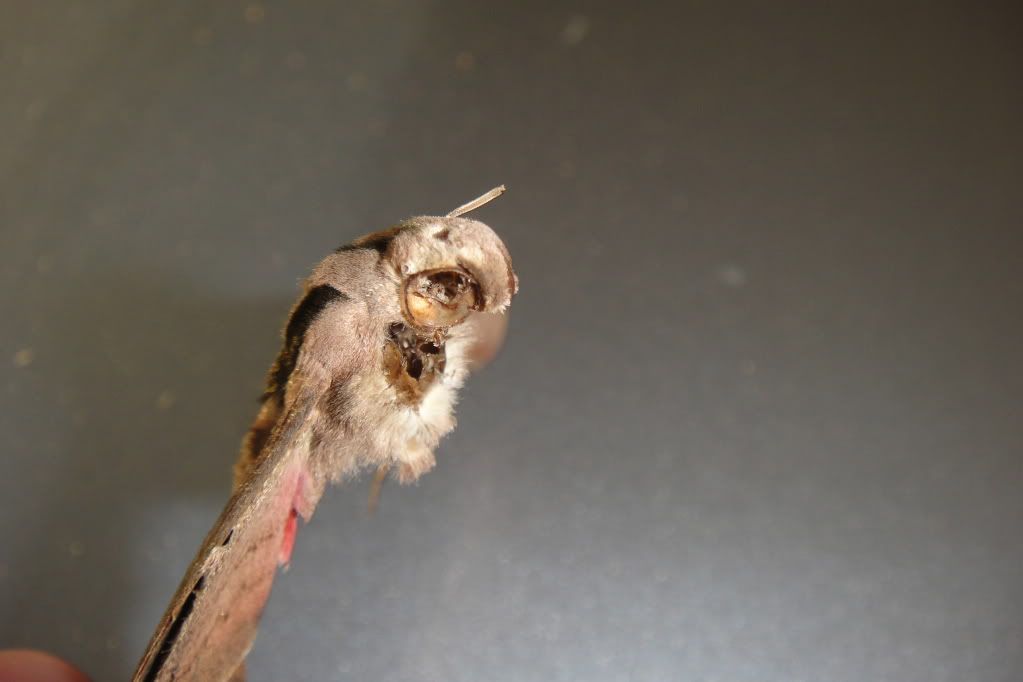
very macabre
after some 80 grit
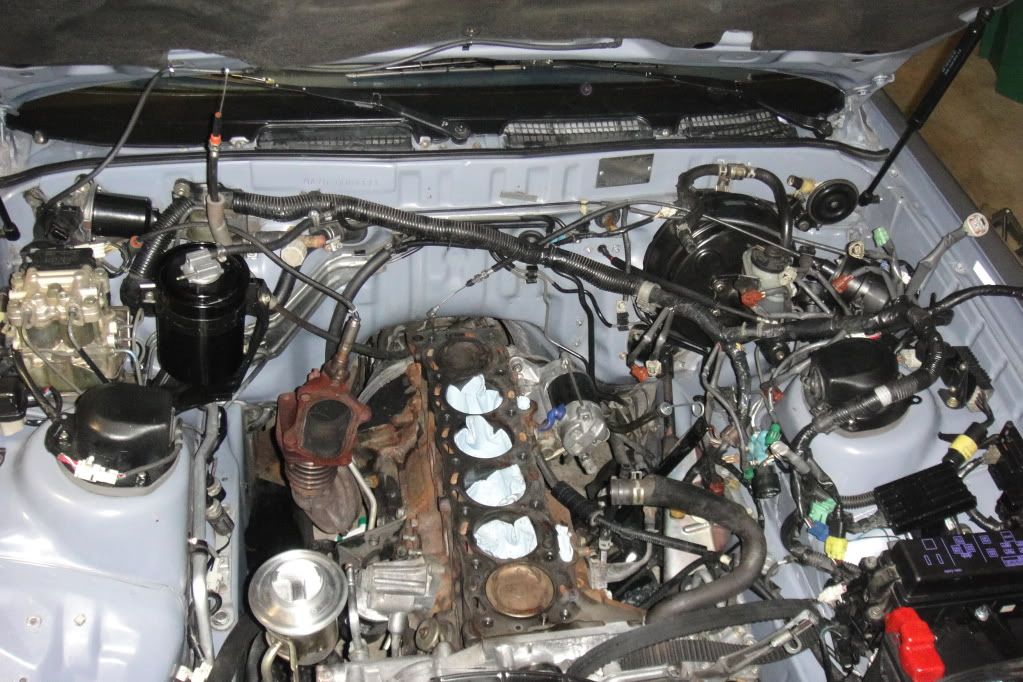
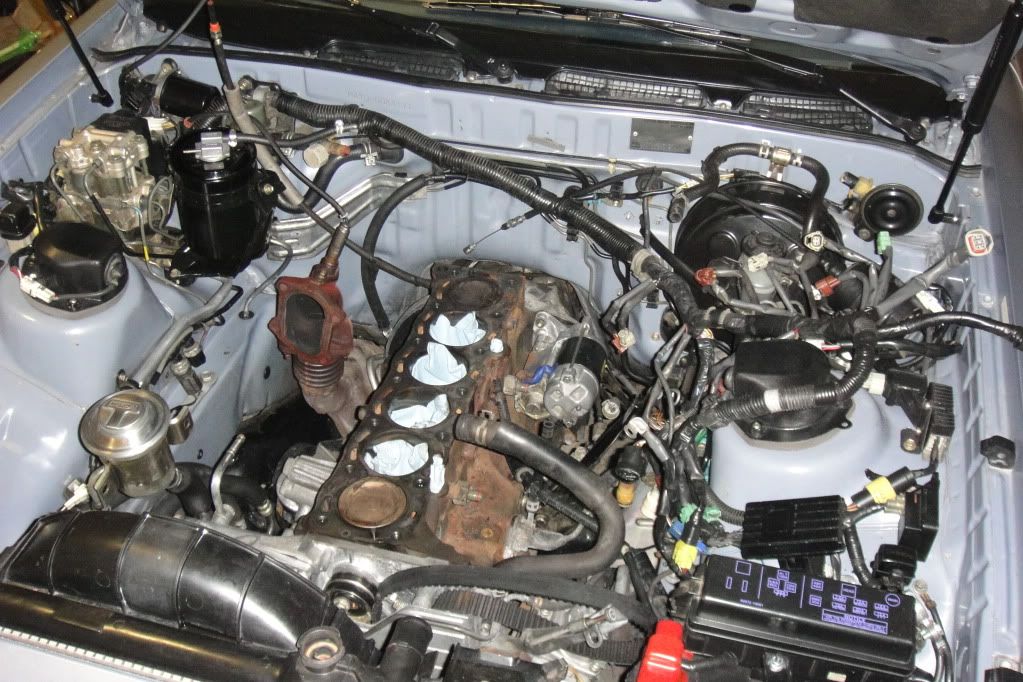
after a whole day of scrubbing... for the bay and scraping for the block not as clean as I'd like it... so more work tomorrow to finalize the bay, then on to the head and manifold and finalizing the turbo
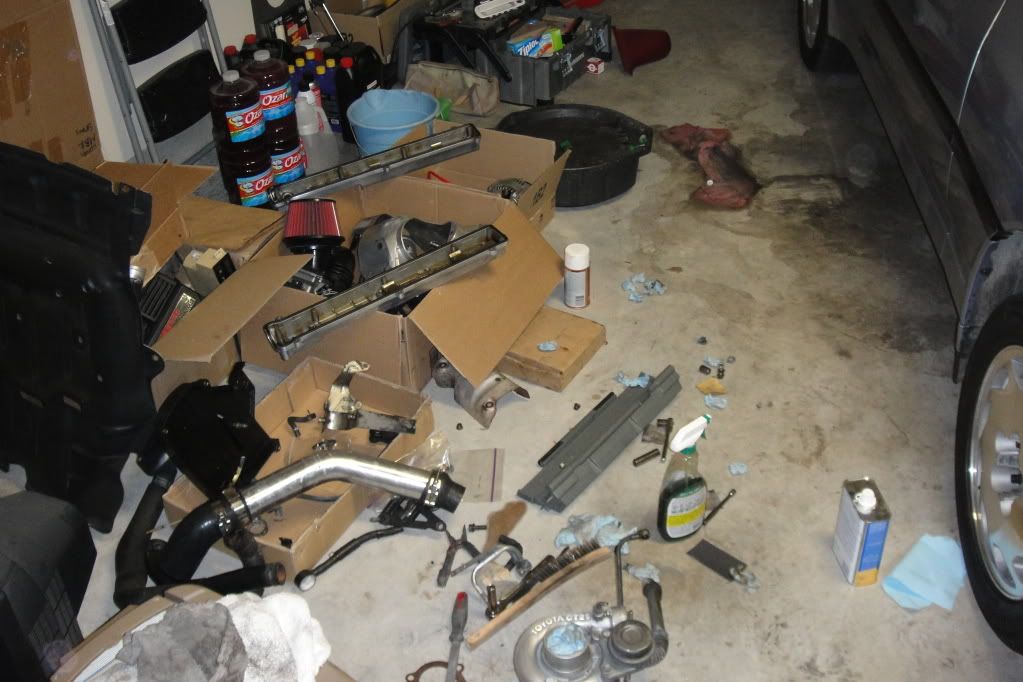
my huge mess.... omfg
very macabre
after some 80 grit
after a whole day of scrubbing... for the bay and scraping for the block not as clean as I'd like it... so more work tomorrow to finalize the bay, then on to the head and manifold and finalizing the turbo
my huge mess.... omfg
The moth was probably just at the end of it's life cycle, they only live for about a week after the metamorphasis from caterpillar to moth. Looks like a male as well, so all his duty in life is to find a mate and then die, it's a sad thing, but I bet his caterpillars will be rolling around in the next few days to start anew..
gorgeous engine bay, are you available for hire to clean my bays.? Just sayin'..
gorgeous engine bay, are you available for hire to clean my bays.? Just sayin'..
Could you give me the link where you got your Universal piping from? & where did you get the rubber pieces that go on the intercooler? did it come with the intercooler? & where did you get the intercooler! I love it :love:
huh... poor moth... what a short life >_<. LoL you know us supra owners... anything to get more money for the sup!! LoL If I could get paid to clean engine bays i would be on top of that like a .... like a... like a.... idk you get the point =P
as for the IC and piping, I got it all from driftmotion they rule!!!. by rubber pieces, I assume you mean the silicone couplers?? (disclaimer, I ordered 2x90 degree couplers from driftmotion for the IC, but I only got 1 so I had to make do with 3x45 degree couplers)
piping kit: http://store.driftmotion.com/static/i-25pipingkit.php (be advised, there are only straight couplers, so if you want any angles you have to order separately)
BOV adapter pipe (for HKS style BOV): http://store.driftmotion.com/static/i-bovpipehks.php
Spearco style IC: http://store.driftmotion.com/static/i-spearcostyleic.php
reducer for the turbo outlet: http://store.driftmotion.com/static/i-reducer2inchto25inchsilicone.php
90 degree couplers: http://store.driftmotion.com/static/i-elbow90deg25inchsilicone.php
45 degree couplers: http://store.driftmotion.com/static/i-elbow45deg25inchsilicone.php
note: I got all black couplers (if you can't tell =P)
extra notes, I almost ran out of clamps, but then some engineering ingenuity (if I may be so bold) manifested itself and I was able to fab up some piping
perhaps I ought to explain what I did in detail

here I sawed off about 2 in off the lower end of the 45 degree pipe
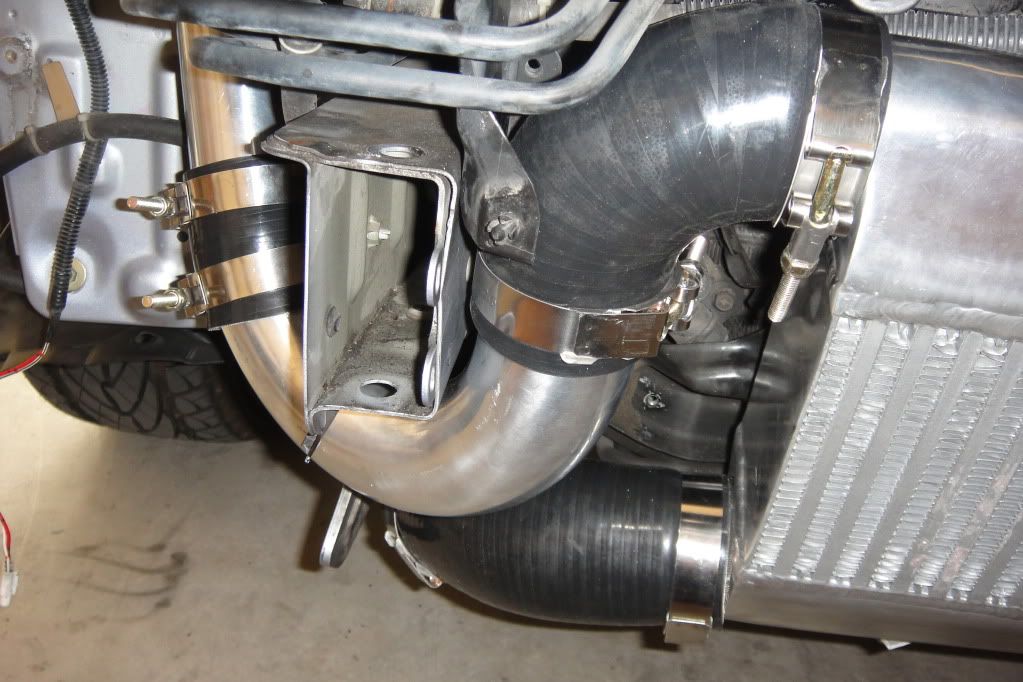
from the uppers to the IC I sawed off both ends of a 180 degree pipe. Shorter on one end (to IC) and angled (to the cut 45 degree pipe)
I regret not taking photos of the pipes without couplers... but I was in such a.... WORKING mode, I neglected to take during photos sorry guys
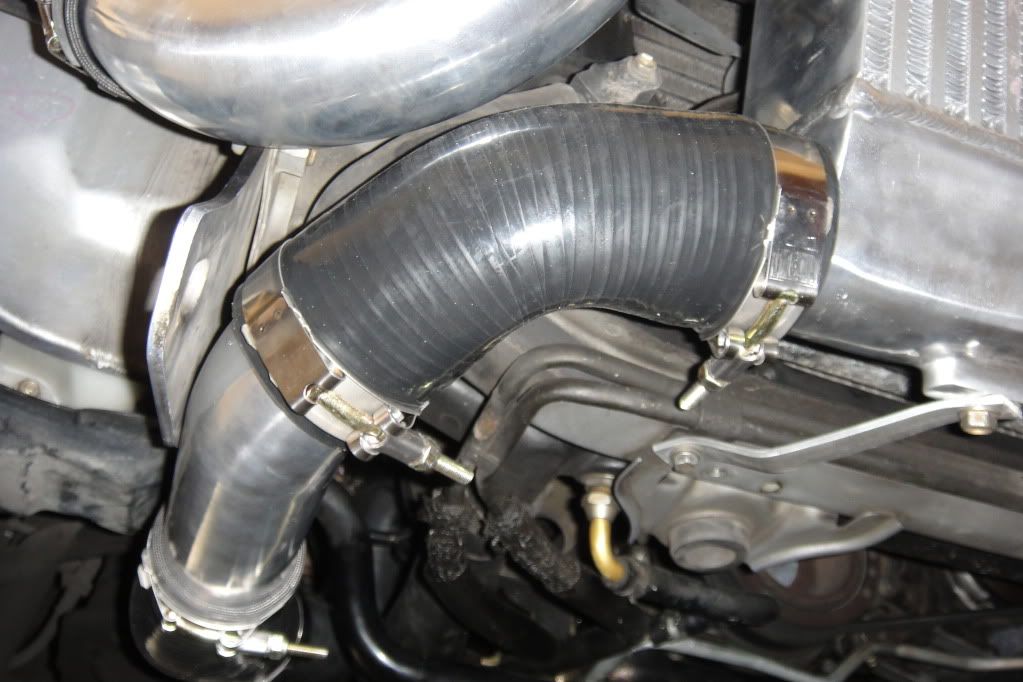
here I could've really used that second 90 degree coupler, but instead I was forced to use a 45 degree coupler with a 90 degree pipe sawed off halfway through the bending portion so it was a 45 degree bend

I hope this helps!!!
as for the IC and piping, I got it all from driftmotion
they rule!!!. by rubber pieces, I assume you mean the silicone couplers?? (disclaimer, I ordered 2x90 degree couplers from driftmotion for the IC, but I only got 1 so I had to make do with 3x45 degree couplers)piping kit: http://store.driftmotion.com/static/i-25pipingkit.php (be advised, there are only straight couplers, so if you want any angles you have to order separately)
BOV adapter pipe (for HKS style BOV): http://store.driftmotion.com/static/i-bovpipehks.php
Spearco style IC: http://store.driftmotion.com/static/i-spearcostyleic.php
reducer for the turbo outlet: http://store.driftmotion.com/static/i-reducer2inchto25inchsilicone.php
90 degree couplers: http://store.driftmotion.com/static/i-elbow90deg25inchsilicone.php
45 degree couplers: http://store.driftmotion.com/static/i-elbow45deg25inchsilicone.php
note: I got all black couplers (if you can't tell =P)
extra notes, I almost ran out of clamps, but then some engineering ingenuity (if I may be so bold) manifested itself and I was able to fab up some piping
perhaps I ought to explain what I did in detail
here I sawed off about 2 in off the lower end of the 45 degree pipe
from the uppers to the IC I sawed off both ends of a 180 degree pipe. Shorter on one end (to IC) and angled (to the cut 45 degree pipe)
I regret not taking photos of the pipes without couplers... but I was in such a.... WORKING mode, I neglected to take during photos
sorry guys
here I could've really used that second 90 degree coupler, but instead I was forced to use a 45 degree coupler with a 90 degree pipe sawed off halfway through the bending portion so it was a 45 degree bend
I hope this helps!!!
Andrew, your bay is so clean it def qualifies as "Elite". That thread is for "exceptionally clean/modded or a combination of both". Clean stock, or near stock like yours, is still accepted for consideration. Check it out if you haven't already and you will see what I mean.
hmm perhaps when I'm done I'll do an engine bay shoot
now the question at hand... is it REALLY supposed to be this diffucult to clean the bolt holes on the block??? the tap im using that driftmotion offers get so tight halfway down that i literally have to put all my strength into it to turn it, and it makes this gawdawful squealing noise, and when i unscrew it out.. theres not that much gunk on the tap itself, but if i use my compresses air can and blow it with the hole slightly covered, literally a ton of stuff comes spraying out... am I using the wrong tool??? plus theres no adapter with the tap so i have to use a 1/4 in bit with a hex head, put the bit side onto the tap and put another hex bit onto my wrench to connect it to the hex bit i put on the tap.. does that even make sense??? the tap end is square which fits 1/4in bit drive, so i use a regulr small 1/4 in bit on the tap itself (hex side up) and put a hex bit onto my 1/2 drive wrench.... either way... i already broke one hex head bit.... wtf
now the question at hand... is it REALLY supposed to be this diffucult to clean the bolt holes on the block??? the tap im using that driftmotion offers get so tight halfway down that i literally have to put all my strength into it to turn it, and it makes this gawdawful squealing noise, and when i unscrew it out.. theres not that much gunk on the tap itself, but if i use my compresses air can and blow it with the hole slightly covered, literally a ton of stuff comes spraying out... am I using the wrong tool??? plus theres no adapter with the tap so i have to use a 1/4 in bit with a hex head, put the bit side onto the tap and put another hex bit onto my wrench to connect it to the hex bit i put on the tap.. does that even make sense??? the tap end is square which fits 1/4in bit drive, so i use a regulr small 1/4 in bit on the tap itself (hex side up) and put a hex bit onto my 1/2 drive wrench.... either way... i already broke one hex head bit.... wtf
Sounds like you need to try again but with as few adapters as possible. A dedicated t-handle driver specifically for turning taps is best if you can get it. You lose alot of the torque you are applying at one end through the links and torsion of the individual extensions and the smaller the shaft the less torque gets to the other end. That's the purpose of using a torque stick on your impact gun; to get exact and correct lug nut torque while still running the gun itself as wide open as you want. Also, just sayin' cuz I don't know what you do and don't know about chasing threads, when you encounter resistance, go forward and back in 1/4 to 1/2 turn increments and make sure to keep PLENTY of tapping oil on the work. See how that works out for you and let us know how you did. GL
lithium14;1705522 said:hmm sounds good... does wd-40 work as tap oil??
I've used it quite a few times myself, even a 0-20w or 5-20w motor oil will usually do the trick.
PM with what gaskets you need. I might have them since I have a couple gasket kits with miscellaneous gaskets.
Well... sorry for lack of updates and pics, but been super busy. I finally have everything in the engine bay completely cleaned and ready for the head. The head itself is almost there, still cleaning . I got my engine rebuild gasket set today... and I have no idea where 90% of the stuff goes, but thats okay because all I need are the upper parts. I find it odd that I have to trim the throttle body gasket, is this normal practice for some gaskets to need trimming? Also I have to note that the set is still missing some gaskets like the coolant pipe gasket from the water pump, and the egr gaskets (it does have the big squarish egr cooler gasket) as well as cold start injector gasket... *sigh
. I got my engine rebuild gasket set today... and I have no idea where 90% of the stuff goes, but thats okay because all I need are the upper parts. I find it odd that I have to trim the throttle body gasket, is this normal practice for some gaskets to need trimming? Also I have to note that the set is still missing some gaskets like the coolant pipe gasket from the water pump, and the egr gaskets (it does have the big squarish egr cooler gasket) as well as cold start injector gasket... *sighI got it from driftmotion http://store.driftmotion.com/static/i-new7menginegasketset.php
alright guess I'll post some pics of what's been up lately, taking a break from working in the sun right now
These range from ... a few days ago to last night so


there's a lot of these pics so I'll just post a few before and afters


is that color variation odd to anyone?


an example of what blows out of the bolt holes... happens with every one


the bit i broke... LOL

it wasn't missing the gasket, it was just hard as a rock and useless

baby praying mantis exploring my upper intake mani

a series of pics later it ended up on my hand and this is the pic right before it attacked my camera

the scorpion i mentioned earlier... got squashed apparently

i didn't have any feeler gauges, but just looking at it very very closely with flashlights from behind etc etc, it seemed to be very flat indeed

As far as i could visually tell, i really couldn't see any variation in distance from my ruler... no matter how i placed the ruler. it's not a very scientific way to measure potential warpage... *sigh i need a feeler gauge


analyzed my new coolant hoses and realized the piece pictured is not needed... the out of place looking pvc cap thingy

egr cooler... wow

took a file to the upper to rid if all the rough and sharp dangerous edges

yep... painted the bottom of the PS reservoir black

the best i could do... really I was scrubbing at it for hours trying to avoid the need of a razor or anything that could damage the surface... i did take a scraper to the valve caps though and combustion chambers
alright guess I'll post some pics of what's been up lately, taking a break from working in the sun right now
These range from ... a few days ago to last night so
there's a lot of these pics so I'll just post a few before and afters
is that color variation odd to anyone?
an example of what blows out of the bolt holes... happens with every one
the bit i broke... LOL
it wasn't missing the gasket, it was just hard as a rock and useless
baby praying mantis exploring my upper intake mani
a series of pics later it ended up on my hand and this is the pic right before it attacked my camera
the scorpion i mentioned earlier... got squashed apparently
i didn't have any feeler gauges, but just looking at it very very closely with flashlights from behind etc etc, it seemed to be very flat indeed
As far as i could visually tell, i really couldn't see any variation in distance from my ruler... no matter how i placed the ruler. it's not a very scientific way to measure potential warpage... *sigh i need a feeler gauge
analyzed my new coolant hoses and realized the piece pictured is not needed... the out of place looking pvc cap thingy
egr cooler... wow
took a file to the upper to rid if all the rough and sharp dangerous edges
yep... painted the bottom of the PS reservoir black
the best i could do... really I was scrubbing at it for hours trying to avoid the need of a razor or anything that could damage the surface... i did take a scraper to the valve caps though and combustion chambers
You have done an amazing job of bringing this car back man. Keep it up for sure! I have to say, that PS res. is different than what I've seen before, but in a good way On the subject of your studs, you will thank yourself when it comes time to drop the head back on if you yank the two rear studs and reinstall AFTER the head is on. IIRC, they won't let the head clear the firewall AND still drop straight on, @ least not with the EGR cooler installed on the back of the head. Trust me, you don't want to fight re-installing THAT after the head goes on. With it on and the studs in, it binds the head up on the studs and you wind up fighting it way more than you should, if you are even able to get it all the way down to the block at all. Not to mention the possibility of bending one or more studs or damaging threads, or at the least scraping the piss out of your firewall. GL!
On the subject of your studs, you will thank yourself when it comes time to drop the head back on if you yank the two rear studs and reinstall AFTER the head is on. IIRC, they won't let the head clear the firewall AND still drop straight on, @ least not with the EGR cooler installed on the back of the head. Trust me, you don't want to fight re-installing THAT after the head goes on. With it on and the studs in, it binds the head up on the studs and you wind up fighting it way more than you should, if you are even able to get it all the way down to the block at all. Not to mention the possibility of bending one or more studs or damaging threads, or at the least scraping the piss out of your firewall. GL!