1uz mkII build/full on resto

the ghoul

New Member
Sep 30, 2009
86
0
0
warren, MI
gtsfirefighter;1561442 said:
I'm so subscribing to this. I've got MAD love for MKII's and Lexus anything. Your work is unbelievable. Keep it up. BTW, did you put a new starter on that 1UZ???
Hey thank you...
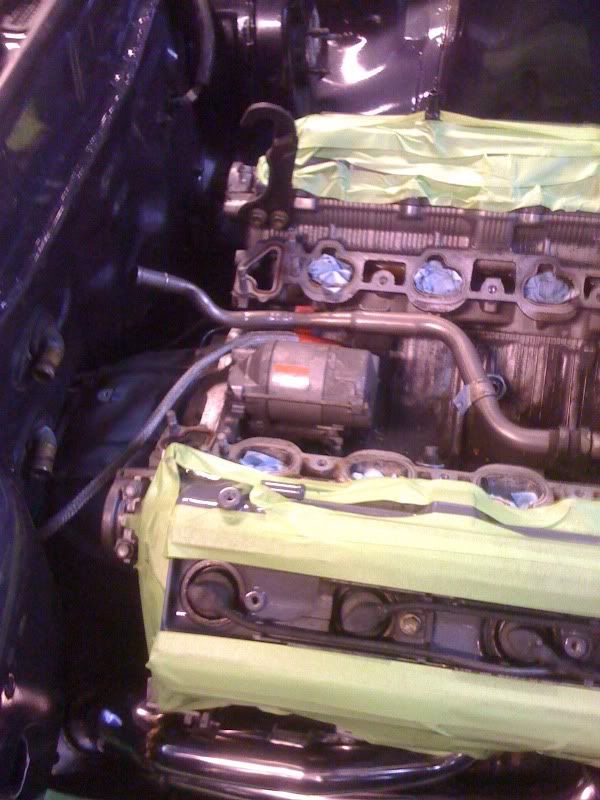
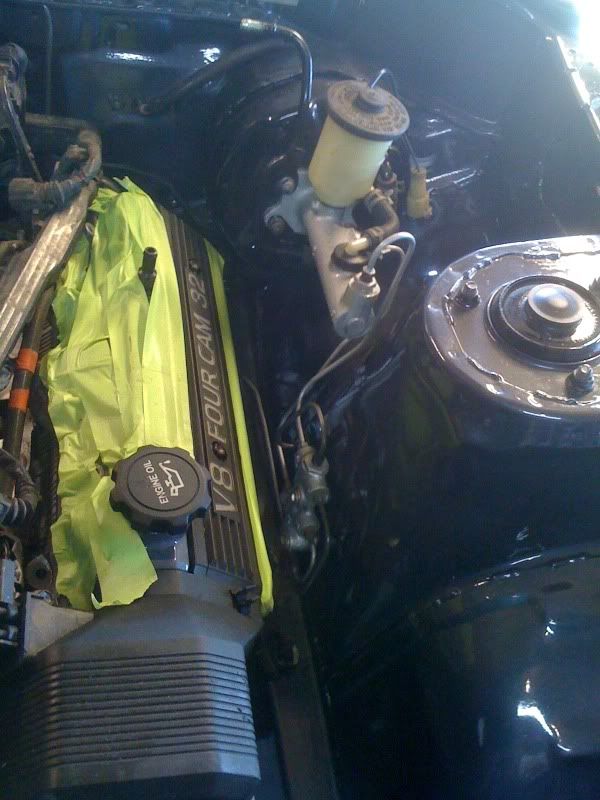
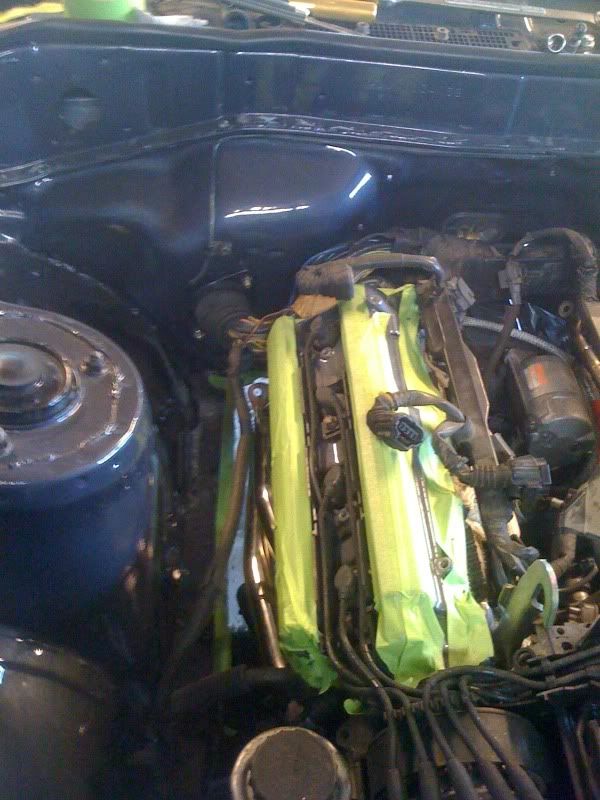
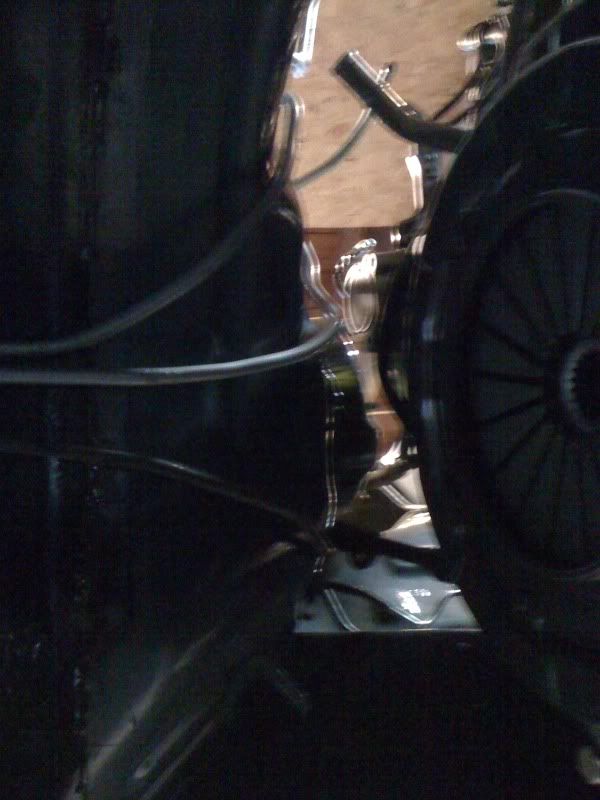
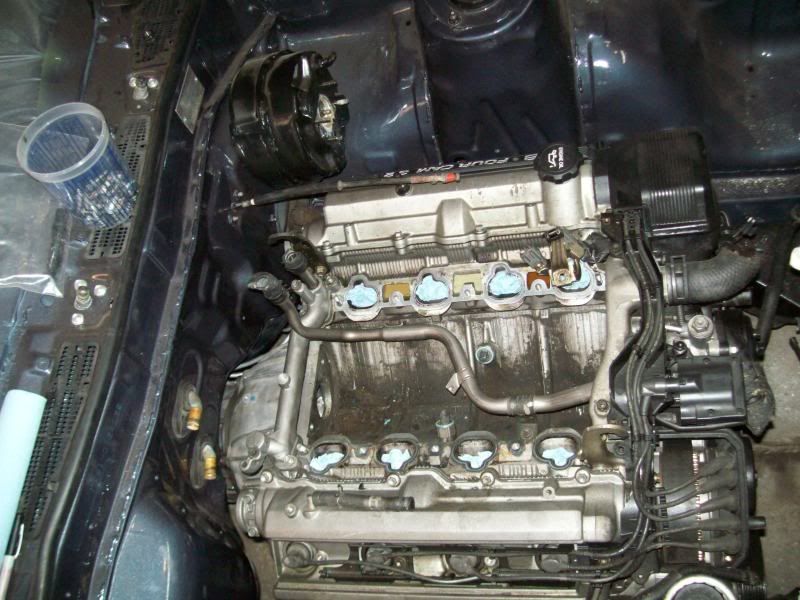
no, sadly I didnt.... Because this engine shows very little miles, and the fact that It is not my daily driver i havent touched the starter, timing belt, water pump, or oil pump. I did inspect it and the timing belt for any signs of nasty-ness but saw nothing....
With this and the MR2 soaking up the funds im kinda trying to get it running low buck for now, and will be going back and re-touching things after its road ready...

afterall, "any thing worth doing, is worth doing twice!"

Suprapowaz!(2);1561488 said:
Pabst blue ribbon? ::hah::
I'm gonna have to try it now. Nice build.
LOL!
yeah i love that stuff!
you can usually find it at any mijer or hole in the wall liquor shop


RazoE;1561495 said:
man this build thread is great, can't wait to see more done to it..!!!
hey thanks man!
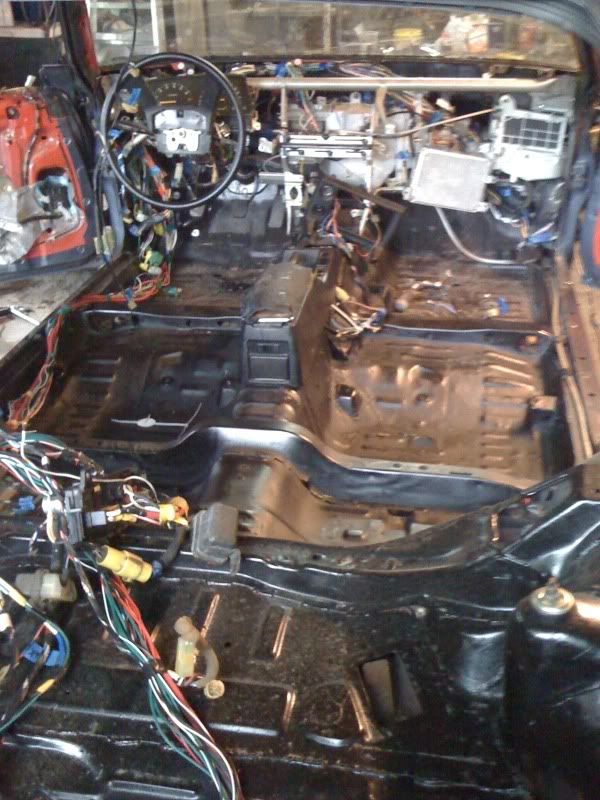
yeah its been too long since ive worked on it; im starting to get that excited feeling again... Im looking forward to seeing her start!!!
 

the ghoul

New Member
Sep 30, 2009
86
0
0
warren, MI
gtsfirefighter;1561814 said:
The reason I ask about the starter is because of how much of a PITA it is to change them out. For those reading who don't know, the starter on a 1UZ is under the intake...between both the heads.

yep,
you can see the hole where she mounts here..
p1562005_1.jpg

every one reccomends replacing it for just that reasion... but I just cant justify it at this time...
OEM ones are pricy, and a rebuilt/after market one *i feel* would be lesser quality than the one i have in there now, so in my mind I would be replacing it with one that has a 50/50 shot of not lasting as long as the origional one!
And as i mentioned before, I have a fall back car so if the starter goes out on this car, im not stuck walking..

so yeah, its a good idea to do it, but i just feel the money would go a long way twards other things at this point....
more pressing in my mind would be doing the timing belt!
 

the ghoul

New Member
Sep 30, 2009
86
0
0
warren, MI
Got quite drunk last night, drilled the holes out on the manafold flanges and started cutting appart the drivers header..... I hope I didn't cut it up too much...
p1562601_1.jpg

passingers side fit very well, the collector is only about 1/8" from the firewall so I'll have to modify it a bit but the rest looks good
p1562601_2.jpg

I also decided I didn't like how the heater coolant tube goes streight up over the coolant cross over. I kinked it a bit but it's not restricted too badly
oh and I also got the starter in and power line in
p1562601_3.jpg

p1562601_4.jpg
 

the ghoul

New Member
Sep 30, 2009
86
0
0
warren, MI
Well, I looked at the pile of exhaust manifold and decided I wasn't feeling up to tackeling that today so I got the brakes installed (pads didn't show yet). Got all the lines run though, installed the bias valve and master cylinder, as well as the raptor racing smoaked ss soft lines!
p1562699_1.jpg

p1562699_2.jpg

p1562699_3.jpg

also got the engine harness re-arranged a bit and bolted to the firewall; as well as started to pit the interrior harness in place
p1562699_4.jpg

once the pads show I can install and blead the system
 

the ghoul

New Member
Sep 30, 2009
86
0
0
warren, MI
Cold and friggin nasty out today so I didn't get much done, I did get the majority of the harness in and hooked up for testing... After I verify everything I'll pull it all out again and wrap it...
p1564103_1.jpg

AND
the kvr carbon fiber pads showed up today! (yeah I know right, carbon fiber brake pads, crazy!)
 

the ghoul

New Member
Sep 30, 2009
86
0
0
warren, MI
Finished the brake install today and then continued on with the drivers headder fabrication..
I decided to go with an over under style. Yes it will be a PITA if I ever take it out, but I think this way will give me the most space between the block, steering linkage, and frame rail.
Here is the mockup of two of the runners
p1566215_1.jpg

I musta had a good day or something because I got all the runners mocked up
p1566215_2.jpg

p1566215_3.jpg

p1566215_4.jpg
 

the ghoul

New Member
Sep 30, 2009
86
0
0
warren, MI
Manifold runners are welded,
fly wheel/pilot bearing installed
p1566625_1.jpg

clutch disc and perssure plate installed
p1566625_2.jpg

ma70 shifter installed, though I think I screwed it up... To switch out the shifter yoke you must slide the tail shaft off a bit... Well the gear selector fork slid out of the gate it was in and I didn't see where it had come out of... I thought I had it correct but when I re-assembled it the shifter was locked in place....
Only other thing I got done today was bending the fule supply and return lines up along the firewall.
p1566625_3.jpg

I'm at a bit of a stand still on the wire work;
turns out the starter connector is diffrent on usdm and jdm... So I have to make a work around before assembling the intake manifold...
 

the ghoul

New Member
Sep 30, 2009
86
0
0
warren, MI
Poodles;1566628 said:
Does the steering shaft have a rubber insulator in it? If it does that header is gonna fry it in short order.

Idk, it has a calapsable joint but I don't know if it has a rubber insert or not; but, because of all the new paint, I was planning on wrapping both headers.
 

Poodles

I play with fire
Jul 22, 2006
16,757
0
0
42
Fort Worth, TX
I'd check, IIRC the MKIII's have rubber in there, dunno if the MKII does. Don't imagine it would be too hard to bypass it if it does, at least with your skills :D
 

dslocal

New Member
Nov 9, 2008
340
0
0
slo
so you got any pictures of the header all welded up?:icon_razz
I'd guess your good at filling gaps now huh:biglaugh: