Progress on my Prosport stock cluster install

CyFi6

Aliens.
Oct 11, 2007
2,972
0
36
Phoenix
www.google.com
I decided to take the hard route and install these badboys in the stock gauge cluster and i thought i would just show you guys the progress. What ive got are 60mm amber/white water temp and oil pressure. The water temp has peak/hold(still dont really know exactly how to use it or what it does.) Kinda wish i had gotten the peak oil pressure also as the gauge itself is a ton slimmer and i didnt have to cut nearly as much for the water temp. I had to cut right through the circuitry and rewire it as you can see. Il try to get them installed and wired up within a couple days. Im having problems getting fittings for the oil pressure and water temp senders. Let me know what you thihnk so far.
sm_photo_missing.jpg

sm_photo_missing.jpg

sm_photo_missing.jpg

sm_photo_missing.jpg
 

Fletch124

2jz swapped!
Jul 17, 2005
1,282
0
0
Reno, Nevada
Prosports are awesome gauges. I got to see some in the flesh in my buddies Trailblazer SS. They are awesome! Im going to replace my autometers with them.
 

suprahero

naughty by nature
Staff member
Aug 26, 2005
14,971
0
36
53
Roll Tide
Your bed spread makes me want to go hang ten..........:biglaugh:

Cool guages..........:love:
 

dbsupra90

toonar
Apr 1, 2005
2,374
0
0
indiucky
wow that oil pressure gauge is crazy deep.

with the cover back over the gauges, how are you going to operate the peak/hold function?

also, why do you have 7 packs of facial tissue? lol
 

CyFi6

Aliens.
Oct 11, 2007
2,972
0
36
Phoenix
www.google.com
hahaha enough with the random comments;)
About the peak hold thing, i was thinking i might just set it before i put the cover on or id make a hole in the cover and then i could stick something long and thin through to press the button
 

Strait 666

0-60 in 6.66 sec.
Jun 14, 2007
36
0
0
New Jersey
looks really good, i might replace everything on my stock cluster with them except mph, rpm and fuel. did you have to cut the circuitry to fit the water temp gauge? if not would it be possible to mount the same style gauges in the place of the oil pressure gauge and volt meter with out having to rewire like you did?
 

macjac69

Supramania Contributor
Feb 5, 2007
274
0
0
Mississippi
When you get these all wired up and running let us know if you have any issues with daytime visibility I've got some but I haven't gotten my car back yet. I drove it about 10 min the other day and I could barely see them.
 

CyFi6

Aliens.
Oct 11, 2007
2,972
0
36
Phoenix
www.google.com
ok i will let you know, hopefully itl be ok i havent heard many complaints with these gauges. I have another question, my water temp gauge with no power the needle sits at 140f, 100 is the lowest, im wondering if its broke or what? I dont wanna assemble everything only to find out my gauge is broken and i have to rip it all apart
 

macjac69

Supramania Contributor
Feb 5, 2007
274
0
0
Mississippi
When I first got mine I applied 12vdc and ground to make sure they powered up before I took them to the shop.

What I got was the needle sweep and return to 0 setting. I can't really remember but at least two of em stayed up in the segments but I believe it was due to not having a signal from the sending units.

If there is a problem prosport will warrant them no probs, but if any of your gauges come with a sending unit make sure you send the sending unit also.
 

annoyingrob

Boosted member
Jul 5, 2006
2,304
0
0
Calgary, Alberta, Canada
I like the install. Now you need to replace teh volt meter too :)


A comment on the P&H function, the gauge stores 3 settings. First is the warning beeper on/off, second is the warning level, third is the peak recorded level. All of these will reset if you lose power. So, if you set them then put the cover on, you'll have fun trying to reset them when you disconnect your battery.

If you can open it up, wire in an external button for the gauge.
 

CyFi6

Aliens.
Oct 11, 2007
2,972
0
36
Phoenix
www.google.com
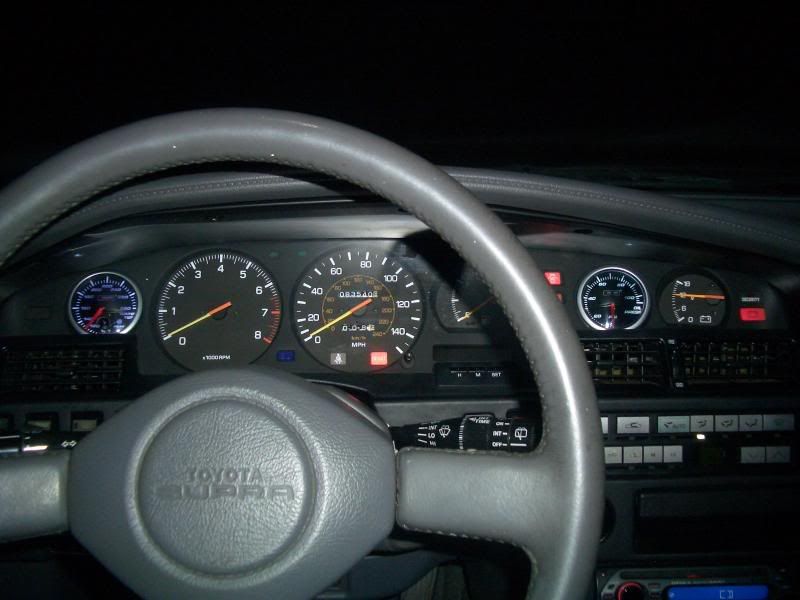
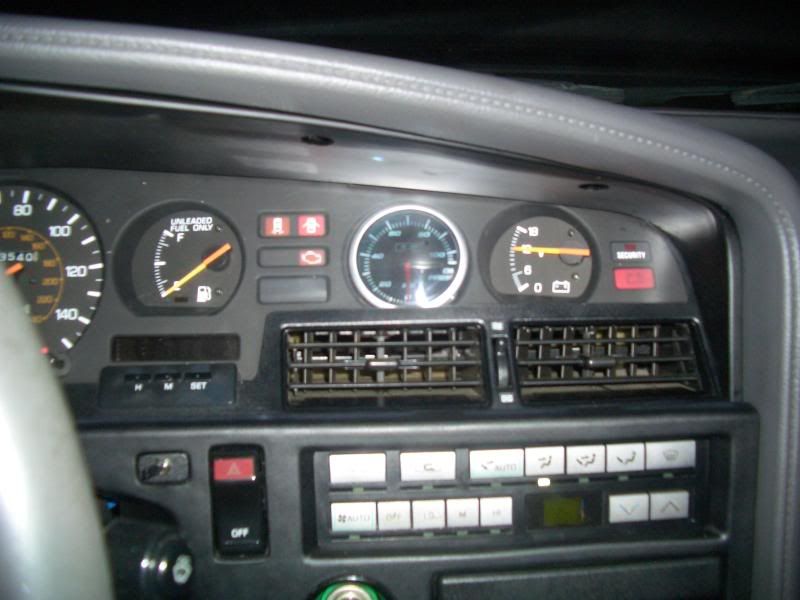
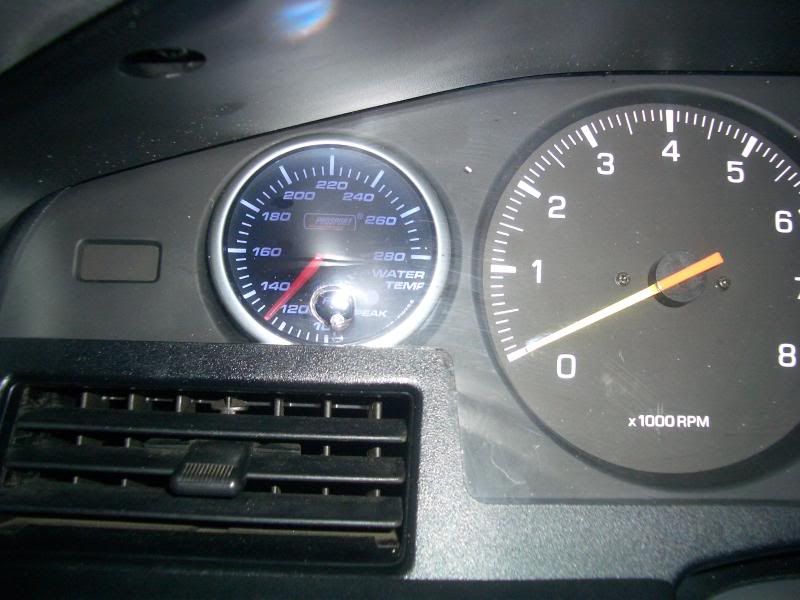
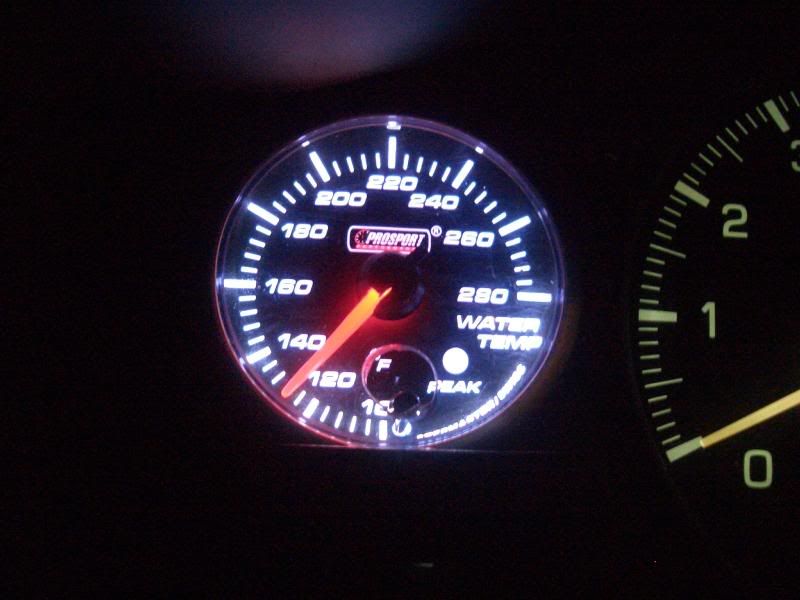
I FINALLY finished my install. Its been taking me days. For some reason my water temp premium gauge would not light white as per instructions, it was acting odd so i had to rewire it in my own way to make it work properly. Instead of hving it light differently for day/night, i added a switch so i could simply switch it to my likeing.

I had some problems as i neared the end. As i was finally done and ready to go, i go to put the plastic cover back, and guess what, its hitting the gauges. I had to pull it all back out of the car and daringly take a heatgun to the plastic as i screwed it down to form a shape around the gauges, it worked suprisingly painlessly. While i had the gauges out i decided to swap the stock lights for some old led bulbs i had from my previous car, theyre white. Its not much brighter than stock, just a different shade. The gauges are working beautifully now and everything is buttoned down. I made one big mistake, i drilled the hole for the button in the wrong spot, slightly off, but i guess it still works, just looks bad, i think im letting some nit picky things bug me. Overall i spent MANY, MANNNYYY hours in this project and i almost regret it, but looking at the finished product, im impressed.

To anyone else looking to do this, take some advice
buy the premiums! they are so much thinner and you wont have to do any rewiring of the rear circuitry like i did

Take your time, measure twice cut once, once its cut, its cut. Do small incrememtns even if you know theyre too small.

Plan everything out and dont let the proceeding step cause problems every time.

I really woudnt reccomend anyone doing this as its just a big pain in the ass, but if youre semi-stupid and like to jump into big projects thinking theyle go smoothly like i always do, go for it, just dont half ass anything or itl look really bad. Heres the pics:) 
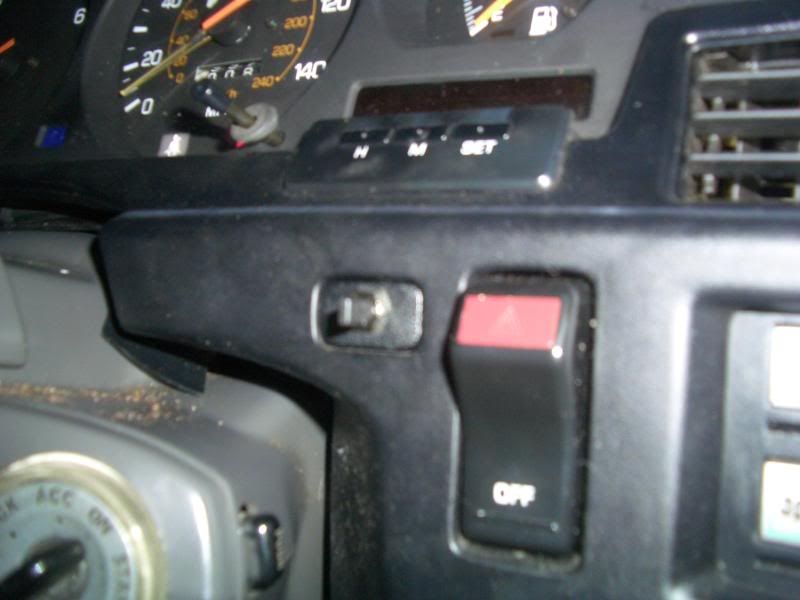
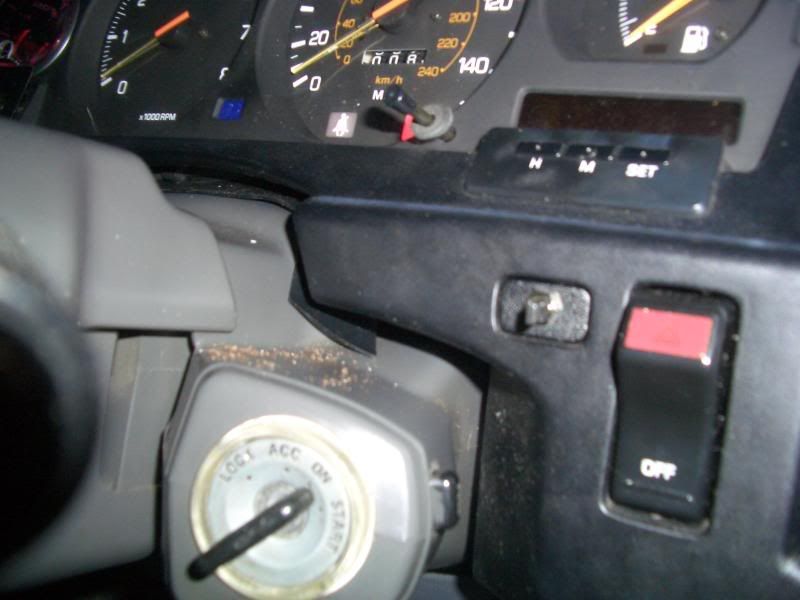
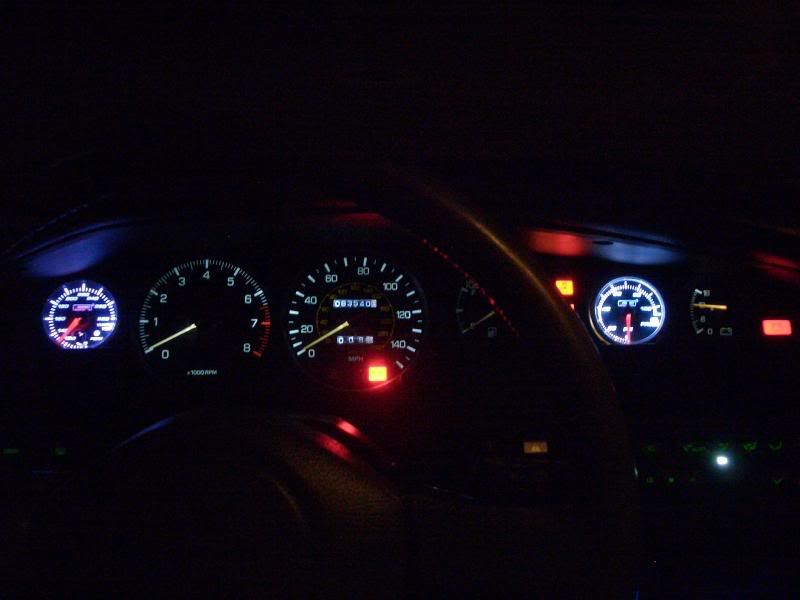
You can see my switch in the little removable slot built into the center trim.

BTW, i have 3 settings.
1) Both white
2) Both amber
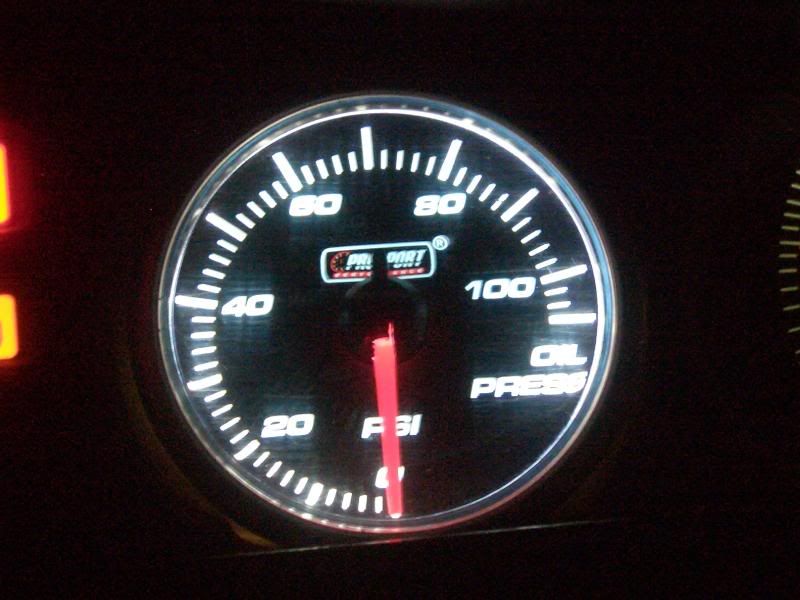
3) Water temp amber and Oil pressure white

p835116_1.jpg

p835116_2.jpg

p835116_3.jpg

p835116_4.jpg

p835116_5.jpg

p835116_6.jpg

p835116_7.jpg

p835116_8.jpg

p835116_9.jpg

p835116_10.jpg

p835116_11.jpg

p835116_12.jpg

p835116_13.jpg

p835116_14.jpg

p835116_15.jpg

p835116_16.jpg