Sup fellas (And random "female" who may visit)! Been in the RSX community since '06. Bought the car brand new, threw on some bolts ons, & called it a day. A few years later, I craved more power, so I boosted it. Had some oil pressure issues for a while, but now she's good to go. As she sits today, she needs a new tune, since some new parts were thrown on after the previous tune. But I digress from the focus of this thread.
A couple months ago I picked up a Toyota Supra project from a guy who couldn't complete it. Between his kids, & a nagging wife, he was forced to sell it. Oh well. His loss is my gain. Bought everything but the motor,tranny,ecu, & engine harness from him, since the motor was bad & he had another person wanting the motor. Can't really sell only the motor, so I helped him out by letting him keep the stuff for a full motor swap. Anywho.....his project is now my project. The car is sitting on jack stands as of today. But it'll soon find itself the recipient of a new JDM 1JZ-GTE twin turbo heart, which is sitting next to the Supra.:evil2: (Yes, the pics are old. Between school, & working on the car, I've only found time to take the pictures.)
So here's my build thread for my 1986.5 MK3 Toyota Supra drift project. Enjoy.
Here's some pics of what I've done so far.
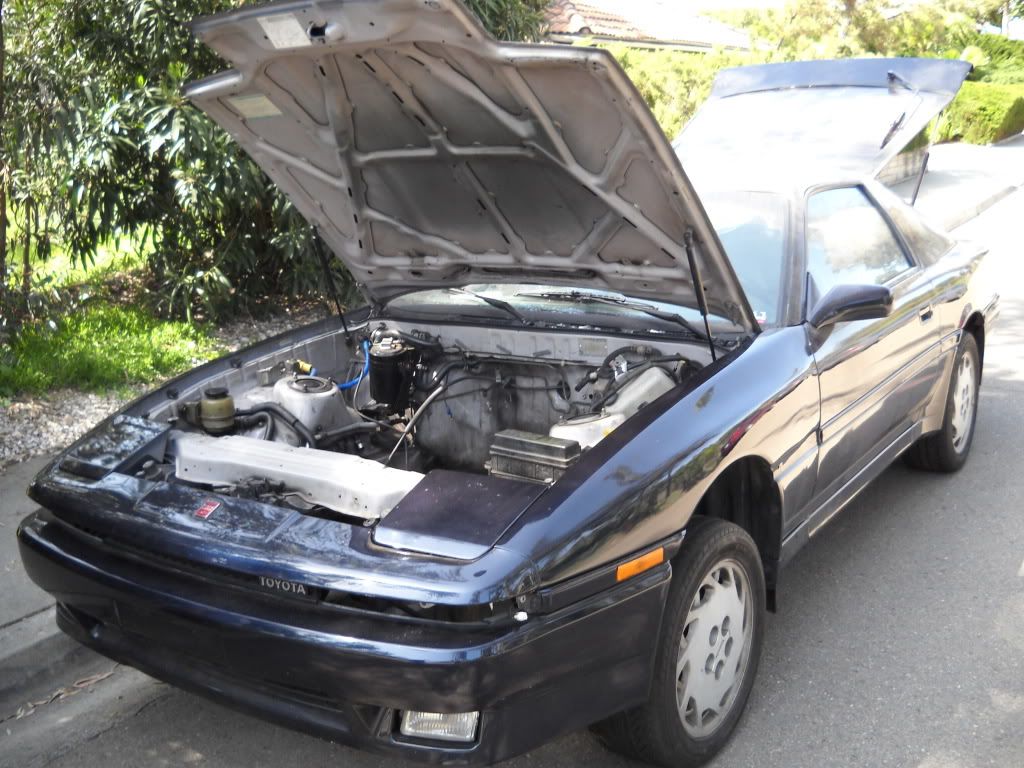
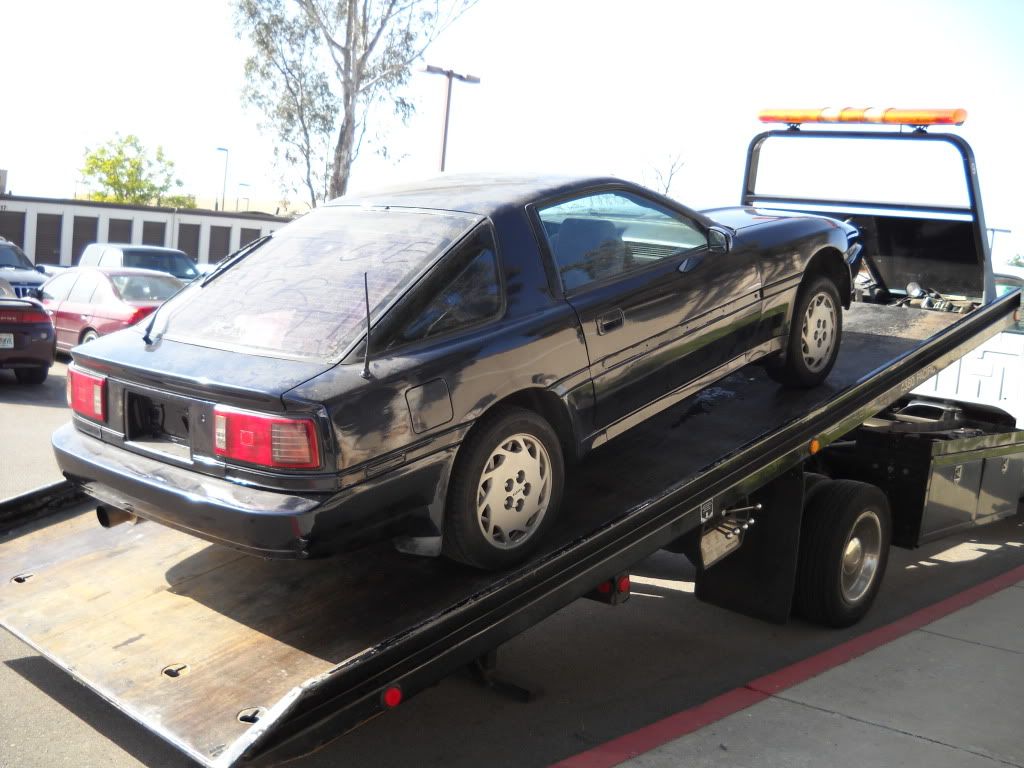
Right after I purchased the car. Waiting for the tow truck.
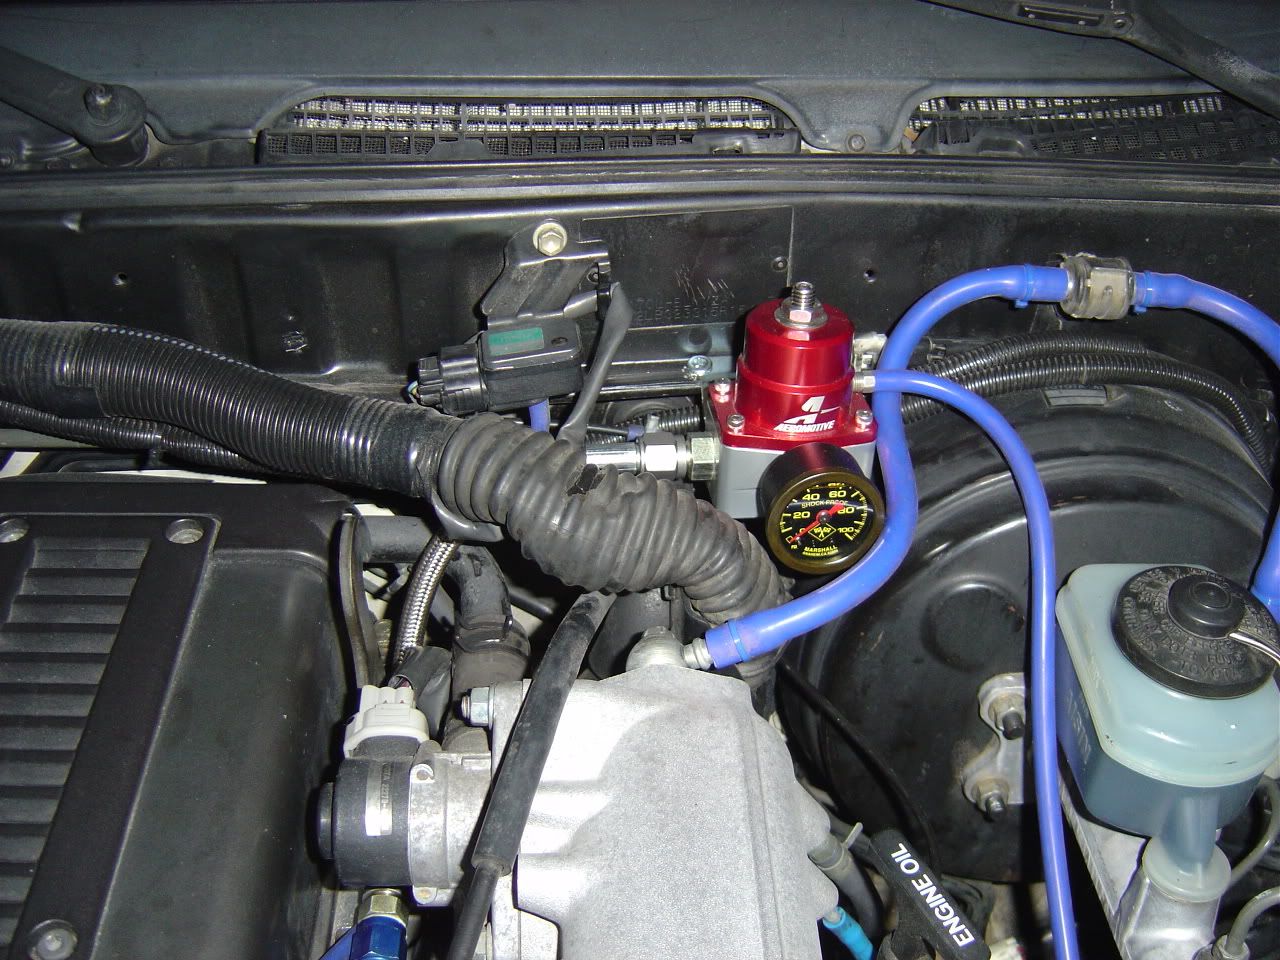
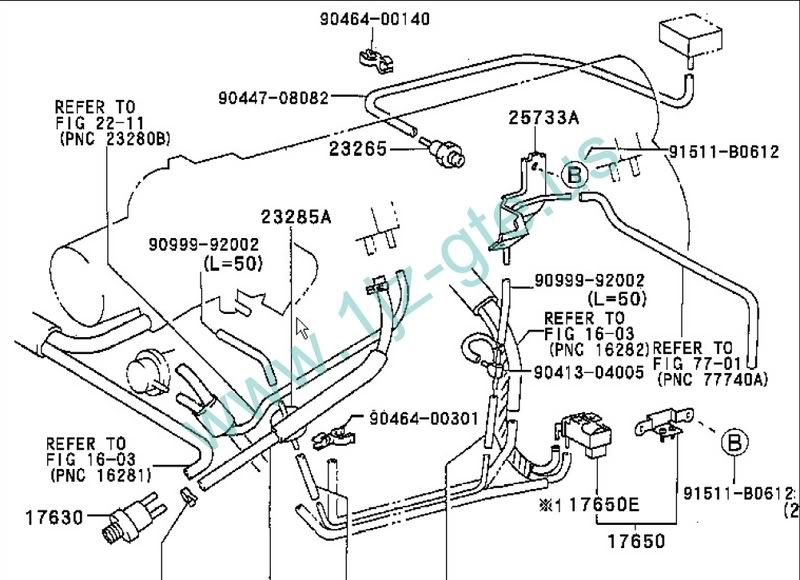
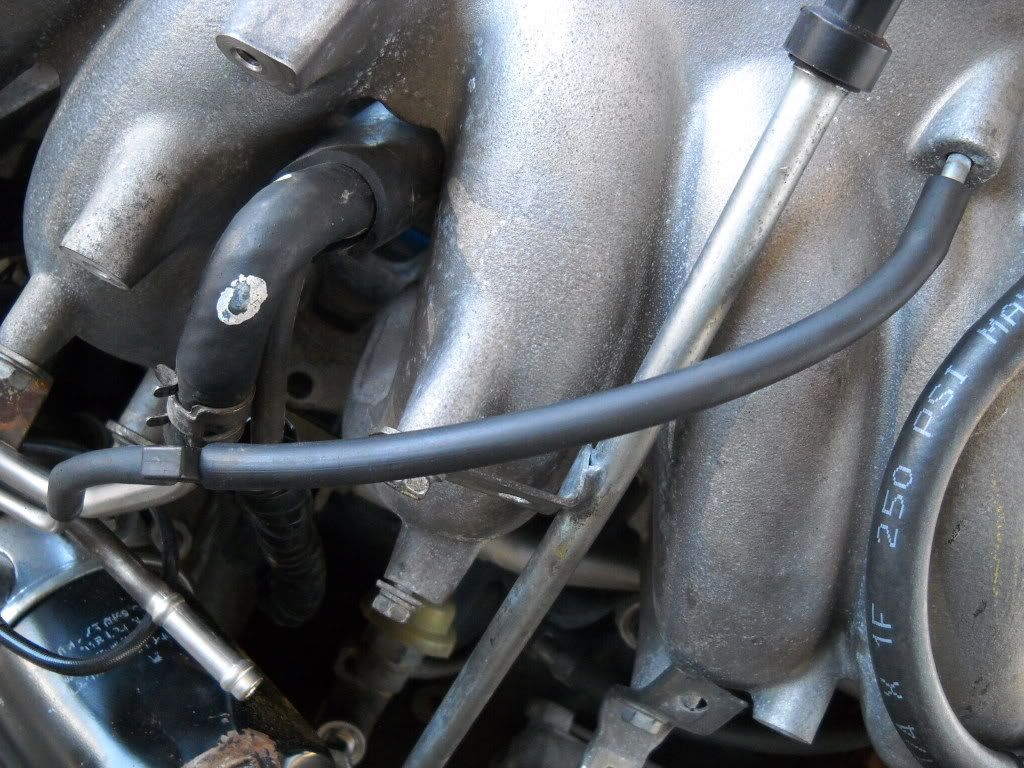
Couple shots of inside the engine bay....(not sure what that black canister by the firewall is)
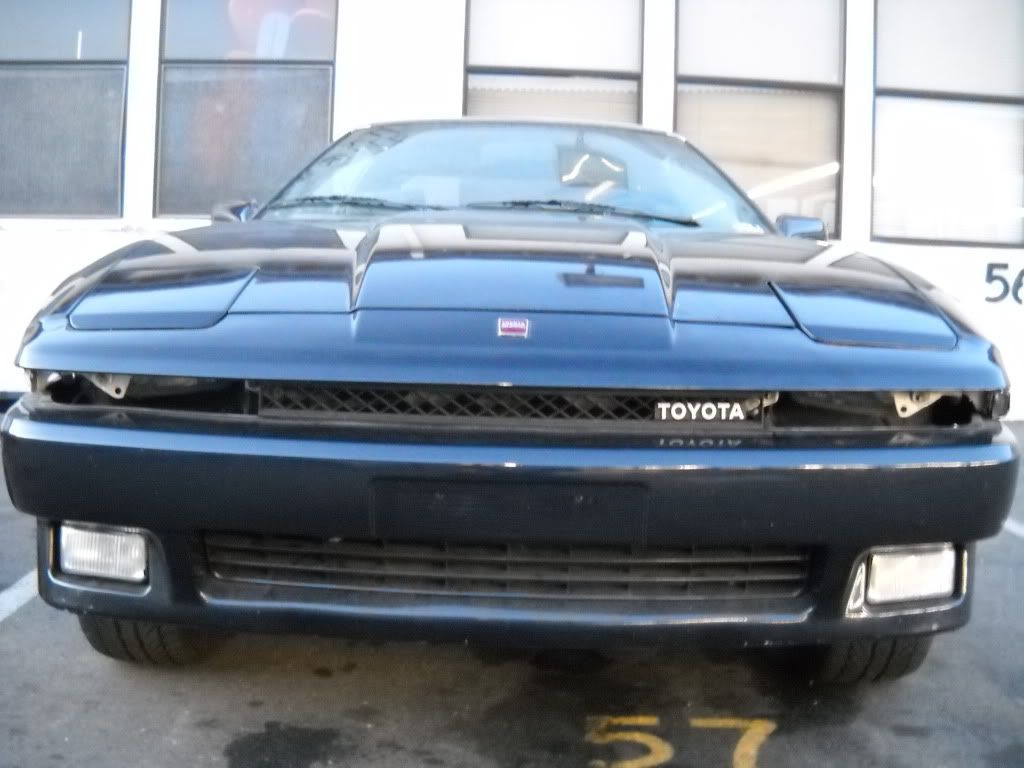
The Supra arrives at the shop where it'll receive it's new heart.
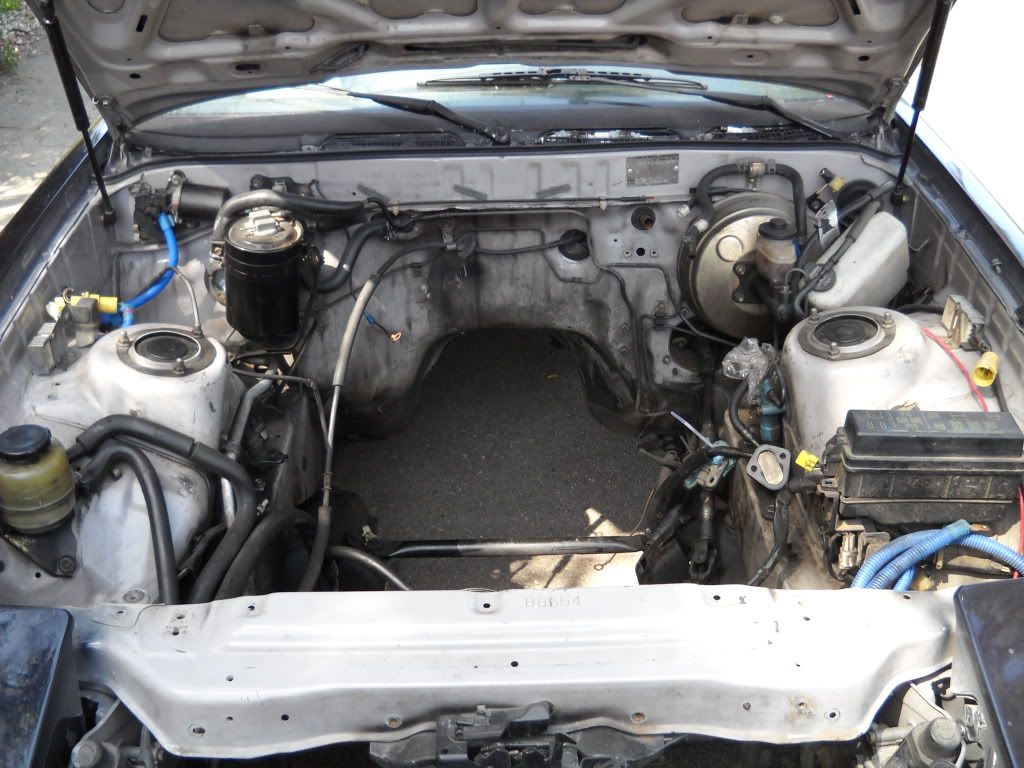
Here, the Supra is pretty much gutted to where I want it. (spare tire will be removed once I get closer to firing the car up)

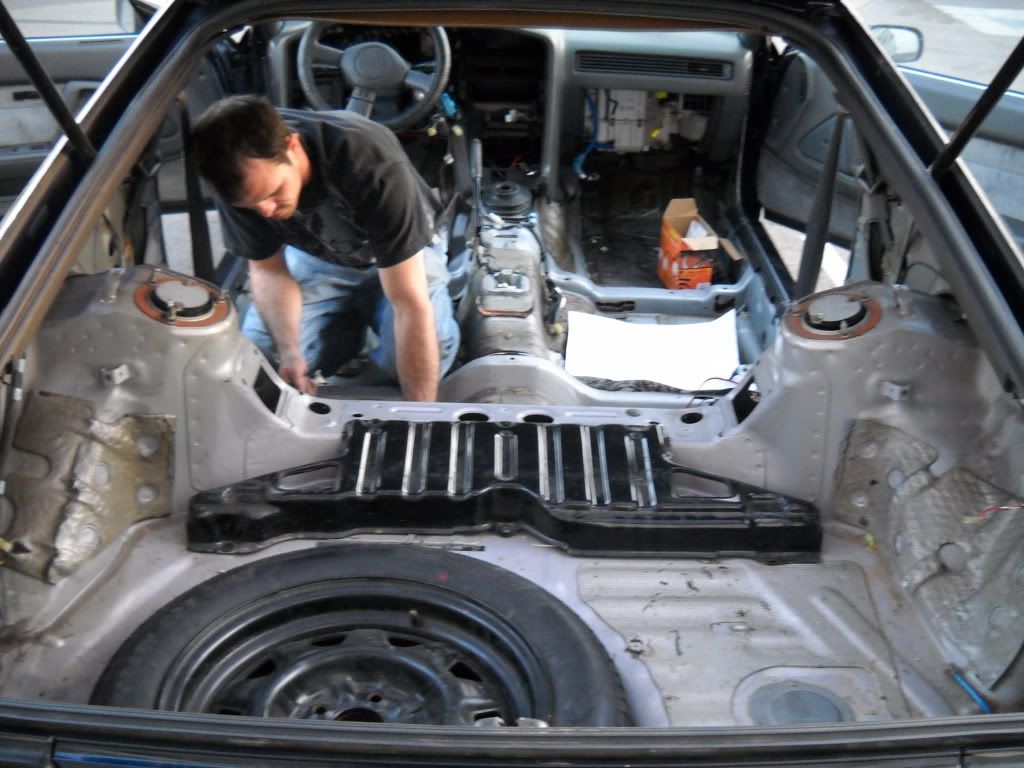
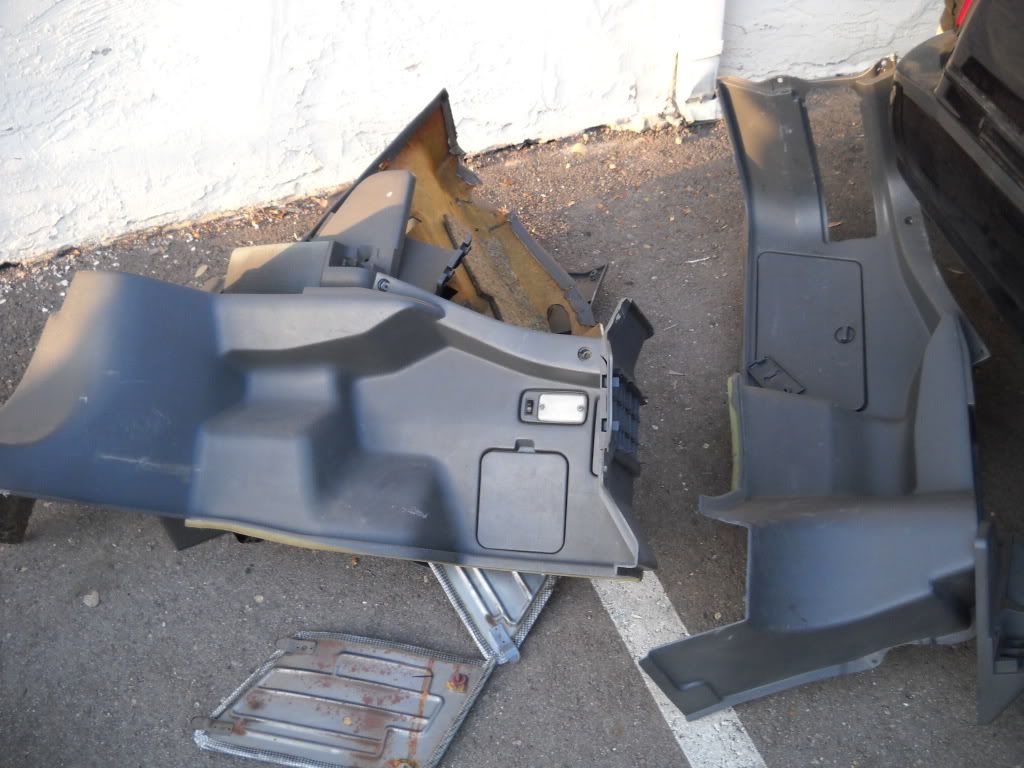
All this unneeded weight. Gone.
UPDATE Mar. 19, 2011.
Crossmember was pulled today. Found that the bushings that go between the crossmember & the car body are pretty much flattened. So I'll be needed to finding new ones (preferrably polyurethane). I took the wheels, & suspension off as well. Won't be using the stock strut/shock combo, so there's no point in keeping them on the car. I'll be getting new wheels for the car as well, so I'll be cleaning all those pieces, & selling them. Also, my lower & upper control arm bushings are shot to shit. There are lots of kits out there for these, so I'm browsing to see which ones have the best consumer backing.
Also found a motor, browsing around tonight. Motor, uncut harness, auto ecu (which means no speed limitation), all for roughly $1250 shipped. Still trying to figure out the motor mount situation. I've read that the '98 supra motor mounts will work, so I'm looking for good aftermarket polyurethane mounts for that year supra. So all in all, not too much physical progress was made today. But it's given me an opportunity to replace a lot of bad bushings throughout the car.
Here's a few results from today's work.
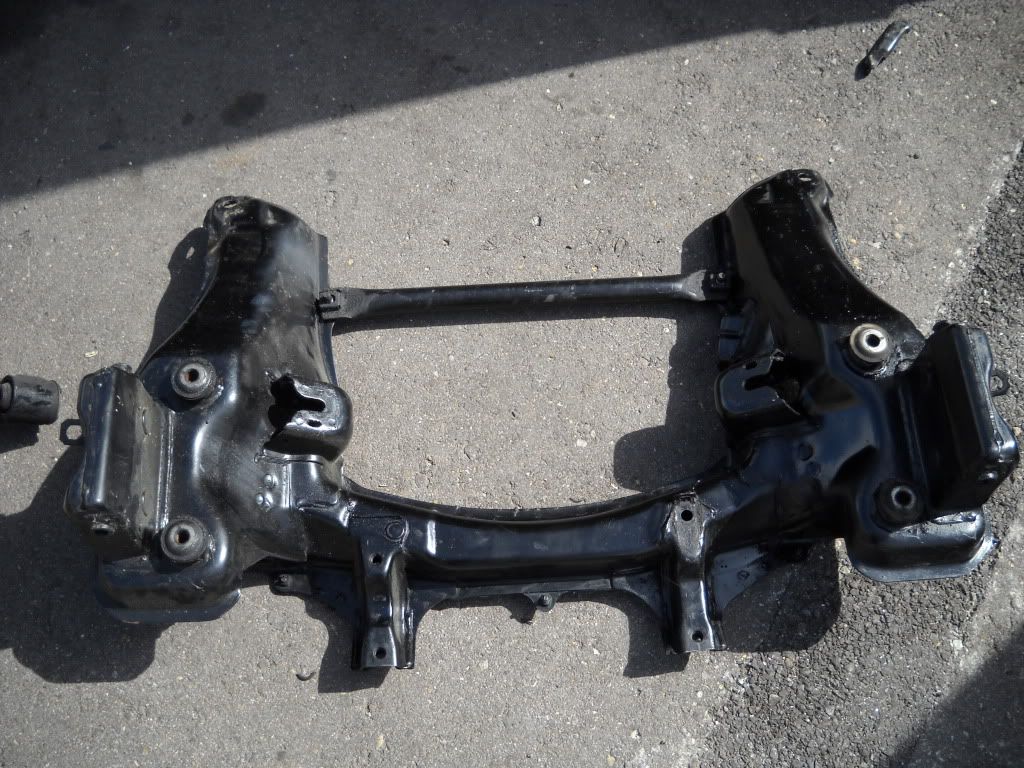
Old crossmember

New crossmember
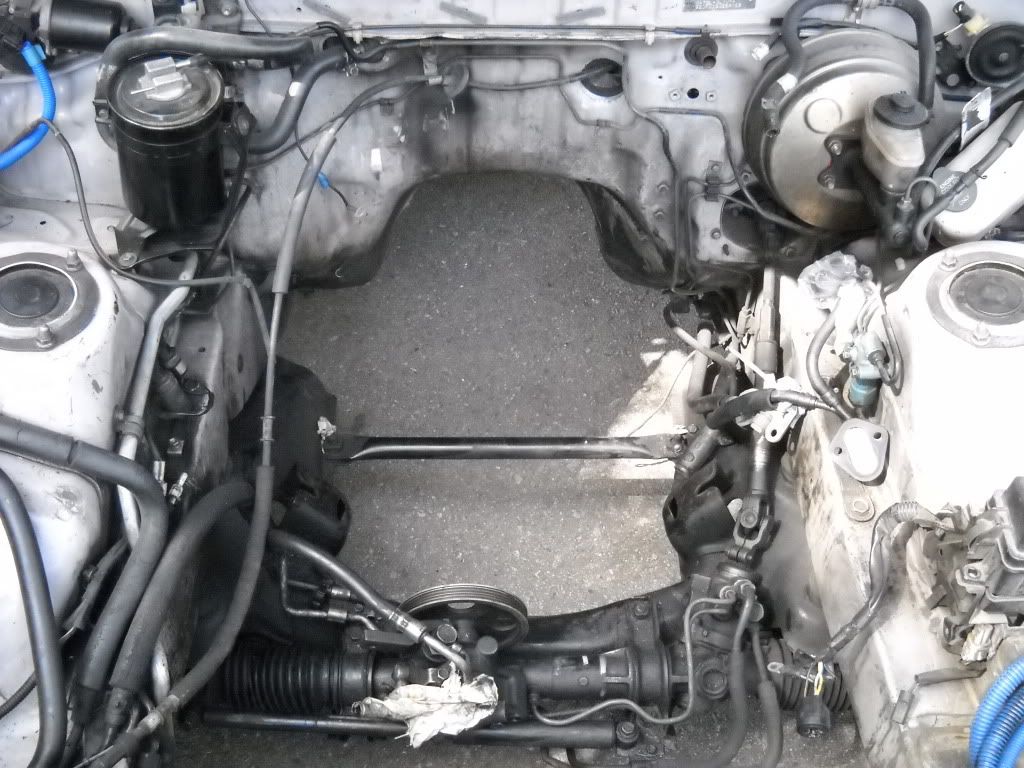
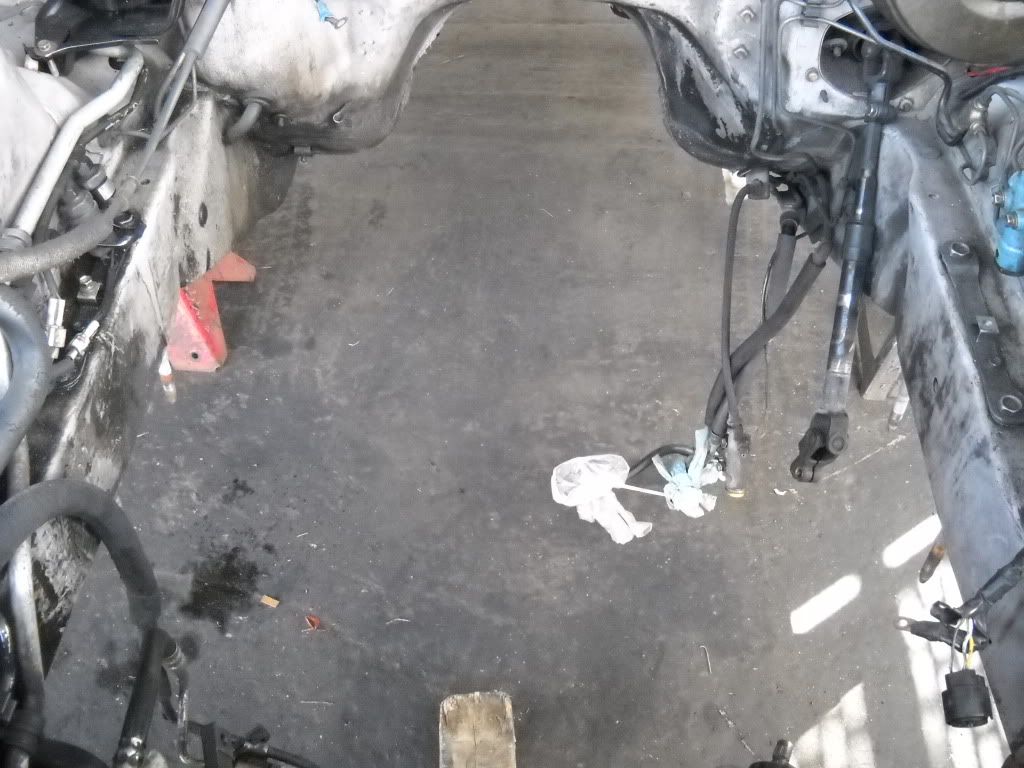
And an even emptier engine bay
UPDATE Mar. 25, 2011
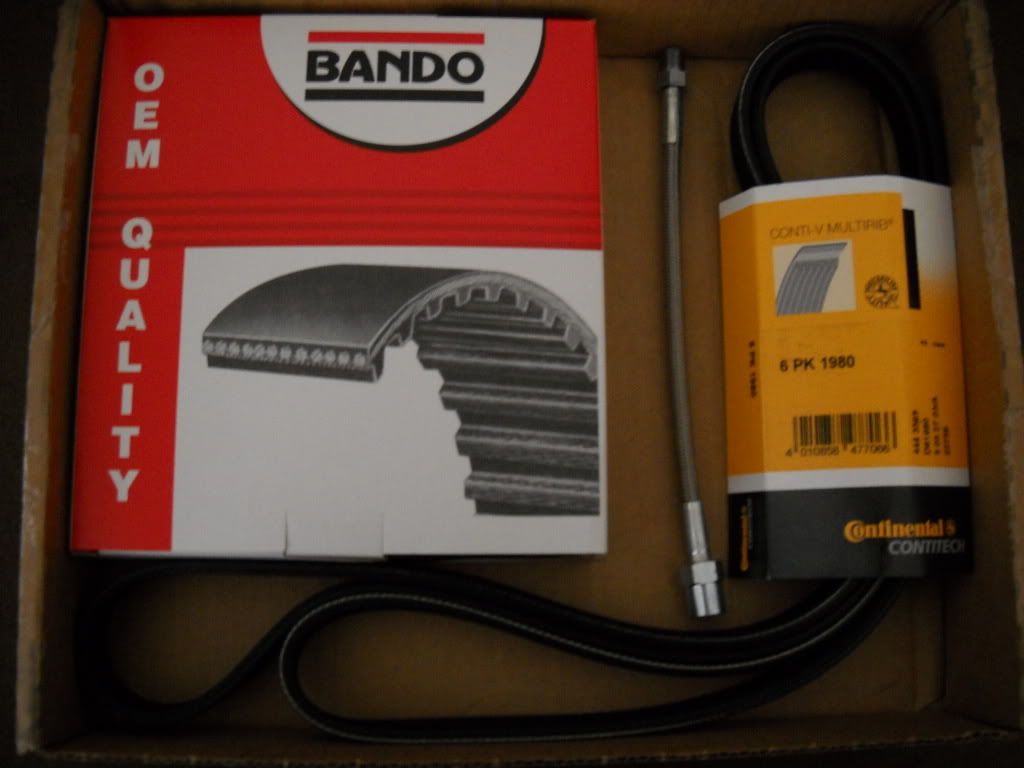
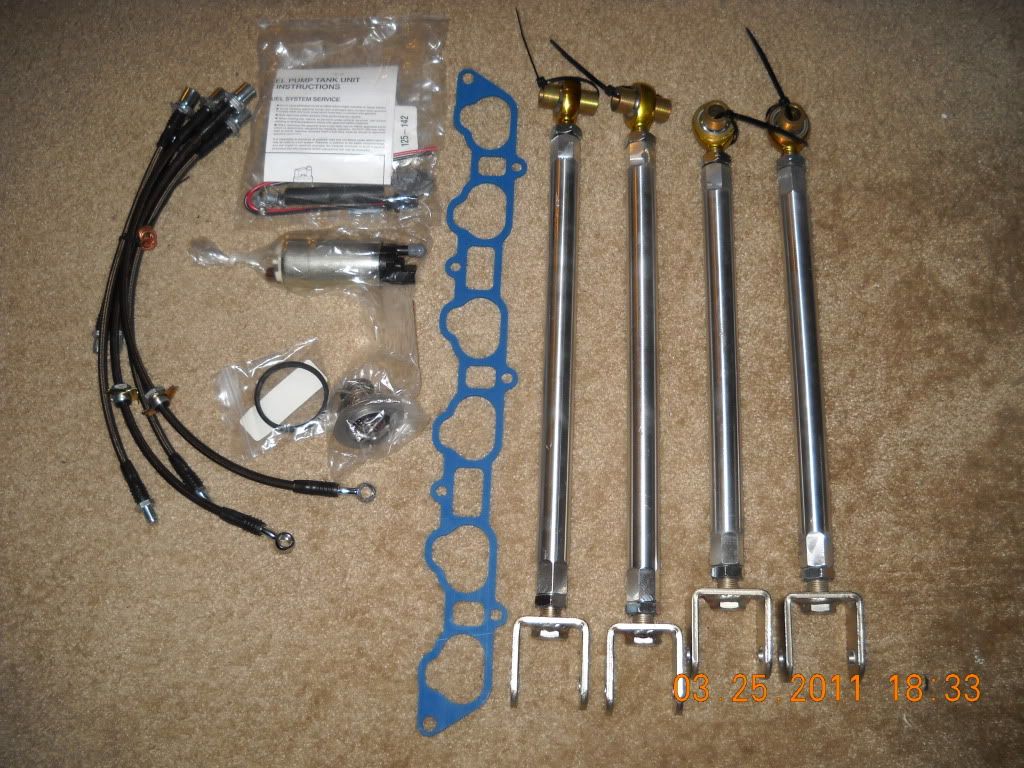
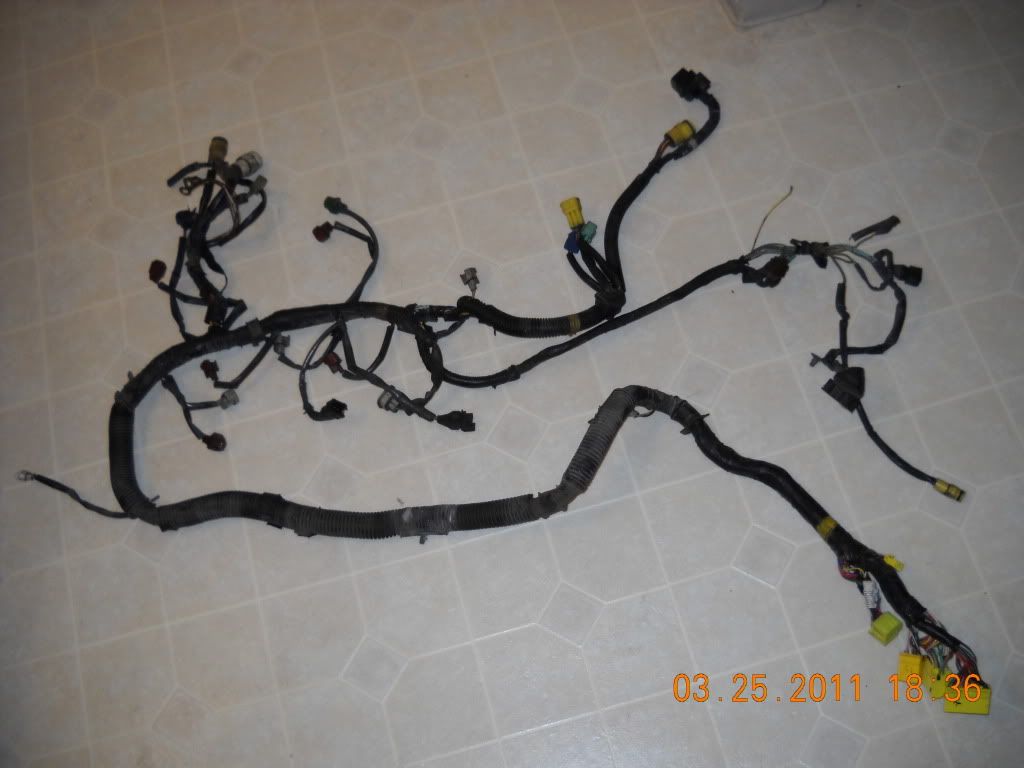
Got a box of new parts in. Received my Walbro 255lph in-tank fuel pump, 1jz thermostat w/ o-ring, IMG, Battle Version traction arms & toe arms, & a full set of Driftmotion SS brake lines for all 4 corners. However, my Aeromotive fuel pressure regulator kit was not in the box :thumbsdow so I sent Driftmotion an email, & I'll be calling them first thing Monday morning to get that shit squared away. Also got me an engine harness from a 7m, so that when my 1jz harness gets in, all I have to do is swap over a few connectors, then plug the bish in:fyea:. Tomorrow, I'll be emptying out the fuel tank, installing the new parts, & hopefully be receiving more. Here's a couple pics of the parts I picked up today. The motor & tranny are expected to arrive this Monday or Tuesday, so things are about to really pick up. Stay tuned:hihi:
SS brake lines, Thermostat, Fuel Pump, IMG, Toe arms, Traction arms.
Stock 7m-ge engine harness
UPDATE Apr. 1, 2011
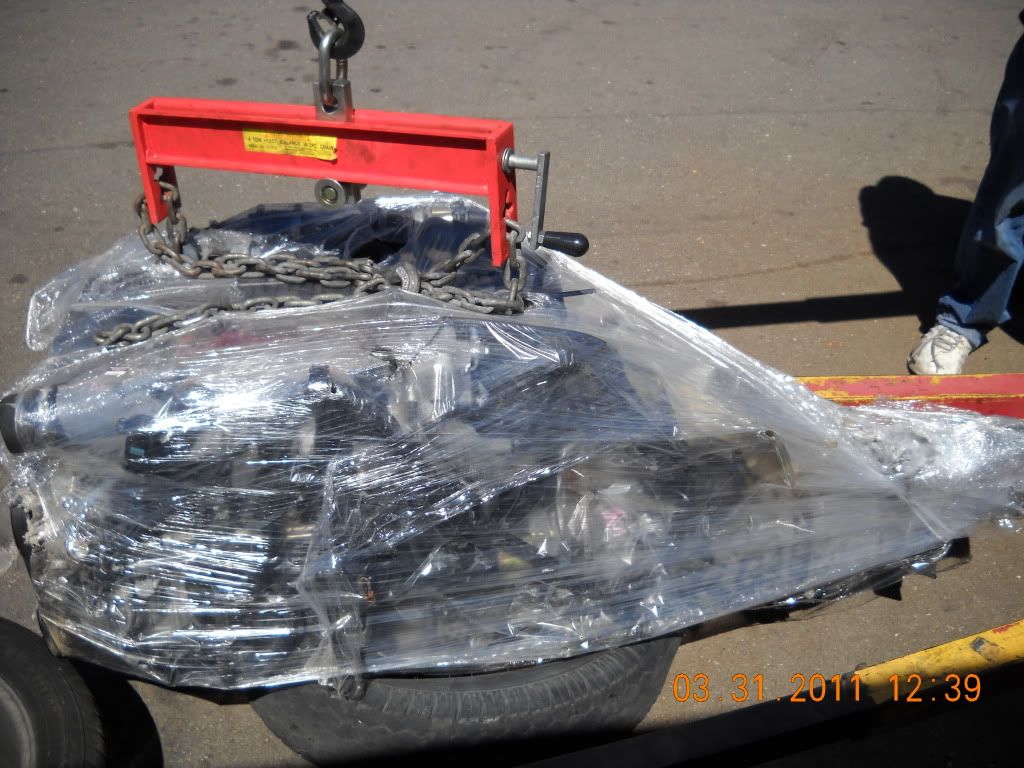
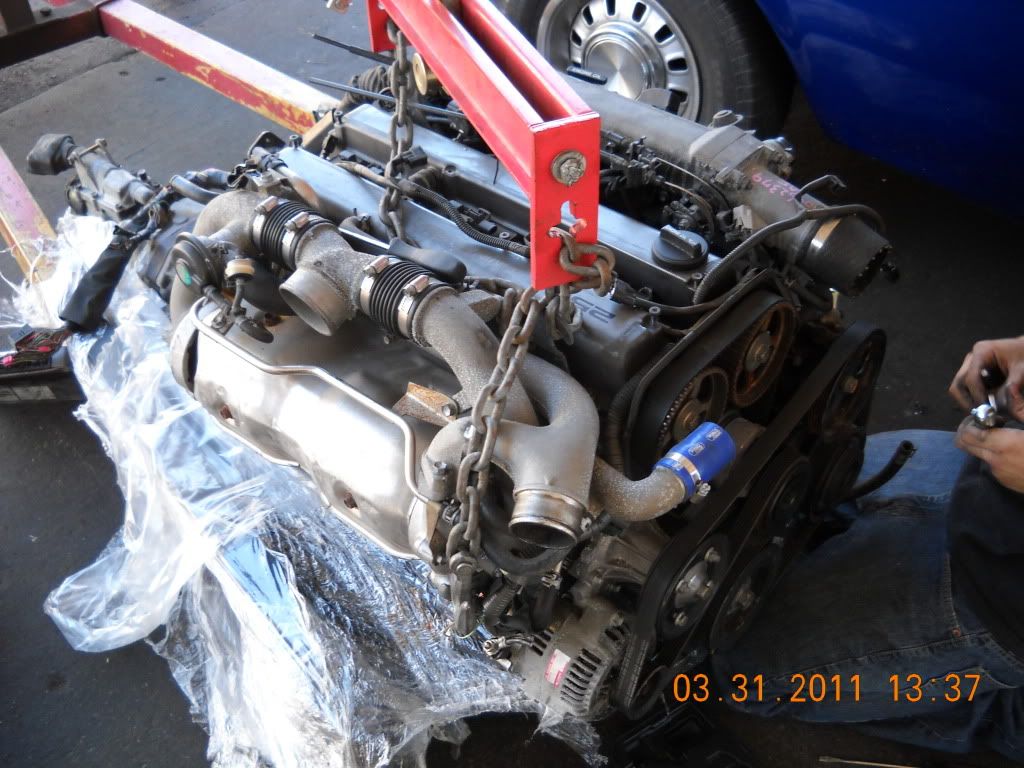
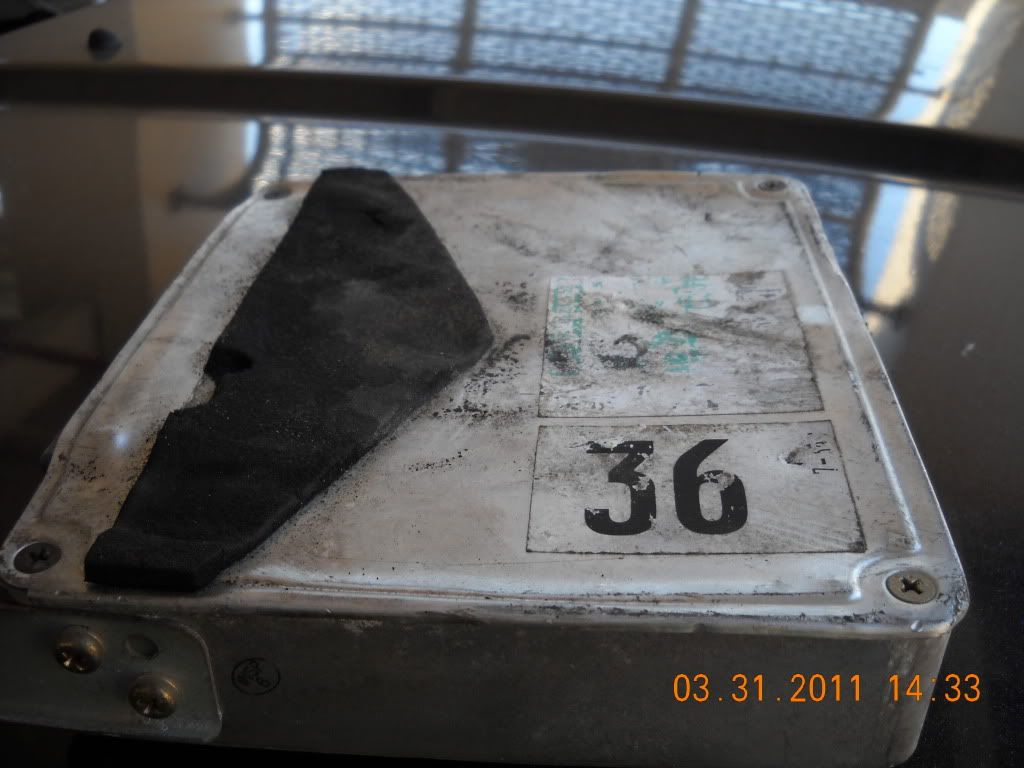
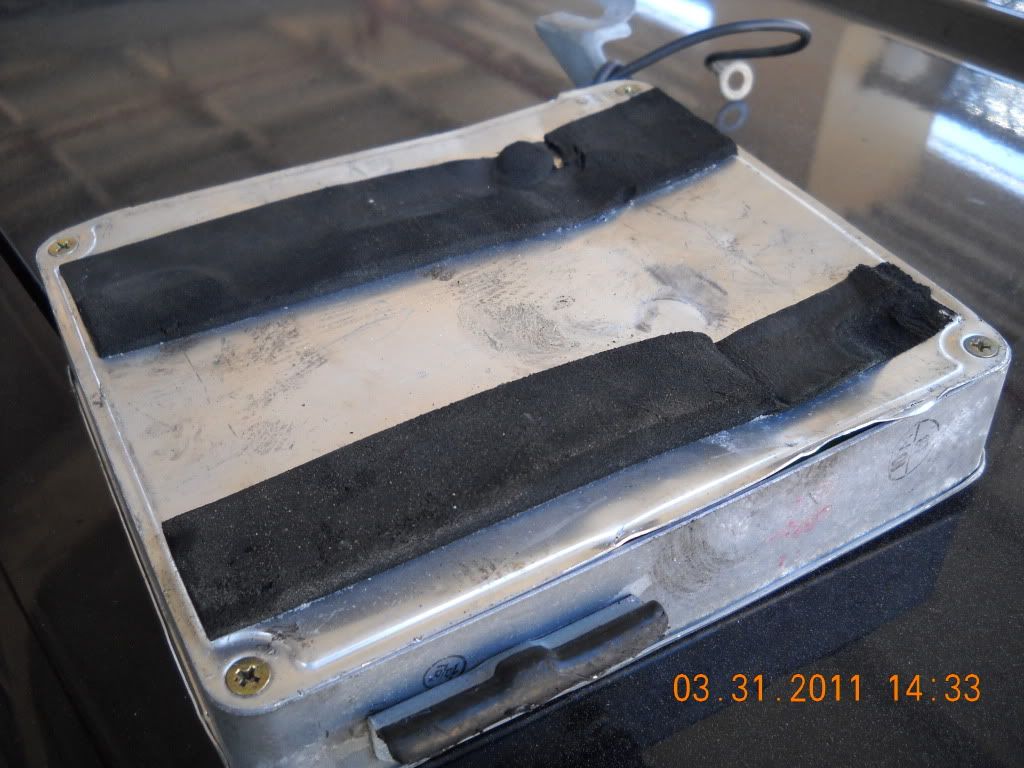
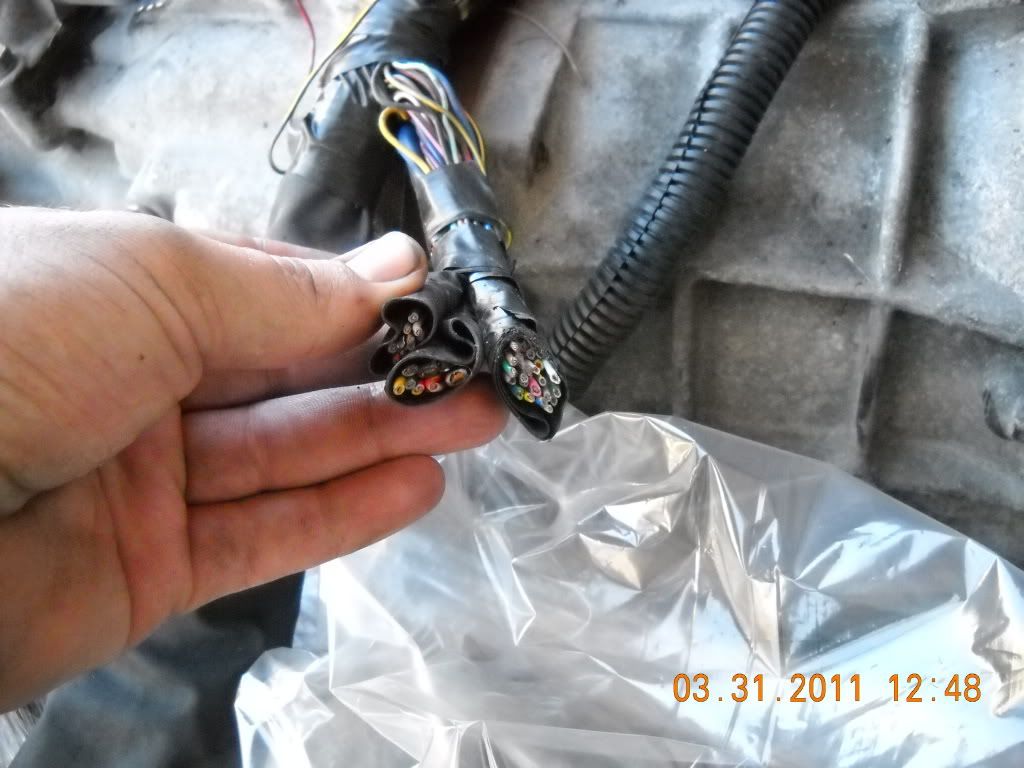
Received my motor yesterday. Everything looks ok so far, except that the ECU looks crushed, & the harness is cut in various places. The inside of the ECU hasn't been checked for fear of messing up the internals from static electricity. I also read that part of the wire harness IS supposed to be cut. Although it didn't mention what part.
1JZ-GTE
Crushed ECU
Cut portions of my "uncut" wire harness
---------- Post added at 07:47 AM ---------- Previous post was at 07:46 AM ----------
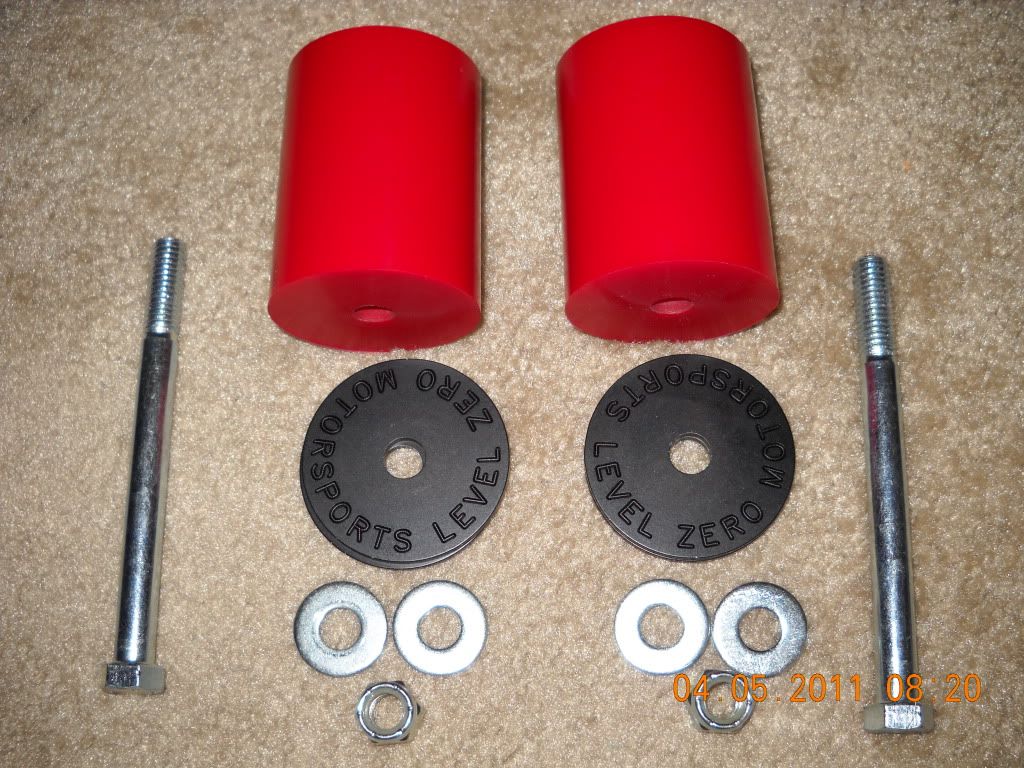
My new motor mounts. Level Zero Motorsports polyurethanes, baby! Stiffer than my wiener while watching a Stacy Keibler vs Trish Stratus KY wrestling match.
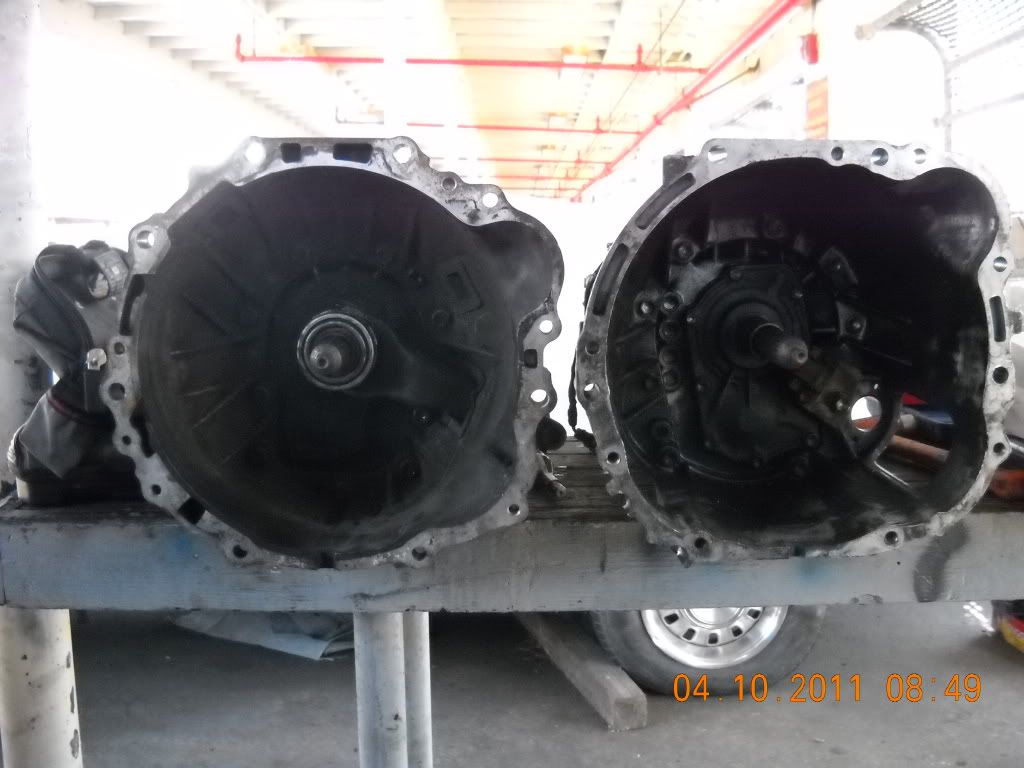
Found out that the transmission that came with the motor was the W58 transmission. It's a much weaker transmission that went on a lot of Toyota/Lexus non-turbo cars. So I went out & found me a R154 transmission. As you can tell, the R154 transmission (right) is much beefier & stronger than the W58 transmission (left). Next step is to find me a bellhousing that will mate up to the 1jz motor. The one from the W58 has a different bellhousing-to-transmission bolt pattern.

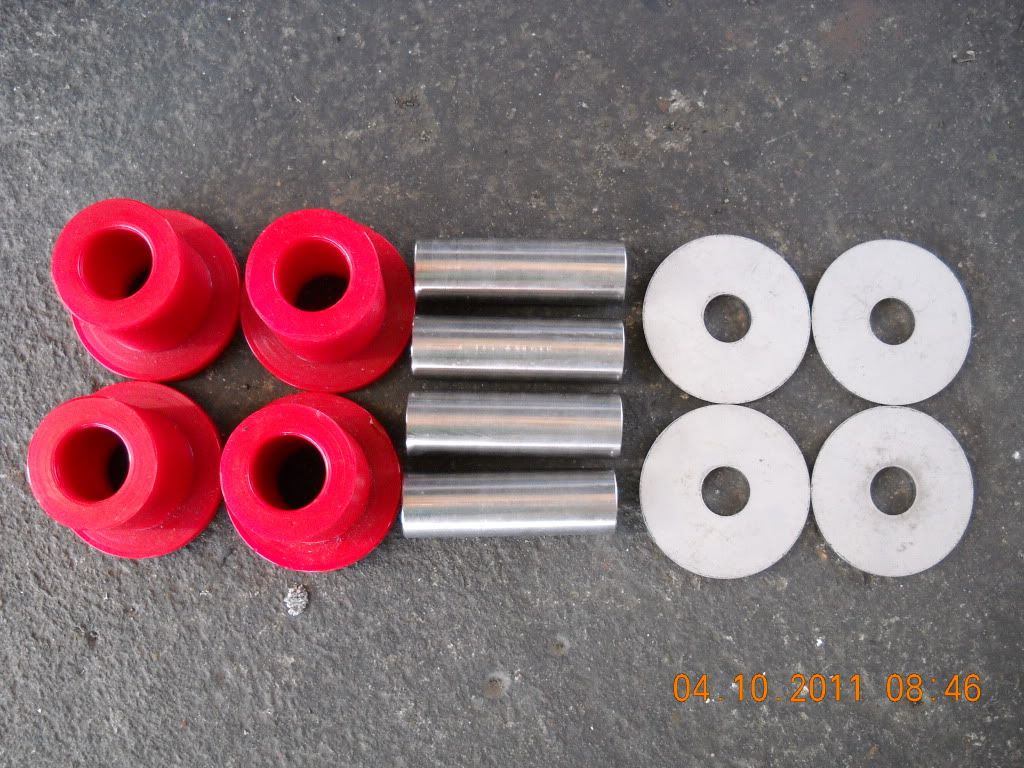
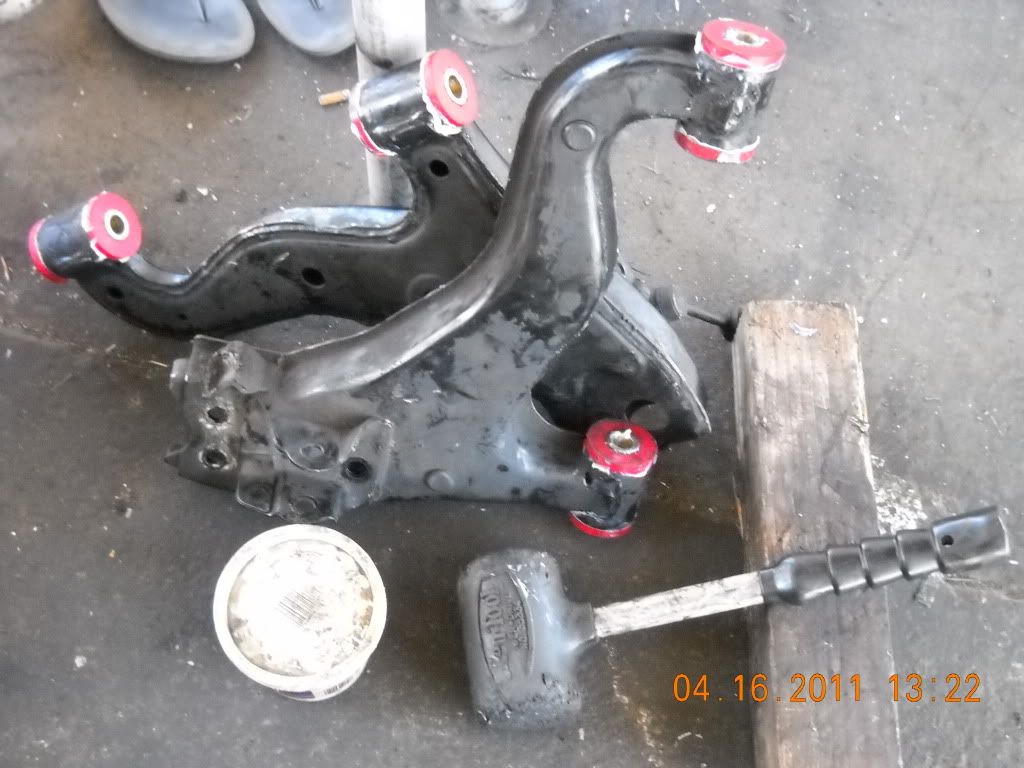
I also received my front subframe bushing kit yesterday from Raptor Racing. Knocked out the old bushings & put in the new ones, which allowed me to also put the newer subframe on.
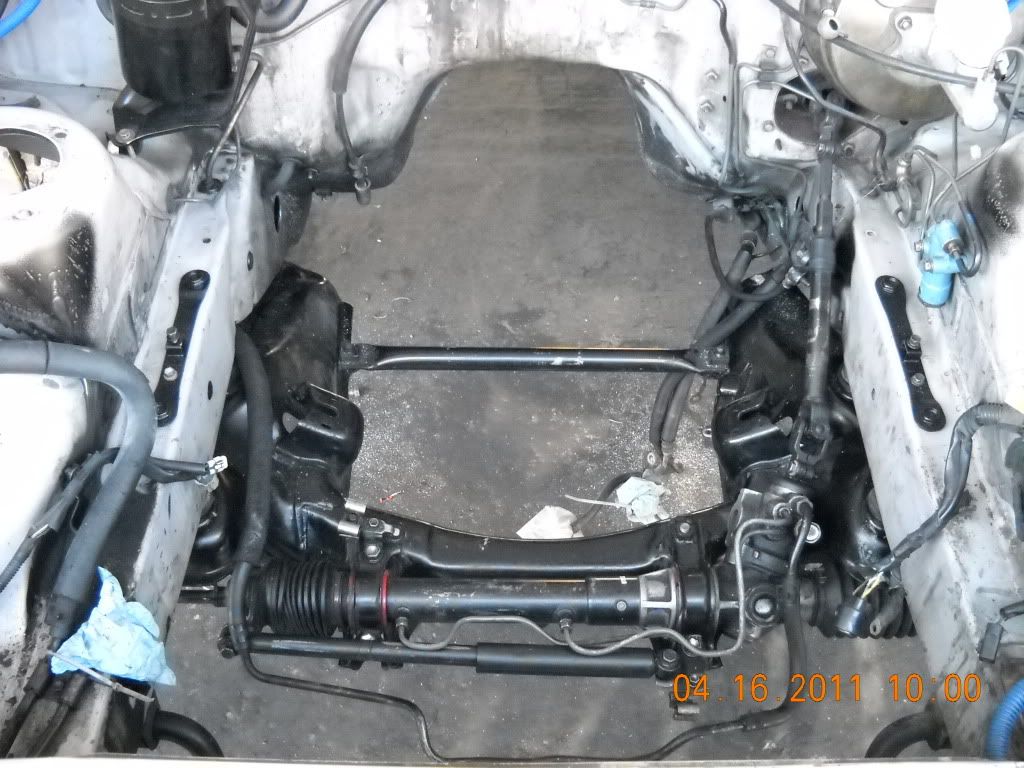
So I FINALLY got my damn subframe up & torqued. Two of the anchor nuts got sheered off inside of the body. I had to drill 2 holes, & do some breaking of brackets to allow myself to torque the 2 rear bolts. PITA, if I've ever experienced one. But alas......it's forever torqued. Bitch won't come down again, unless the mounts themselves break off. Also mounted the steering rack back onto the subframe, which also was a PITA. One of the new polyurethane bushings came to me too thick for the grooves, to sit flush. So I spent 2 hours slowly sanding down the edges to make it fit just enough that I could thread the bracket bolts down.
I also began putting the suspension back together. Since I'm waiting for my front lower control arm ball joints, I figured I'd get a jump start on things, & put my polyurethane bushings in. I also did this with my rear upper control arms. With a rubber malet, & a shit ton of grease, these things went in like butter. Since I ran out of daylight, I have to put on the polys for the toe & traction arms on tomorrow.
---------- Post added at 07:53 AM ---------- Previous post was at 07:47 AM ----------
Had to completely tear apart the rear end in order to get the new polyurethane bushings into the hub assembly. PITA, if I've ever had one. Stock bushings have a metal sleeve that has to slide out. There's various ways to go about taking these out, but the simplest way is to cut it with a hacksaw, then use an air chisel to push it out. Not easy. BUT............I finally got them all out, with minimal damage to the bushing housings. Turns out the MK3 Supras have a multi-brake system in the rear. The E-brake utilizes a drum setup, while the normal hydraulic brakes use rotors & pads. I've never seen this before. Either way, FUCK DRUM BRAKES! I hate dealing with those little bastard springs. But I got the drums back on as well, & was actually able to make the system much tighter than before. Instead of taking 8-10 clicks on the handbrake, it now takes 4 to lock the wheels up.
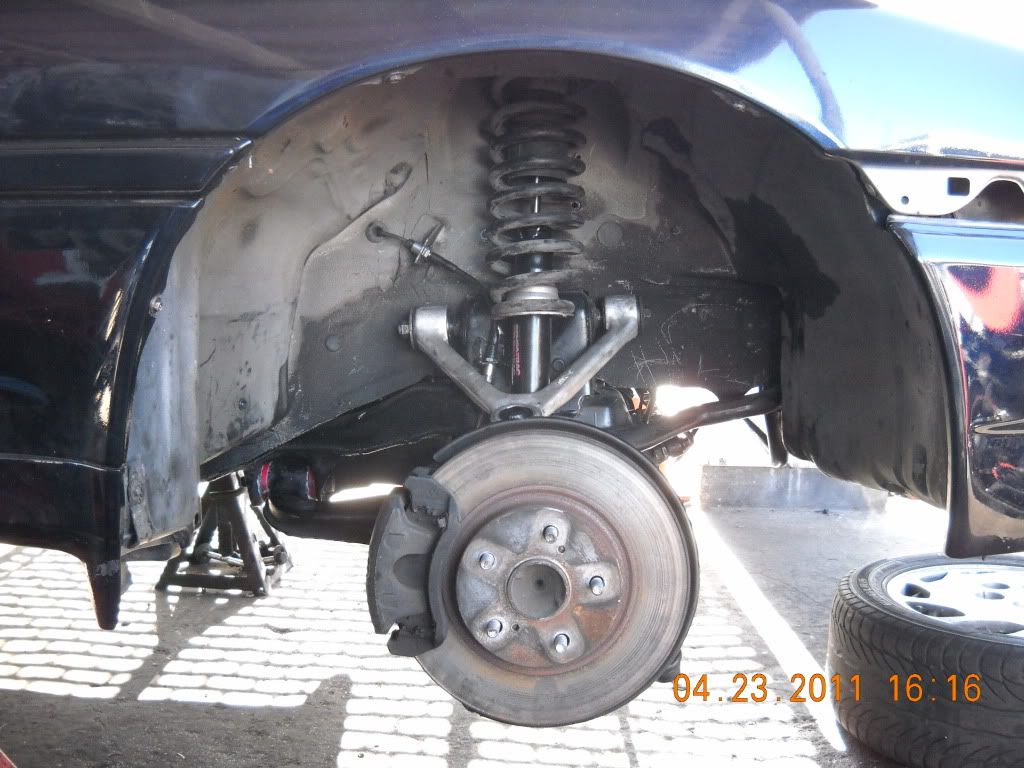
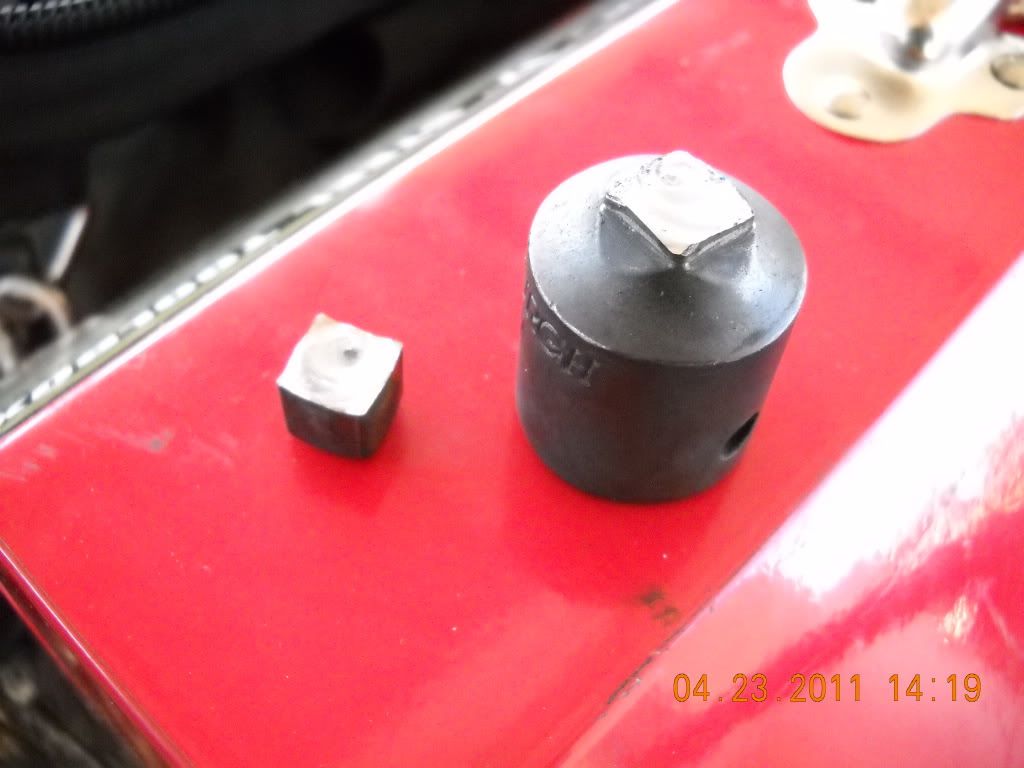
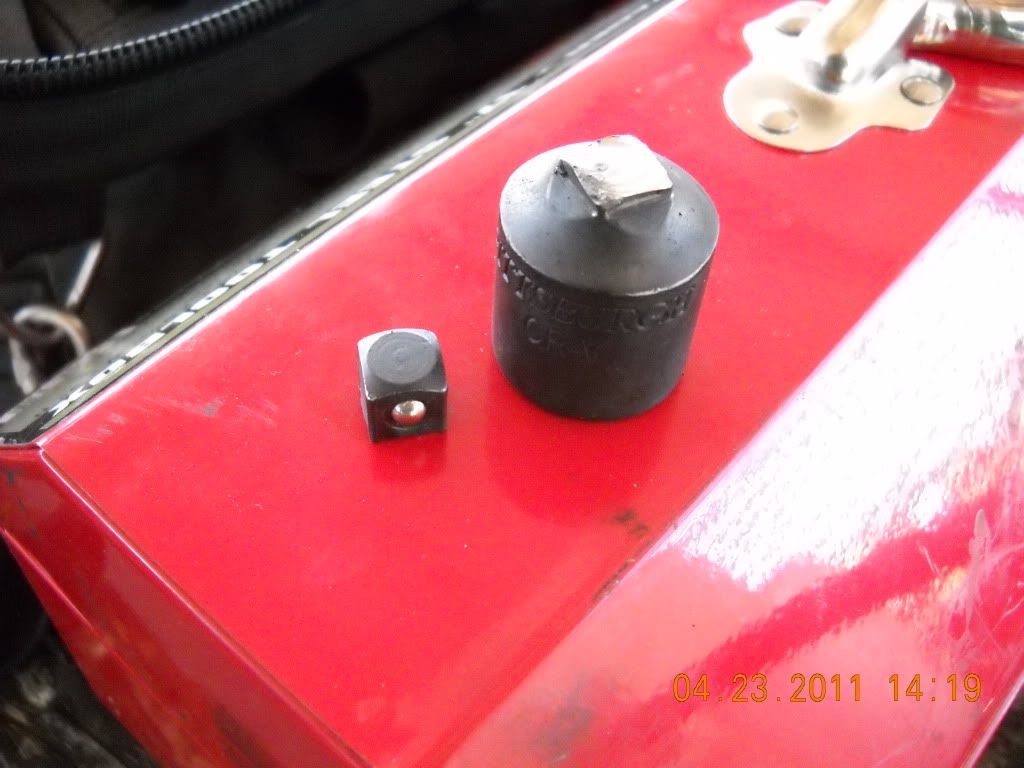
The front section of the car was much easier than the rear, in that I didn't have to fuck around with any braking, or the hubs. It was basically just installation of the suspension, & the lower & upper control arms. The lower control arms are nucking futs. While torquing down the passenger side, I somehow sheered off the impact gun grade stepdown that I was using. Don't really know how or why the fuck it couldn't handle a measly 195 ft/lb of torque, but it couldn't. Speaking of the torque, holy fuck that's hard to do by yourself, while underneath a car. Not to mention that the only torque wrench that was available (that went to the tq I needed) was a stupid dial. But.........all of the suspension is done, & put back onto the car. Next step is to replace worn parts of the shifter & linkage in the transmission. As of the time of this post, I have a bunch of parts on their way to me, so they should be here & installed by this weekend.
A couple months ago I picked up a Toyota Supra project from a guy who couldn't complete it. Between his kids, & a nagging wife, he was forced to sell it. Oh well. His loss is my gain. Bought everything but the motor,tranny,ecu, & engine harness from him, since the motor was bad & he had another person wanting the motor. Can't really sell only the motor, so I helped him out by letting him keep the stuff for a full motor swap. Anywho.....his project is now my project. The car is sitting on jack stands as of today. But it'll soon find itself the recipient of a new JDM 1JZ-GTE twin turbo heart, which is sitting next to the Supra.:evil2: (Yes, the pics are old. Between school, & working on the car, I've only found time to take the pictures.)
So here's my build thread for my 1986.5 MK3 Toyota Supra drift project. Enjoy.
Here's some pics of what I've done so far.
Right after I purchased the car. Waiting for the tow truck.
Couple shots of inside the engine bay....(not sure what that black canister by the firewall is)
The Supra arrives at the shop where it'll receive it's new heart.
Here, the Supra is pretty much gutted to where I want it. (spare tire will be removed once I get closer to firing the car up)
All this unneeded weight. Gone.
UPDATE Mar. 19, 2011.
Crossmember was pulled today. Found that the bushings that go between the crossmember & the car body are pretty much flattened. So I'll be needed to finding new ones (preferrably polyurethane). I took the wheels, & suspension off as well. Won't be using the stock strut/shock combo, so there's no point in keeping them on the car. I'll be getting new wheels for the car as well, so I'll be cleaning all those pieces, & selling them. Also, my lower & upper control arm bushings are shot to shit. There are lots of kits out there for these, so I'm browsing to see which ones have the best consumer backing.
Also found a motor, browsing around tonight. Motor, uncut harness, auto ecu (which means no speed limitation), all for roughly $1250 shipped. Still trying to figure out the motor mount situation. I've read that the '98 supra motor mounts will work, so I'm looking for good aftermarket polyurethane mounts for that year supra. So all in all, not too much physical progress was made today. But it's given me an opportunity to replace a lot of bad bushings throughout the car.
Here's a few results from today's work.
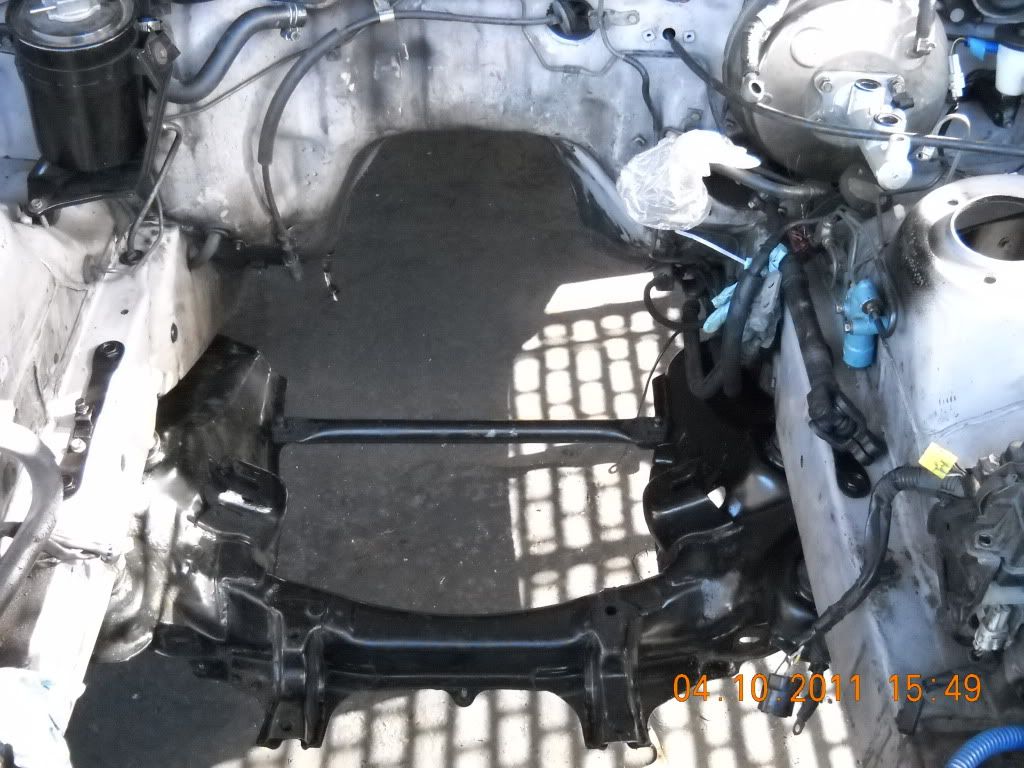
Old crossmember
New crossmember
And an even emptier engine bay
UPDATE Mar. 25, 2011
Got a box of new parts in. Received my Walbro 255lph in-tank fuel pump, 1jz thermostat w/ o-ring, IMG, Battle Version traction arms & toe arms, & a full set of Driftmotion SS brake lines for all 4 corners. However, my Aeromotive fuel pressure regulator kit was not in the box :thumbsdow so I sent Driftmotion an email, & I'll be calling them first thing Monday morning to get that shit squared away. Also got me an engine harness from a 7m, so that when my 1jz harness gets in, all I have to do is swap over a few connectors, then plug the bish in:fyea:. Tomorrow, I'll be emptying out the fuel tank, installing the new parts, & hopefully be receiving more. Here's a couple pics of the parts I picked up today. The motor & tranny are expected to arrive this Monday or Tuesday, so things are about to really pick up. Stay tuned:hihi:
SS brake lines, Thermostat, Fuel Pump, IMG, Toe arms, Traction arms.
Stock 7m-ge engine harness
UPDATE Apr. 1, 2011
Received my motor yesterday. Everything looks ok so far, except that the ECU looks crushed, & the harness is cut in various places. The inside of the ECU hasn't been checked for fear of messing up the internals from static electricity. I also read that part of the wire harness IS supposed to be cut. Although it didn't mention what part.
1JZ-GTE
Crushed ECU
Cut portions of my "uncut" wire harness
---------- Post added at 07:47 AM ---------- Previous post was at 07:46 AM ----------
My new motor mounts. Level Zero Motorsports polyurethanes, baby! Stiffer than my wiener while watching a Stacy Keibler vs Trish Stratus KY wrestling match.
Found out that the transmission that came with the motor was the W58 transmission. It's a much weaker transmission that went on a lot of Toyota/Lexus non-turbo cars. So I went out & found me a R154 transmission. As you can tell, the R154 transmission (right) is much beefier & stronger than the W58 transmission (left). Next step is to find me a bellhousing that will mate up to the 1jz motor. The one from the W58 has a different bellhousing-to-transmission bolt pattern.
I also received my front subframe bushing kit yesterday from Raptor Racing. Knocked out the old bushings & put in the new ones, which allowed me to also put the newer subframe on.
So I FINALLY got my damn subframe up & torqued. Two of the anchor nuts got sheered off inside of the body. I had to drill 2 holes, & do some breaking of brackets to allow myself to torque the 2 rear bolts. PITA, if I've ever experienced one. But alas......it's forever torqued. Bitch won't come down again, unless the mounts themselves break off. Also mounted the steering rack back onto the subframe, which also was a PITA. One of the new polyurethane bushings came to me too thick for the grooves, to sit flush. So I spent 2 hours slowly sanding down the edges to make it fit just enough that I could thread the bracket bolts down.
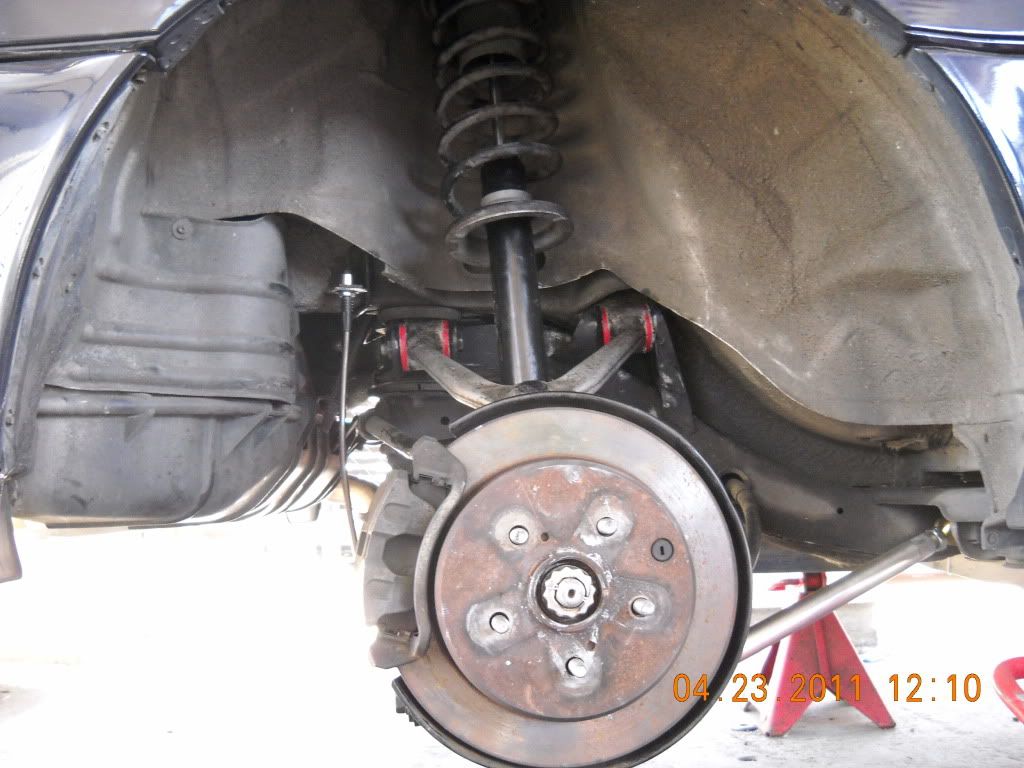
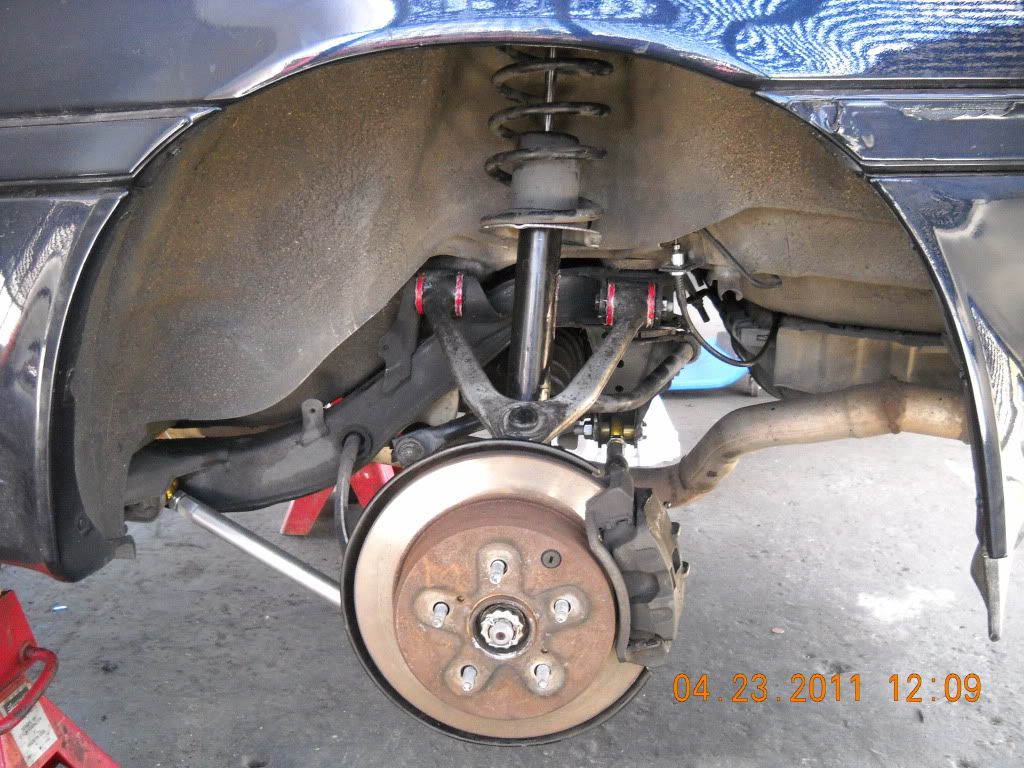
I also began putting the suspension back together. Since I'm waiting for my front lower control arm ball joints, I figured I'd get a jump start on things, & put my polyurethane bushings in. I also did this with my rear upper control arms. With a rubber malet, & a shit ton of grease, these things went in like butter. Since I ran out of daylight, I have to put on the polys for the toe & traction arms on tomorrow.
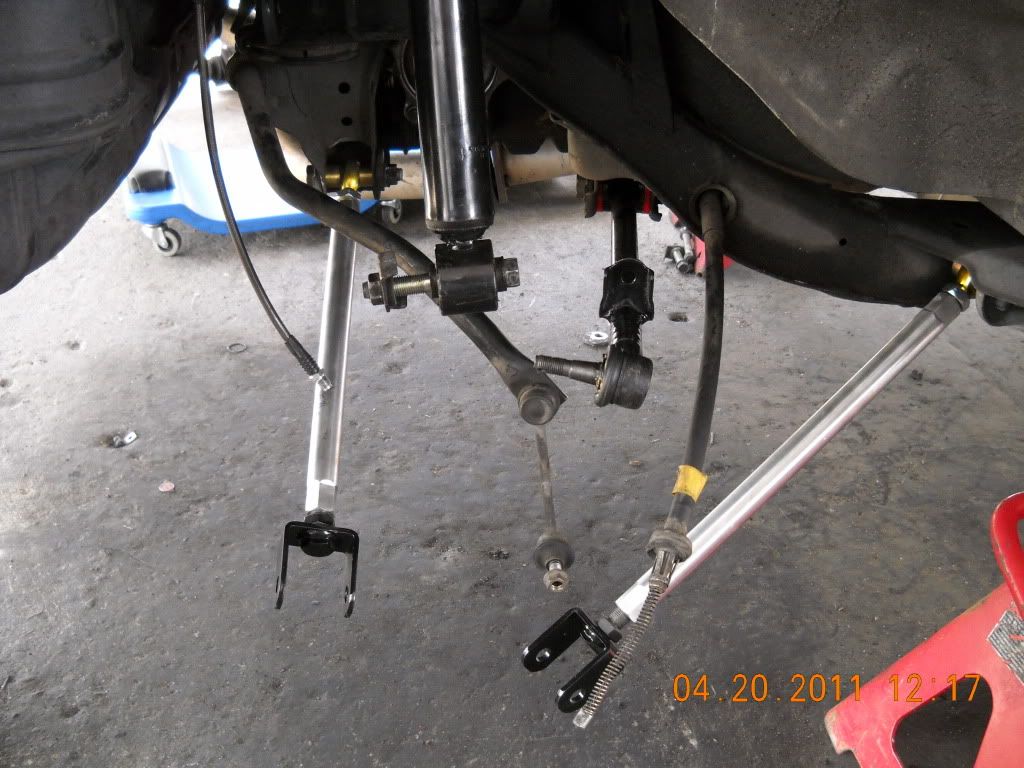
---------- Post added at 07:53 AM ---------- Previous post was at 07:47 AM ----------
Had to completely tear apart the rear end in order to get the new polyurethane bushings into the hub assembly. PITA, if I've ever had one. Stock bushings have a metal sleeve that has to slide out. There's various ways to go about taking these out, but the simplest way is to cut it with a hacksaw, then use an air chisel to push it out. Not easy. BUT............I finally got them all out, with minimal damage to the bushing housings. Turns out the MK3 Supras have a multi-brake system in the rear. The E-brake utilizes a drum setup, while the normal hydraulic brakes use rotors & pads. I've never seen this before. Either way, FUCK DRUM BRAKES! I hate dealing with those little bastard springs. But I got the drums back on as well, & was actually able to make the system much tighter than before. Instead of taking 8-10 clicks on the handbrake, it now takes 4 to lock the wheels up.
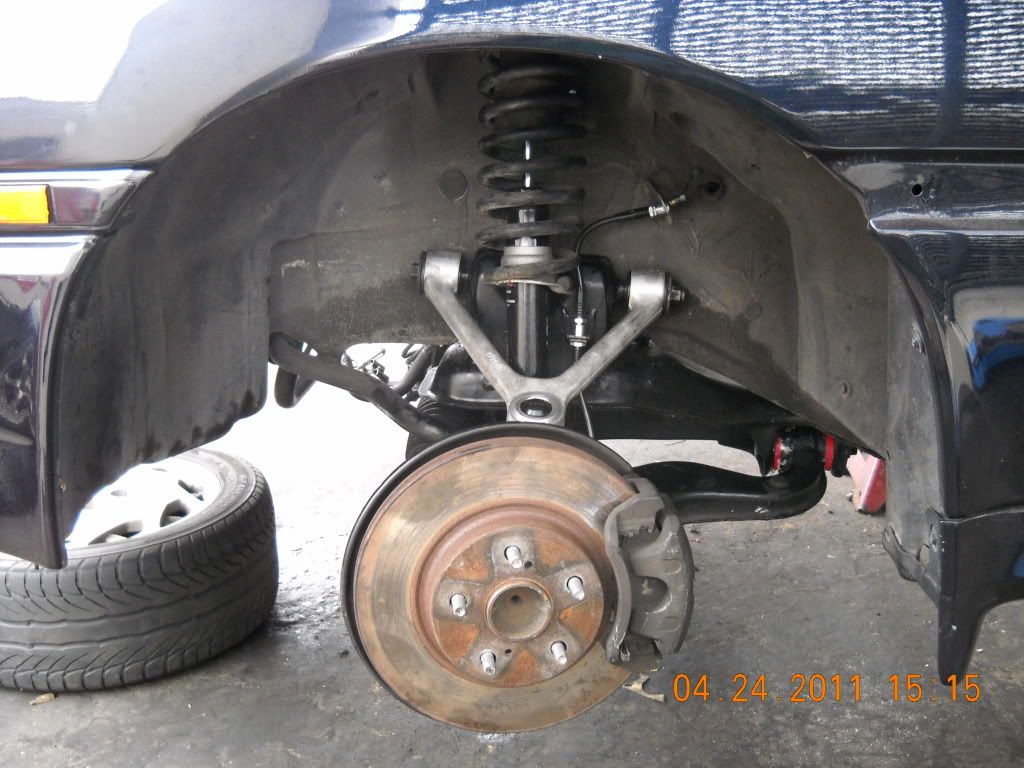
The front section of the car was much easier than the rear, in that I didn't have to fuck around with any braking, or the hubs. It was basically just installation of the suspension, & the lower & upper control arms. The lower control arms are nucking futs. While torquing down the passenger side, I somehow sheered off the impact gun grade stepdown that I was using. Don't really know how or why the fuck it couldn't handle a measly 195 ft/lb of torque, but it couldn't. Speaking of the torque, holy fuck that's hard to do by yourself, while underneath a car. Not to mention that the only torque wrench that was available (that went to the tq I needed) was a stupid dial. But.........all of the suspension is done, & put back onto the car. Next step is to replace worn parts of the shifter & linkage in the transmission. As of the time of this post, I have a bunch of parts on their way to me, so they should be here & installed by this weekend.