copy pasta from CS.com
So this thread is going to be the progression of the build on my supra. I'm going to put everything here from now on. My suspension, brakes and the motor which is coming soon, and any other ideas or insights I find while going along with the build. Hopefully this thread can also become a general information thread for others progressing in their own builds. I'll do as much as I can to post up my ideas and methods. Pictures are a huge part of this so I'm going to be posting a lot. A lot of the pictures I will be posting will be cell phone pics because I take them while I am working on the car, I don't always have access to my good camera. But bear with me please.
Progression may be slow at times, but I am determined. The car is in storage and I have time to try out different things and post my findings.
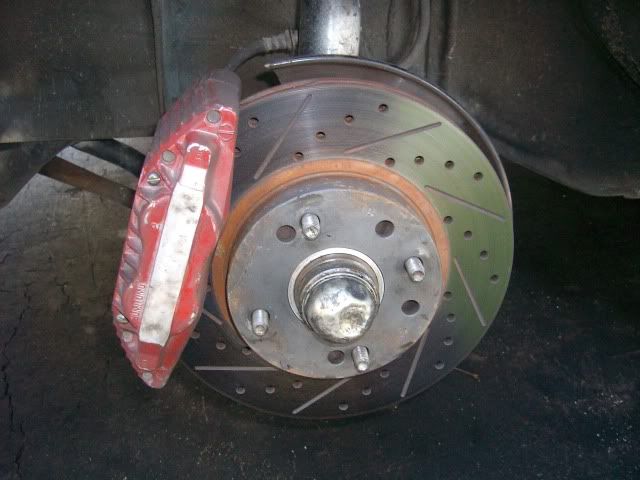
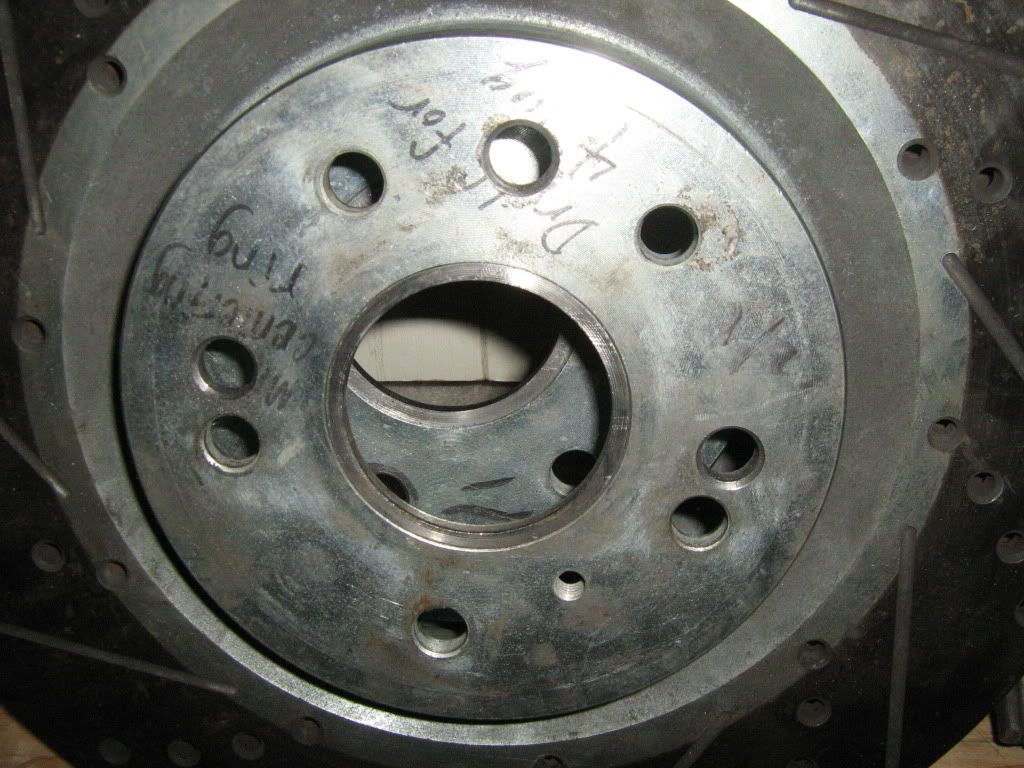
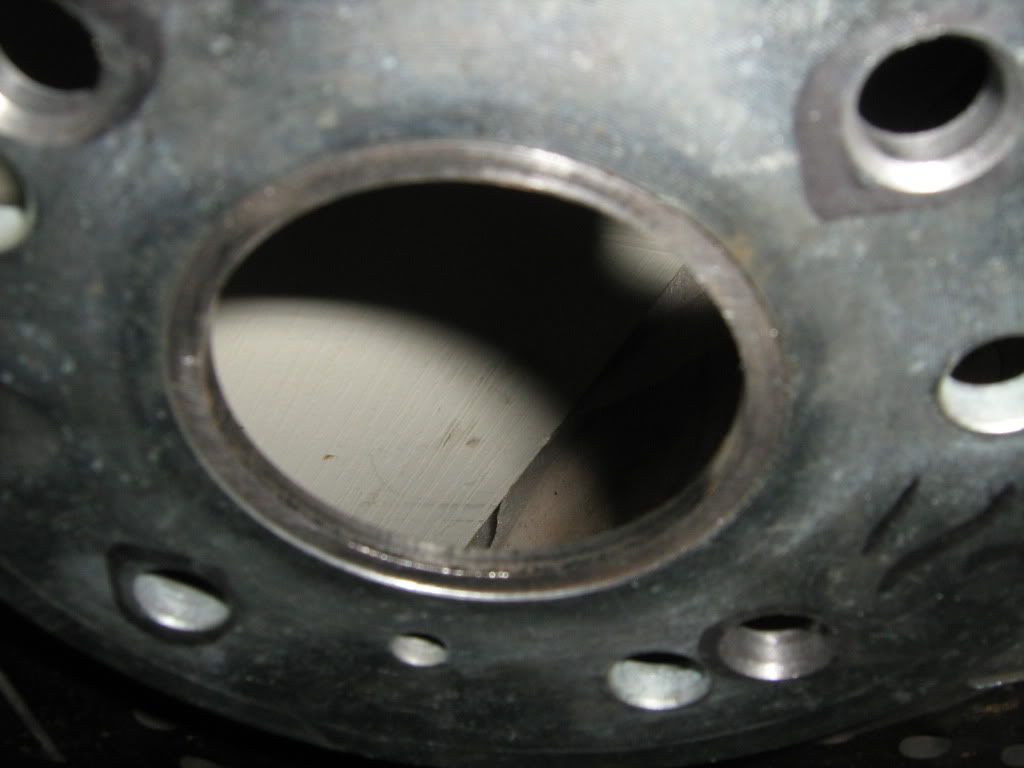
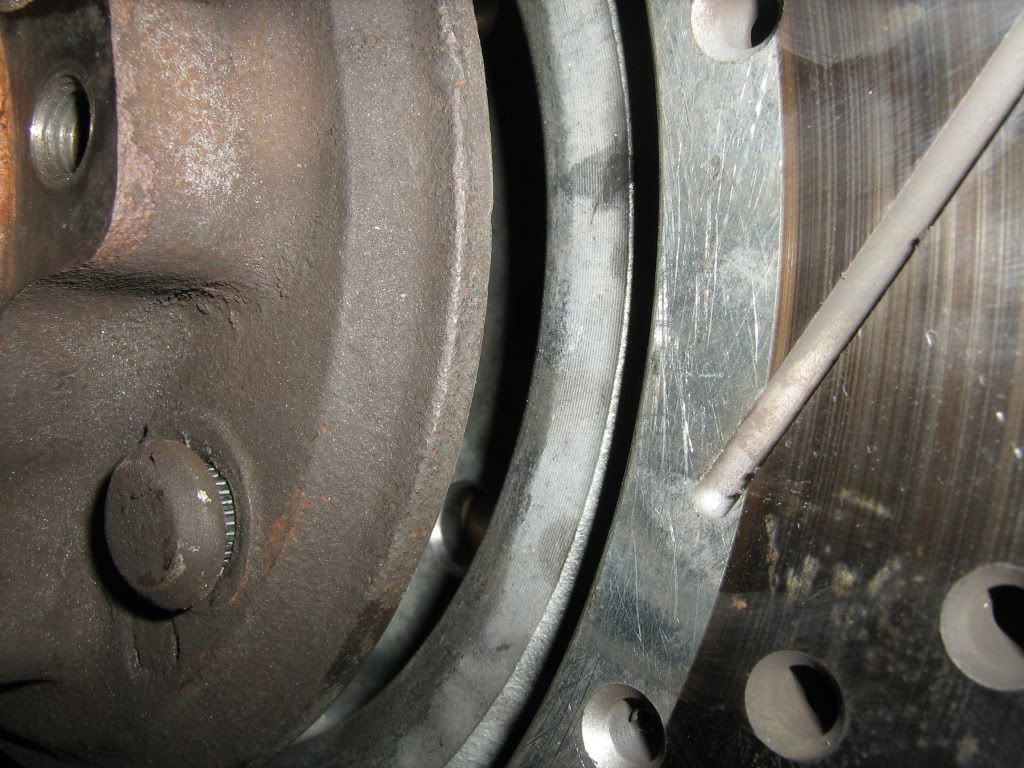
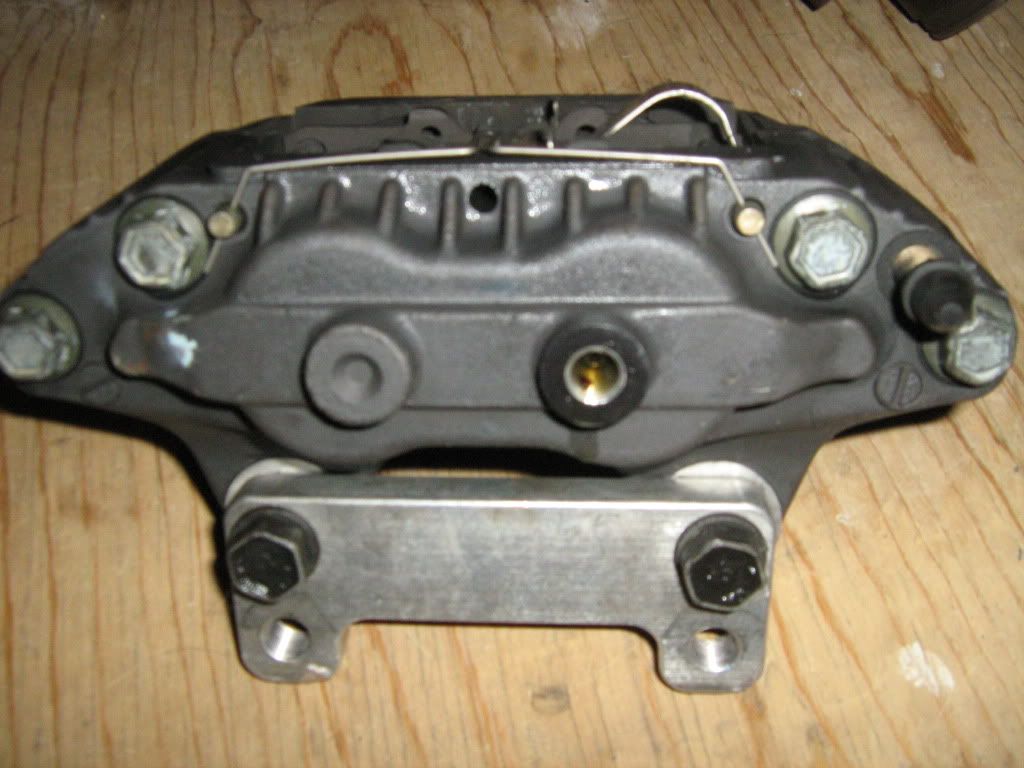
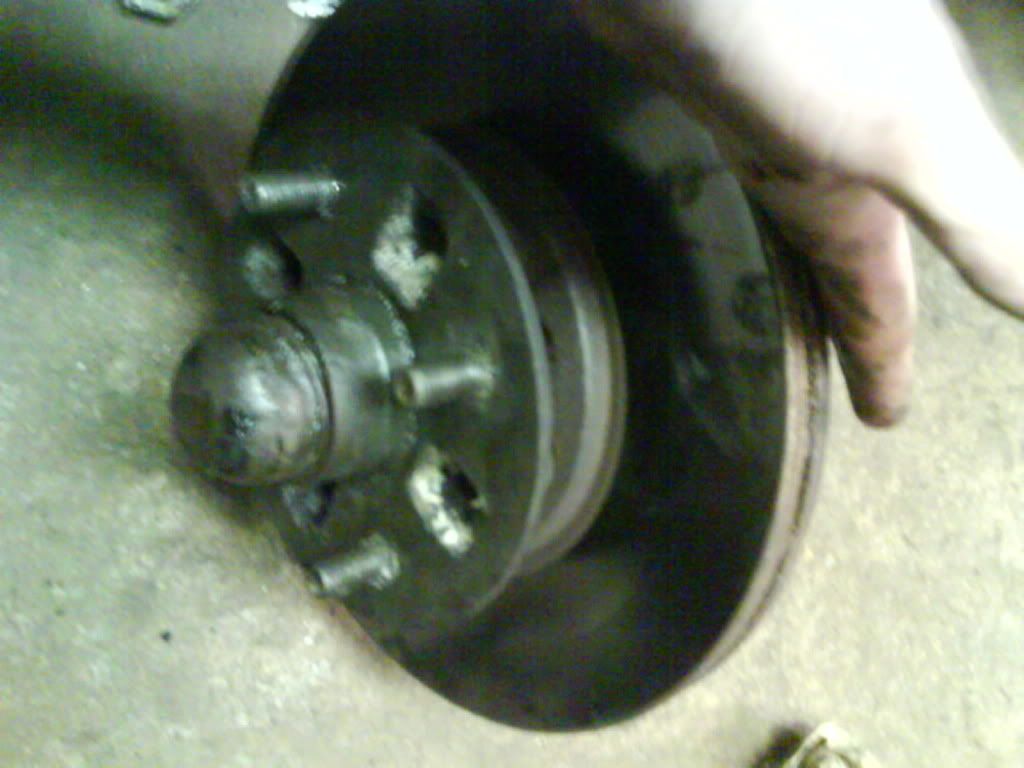
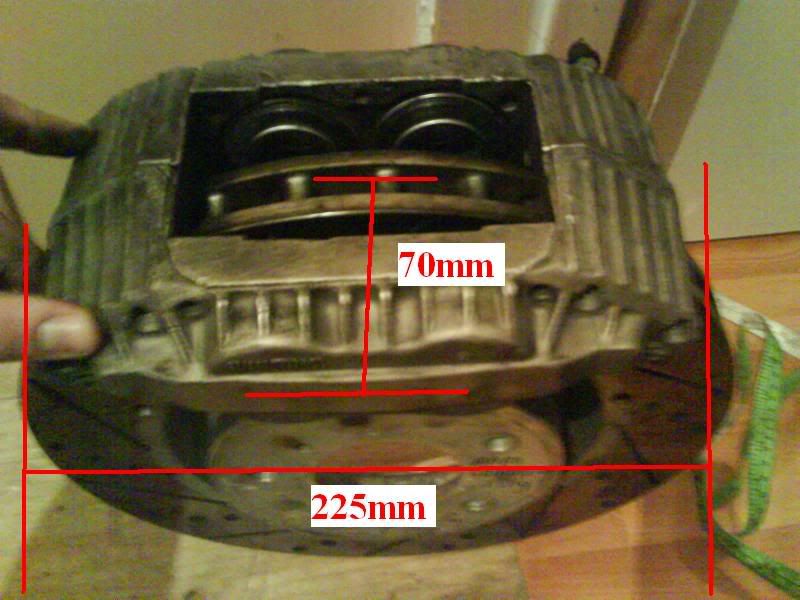
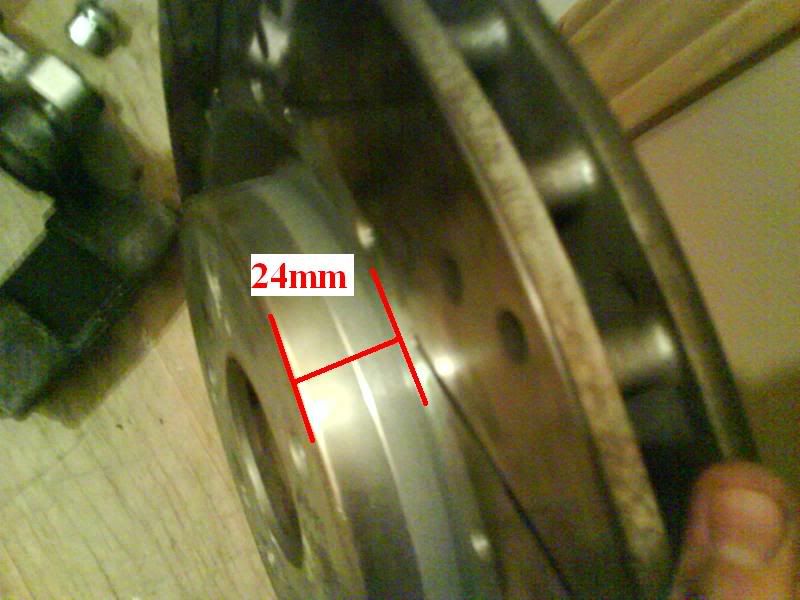
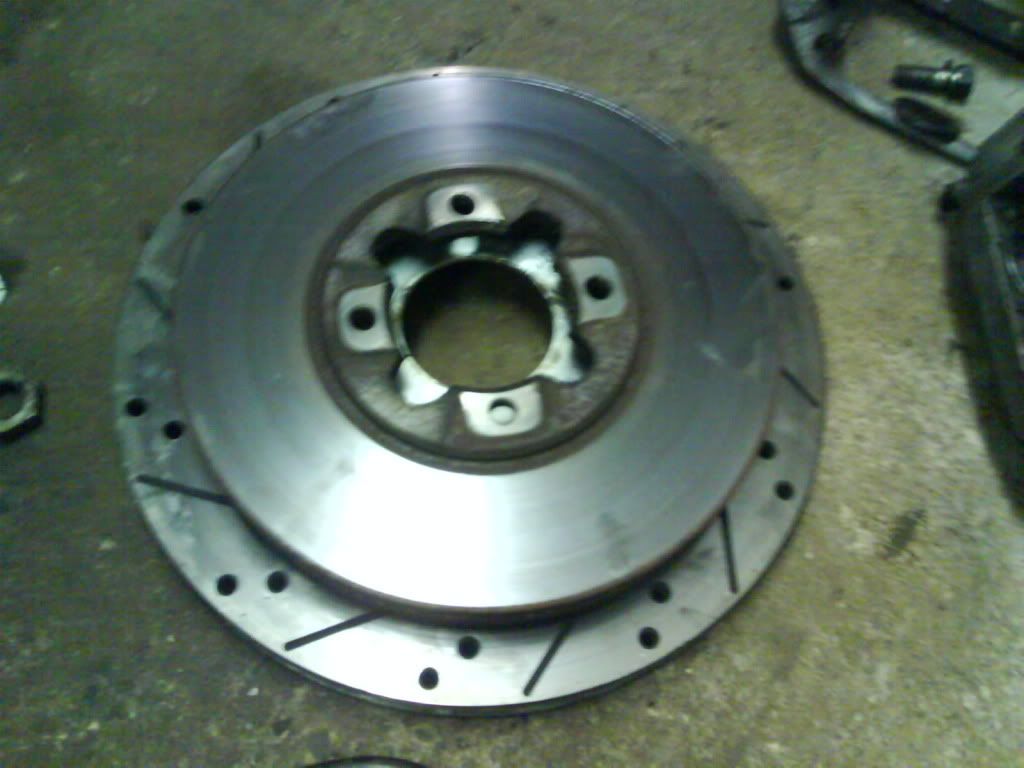
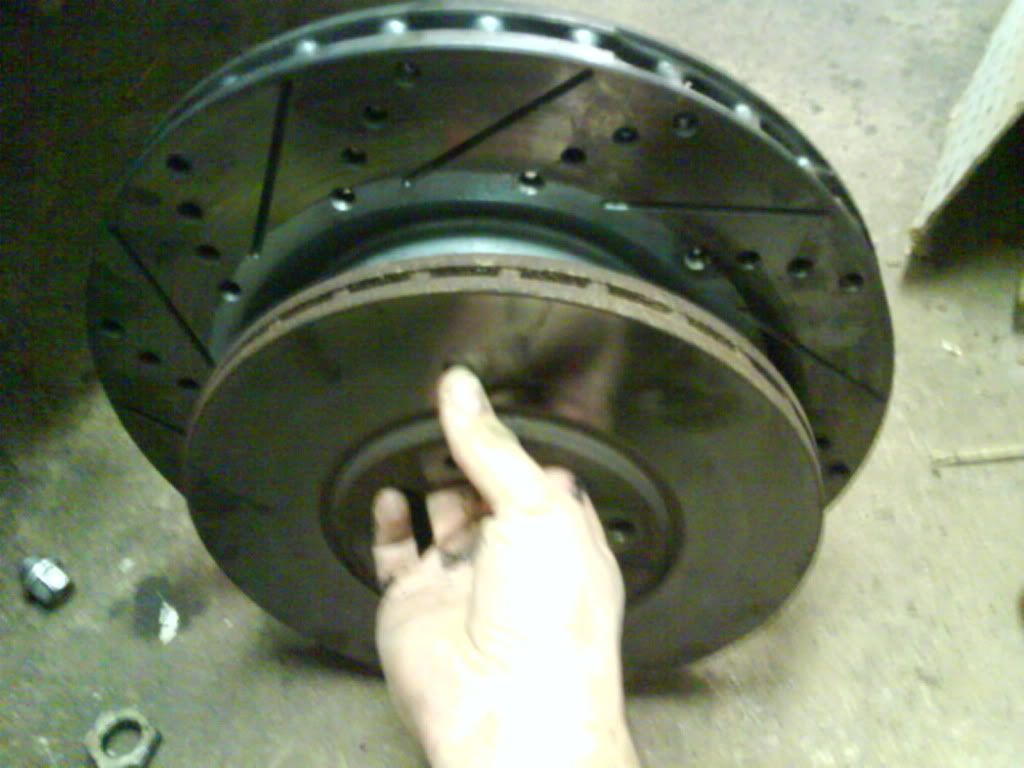
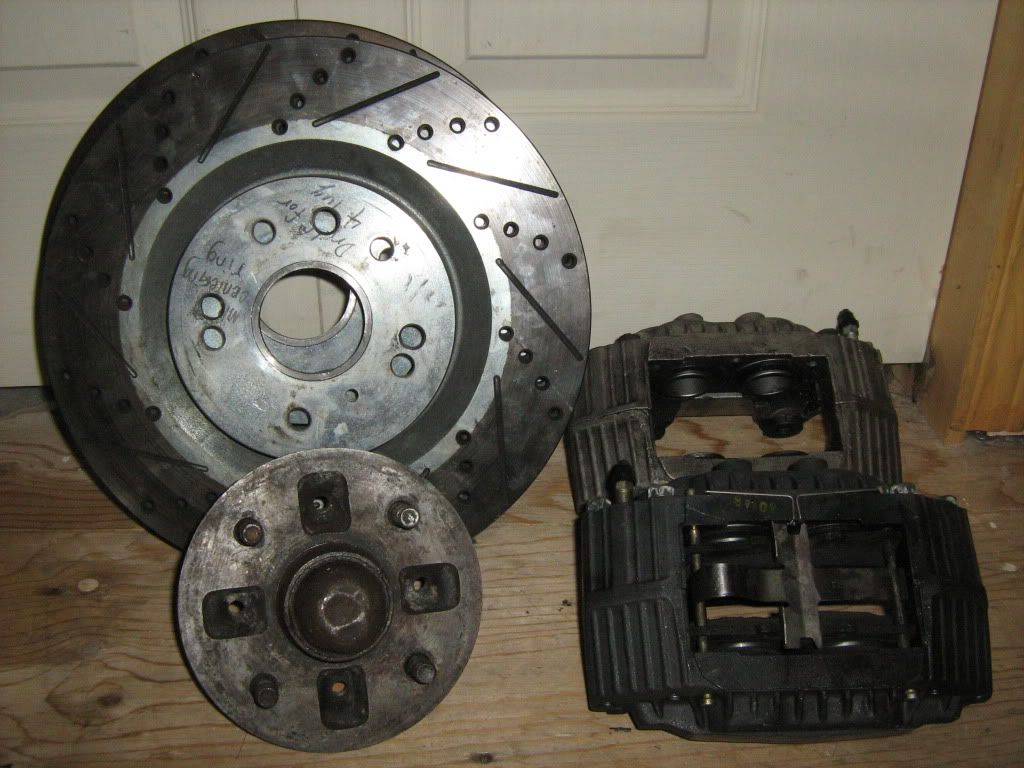
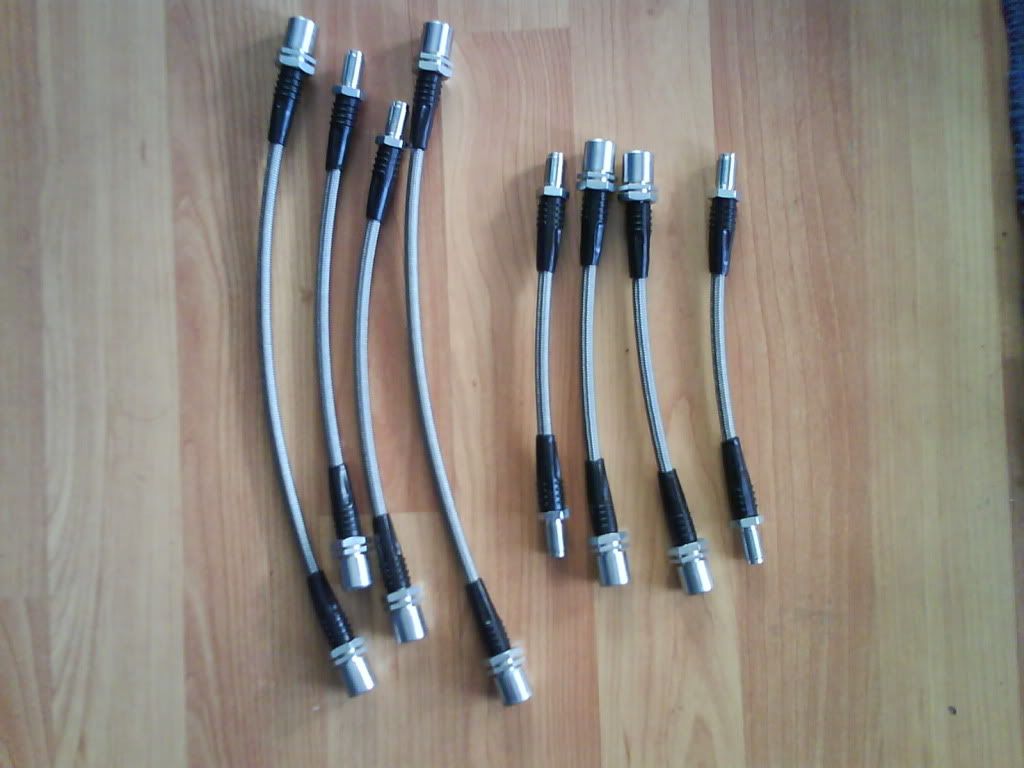
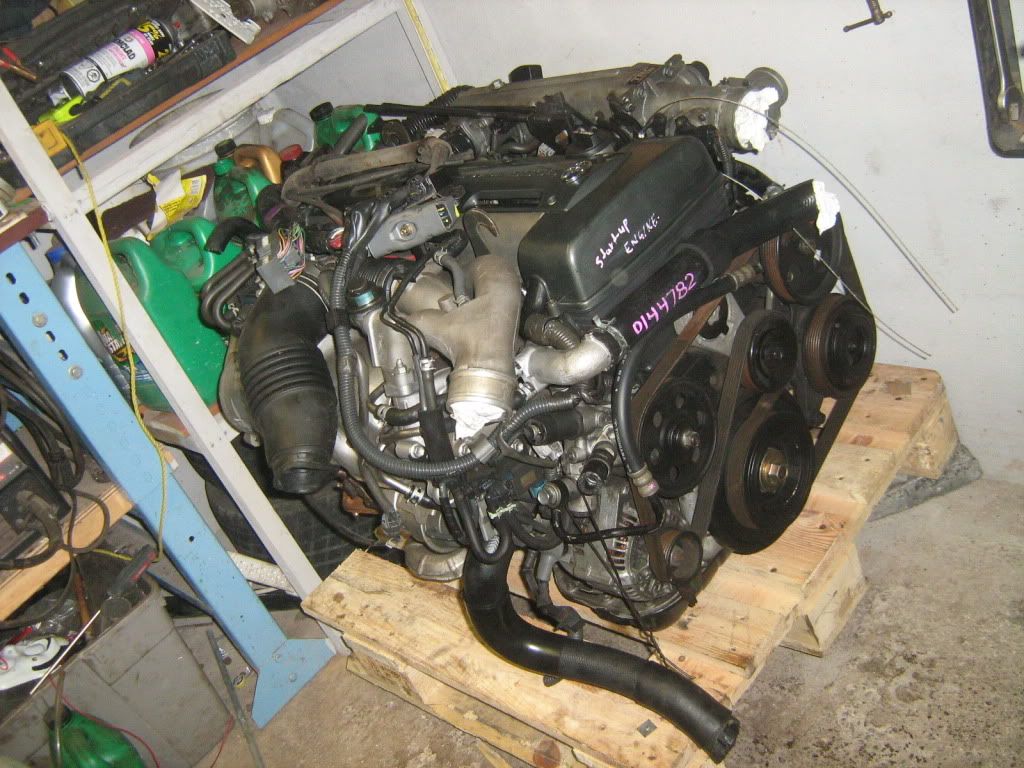
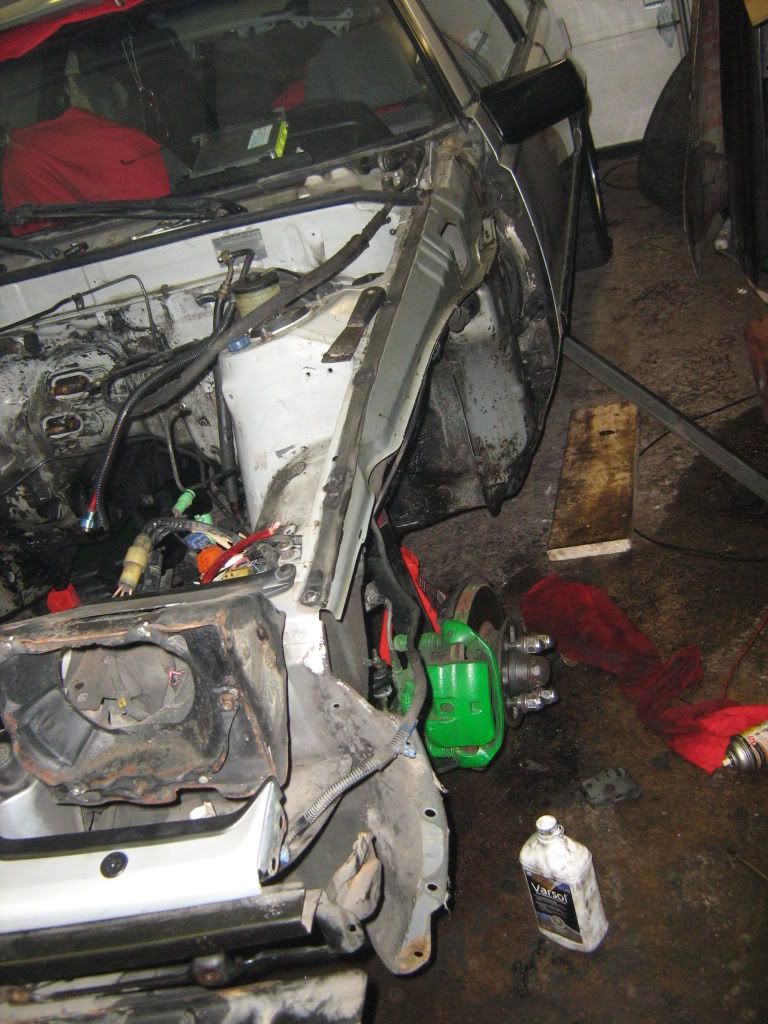
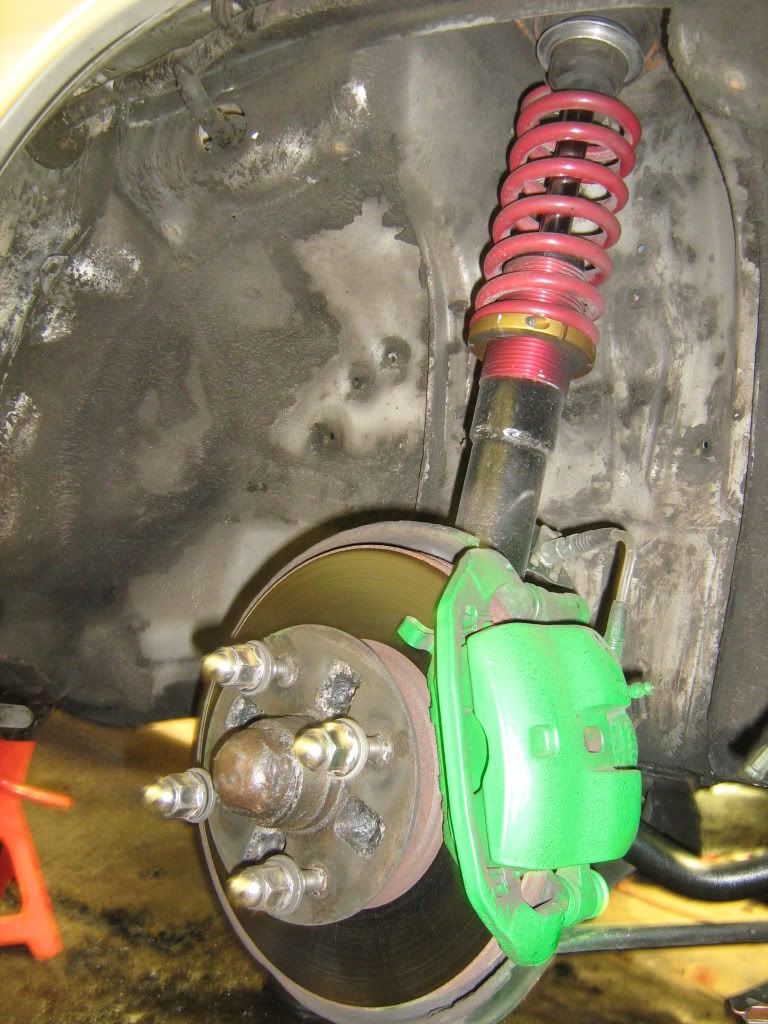
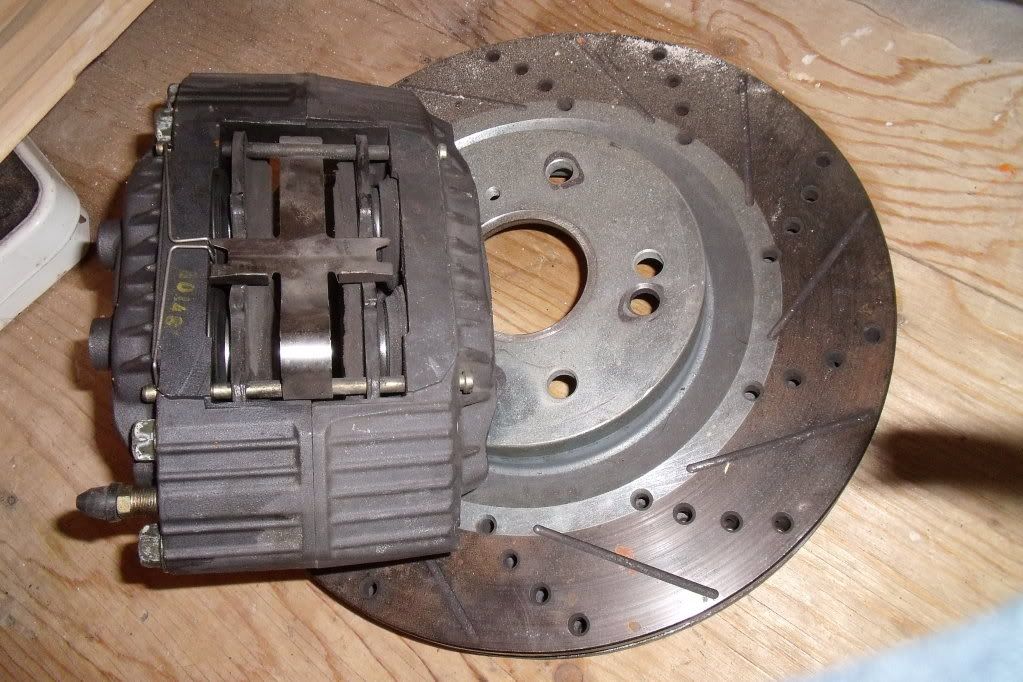
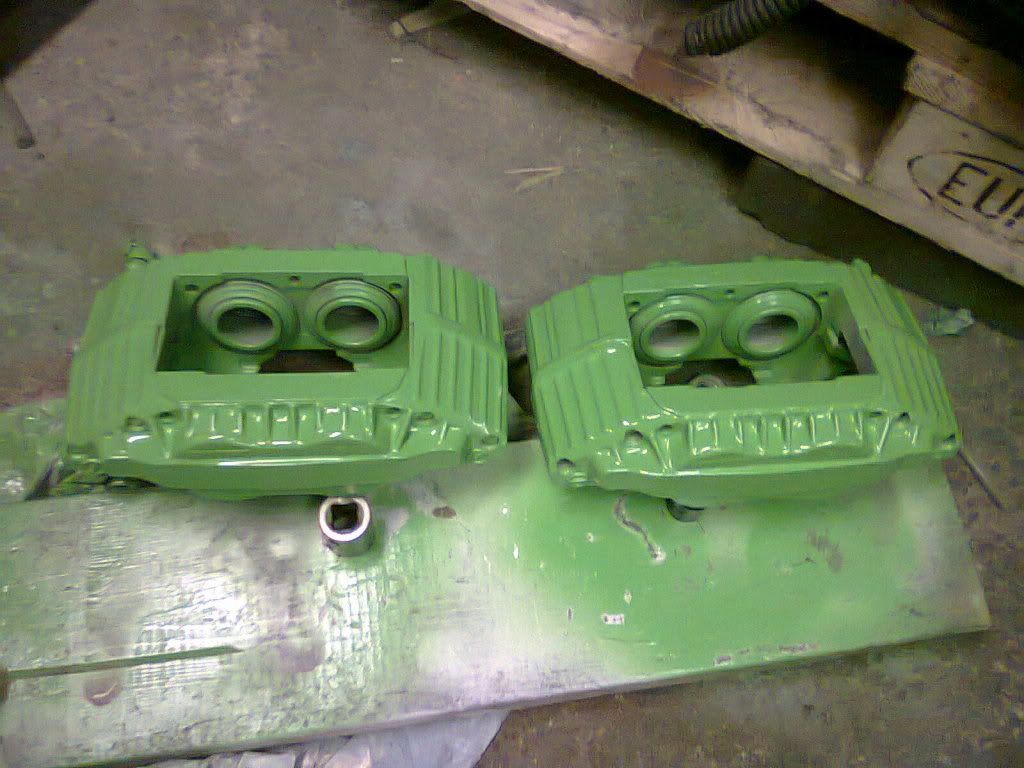
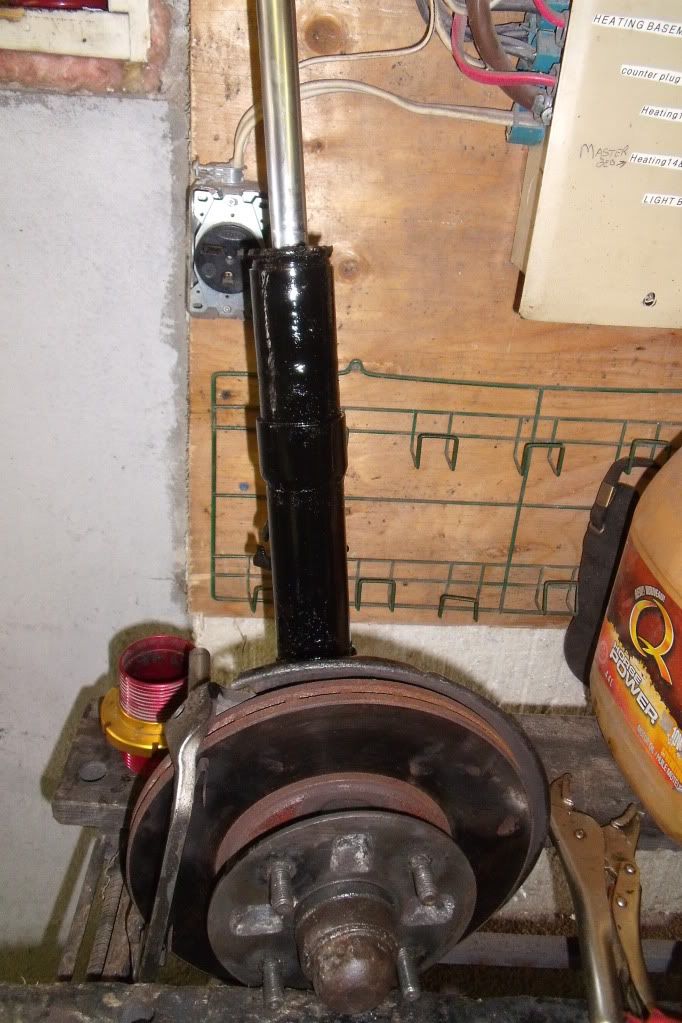
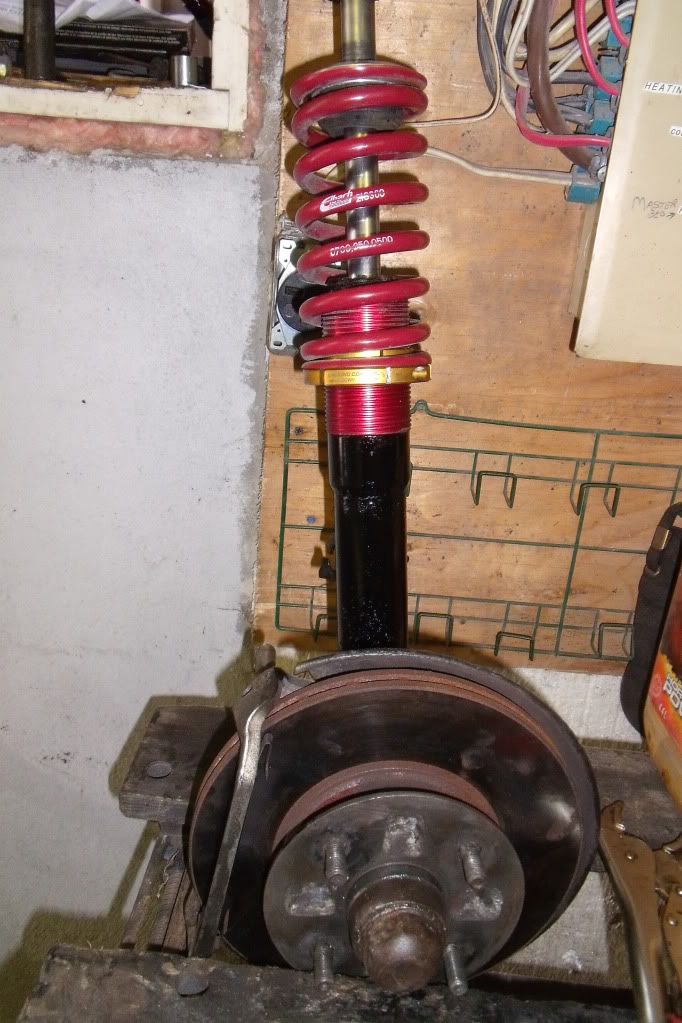
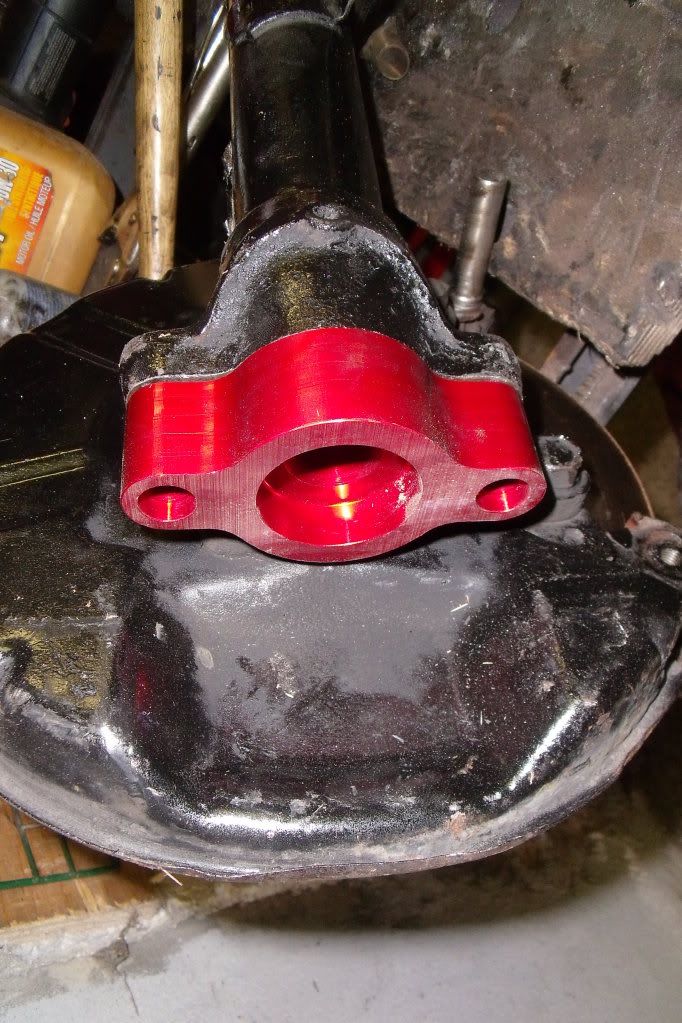
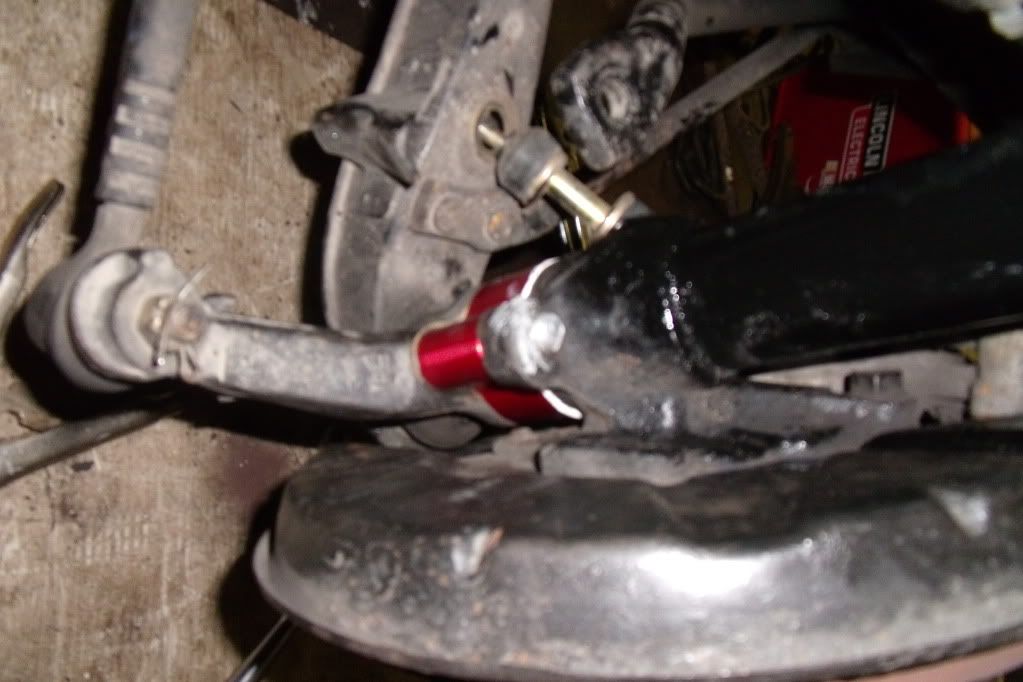
To start I'll go with my most recent project. The front brakes. Then the suspension (with links to my original build thread) I'll condense it all in here. And hopefully come spring the 2j project will start.
So far:
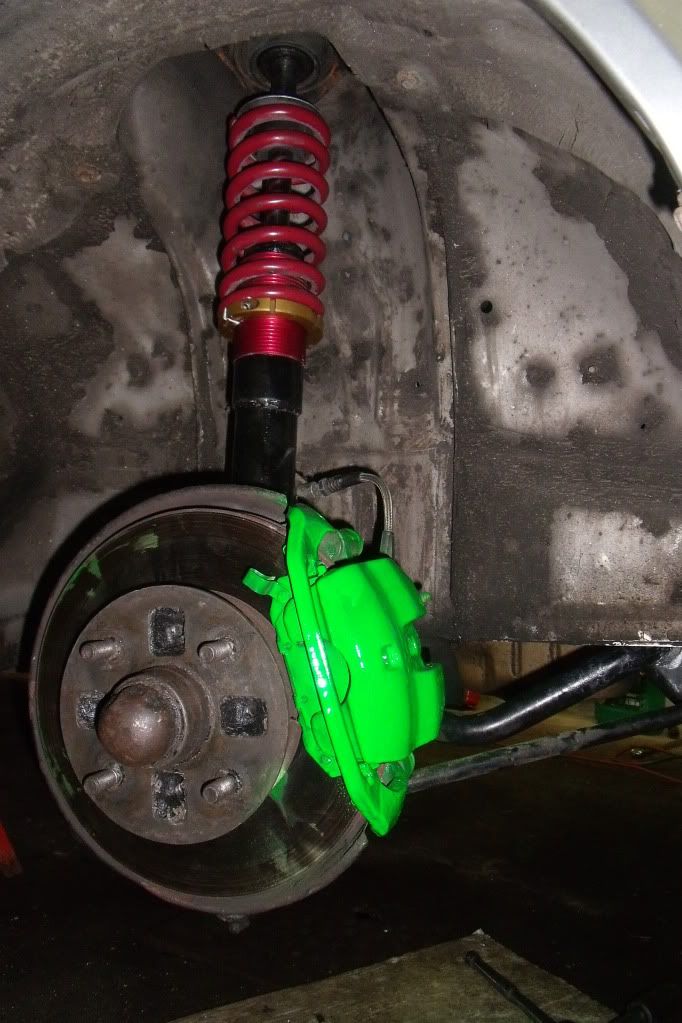
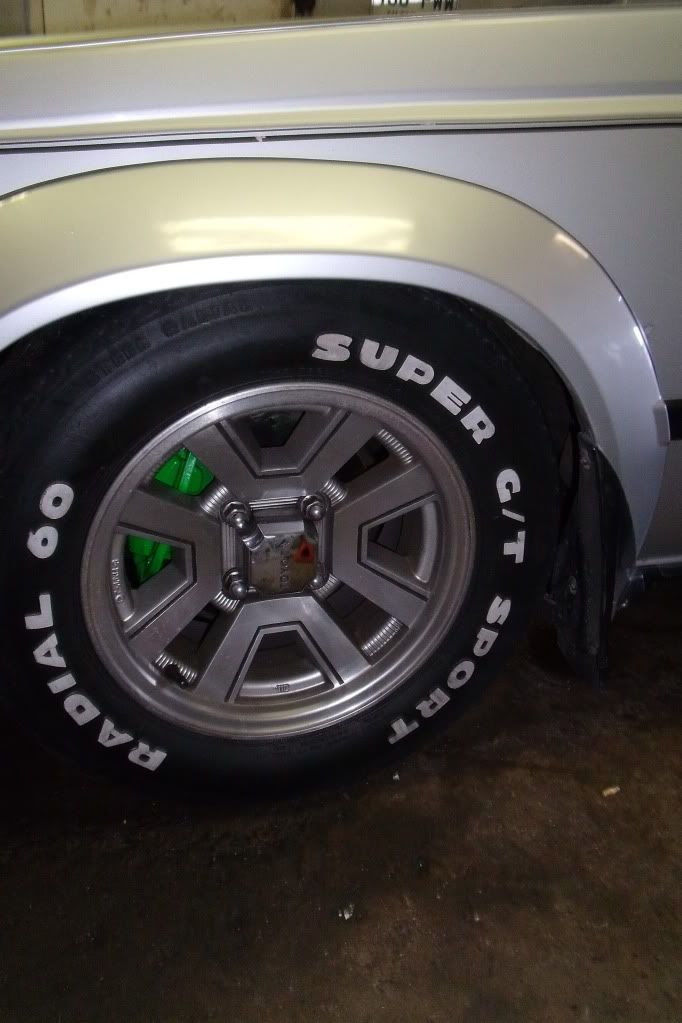
Brakes: 50% complete.
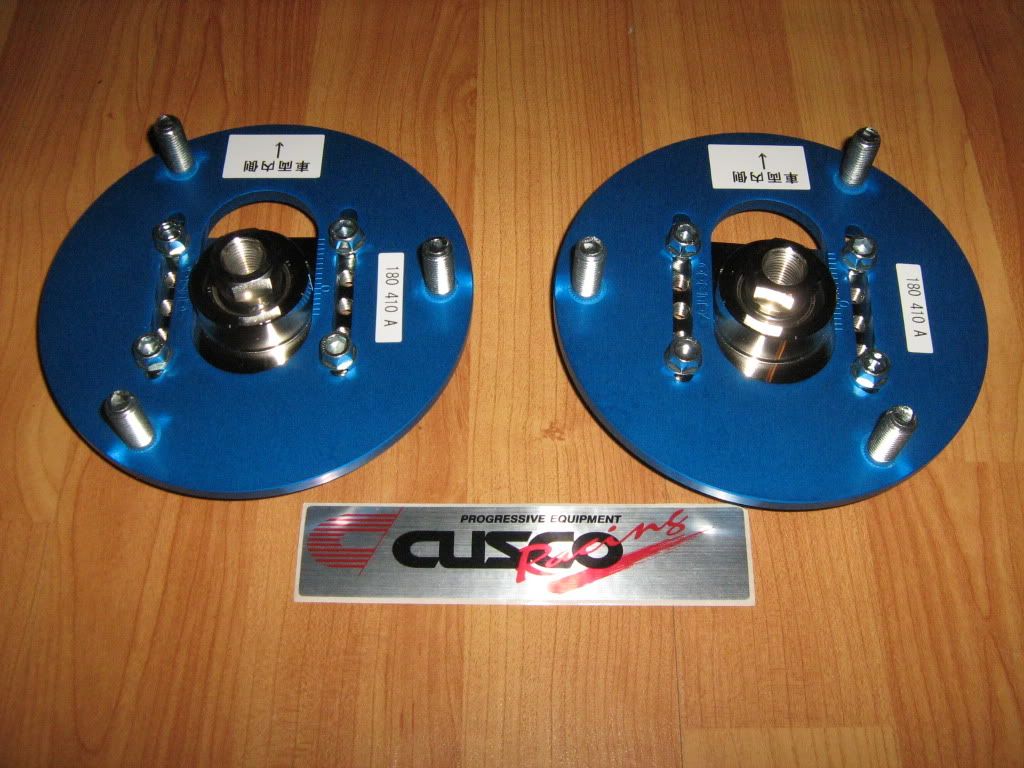
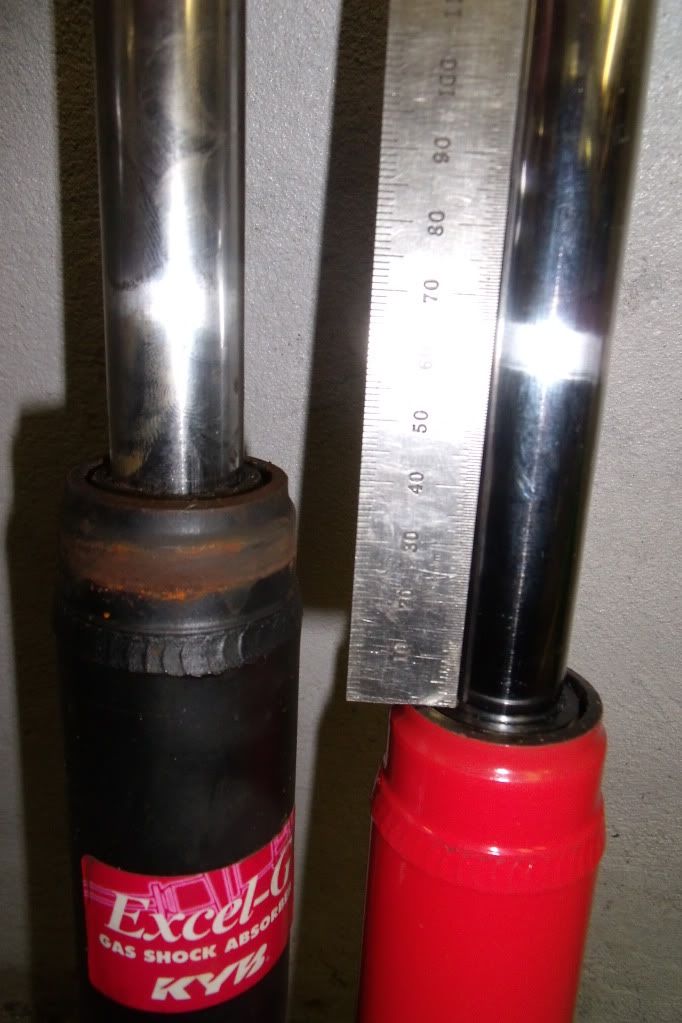
Suspension: 80% complete
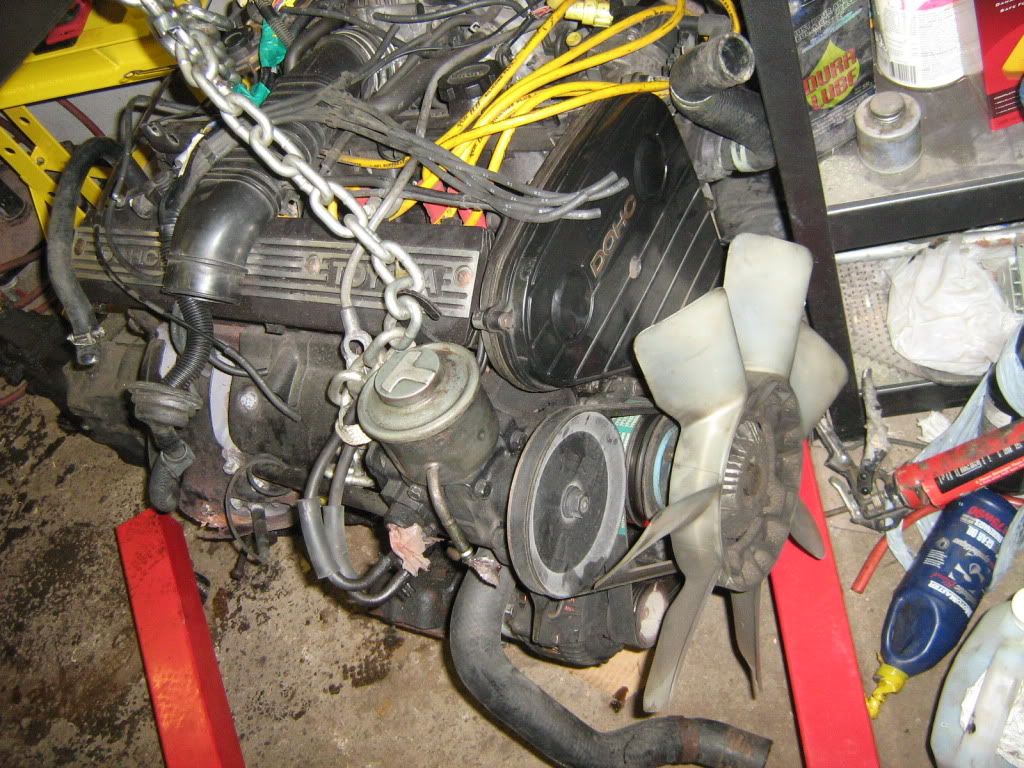
Motor: 0% complete
Just to tell you guys, I'm building this thread and working on it, I have a lot of info to put so its not going to get done all today. Also, the car is in storage for the winter, so I wont have any road tested opinions before at least spring depending on what stage the car is at by then. If money goes well I might have the motor out by then. Any updates will be posted.
If you have any questions or comments about the information in this thread, if you find it to be incorrect or incomplete please keep it to email and I will fix it properly. I appreciate the feedback and don't mind fixing any errors I have made.
fourspeedhemi426@hotmail.com
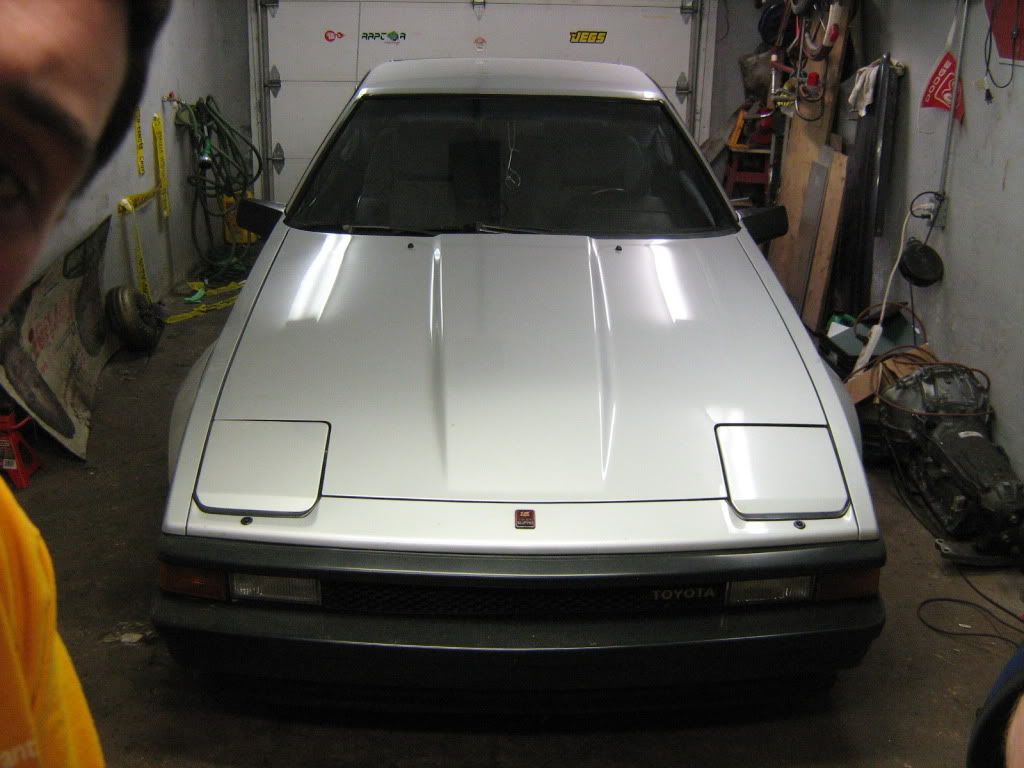
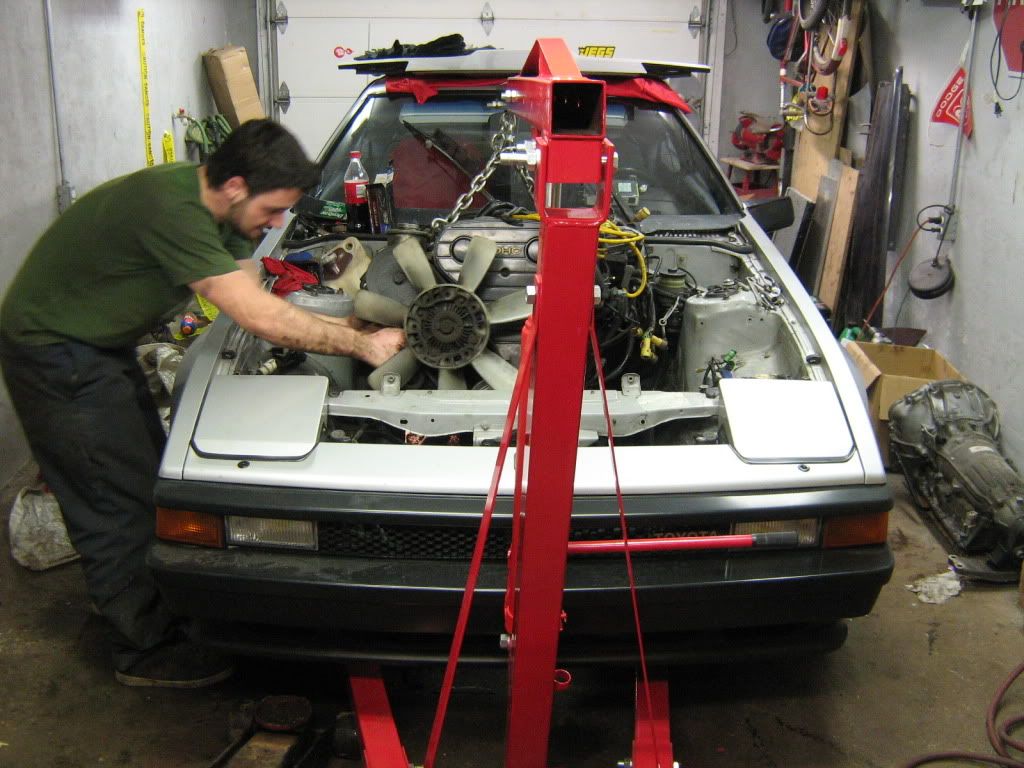
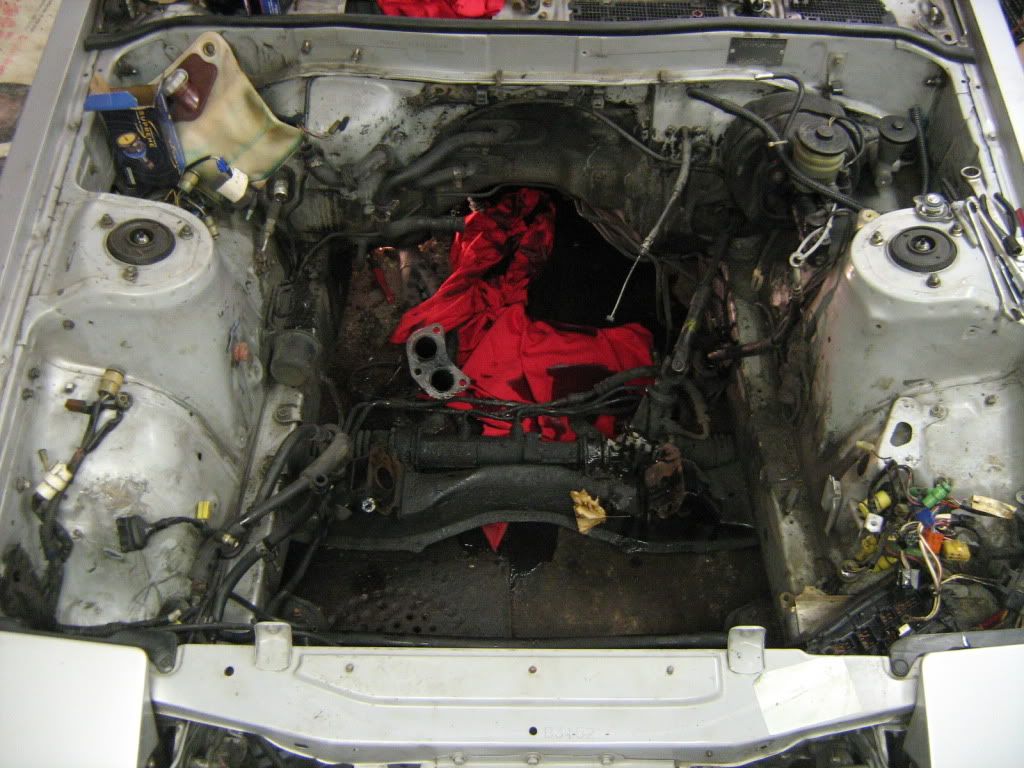
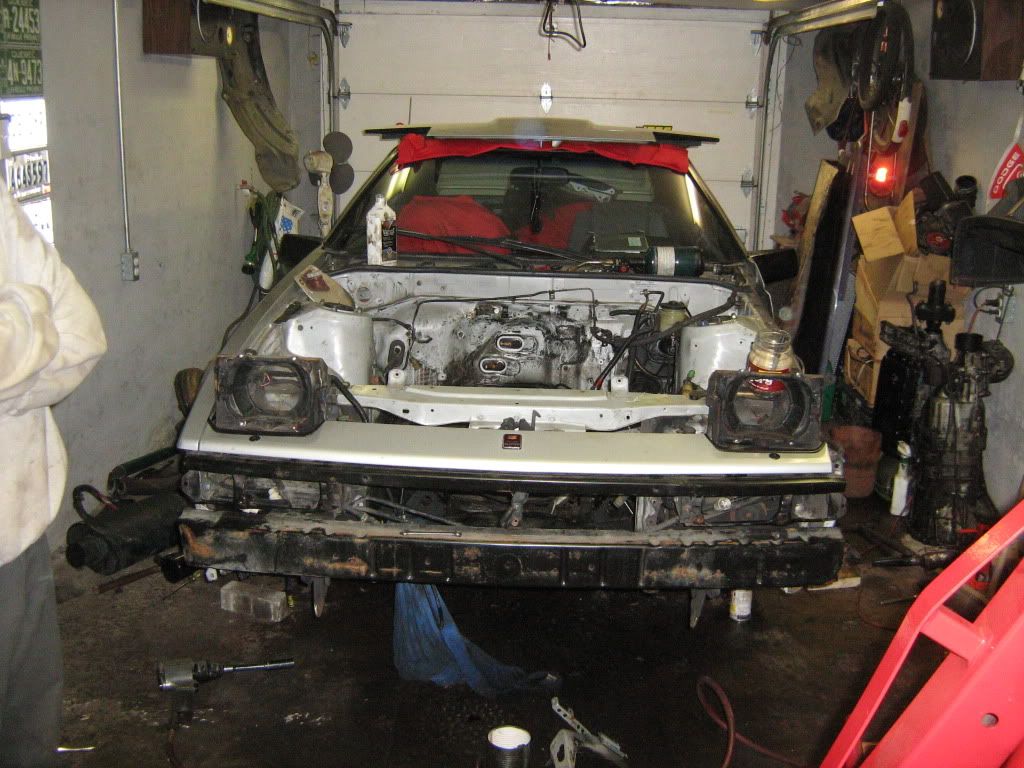
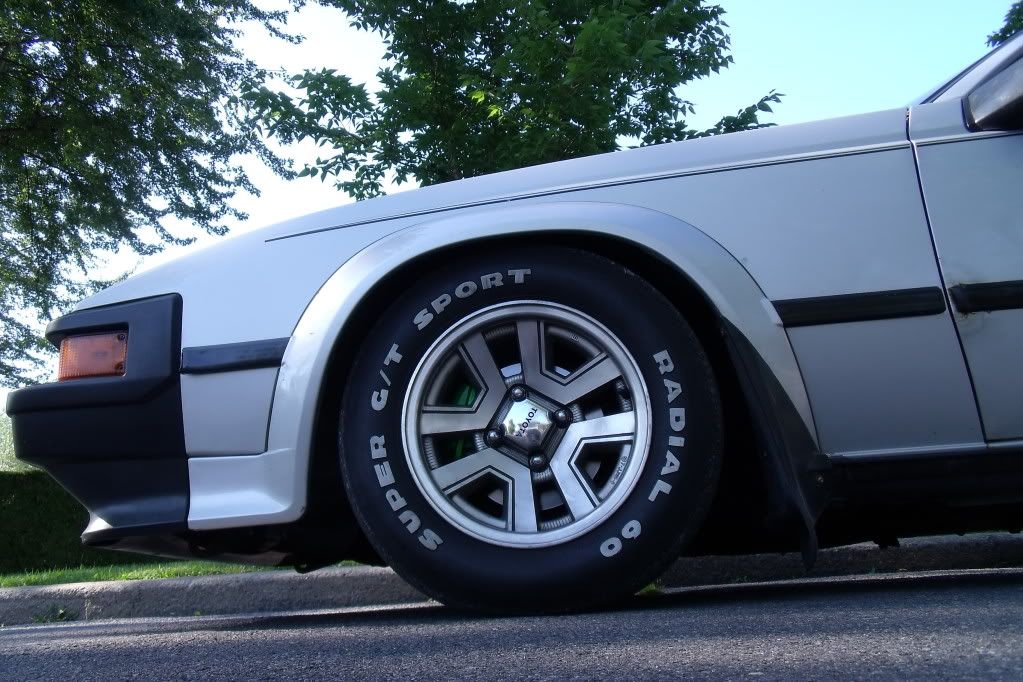
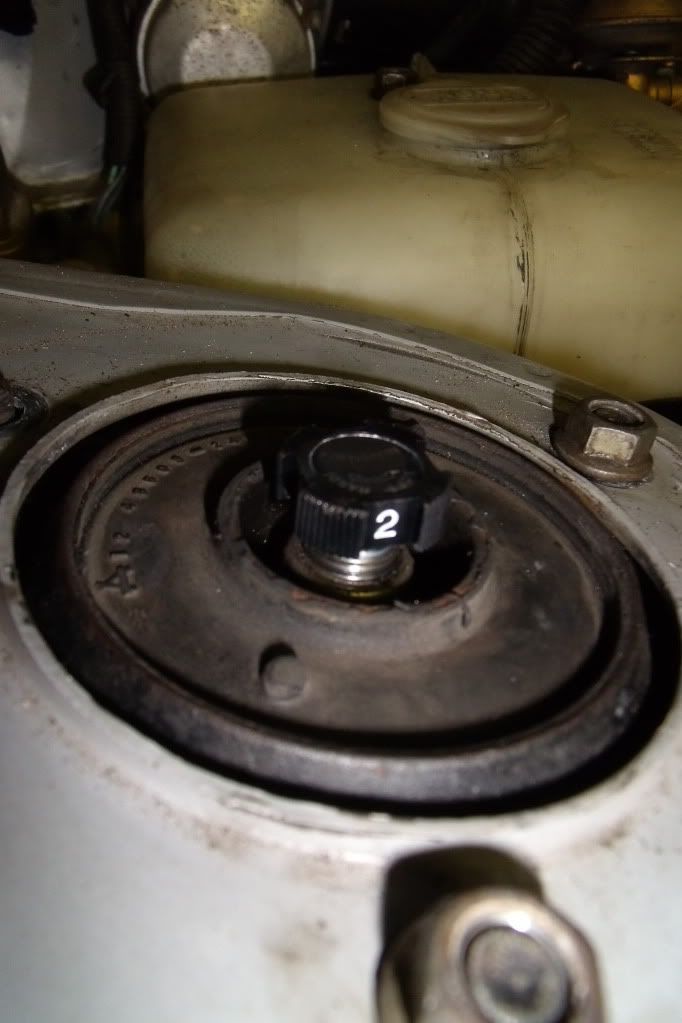
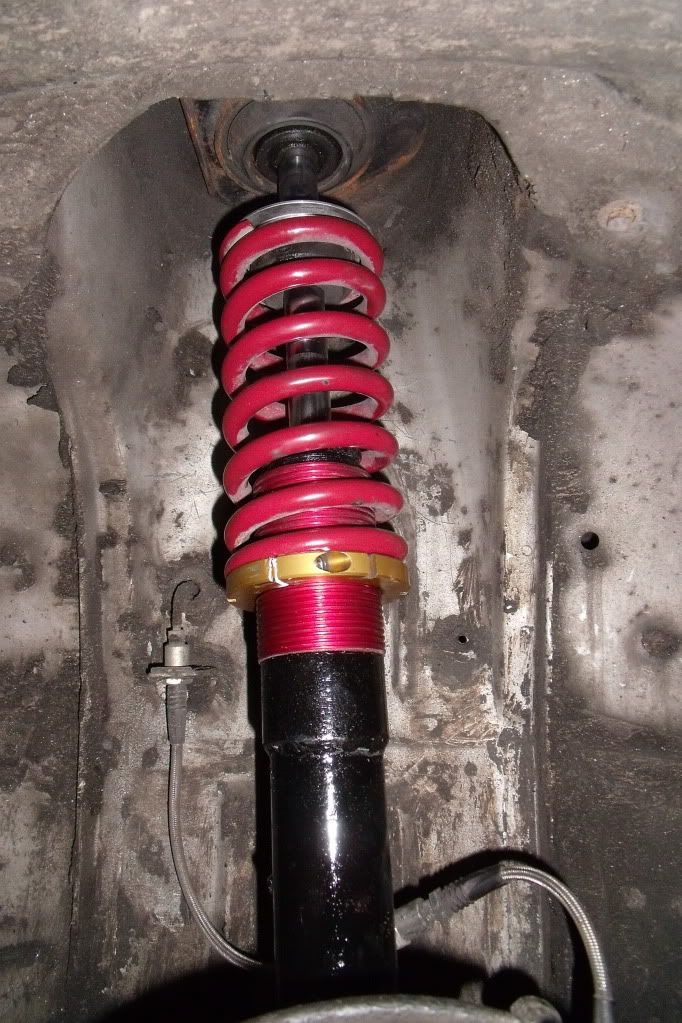
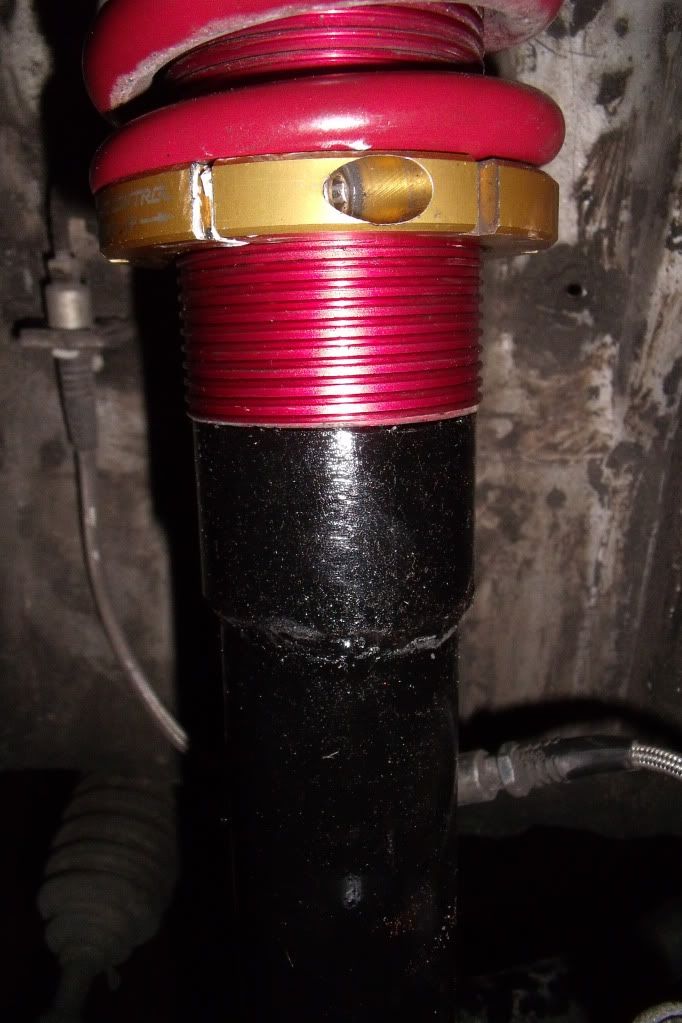
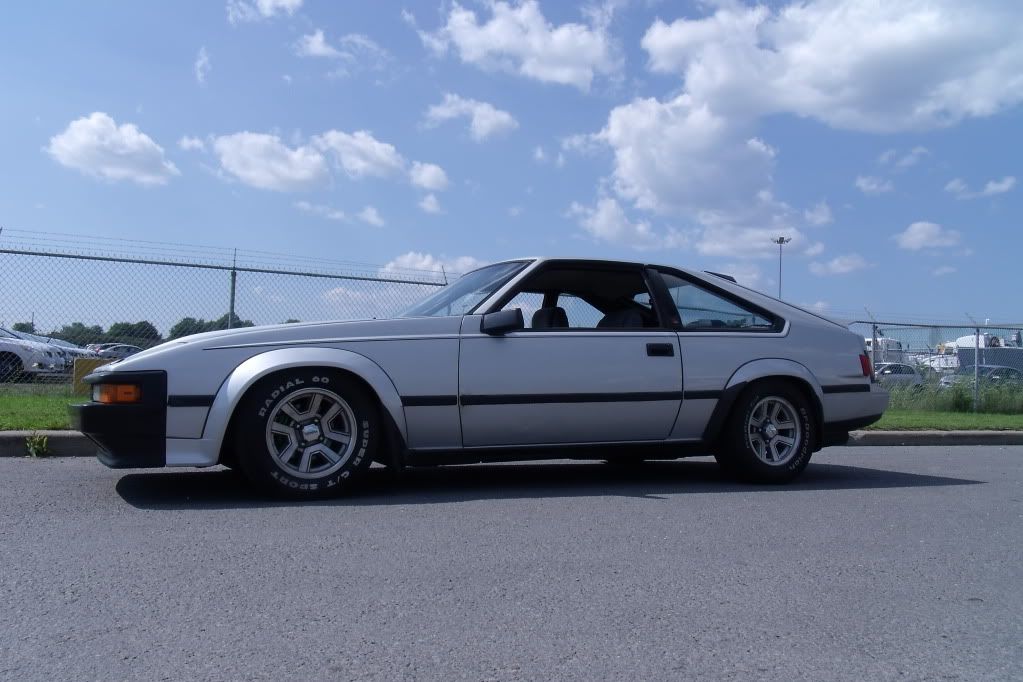
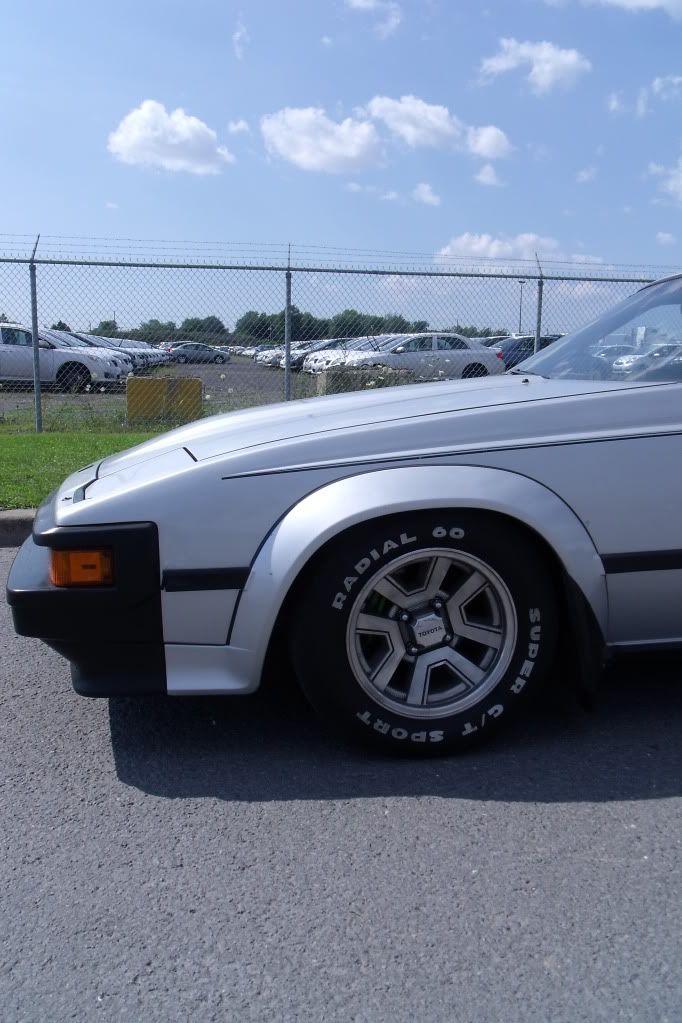
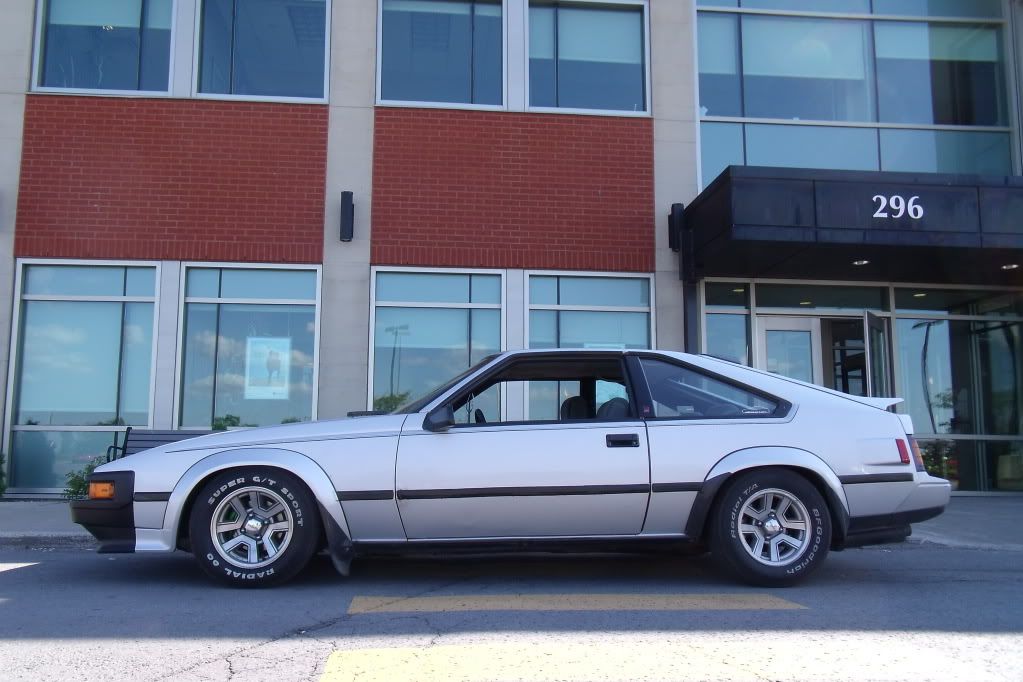
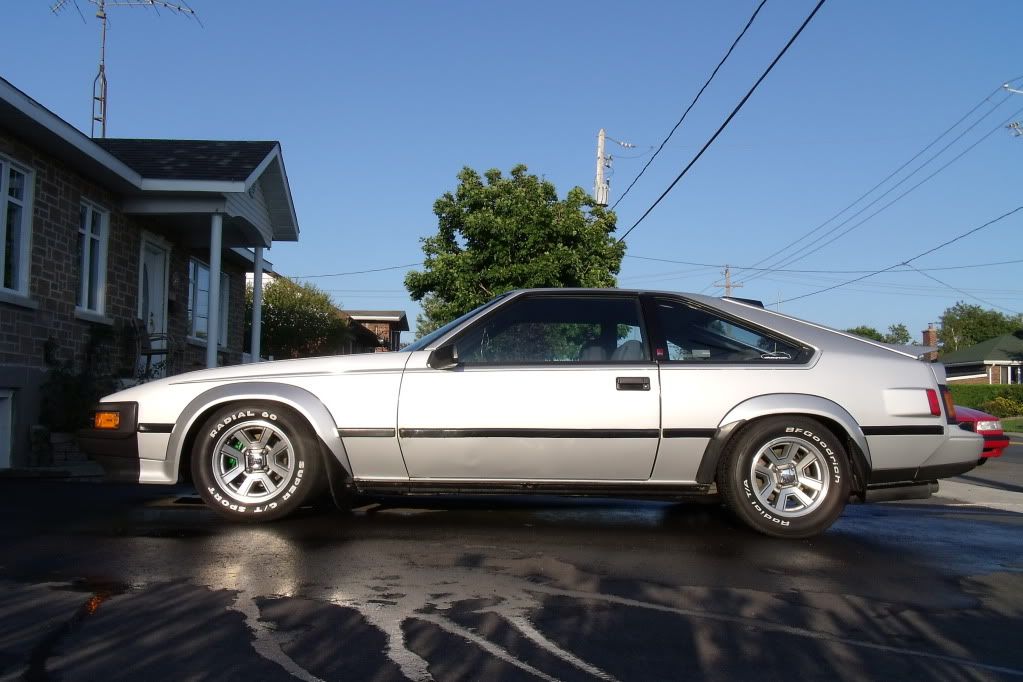
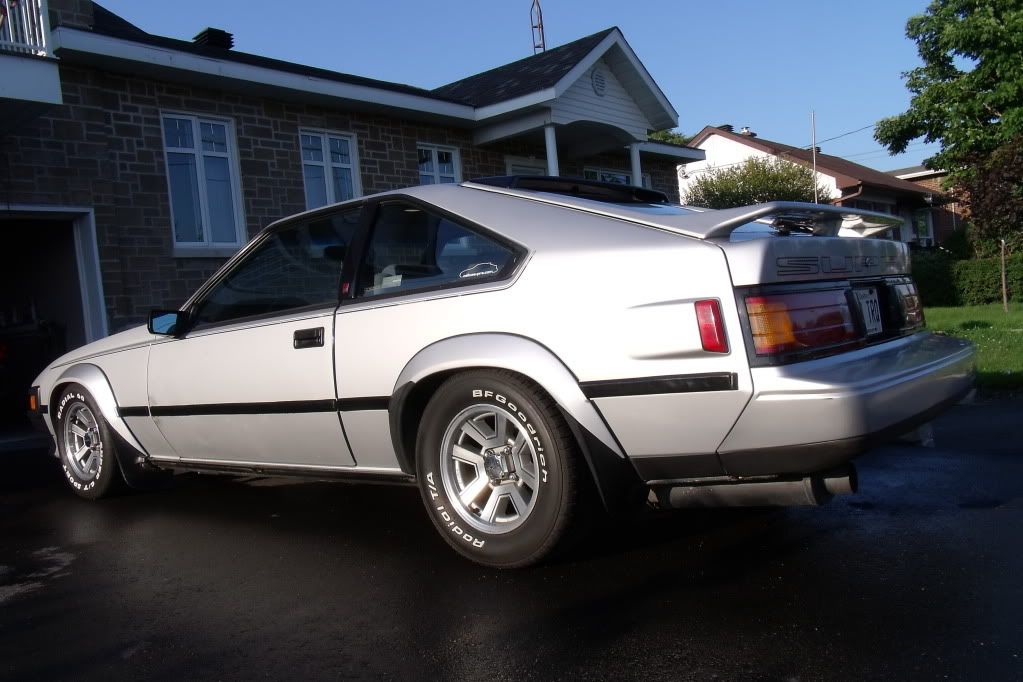
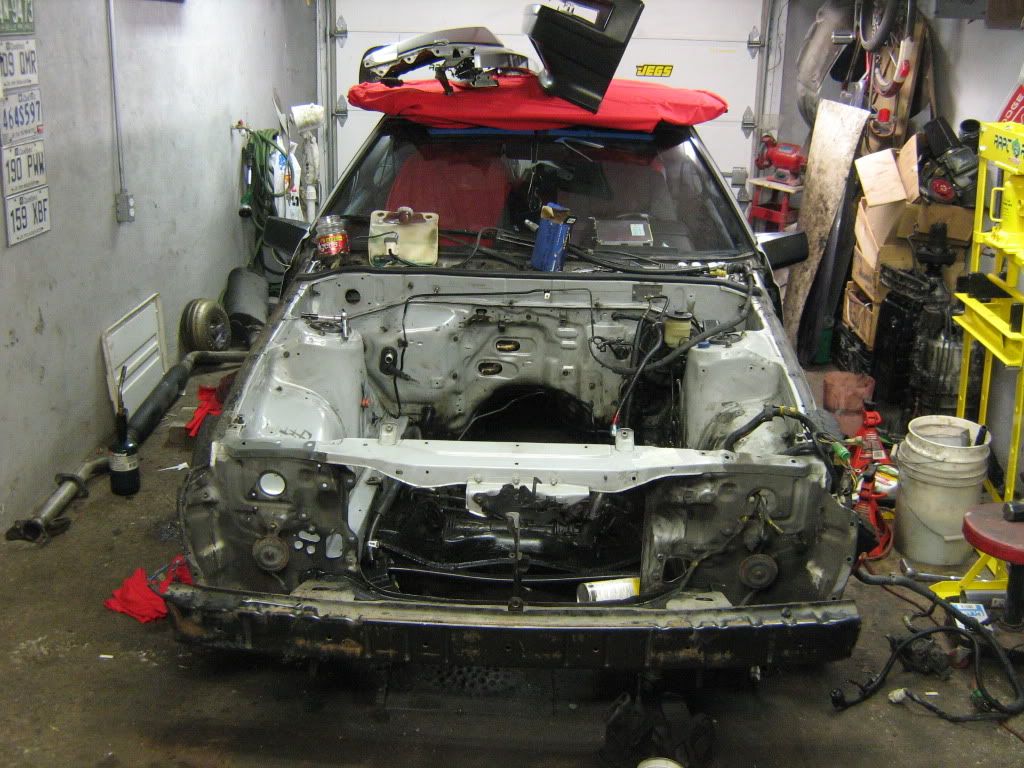
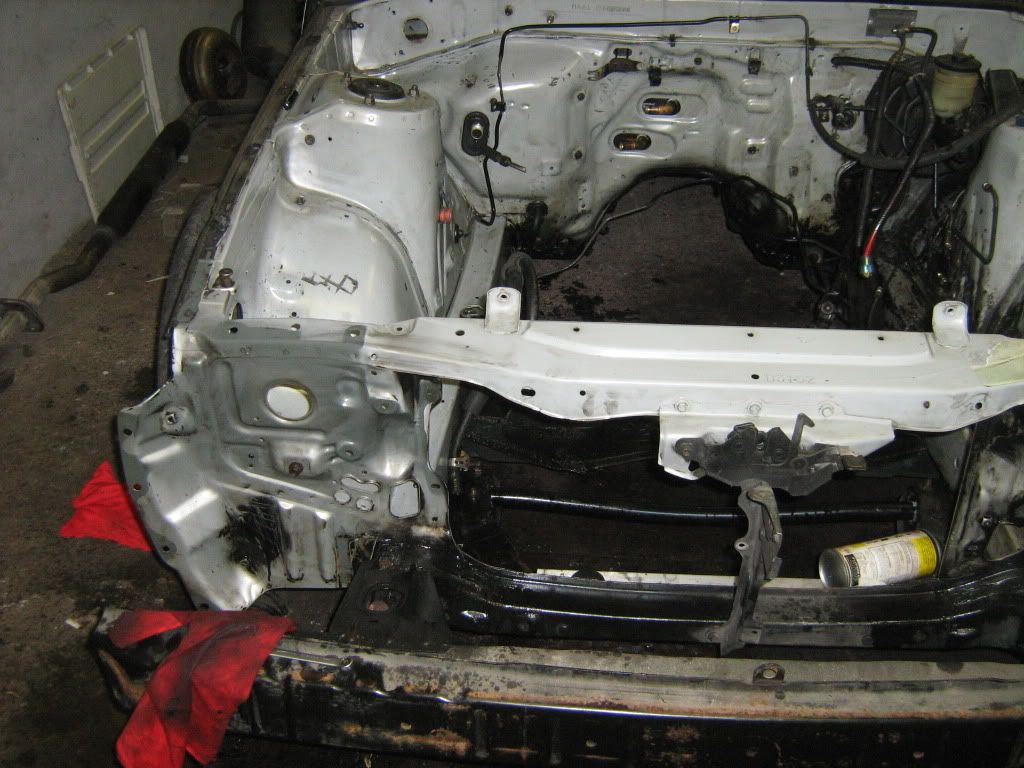
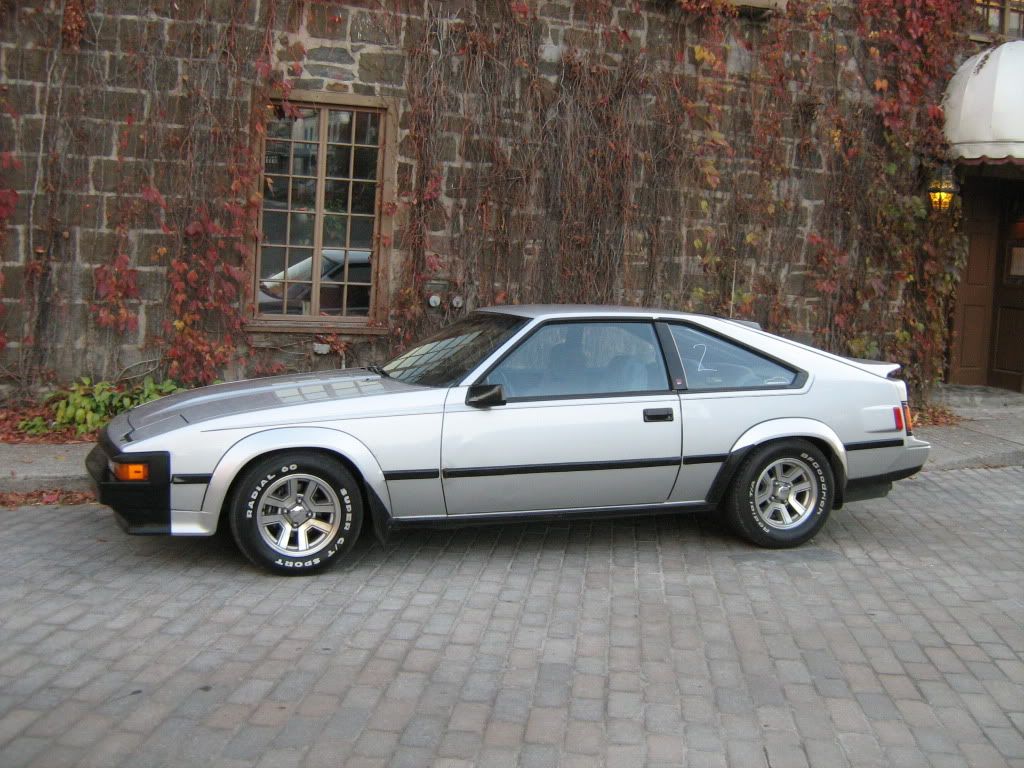
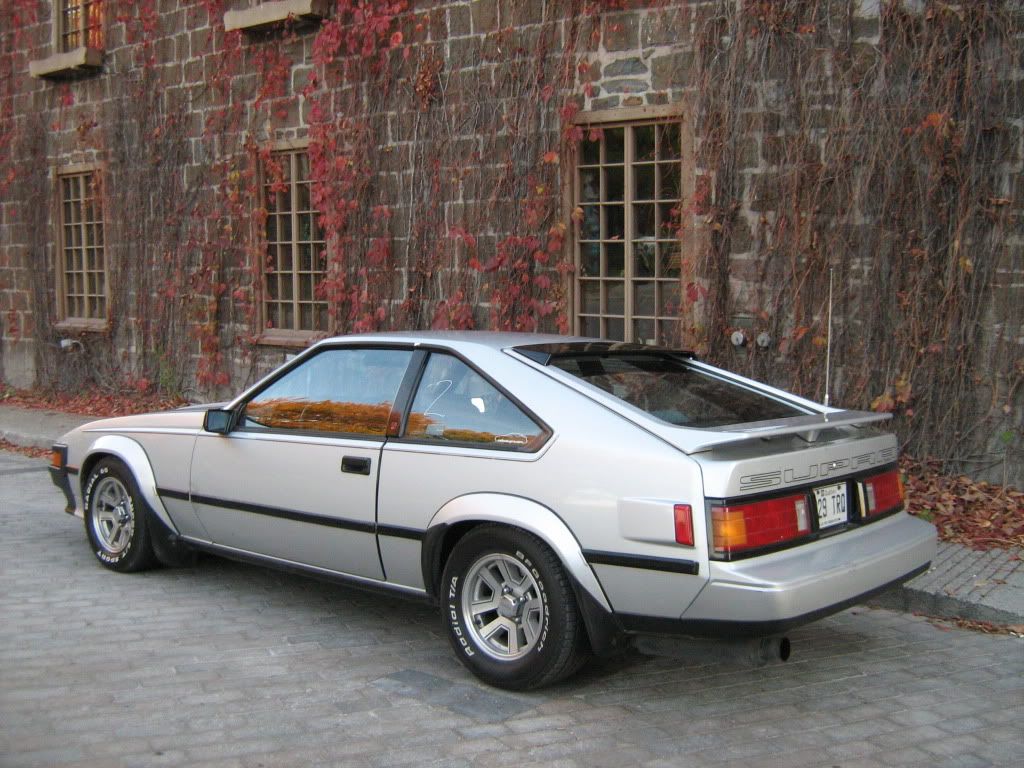
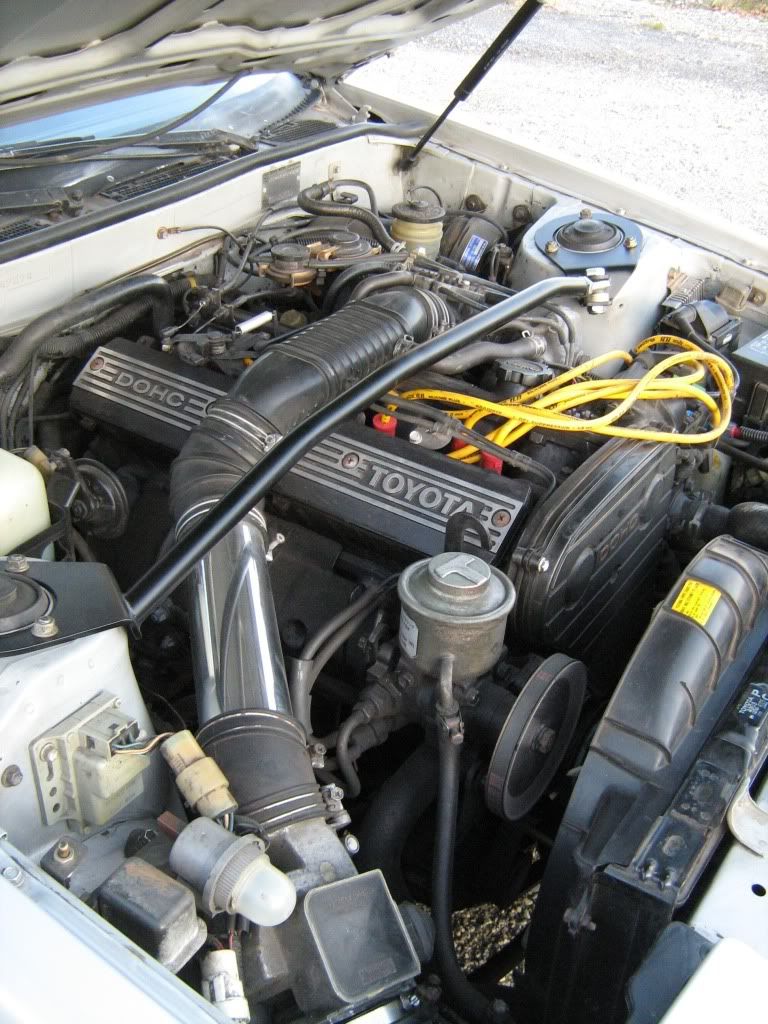
I am currently at this state. These were taken a few days before I took her off the road for winter.
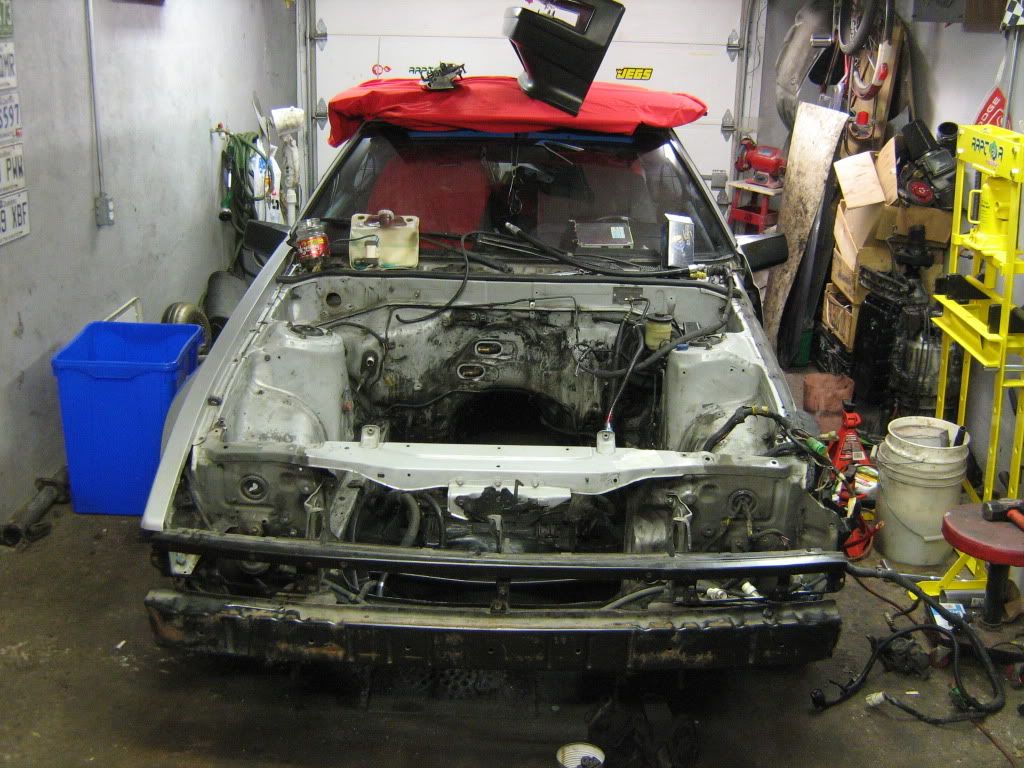
yes, there is in fact is a yellow spider that resides under my hood.
So this thread is going to be the progression of the build on my supra. I'm going to put everything here from now on. My suspension, brakes and the motor which is coming soon, and any other ideas or insights I find while going along with the build. Hopefully this thread can also become a general information thread for others progressing in their own builds. I'll do as much as I can to post up my ideas and methods. Pictures are a huge part of this so I'm going to be posting a lot. A lot of the pictures I will be posting will be cell phone pics because I take them while I am working on the car, I don't always have access to my good camera. But bear with me please.
Progression may be slow at times, but I am determined. The car is in storage and I have time to try out different things and post my findings.
To start I'll go with my most recent project. The front brakes. Then the suspension (with links to my original build thread) I'll condense it all in here. And hopefully come spring the 2j project will start.
So far:
Brakes: 50% complete.
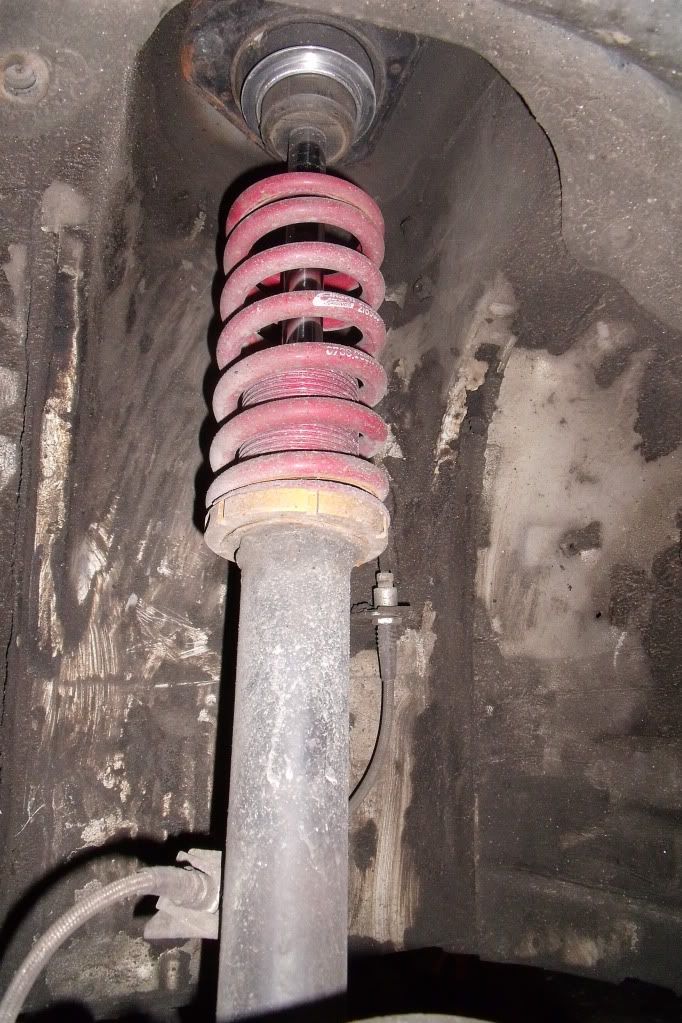
Suspension: 80% complete
Motor: 0% complete
Just to tell you guys, I'm building this thread and working on it, I have a lot of info to put so its not going to get done all today. Also, the car is in storage for the winter, so I wont have any road tested opinions before at least spring depending on what stage the car is at by then. If money goes well I might have the motor out by then. Any updates will be posted.
If you have any questions or comments about the information in this thread, if you find it to be incorrect or incomplete please keep it to email and I will fix it properly. I appreciate the feedback and don't mind fixing any errors I have made.
fourspeedhemi426@hotmail.com
I am currently at this state. These were taken a few days before I took her off the road for winter.
yes, there is in fact is a yellow spider that resides under my hood.