I will be demonstrating on how to install a driveshaft on my 87 Turbo, I will be providing detailed pictures to make your lives 30 times easier. It is fairly easy to install a shaft so do not be intimidated, I have had more trouble changing my brakes than installing this driveshaft. I purchased my aluminum shaft at ShaftMasters.
Anyway, since I'm going to be getting dirty under the car, I figured it would be a good idea to change the Differential fluid and the Diff Seal (Figure A) from the DriveShaft side, this is not required but I like to play it safe. Now go ahead and jack the rear end up (Figure B). Disconnect exhaust to make things a bit for easier (Figure C). Disconnect that thingy majiggy that has no purpose that's located under the shaft (Figure D). You might also want to use Liquid Wrench for these bolts.
Now Let's start taking off the driveshaft bolts that are connected to the companion flange, there are 4 of them. Use a 14mm socket and breaker bar for the bolts and a 14mm wrench to hold the nuts on the other end (Figure E). There are 2 other bolts supporting the shaft in the center, I do not have pics for it but you'll know what I'm talking about if you look at Figure F. As soon as you have done that, the shaft is ready to come off. Take a look at the shiny 11 pound shaft next to the dirty old 35 pound shaft (Figure F).
Now I'm going to drain the old diff fluid, the drain bolt is facing the ground, it's hard to miss, the filler bolt is circled (Figure G). Again this is not required so if you don't want to do it, you can scroll down. The diff takes 1.3 liters, I filled in 1.5 and then let the .2 flow out of the filler when I had the car leveled.
Now to install the diff seal, you must get a 30mm socket to take off the companion flange (Figure H). Now the seal is visible, you can use various methods to take it off, I just pried it out by putting a flat head screw driver in that groove where the yellow arrow is pointing (Figure I). Now put the new seal in, it's a good idea to grease the edges up and then hammer it in lightly by using the butt end of the screw driver (Figure J). Put the companion flange back on and were ready to install the new driveshaft.
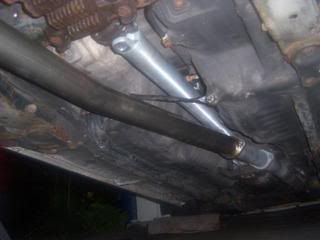
Pretty straight forward from here on out, put the shaft through the trans first (Figure K), then bolt the 4 bolts on the companion flange (Figure L). Put the thingy majiggy that has no purpose back on, connect the exhaust and your all set (Figure M). Now fire the sup up and take it for a spin and you'll appreciate the difference the shaft has made, best 350 dollars I've ever put into my car. This mod took about 2 hours taking my jolly old time, so don't spend hundreds taking it to a shop, I did it in my own driveway. Good luck everyone!
Figure A:
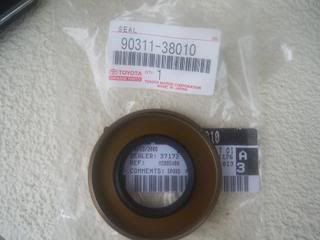
Figure B:
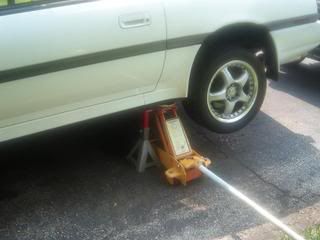
Figure C:
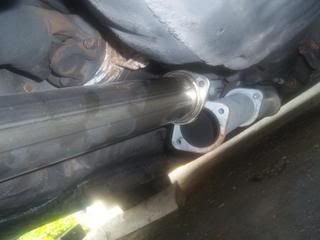
Figure D:
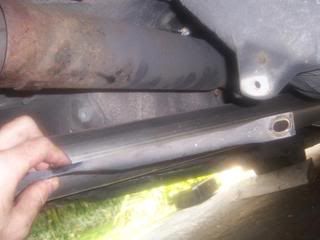
Figure E:
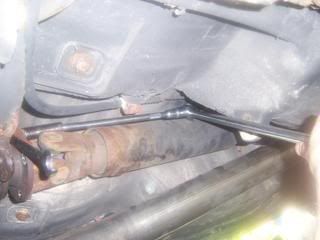
Figure F:
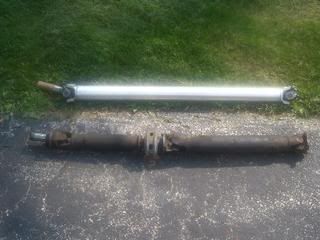
Figure G:
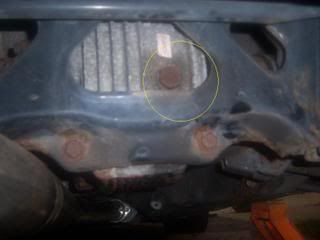
Figure H:
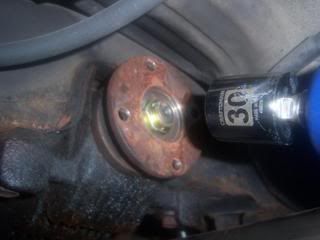
Figure I:
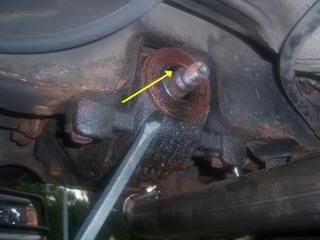
Figure J:
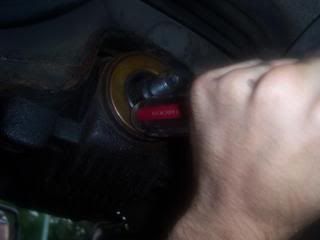
Figure K:
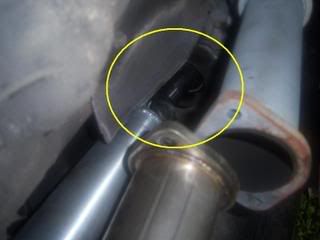
Figure L:
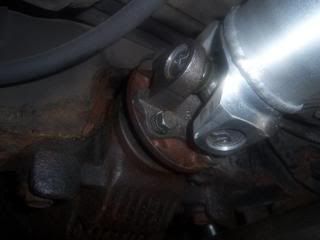
Figure M:
Anyway, since I'm going to be getting dirty under the car, I figured it would be a good idea to change the Differential fluid and the Diff Seal (Figure A) from the DriveShaft side, this is not required but I like to play it safe. Now go ahead and jack the rear end up (Figure B). Disconnect exhaust to make things a bit for easier (Figure C). Disconnect that thingy majiggy that has no purpose that's located under the shaft (Figure D). You might also want to use Liquid Wrench for these bolts.
Now Let's start taking off the driveshaft bolts that are connected to the companion flange, there are 4 of them. Use a 14mm socket and breaker bar for the bolts and a 14mm wrench to hold the nuts on the other end (Figure E). There are 2 other bolts supporting the shaft in the center, I do not have pics for it but you'll know what I'm talking about if you look at Figure F. As soon as you have done that, the shaft is ready to come off. Take a look at the shiny 11 pound shaft next to the dirty old 35 pound shaft (Figure F).
Now I'm going to drain the old diff fluid, the drain bolt is facing the ground, it's hard to miss, the filler bolt is circled (Figure G). Again this is not required so if you don't want to do it, you can scroll down. The diff takes 1.3 liters, I filled in 1.5 and then let the .2 flow out of the filler when I had the car leveled.
Now to install the diff seal, you must get a 30mm socket to take off the companion flange (Figure H). Now the seal is visible, you can use various methods to take it off, I just pried it out by putting a flat head screw driver in that groove where the yellow arrow is pointing (Figure I). Now put the new seal in, it's a good idea to grease the edges up and then hammer it in lightly by using the butt end of the screw driver (Figure J). Put the companion flange back on and were ready to install the new driveshaft.
Pretty straight forward from here on out, put the shaft through the trans first (Figure K), then bolt the 4 bolts on the companion flange (Figure L). Put the thingy majiggy that has no purpose back on, connect the exhaust and your all set (Figure M). Now fire the sup up and take it for a spin and you'll appreciate the difference the shaft has made, best 350 dollars I've ever put into my car. This mod took about 2 hours taking my jolly old time, so don't spend hundreds taking it to a shop, I did it in my own driveway. Good luck everyone!
Figure A:

Figure B:

Figure C:

Figure D:

Figure E:

Figure F:

Figure G:

Figure H:

Figure I:

Figure J:

Figure K:

Figure L:

Figure M:

