
The timing on the supra is controlled by the ECU and it will advance/retard as required. To do this, it must have a reference point i.e. a known value which can be set up externally - this is what we are setting here. This is the base timing and it should be set to 10 degrees before top dead centre. What this means is that the spark will occur when the crankshaft pulley is 10 degrees away from the point where the piston hits the highest point in the cylinder.
Step 1 - Run the car to normal operating temperature and ensure that the idle speed is correct (if not adjust the TPS and check for vac leaks etc)
Step 2 - You may want to use some Tipex to highlight the crank pulley notch and the marks on the timing cover, I didn't bother but it can make life easier
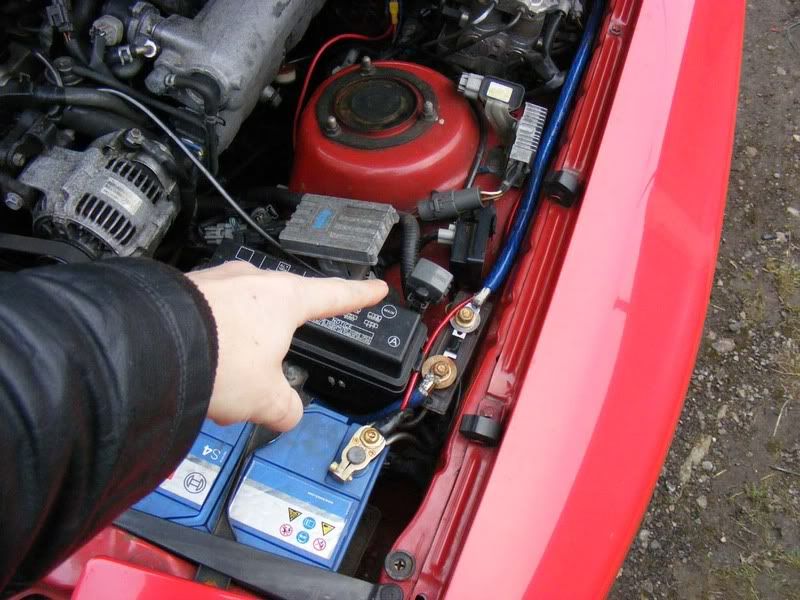
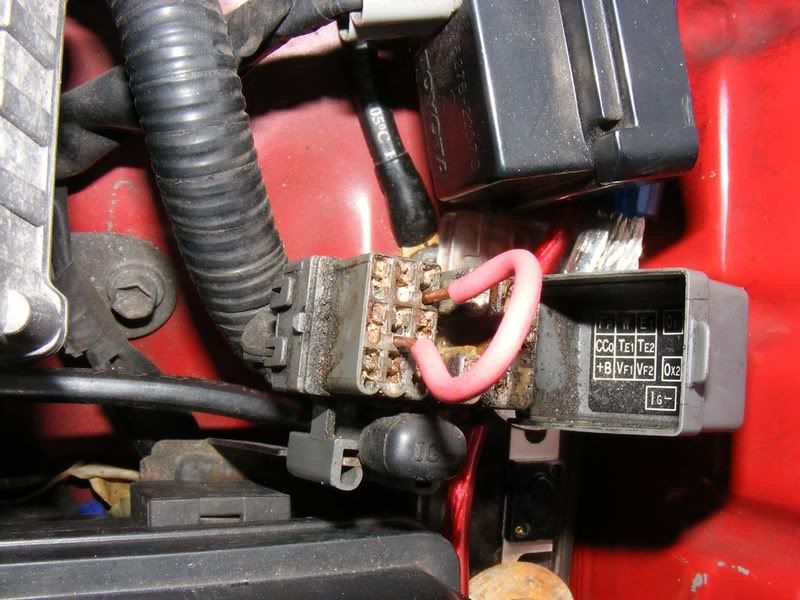
Step 3 - Locate the diagnostics box on the passenger wing
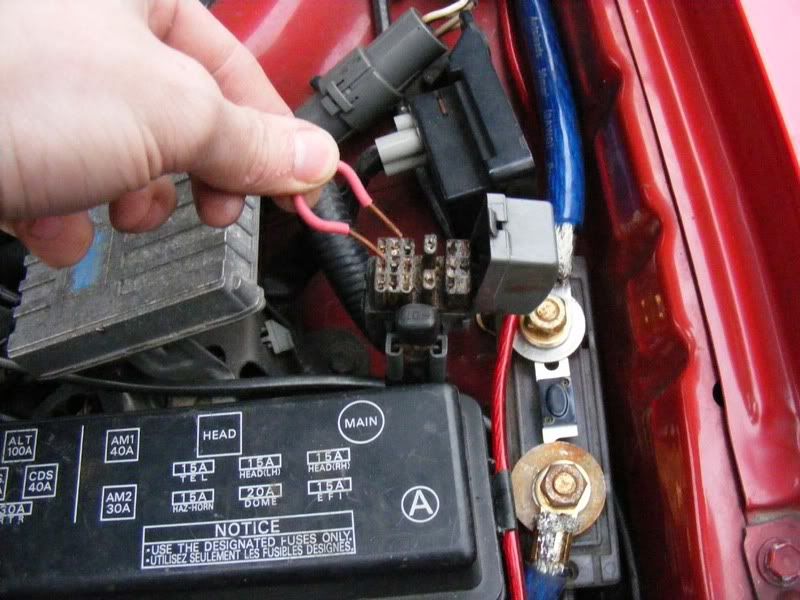
Step 4 - Open the lid and you will see details of what each pin is called. We are interested in TE1 (middle pin of the left hand square) and E1 (top right of the left hand block of pins)
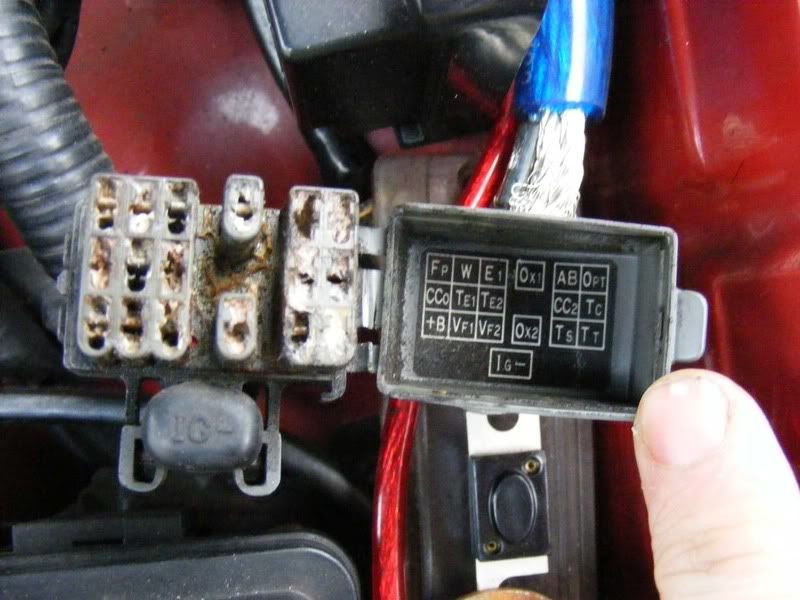
Step 5 - You need to short these two pins together to make the car enter a special diagnostic mode so we can set the timing. This can be done with a paperclip, piece of wire etc. I was given this little piece of wire when I bought the car (I think it was courtesy of Gerry/Medallion man) and it's a nice tool - it's household power wire so is stiff and makes a good connection
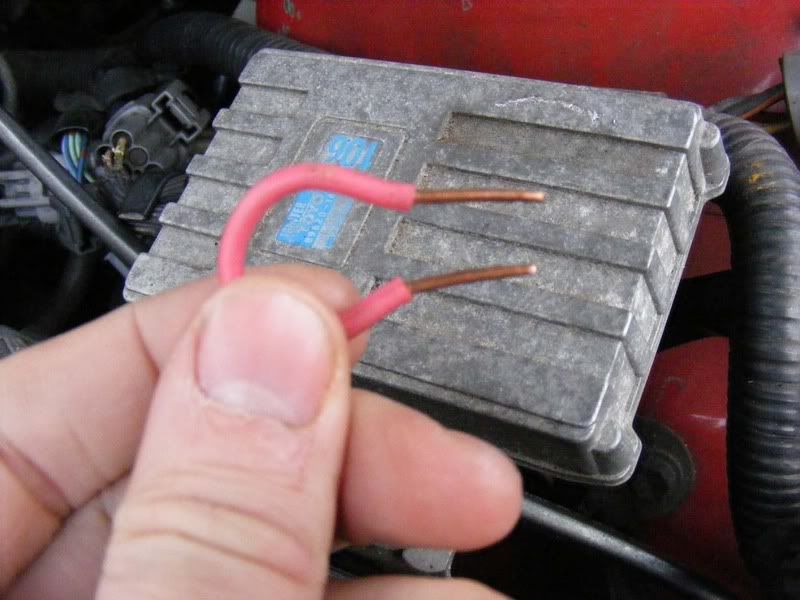
Step 6 - Short the pins TE1 and E1 mentioned in step 4
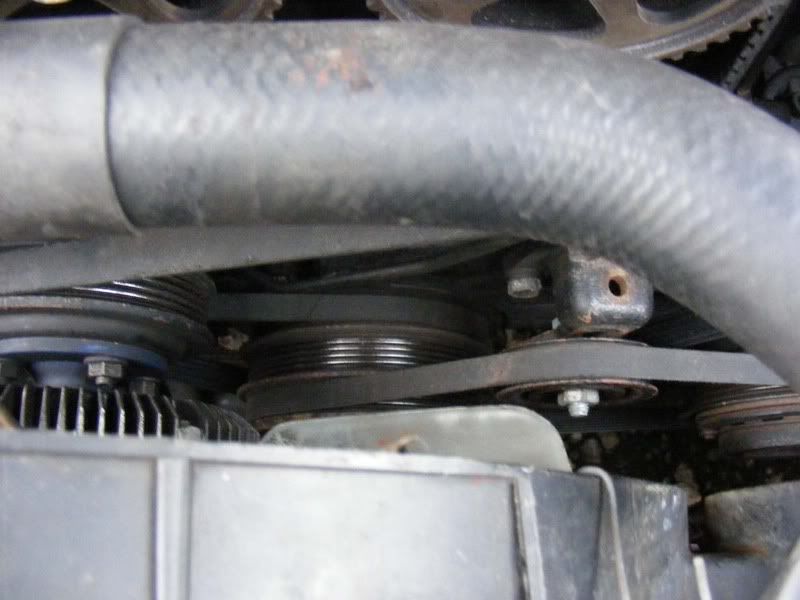
Step 7 - I struggled to get a good picture of the timing marks but look down at the lower timing cover and you'll see various numbers (you are interested in the '10') and also there is a notch out of the crank pulley
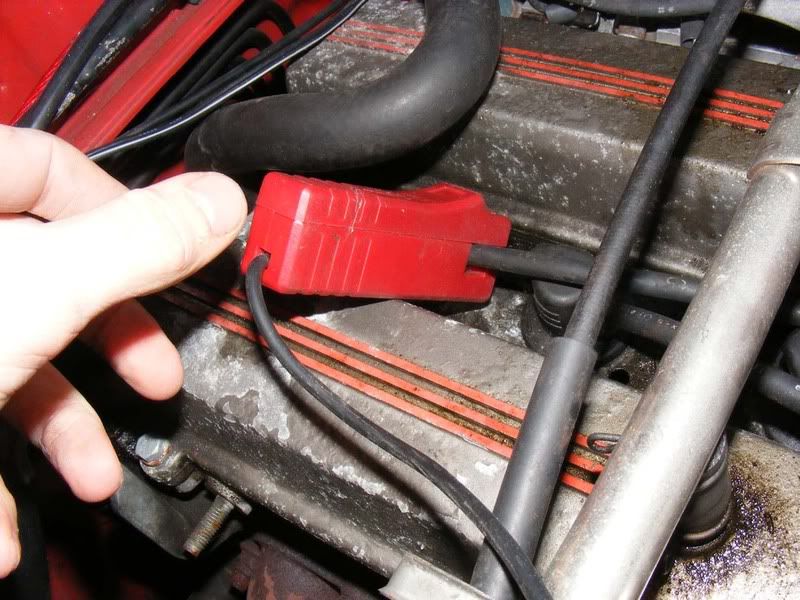
Step 8 - The Supra operates a wasted spark system where the coil packs fire in pairs (1 and 6, 3 and 4, 2 and 5). We are interested in 1 and 6 (1 being at the front of the engine bay and 6 at the rear).
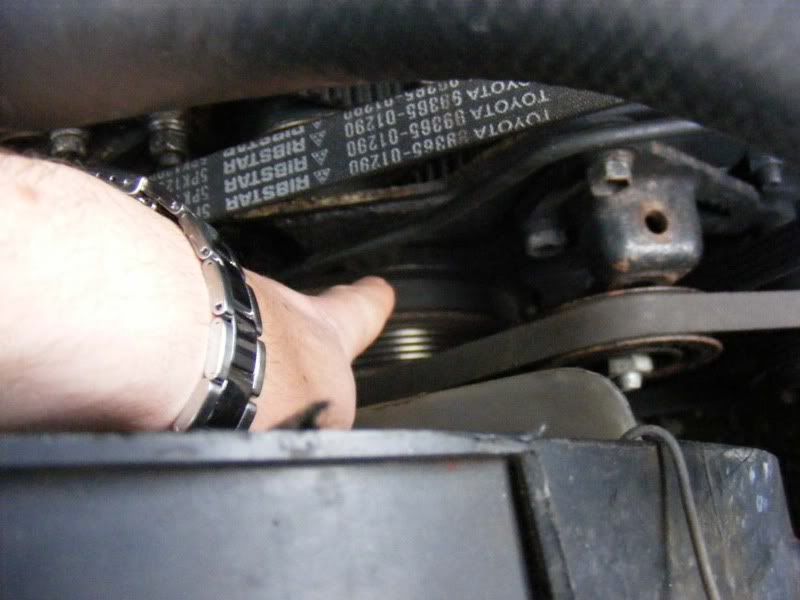
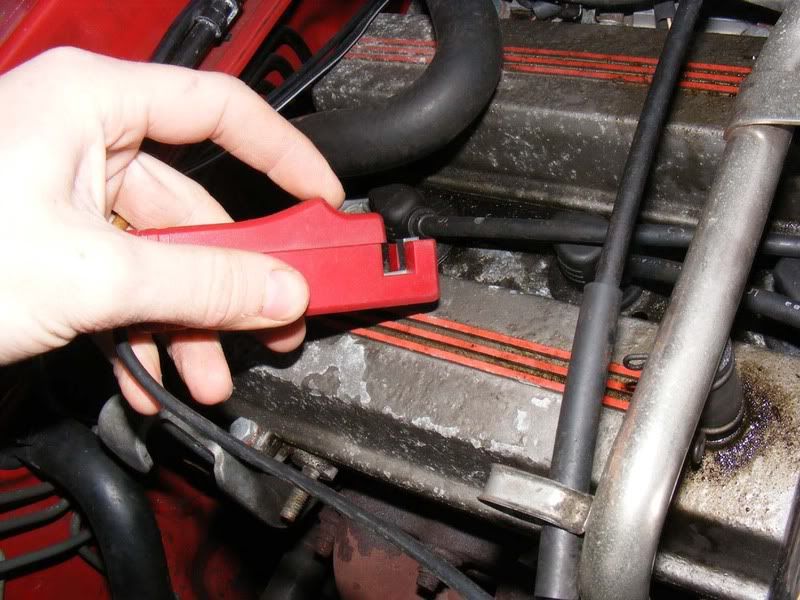
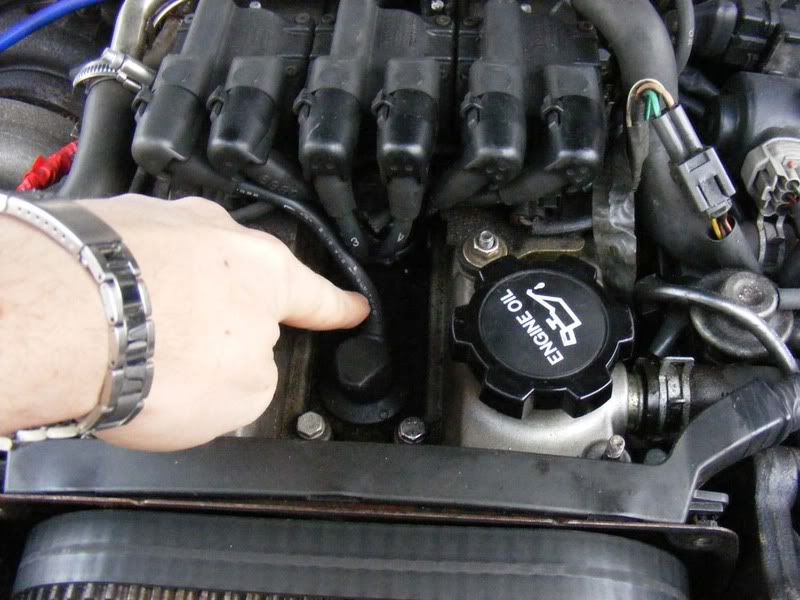
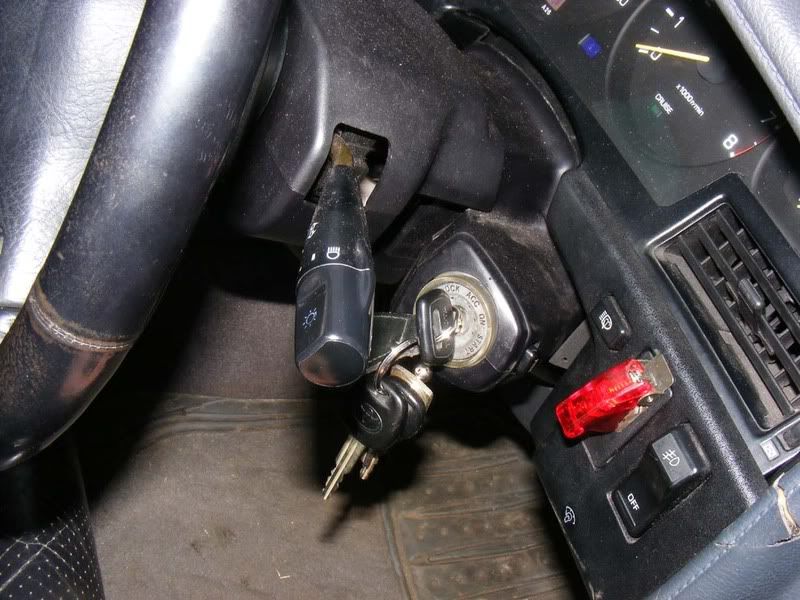
Step 9 - You set the timing using cylinder #1 but seeing as #6 fires at the same time and we can get to that one without removing the coil pack cover it's often easier to hook your timing light on to this cylinder. I like the 'inductive pick-up' timing lights which simply clip around an HT lead (see pictures 1 and 2) and operate on the magnetic field produced when the lead fires but you can also get variants that clip in line with the lead and spark plug, either will work
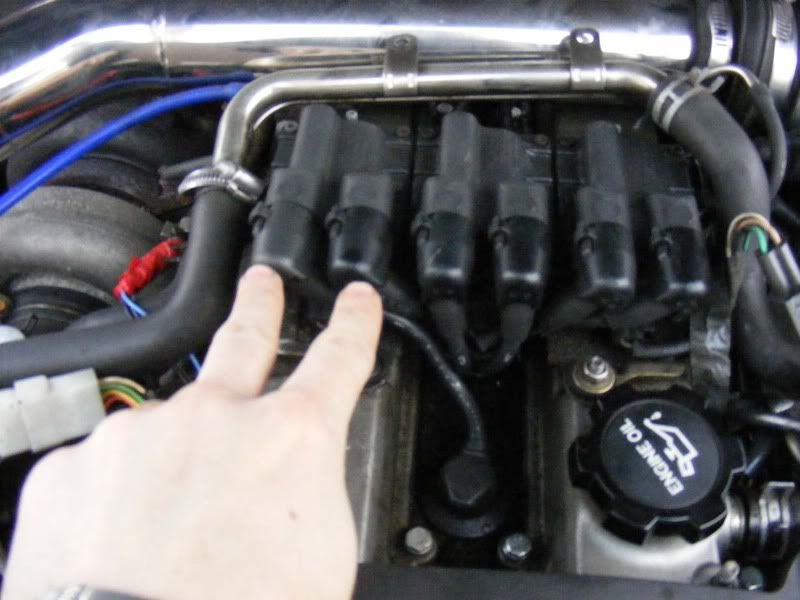
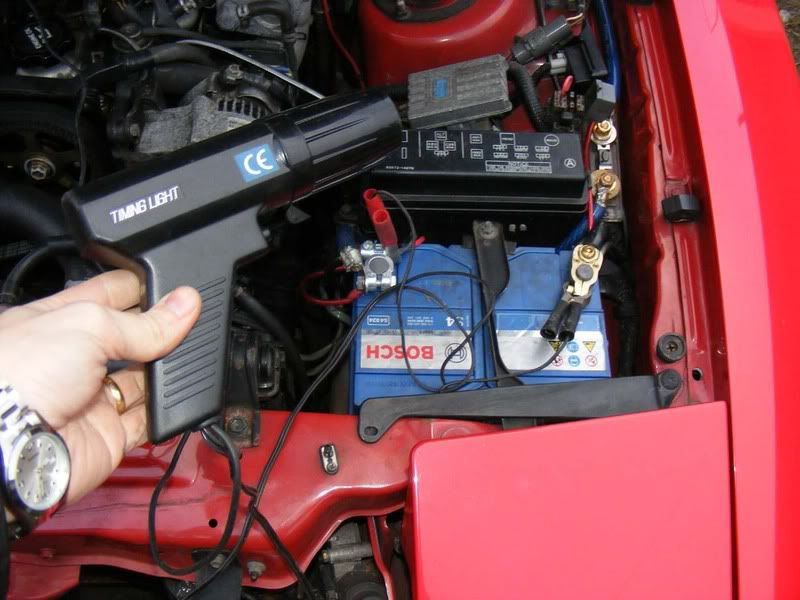
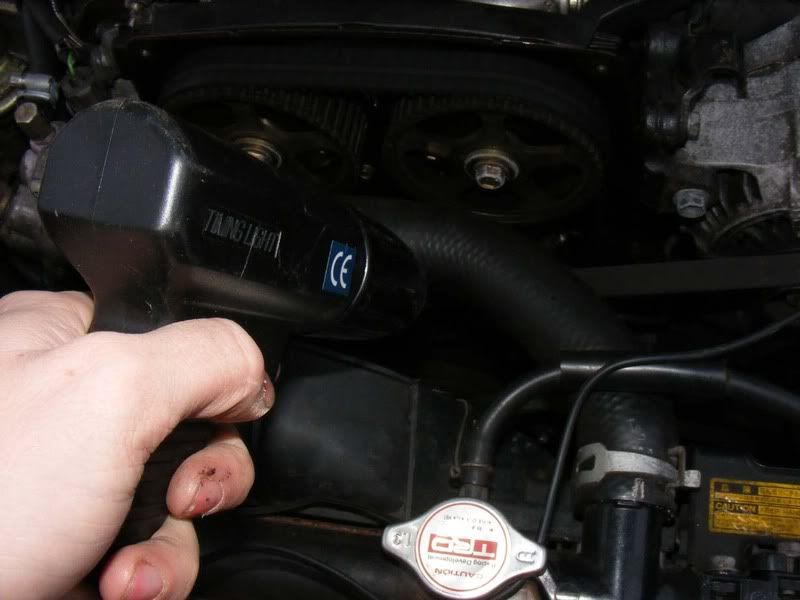
If you want to use cylinder #1 for some reason (there really is no need), remove the cover over the coil pack and use the lead shown in the third picture
Step 10 - Now connect your timing light's crocodile clips to the battery terminals so it is powered
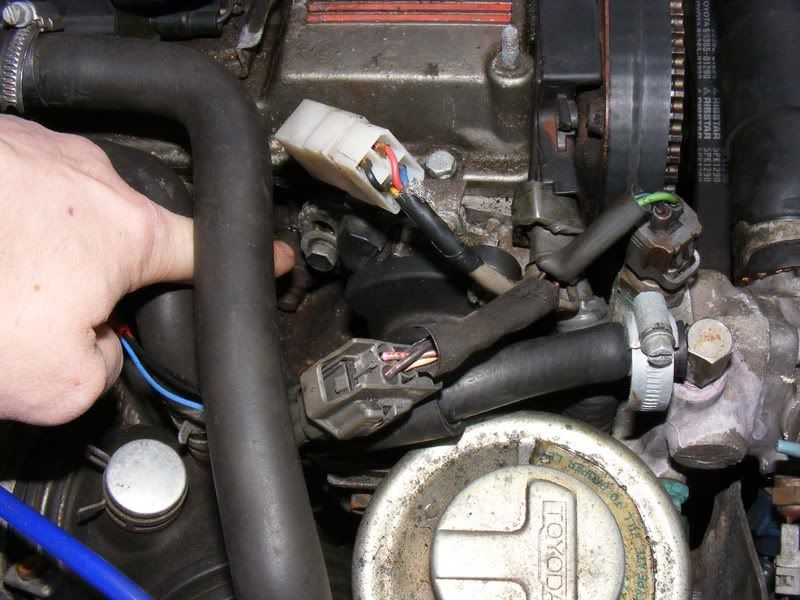
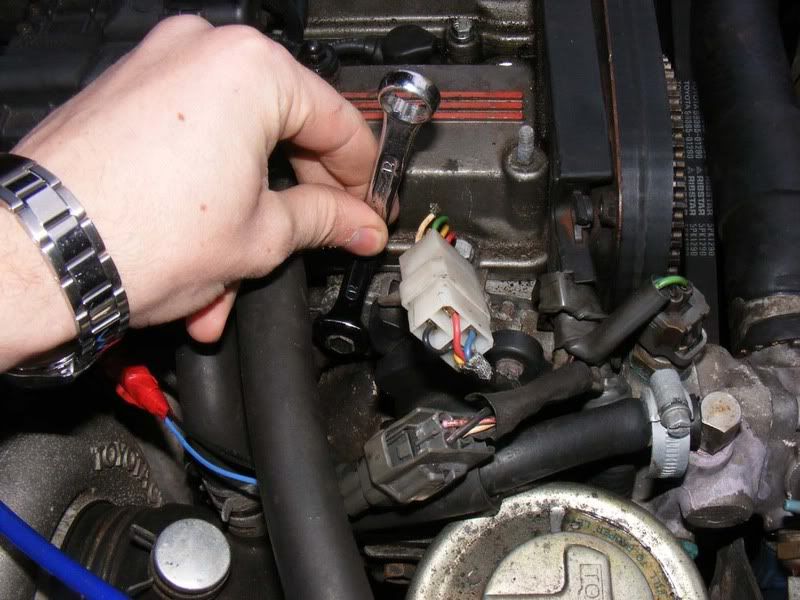
Step 11 - Next to the power steering reservoir (exhaust side of the car at the front of the engine) you will find the cps (cam position sensor). The job of this sensor is to act as a distributor (a distributor will be found on the NAs), and tell the ECU when to fire each lead. A single 12mm bolt holds it in place as shown
Oh, ignore the connector on mine - yours won't look like that
Step 12 - Slacken the bolt just enough so you can rotate the CPS (For an NA, slacken the bolt on the distributor)
Step 13 - Start the car, make sure none of your timing light wires are near the fan etc first!
Step 14 - Now fire the timing light towards the marks on the timing cover. This is where the magic happens - each time cylinder 1 (or 6) fires, a pulse of light will be emitted by the timing light. Obviously this happens very frequently and you end up with a very fast flash from the timing light which gives a stroboscopic effect (like when people are dancing with flashing lights in night clubs!). Basically the mark on the crank pulley is lit up by the timing light each time the cylinder fires and you see the matchmark on the crank pulley appear as a static mark next to the timing cover marks.
Ideally the line on the crank pulley should sit dead in the centre of the '10' mark on the timing cover, if it doesn't then you will need to gently rotate the CPS to bring the marks together. Rotating the CPS clockwise will advance the timing and anticockwise retards it. Note you only need very small movements to affect the timing so don't twist more than a very small amount.
Once you have got the two marks dead in line tighten up the CPS bolt and then re-check the timing (it can easily move slightly as you tighten the nut)
If you find the marks are not consistently in line with each other then you need to investigate the ignition system i.e. plugs, leads, coil packs etc.
Step 15 - Remove your link from the diagnostics block
Step 16 - Ensure that the ECU advances the timing to greater than 12 degrees BTDC (10-13 on an NA), this is checking the 'timing advance' is correct. This is done with the timing light just as you did before and is a final check that everything is working correctly
If you find you cannot get the timing matched up correctly then you will need to check the matchmarks on the cam and crank pulleys all line up and that the CPS is inserted correctly as per the TSRM. One other point of note is that if the TPS is incorrectly set up you may find it impossible to set the timing.
If for any reason you remove the CPS then replace the O ring because this is a common source of oil leaks. It's also worth inspecting the wiring around the CPS because this can lead to problems with poor running.
Step 1 - Run the car to normal operating temperature and ensure that the idle speed is correct (if not adjust the TPS and check for vac leaks etc)
Step 2 - You may want to use some Tipex to highlight the crank pulley notch and the marks on the timing cover, I didn't bother but it can make life easier
Step 3 - Locate the diagnostics box on the passenger wing
Step 4 - Open the lid and you will see details of what each pin is called. We are interested in TE1 (middle pin of the left hand square) and E1 (top right of the left hand block of pins)
Step 5 - You need to short these two pins together to make the car enter a special diagnostic mode so we can set the timing. This can be done with a paperclip, piece of wire etc. I was given this little piece of wire when I bought the car (I think it was courtesy of Gerry/Medallion man) and it's a nice tool - it's household power wire so is stiff and makes a good connection
Step 6 - Short the pins TE1 and E1 mentioned in step 4
Step 7 - I struggled to get a good picture of the timing marks but look down at the lower timing cover and you'll see various numbers (you are interested in the '10') and also there is a notch out of the crank pulley
Step 8 - The Supra operates a wasted spark system where the coil packs fire in pairs (1 and 6, 3 and 4, 2 and 5). We are interested in 1 and 6 (1 being at the front of the engine bay and 6 at the rear).
Step 9 - You set the timing using cylinder #1 but seeing as #6 fires at the same time and we can get to that one without removing the coil pack cover it's often easier to hook your timing light on to this cylinder. I like the 'inductive pick-up' timing lights which simply clip around an HT lead (see pictures 1 and 2) and operate on the magnetic field produced when the lead fires but you can also get variants that clip in line with the lead and spark plug, either will work
If you want to use cylinder #1 for some reason (there really is no need), remove the cover over the coil pack and use the lead shown in the third picture
Step 10 - Now connect your timing light's crocodile clips to the battery terminals so it is powered
Step 11 - Next to the power steering reservoir (exhaust side of the car at the front of the engine) you will find the cps (cam position sensor). The job of this sensor is to act as a distributor (a distributor will be found on the NAs), and tell the ECU when to fire each lead. A single 12mm bolt holds it in place as shown
Oh, ignore the connector on mine - yours won't look like that
Step 12 - Slacken the bolt just enough so you can rotate the CPS (For an NA, slacken the bolt on the distributor)
Step 13 - Start the car, make sure none of your timing light wires are near the fan etc first!
Step 14 - Now fire the timing light towards the marks on the timing cover. This is where the magic happens - each time cylinder 1 (or 6) fires, a pulse of light will be emitted by the timing light. Obviously this happens very frequently and you end up with a very fast flash from the timing light which gives a stroboscopic effect (like when people are dancing with flashing lights in night clubs!). Basically the mark on the crank pulley is lit up by the timing light each time the cylinder fires and you see the matchmark on the crank pulley appear as a static mark next to the timing cover marks.
Ideally the line on the crank pulley should sit dead in the centre of the '10' mark on the timing cover, if it doesn't then you will need to gently rotate the CPS to bring the marks together. Rotating the CPS clockwise will advance the timing and anticockwise retards it. Note you only need very small movements to affect the timing so don't twist more than a very small amount.
Once you have got the two marks dead in line tighten up the CPS bolt and then re-check the timing (it can easily move slightly as you tighten the nut)
If you find the marks are not consistently in line with each other then you need to investigate the ignition system i.e. plugs, leads, coil packs etc.
Step 15 - Remove your link from the diagnostics block
Step 16 - Ensure that the ECU advances the timing to greater than 12 degrees BTDC (10-13 on an NA), this is checking the 'timing advance' is correct. This is done with the timing light just as you did before and is a final check that everything is working correctly
If you find you cannot get the timing matched up correctly then you will need to check the matchmarks on the cam and crank pulleys all line up and that the CPS is inserted correctly as per the TSRM. One other point of note is that if the TPS is incorrectly set up you may find it impossible to set the timing.
If for any reason you remove the CPS then replace the O ring because this is a common source of oil leaks. It's also worth inspecting the wiring around the CPS because this can lead to problems with poor running.