GUIDE : Removing an engine

JSeaman

SM Official Expert: Guide Author
SM Expert
May 26, 2009
216
0
0
Derbyshire, UK
I'm afraid this guide wasn't quite as methodical as the normal ones but hopefully it covers most of everything you need. If anyone has anything to add please let me know


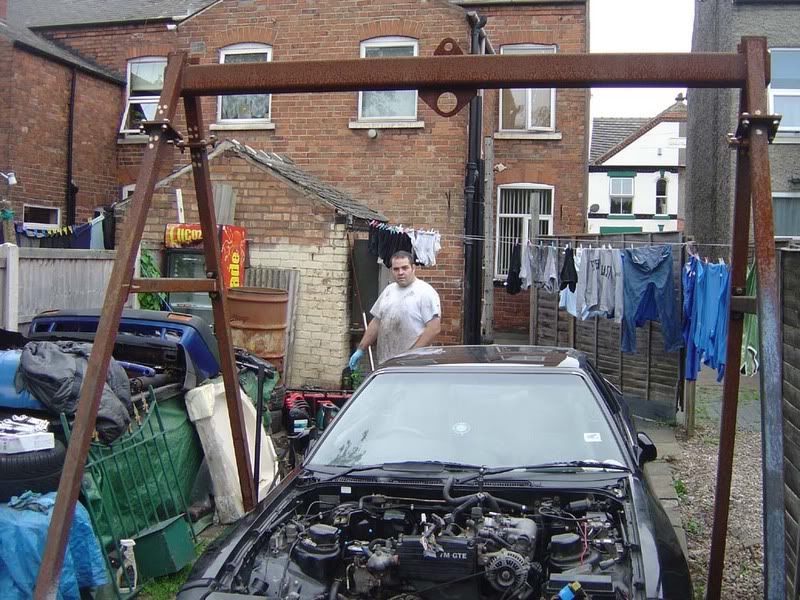
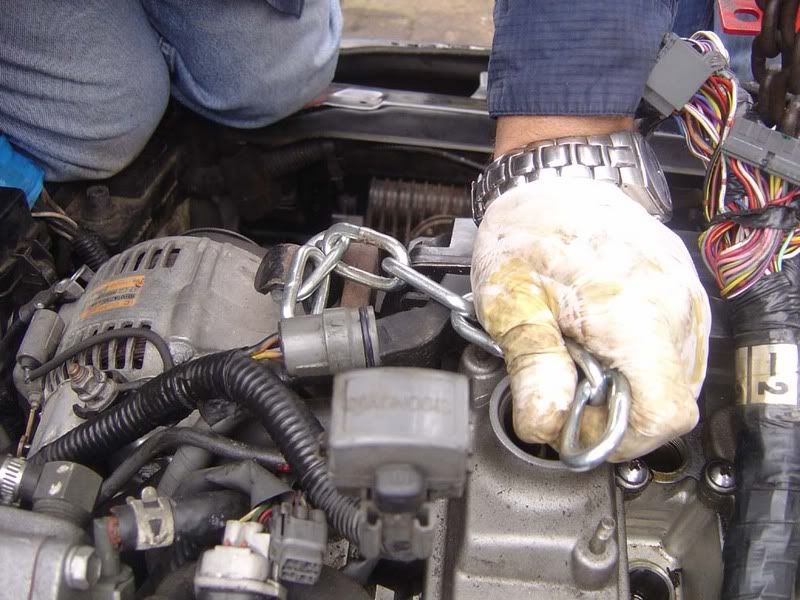
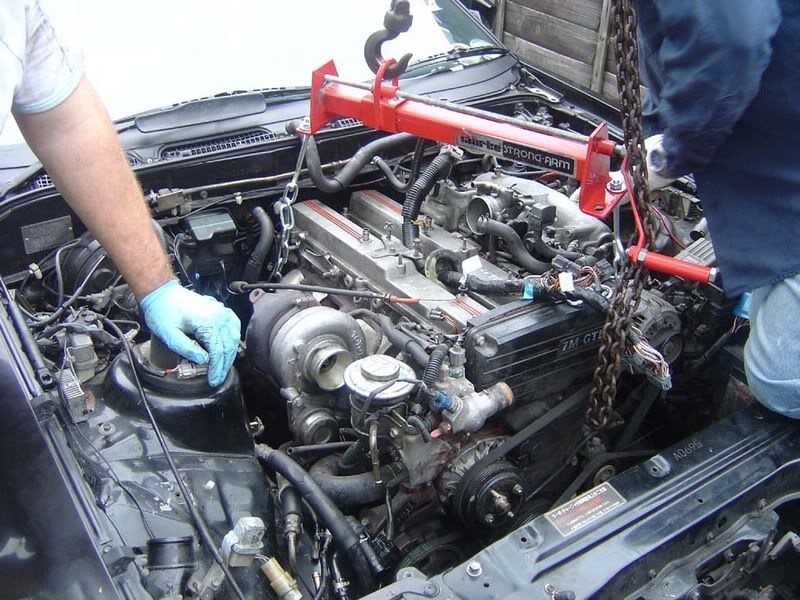
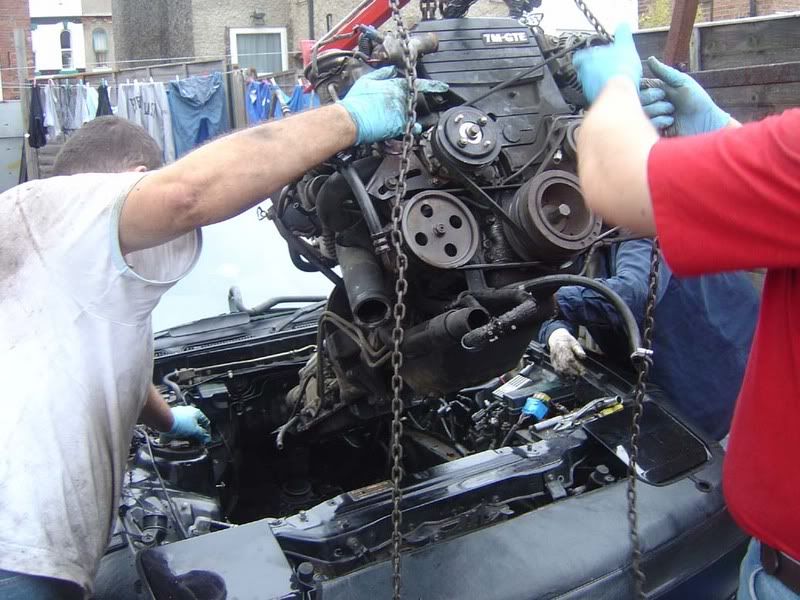
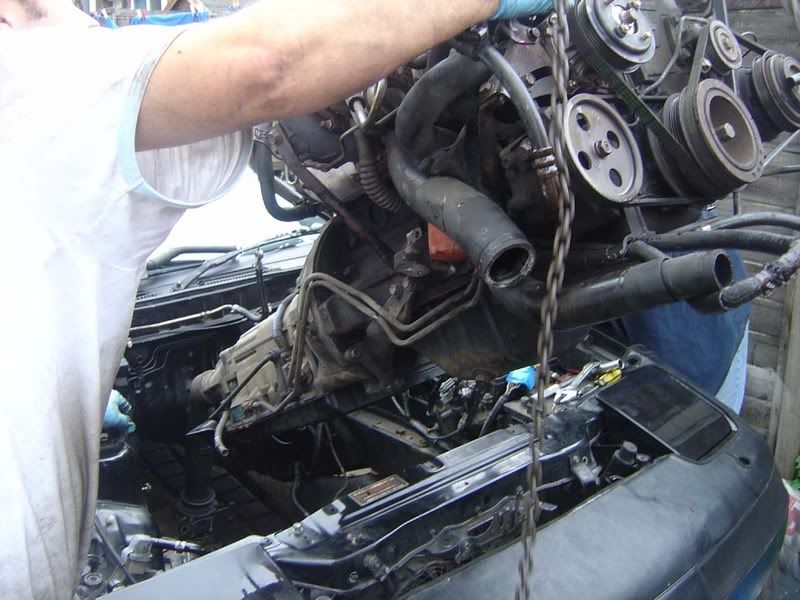
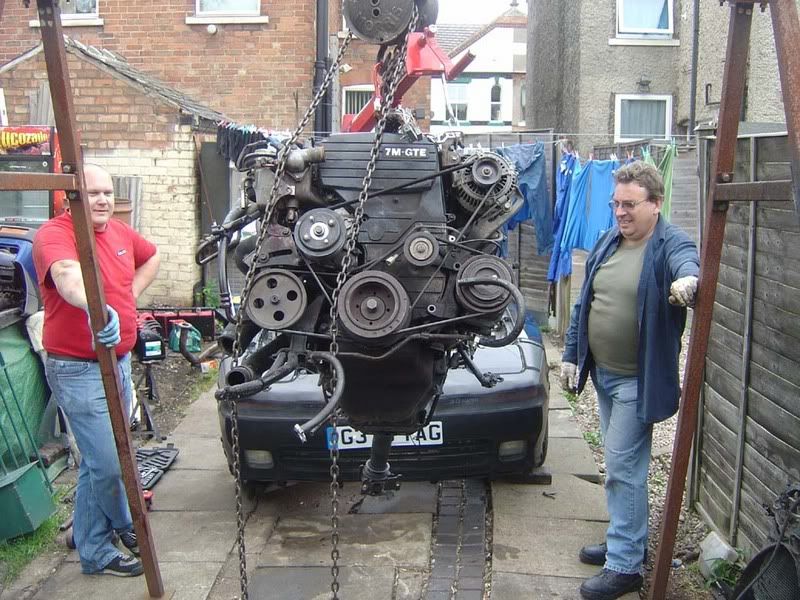
When removing (and especially refitting) an engine, it's always worth having as many people as you can on hand. At least four is ideal if you can and don't even try it without a hoist. A load leveller is well worth having so you can angle the engine to manoeuvre the engine in/out.

It's harder to get in than take out but take your time and it's not a technically difficult job.

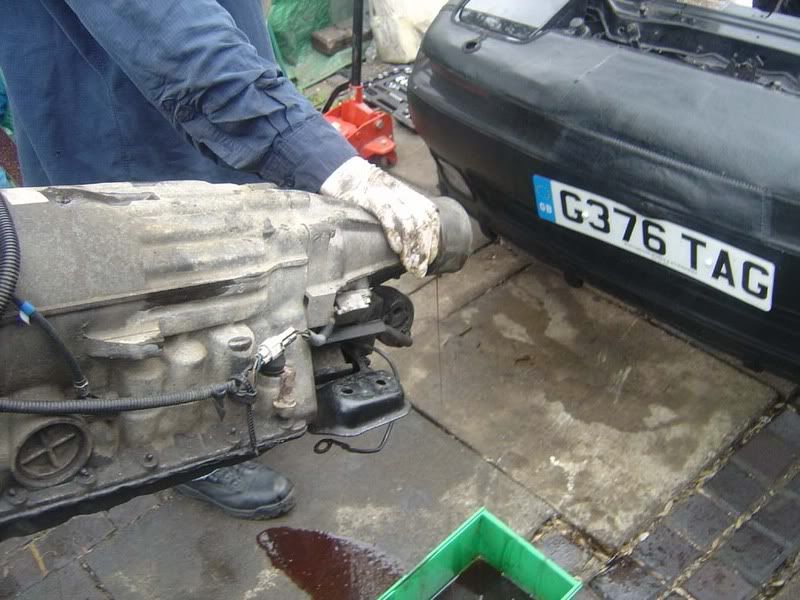
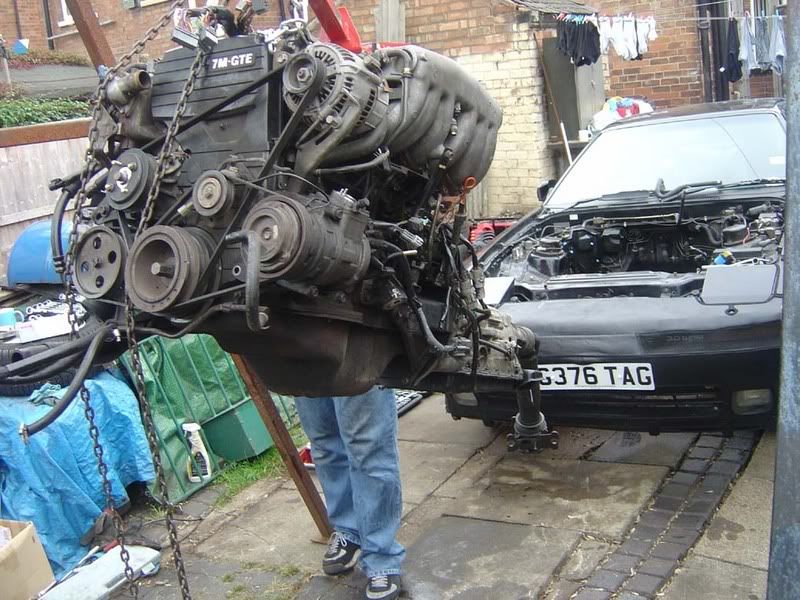
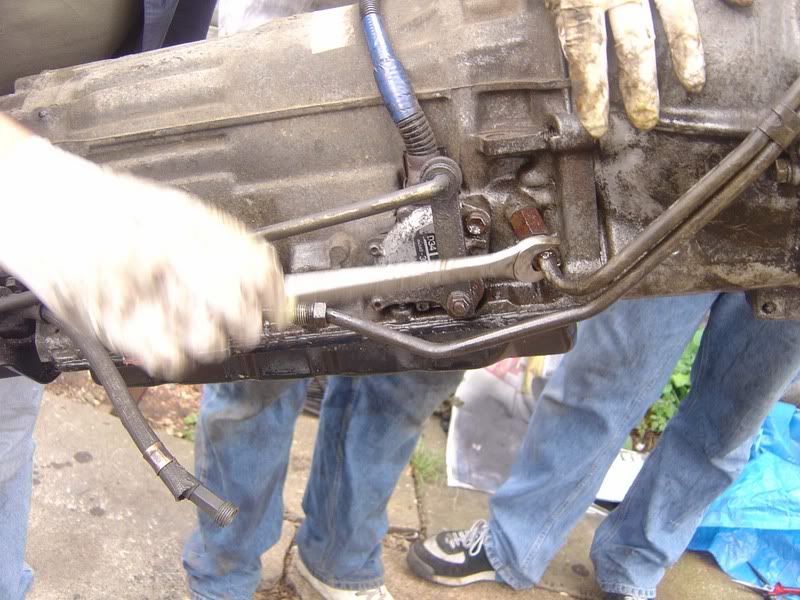
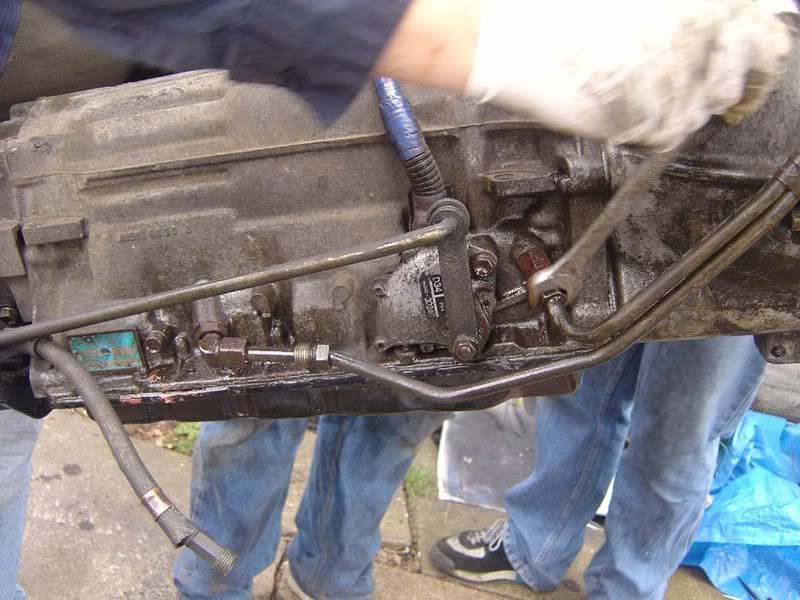
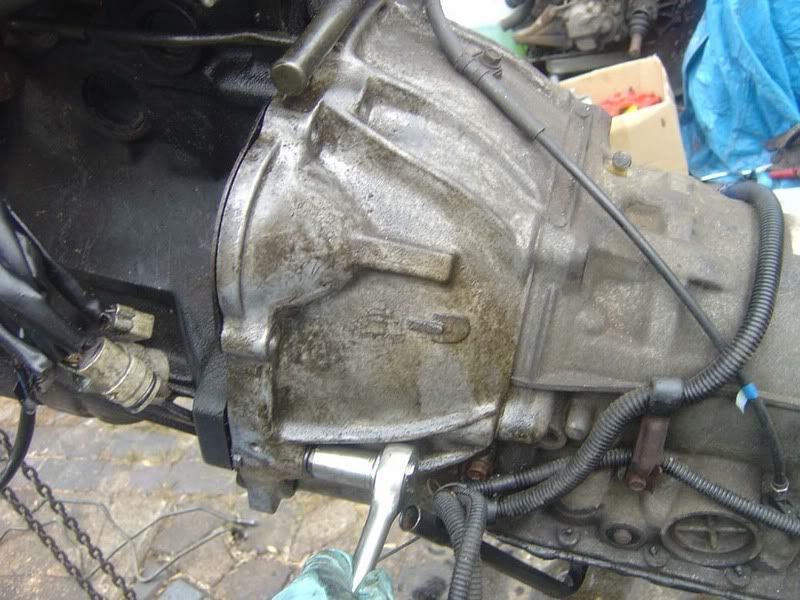
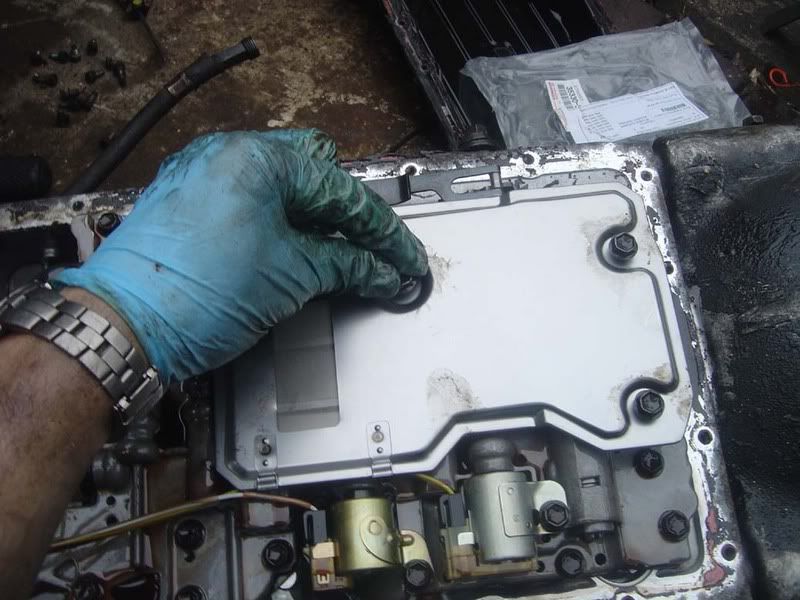
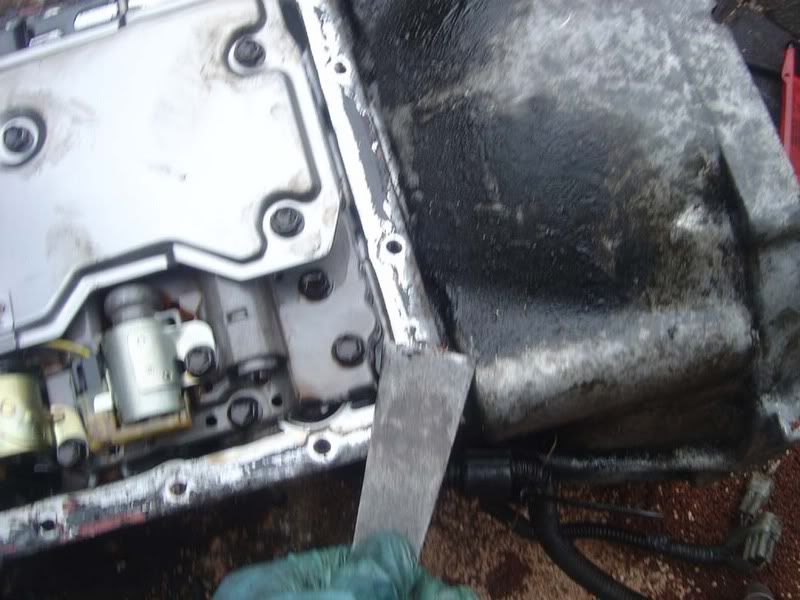
It's always worth pulling the transmission with the engine, it makes the engine go in/out more easily because it naturally slopes in at the right angel. It's also a real pain to try and bolt up the engine to the transmission in situ.

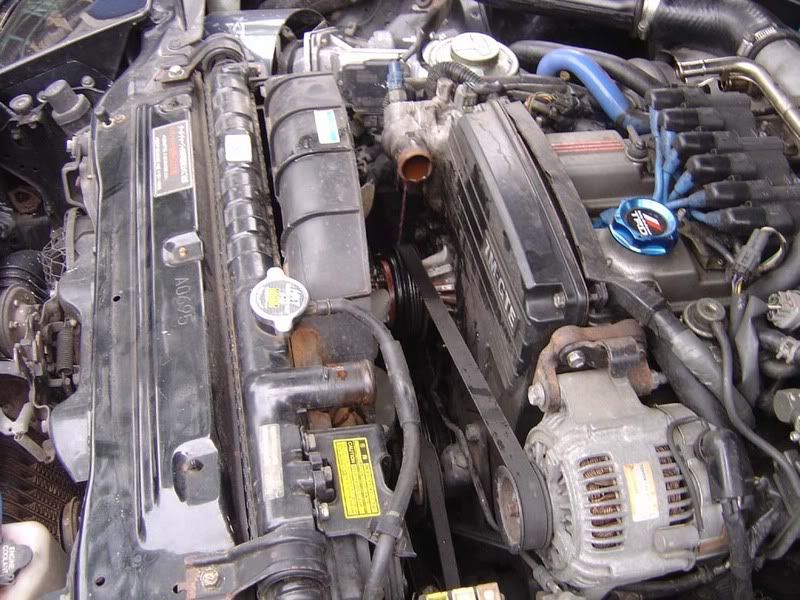
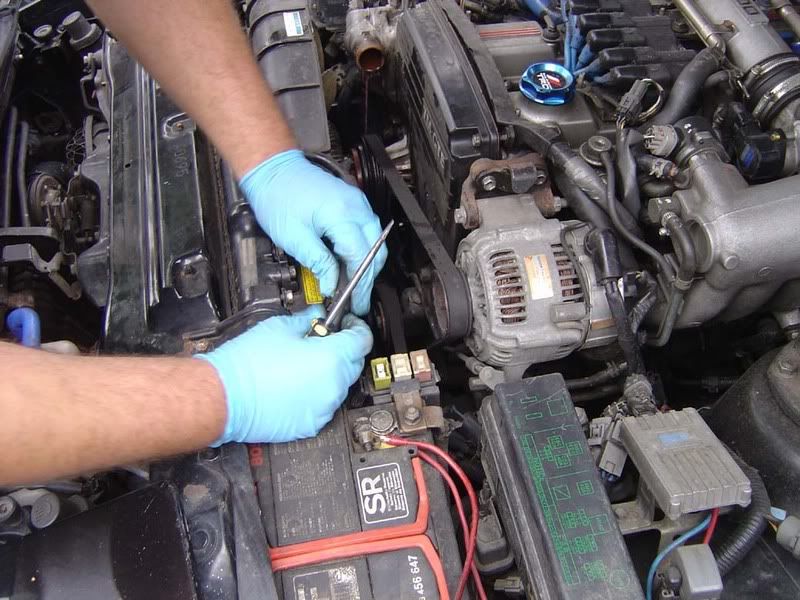
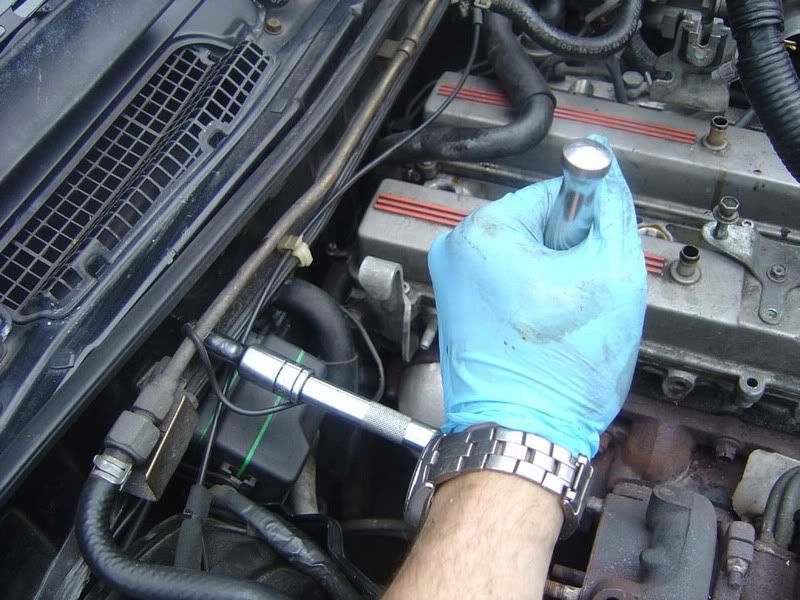
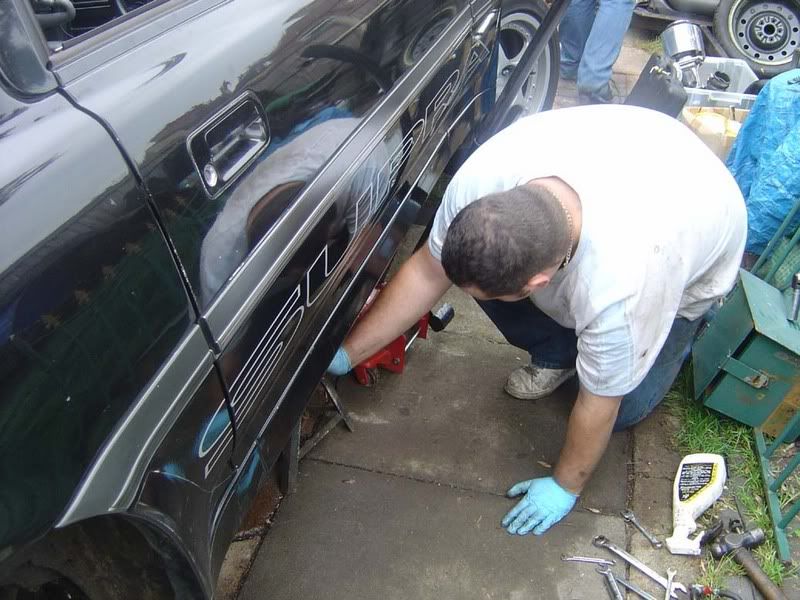
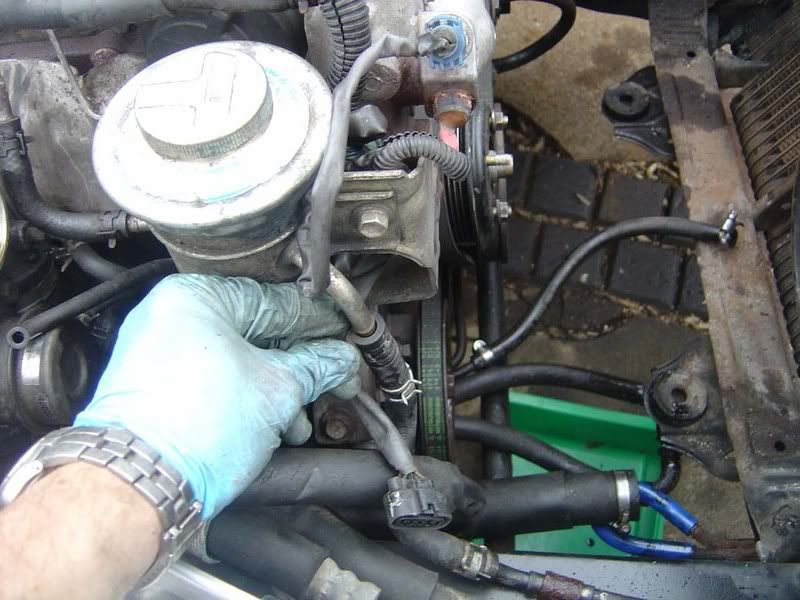
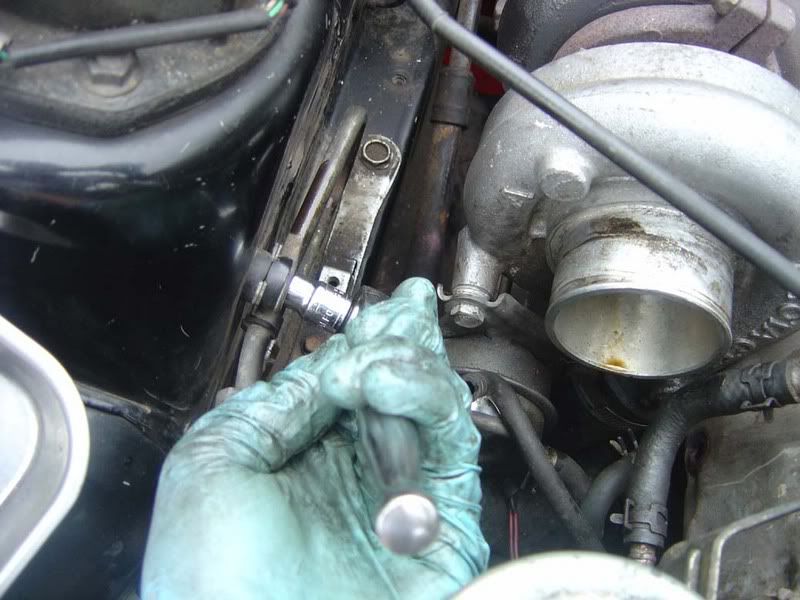
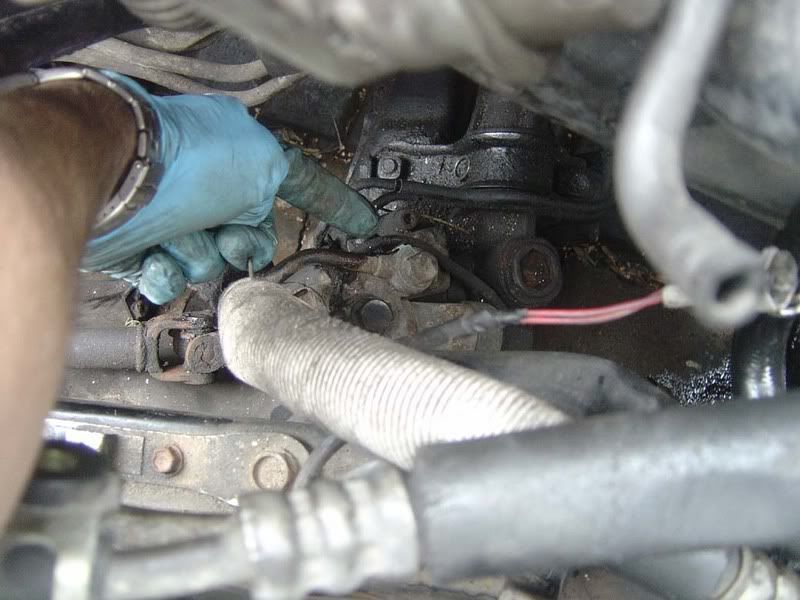
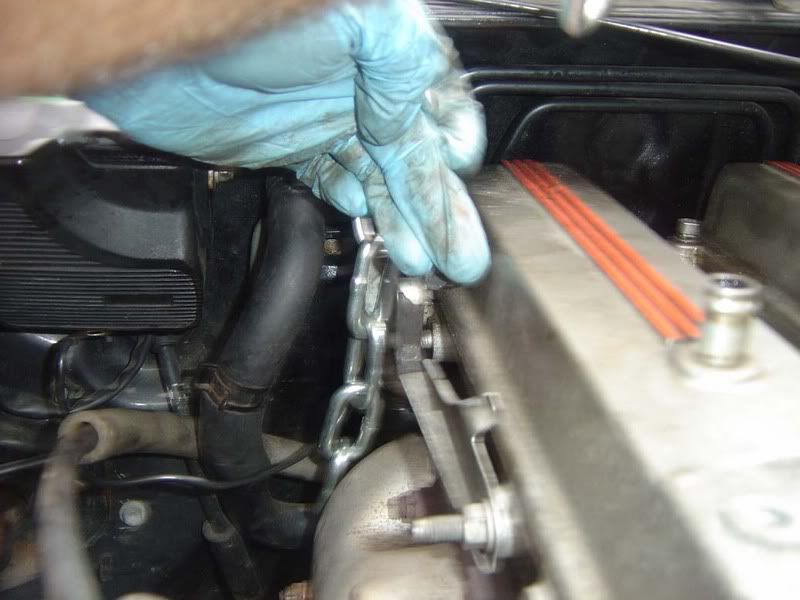
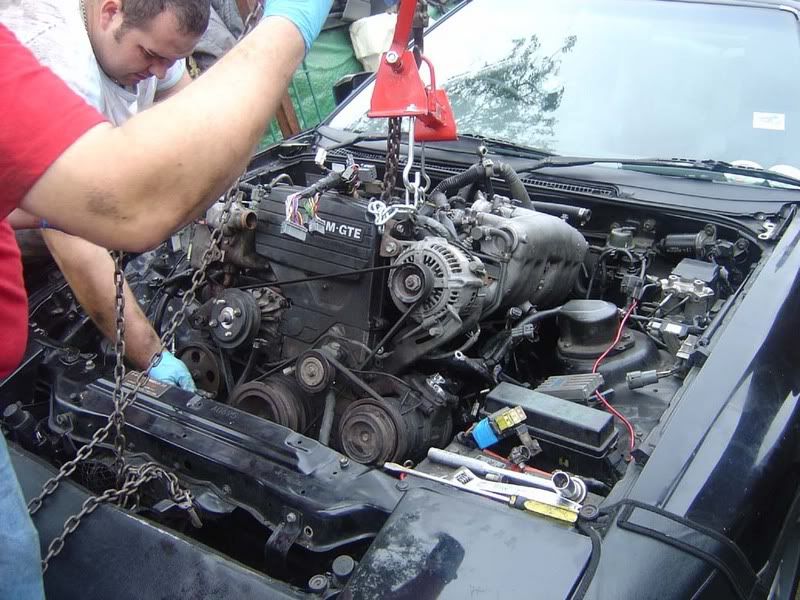
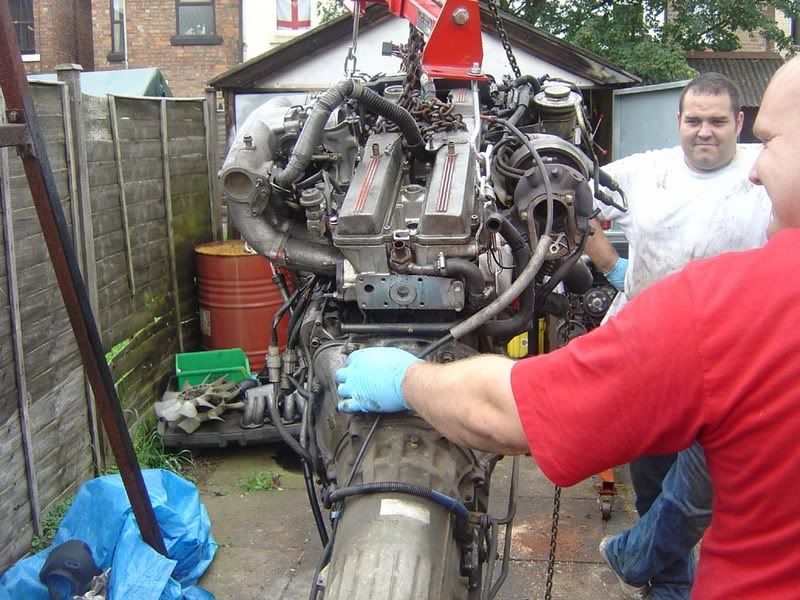
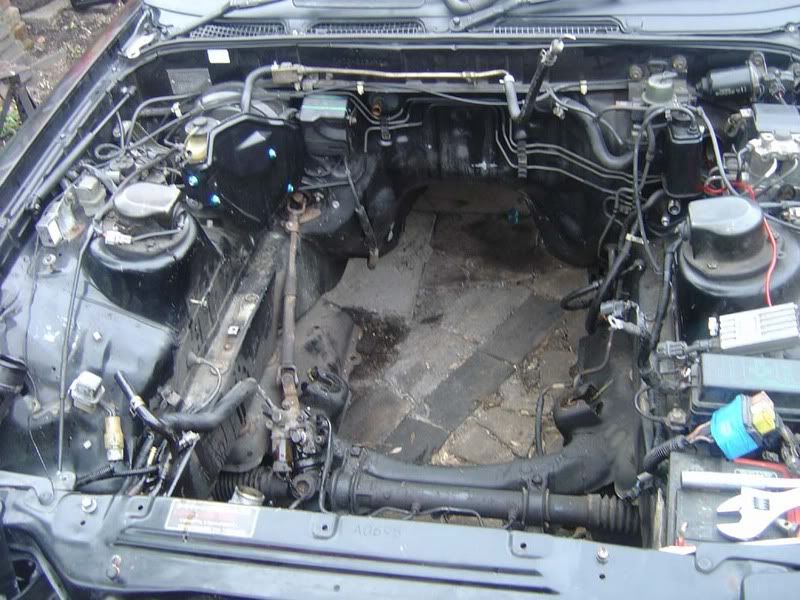
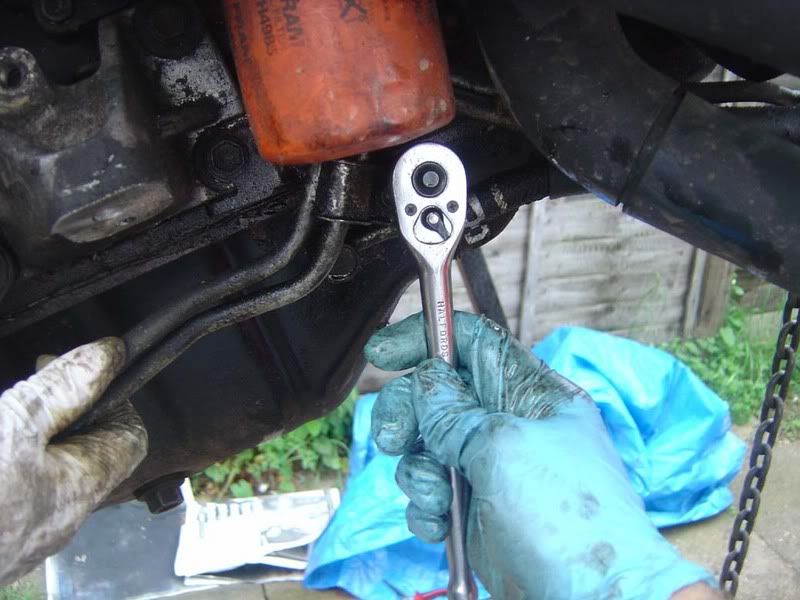
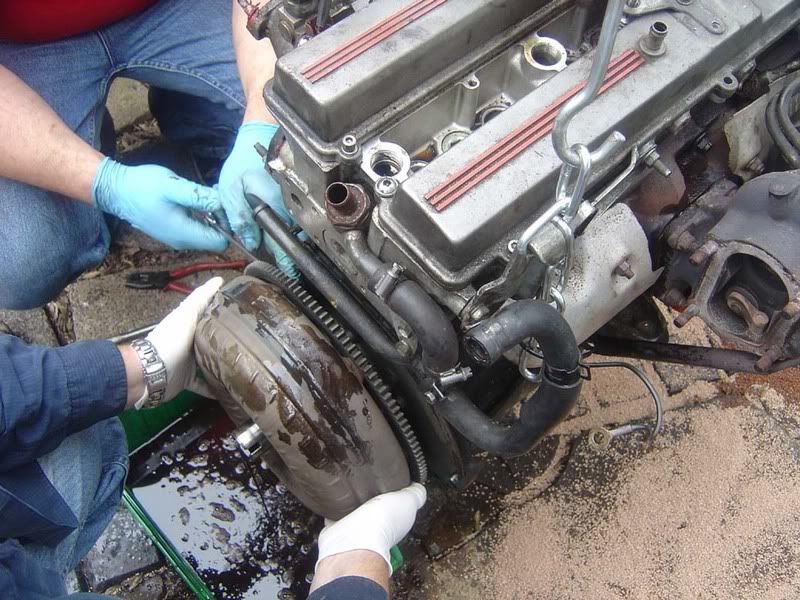
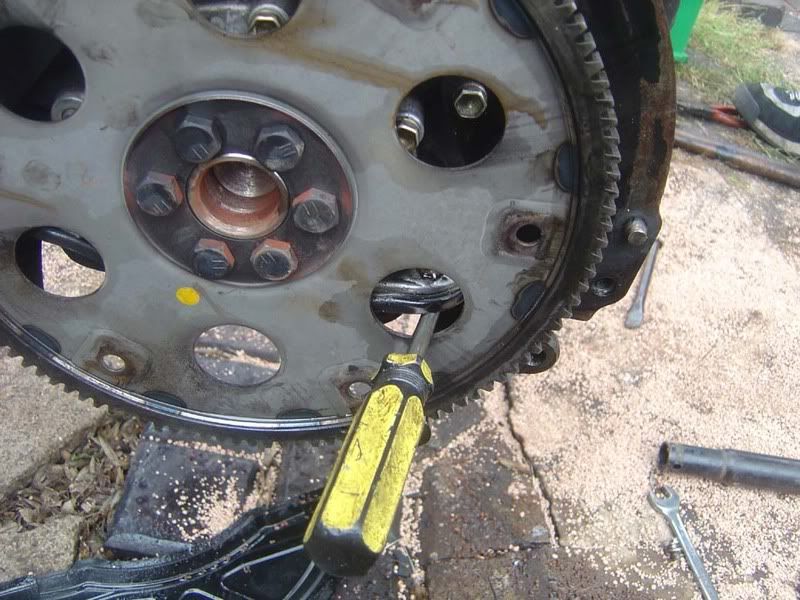
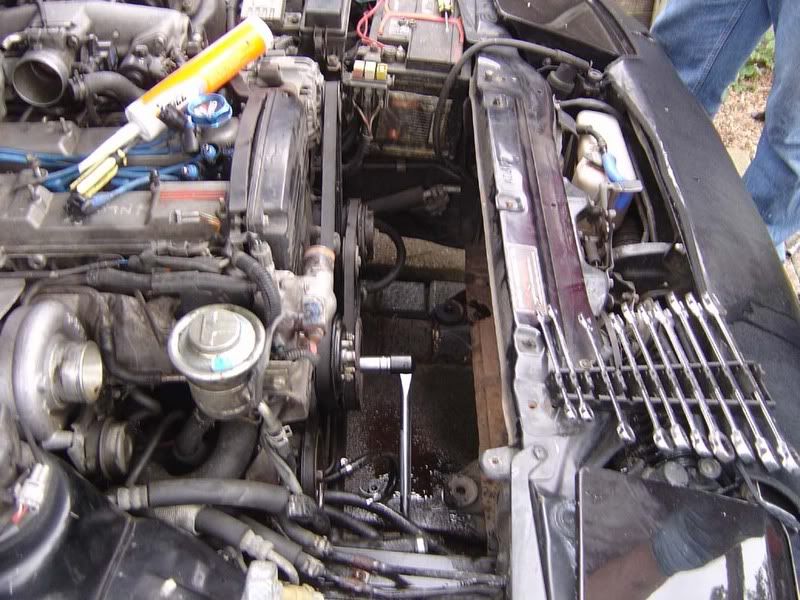
Step 1 - Assuming you want to remove the crank pulley once the engine is out you'll need to remove the bolt holding it on at a very early stage. This is because the bolt is so tight that you will find it incredibly difficult to do when the engine is not locked. You can either try putting the car in gear with your foot on the brakes (manual cars), or locking the engine then using a breaker bar or do it the easy way :

fit a 19mm socket and breaker bar to the pulley bolt and then crank the engine. Make sure you have disabled the engine in some way (removed the fuel pump fuse or spark plugs) so it doesn't actually fire up but the act of the starter turning the engine will shift the bolt easily.

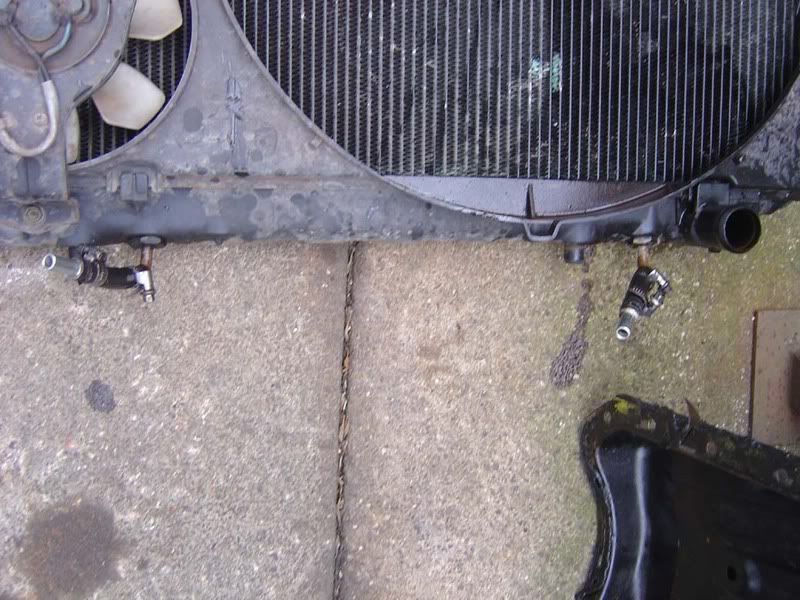
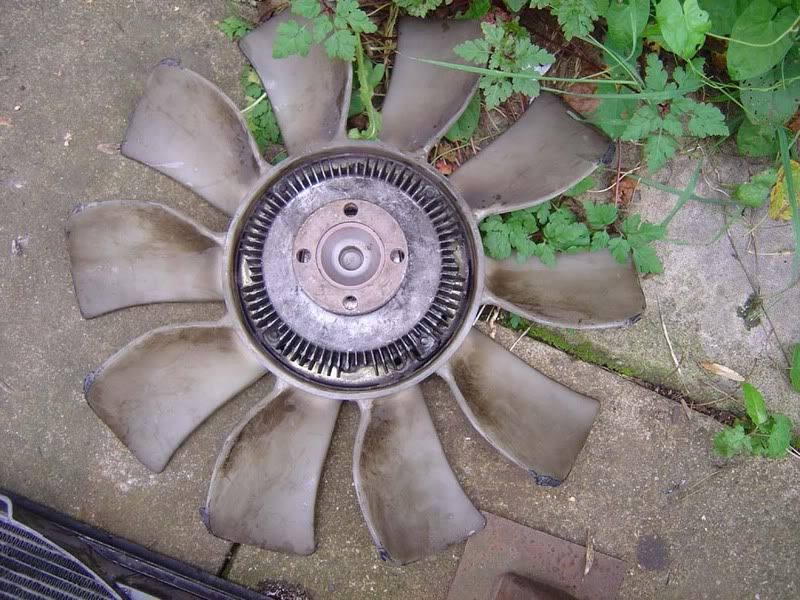
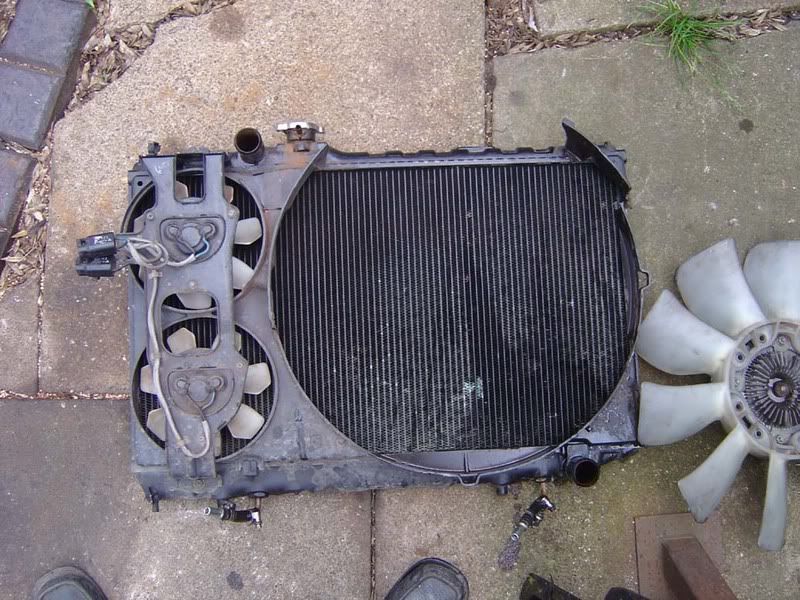
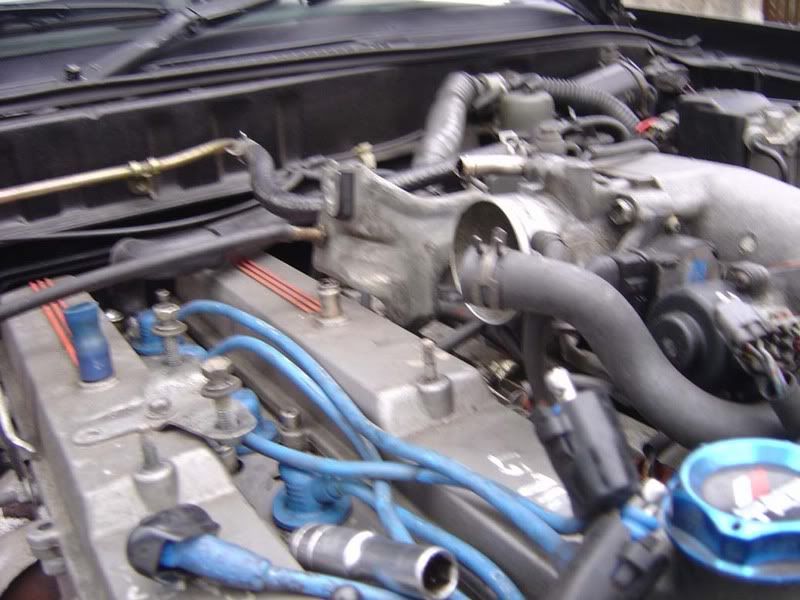
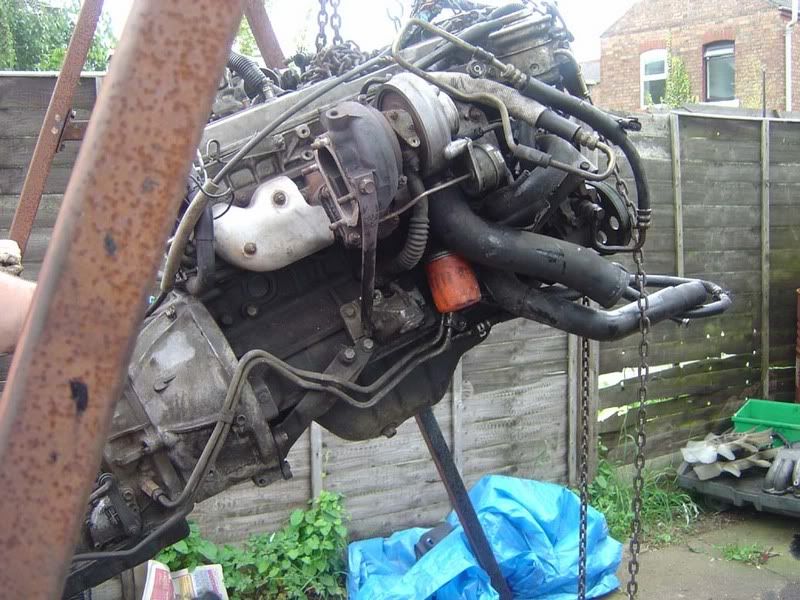
Note in the picture we had already removed the rad and fans but this is not required

p1329376_1.jpg


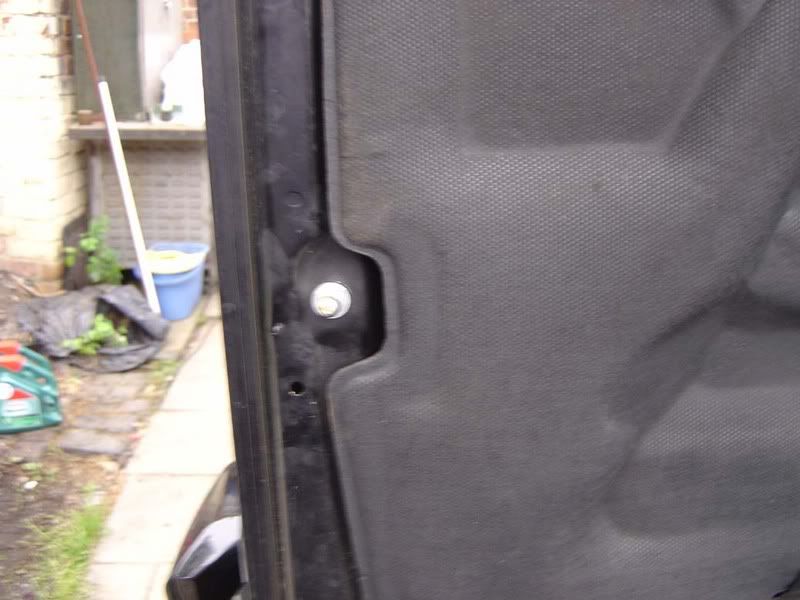
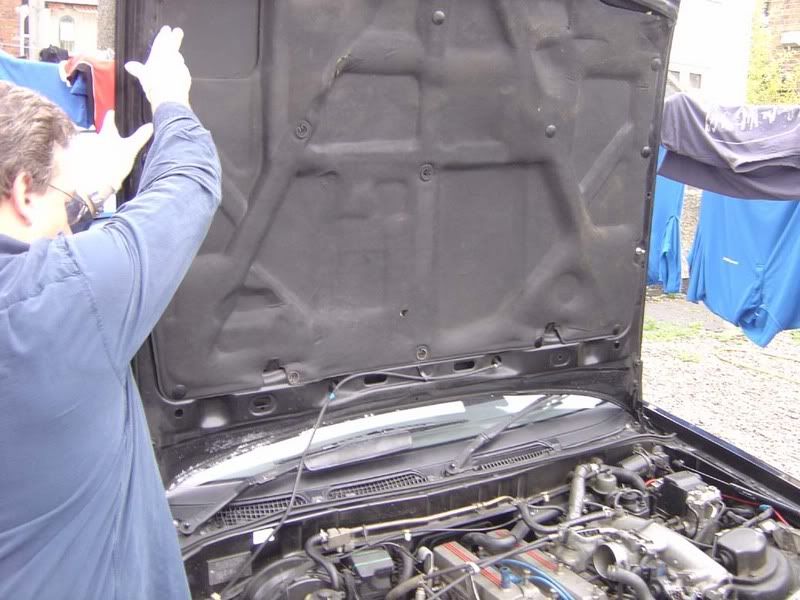
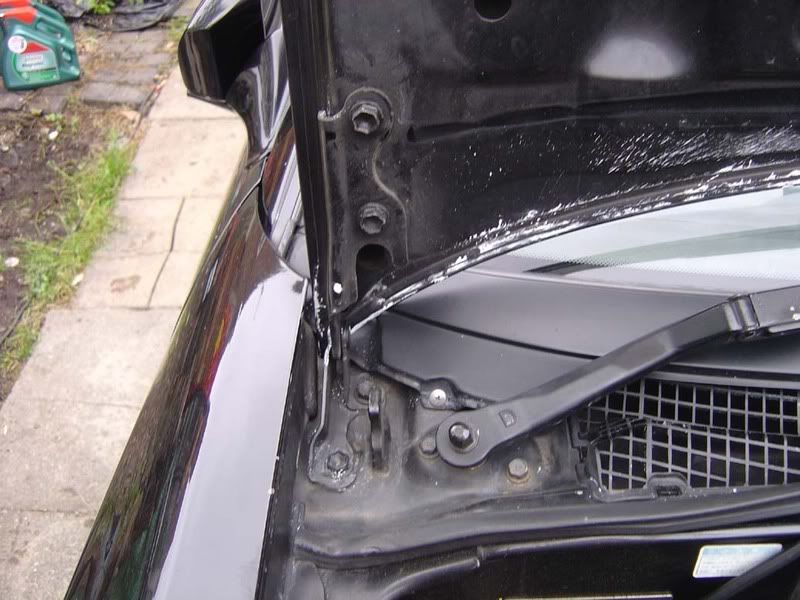
Step 2 - Remove the two gas struts from the bonnet (ease out the c-clip with a flatblade screwdriver and then they simply pull off) and then the 4 bolts holding the bonnet to its brackets. Be careful when you undo the bolts for the bracket, make sure the bonnet doesn't slip and damage the corners.

Don't forget to remove the washer jet rubber pipes before removing the bonnet. Two people make the job much easier.

p1329376_2.jpg

p1329376_3.jpg

p1329376_4.jpg
 

JSeaman

SM Official Expert: Guide Author
SM Expert
May 26, 2009
216
0
0
Derbyshire, UK
Step 3 - If your car is fitted with the plastic undertray, undo all the retainers and remove this. Our car wasn't so no pictures

Step 4 - You won't be needing electrics any more so disconnect the battery, ensure all windows are up etc because you won't be able to move them without power. 10mm socket will be all you need to do this.

p1329378_1.jpg


Step 5 - Remove the upper and lower rad hoses and the coolant overflow hose, catch the coolant. Also drain the oil from the engine and transmission (Both have a sump plug which you simply undo and catch the fluid in, seee the guide for changing your oil if you need more info).

p1329378_2.jpg

p1329378_3.jpg


Step 6 - Remove the rad. If you have an auto your transmission fluid cooler will be part of the rad so remove the two pipes (picture 1) and loop the hoses together/catch all the fluid that comes out.

Remove the 4 bolts holding the viscous fan unit (picture 2 and 3) in. You will find breaking ... I mean removing the fan shroud necessary.

Disconnect the multiplugs (picture 4) and unbolt the two retaining hooks from the top of the rad

p1329378_4.jpg

p1329378_5.jpg

p1329378_6.jpg

p1329378_7.jpg


Step 7 - Remove the turbo elbow, it's up to you how you want to tackle this but the 4 bolts where the elbow meets the turbo can easily be reached and then the 3 underneath aren't too bad with a long reach socket. This will leave the turbo attached to the car but give you the clearance by removing the elbow and dropping the exhaust down. We ended up pulling the whole exhaust so it wasn't in the way at all

p1329378_8.jpg

p1329378_9.jpg


Step 8 - Remove the ground strap next to the engine mount on the inlet side and also the small one that goes to the bulkhead on the exhaust side (see picture). There is a final strap between one of the bolts on the bell housing (on the nearside) and the body. This is another ground stra you need to undo before pulling the engine.

p1329378_10.jpg


Step 9 - Remove the two heater matrix hoses

p1329378_11.jpg

p1329378_12.jpg
 

JSeaman

SM Official Expert: Guide Author
SM Expert
May 26, 2009
216
0
0
Derbyshire, UK
Step 10 - Remove the throttle cable(s) or bracket (I'd recommend the 14mm bolts on the bracket and then just putting it to one side with the cables attached.

p1329379_1.jpg


Step 11 - Jack the car up so you can start work underneath, ensure you've got axle stands as a back up

p1329379_2.jpg


Step 12 - Looking at the back of the gearbox, undo the 4 14mm nuts/bolts holding the propshaft to the centre bearing. You'll need to do two then rotate the prop and do the other two. Then undo the two bolts holding the centre bearing in place

p1329379_3.jpg

p1329379_4.jpg


Step 13 - Now undo the 4 12mm bolts holding the crossmember in place. I didn't ge ta good picture but it's the black bracket on the left hand side and you can make out 2 of the bolts at the bottom let. The transmission will now drop down (picture 2)

p1329379_5.jpg

p1329379_6.jpg


Step 14 - Moving to the front of the car undo the two 17mm bolts holding the crossmember under the sump in place and remove this

p1329379_7.jpg

p1329379_8.jpg


Step 15 - On the offside about half way down the gearbox is the first join in the speedo cable, simply unscrew this

p1329379_9.jpg


Step 16 - While at the front, remove the boost hose from the turbo to the intercooler. This is a jubilee clip then simply pulls off

p1329379_10.jpg


Step 17 - Remove and loop the oil cooler hoses. These may be in front of the intercooler or next to where the rad was depending on the car. Renew these hoses if they are perished

p1329379_11.jpg


Step 18 - Remove the return hose for the fuel (j tube return line), this is just a spring clip then pull. Note you should release the fuel filler cap so that you don't create a vacuum and spit out all your fuel

p1329379_12.jpg


Step 19 - Remove the 17mm banjo bolt on the underside of this joint. It is the fuel feed line

p1329379_13.jpg


Step 20 - With regards to wiring, remove the glove box and unplug the ECU (see SAFC gude etc for info on doing this), ABS ECU, HAC etc. Basically, anything you see unplug and remove it all through the grommet in the firewall. I didn't get any pictures of this I'm afraid but here's a shot of the loom once removed.

p1329379_14.jpg


Step 21 - Engine mounts, they have a 17mm nut on the top and a 19mm on the bottom. Undo both of these now

p1329379_15.jpg


Step 22 - For the power steering, remove the line to the reservoir and catch the fluid that comes out (picture 1). Then remove the clip shown with pliers (picture 2). If you remove the 10mm nut holding the bracket onto the inner wing the pipework will be free (picture 3). Undo the white multiplug and spearate it from the pipework (picture 4). Finally undo the connection to the rack (picture 5)

p1329379_16.jpg

p1329379_17.jpg

p1329379_18.jpg

p1329379_19.jpg

p1329379_20.jpg
 

JSeaman

SM Official Expert: Guide Author
SM Expert
May 26, 2009
216
0
0
Derbyshire, UK
Step 23 - If you have a manual transmission then remove the centre consoler and the gearstick. For an auto you can just disconnect the 10mm bolt where the linkage joins the shifter directly underneath the gearsitck (see picture). For a manual you will need to remove the clutch slave cylinder and hard pipe bracket from the bulkhead

p1329380_1.jpg


Step 24 - Roll the car underneath your A frame or roll your engine hoist up to the car

p1329380_2.jpg


Step 25 - Fit a chain over the hook next to the alternator (picture 1) and also one at the back of the engine on the exhaust side (picture 2)

p1329380_3.jpg

p1329380_4.jpg


Step 26 - If you've got a load leveller then use it to pull the engine directly up cleanly so you don't stress the mounts any more than you need to

p1329380_5.jpg


Step 27 - Once the weight on the engine and gearbox are on the hoist/frame, slide both engine mounts out. Be prepared for these to tear, it's quite common for split mounts to be found. These ones were good theankfully

p1329380_6.jpg


Step 28 - Use a combination of load leveller, hoist and moving the car backwards to slide the engine out. With the transmission attached the engine will naturally come out at quite a steep angle which is exactly what you need

p1329380_7.jpg

p1329380_8.jpg

p1329380_9.jpg

p1329380_10.jpg


Step 29 - All the while you are gradually removing the engine make regular checks for any wires or hoses you have left attached. If you spot anything, disconnect it and it's usually wise to label it so you don't forget where it goes

Step 30 - As the transmissino slides out of the prop shaft be prepared for transmission fluid loss

p1329380_11.jpg


Step 31 - Admire your 7MGTE and empty engine bay

p1329380_12.jpg

p1329380_13.jpg

p1329380_14.jpg

p1329380_15.jpg

p1329380_16.jpg


Note : When refitting the engine, ensure the prop slides through the transmission tunnel while attached to the gearbox or you'll have to drop the rear linkage to the diff to refit it
 

JSeaman

SM Official Expert: Guide Author
SM Expert
May 26, 2009
216
0
0
Derbyshire, UK
Separating the box - this is for the auto only :

Step 32 - Disconnect all the 17mm nuts and 10mm brackets holding the transmission fluid lines on

p1329383_1.jpg

p1329383_2.jpg

p1329383_3.jpg

p1329383_4.jpg

p1329383_5.jpg

p1329383_6.jpg


Step 33 - Now remove all the bolts holding the bellhousing to the engine. Obviously support both ends appropriately because they will drop when separated

p1329383_7.jpg


Step 34 - Once the bell housing is removewd you can see the torque converter. You need to remove all the 14mm nuts around the torque converter between the converter and the engine. To do this, hold the converter in place (we had one person on each side of the converter, one locked it in place by holding onto one of the nuts while the other cracked them off in turn) and remove each nut.

p1329383_8.jpg


Step 35 - With the torque converter removed you can get to the 6 bolts for the flexplate. Lock the flexplate with a screwdriver (picture 1) and undo these bolts in sequence and the flexplate comes away cleanly. You now reach the crank rear seal

p1329383_9.jpg

p1329383_10.jpg

p1329383_11.jpg

p1329383_12.jpg


Step 36 - With the auto box out you might as well change the filter in it. To do this, turn the box upside down and remove all the 10mm bolts holding the sump in place

p1329383_13.jpg


Step 37 - Now remove the 3 bolts holding the filter in place

p1329383_14.jpg


Step 38 - Remove the wire tucked into the filter on the top and pull the filter out of the box.

p1329383_15.jpg


Step 48 - Drop your new filter in and do the three bolts up again then tuck your wire in place

p1329383_16.jpg


Step 49 - Use a gasket scraper to clean up the mating surfaces of the box and sump

p1329383_17.jpg


Now you've got the engine out you can do whatever work you need. A guide will follow for stripping a cylinder head and block down