
I figure this one isn't going to have much use but seeing as I was doing the job I've done a write up
Step 1 - Jack the car up and remove the wheel

Step 2 - Remove the 5 bolts which go around the wheel arch

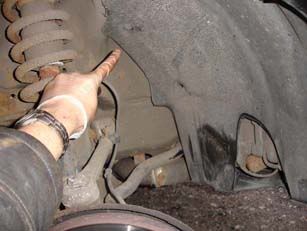
Step 3 - Then do the 2 bolts on the lining towards the rear of the car
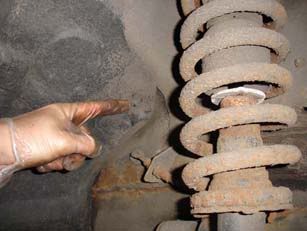
Step 4 - You should have another couple of bolts towards the front of the car (Note you can see the tear in my lining in this pic)
Step 5 - The final bolt (or screw in my case) is located here
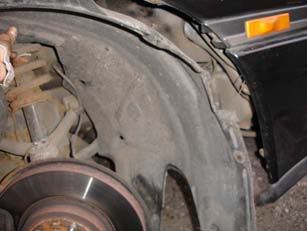
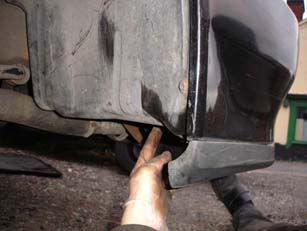
Step 6 - Using the ridge at the centre of the lining, ease the plastic towards the car so the lip is free from the arch and then work it off the car
Step 7 - I found it easiest to work the front free first then work backwards, be careful because you can easily break the plastic here
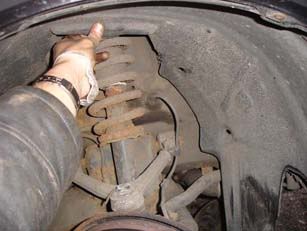
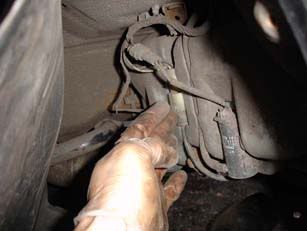
Step 8 - Ensure the connectors behind the arch lining are in place, the white connector shown in this picture was not seated at all on my car
Step 9 - Work the new lining in and bolt it back in place. You should have bolts at the front of the lining (see picture) which hold it in place properly. These weren't used on my old arch and that's why it had become so badly damaged
Step 1 - Jack the car up and remove the wheel
Step 2 - Remove the 5 bolts which go around the wheel arch
Step 3 - Then do the 2 bolts on the lining towards the rear of the car
Step 4 - You should have another couple of bolts towards the front of the car (Note you can see the tear in my lining in this pic)
Step 5 - The final bolt (or screw in my case) is located here
Step 6 - Using the ridge at the centre of the lining, ease the plastic towards the car so the lip is free from the arch and then work it off the car
Step 7 - I found it easiest to work the front free first then work backwards, be careful because you can easily break the plastic here
Step 8 - Ensure the connectors behind the arch lining are in place, the white connector shown in this picture was not seated at all on my car
Step 9 - Work the new lining in and bolt it back in place. You should have bolts at the front of the lining (see picture) which hold it in place properly. These weren't used on my old arch and that's why it had become so badly damaged