I'm back online at home again - woohoo!
")
So - time to update you as to what's been happening on the Supra front...
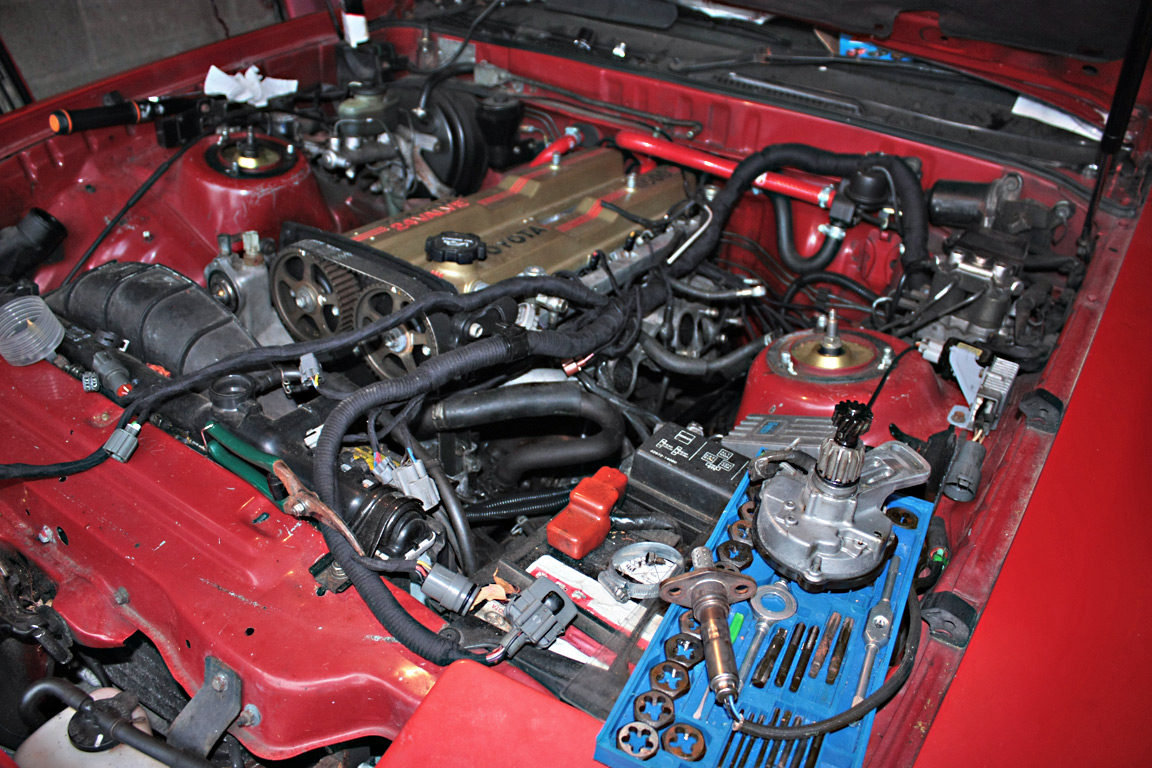
I decided to investigate the odd problem of the rough idle on first starting, which i figured would be related to the cold start injector. Turns out i was right. When i pulled the injector out - it was COVERED in oil & carbon in an almost centimeter thick layer - so no fuel was getting out at all, therefore causing the crappy idle. The biggest build up was on the aft side of it - that points straight to the EGR inlet on the manifold. Good thing i've ditched the EGR then!
The other thing i figured out, is that the full engine gasket kit *does* include a thermostat gasket - a bonus, because i was going to get another one for about $6 as the existing one was...how shall i say, baked? Yep, baked is a good word for it. Cracked, brittle, and about as useful as a rich tea biscuit at repelling water.
I also figured out the new and improved vacuum routing, as due to the EGR removal, i have a Vacuum Switching Valve that needs to be removed, and a load of vacuum piping that needs to be arranged properly, if i'm to avoid any vacuum leaks.
I considered cleaning the manifold even further, but honestly, as it's a stock rebuild, i don't see the point in spending hours with a toothbrush, scrubbing away like crazy - it's clean enough!
I'm missing just two parts now (my own fault on one of them, admittedly); the O2 sensor gasket (i thought i had a spare, i clearly don't!), and the bolt that holds the Power Steering Pump Bracket Stay in position on the block side of things. Technically i only need a standard 14mm headed 10mmx1.25 bolt that's 16mm long, but the hardware store won't stock them in that size, as 1.25mm pitch is a little odd for a 10mm thread. I'd rather get the proper thing from Toyota, than bodge it. I've already had to use two 13mm headed 8mmx1.25 nuts that were used for holding the fan onto the water pump pulley, to hold the power steering bracket in place. I'm basically trying to make sure that the engine is built properly as can be. Hence why i used a proper Toyota gasket, ARP head studs and new fixings where possible.
The exhaust manifold finally went back on, after i replaced 4 of the 7 studs in the head. The 3 that remained in there stayed very much in place, as i know just how soft the alloy is that the head is made up of, and really didn't want to get into the hassle of drilling/tapping the threads in the head or helicoiling things. I did however, run a die down each of the exhaust studs in the head to make sure they were clean of crap, and used ARP assembly lube on each of the threads to ensure that they wouldn't sieze.
Bolting the turbocharger back up went pretty well for the most part, locating is is fucking fiddly though, not on the manifold or the elbow, but the oil feed and drain. For those of you unfamiliar with the CT26 - the drain is a solid piece of metal, with a 90 degree bend in it, that locates on two studs on the block. Locating it is fiddly, but can i get in there to tighten the nuts? Probably, but i got a headache after an hour of working on it. I managed to get the nuts located though, thank fuck, the ballache is going to be getting a torque wrench in there, probably via a series of adaptors, extensions and spatial geometry, testing just how far my arms, wrists & fingers can be contorted before breaking bones & tearing ligaments!
The oil feed is also being a bastard. See, with the manifold heat shield on, the oil feed is about 1cm away from the hole, and of course i have to contend with two copper crush washers on either side of the bolt & banjo fitting. I'm going to hold off on that for the time being. This evening, i've been concentrating on a few things, the PS pump is finally reconnected to the fluid cooler, thanks to the double sided copper crush washer i bought, and now only lacks the fluid reservoir - something that gets connected last i think.
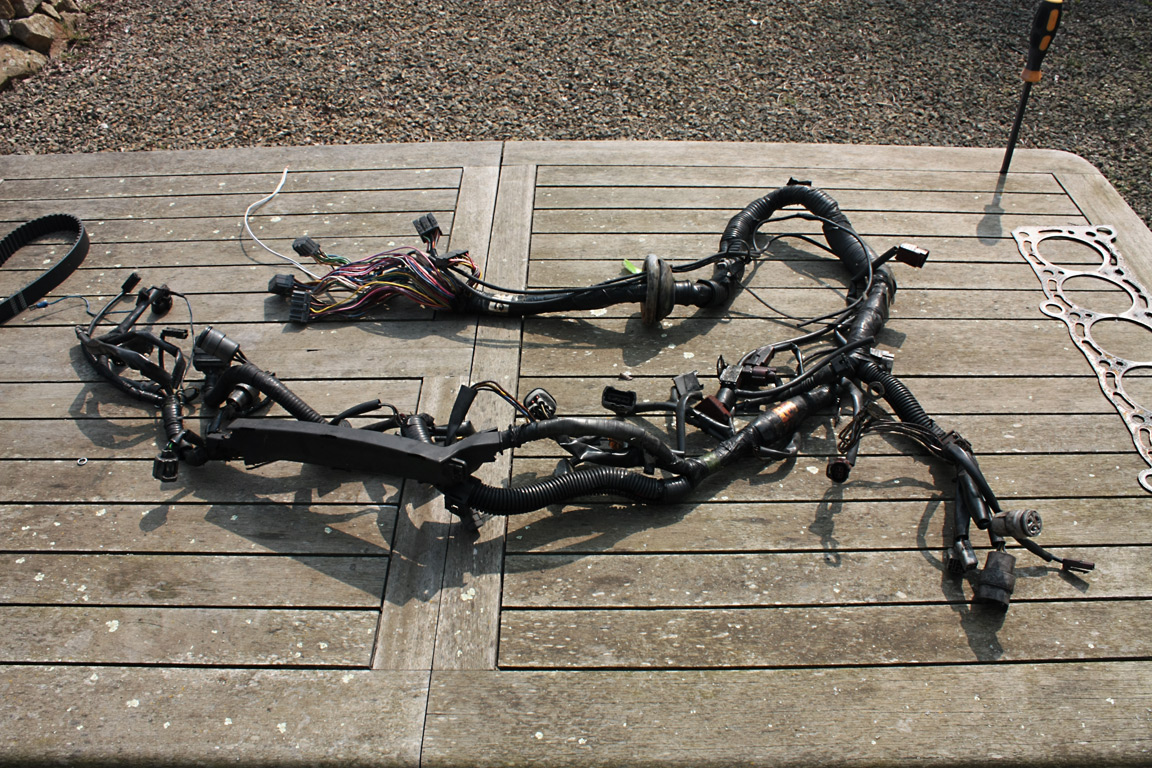
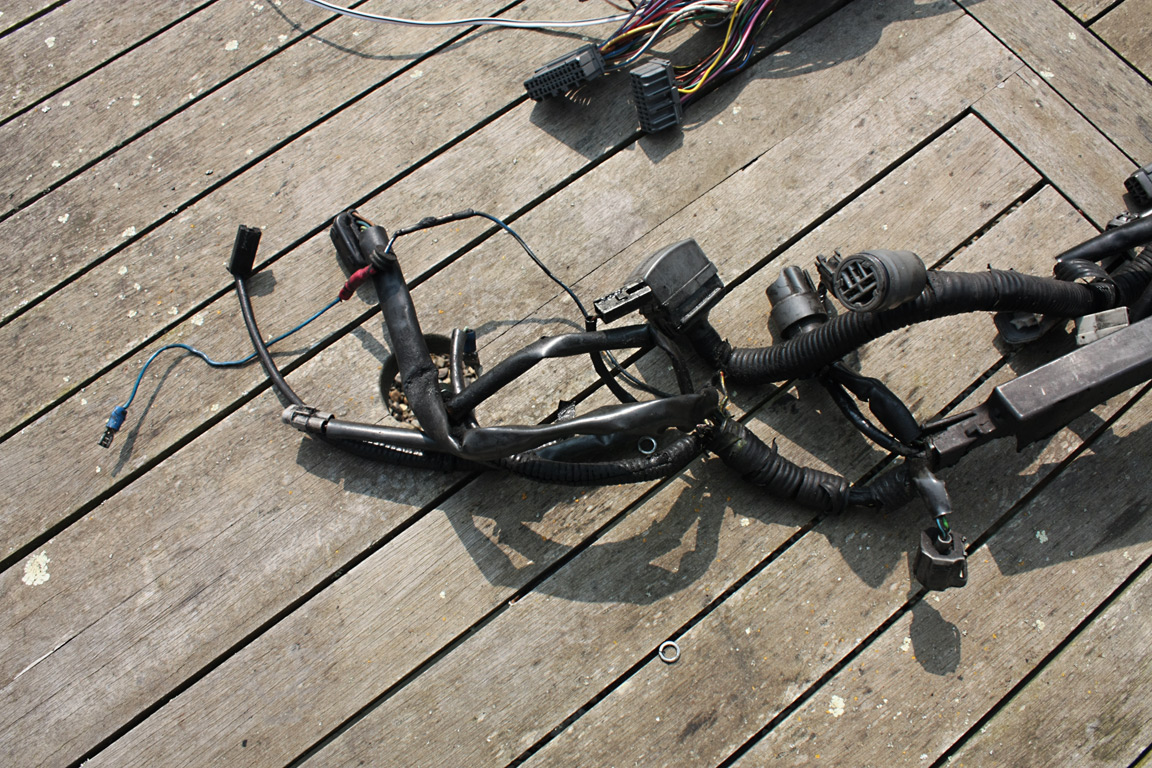
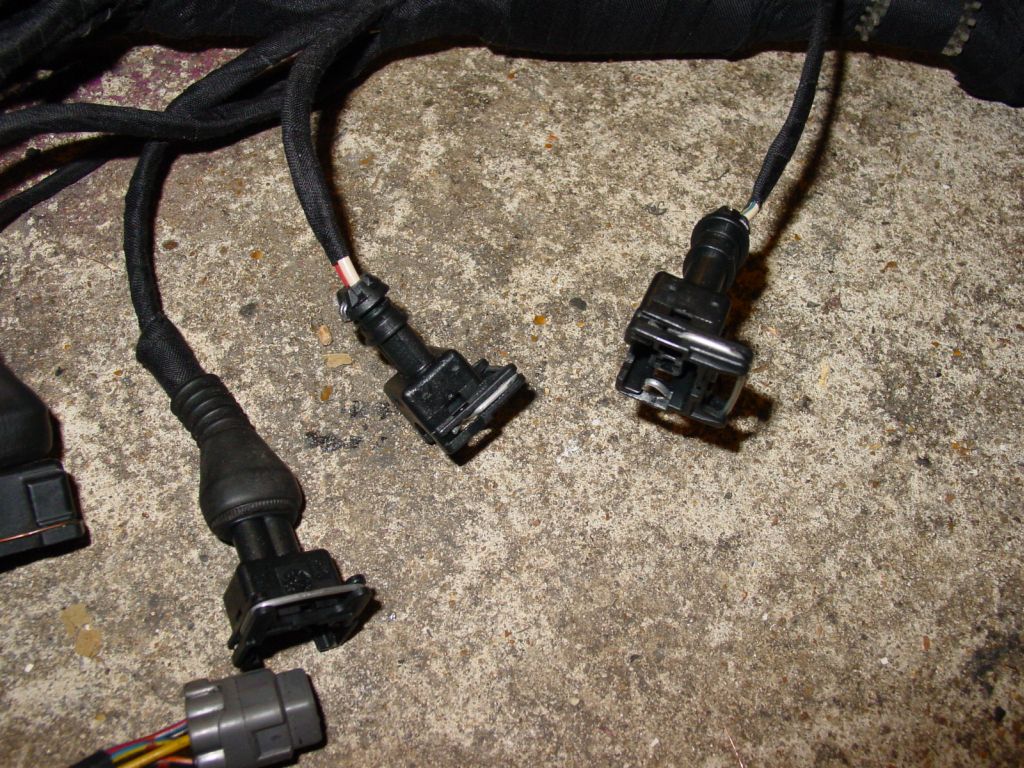
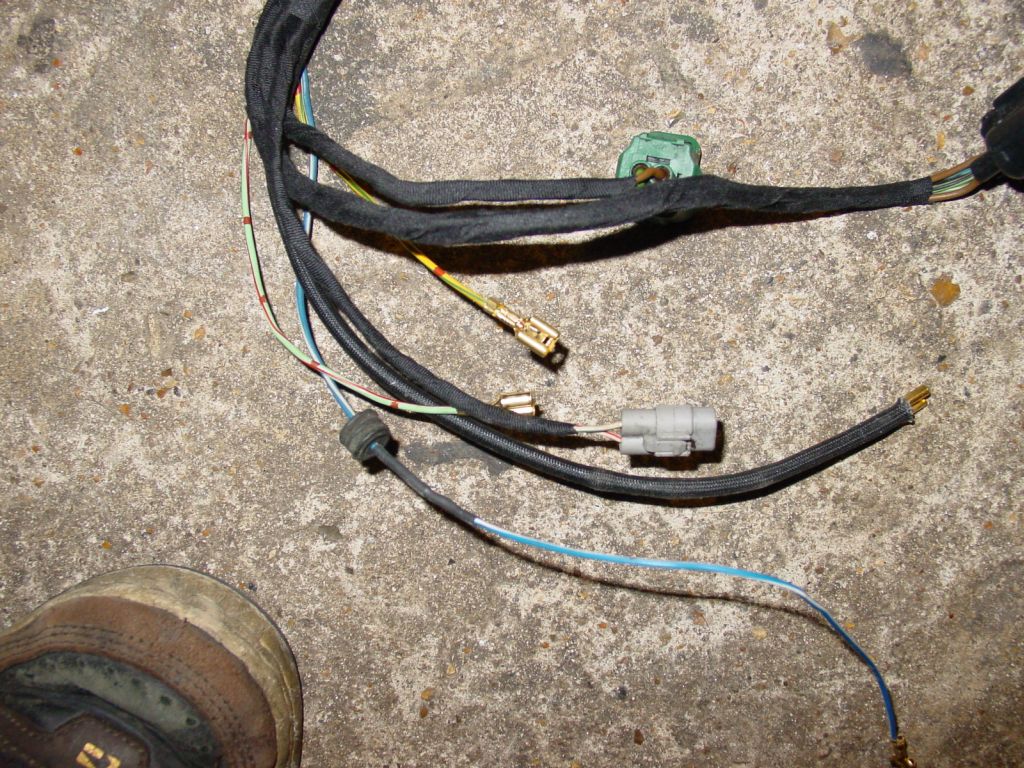
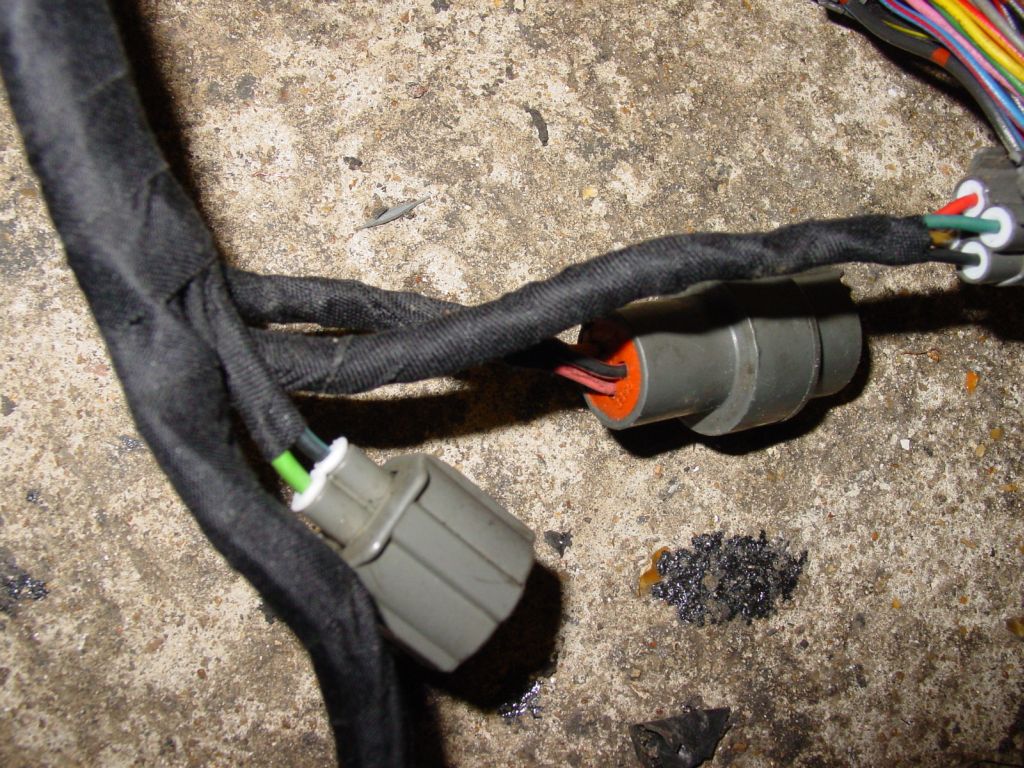
The wiring harness has been connected up, with the exception of the thermostat housing (i need to bolt up the upper timing cover first), and i've discovered a potential worry, in that the green, single pin sensor on the thermostat housing, won't tally with the wiring harness. See, previously, my harness had been missing the correct connector, and someone had used a spade terminal as a bodge. Not knowing that, Jonny, who redid my wiring harness, put a brand new, gold plated spade terminal in its place. No biggie i thought, until i realised it was bigger than the one he replaced, and voila, it will no longer fit in the connector. So, i'm going to have to sort that out, otherwise i'll get a thrown code. Everything else is plugged in, barring the stuff on the upper intake, even the knock sensors are plumbed in, and far better looking than the bell wire that was in there.
I also discovered that i had a load more Samco silicone hoses in a box, although, i had no idea what they were for, initially. Turns out that Samco went as far as to make the hoses to & from the throttle body in silicone, which is nice, as the ones that were there were starting to look a little tired, worn and threadbare around the connecting ends - which is a bit of a relief. I'll take the opportunity to plumb in the lower rad hose this time, but i'll still need a load of red silicone hose for the vacuum lines, and i'll need a longer section of silicone hose for the rear elbow on the head. See on the '90 spec, the water pipe that runs around the block, connecting the thermostat housing/water pump, to the intake side of things, is made of crappy steel, that corrodes and has a 60' bend in the pipe that connects to the elbow via a hose. Of course, the pipework i had needed to be replaced, but i got it off a '92, by which point the pipe was made of stainless steel and has a 90' bend in the pipe that connects to the rear coolant elbow, meaning the silicone section of pipe that i have, will no longer fit. Grrrrr.
However, I had something of a revelation that has helped push my tinkering & improvising to a new level! Remember that section of pipe that i needed? Well, no more! Thanks to finding those Samco hoses, the short one that goes from the heater matrix to the VSV on the bulkhead was replaced, but thankfully, that short hose was the same internal diameter as the hose i needed. Some trimming with a kitchen knife, and i have a 90' bend that *just* clears the cylinder head, and only barely rests against the rear lifting hook. There is a very slight kink/ovalling where the bend is, due to the angle of the hose not being exact, but, it's not going to impede flow at all. Wierdly however, in the EPC, the bypass hose listed, is the same part number from 05/1990 to 05/1993 (yes, the Supra WAS still made in '93, although in Japan only). I might just have to get a generic length of samco hose in red at a later date. In the meantime, this should hold.
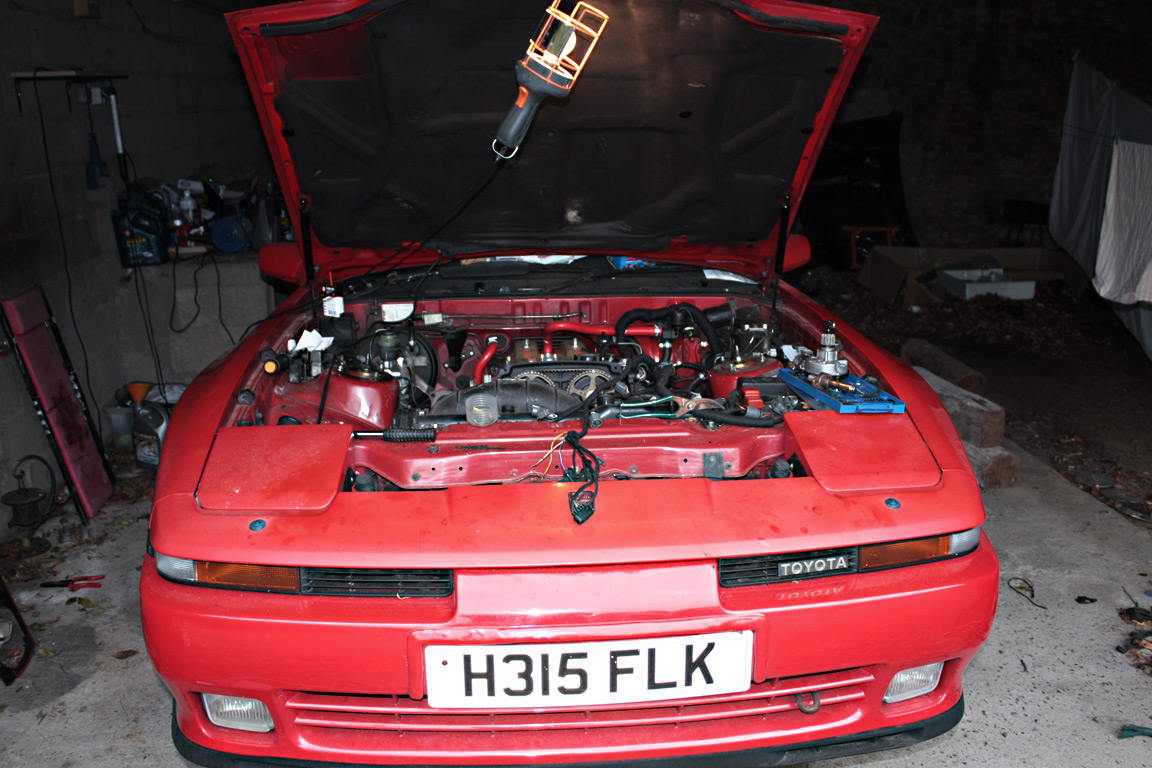
The upper timing cover has been bolted up, as has the thermostat housing, and i'm starting to tie up all the loose ends, i was considering slinging the upper intake manifold & throttle body on this evening/morning, but it's gone 5am and i'm starting to get lazy and tired, so fuck it, it's been 6 months, another 6 hours isn't going to hurt. Realistically, once i get the turbocharger oil feed banjo bolt in, i can start plumbing shit in with regards to the intercooler, but that'll be a ballache, no doubt taking me several hours to just do one single bolt. The light at the end of the tunnel is definitely starting to appear, and after the engine is back together, the interior should only take an hour or two to bolt back together, and voila, fingers crossed, the bastard thing will start. I have a mental list of everything that needs to be done, what bolts are just hand tight and need torquing up, so i'm going to do a big push. New coolant, 4.7 litres of Generic 10w40 to run it through for 30 mins, another 4.7 litres of 10w40 and another filter for the first 500 miles, and then i can get a wix filter, and some 5w30 in there for the next 5000 miles, assuming i don't throw a bearing first....no, wait, i take that back, fate, don't curse me now!!!
*mumbles to self* think positive man, think positive...!
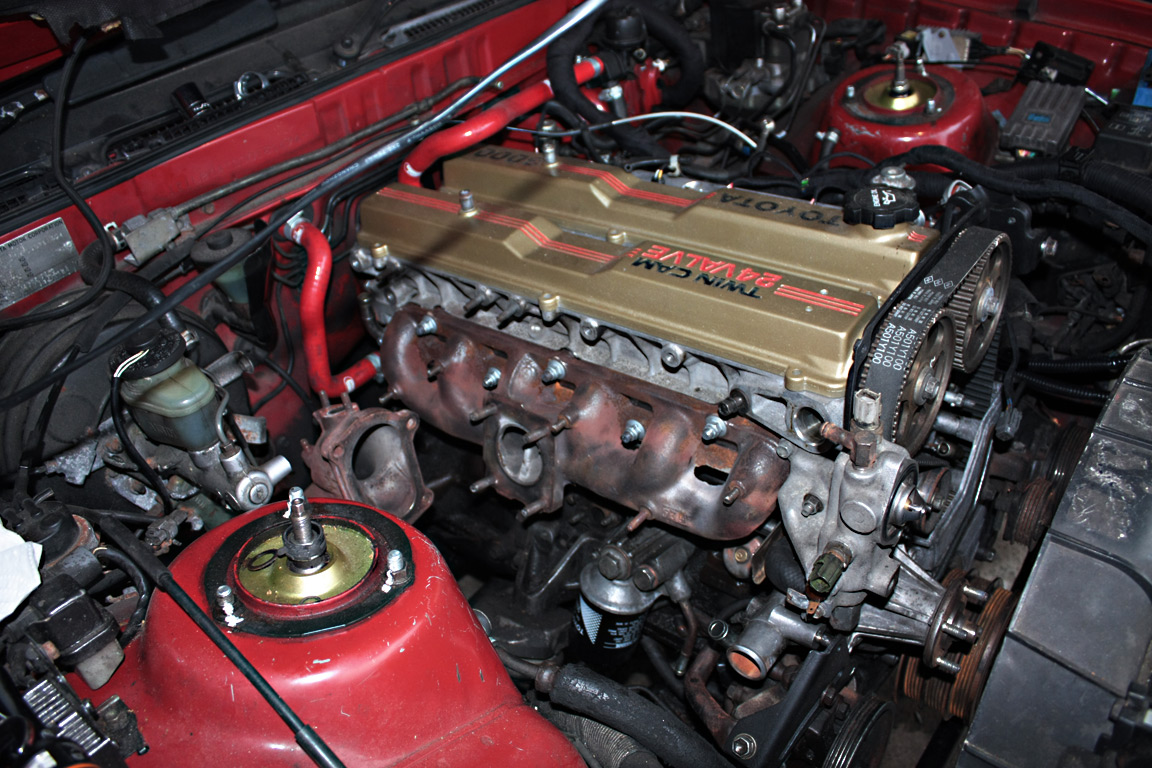
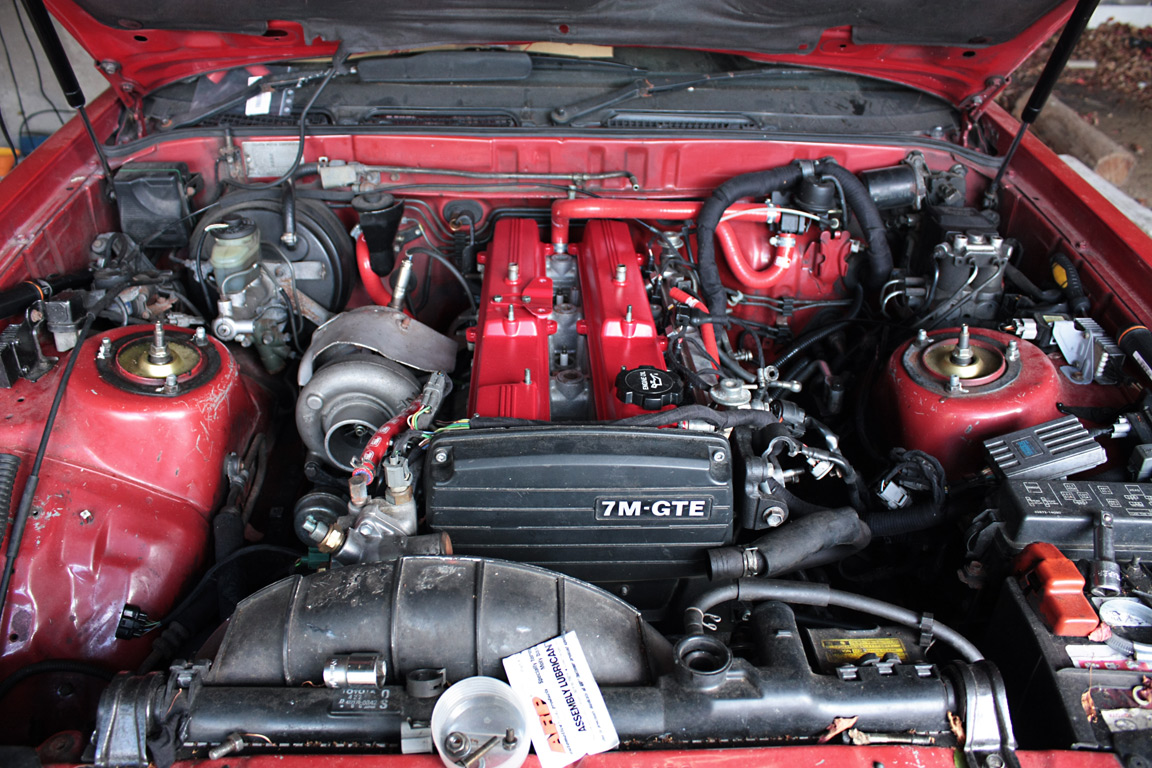
You'll also notice in the photo's below, that the cam covers that were sat on there, have been substituted for the GTE ones, simply as i no longer have the funds for the IS300 coil packs, so the stock GTE ones will have to stay for a little while longer. I will admit though, that tarting up the GTE covers took about 2 hours for both, as opposed to 6 hours each for the N/A ones - mostly due to the lack of any embossed lettering! Some 3/4 coats of primer and 2/3 coats of proper 3E5 spraypaint from Toyota sorted them out rather nicely - even if they are meant to be temporary.
Look - the manifold fits! Thanks to the new studs & nuts:
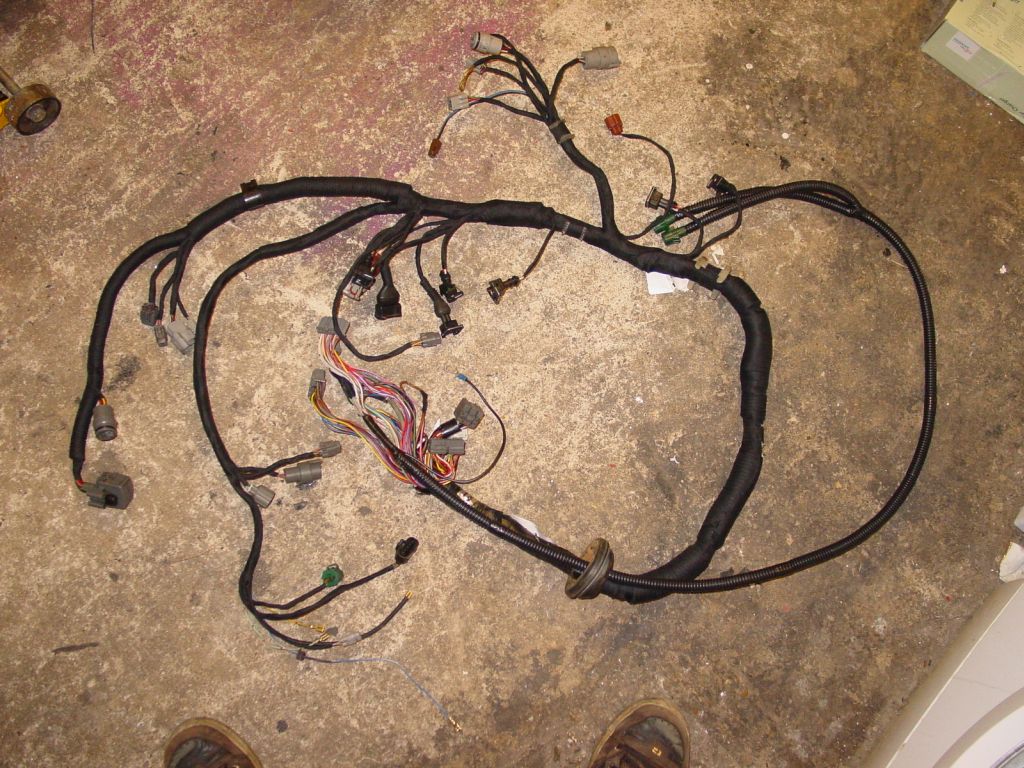
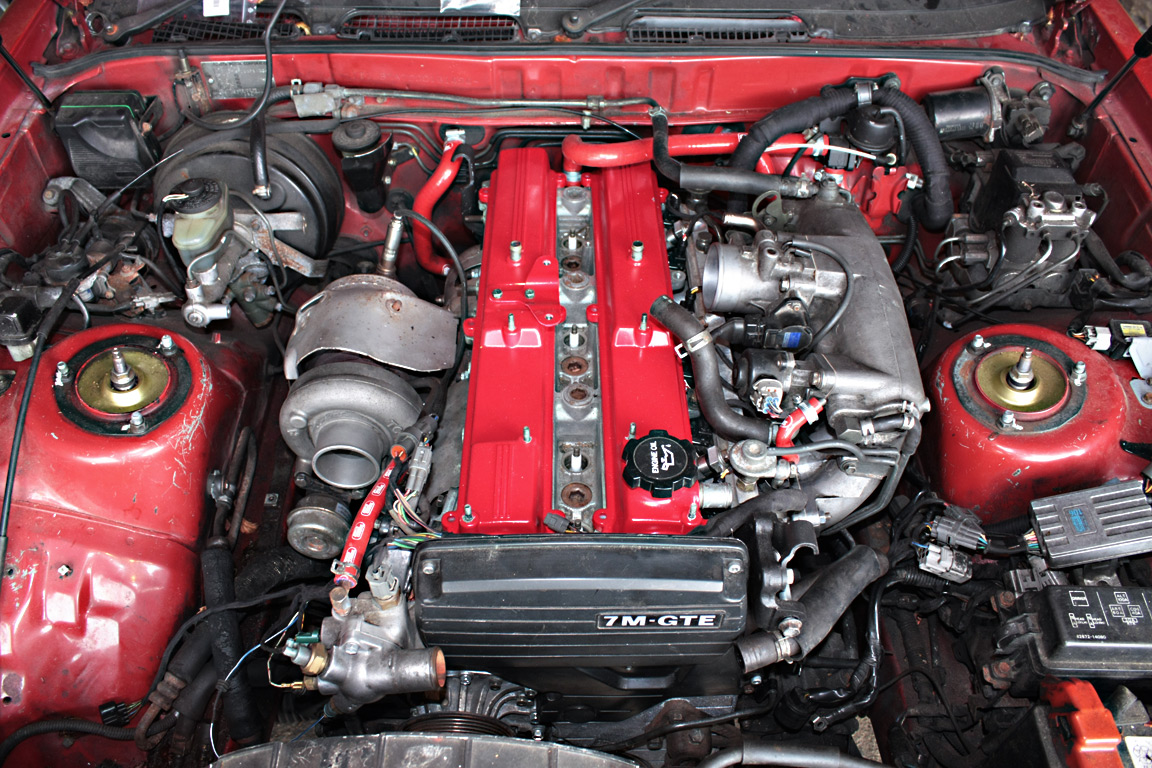
A wonderful happy time installing the wiring harness (not!):
And with the GTE cam covers, 90% of the wiring plugged in: