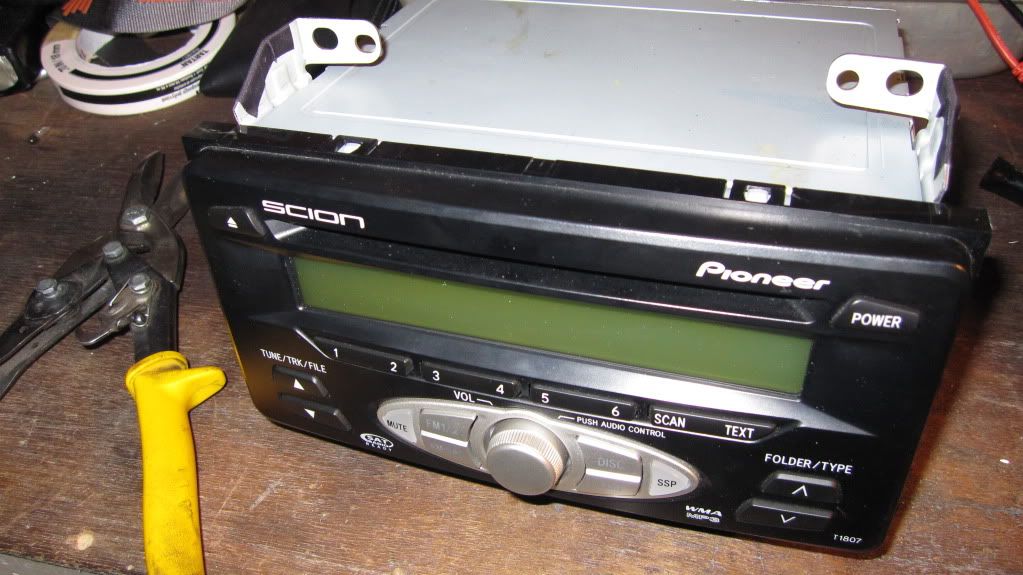
I recently acquired a Scion XB OEM radio (faceplate part number T1807) I decided I would install it in my supra to replace that 22 year old vintage cassette player :nono:
Here is the way I installed it and it came out looking really nice. Feel free to ask any questions!
Thanks,
Devin
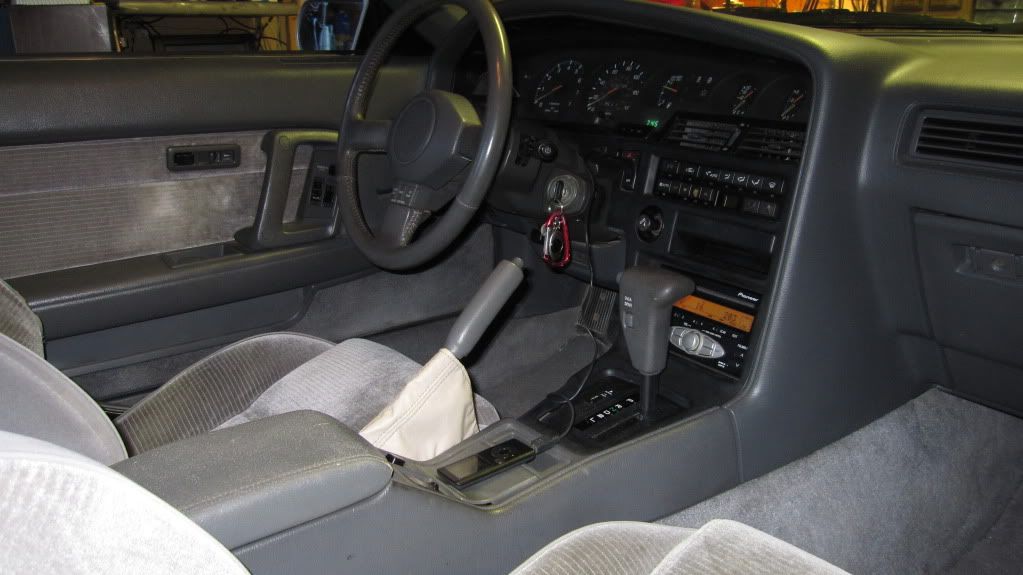
First off I started by removing the radio trim piece along with that pesky old stock radio.
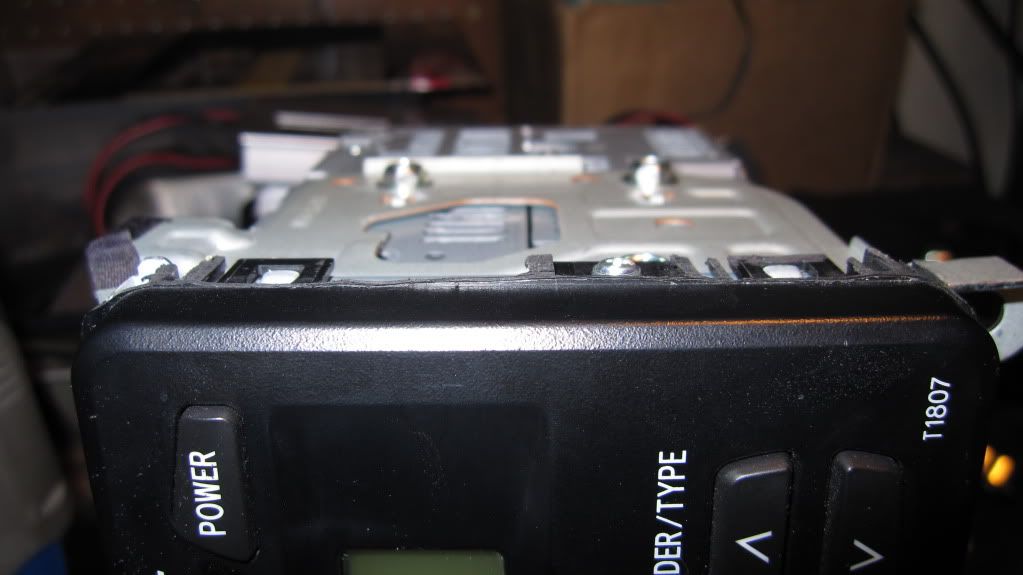
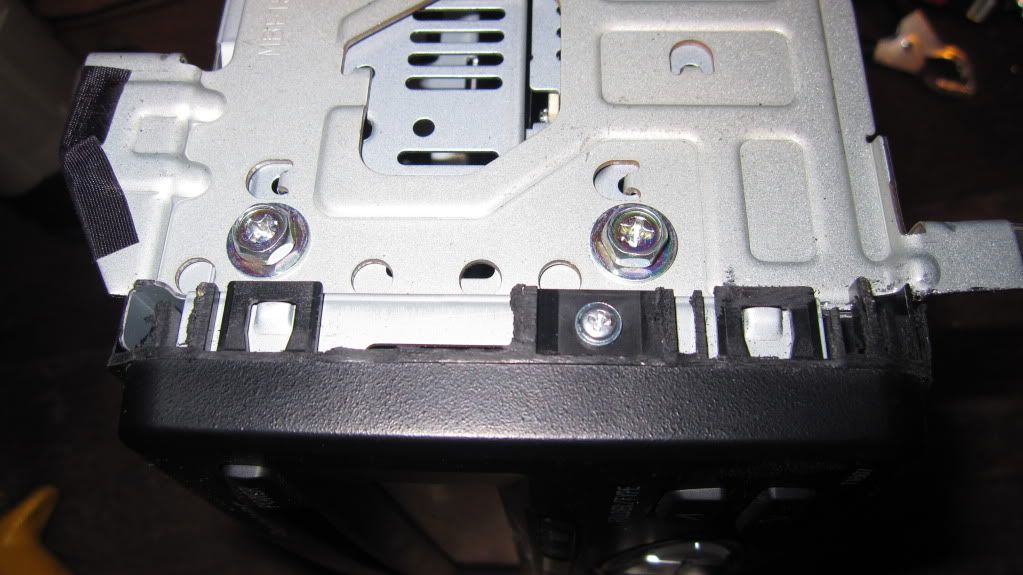
I removed the stock radio brackets from the old radio. They needed to be modified a little to work with the Scion radio. I used tin snips to trim off the appropriate amount of material so it would clear the front of the radio. All the screw holes and line up pins are the sam.
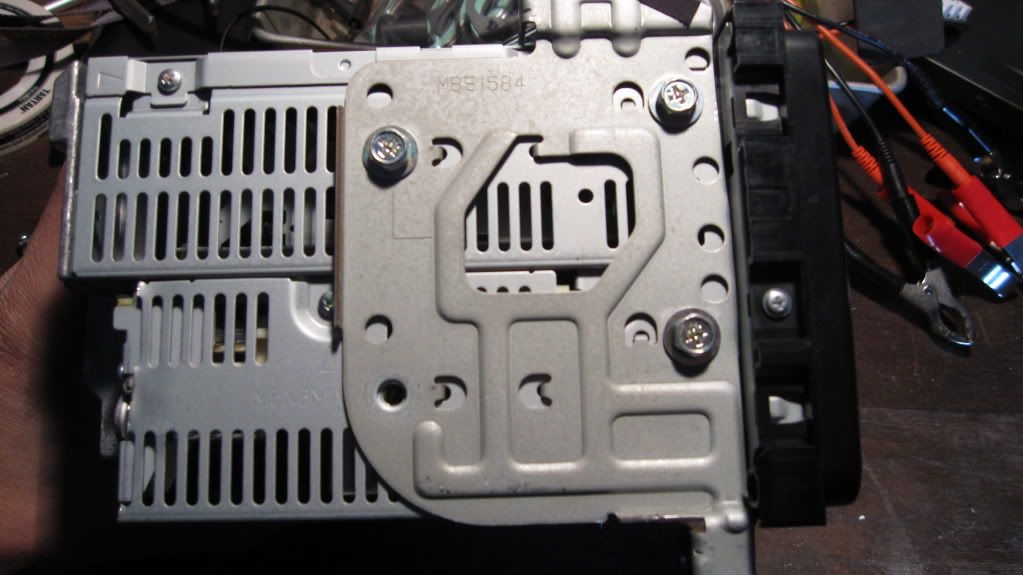
Note: On the drivers side of the radio I left the back bottom screw out as it does not clear the dash support. However you might be able to wiggle it passed it. I just left mine out and it slid right in without it in.
Here are the two trimmed brackets mounted to the Scion replacement HU.
Next I used a dremel tool with a sanding drum attachment to carefully remove plastic surrounding the radio front bezel so it clears the dash.
Before:
After:
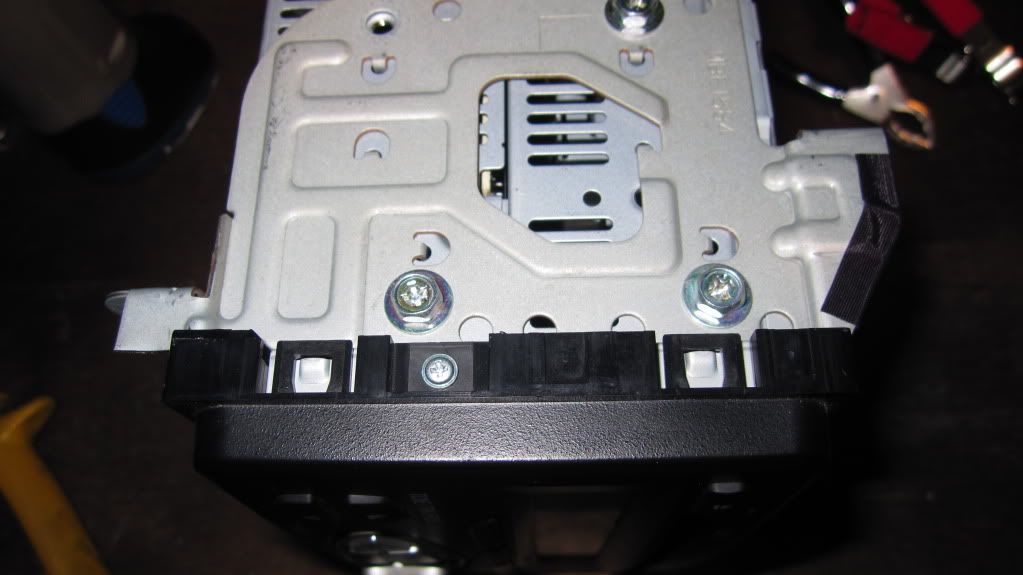
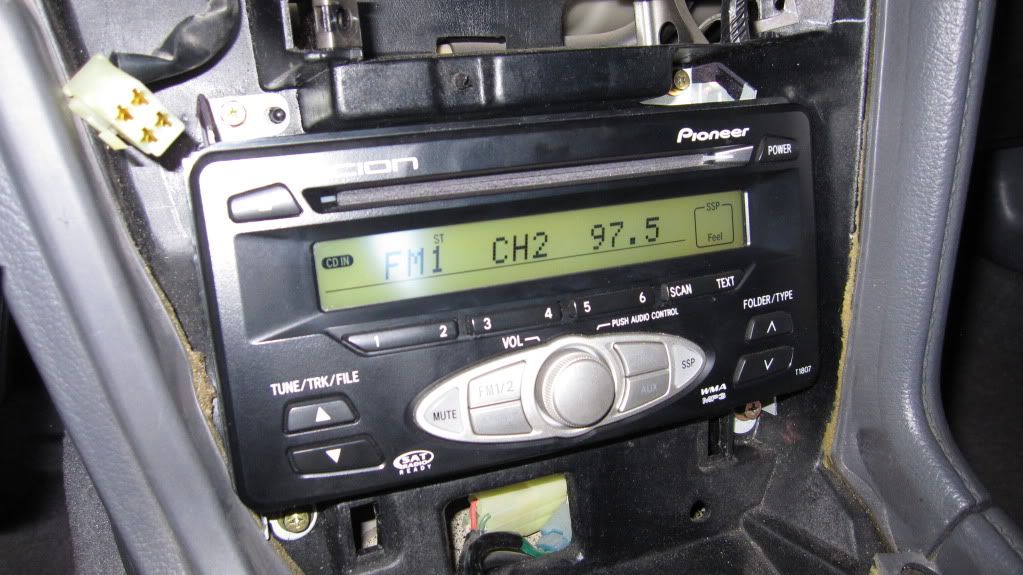
I then installed the Scion HU into the supra. The Scion unit has a total of 4 plugs on the back. The appropriate stock supra wiring harness 6/10 pin plugs will plug right into the back of the radio. On my Supra there are two antenna wires, one is a bigger plug than the other. The scion radio has both the plugs on it however the smaller one is hidden above the bigger one behind a piece of metal part of the casing on the radio. I just bent back the cover over it and snipped it off so I could access both antenna plugs.
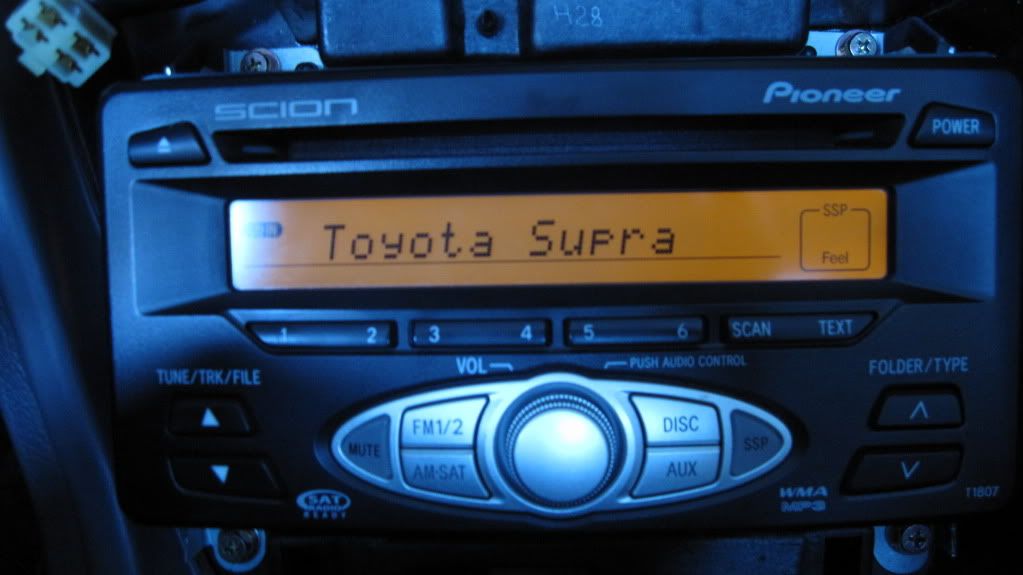
And a personalized start up text.
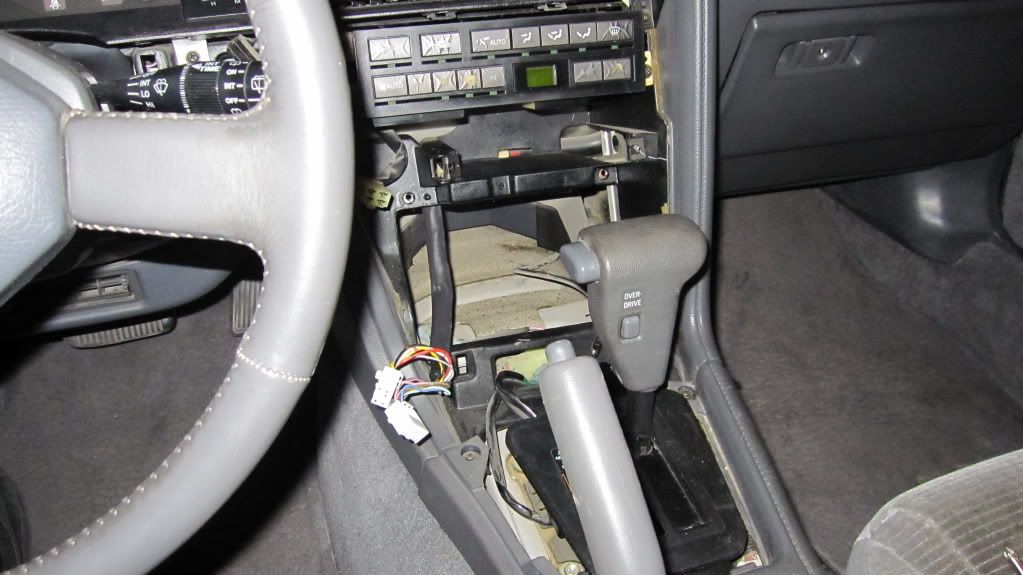
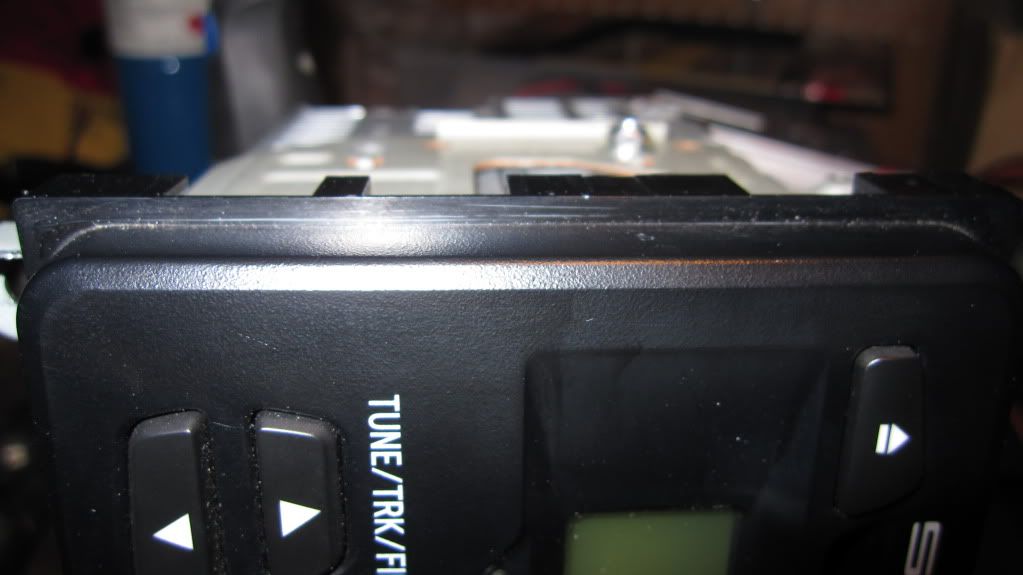
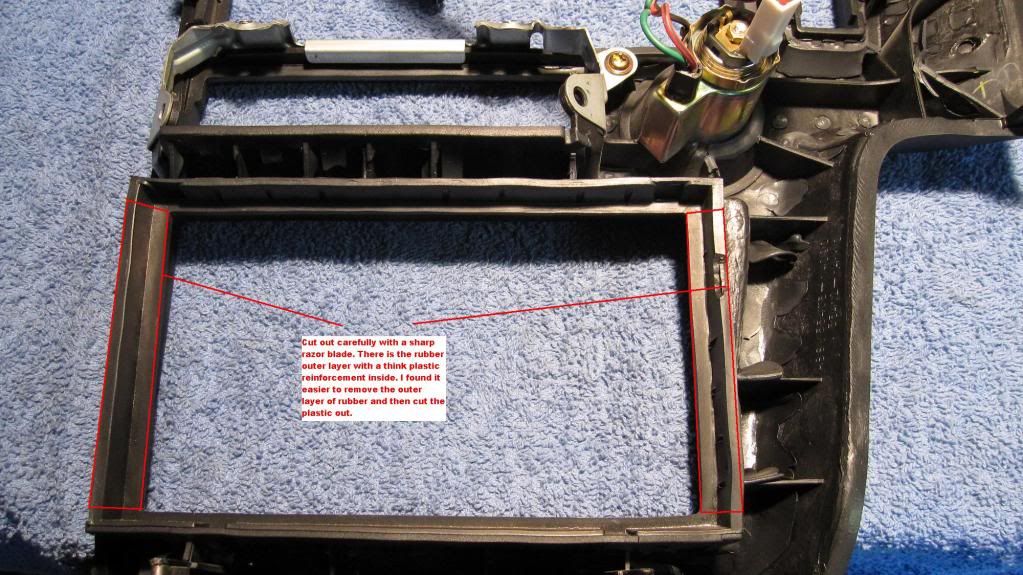
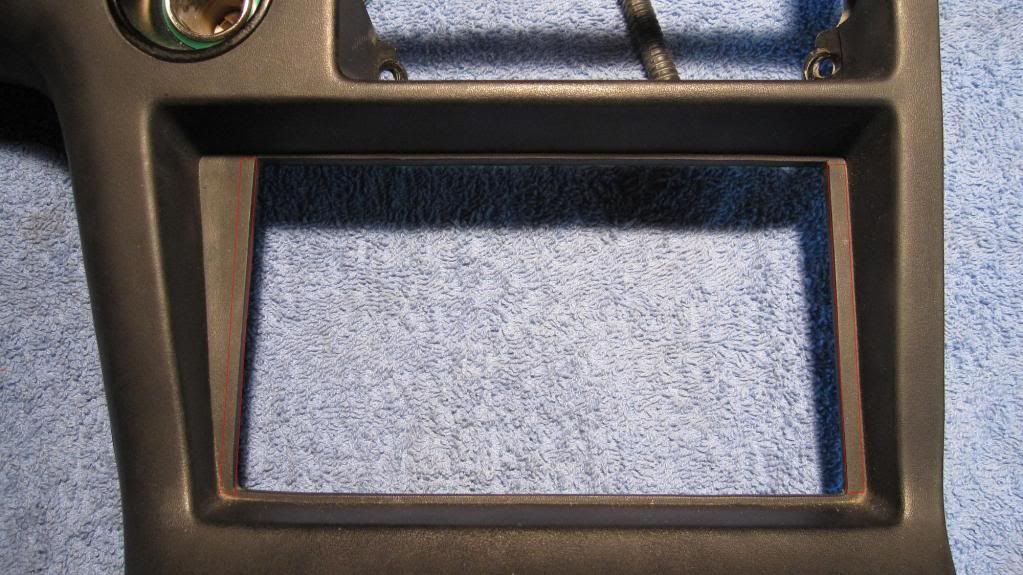
The next step was to trim away some of the material on the radio bezel that covers the radio and shifter. I used a brand new sharp razor blade. I recommend doing this as you'll get a nice clean cut and wont have to struggle with a dull one. I have drawn lines in red of the material and parts I removed shown in the pictures. Doing this will allow the power and eject buttons to clear the bezel along with removing the side pieces so that the radio will clear inside as the scion radio is a little big bigger in width. Same height though.
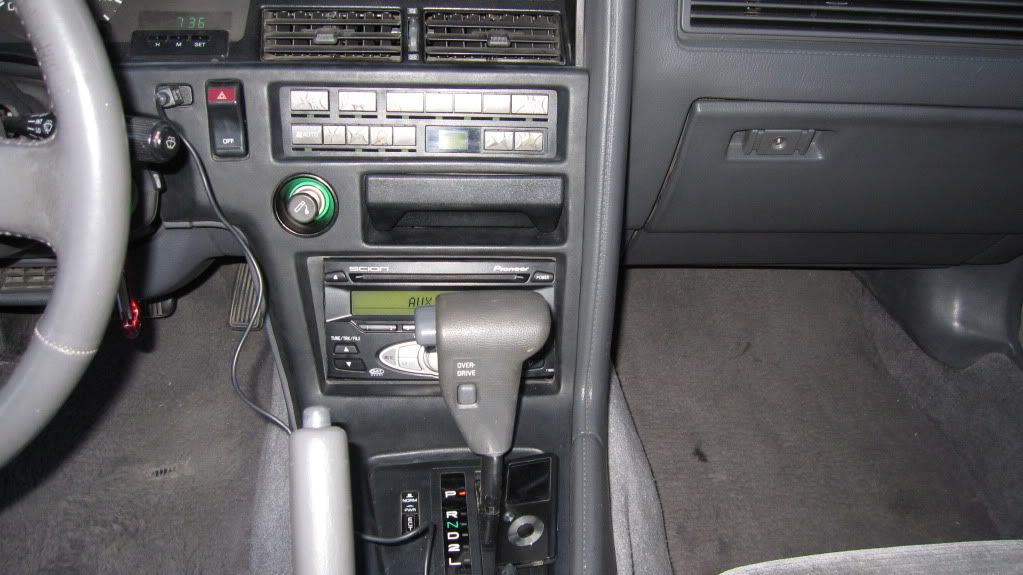
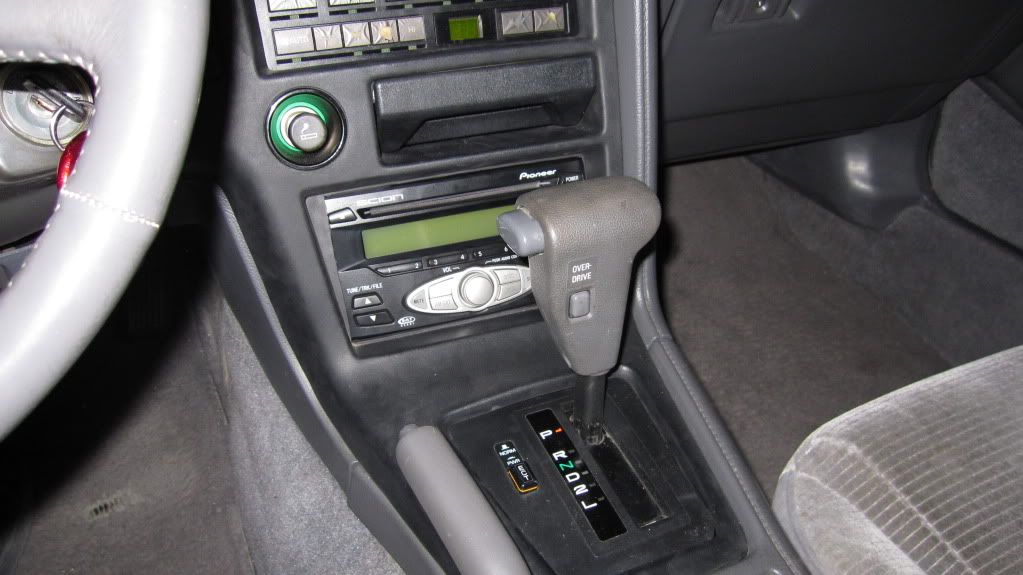
And last, Once the bezel is trimmed reinstall it. Here is the finished product of my install. Pretty good.

Hope the helps some people in the future. Thanks for looking!
Here is the way I installed it and it came out looking really nice. Feel free to ask any questions!
Thanks,
Devin
First off I started by removing the radio trim piece along with that pesky old stock radio.
I removed the stock radio brackets from the old radio. They needed to be modified a little to work with the Scion radio. I used tin snips to trim off the appropriate amount of material so it would clear the front of the radio. All the screw holes and line up pins are the sam.
Note: On the drivers side of the radio I left the back bottom screw out as it does not clear the dash support. However you might be able to wiggle it passed it. I just left mine out and it slid right in without it in.
Here are the two trimmed brackets mounted to the Scion replacement HU.
Next I used a dremel tool with a sanding drum attachment to carefully remove plastic surrounding the radio front bezel so it clears the dash.
Before:
After:
I then installed the Scion HU into the supra. The Scion unit has a total of 4 plugs on the back. The appropriate stock supra wiring harness 6/10 pin plugs will plug right into the back of the radio. On my Supra there are two antenna wires, one is a bigger plug than the other. The scion radio has both the plugs on it however the smaller one is hidden above the bigger one behind a piece of metal part of the casing on the radio. I just bent back the cover over it and snipped it off so I could access both antenna plugs.
And a personalized start up text.
The next step was to trim away some of the material on the radio bezel that covers the radio and shifter. I used a brand new sharp razor blade. I recommend doing this as you'll get a nice clean cut and wont have to struggle with a dull one. I have drawn lines in red of the material and parts I removed shown in the pictures. Doing this will allow the power and eject buttons to clear the bezel along with removing the side pieces so that the radio will clear inside as the scion radio is a little big bigger in width. Same height though.
And last, Once the bezel is trimmed reinstall it. Here is the finished product of my install. Pretty good.
Hope the helps some people in the future. Thanks for looking!
 I'll just get a vinyl cut with the mk4 style supra front that says Supra. That would look pretty good.