
Big FMIC + ET Streets = not so much sleeper anymore. Still very cool car you have there though.
My 1977 7M-GTE CELICA! Finished! Test drive vid on page 18!
- Thread starter speedfreak426
- Start date
You are using an out of date browser. It may not display this or other websites correctly.
You should upgrade or use an alternative browser.
You should upgrade or use an alternative browser.
Thanks for all the awesome comments everyone! It really keeps me going
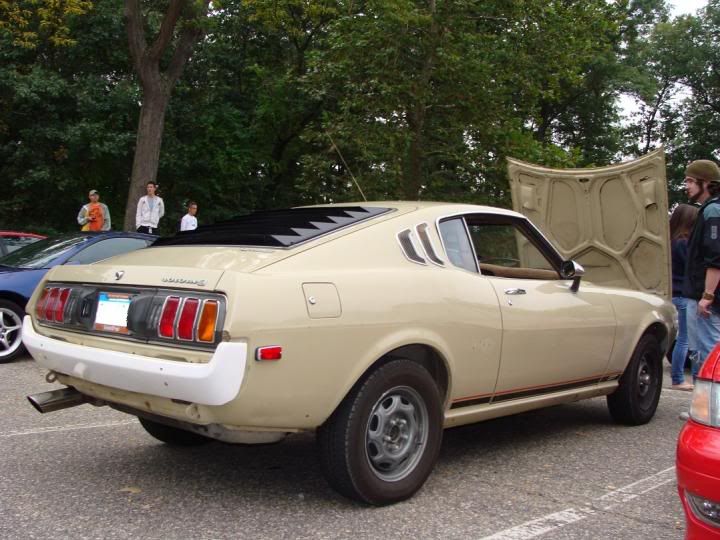
I finally decided to hack off the end of my obscenely long exhaust tip from before when it had the big bumpers on it.
Before
After
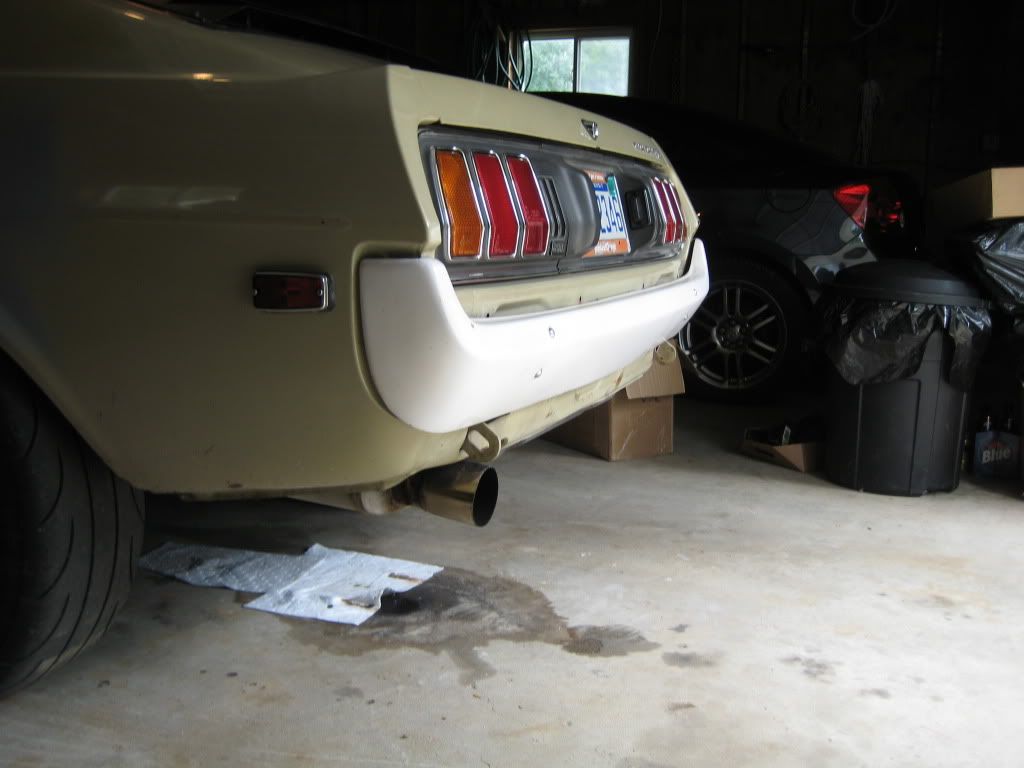
I finally decided to hack off the end of my obscenely long exhaust tip from before when it had the big bumpers on it.
Before
After
I only got to make 2 runs before it started raining yesterday...
First run, I only stayed in it for 1000' and then hit the brakes, ran 12.8 @ 85mph haha 1.9 60'
Second and final run, it spun a little in first and second, couldnt hear a damn thing in the car so couldn't get the launch rpm right with no tach (becase the car in the other lane was so damn loud, lol) 12.0 @ 117 with a 1.89 60'
I still need some practice with my launches to get the 60' time down some, and some tuning to lean it out a little bit.
I got a rain check to go back, so I basically got 2 free runs. I'm goingto go back soon to see if I can play around with the car some more to get it to do what I want it to do.
http://youtu.be/4vbClHHrXQc
http://youtu.be/0qxEatV6ZXo
http://youtu.be/Esr9QRV77F0
I really want that 11 second time slip! Next time I'll get one when I get a chance to get a few more runs in!
te72;1724037 said:Not bad not bad not bad... Told ya you'd be in the 11's with ease.")
what!? i was the one that said that on the previous page! :icon_eek:
VegaSupra;1717546 said:you will dip into the 11s with those.
Last edited:
well... i guess you sorta beat me to it. you actually said 10's. :icon_bigg
te72;1709030 said:What sort of wheel and tire setup are you going with? I'd be surprised if you don't hit high 10's with a good launch...
impressive. i went thru all 31 pages. good job! i wonder what kind of power your making with that setup.
Could always paint the intercooler black to make it more sleeper ish. Then just say you had the et streets laying around and decieded to use them.
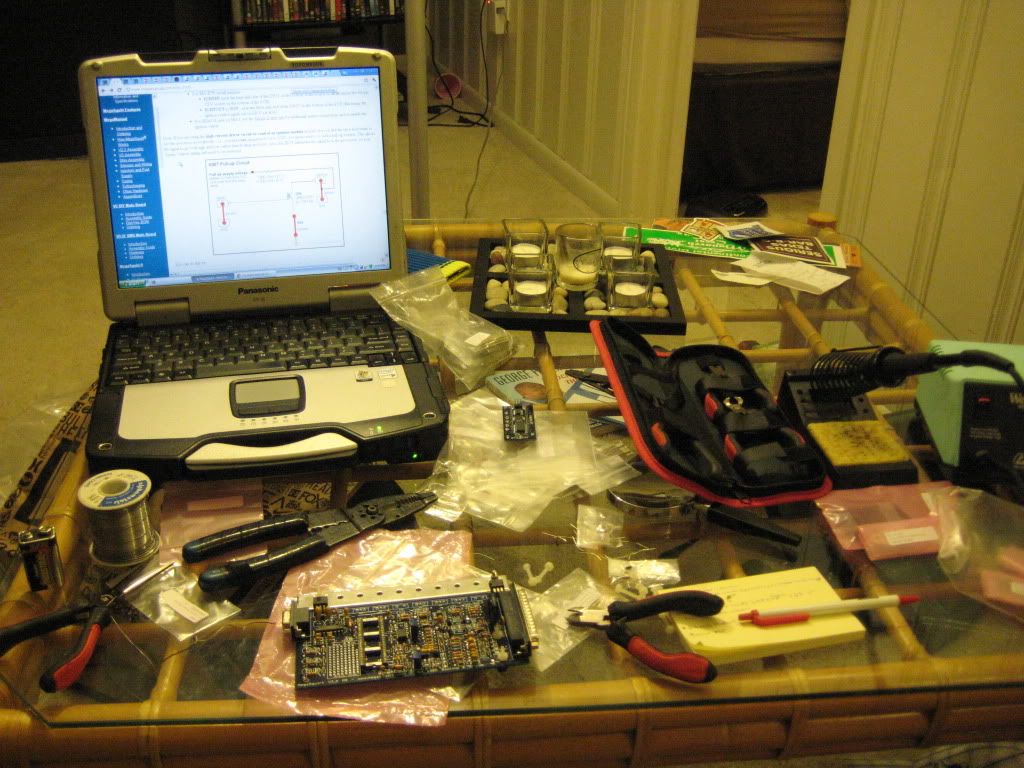
I figured I should post up some more progress and show what I have been up to...
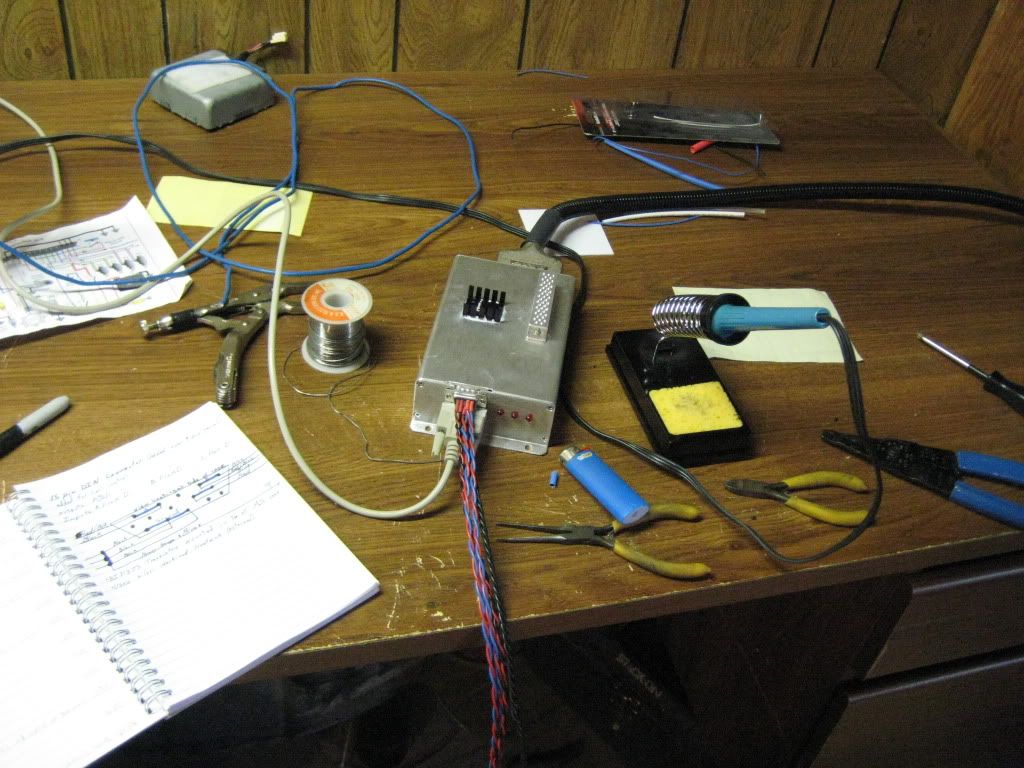
I have pretty much completed the MS unit itself, including adding my own launch control and boost control circuits, and added 3 of my own coil drivers to get rid of the Toyota multiplex ignitor garbage.
and also started writing my own instruction/wiring manual for everything as I go. That way, a few years down the road I will know what the hell I did and what is what if I ever have a problem.
Pictures:
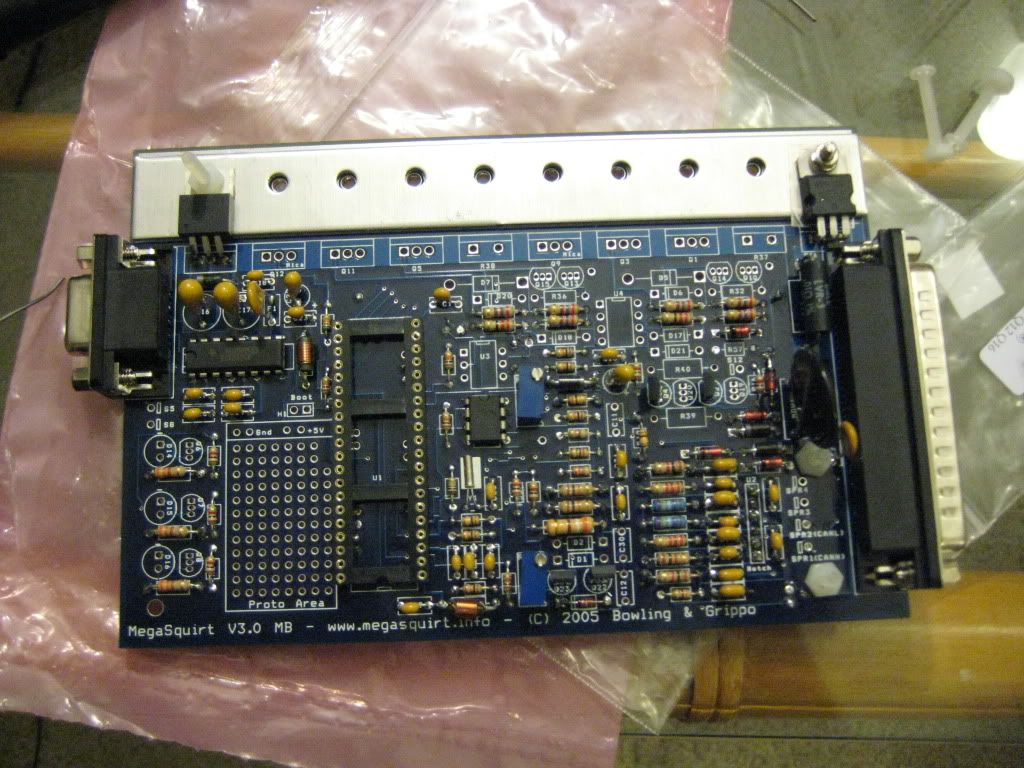
Illisturating what I did to make the launch control circuit I added on the prototype area of the board
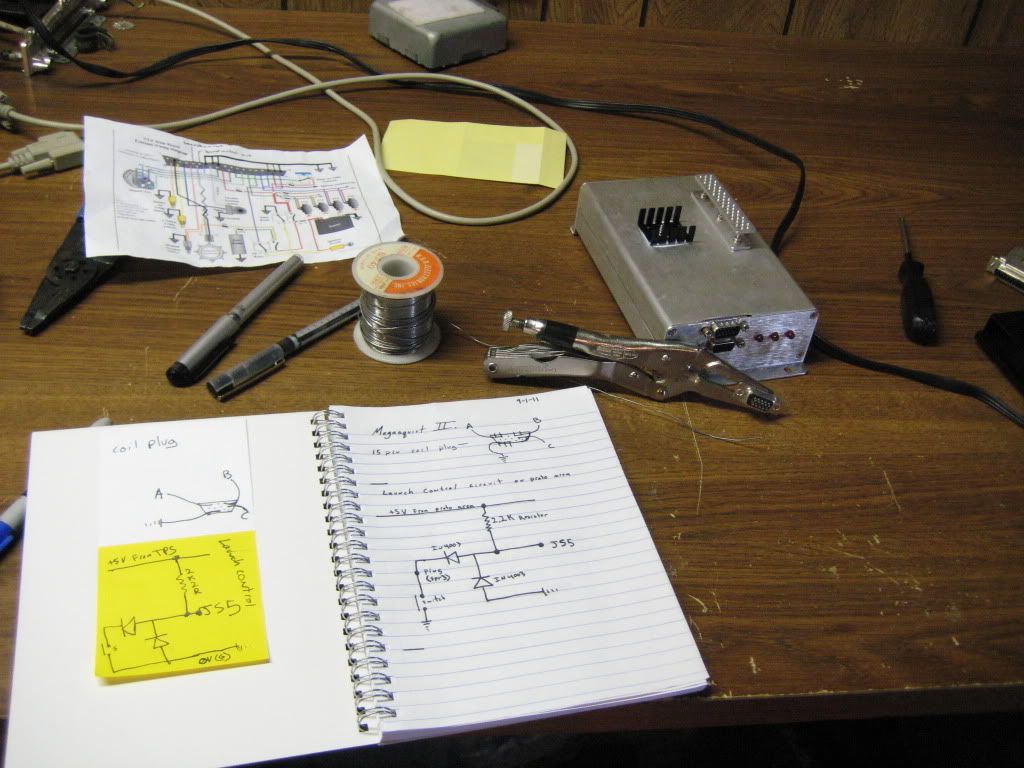
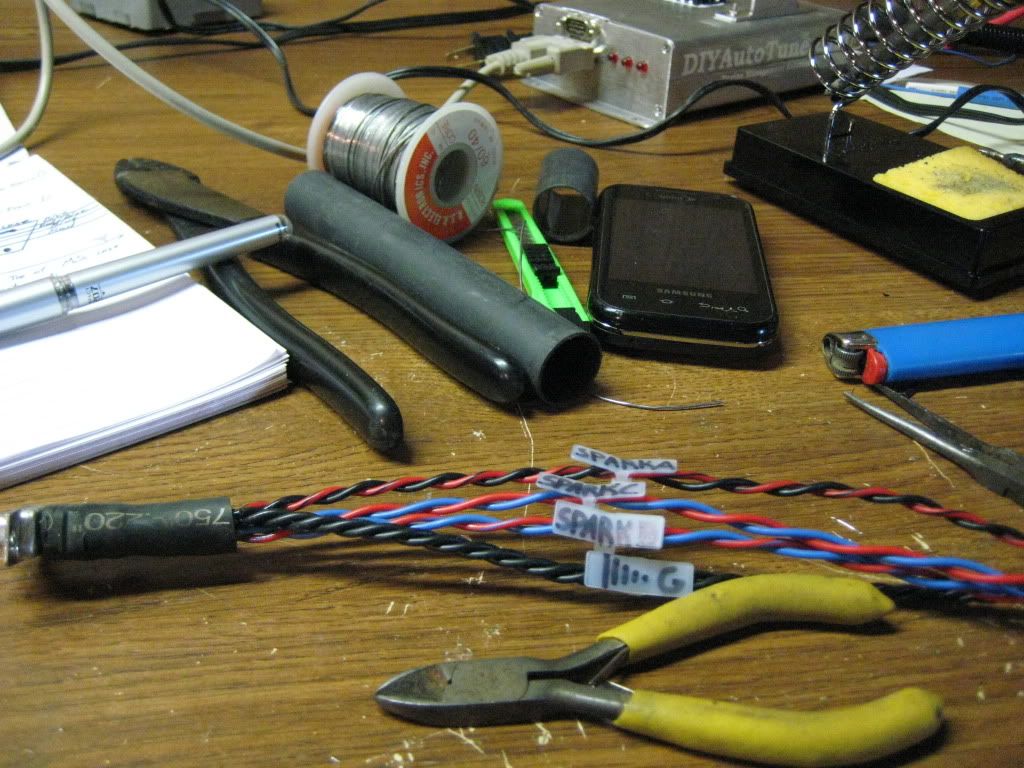
Starting to set up how I will make the 15 pin plug for the coils
Just a little bit of wire
Plug almost finished for coils
FIN
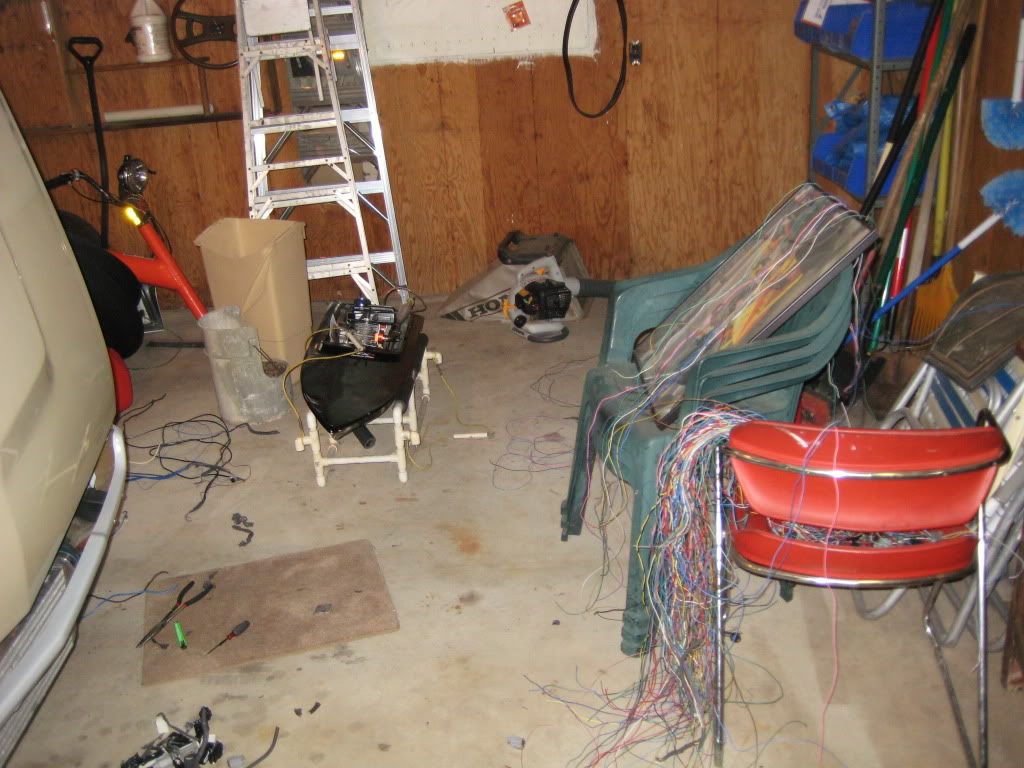
All ripped apart again.... been here before
I have pretty much completed the MS unit itself, including adding my own launch control and boost control circuits, and added 3 of my own coil drivers to get rid of the Toyota multiplex ignitor garbage.
and also started writing my own instruction/wiring manual for everything as I go. That way, a few years down the road I will know what the hell I did and what is what if I ever have a problem.
Pictures:
Illisturating what I did to make the launch control circuit I added on the prototype area of the board
Starting to set up how I will make the 15 pin plug for the coils
Just a little bit of wire
Plug almost finished for coils
FIN
All ripped apart again.... been here before
Well the ECU is all finished and I decided to use my factory cam position VR sensor for tach input.
I ground a tooth off of the 24 tooth wheel and hooked it up to an oscilloscope to make sure I had everything working correctly, and it just so happens that it works perfectly!
I figured out how to hook up my factory 6 wire Unipolar Idle Air Control stepper motor to the Megasquirts 4 wire output by changing it to a Bi-Polar stepper. WIN!
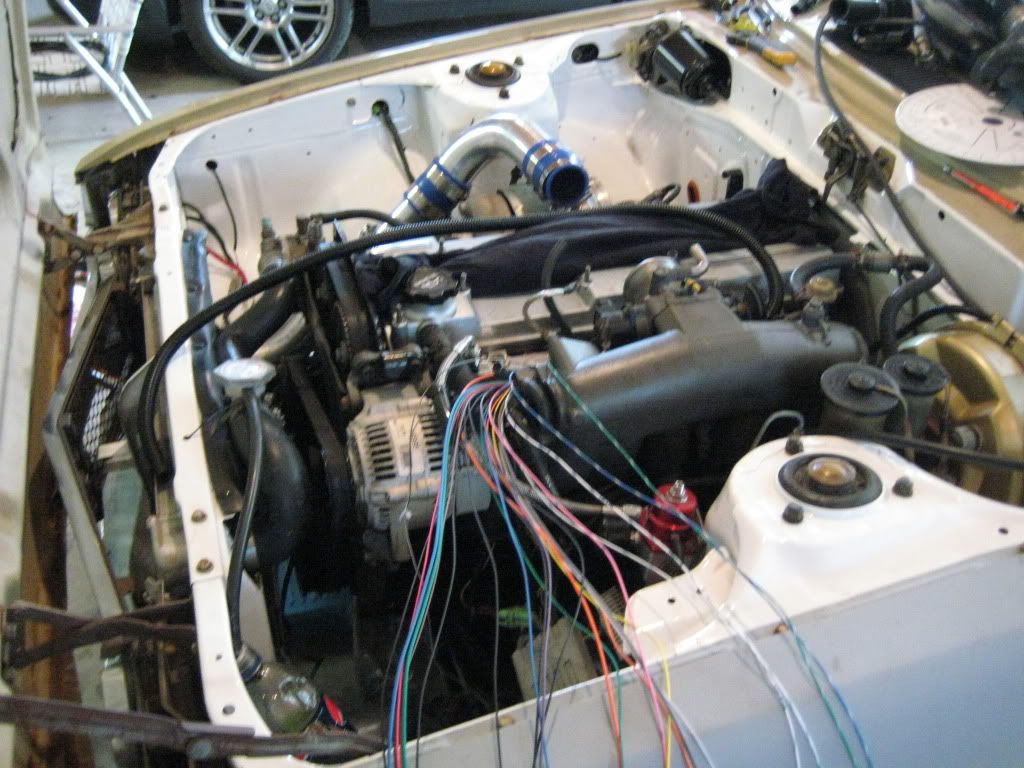
So far I have wired in the IACV, CLT temp, TPS, IAT, Injectors, and CPS.
Up next is to wire up some relays and the fuse box that I just got. And then use the degree wheel to find out what to tell the ecu about the missing tooth and 1st tooth locations in relation to TDC.
Here are some more boring pictures that can't and won't be able to show the insane amount of research and work I have put into this Megasquirt....
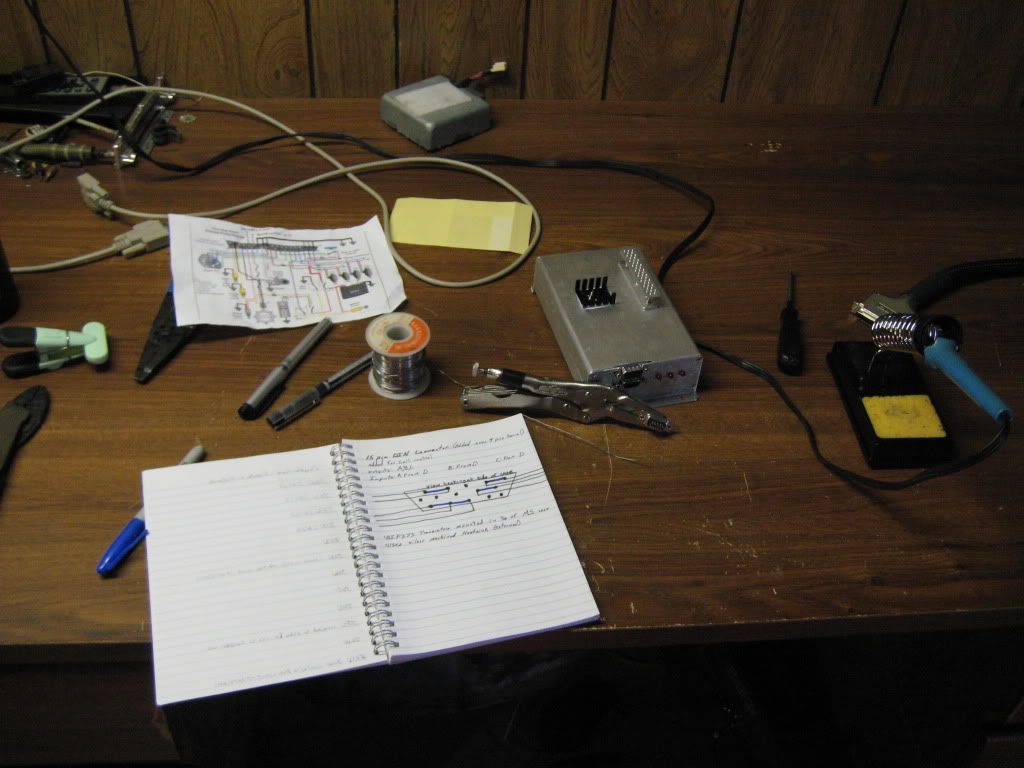
Just getting the harness seperated
IAC now Bi-Polar
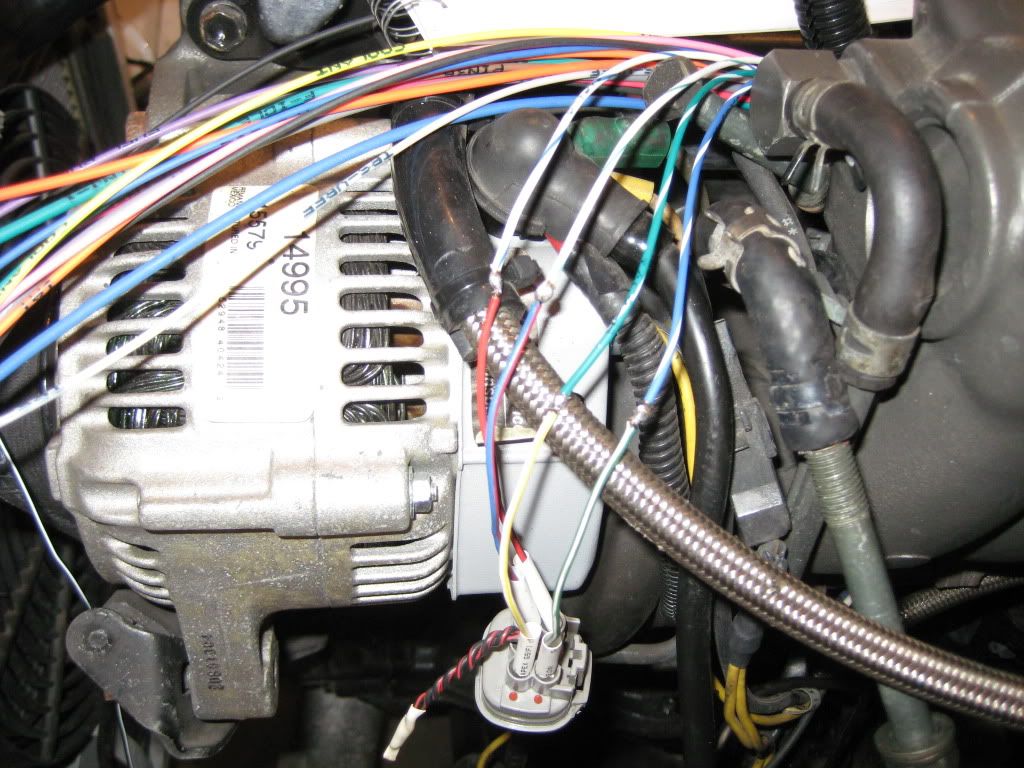
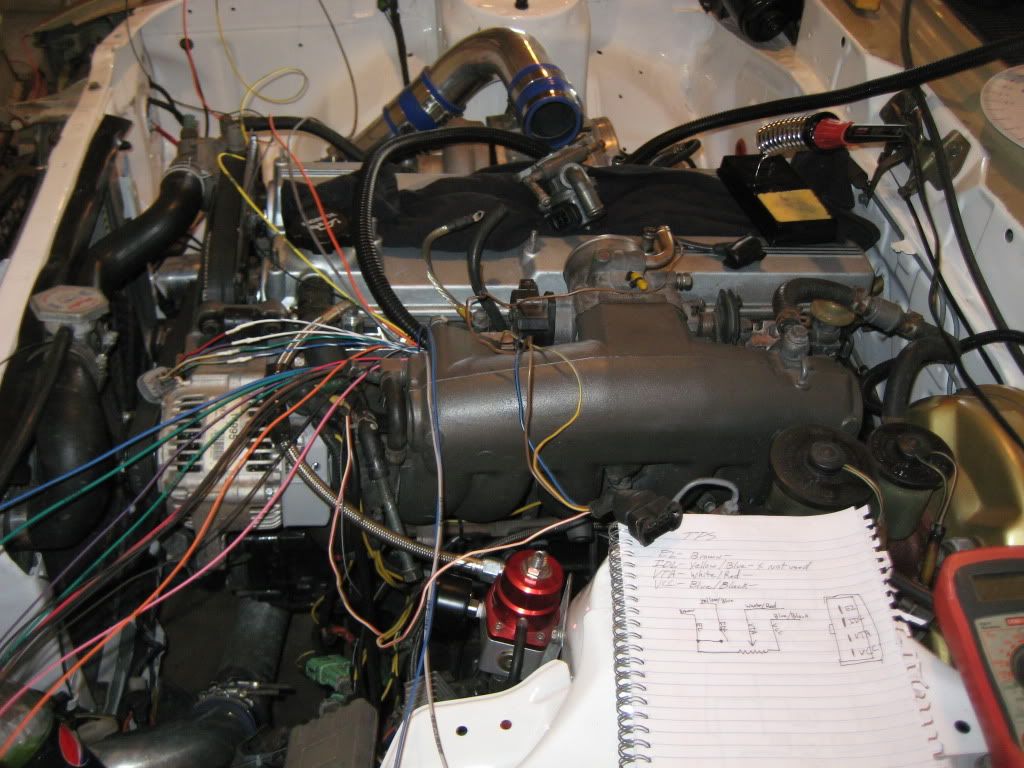
Laying out the wiring somewhat and hooked up the TPS, still trying to document what I do in my homemade wiring manual
IAT wired up and starting to loom the small things
After I get all this done, I need to get it to fire up, hopefully that goes smoothly without needing a fire extinguisher :lol:
Hopefully I'll be ready to put it on the DYNO by the beginning (ish) of next month.
I have unlimited access to an absoutely amazing chassis dyno, so that's pretty much amazing for me in this build.
So who is going to tune this beast when I am finished? ME! I plan on doing all of this build myself, tuning included. Not bad eh?
I ground a tooth off of the 24 tooth wheel and hooked it up to an oscilloscope to make sure I had everything working correctly, and it just so happens that it works perfectly!
I figured out how to hook up my factory 6 wire Unipolar Idle Air Control stepper motor to the Megasquirts 4 wire output by changing it to a Bi-Polar stepper. WIN!
So far I have wired in the IACV, CLT temp, TPS, IAT, Injectors, and CPS.
Up next is to wire up some relays and the fuse box that I just got. And then use the degree wheel to find out what to tell the ecu about the missing tooth and 1st tooth locations in relation to TDC.
Here are some more boring pictures that can't and won't be able to show the insane amount of research and work I have put into this Megasquirt....
Just getting the harness seperated
IAC now Bi-Polar
Laying out the wiring somewhat and hooked up the TPS, still trying to document what I do in my homemade wiring manual
IAT wired up and starting to loom the small things
After I get all this done, I need to get it to fire up, hopefully that goes smoothly without needing a fire extinguisher :lol:
Hopefully I'll be ready to put it on the DYNO by the beginning (ish) of next month.
I have unlimited access to an absoutely amazing chassis dyno, so that's pretty much amazing for me in this build.
So who is going to tune this beast when I am finished? ME! I plan on doing all of this build myself, tuning included. Not bad eh?
UPDATE:
So, no base map, and just a little bit of minor tuning at idle netted me this...
[video=youtube_share;DUl54Zvel_4]http://youtu.be/DUl54Zvel_4[/video]
Fires up and idles much better than it did before!!!
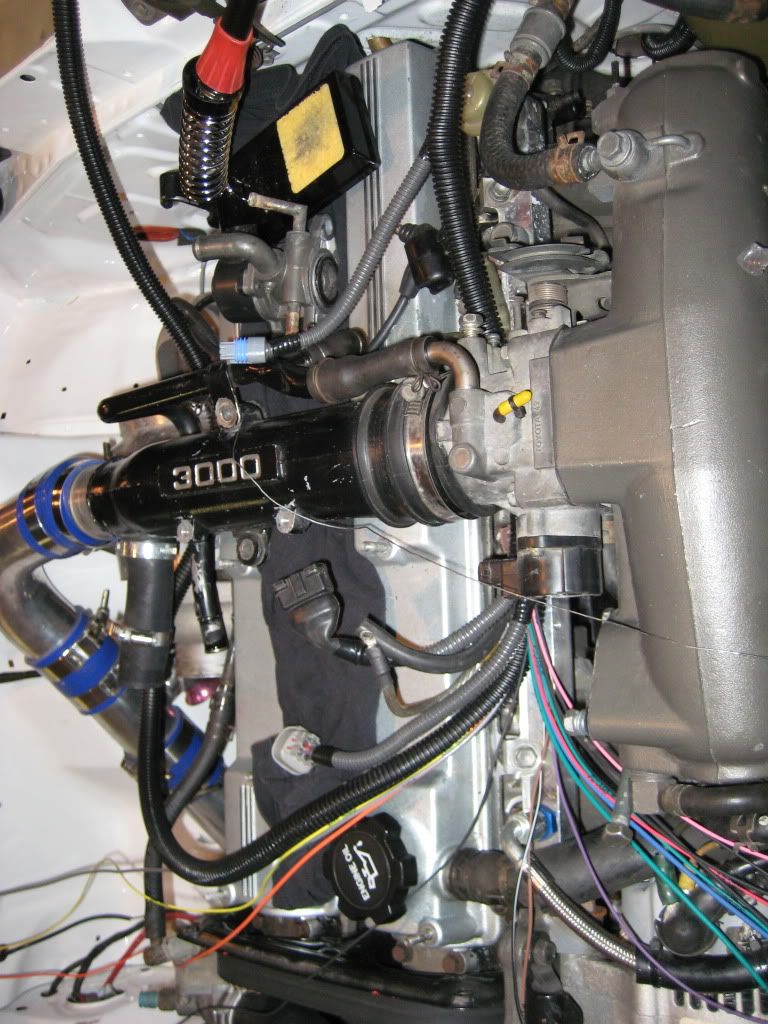
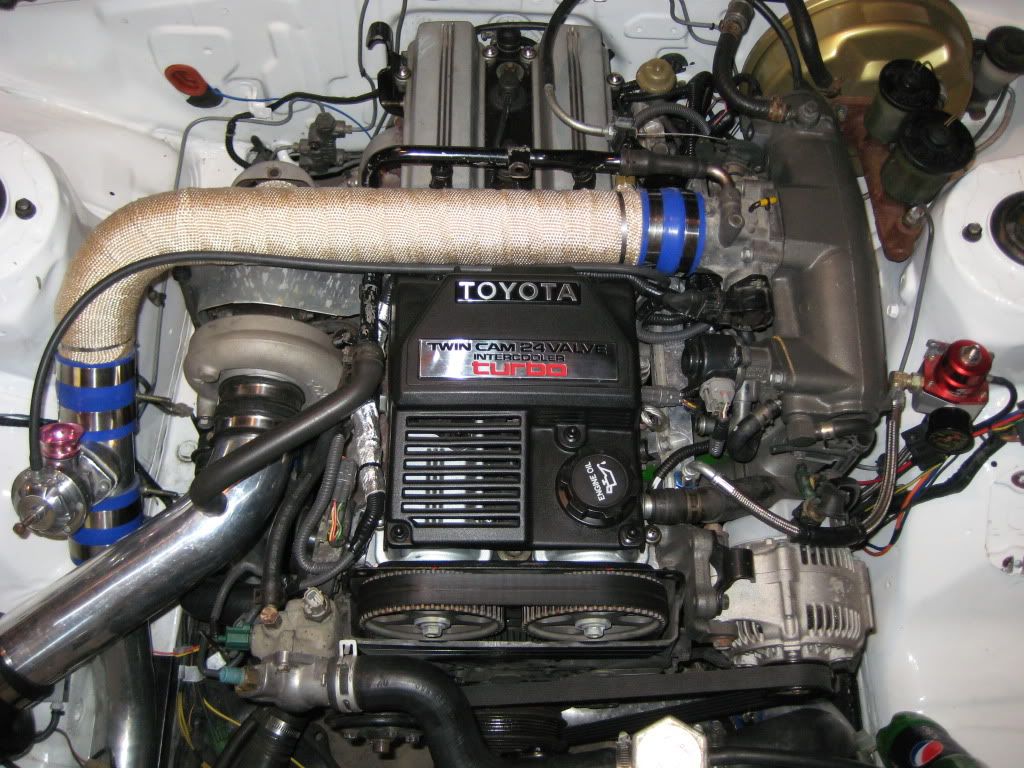
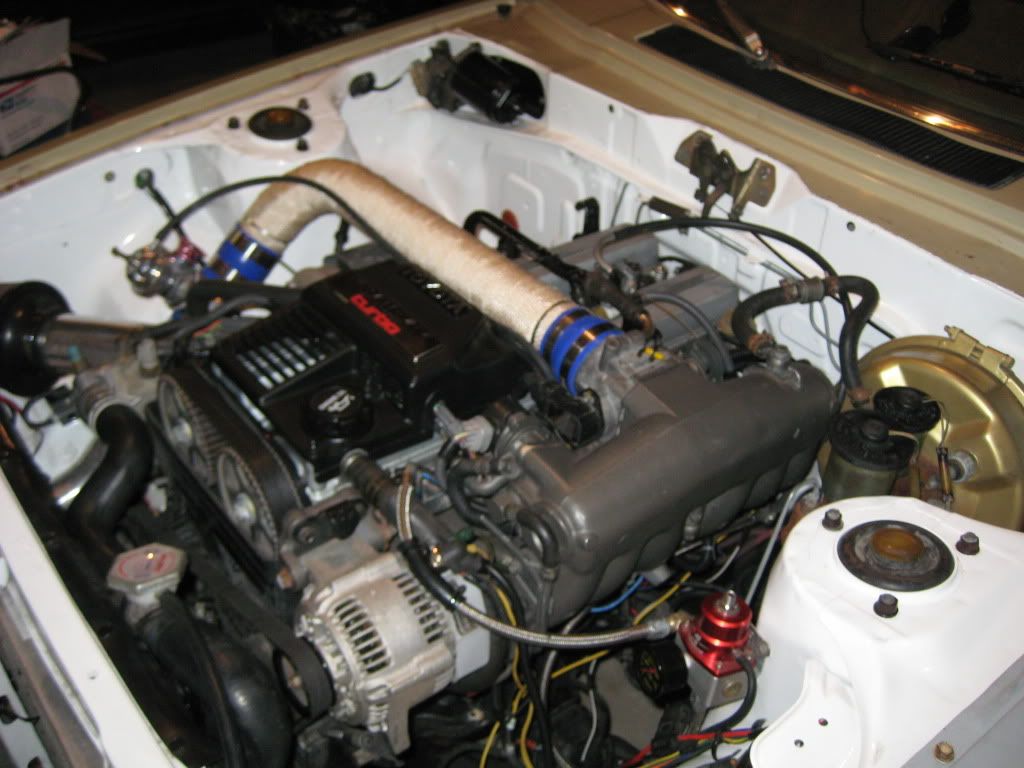
Heat wrapped the intake pipe that went over the turbo and engine to prevent as much heat soak.
I ditched the factory "3000" pipe for all 2.5" pipes to eliminate the 2" restriction in the factory piece over the turbo.
As you can see, I need a new BOV, this is just en ebay one I had laying around...
Anybody have a decent one for sale?
So, no base map, and just a little bit of minor tuning at idle netted me this...
[video=youtube_share;DUl54Zvel_4]http://youtu.be/DUl54Zvel_4[/video]
Fires up and idles much better than it did before!!!
Heat wrapped the intake pipe that went over the turbo and engine to prevent as much heat soak.
I ditched the factory "3000" pipe for all 2.5" pipes to eliminate the 2" restriction in the factory piece over the turbo.
As you can see, I need a new BOV, this is just en ebay one I had laying around...
Anybody have a decent one for sale?
^ Thanks! it is!
Ok, Update time again
Car is pretty much all ready to go to the DYNO!
Here are a few pics of what I have done
Fuse box just for Megasquirt Stuff
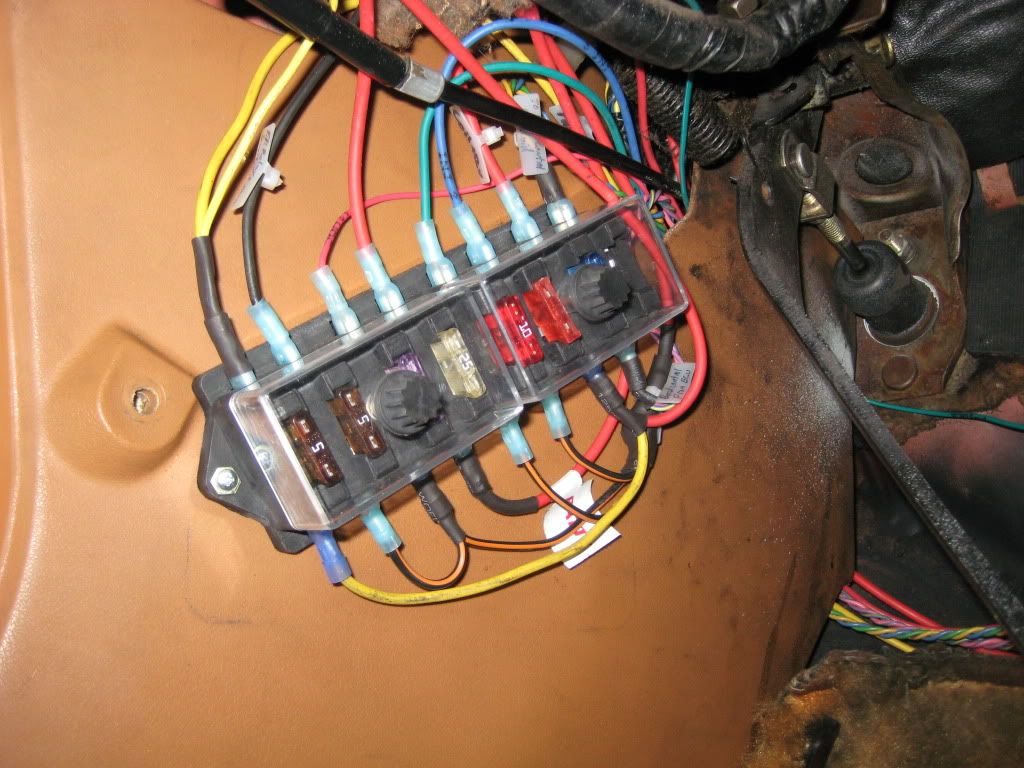
Some relays I wired up to control stuffs

I had to modify my throttle cable bracket due to a slight oversight in IAT sensor placement :lol:

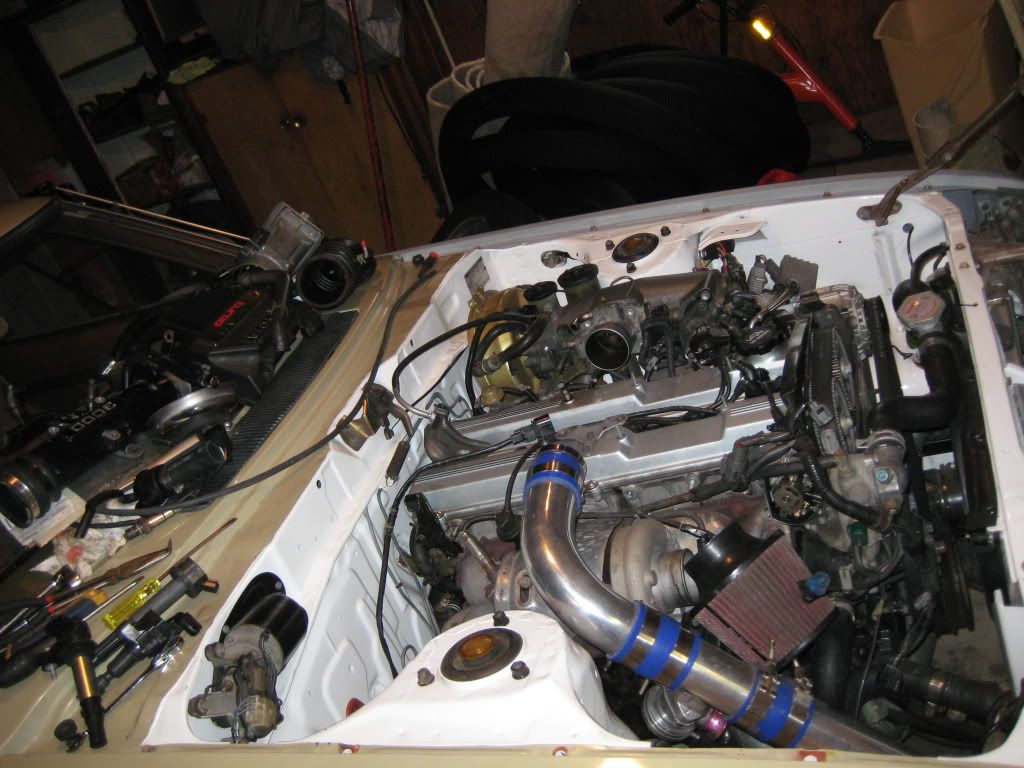
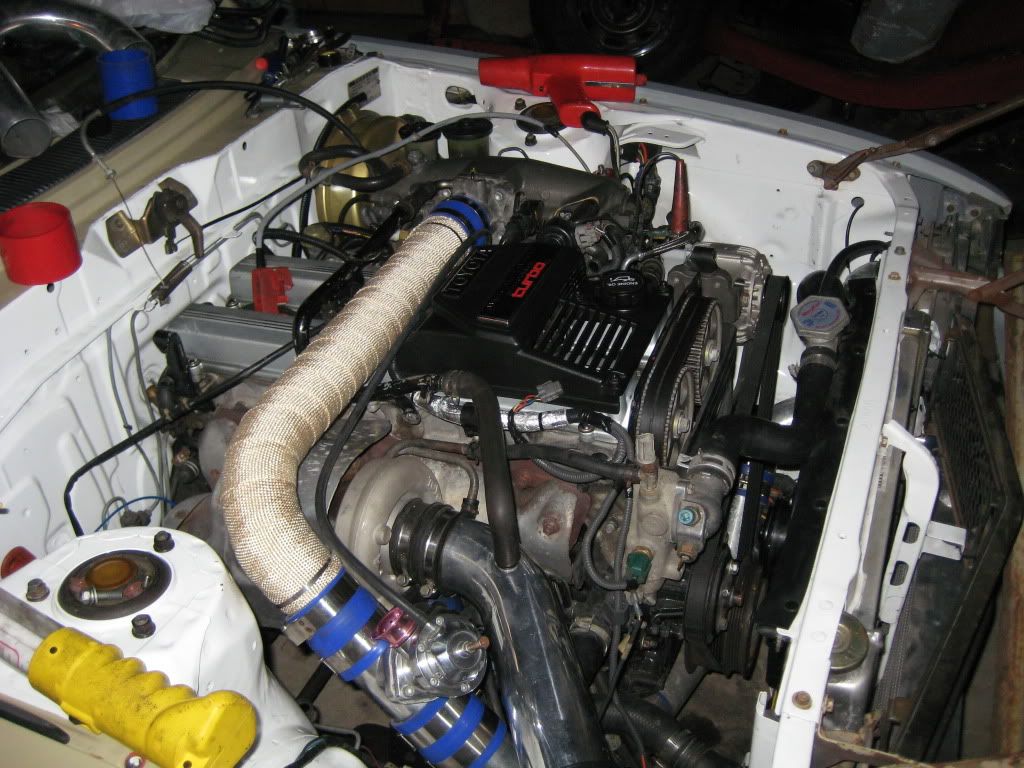
Heat wrapped the Exhaust to keep underhood temps down, and the intake going over the turbo to prevent heat soak
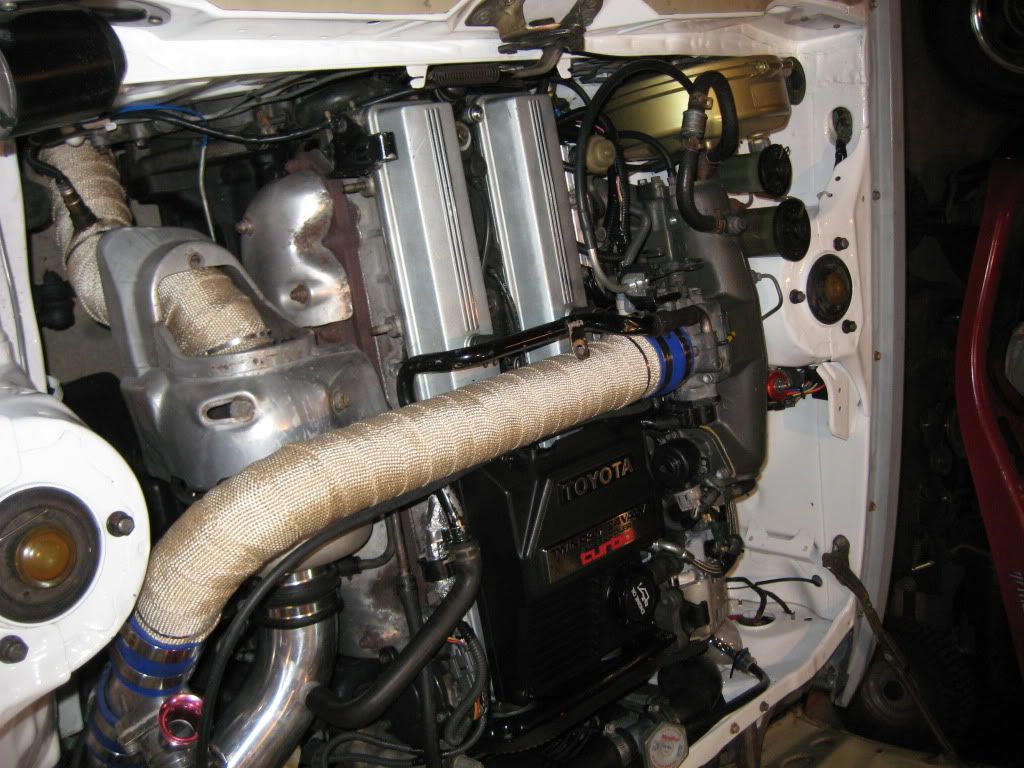
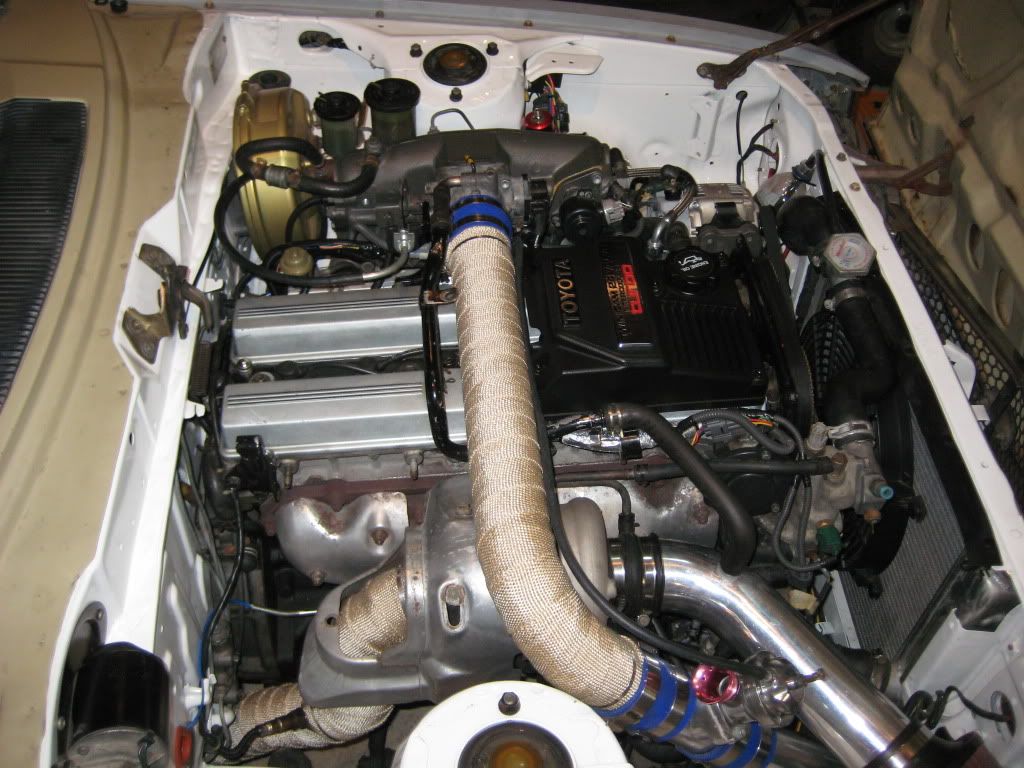
Nobody would ever have a clue what lurks in the engine bay of this old Haggard Toyota


Tomorrow is Chassis Dyno time!
To do list for tomorrow
- Figure out injector opening times
- Adjust coil pack dwell
- get Volumetric Efficency map all set first
- adjust timing at lower loads
Ok, Update time again
Car is pretty much all ready to go to the DYNO!
Here are a few pics of what I have done
Fuse box just for Megasquirt Stuff
Some relays I wired up to control stuffs
I had to modify my throttle cable bracket due to a slight oversight in IAT sensor placement :lol:
Heat wrapped the Exhaust to keep underhood temps down, and the intake going over the turbo to prevent heat soak
Nobody would ever have a clue what lurks in the engine bay of this old Haggard Toyota
Tomorrow is Chassis Dyno time!
To do list for tomorrow
- Figure out injector opening times
- Adjust coil pack dwell
- get Volumetric Efficency map all set first
- adjust timing at lower loads