Updated:
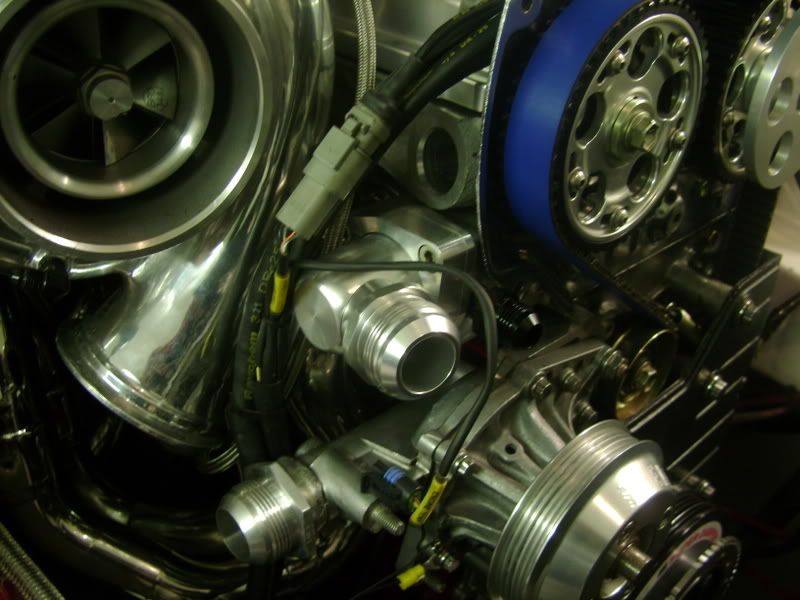
I said I would post up a pic when I install the part, here it is. The bay isn't fully together so this is all you get.
Well, here is the finished part or I should say parts. it is a one of part and it will not be in production. It will not allow you to use the CPS anyway. Anyway, on with more pics!
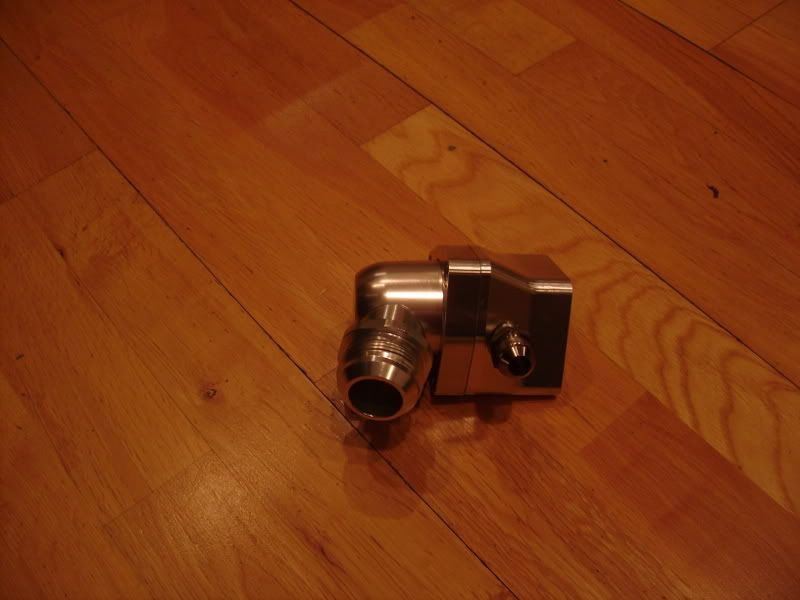
Water neck assembled.
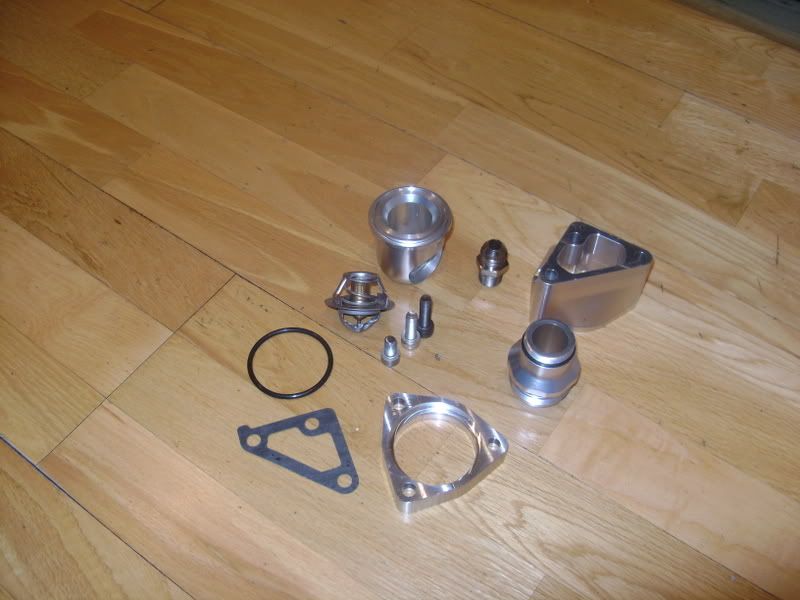
Water neck disassembled.
Old VS new.
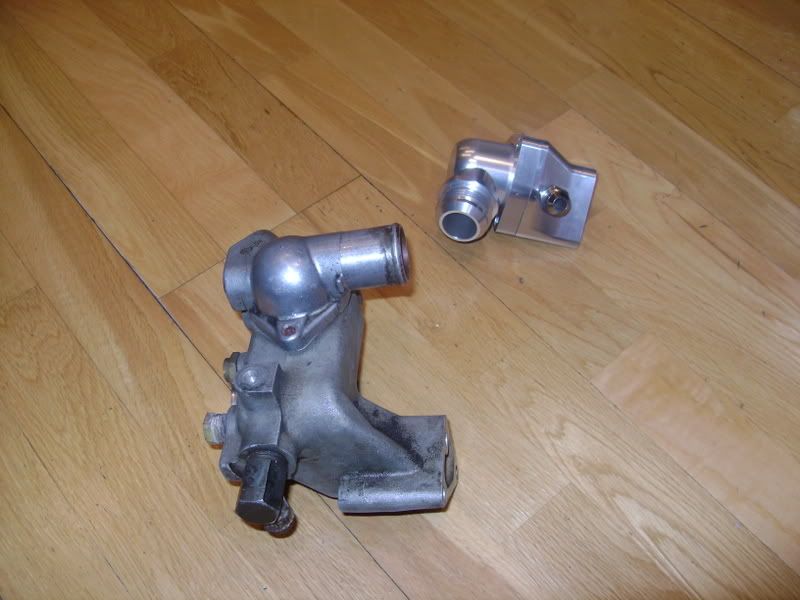
The water neck/thermostat housing on my Supra is ugly. It's about the only ugly part left under the hood, so my good buddy Erik decided to make this for me and is much nicer.
Old water neck
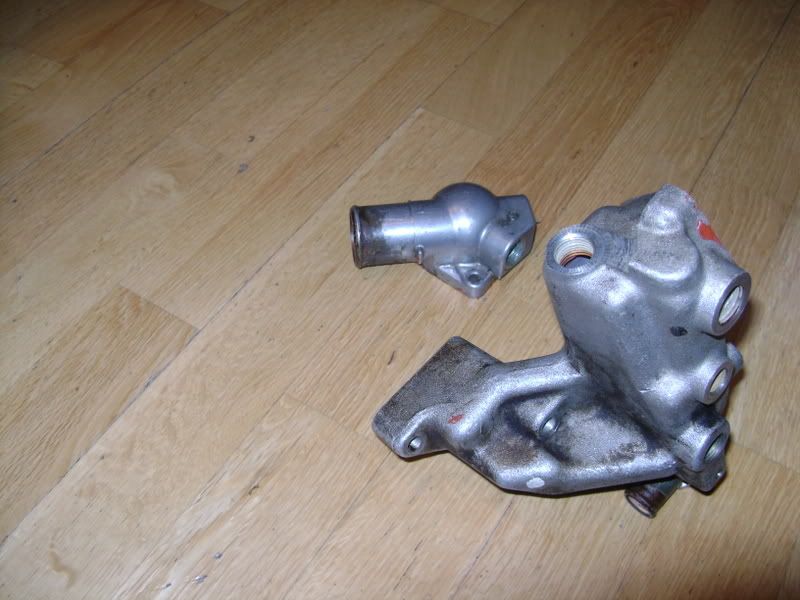
(Crappy quality pics - using 5 year old shop camera)
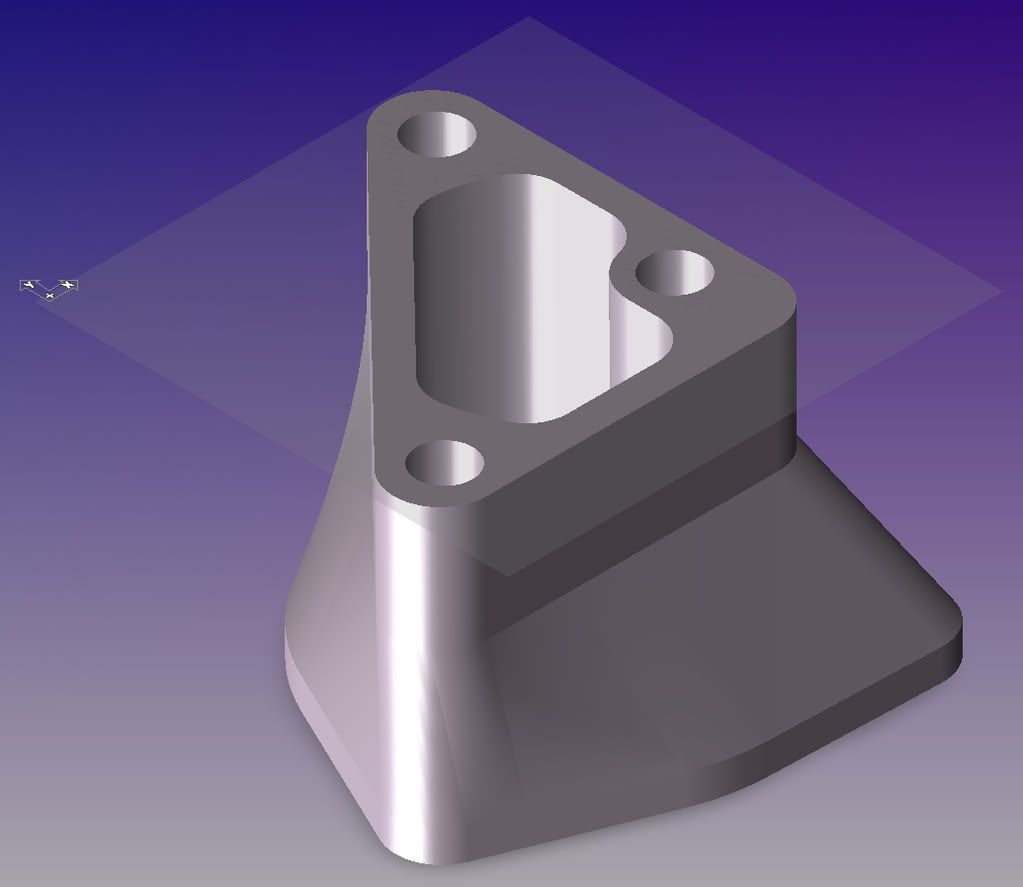
First, designing the part. Solid modeling software makes it much easier.
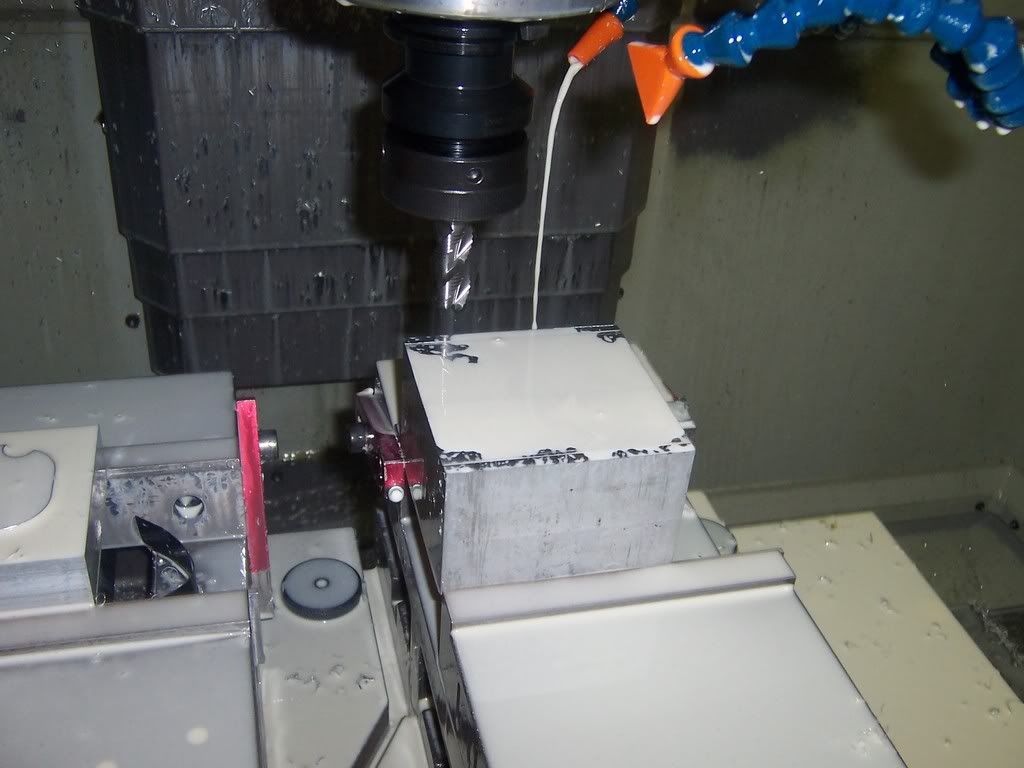
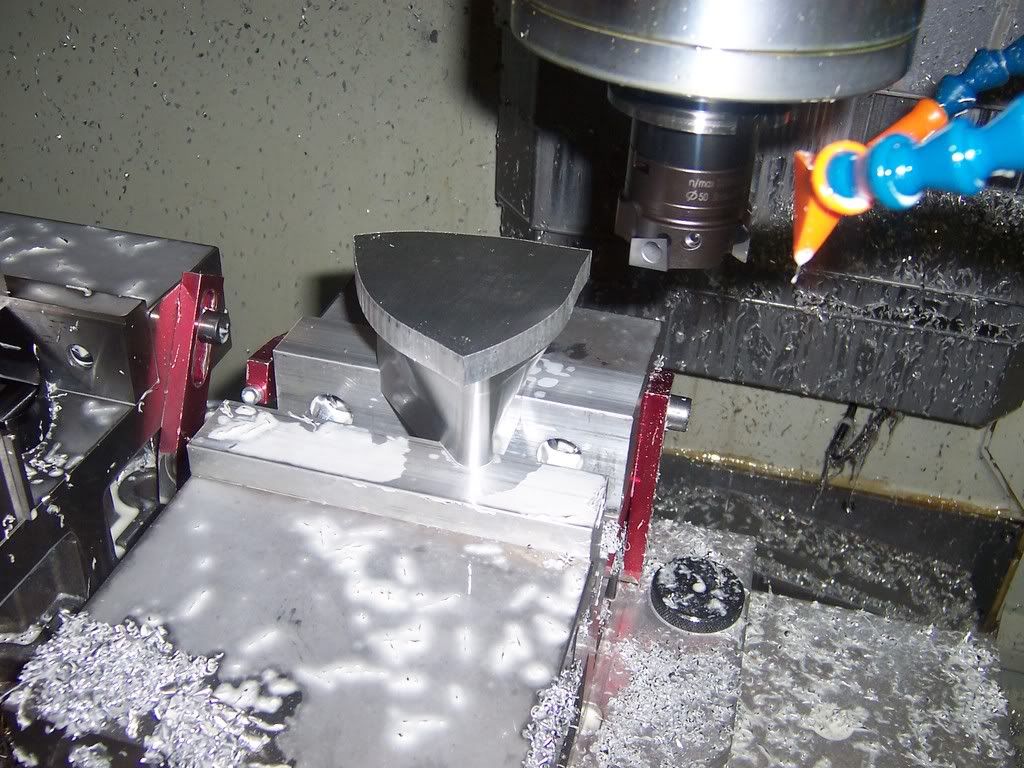
Gotta find a nice billet of 6061 aluminum and secure it in the CNC milling machine. (the tool is spinning at 8000rpm in all these pictures. the flash freezes the motion pretty good.)
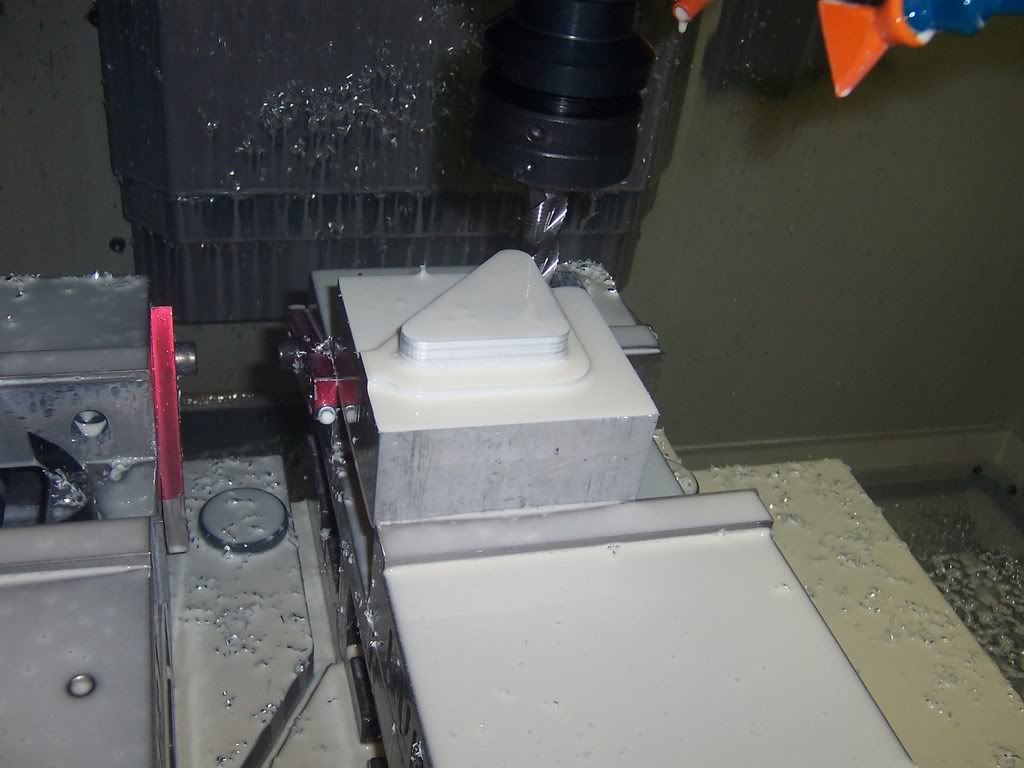
Starting to take shape with the 3/4" roughing endmill
All roughed out, and ready to start finishing with a 3/4" ball nose endmill
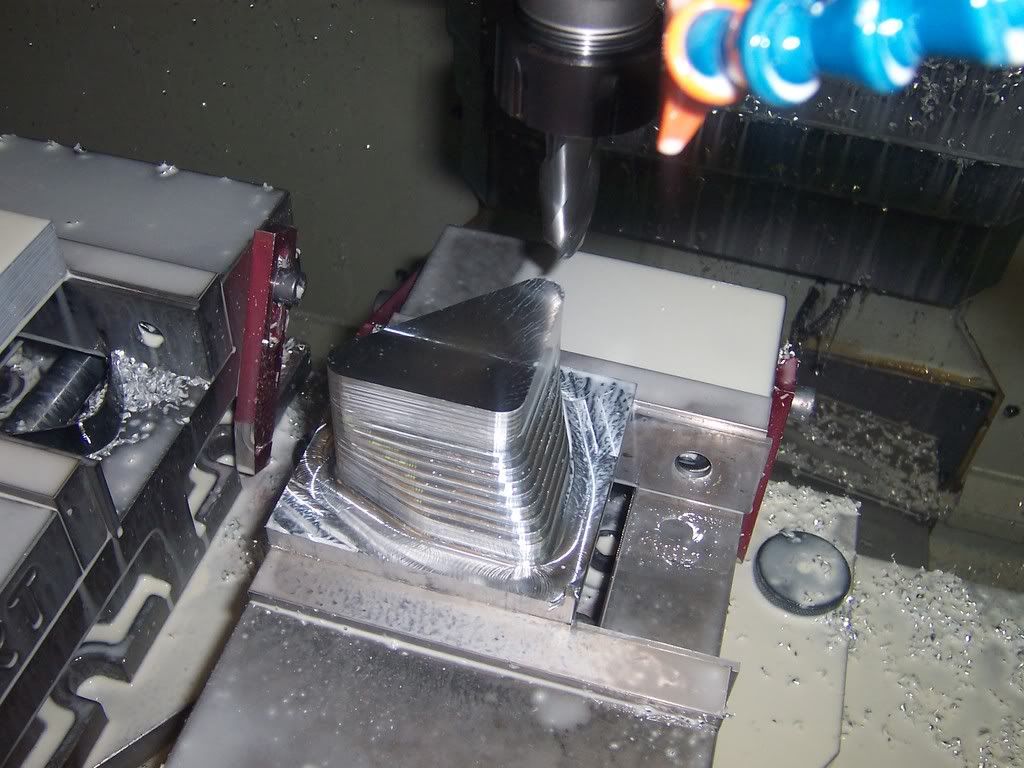 ]
]
Much smoother!
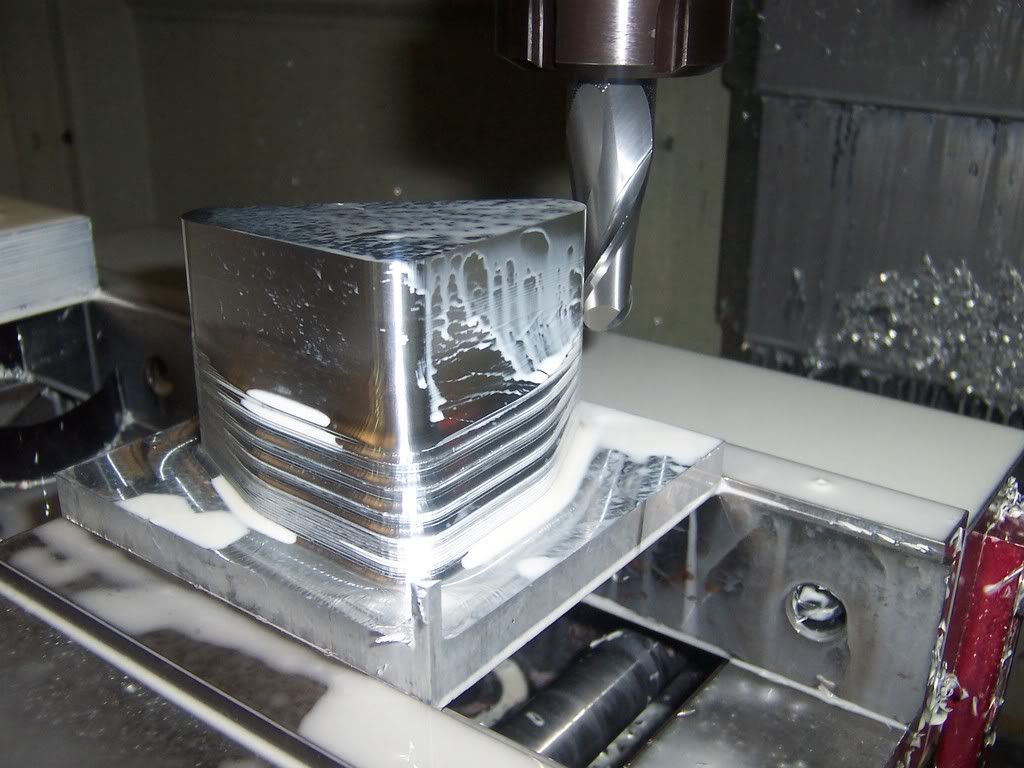
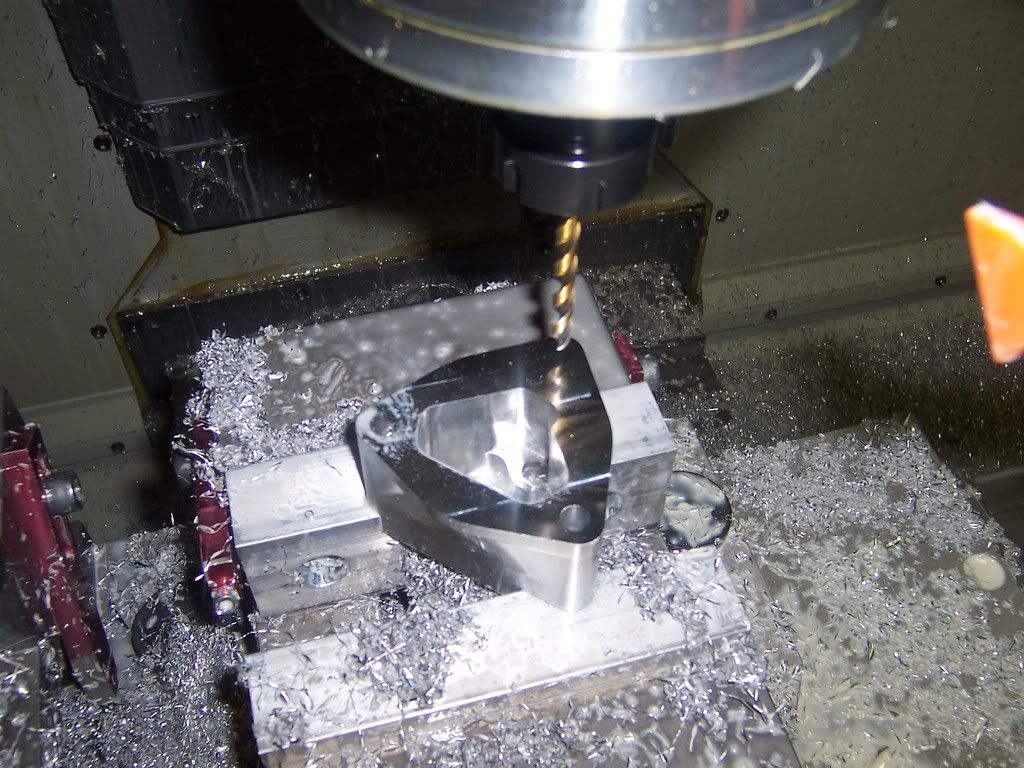
Start opening up the coolant passage
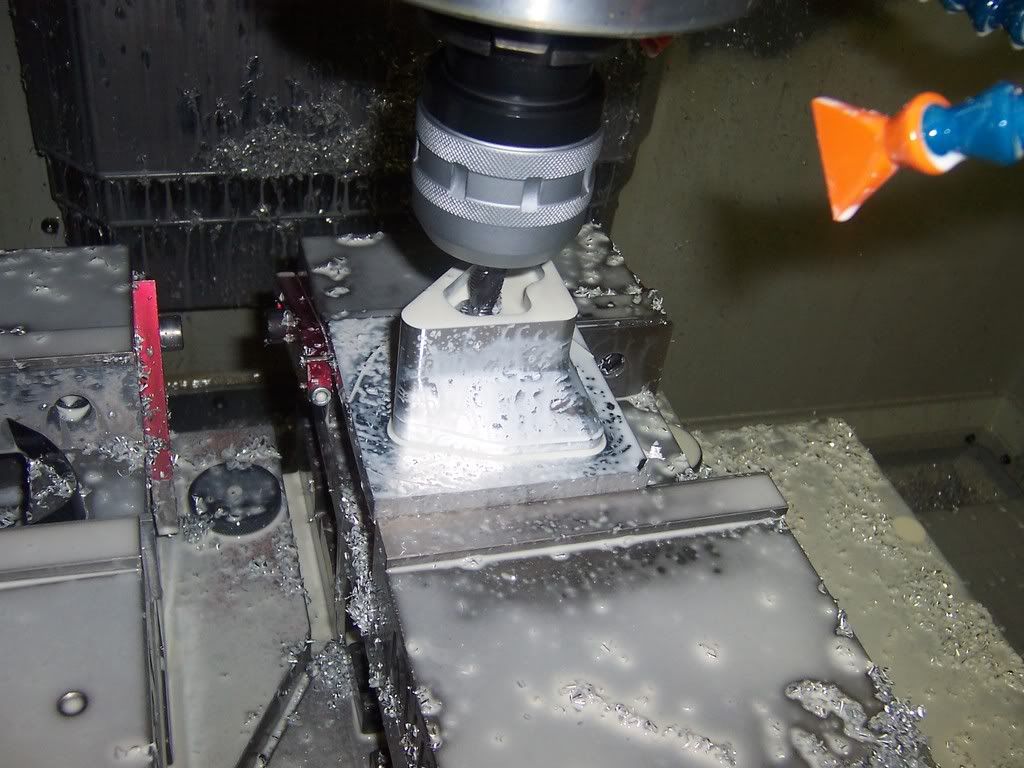
First side is done!
--
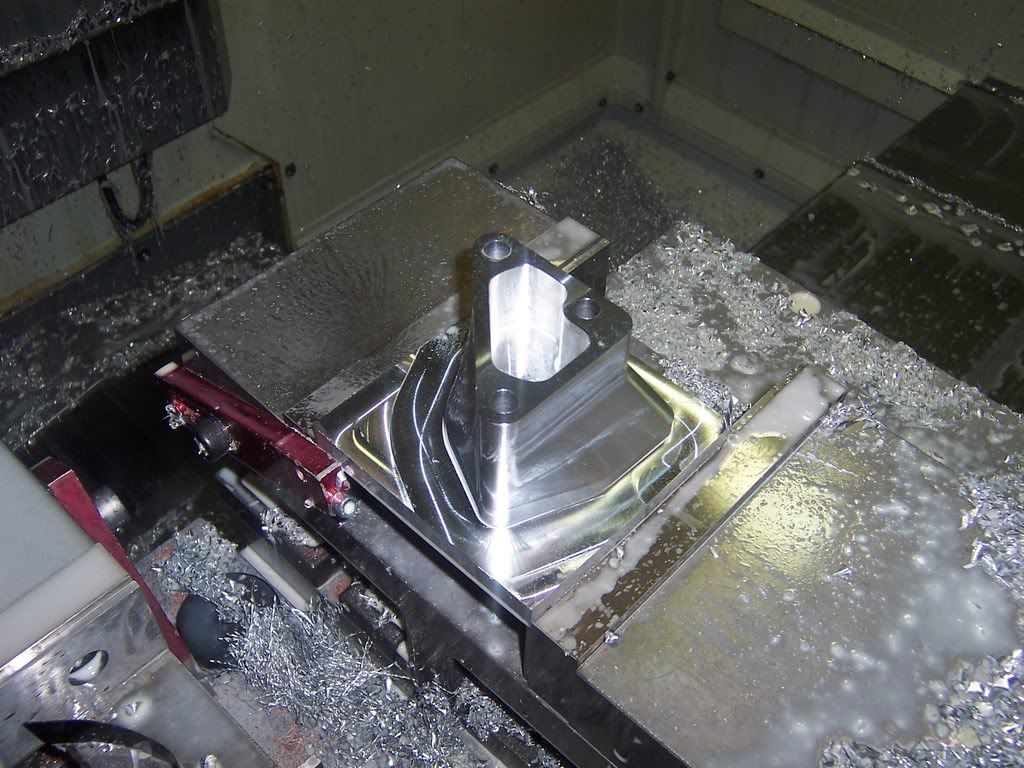
Secure the part upside down in custom machined soft jaws
Finish the coolant passage and add some bolt holes
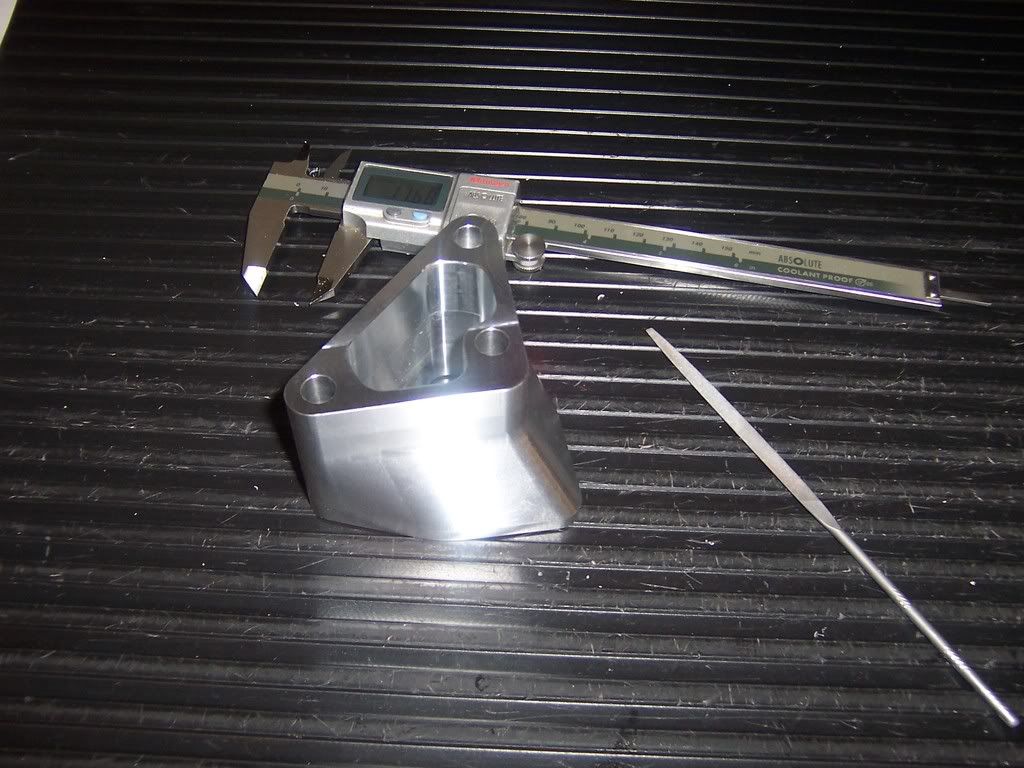
And it's done!
I said I would post up a pic when I install the part, here it is.

Well, here is the finished part or I should say parts.
Water neck assembled.

Water neck disassembled.

Old VS new.

The water neck/thermostat housing on my Supra is ugly. It's about the only ugly part left under the hood, so my good buddy Erik decided to make this for me and is much nicer.
Old water neck

(Crappy quality pics - using 5 year old shop camera)
First, designing the part. Solid modeling software makes it much easier.

Gotta find a nice billet of 6061 aluminum and secure it in the CNC milling machine. (the tool is spinning at 8000rpm in all these pictures. the flash freezes the motion pretty good.)

Starting to take shape with the 3/4" roughing endmill

All roughed out, and ready to start finishing with a 3/4" ball nose endmill

Much smoother!

Start opening up the coolant passage

First side is done!

--
Secure the part upside down in custom machined soft jaws

Finish the coolant passage and add some bolt holes

And it's done!

