Tail light teardown and rebuild

Sep 19, 2011
510
0
16
Des Moines, IA
So some of you may have seen this already since I posted it on SF a long while back, but looking back it doesn't appear that it made it onto these forums.

I did this a couple years ago, and everything still looks just as good as it did after I got done with it. No moisture in the lights, or any dirt or crud again.

Pictures below for you non-readers.

So today I was going to get my tails off of my parts car, and put them onto my driver. I have been needing to do this, because there is a bunch of black shit in between the sealed parts of the taillight housings. So I tore out my tails on my driver, then went down and tore the tails off of my parts car. Well when I plugged in my lights from my parts car, they were better, but not by much, so I brainstormed what I could do.
Well a while back I remember seeing somewhere that a guy took his tail lights out, and modded them to put LED's in it. I searched everywhere, and could not find anything. But I do remember that he put his in the oven to get the glue to soften. Well I did not want to use the oven all that much(well more my parents didn't want me to), and I thought I could come up with a better way.
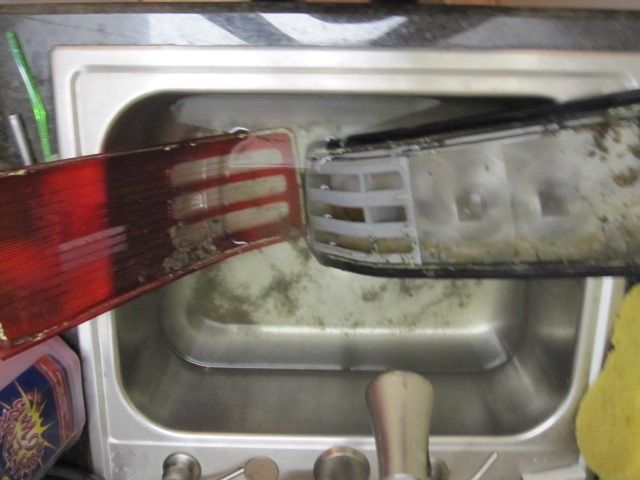
I decided I would try to break them loose by turning up our water heater, and letting them soak for a little while. This worked amazing for tear-down, and it also cleaned them a tad.
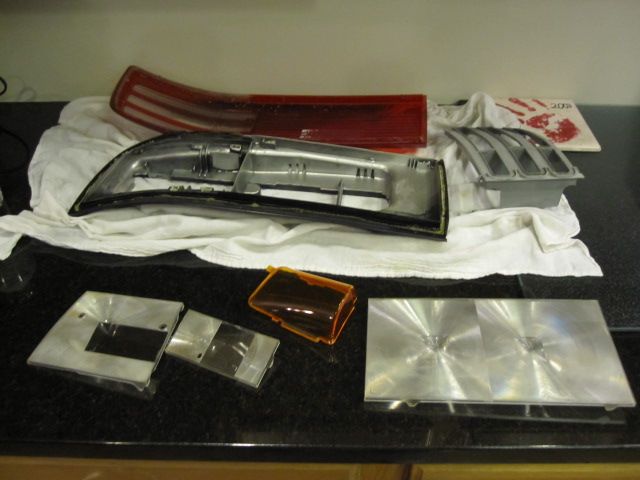
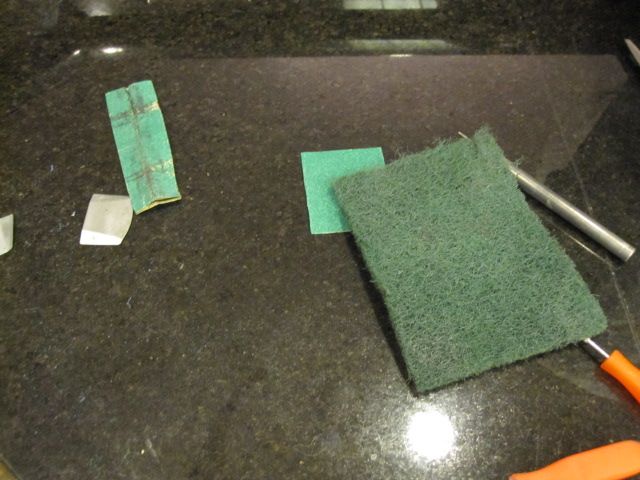
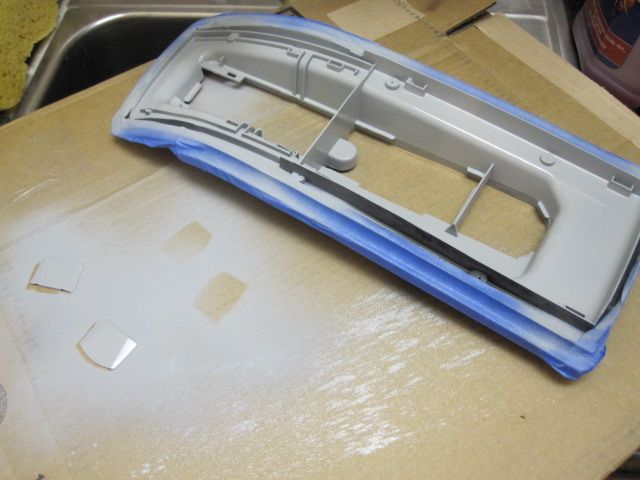
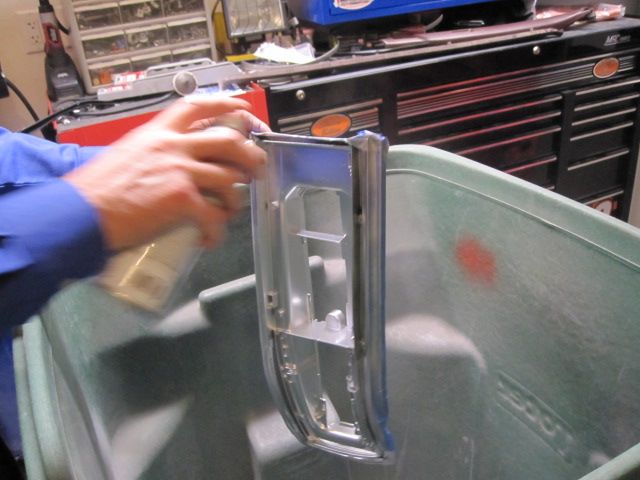
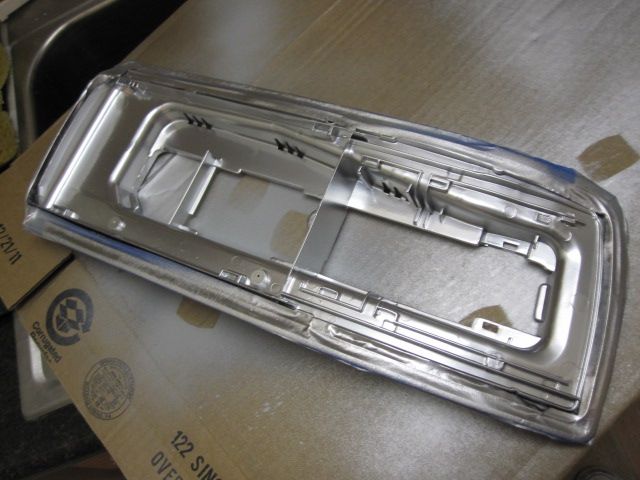
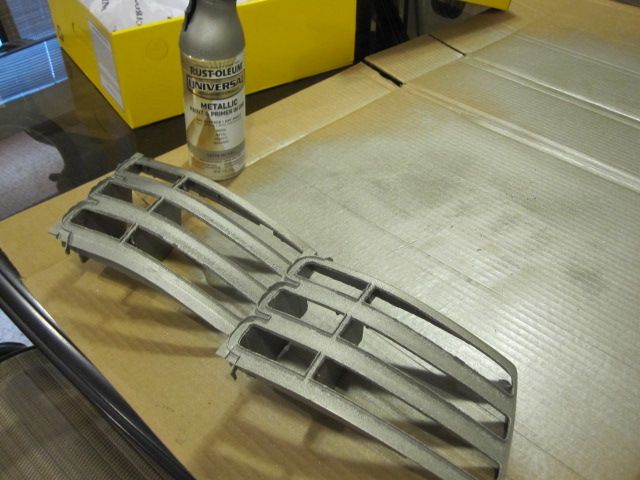
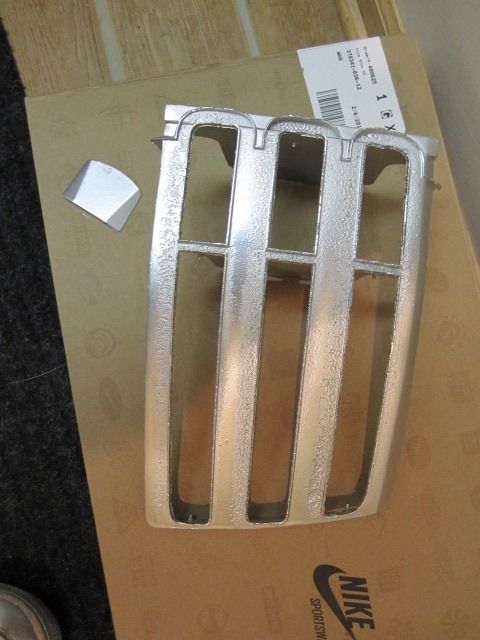
Right now I am in the process of cleaning them, and painting a couple parts. The next step will be putting them back together, and letting them set.
Pictures and directions below.

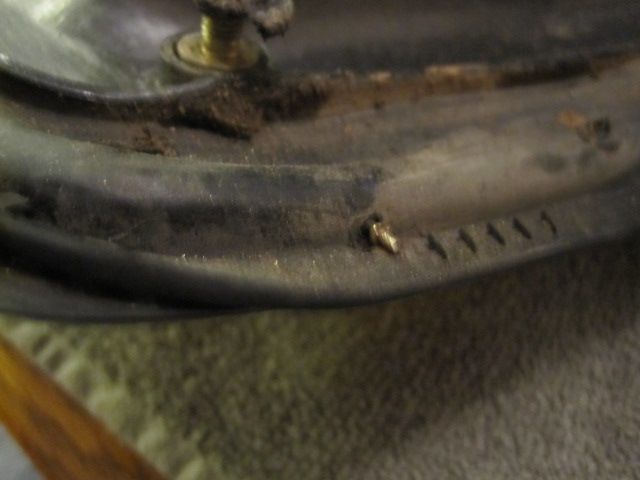
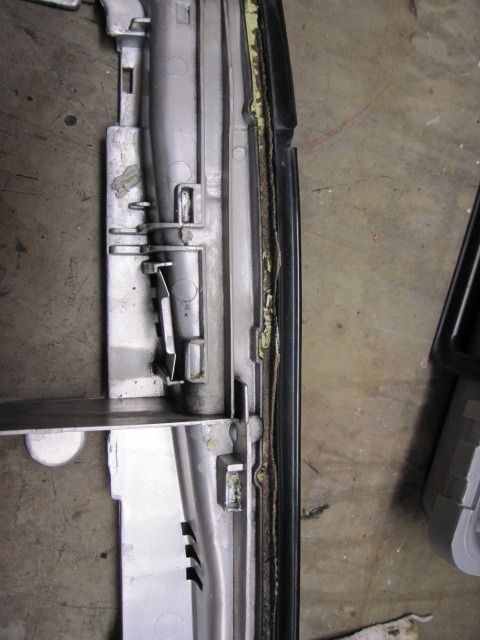
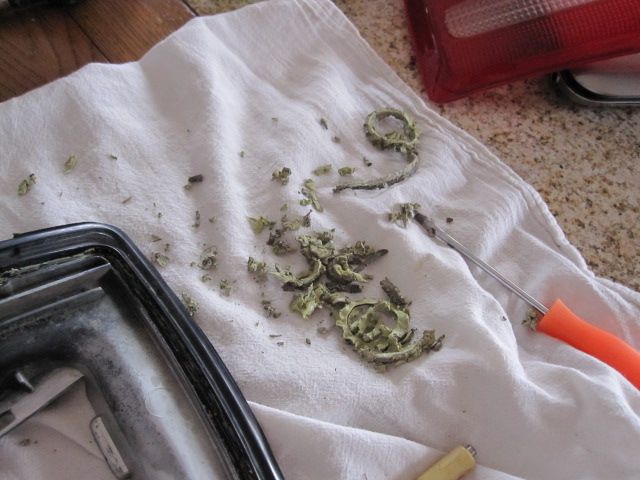
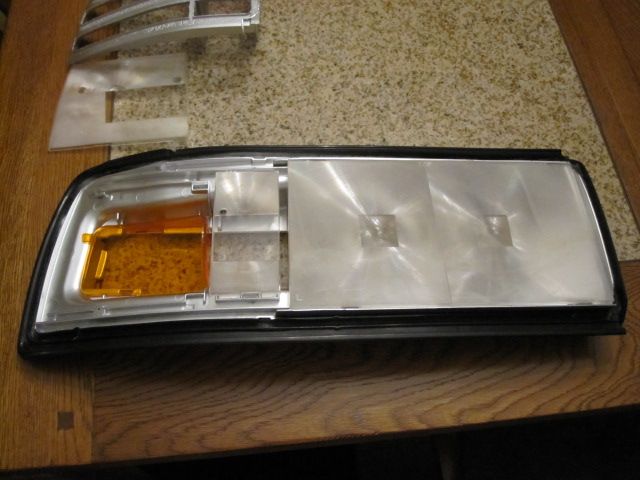
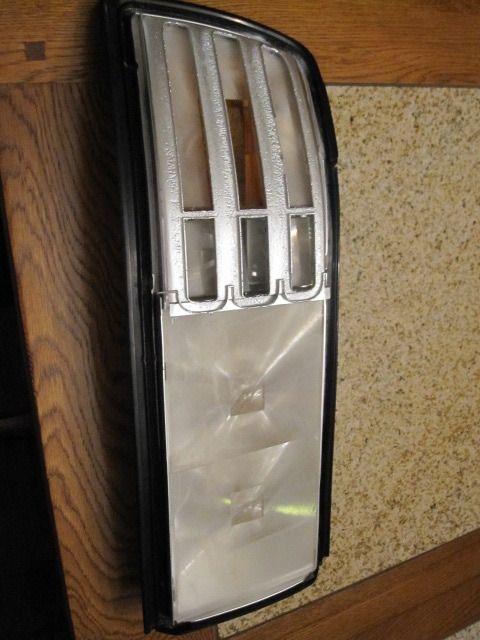
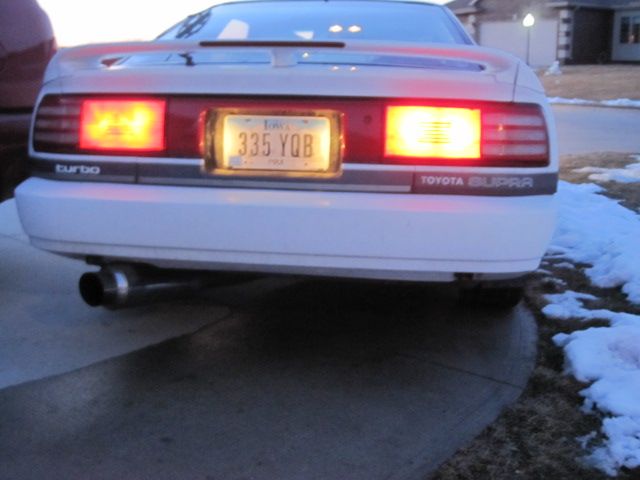
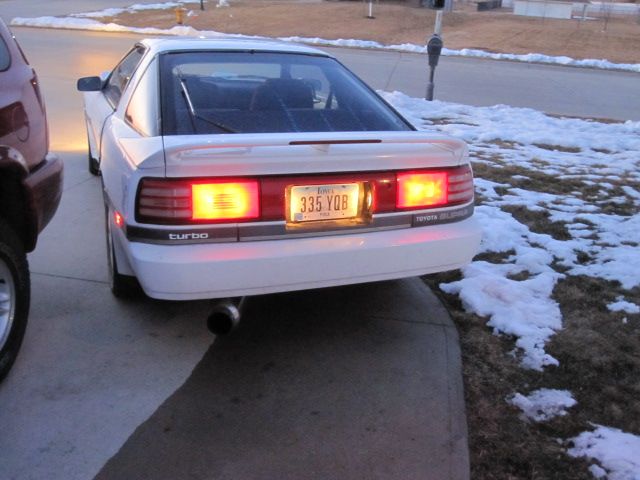
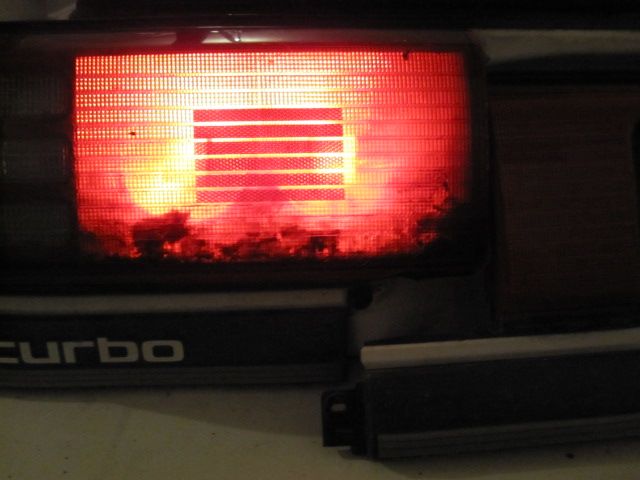
As you can see this is what it looks like before all of this mess. The top of the outer lenses loose their sealing ability, and grow some stuff in between the two sealed pieces. I am not sure what it is, if it is leaves, or mold, or what.
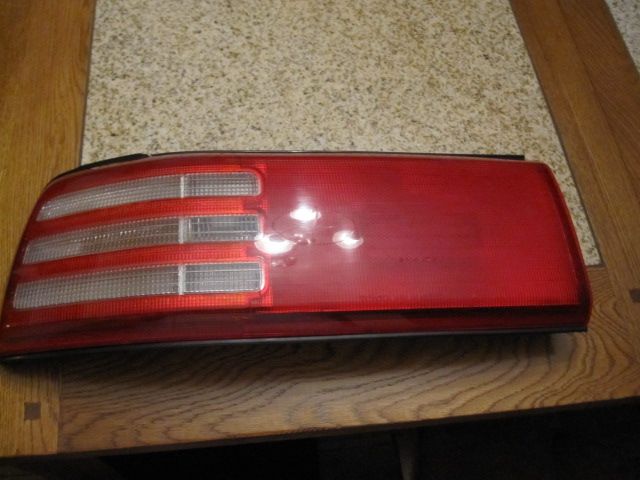
These were the ones off of my parts car, which were actually better than my drivers, but not for long.
My drivers had this except it went up about two inches.
p2018022_1.jpg


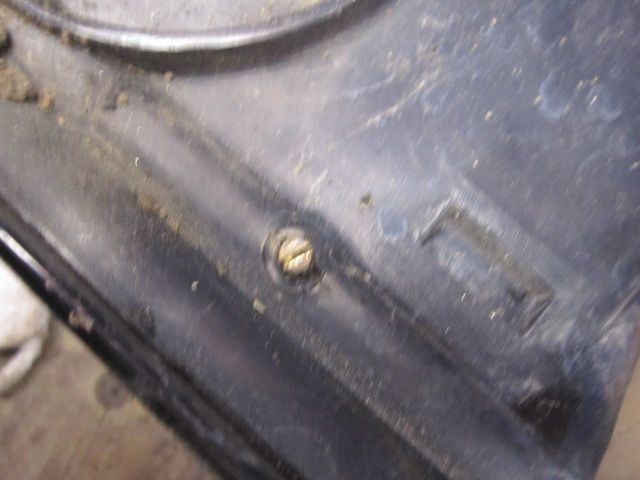
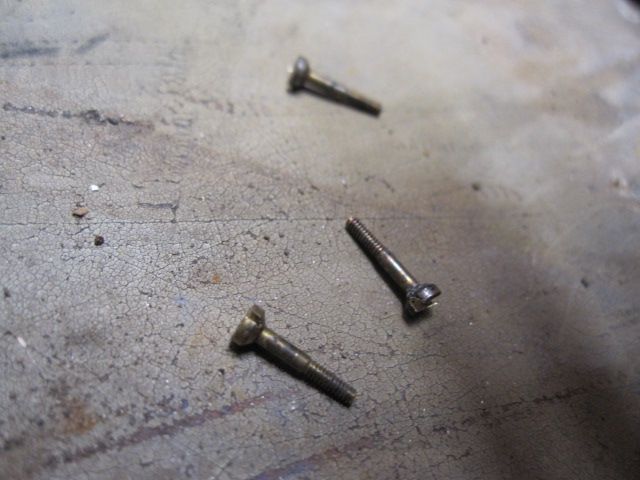
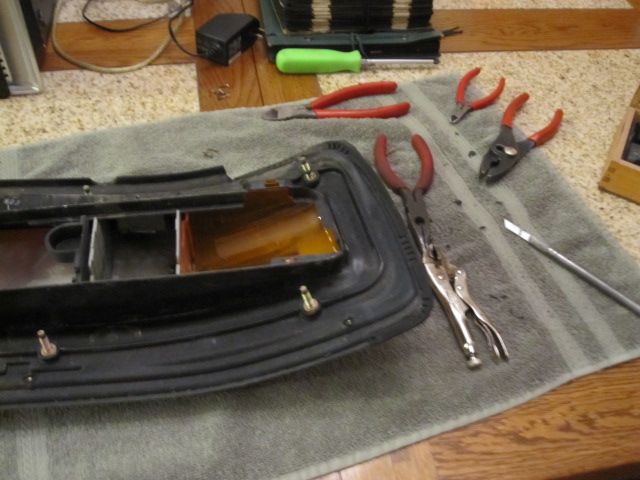
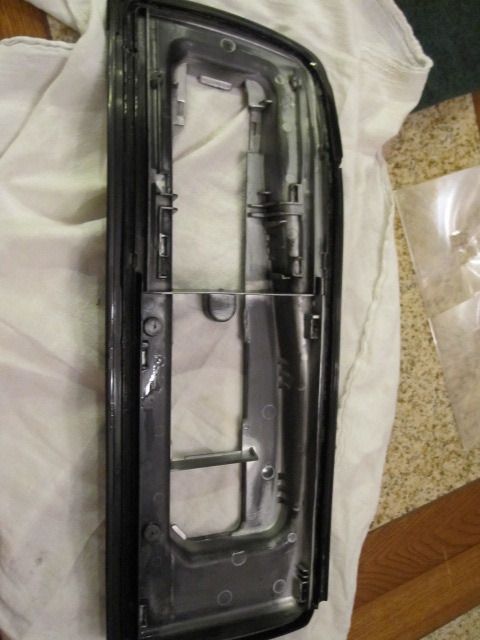
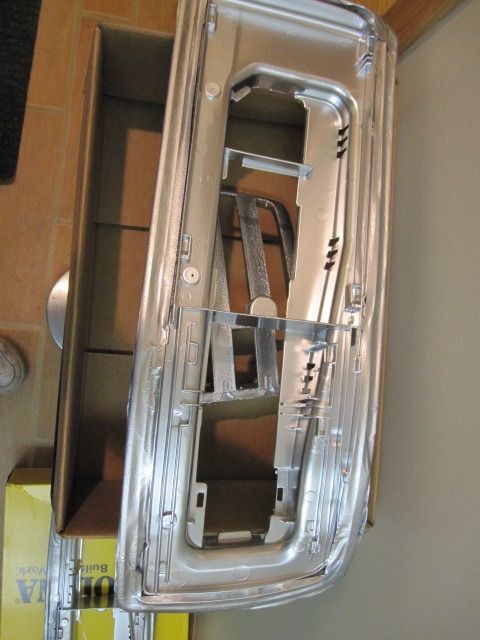
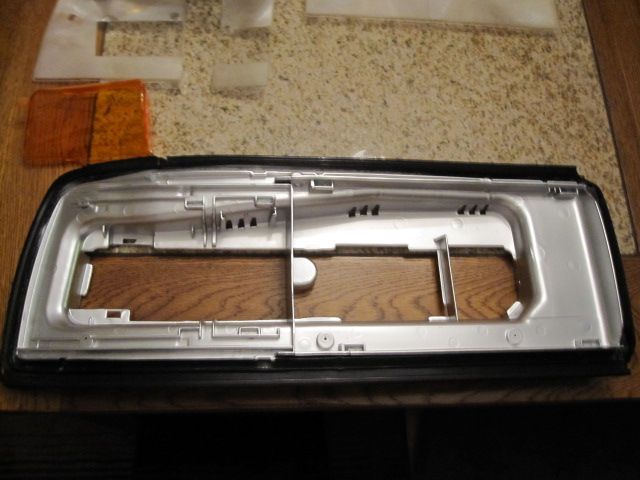
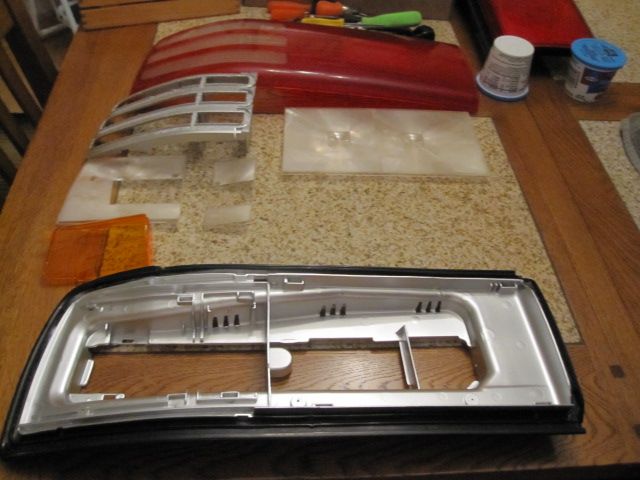
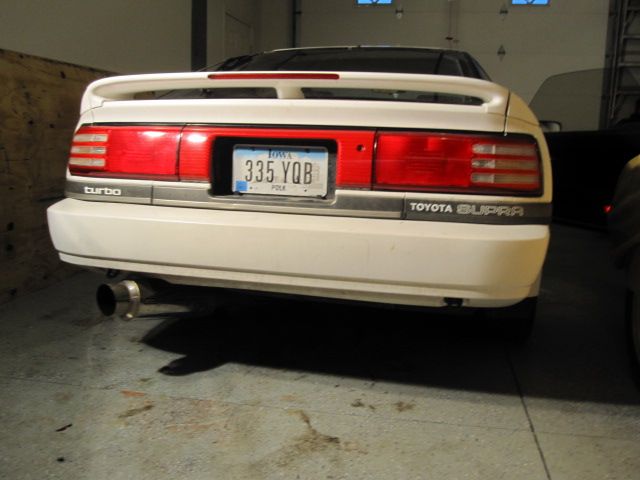
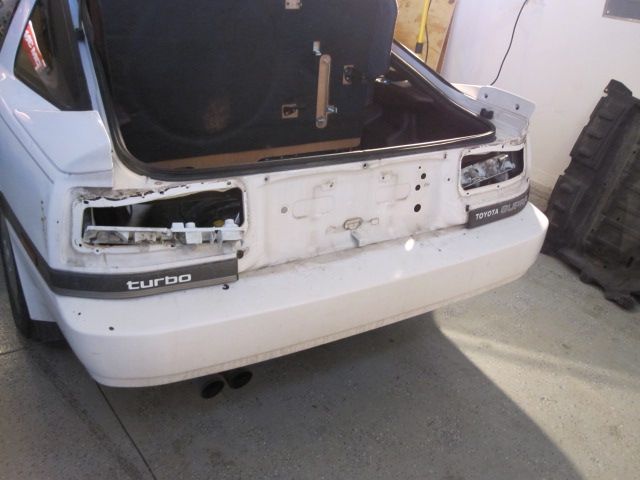
In the process of taking everything off.
p2018022_2.jpg


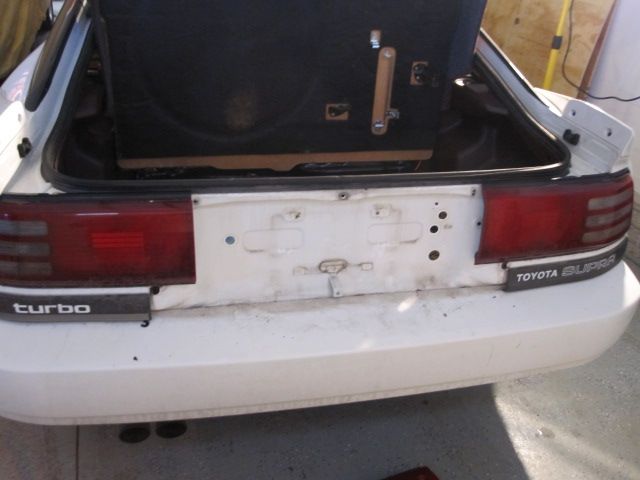
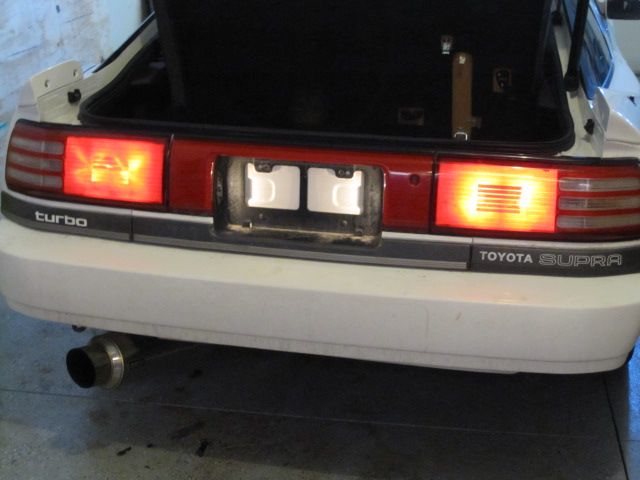
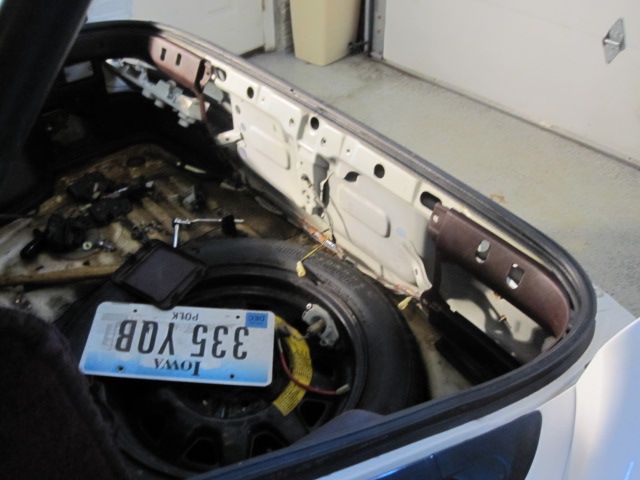
This is all you have to take out in order to get to the bolts and nuts. It is a pain, but can be done.
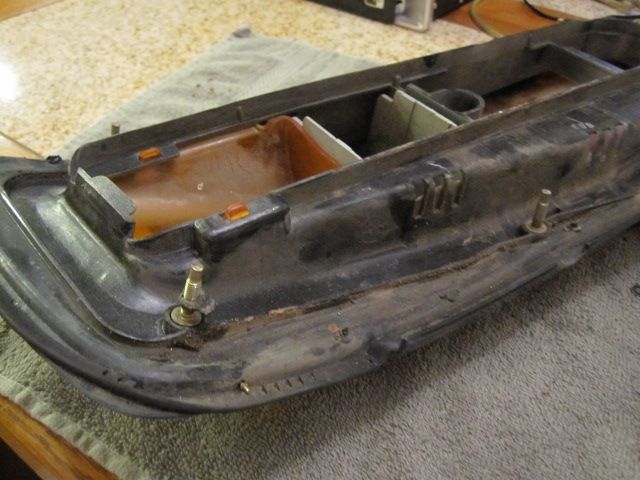
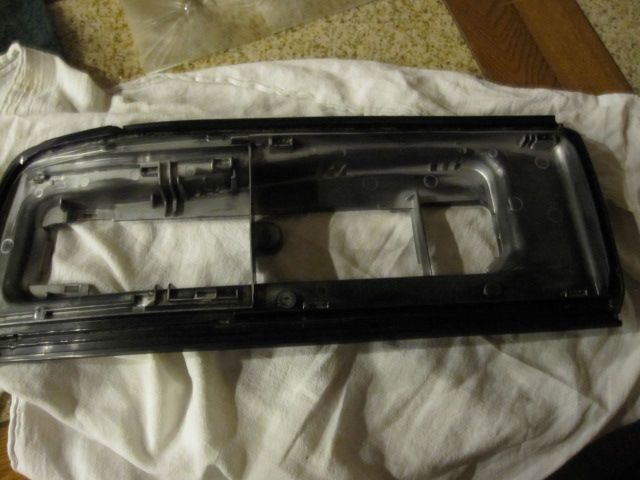
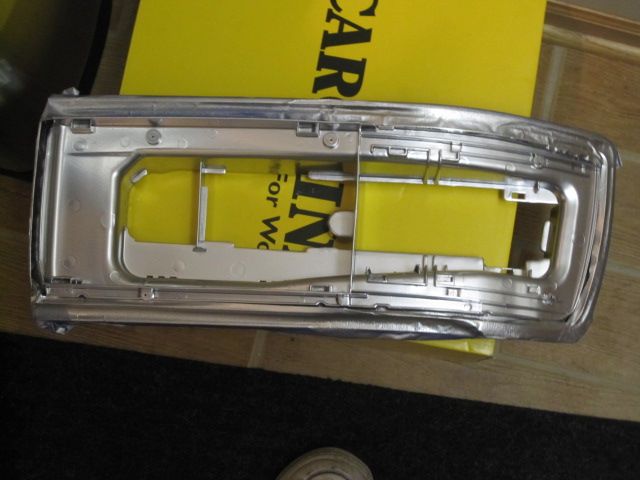
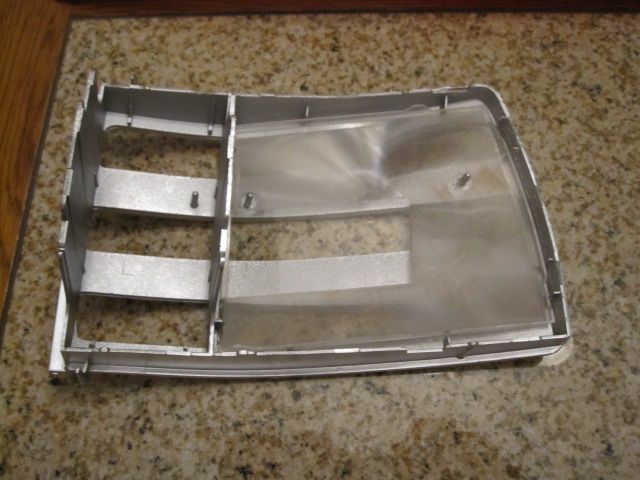
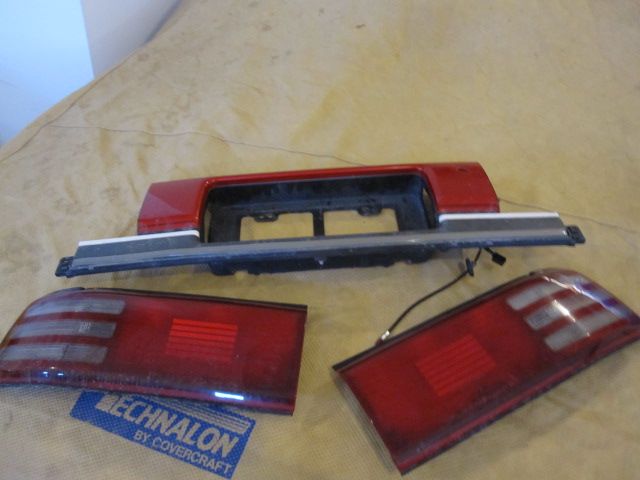
p2018022_3.jpg


All off!
p2018022_4.jpg

p2018022_5.jpg


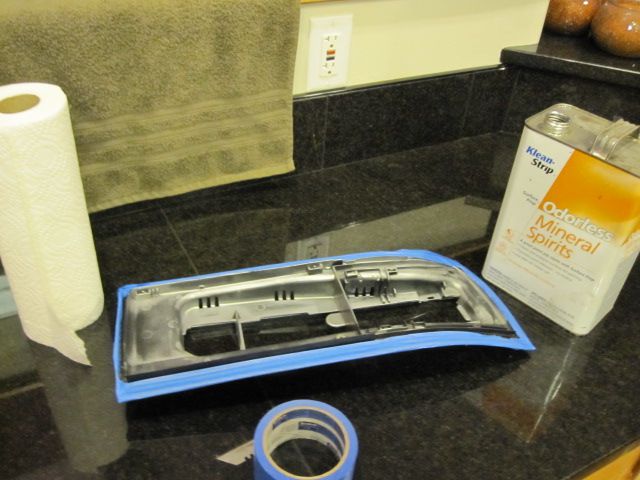
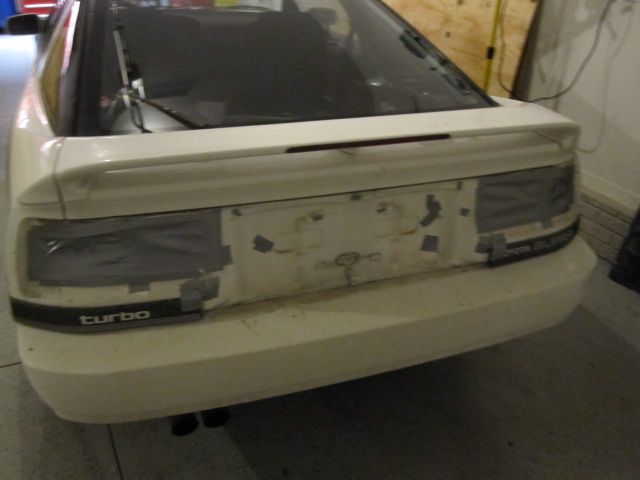
Time to tape it up, so I can leave it outside for the next few days. Daddy needs his truck in the garage. :wtf:
p2018022_6.jpg
 
Sep 19, 2011
510
0
16
Des Moines, IA
Patience is key for this step.
After you get the lights out, This is what you have to do to the housing.
First you may want to get a dremmel with a cutting wheel on it to make a flat head screwdriver slot, or some knives to cut away at these screws. They really don't look like screws, because there is no head on them, and they are flush or under the plastic, but trust me they are. Also there are seven of them. Six are the same the seventh is different, more like a stud.

This is what I am talking about when I say use the cut off wheel to make a flat head on it.
Just be sure not to cut too deep.
p2018023_1.jpg

p2018023_2.jpg


This is the one that looks more like a stud, and will only come out if you use a pair of needle nose pliers on it.
p2018023_3.jpg

p2018023_4.jpg


See they really are screws. :furious:
p2018023_5.jpg


Before I thought of using the dremmel. I was using exacto blades to cut around the plastic, and I was unscrewing the screws with a pair of pliers. It is much more time consuming, and isnt as clean as the other way, but will get you there eventually.
p2018023_6.jpg


Well now that I got those bad boys out it is time to fill up my deep sink full of water, and drop one in to see how well it will split.
Now we wait a little while for the water and heat to set in.......................

After about ten minuets. Shes apart!!!
You will see that it is already coming apart. All you have to do is just gently pry the outer lens off from the black backing piece.
Gross look at all that! :run:
p2018023_7.jpg


And shes out. Time to get to cleaning.
Make sure you pay some attention to how things are coming apart, because you may want to put them back together.
p2018023_8.jpg


All cleaned up, but still have to get the old glue off of the main lens and the black piece it connects to.
p2018023_9.jpg
 
Sep 19, 2011
510
0
16
Des Moines, IA
Next up will be some more cleaning, and reassembly. I need to get something to seal the lens back up, and make it watertight.
Any ideas for that would be nice. Right now I am leaning towards a 3M clear silicone adhesive
Any suggestions, or questions about this would be great.
Right now I am just going to be putting it back to stock, just cleaning it out as it was bothering me. I have seen some mods to the taillights, and some are cool, but I don't think I will be doing any at this moment.

UPDATE! Febuary 10th 12:10 am.
Sorry guys I am 10 minuets late on my promised update.

If you want the new silicone to seal well, you will need to try to get as much of this yellow/brown glue out before trying to do anything else.
The brown is where there were leaks in the lens housing.
p2018024_1.jpg


Glue gunk. Grody!
p2018024_2.jpg


For removing this I used a couple small tip flat head screw drivers, and a few picks. It did the trick.
For the little extra I used some sand paper to get it out for a good finish, and seal.
Pretty clean in that ridge now.
p2018024_3.jpg


Next you will want to scuff the silver inside of the housing with a scotch brite pad, to prep for paint. It will help it stick better, and the metallic paint will reflect the light better, resulting in a brighter light.
Scotch brite pad, and some sand paper for scuffing and getting the excess glue out of the ridge where it seals.
p2018024_4.jpg


All scuffed up and ready to paint! Just got to tape them up, so you don't get paint on the trim parts.
p2018024_5.jpg


Taped.
Also don't forget to use some mineral spirits to get the dust and shit off.
p2018024_6.jpg


Primer always helps for a nice paint job.
p2018024_7.jpg


And this metallic paint will help it gleam, and reflect light.
My dad the rattle can paint pro. He wouldn't even let me paint. (I think he just likes the fumes)
p2018024_8.jpg


And that is some bling bling! A few more coats will do the trick.
p2018024_9.jpg


Don't forget to give these guys a nice little coat.
p2018024_10.jpg


After everything had a couple coats of paint on them. So shiny, I cant wait to see how this will reflect. I am excited. (paint fumes talking)
p2018024_11.jpg

p2018024_12.jpg

p2018024_13.jpg


Well that is all for now. I am going to watch this paint dry and sit in these fumes for a while. More to come in the next few days. I am taking time on this so I can do a good clean job. Enjoy.
 
Sep 19, 2011
510
0
16
Des Moines, IA
Tape off after paint.
Wow does that look neat.
p2018025_1.jpg


Ok so here it is. This is everything in the order for rebuild.
p2018025_2.jpg


First put the orange lens in the tabs where it belongs, and put epoxy down in the little holes where the little clear lens and the big clear lens goes. Then you will put them in. Make sure you get the clear lens straight, or else it wont fit around the gray piece. This is how it will look.
p2018025_3.jpg


Then you will take the gray piece and the medium sized lens and put that lens into the gray piece.
p2018025_4.jpg


Then you will put the gray piece in.
p2018025_5.jpg


Next up you will want to put the epoxy or whatever you are using for a sealer into the lip where it seals it. Next put the light lens back on, then put something heavy on the light and let it sit for a long time to dry.
p2018025_6.jpg


Tail lights back in, looking good. Specially with that sexy RSR exhaust I came by.
p2018025_7.jpg


Here is the finished product.
All the lights on.
p2018025_8.jpg

Tails only.
p2018025_9.jpg

Darn bright for just the tail lights, no brake lights. I don't have any friends to hold my camera.
p2018025_10.jpg

p2018025_11.jpg


It kind of looks like there are circles where the lights are, but in person it looks normal with the whole thing red. The pictures do not do it justice.

I hope many of you guys can learn, and use this on your Supras. This improved how my car looks quite a bit.
 

mirage83

Member
Mar 21, 2008
457
0
16
Georgia
Excellent post and information, thanks much for reposting it here for us. I've already saved it for future reference.
 

Orion ZyGarian

Jeff Lange wannabe
Apr 2, 2005
1,490
0
0
35
Sarasota, FLorida
www.suprastore.com
Terrific walkthrough. As a side note, PLEASE be careful when disassembling these. BOTH sides are discontinued forever, all of the pieces. The exterior shell, the lenses, every bit of it, even the entire assemblies. I have the last 3 left side brand new ones still in box, but if you check with Toyota, theyre gone for good. Take your time during disassembly
 

Satan

Supramania Contributor
Mar 31, 2005
1,594
0
36
Tampa
I remember doing this awhile back... thanks for the reminder/tips/write-up!!
 

ZoomZoomZoom

On the road again..
Dec 9, 2007
443
0
0
KY
Nice write-up! I remember a similar thread, but the point was to make all three rear pieces match in color. I do remember the oven trick.

Methinks with a little darker paint you can get tail lights that have a darker look instead of brighter, like the JDM tail lights.
 
Sep 19, 2011
510
0
16
Des Moines, IA
ZoomZoomZoom;2018398 said:
Nice write-up! I remember a similar thread, but the point was to make all three rear pieces match in color. I do remember the oven trick.

Methinks with a little darker paint you can get tail lights that have a darker look instead of brighter, like the JDM tail lights.

Yes, you can, but I don't care much for the jdm tyte tinted tails yo. So i stuck with making them look as nice as possible. I'm not really into the whole taillight tinting either.

It wouldn't be hard at all to make them like that tho. I got the idea from seeing his thread, but decided instead of literally cooking the lights I would toss them in water to soften the glue up and it wouldn't be in direct heat. :) IMO it is a much safer way overall to do it.
 

yhatzee89

Joe Yantz
Aug 31, 2012
977
0
16
San Antonio, TX
In order to darken the center twilight you have to remove the silver paint on the inside of the lense, the reason his lights look the same all the way across is because the silver in the side lenses replicates the silver paint inside the center piece. But I don't know how you would remove the factory silver paint without ruining the lense itself
 

ZoomZoomZoom

On the road again..
Dec 9, 2007
443
0
0
KY
yhatzee89;2018713 said:
In order to darken the center twilight you have to remove the silver paint on the inside of the lense, the reason his lights look the same all the way across is because the silver in the side lenses replicates the silver paint inside the center piece. But I don't know how you would remove the factory silver paint without ruining the lense itself

How to remove the paint:
http://www.supramania.com/forums/sh...ive-Paint-from-Center-Taillight-Section/page2

I haven't attempted it yet, but plan to. Not a big fan of the LED look, but would like all three pieces to be the same color.
 
Jul 14, 2014
39
0
6
Sussex County
Wow, sorry this is a suuuuppppperrrr late reply. I've had my supra for about a year now and the lever to open the trunk never worked and the key hole has now stopped working so I'm forced to open the trunk through the car ( very annoying). I also want to clean my taillights in the process, how significant is that black stuff that seals the rubber coating on top of taillights, like is it something I can just buy or do I have to get it from Toyota if they even make it anymore
 

hvyman

Dang Dude! No Way Man.
Staff member
Apr 17, 2007
12,568
1
0
Fullerton,CA
The part that seals plastic lens? It's only about 10-15$ it's 3m window seal or butyl rubber glue.
 
Sep 19, 2011
510
0
16
Des Moines, IA
was just going to bump this a few days ago. glad people are still checking it out. Hopefully it is still helping.

I forget what the stuff I used was called, but I used a 3m 2 part clear epoxy. I am sure there are some other cheaper options on the market now, but that is what I used back then, and it has held up great so far.
 

300K91T

New Member
May 28, 2013
15
0
0
IL
I had the exact same situation, could not get the cylinder reworked but did find a great work around. On my 91, I removed the end of the lift lever cable from the cylinder assembly and attached directly to the trunk latch...the lift lever now works perfectly.