Nicks 89 mk3 build

NickG21

New Member
Feb 3, 2014
12
0
0
Vancouver, Washington
I bought my first supra at the beginning of this year. Originally i was going to do a stock rebuild but that ended quick and my search for power has began.I started tearing into things a while back and i don't have many pictures of all that so ill try to catch everything up to where im at now. The begging part might be a little unorganized so bare with me.

white.jpg

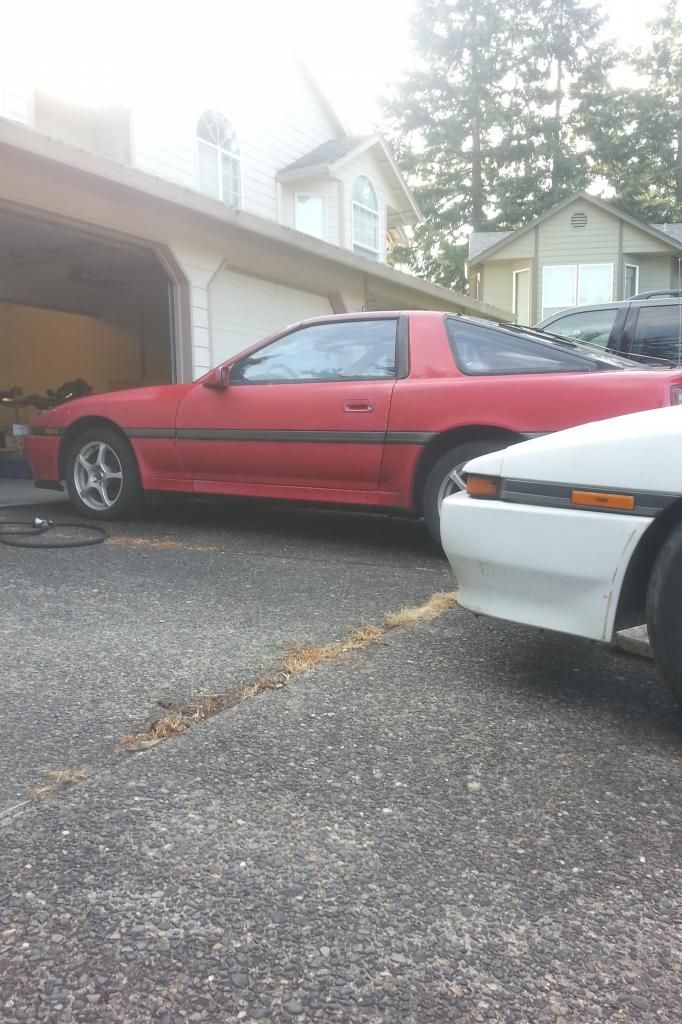
This is the car. Its an 89 N/A targa, Burgundy interior(gross) but the body is straight and paint is decent. Ill be sticking with the 7m despite everyone saying i should go jz.. oh well. I bought .40 over cp pistons and eagle rods. Found an engine and block that came with wiring harness ecu exhaust and intake manifold blah blah. Took the block into the machine shop to get all the necessary work done. As of today 3/26/14 im waiting for the machine shop to finish up on their end. A few weeks ago i came across an 88 targa turbo supra with grey leather interior (only the driver seat was torn up and 20 years of dirt in the carpet/ plastics) and a running engine minus the turbo. oh and an r154 which ill be needing. picked that bad boy up and immediately started tearing into it.

trailer.jpg
Dont worry i disconnected the drive line from the diff so it was safe to tow.

its late now just wanted to get something posted up ill get more pictures and info as to where im at hopefully tomorrow
 

NickG21

New Member
Feb 3, 2014
12
0
0
Vancouver, Washington
Got the parts car in the garage to begin tear down. To make it as easy as possible for re assembly i bagged and labeled all the bolts.

As you can see it has a ffim welded onto the stock intake manifold, not sure how that works.. luckily i have another one.
partsengine1.jpg

Hooked up to the engine hoist and with a little internet magic....
partsengine2.jpg

Got that SOB outta there.
partsengine3.jpg

There was oily dirt all over the block transmission and head.. how can people let their car get like that.

R154
dirtyr154.jpg

Since i am still waiting for the machine shop to finish up prepping my block and head and am not ordering any part until its done i decided to take out the interior as ill be using it. Again i labeled and bagged all the screws and bolts for easier re assembly later on. Since all the interior is going to be out for a while and i have nothing else to do ill be cleaning all the plastics/ carpet dash/ inside vents...to get ride of 20 years of smelly dirt buildup. I didnt take pictures while taking interior out, ill get better at it i promise.

First i started with the carpet. It had black stains all over and no real signs of it being grey anywhere. I didn't have a lot of hope for it cleaning up well. I used some type of generic oxy cleaning powder mixed with hot water. Soaked the carpet in the cleaner, scrubbed it multiple times and vacuumed the water out. Since the vacuum didn't get all the soap out i hung the carpet up and rinsed it. I did this until the water turned clear. Looked like tea was pouring out of the carpet for about 20 minutes of rinsing. I used a leaf blower to dry the carpet.. worked really well. Actually i used it to dry all the parts.
cleancarpet.jpg

Have yet to clean the door panel. just an idea of the condition of the interior. Not bad
doorcard.jpg

Since the space these cars take up in the garage and driveway wasn't enough i have now started moving the clean parts into my front room of my house to stay clean and out of the way. Supras take over your life in every way.
interior.jpg

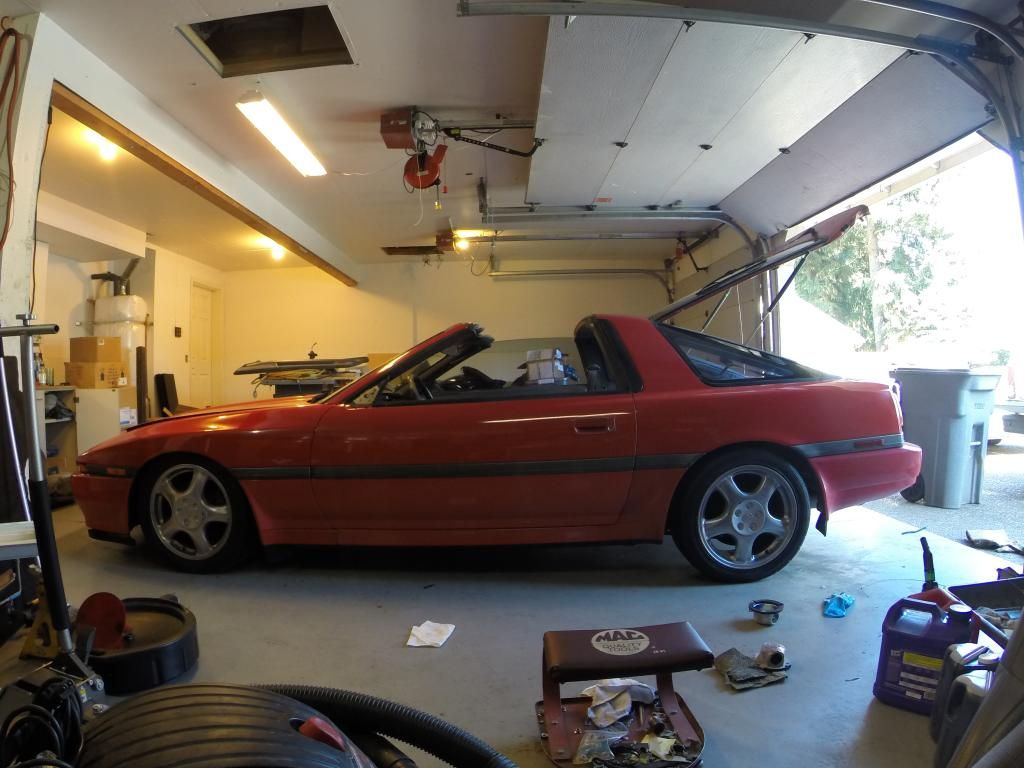
Here is my work space. I have a 3 car garage and im using up two of the bays. My work space is usually a lot cleaner just haven't had the time to clean with my job taking up so much of my time. Lots of parts laying around and boxed up.
garage.jpg

Picture of the parts car closer up
car.jpg


My plans for the supra.. At first i was going to do everything at once internals bigger turbo aem ecu and all that good stuff to achieve my horse power goals. While talking with a friend, a former supra enthusiast he said it would be better to build the block and then put everything else together as if it were stock. Run it like that for the break in get any other kinks out of the way so at least it would be drivable at this point. (hopefully by summer 2014) From there i will buy all the go fast goodies and install one at a time so if i run into any problems i will know what it was to keep the least amount of down time possible. To me this sounds like the best way to do it to keep myself from getting board and overwhelmed of the project.

So this is pretty much caught up to where im at. Just prepping and cleaning. Next i have to swap the interiors and hopefully ill be able to order all the parts i need soon. Ill try to keep this as up to date as possible. Looking forward to hearing your comments.
 

Quin

Trans killer
Dec 5, 2006
1,989
0
36
33
Columbus, IN
Make sure you keep track of the incredible amount of things behind the dash. I am in the middle of doing an interior swap into a bare shell and kinda kicking myself for not taking more pictures.

Sounds like you're on the right track.
 

NickG21

New Member
Feb 3, 2014
12
0
0
Vancouver, Washington
luckily the other interior is still in so im just going to replace each part one by one. hopefully this way i makes it easier. I feel you on the not taking enough pictures part. such a hassle though
 

Grandavi

Active Member
Sep 25, 2008
2,663
5
38
Calgary, Alberta, Canada
Problem with under the dash is that its like a puzzle and very full. You have to dismantle the other dash area completely to put it into the new car. You cant pull one piece.. and pop it in there because its like a puzzle. So it does help to have a ton of pictures. Do you heater core and its O-rings while in there as that is a real PITA later one if you have to go back in. You can get a brand new core from the US for under 100 bucks.. OEM here is about 685 I think... something insane anyway.

The 2 areas that are the biggest problem later is the back of the engine and under the dash. Do those areas right... :)

What RA did you request for the block surface? I am assuming you are doing ARP head studs and a metal head gasket?

Good to see another Canuck with a Supra! (and... where there is little snow as well!
 

NickG21

New Member
Feb 3, 2014
12
0
0
Vancouver, Washington
akito;1998190 said:
Good build you have here, do you have anymore pictures of that "FFIM"?

I'll get a closer picture of it later tonight when I'm off work..

I have a pretty good memory of how to put things back together most of the time if not it doesn't take me long to figure it out. As far as part by part I quess I phrased that wrong I'll be doing it all in one day so I should be able to put it back without a problem. But you know how that goes.

Actually I'm just south of the Canadian boarder in Washington.

Thanks for your input guys. I appreciate it. Still trying to figure out how to use a forum never used one before.
 

NickG21

New Member
Feb 3, 2014
12
0
0
Vancouver, Washington
More interior updates.. I know boring! Anyways i took all the interior out of my car to swap the grey in and holy crap was that thing dirty underneath. So i took the day and washed it out. I would recommend to anyone who hasn't taken their interior out to check. Lots of dirt and stink under there.

Gross
dirtyinterior.jpg

Behind one of the rear plastics
dirtyinterior1.jpg

dirtyinterior3.jpg

The whole inside of the door was this filthy
dirtyinterior2.jpg

Clean inside
clean1.jpg

clean2.jpg


Thats about it for this weekend still lots of cleaning to do. Hopefully ill have better updates next week as far as engine parts go.
 

NickG21

New Member
Feb 3, 2014
12
0
0
Vancouver, Washington
akito;1998190 said:
Good build you have here, do you have anymore pictures of that "FFIM"?

GOPR0142.jpg

Here is the forward facing stock intake that came with my parts car sorry it took so long to take a picture. Not sure if this is even capable of being used
 

NickG21

New Member
Feb 3, 2014
12
0
0
Vancouver, Washington
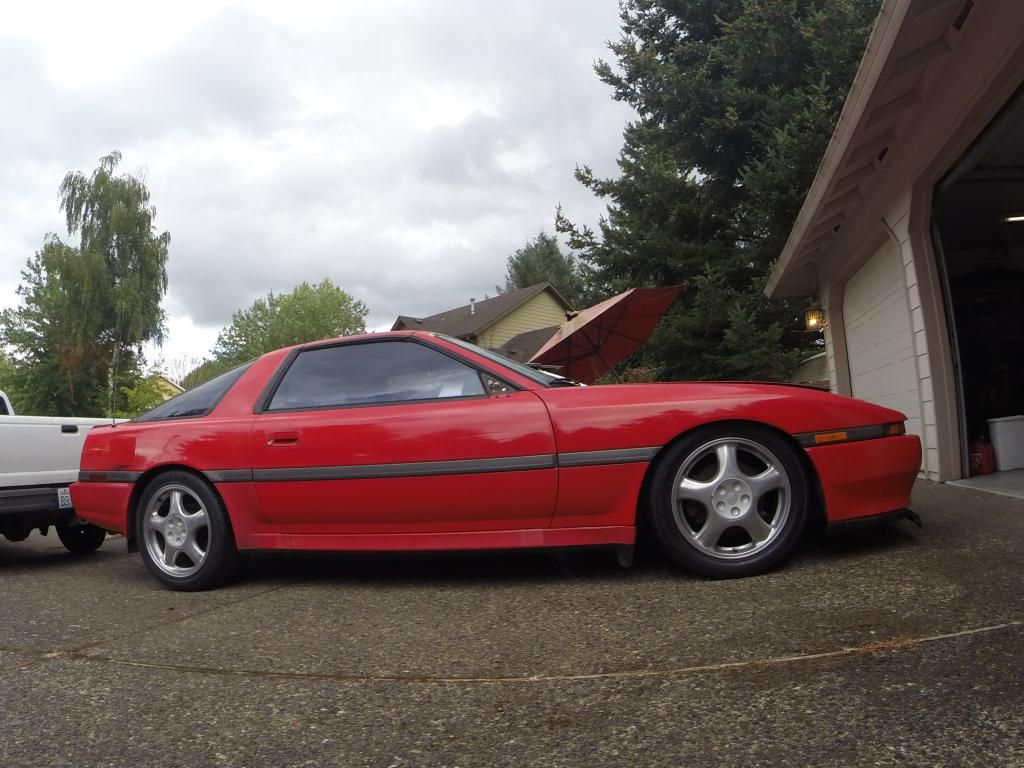
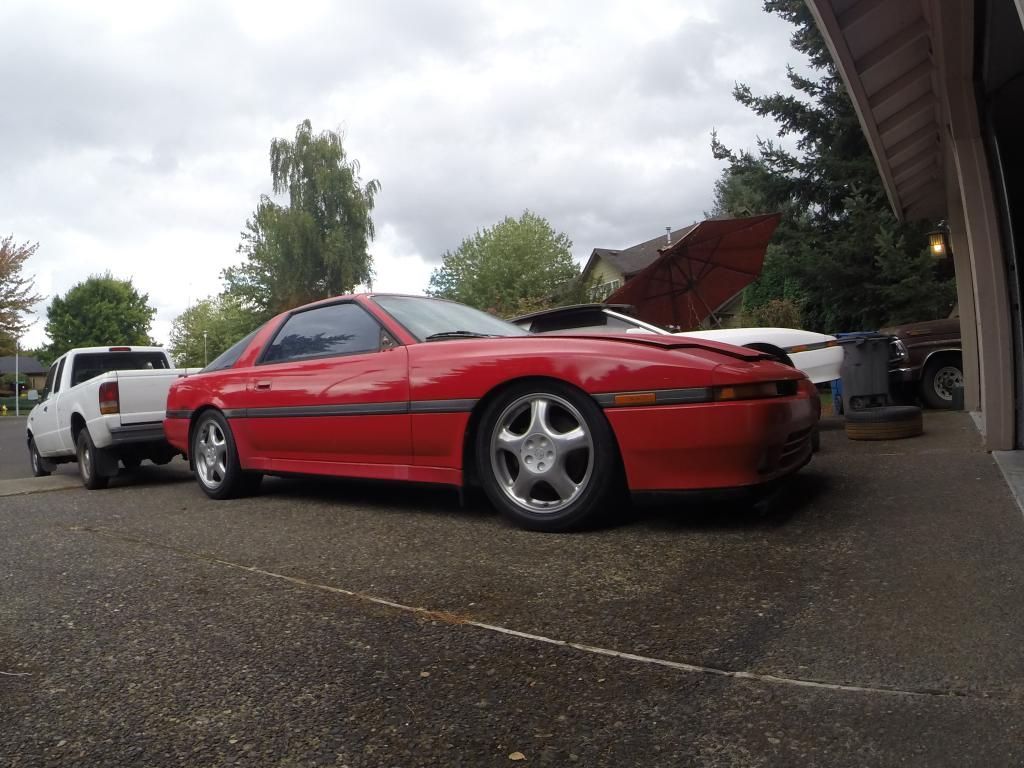
Its been a while but plans changed with the original shell. It has a bent frame didn't want to deal with it so i bought 1990 NA targa for $1500 it ran and drove after i did a little tune up on it. Paint wasn't the best at first it was almost pink.


I washed buffed and waxed the car mostly just above the trim for now because im lazy. Installed my coilovers and picked up a really clean set of mkIV wheels with brand new tires. The wheels make the car look 100x better


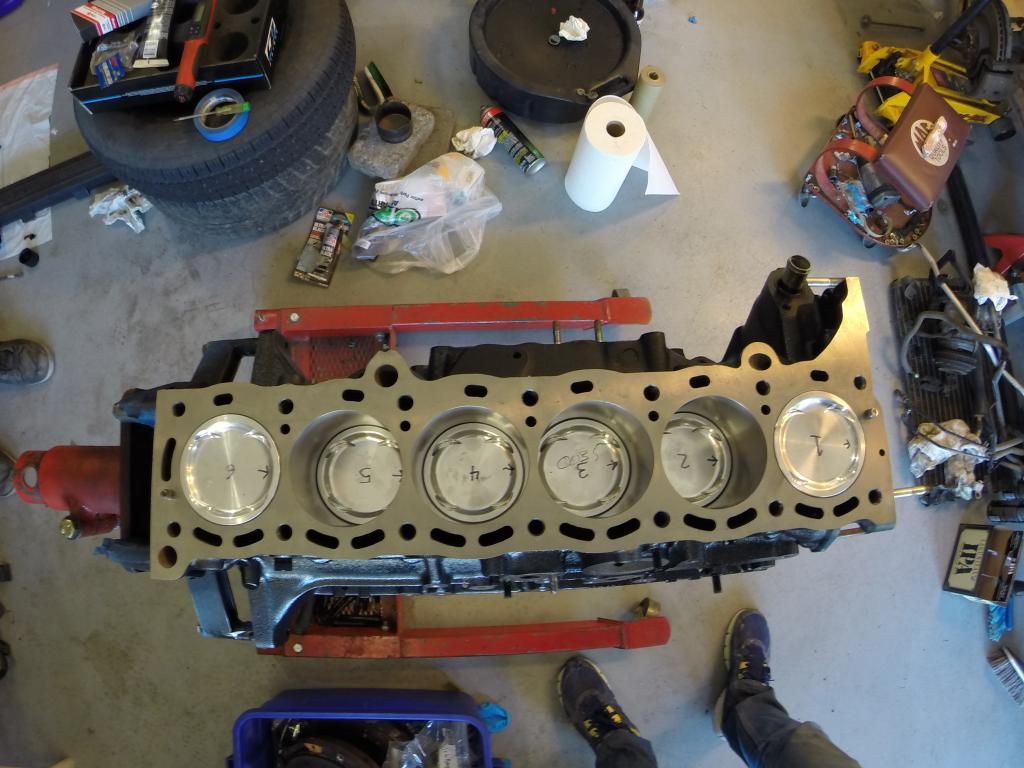
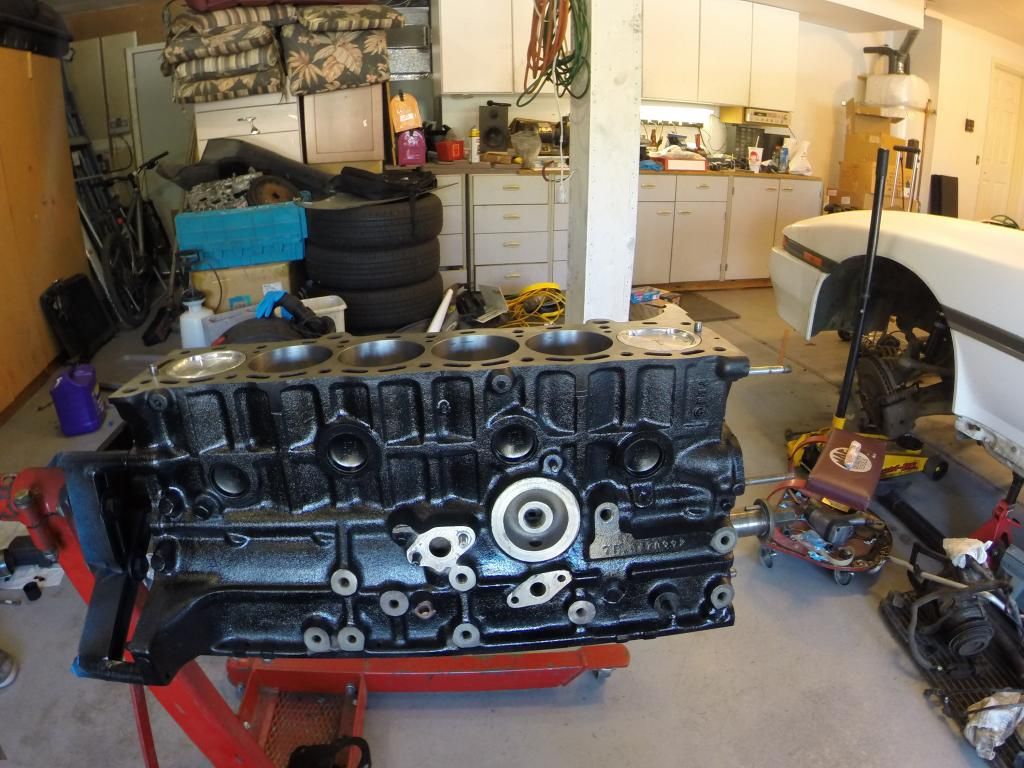
I finally got around to putting my engine together. Everything is brand new

Cp pistons
Eagle rods
water pump
1.44 mm metal head gasket
Oil pump & hose
Arp head studs
Ignition wires
Timing belt
Action stage 3 clutch/ flywheel (cant remember brand)
All new gasket set
Driftmotion down pipe
Flywheel bolts
heater/ cooling hoses
engine mounts


Im really bad at remembering to take pictures. that's all i have from putting it together.. at this point it is mostly complete and ready to install ill try to get pictures later.

Im also replacing every gasket i can to keep this car from leaking into the interior. A few weeks ago i purchased from toyota

all targa seals
rear hatch seal
tail light gaskets

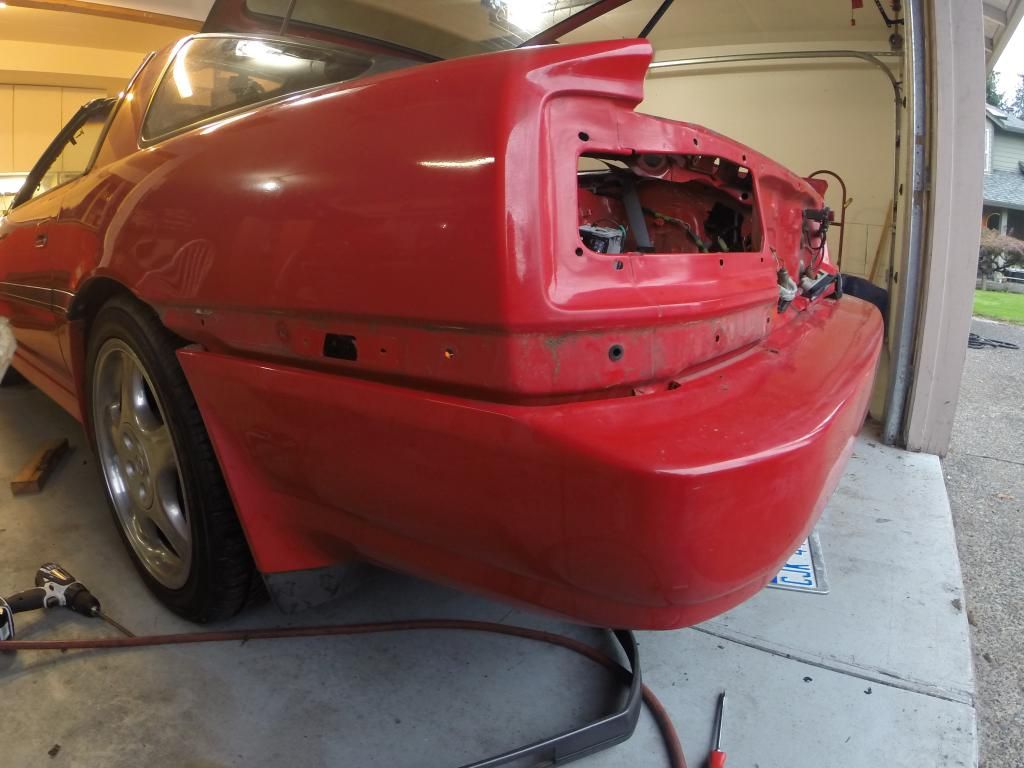
Its crazy how expensive all that costs but it will be worth it in the end. While i wait for a few more final parts to come in i decided i would start in on replacing the tail light gaskets. Its not hard but it sure is a chore. I removed the rear interior panels to make it a little easier also had a few other things planned while i was back there.

sm_photo_missing.jpg
[/URL][/IMG]

took the trim off so i could replaced all the little gaskets that are around the screws and also cleaned all the dirt out that was there.


One other thing i did was move the power steering reservoir back to where the engine harness goes into the firewall. looks a little better there and out of the way. who knows how this will do with the lines running near the exhaust but i guess i will see. To do this i customized the stock bracket to make it smaller and fastened it to the fire wall


Hopefully i can begin installing the engine by the beginning of next month, ill try to keep this updated and take a lot more pictures.


Thats it for now. Lots more to come once i get some more free time
 

NickG21

New Member
Feb 3, 2014
12
0
0
Vancouver, Washington
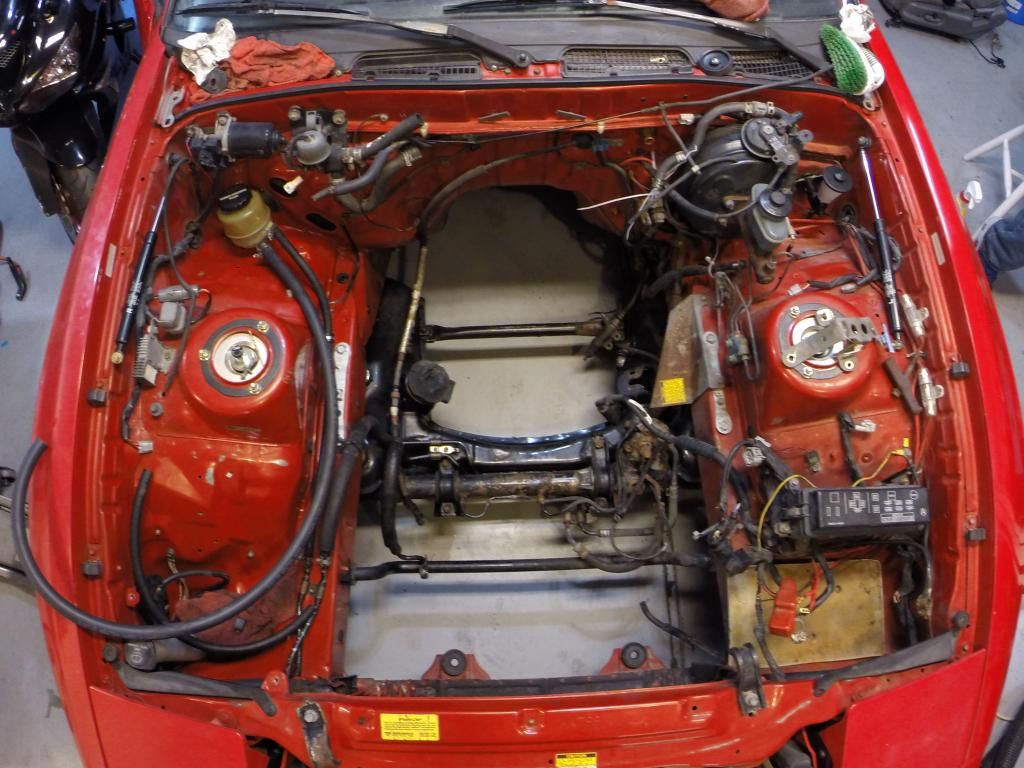
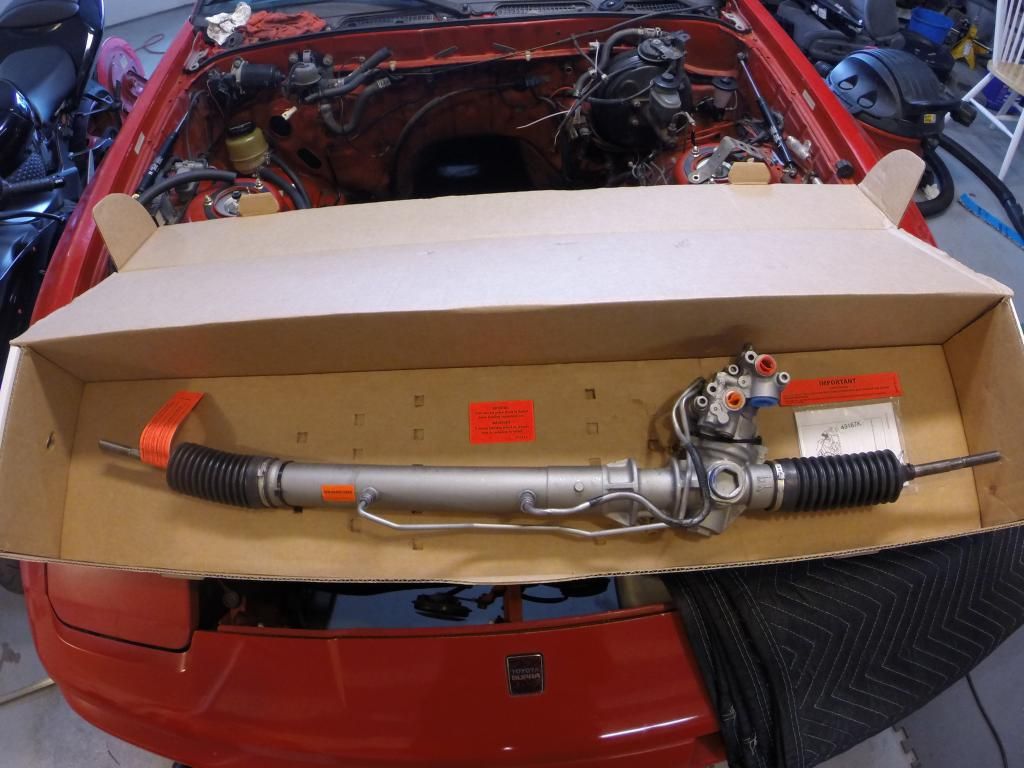
Been working on the supra here and there trying to get some things done while the engine is out, so i Decided to replace the steering rack as well.


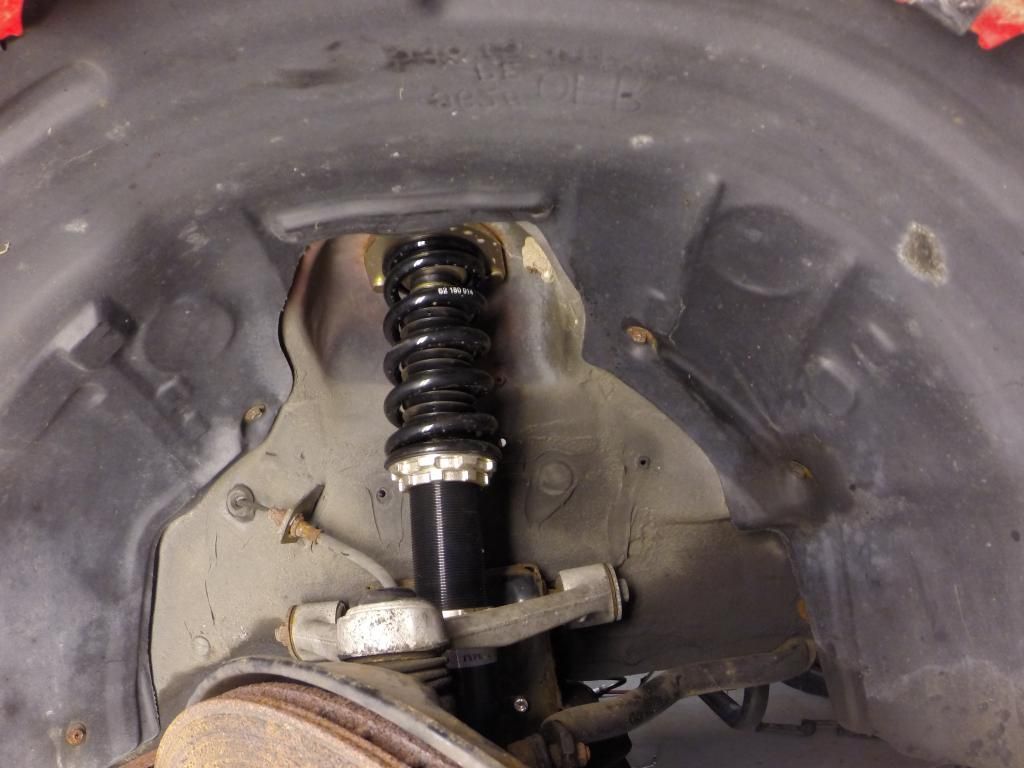
Forgot to post a picture of my coilovers. Dont mind the rusty break rotors still trying to decide what route i want to go for breaks


NickG21

New Member
Feb 3, 2014
12
0
0
Vancouver, Washington
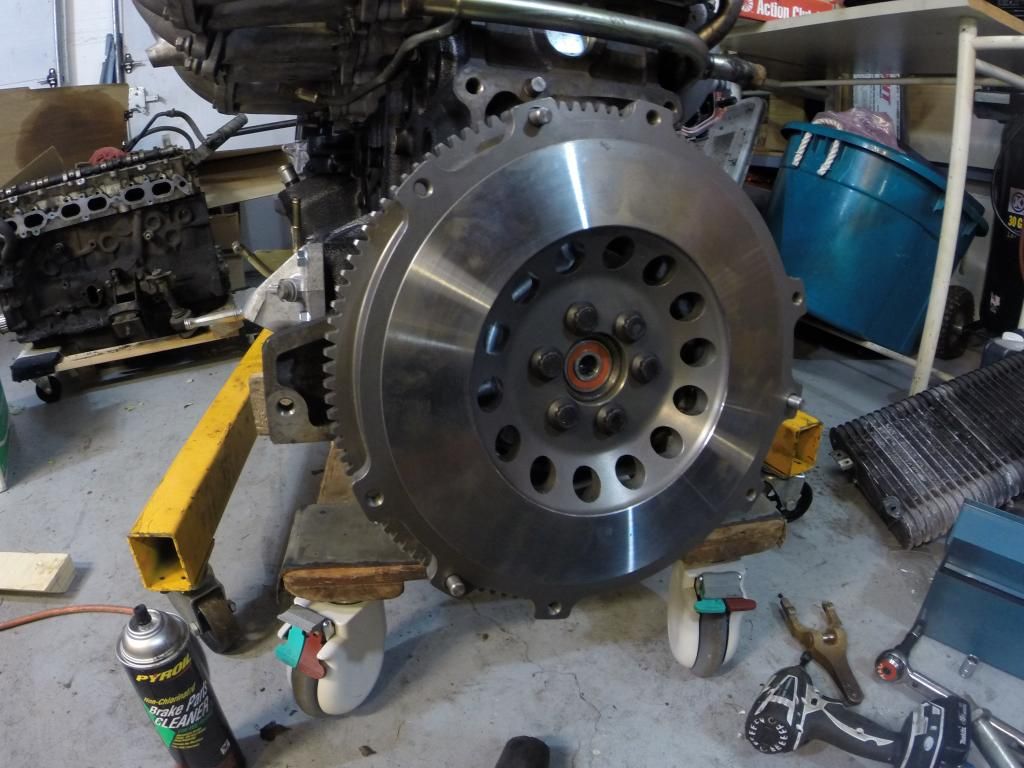
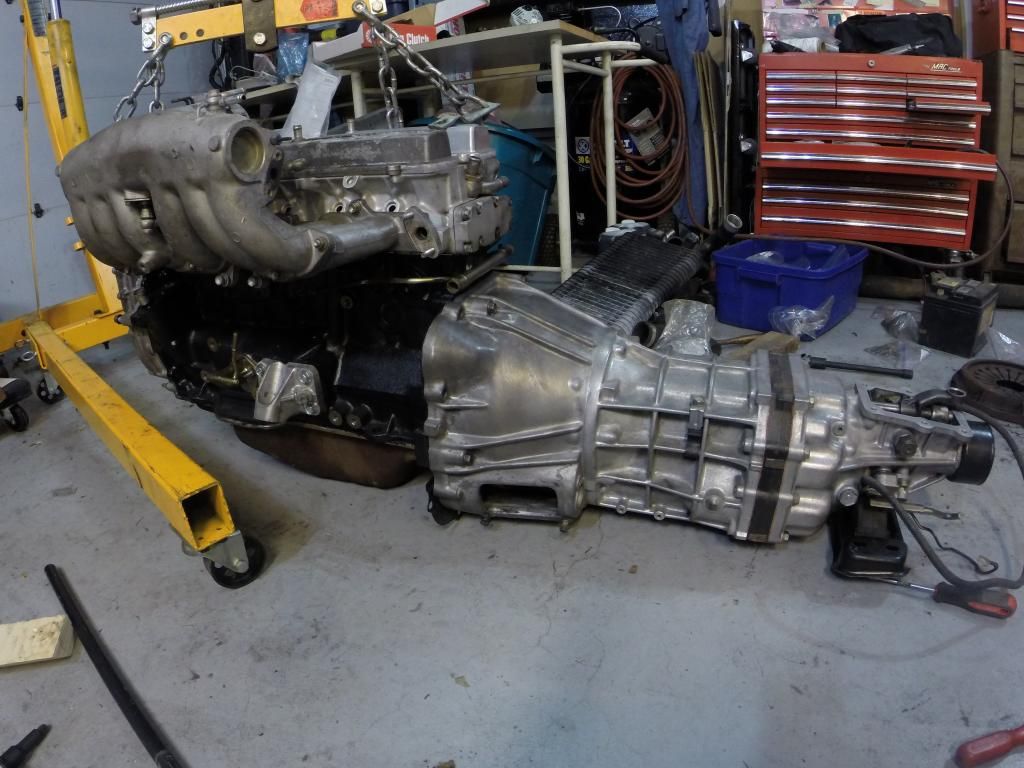
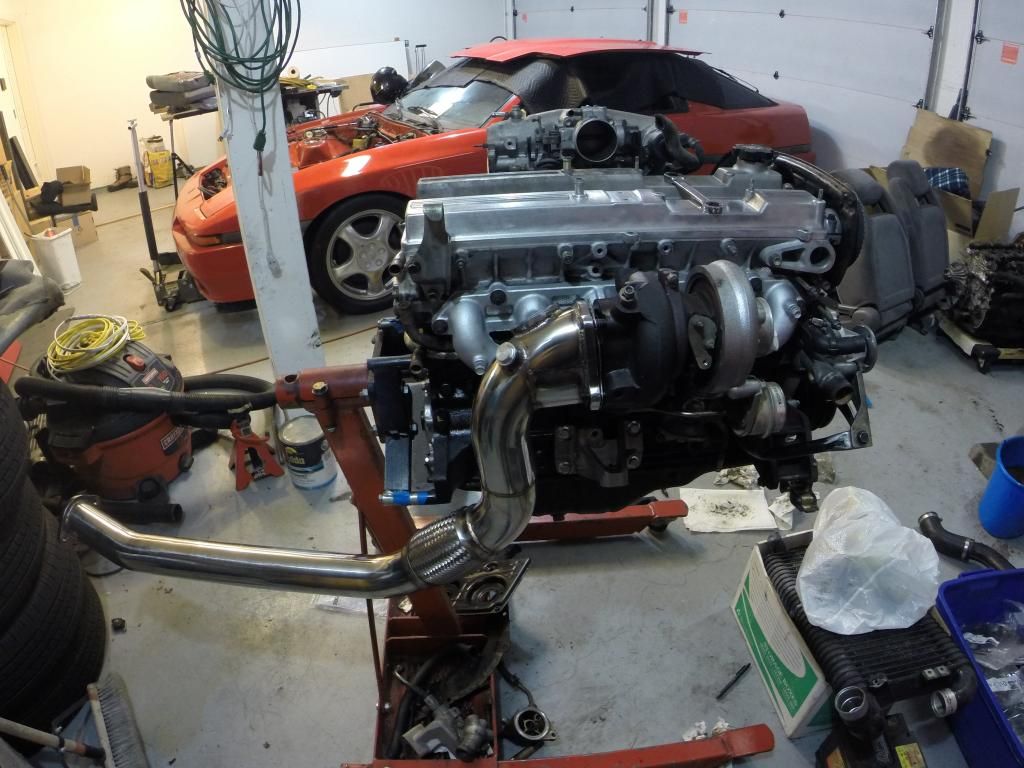
Got most of my engine together now. Put the engine on the floor and installed the new flywheel, clutch and pressure plate. Turbo, exhasut manifod and intake manifold are installed


new arp flywheel bolts as well


I didnt like the way a lot of people showed for installing the clutch pressure plate and trans and having to dick around with tightening the pressure plate through the peek holes on the tranny. I was able to center the clutch and tighten the pressure plate with the transmission off, then slid the transmission on. Took me about 5 minutes and was a lot easier in my opinion.


Before i put engine on the ground seeing how it looked with the down pipe on.


Next ill have everything else on and maybe have it installed in the car
 

Bogwon

New Member
Dec 1, 2012
452
0
0
Bremerton, WA
I put my clutch and pressure plate on the input shaft inside the bell housing when I had my tranny rebuilt. Never again. Luckily, next time I'll have the motor out like yours and I can use the clutch alignment tool I have sitting on my work bench.

Great progress so far, looking forward to more pics!
 

NickG21

New Member
Feb 3, 2014
12
0
0
Vancouver, Washington
Thats how all the guides said to do it and it just seemed like a pain to do it that way. Thanks guys I should have a lot done here in the next few weeks depending on my schedule
 

NickG21

New Member
Feb 3, 2014
12
0
0
Vancouver, Washington
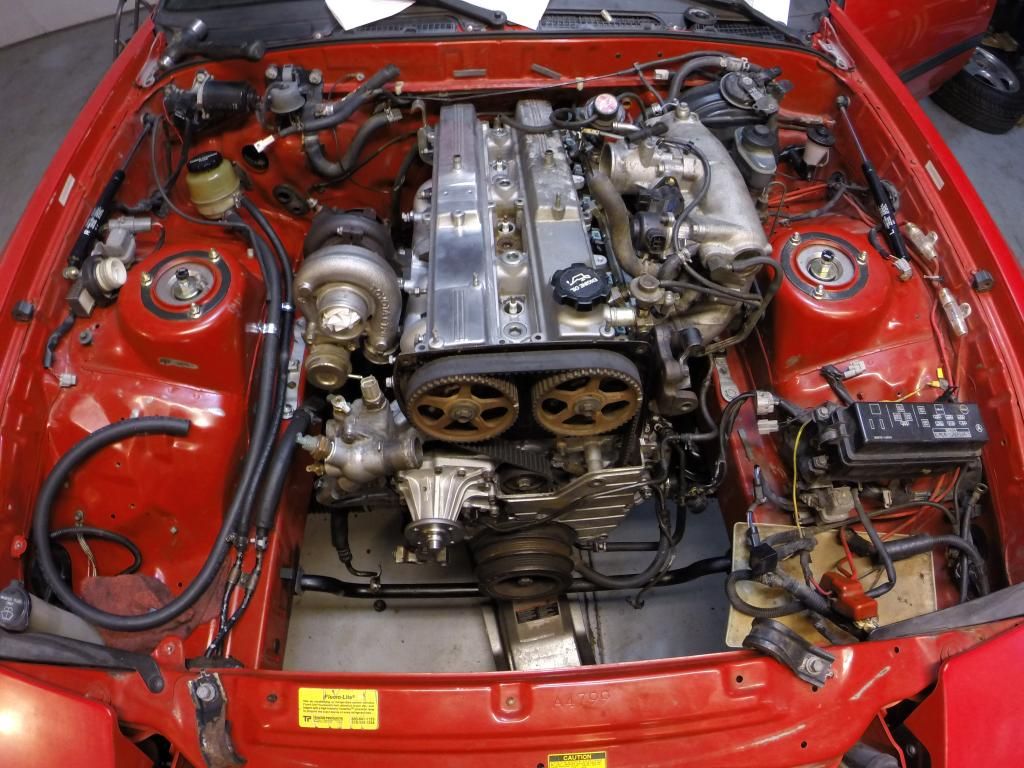
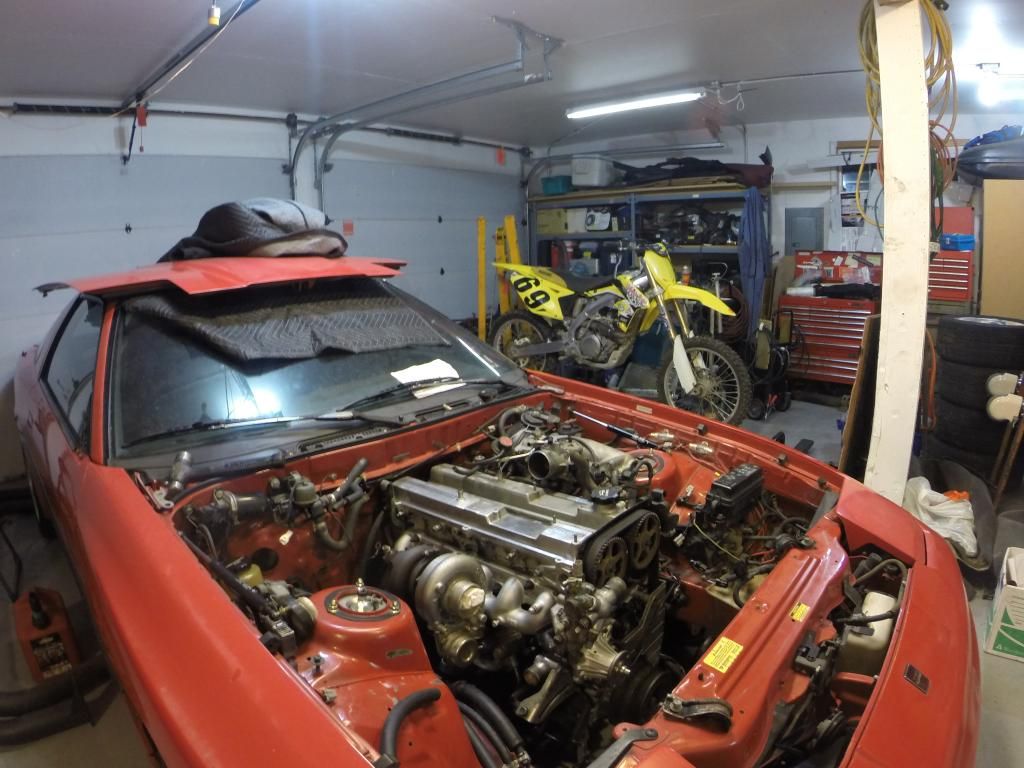
Havent had time to work on the car as much as ive wanted to the past few month. I finally put the engine into the car. Got mostly everything connect as far as vacuum lines, heater hoses ect.

Picture is from right after i dropped it in


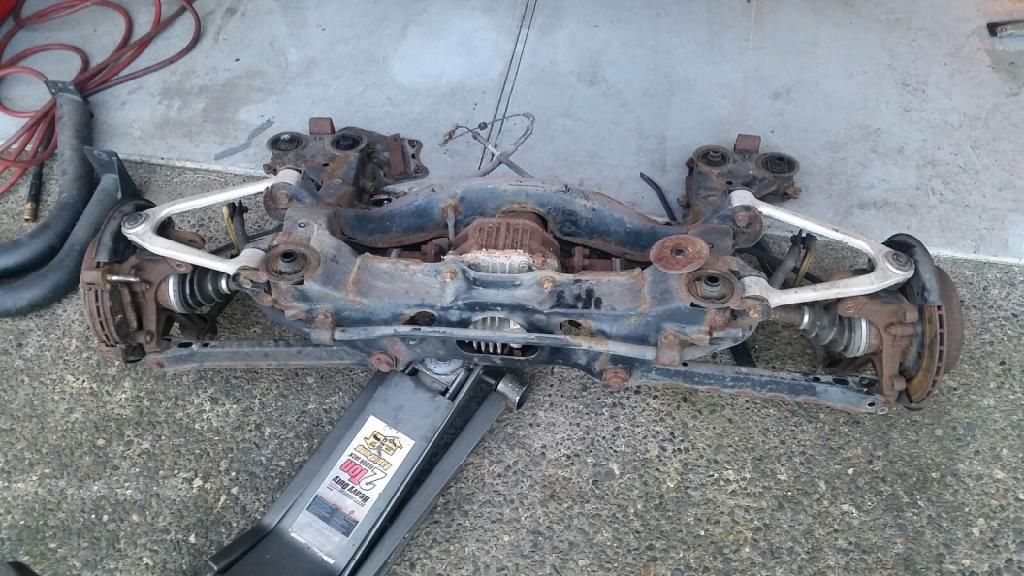
When i was about to install the drive line to the differential i noticed my rear subframe had a little surface rust all around and also my diff had been leaking at some point. I removed the subframe from the car


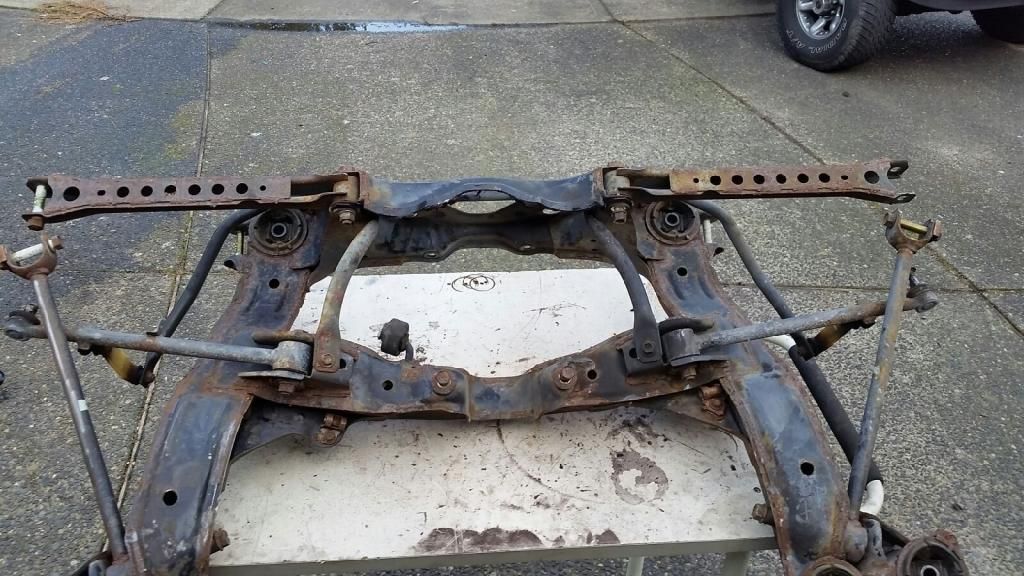
I then pulled everything from the frame


My plan is to wire wheel all the rusty spots off and then paint the whole thing with a preventive rust paint that will make it look better as well.

Thats just a quick update for now. Next ill be replacing:

rotors and cailper
battle version Toe, camber and traction links

I almost forgot to mention a few other things i got:

Aeromotive fuel pressure regulator
New clutch hose
Marlin crawler shifter bushing and socket
walbro 400lph fuel pump(i plan to have big hp within the next year)

I would have had my car running months ago but i get caught up with the smallest details and try to make everything perfect. The engine doesn't need much more for it to be running maybe a few hours of work.


Attachments

  • GOPR0214_zps5dham0rs.jpg
    GOPR0214_zps5dham0rs.jpg
    136 KB · Views: 6