
(Project John Doe)
This is my '87 supra that i picked up back in '09. It's my first build so I hope you all enjoy! Feel free to comment! (Criticism, constructive or not, is part of the fun.)
You can also check out my build story here www.qcarcodes.com/joe-born-main
Or even showcase your own, details at www.qcarcodes.com
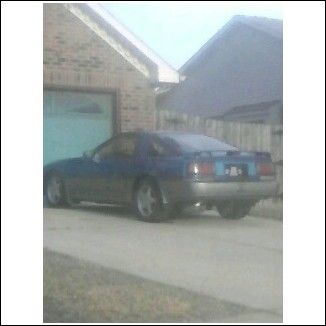
Here is how my Supra looked right before I bought it. It had been sitting there for a couple years untouched, so it was time to save it") (I apologize for the horrible resolution, it was taken from a far and blown up.)
(I apologize for the horrible resolution, it was taken from a far and blown up.)
There was a long period of time that I worked on this thing, and didn't take any pictures. I regret that now, but what can you do?? So I did some research and this car originally was an n/a fully loaded with the 4.31 LSD rear end. The car was not original by the time I got my hands on it though. Someone had began swapping in a 7mgte and everything was butchered pretty bad (aside from the fact that it had an r154 with a new clutch.) After getting it running it had a bad rod knock, so it sat for a little while longer till I could get it going!
Finally I purchased a 7mge off of a good buddy of mine, and dropped it in with hopes of finally getting to drive this thing. After working through some electrical problems from sitting (corrosion on fuses in the kick panel and such) the car was running, and road worthy....or so I thought. The 1st/2nd shift fork broke after just a few miles...so back to sitting for a bit till i could line up another r154 without trading an arm and a leg to get it haha.
Okay I promise we're getting to the part with pictures haha, but first...After driving the car for a little over a year, and putting about 10k miles on that used 7mge, devastation struck. I was on my way to work one morning, about a mile from the shop my car bucks violently and starts knocking, and squealing...somehow i limped it up the road and shut it off as i pulled up to the shop where I work. After some contemplation on a 1jz swap...I decided my best option at the moment was to just rebuild the 7mge and have a solid motor, which will serve as my back up motor later...once I finally do a JZ swap.
The day after the motor started knocking, I stayed after work and in 3 hours the motor was out and ready to be disassembled

...then I tore it down...
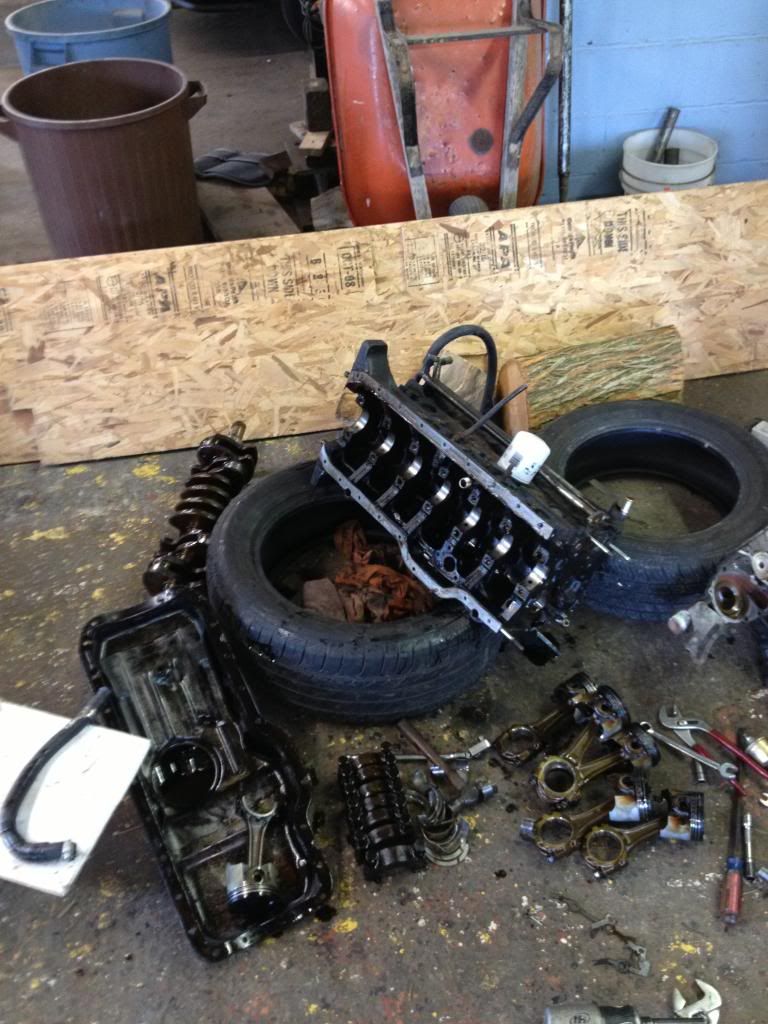
After removing the engine, I was glad to find that I had a later "heavy block" with a 7m crank...good deal. The bad news; however, whoever had the oil pan off last had been tinkering with the oil pump at some point...there is a brass washer with a tab that you're supposed to bend over one of the flats on the bolt that secures the oil feed tube to the pump. Well that tab wasn't bent over (I'm guessing no thread lock on the bolt either) and the bolt backed out causing a loss of oil pressure to the engine internals from the pump. Number 2 rod bearing was toast.... So I sent the block and crank to the local machine shop (the block to be checked, and the crank to be machined). After inspection, they had to bore the block .040 over to remove the taper and scoring from the rings, and deck the top a bit to remove the pitting around the coolant passages. Next step was to order some new pistons and rings, haha here comes the parts fairy!
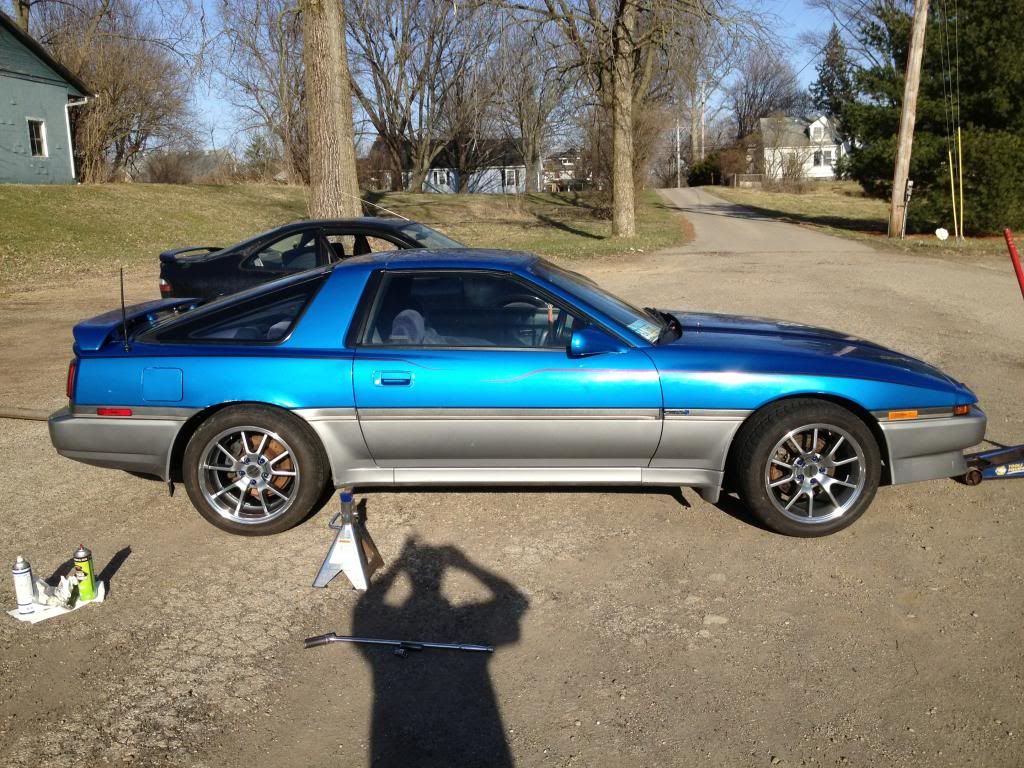
While everything was still at the machine shop, and all of my rebuild parts were on order...I decided to do some cosmetic work that was long overdue. First thing i did was pop my FR500's back on, with some blue lug nuts that I picked up.

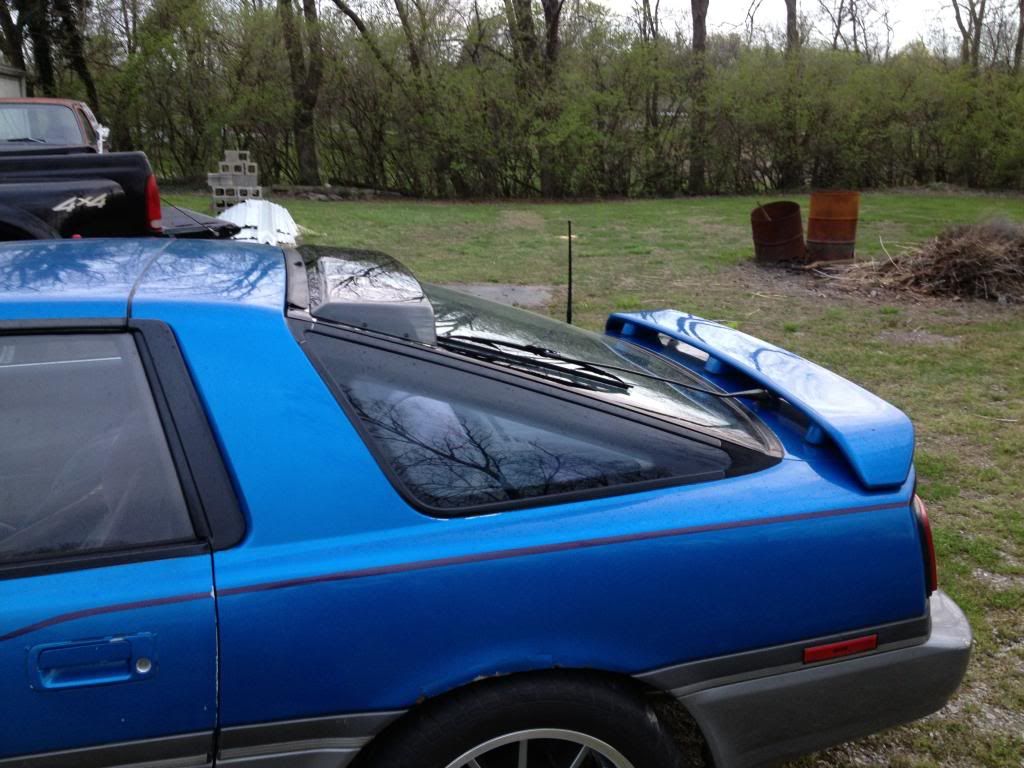
Then I put in an order with KevinM for one of his fantastic rear hatch visors, love it!


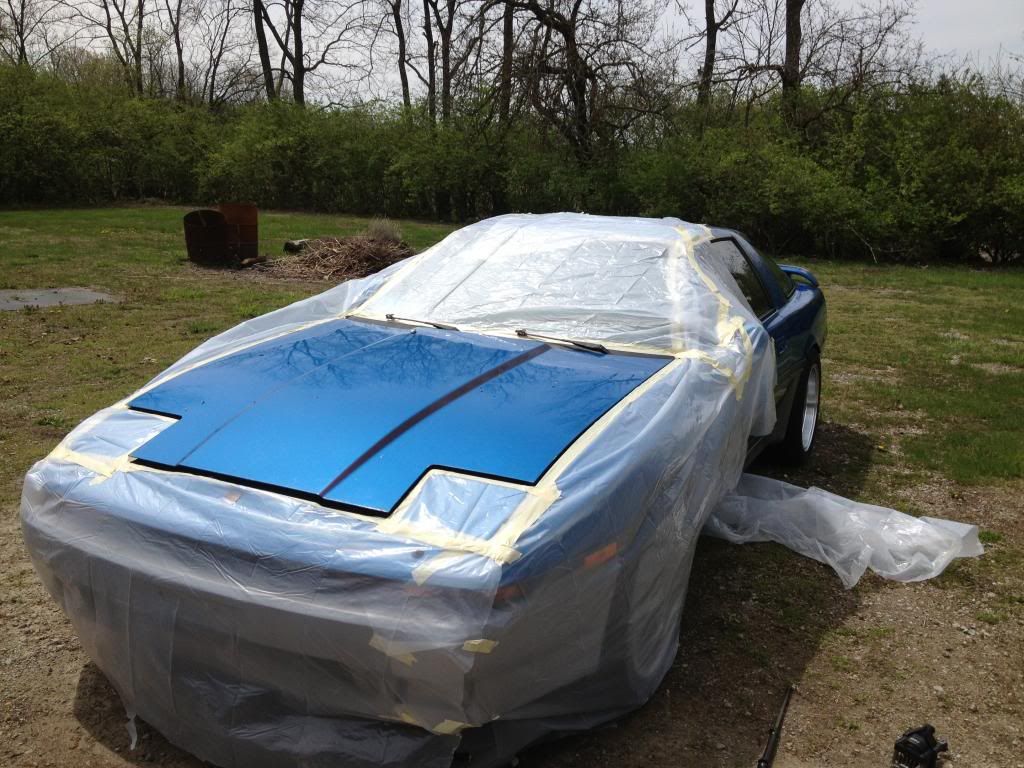
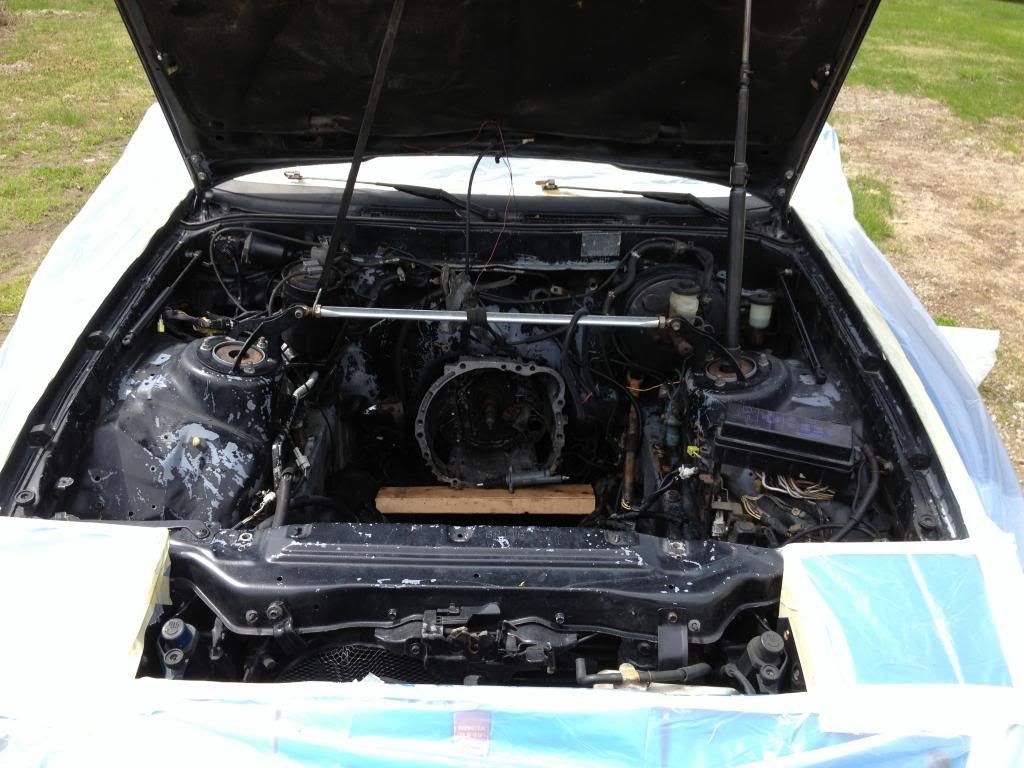
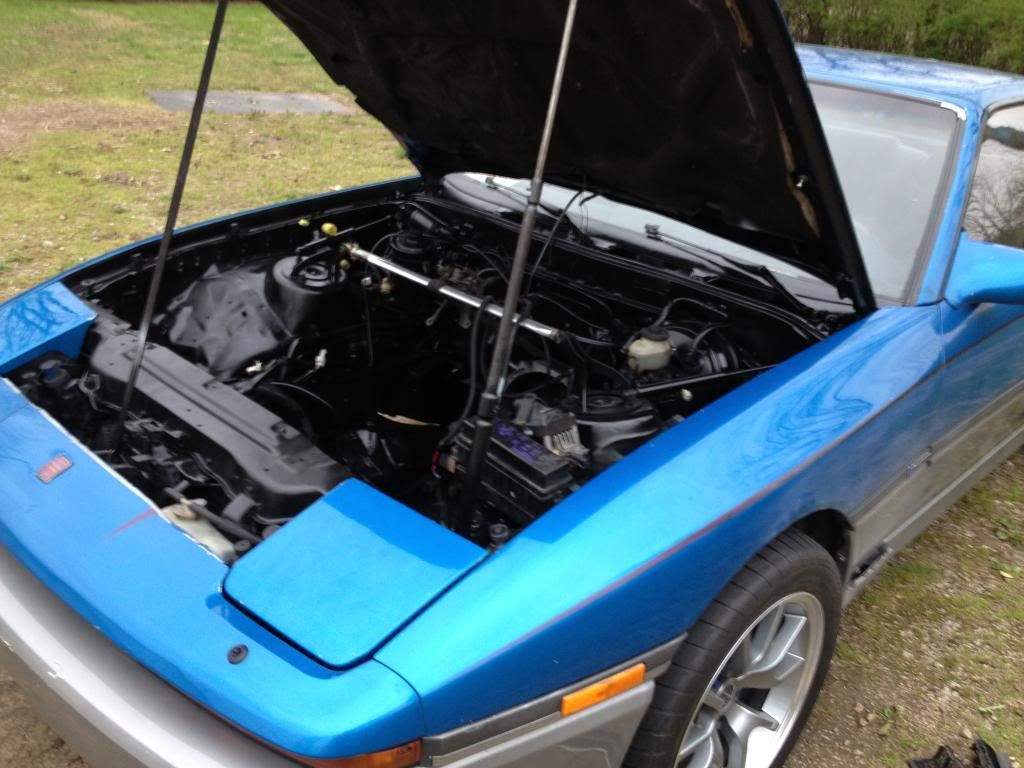
Next was the engine bay...this thing was a mess! There were still things from the Frankenstein turbo swap that was in the car when I bought it, bolted to the fender wells. There was dirt and grime everywhere, and the black paint (sprayed on by a previous owner it looked like) was peeling and chipping horribly. So I decided to take action now, while the motor was out of the way.
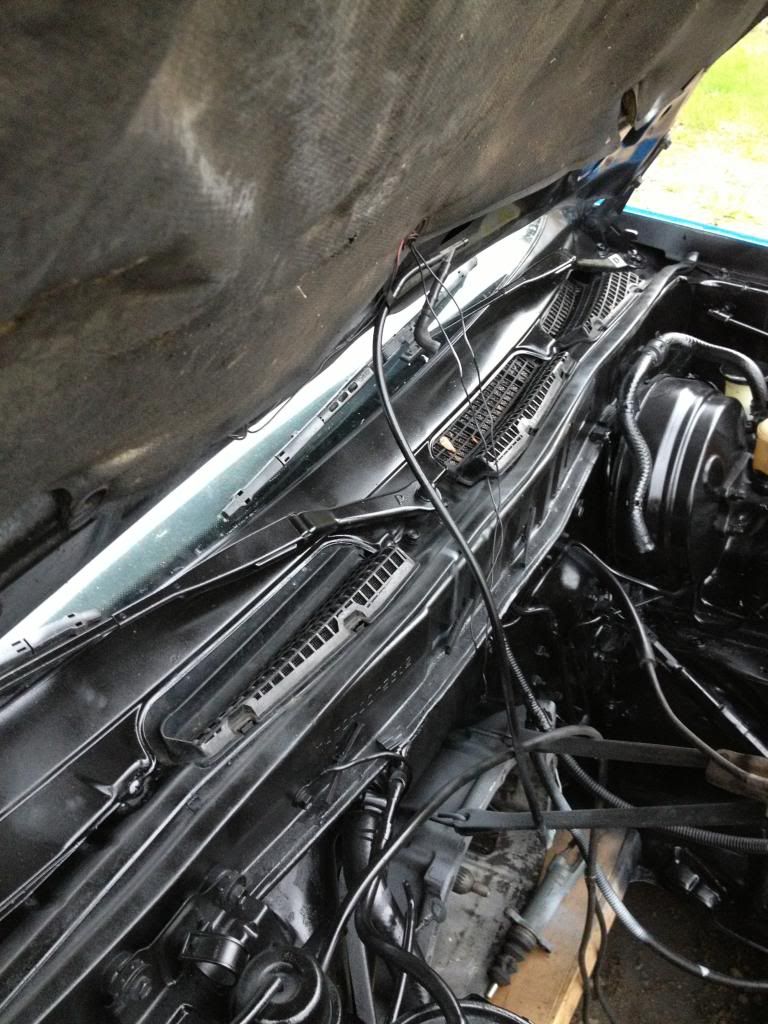
Got it all masked off and ready...

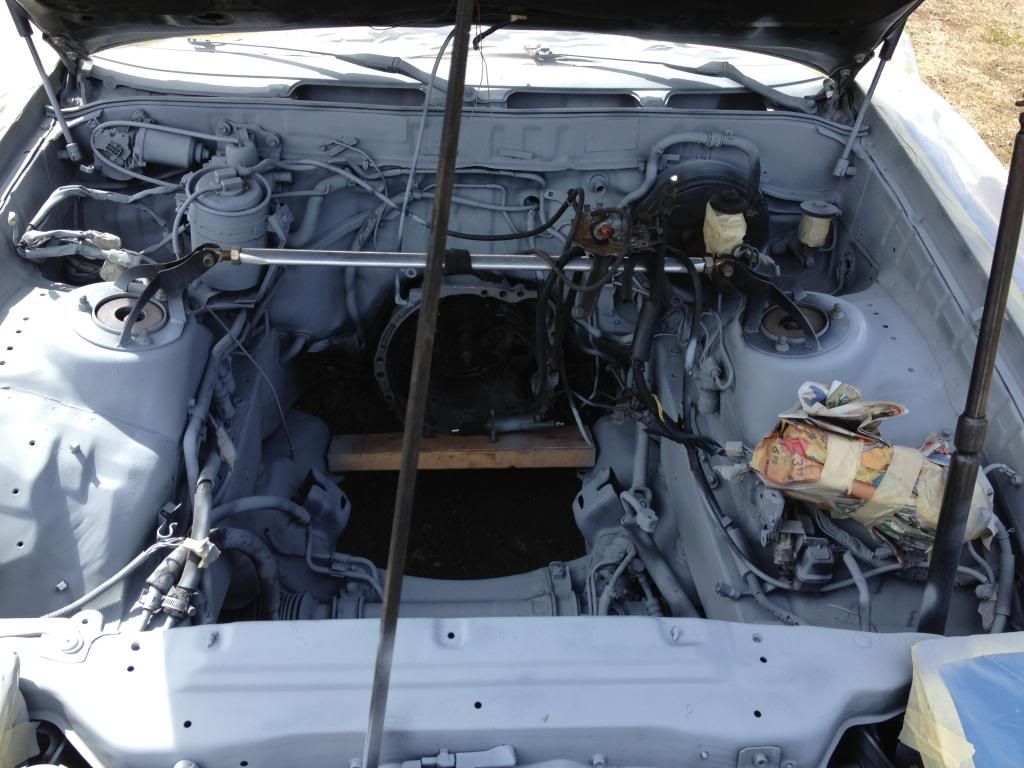
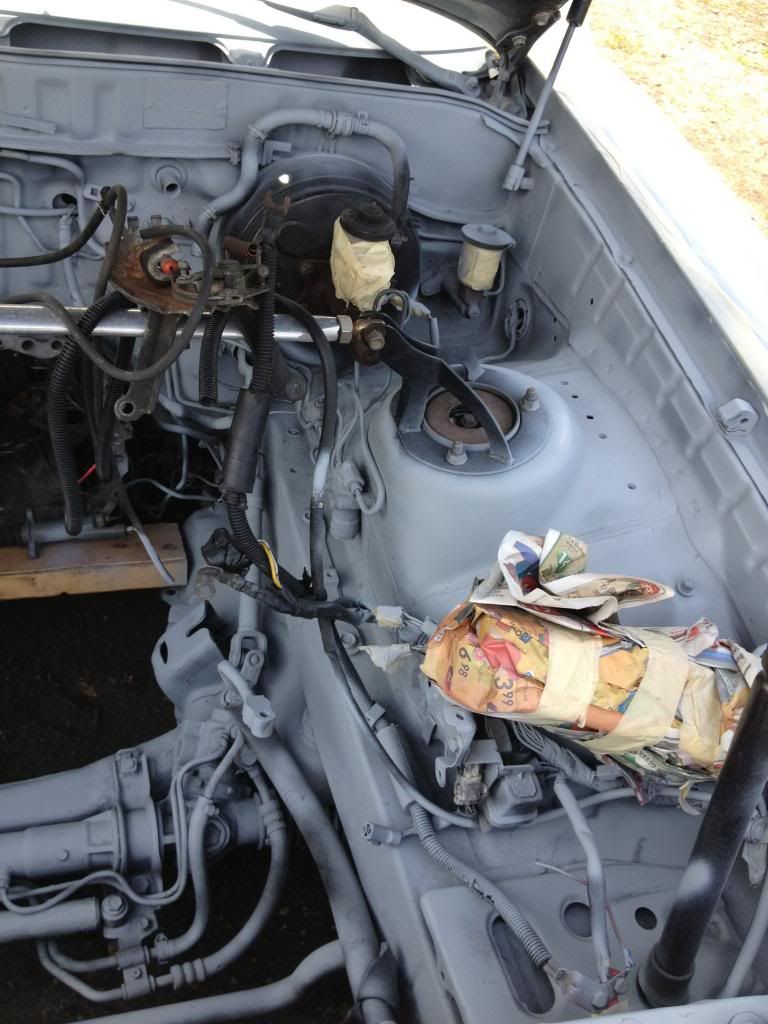
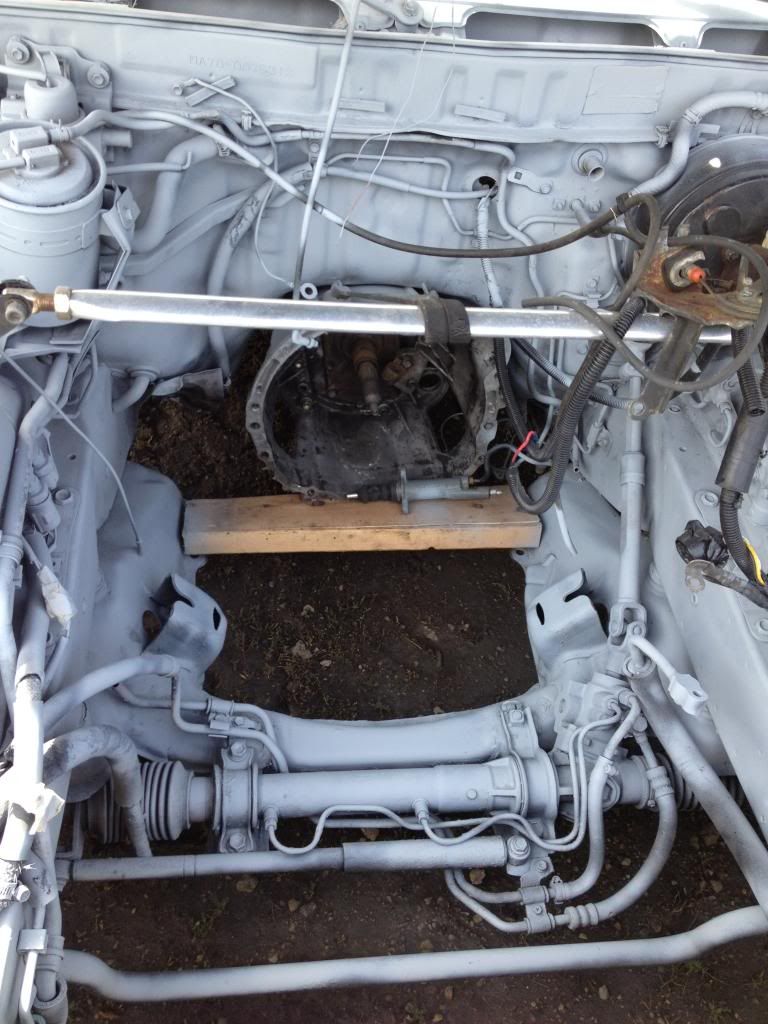
After a thorough degreasing, a soapy wash, and a good rinse...I was ready to start spraying! Filler primer first, then the black...

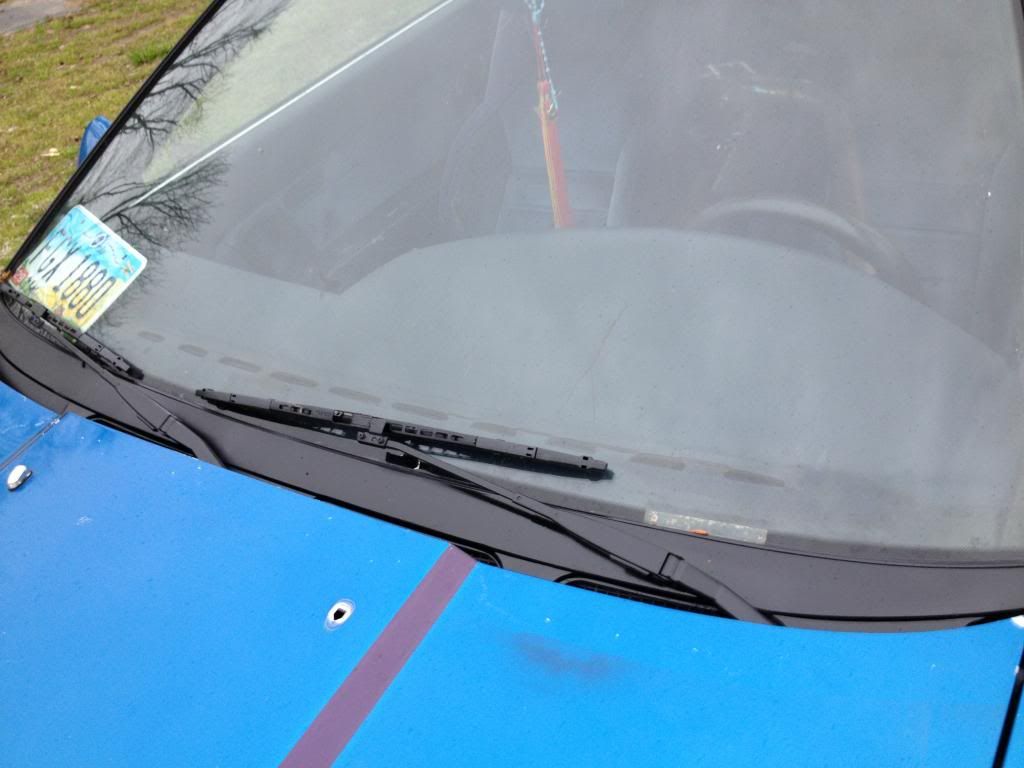
I figured while I was at it, I should address the wiper cowl and wiper arms too
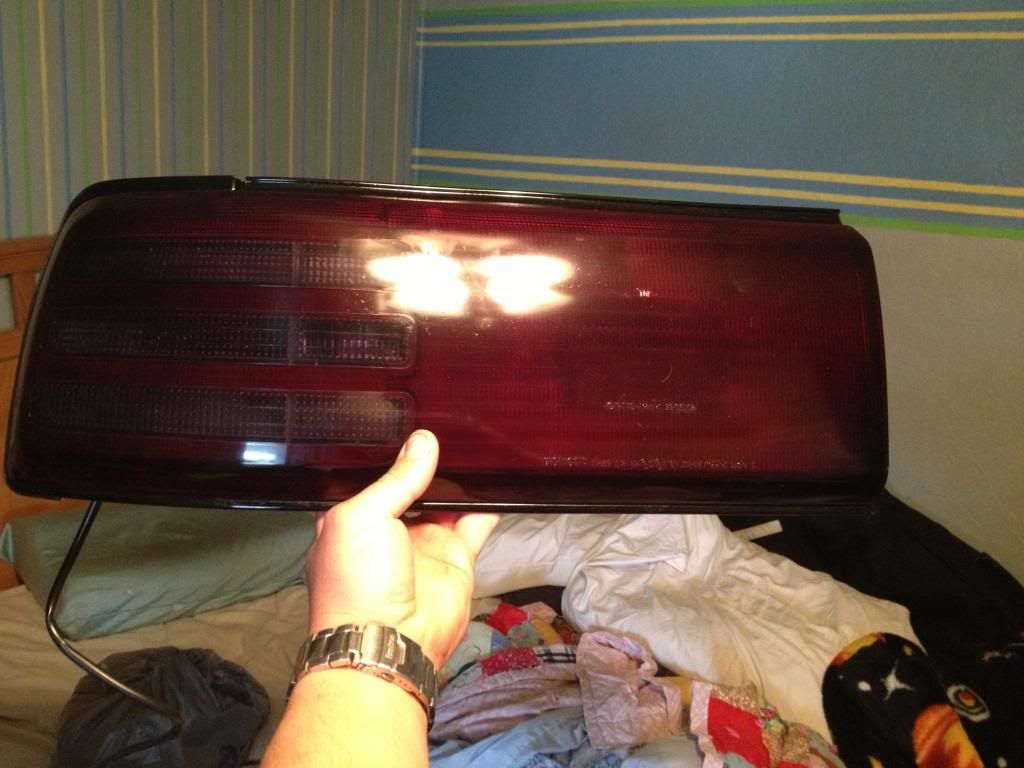
Well, still waiting for parts and machine work...but still very anxious and motivated to transform this car for the better, I continued making changes. The next area i focused on was the rear. It took some persuasion at first...but finally I decided that the '87 tail lights had to go! So I picked up a set of 89+ tails and a can of VHT Niteshades spray tint, and went to work. My plan was to get a nice ruby color...not too dark, but dark enough that they didn't stand out and say hey I'm red!!
Before...

...and after
After getting them a nice ruby color, and matching them quite nicely to each other...it was time to install them. Now for the fun part haha.
Before...
...During...
...After
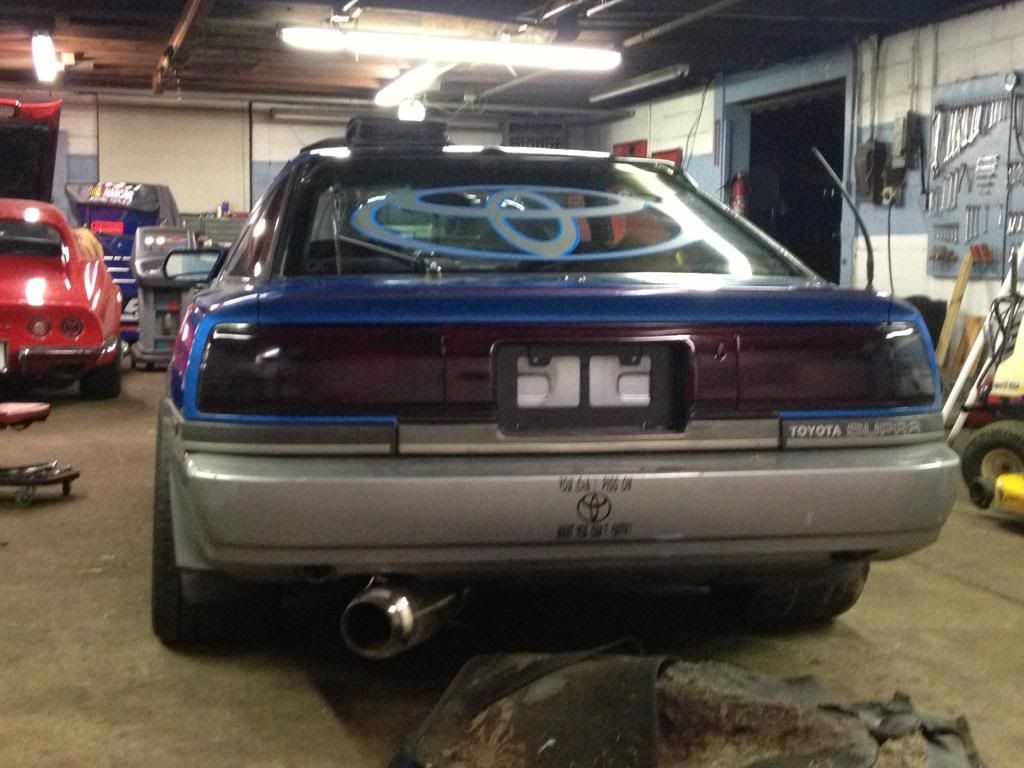
Much better!! And to top off the look the two piece vinyl I ordered for the rear window is finished...now to install
(just to state a reason before judgement...I was going for a 90's throwback look, this is how I feel I would have seen one running around when I was a kid)
Before...and the first layer.
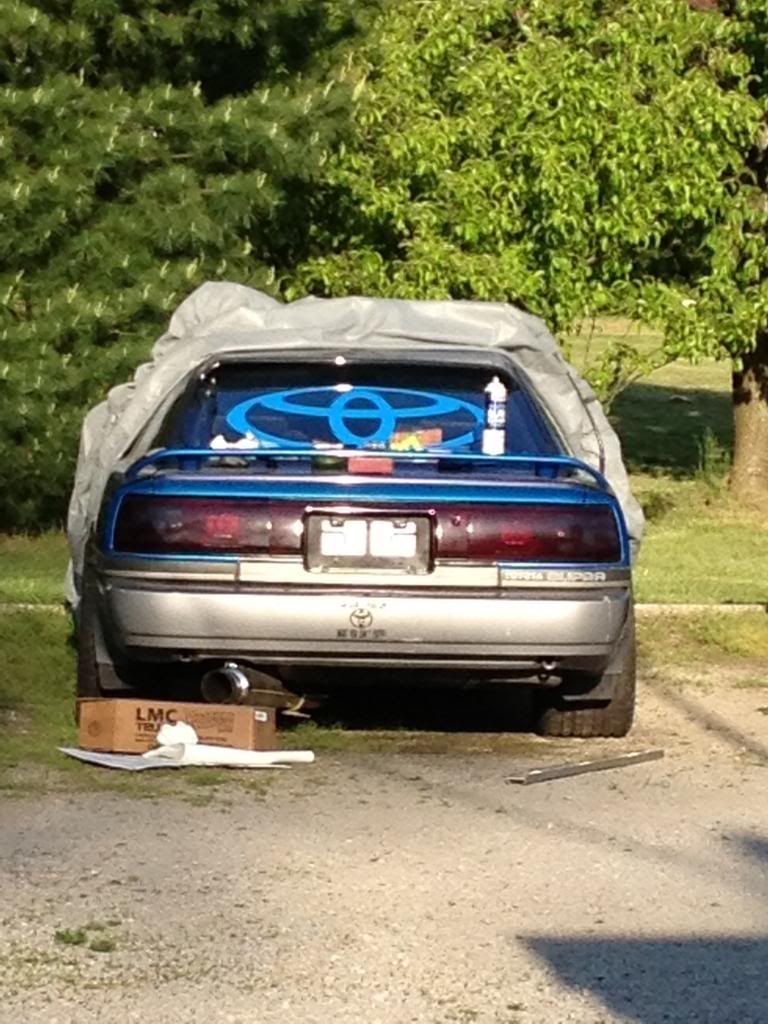
Anddd the second layer
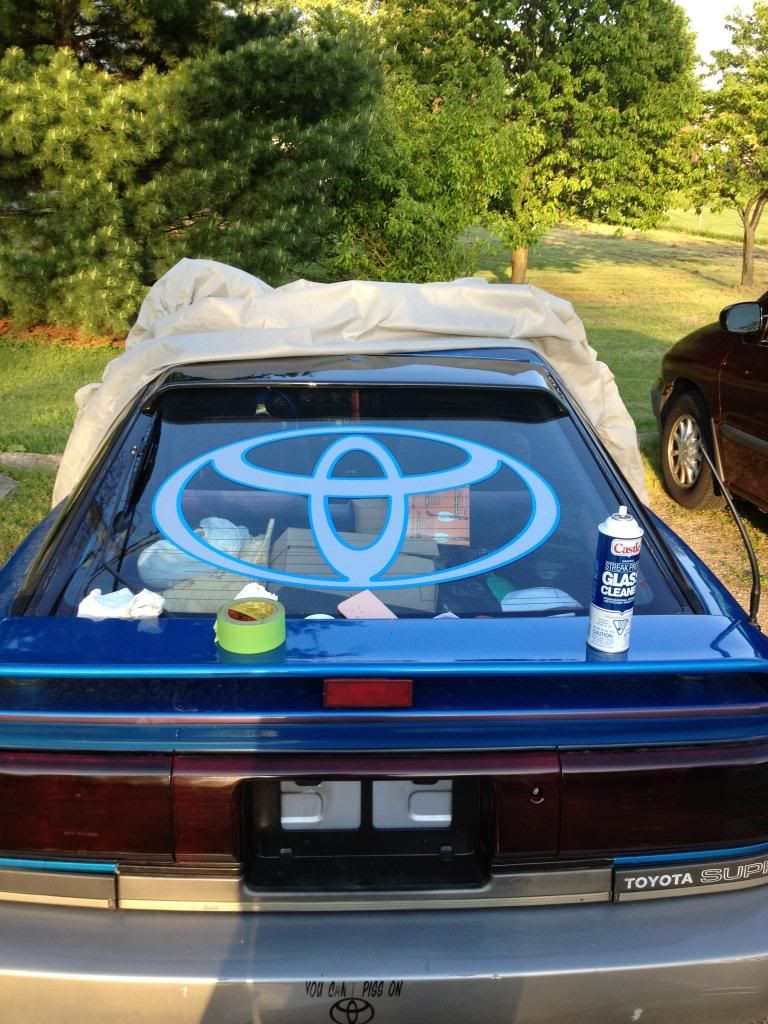
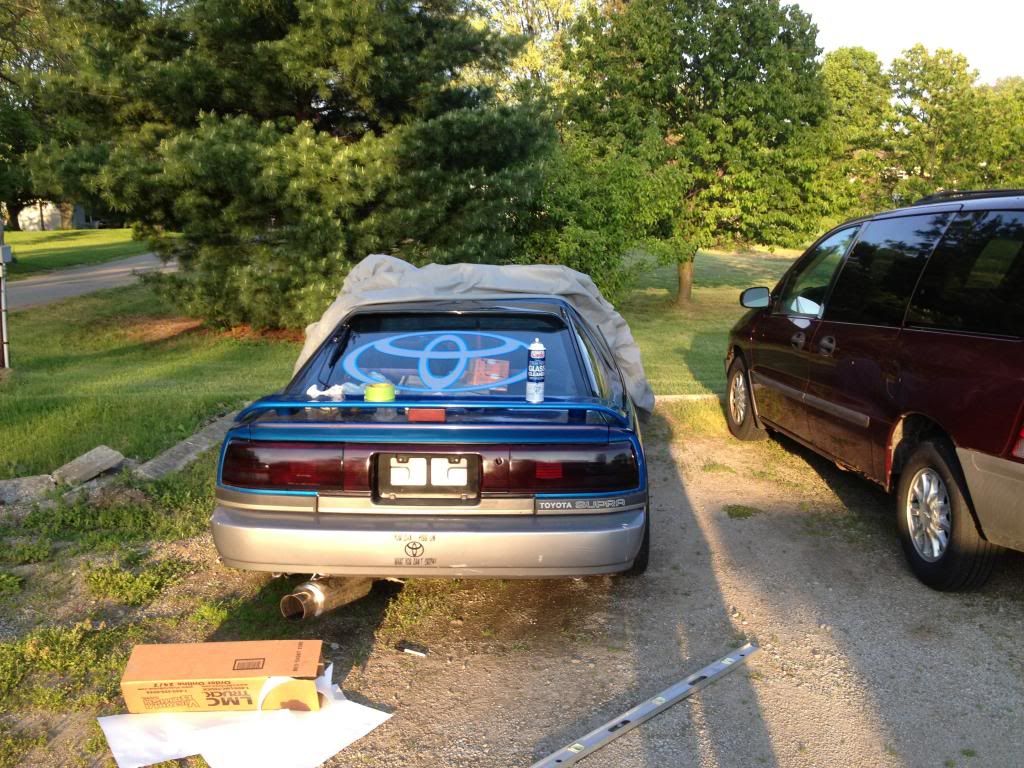
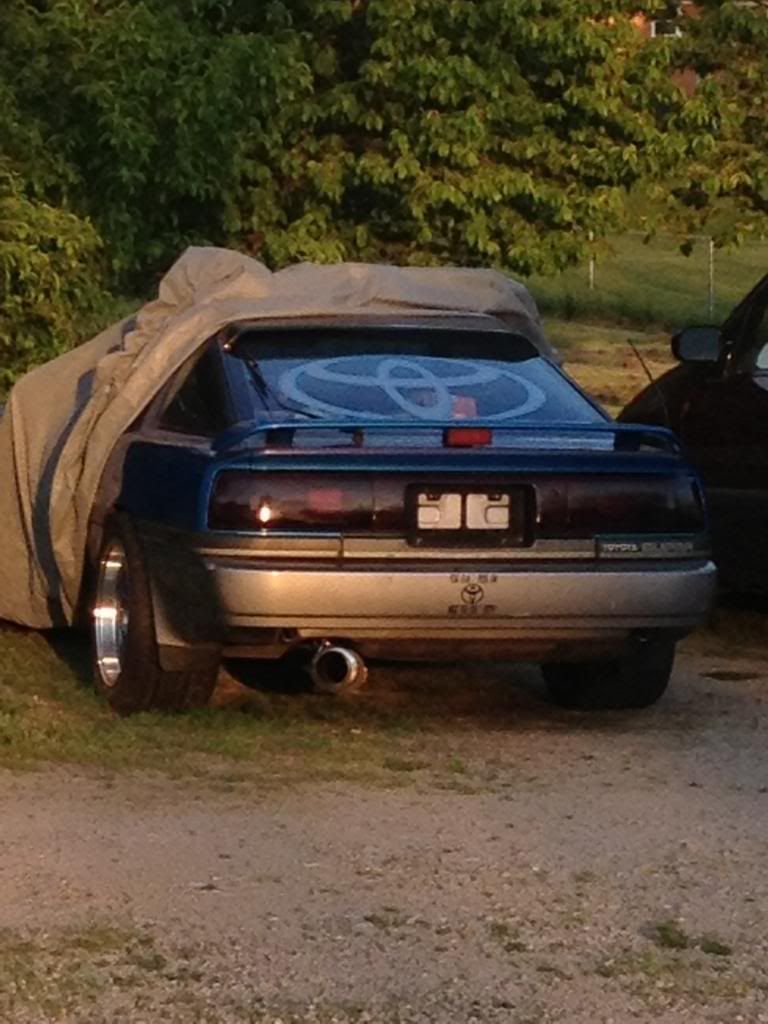
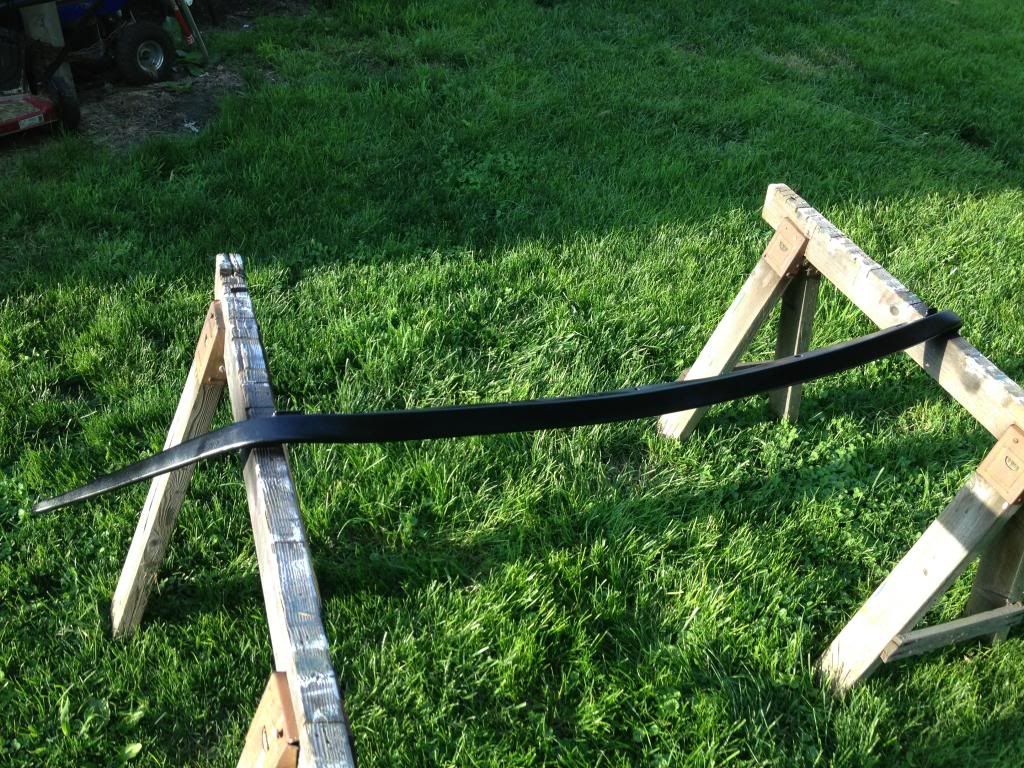
It was at this point that I realized that the look still wasn't quite was I was going for, but not because of any error...It was the wing, it just didn't fit anymore. So that only leaves one option....delete!
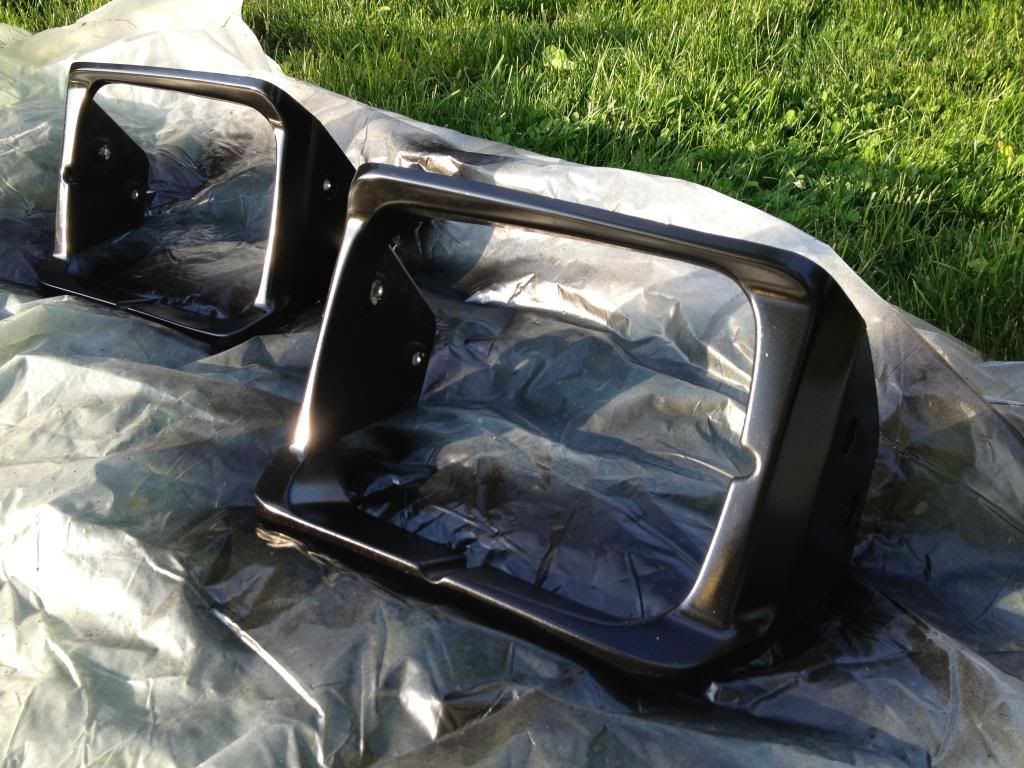
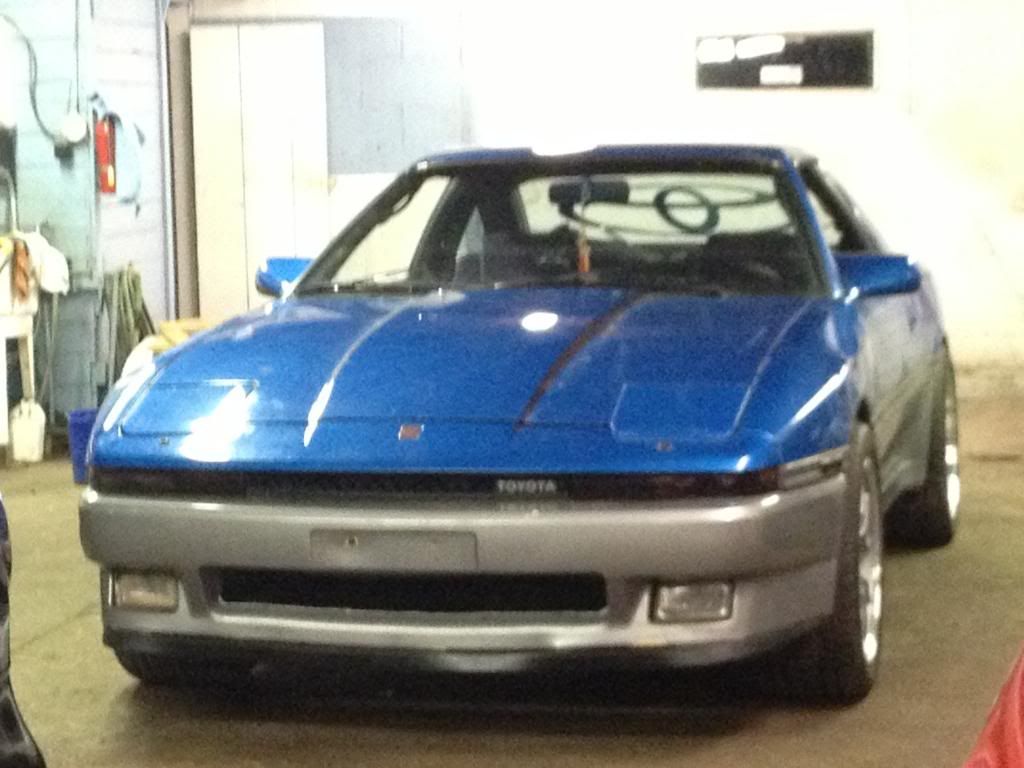
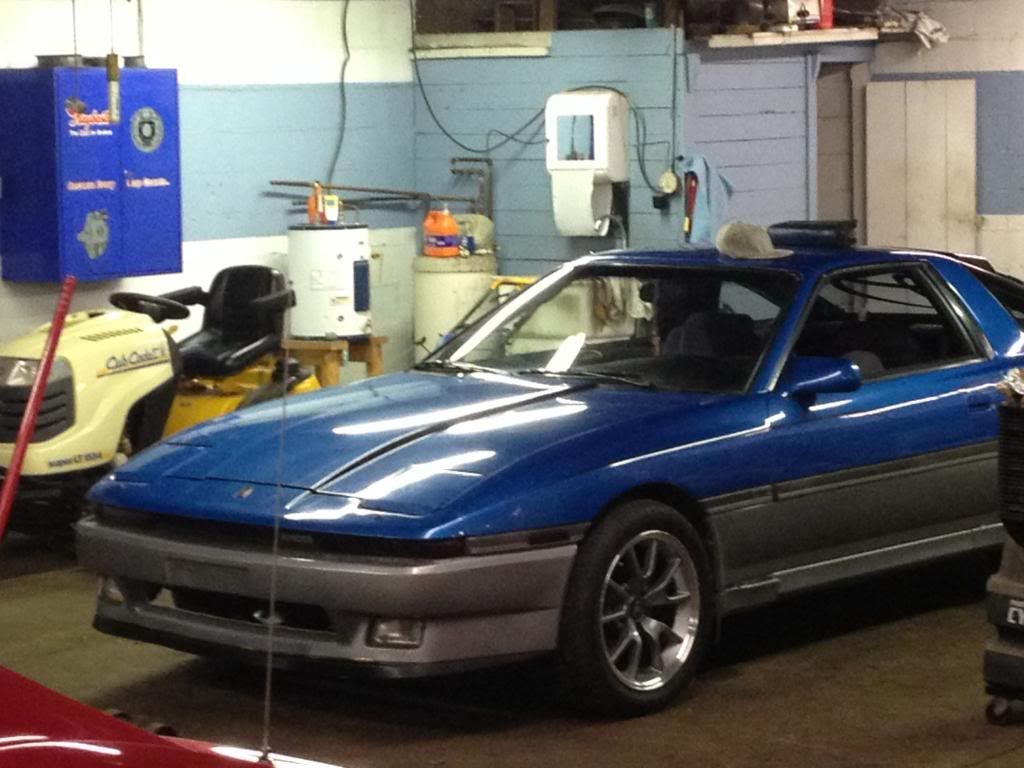
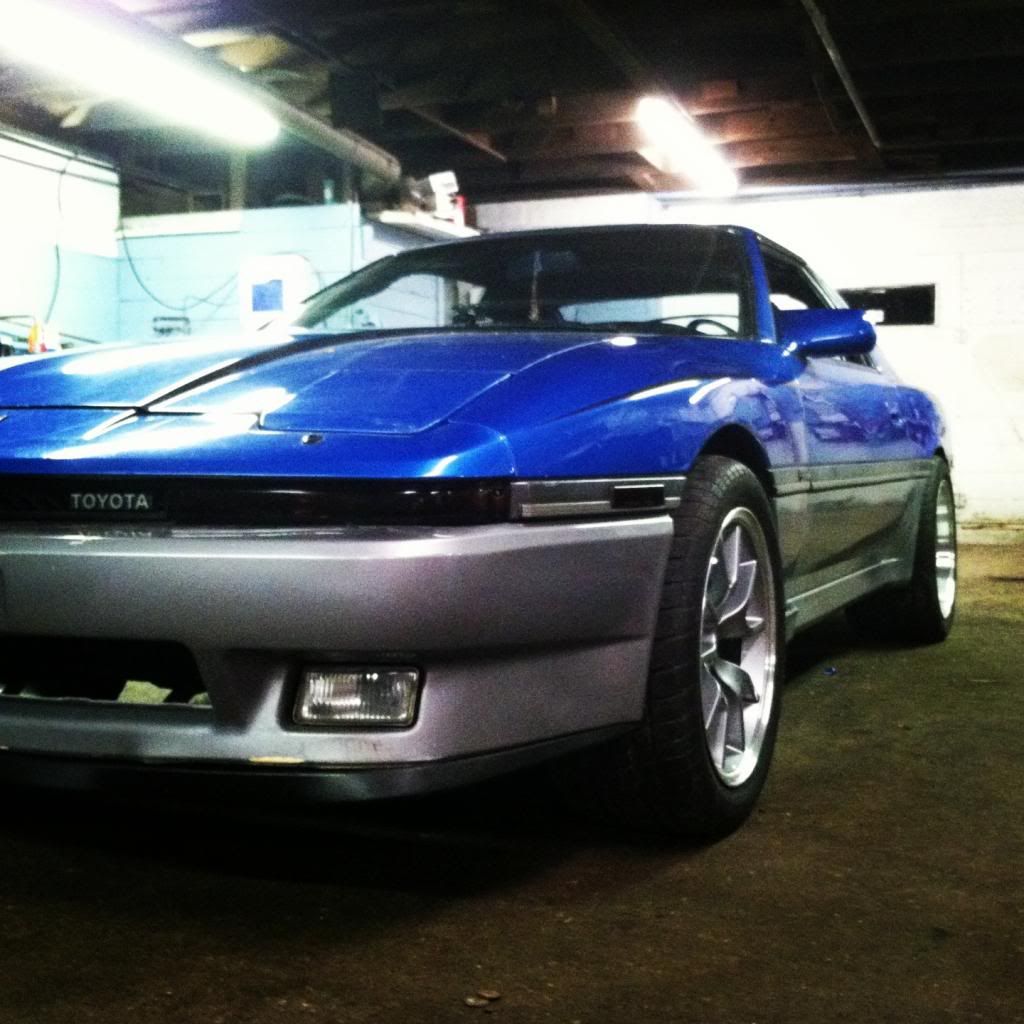
I liked the look of the smoked tail lights so much, that I decided that I would smoke my front ambers, and all 4 side markers. I also decided to retouch the headlight trim pieces with some black. Then the front bumper...it was lacking the factory lip, so I found one and reconditioned it a bit. It made all the difference in the world as far as the front end goes.
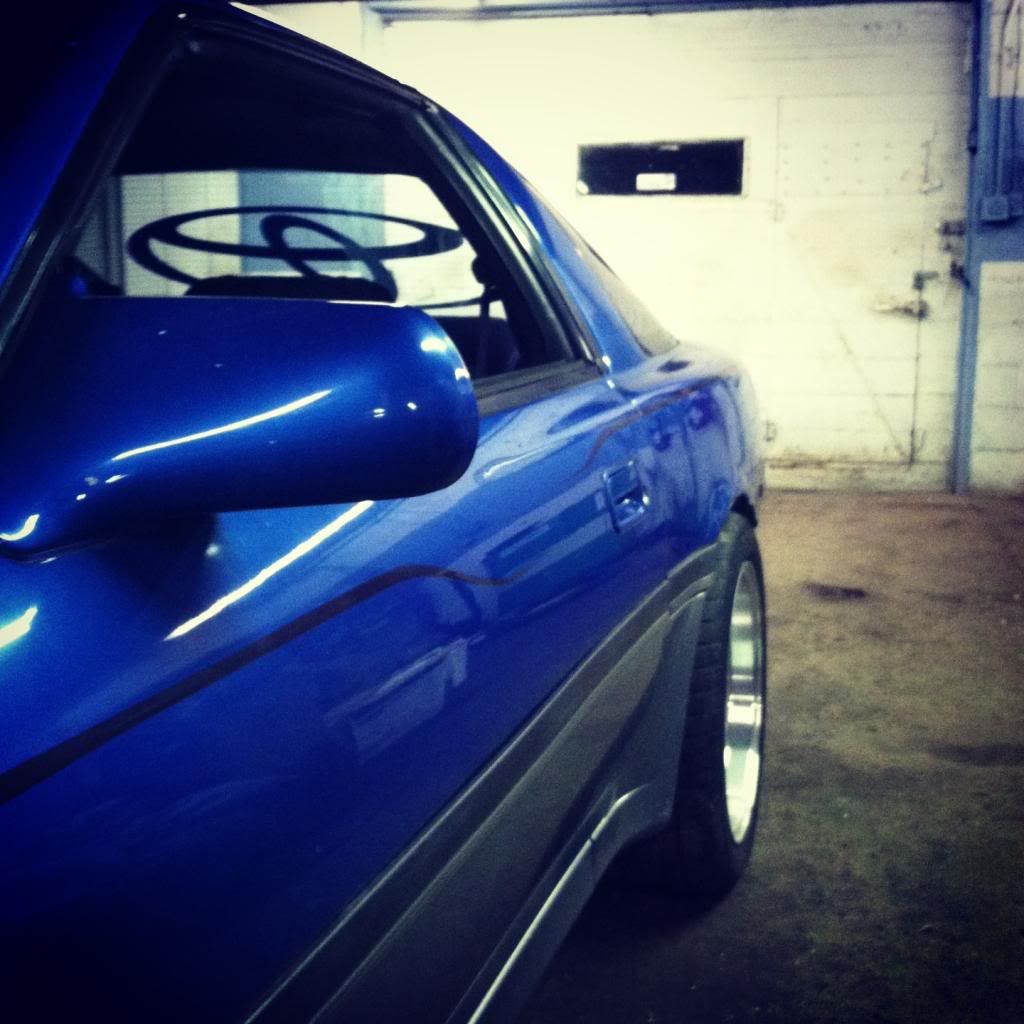
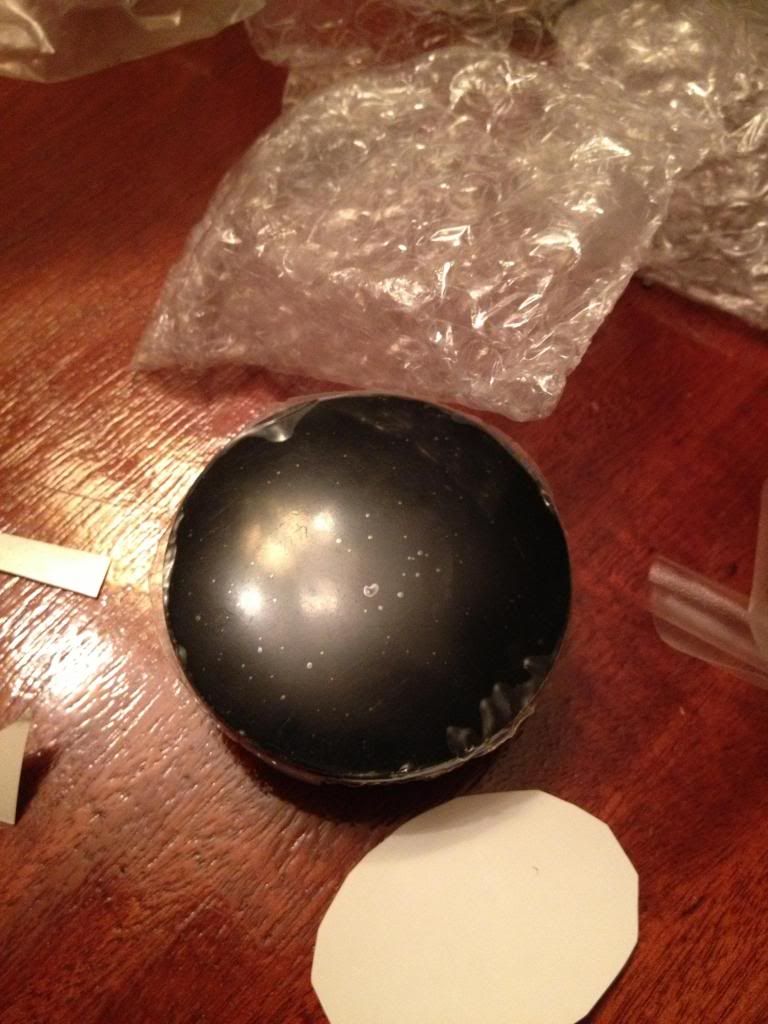
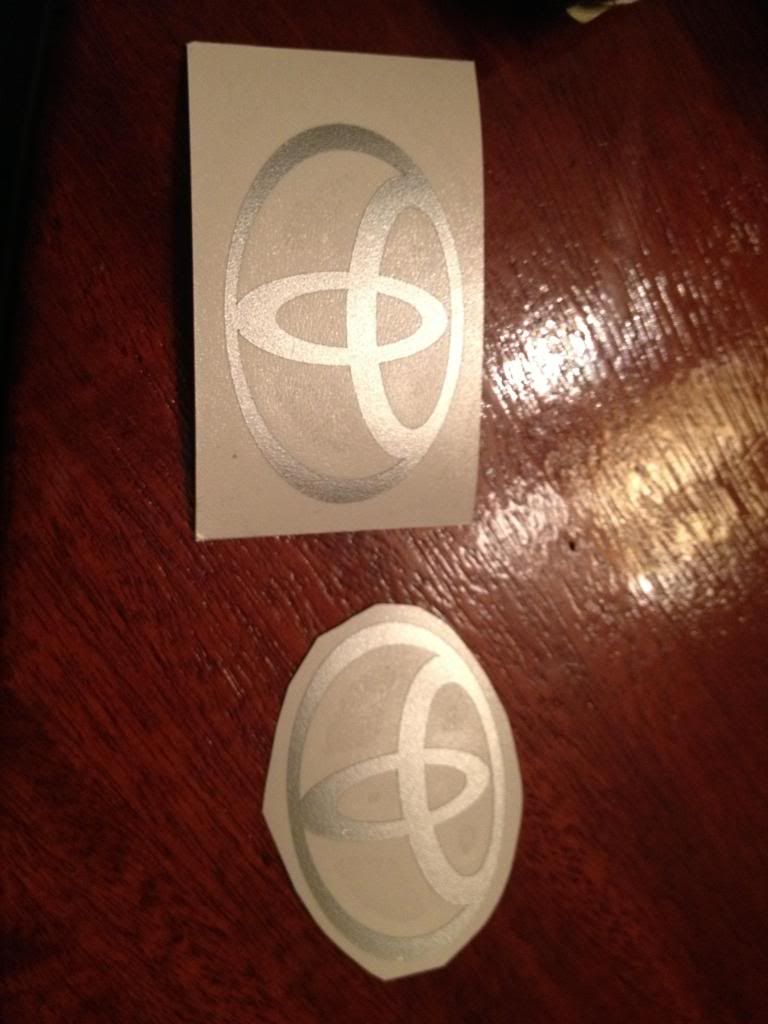
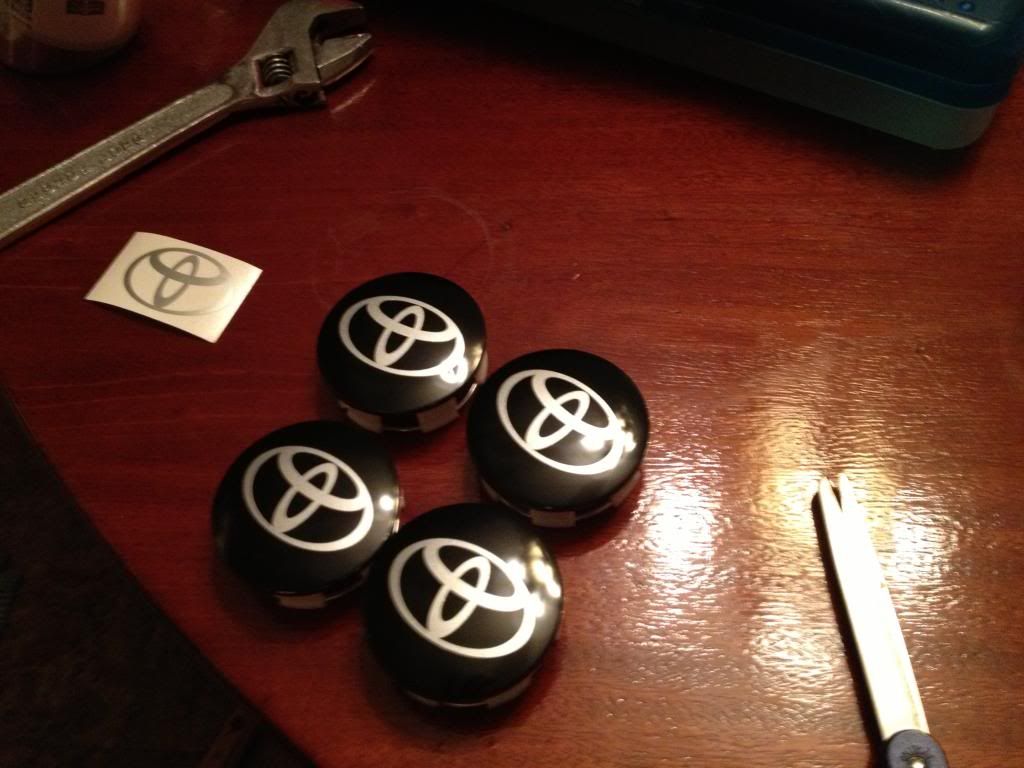
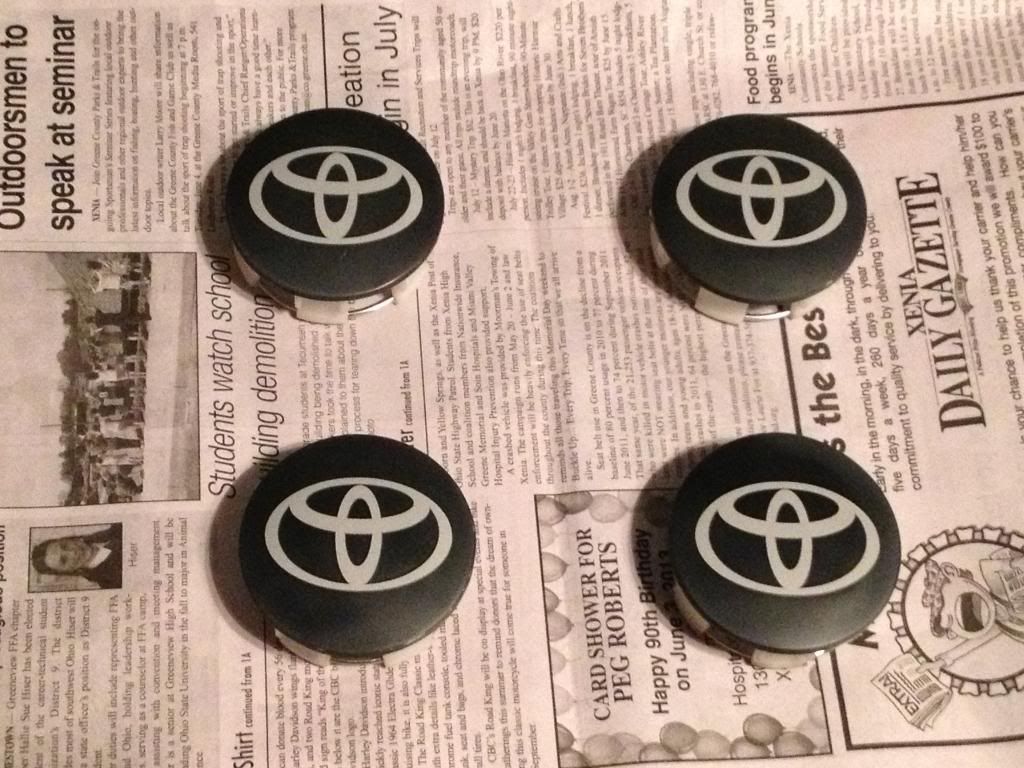
Now this next set of pictures was just something I thought up real quick...Thought it'd be a good last touch for the exterior, well till later of course

This isn't all by any means...stay tuned for the interior, and the motor!
This is my '87 supra that i picked up back in '09. It's my first build so I hope you all enjoy! Feel free to comment! (Criticism, constructive or not, is part of the fun.)
You can also check out my build story here www.qcarcodes.com/joe-born-main
Or even showcase your own, details at www.qcarcodes.com
Here is how my Supra looked right before I bought it. It had been sitting there for a couple years untouched, so it was time to save it
(I apologize for the horrible resolution, it was taken from a far and blown up.)
There was a long period of time that I worked on this thing, and didn't take any pictures. I regret that now, but what can you do?? So I did some research and this car originally was an n/a fully loaded with the 4.31 LSD rear end. The car was not original by the time I got my hands on it though. Someone had began swapping in a 7mgte and everything was butchered pretty bad (aside from the fact that it had an r154 with a new clutch.) After getting it running it had a bad rod knock, so it sat for a little while longer till I could get it going!
Finally I purchased a 7mge off of a good buddy of mine, and dropped it in with hopes of finally getting to drive this thing. After working through some electrical problems from sitting (corrosion on fuses in the kick panel and such) the car was running, and road worthy....or so I thought. The 1st/2nd shift fork broke after just a few miles...so back to sitting for a bit till i could line up another r154 without trading an arm and a leg to get it haha.
Okay I promise we're getting to the part with pictures haha, but first...After driving the car for a little over a year, and putting about 10k miles on that used 7mge, devastation struck. I was on my way to work one morning, about a mile from the shop my car bucks violently and starts knocking, and squealing...somehow i limped it up the road and shut it off as i pulled up to the shop where I work. After some contemplation on a 1jz swap...I decided my best option at the moment was to just rebuild the 7mge and have a solid motor, which will serve as my back up motor later...once I finally do a JZ swap.
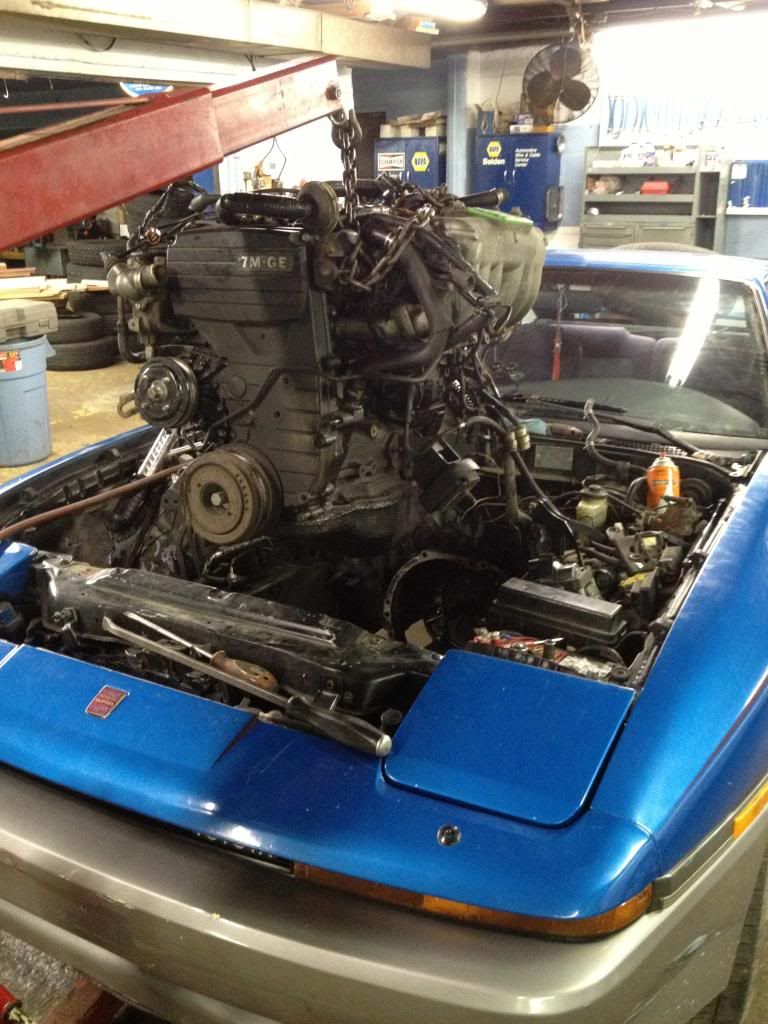
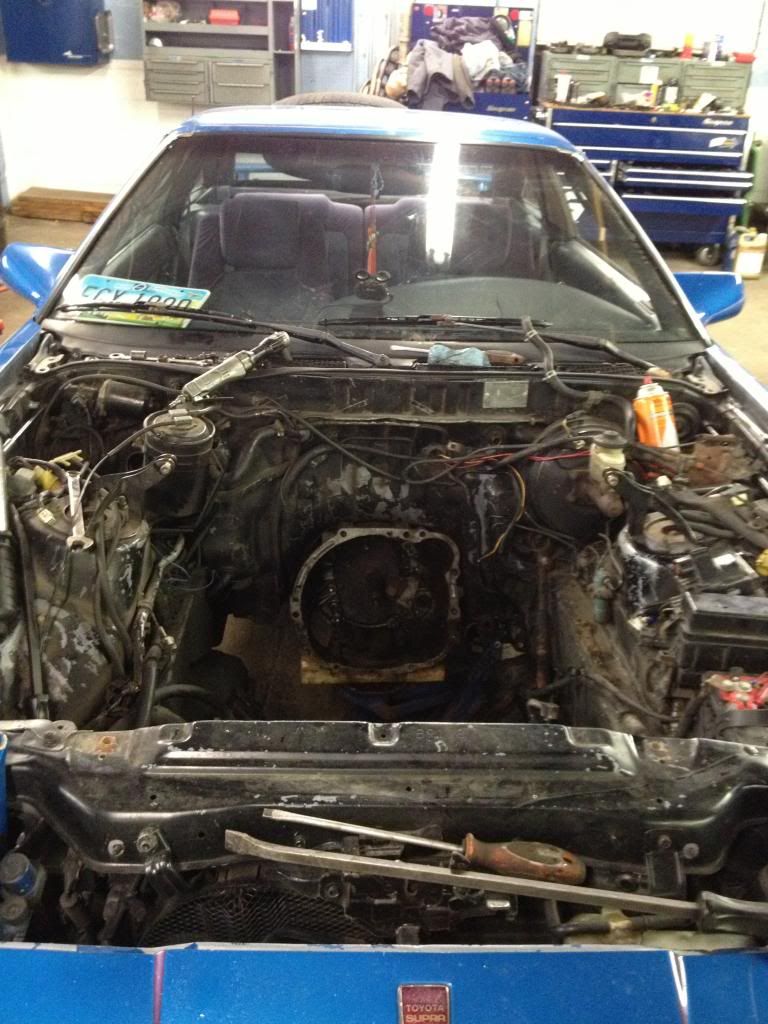
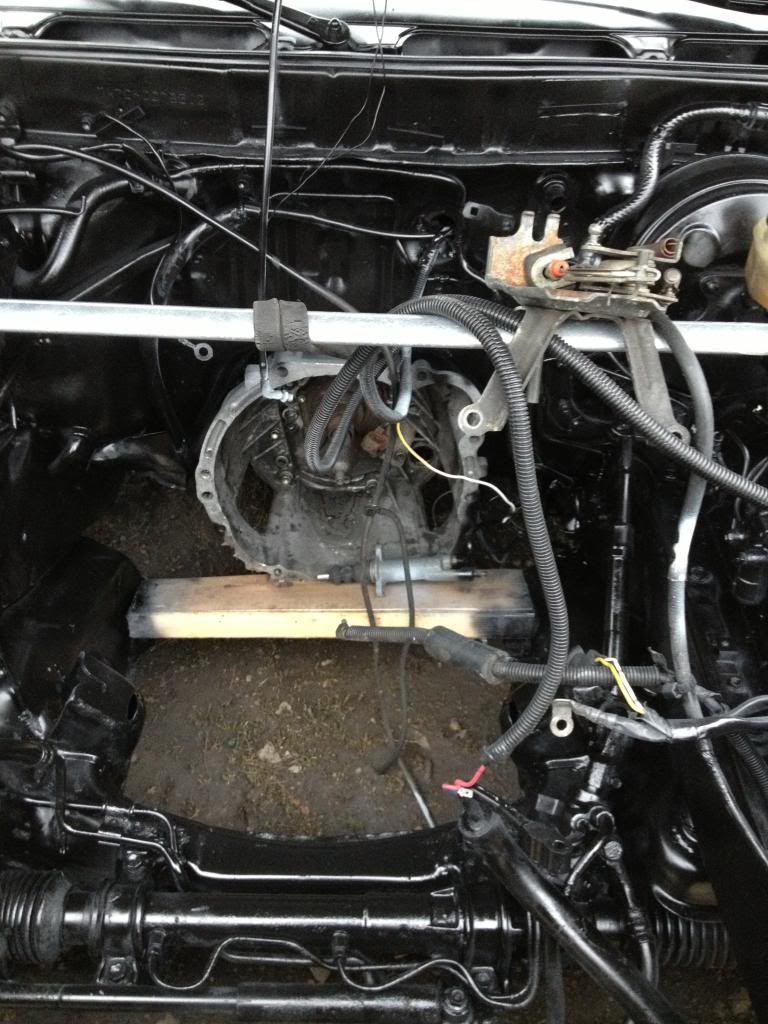
The day after the motor started knocking, I stayed after work and in 3 hours the motor was out and ready to be disassembled


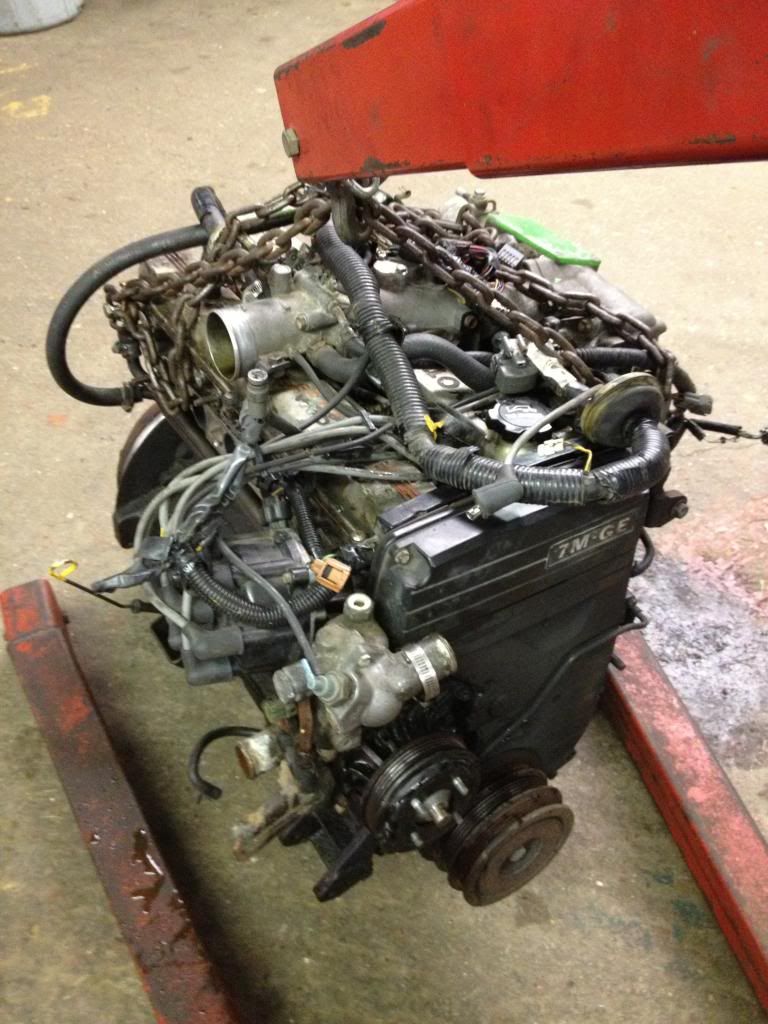
...then I tore it down...

After removing the engine, I was glad to find that I had a later "heavy block" with a 7m crank...good deal. The bad news; however, whoever had the oil pan off last had been tinkering with the oil pump at some point...there is a brass washer with a tab that you're supposed to bend over one of the flats on the bolt that secures the oil feed tube to the pump. Well that tab wasn't bent over (I'm guessing no thread lock on the bolt either) and the bolt backed out causing a loss of oil pressure to the engine internals from the pump. Number 2 rod bearing was toast.... So I sent the block and crank to the local machine shop (the block to be checked, and the crank to be machined). After inspection, they had to bore the block .040 over to remove the taper and scoring from the rings, and deck the top a bit to remove the pitting around the coolant passages. Next step was to order some new pistons and rings, haha here comes the parts fairy!
While everything was still at the machine shop, and all of my rebuild parts were on order...I decided to do some cosmetic work that was long overdue. First thing i did was pop my FR500's back on, with some blue lug nuts that I picked up.


Then I put in an order with KevinM for one of his fantastic rear hatch visors, love it!


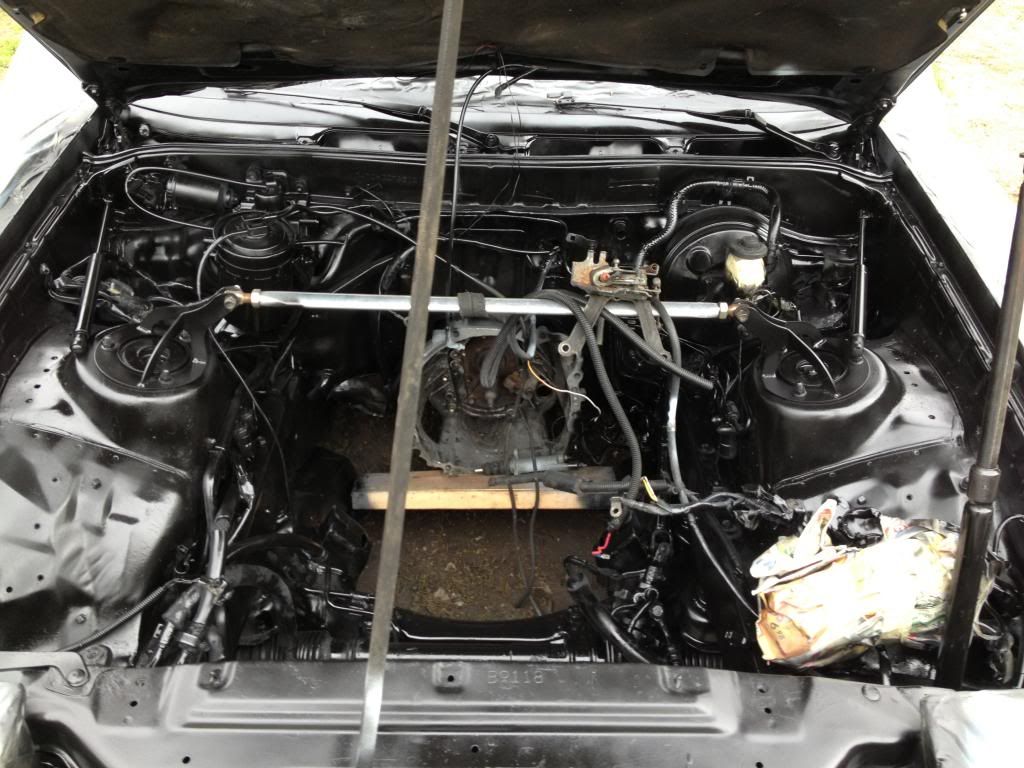
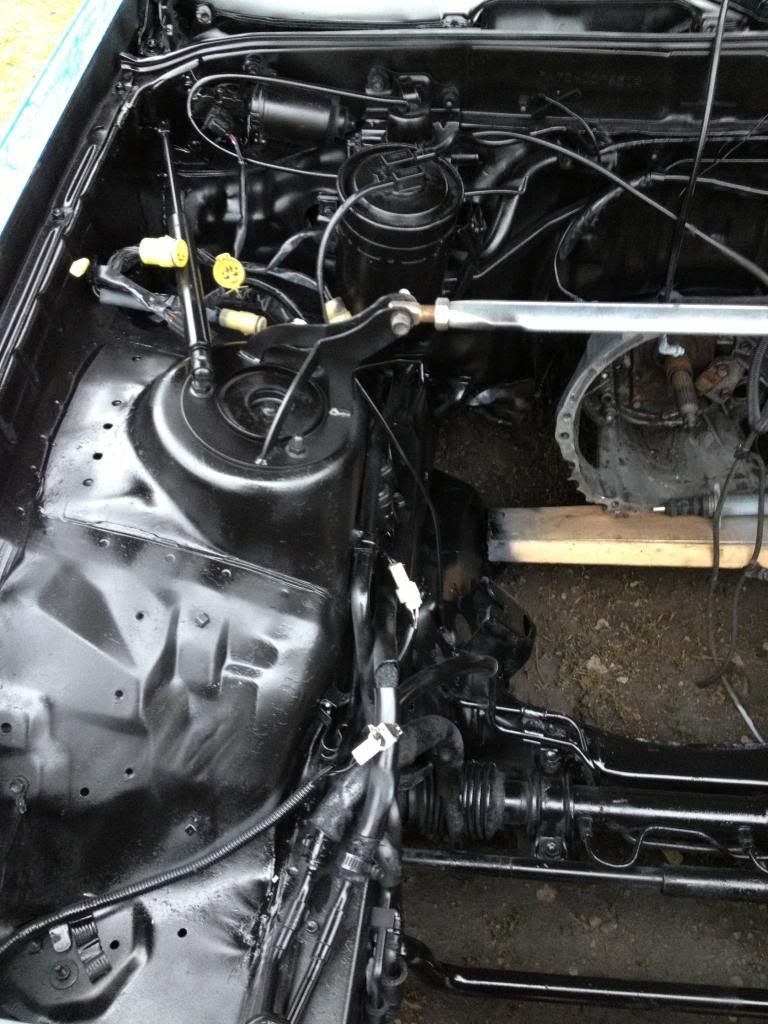
Next was the engine bay...this thing was a mess! There were still things from the Frankenstein turbo swap that was in the car when I bought it, bolted to the fender wells. There was dirt and grime everywhere, and the black paint (sprayed on by a previous owner it looked like) was peeling and chipping horribly. So I decided to take action now, while the motor was out of the way.
Got it all masked off and ready...


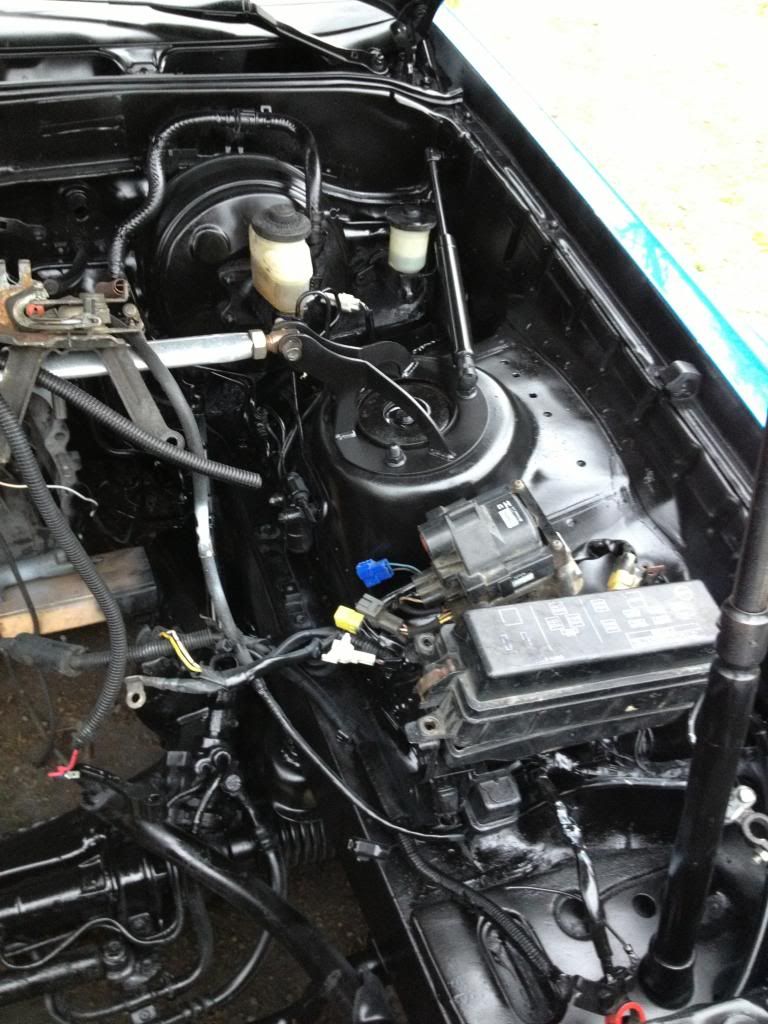
After a thorough degreasing, a soapy wash, and a good rinse...I was ready to start spraying! Filler primer first, then the black...


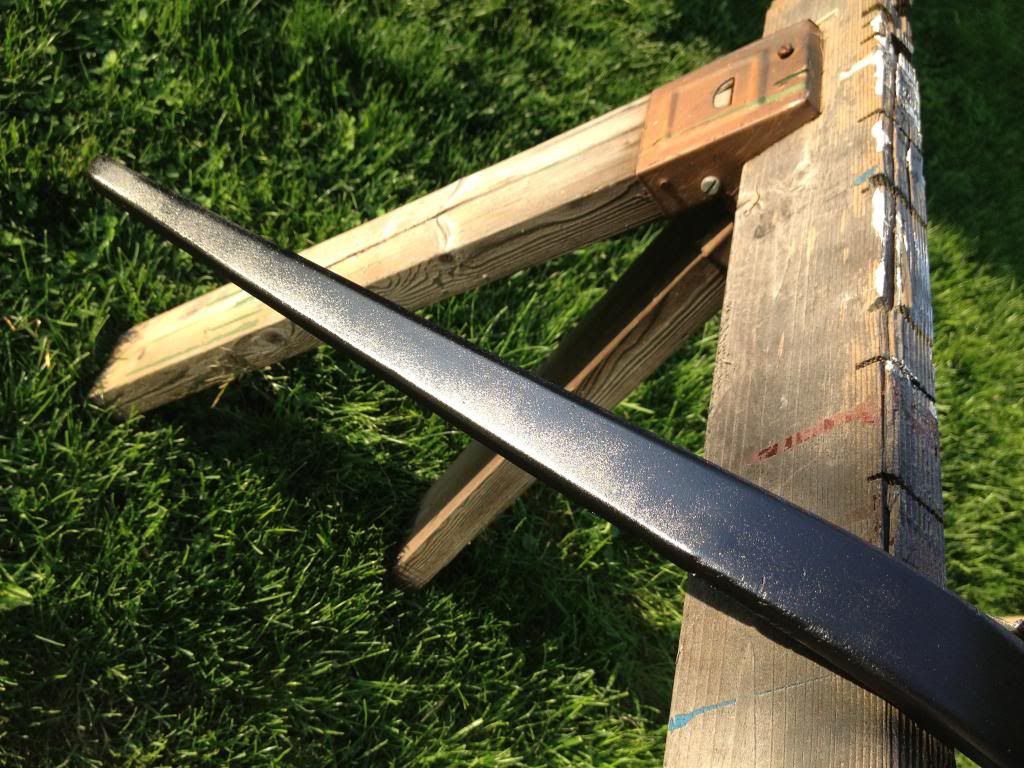
I figured while I was at it, I should address the wiper cowl and wiper arms too


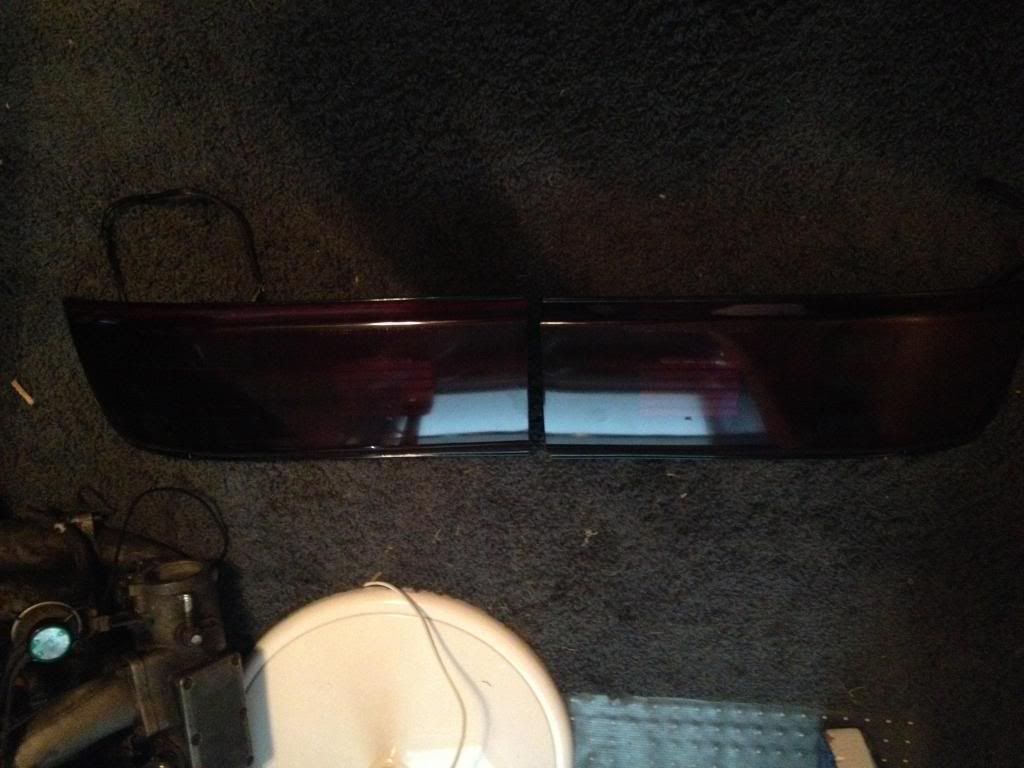
Well, still waiting for parts and machine work...but still very anxious and motivated to transform this car for the better, I continued making changes. The next area i focused on was the rear. It took some persuasion at first...but finally I decided that the '87 tail lights had to go! So I picked up a set of 89+ tails and a can of VHT Niteshades spray tint, and went to work. My plan was to get a nice ruby color...not too dark, but dark enough that they didn't stand out and say hey I'm red!!
Before...

...and after


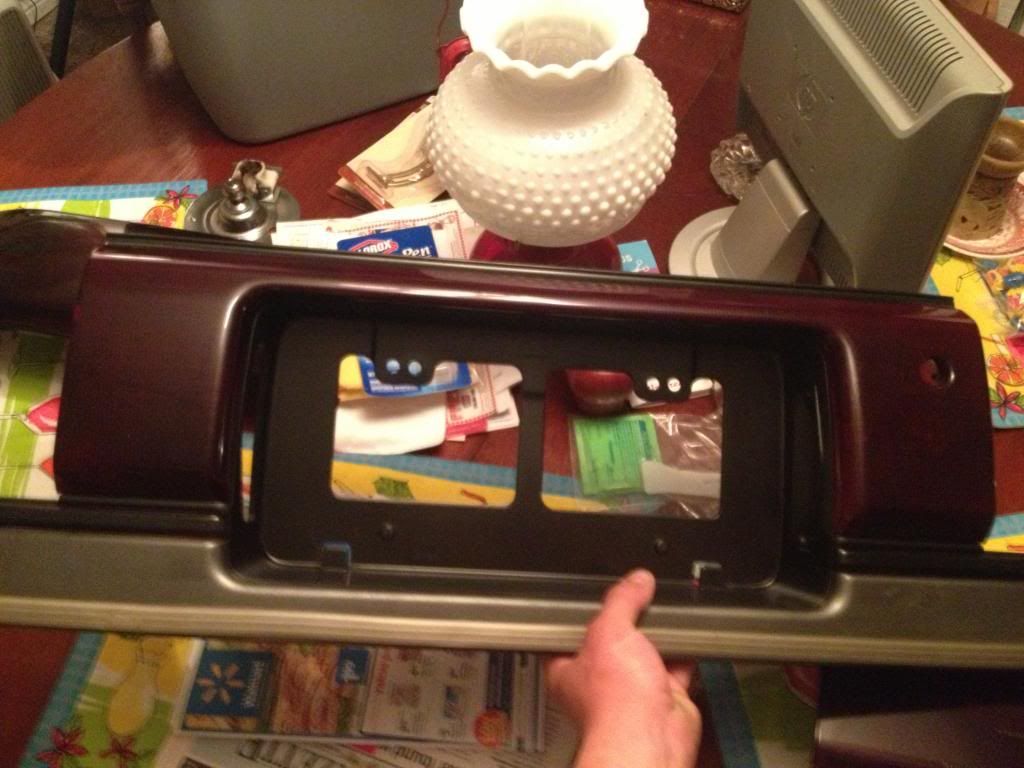
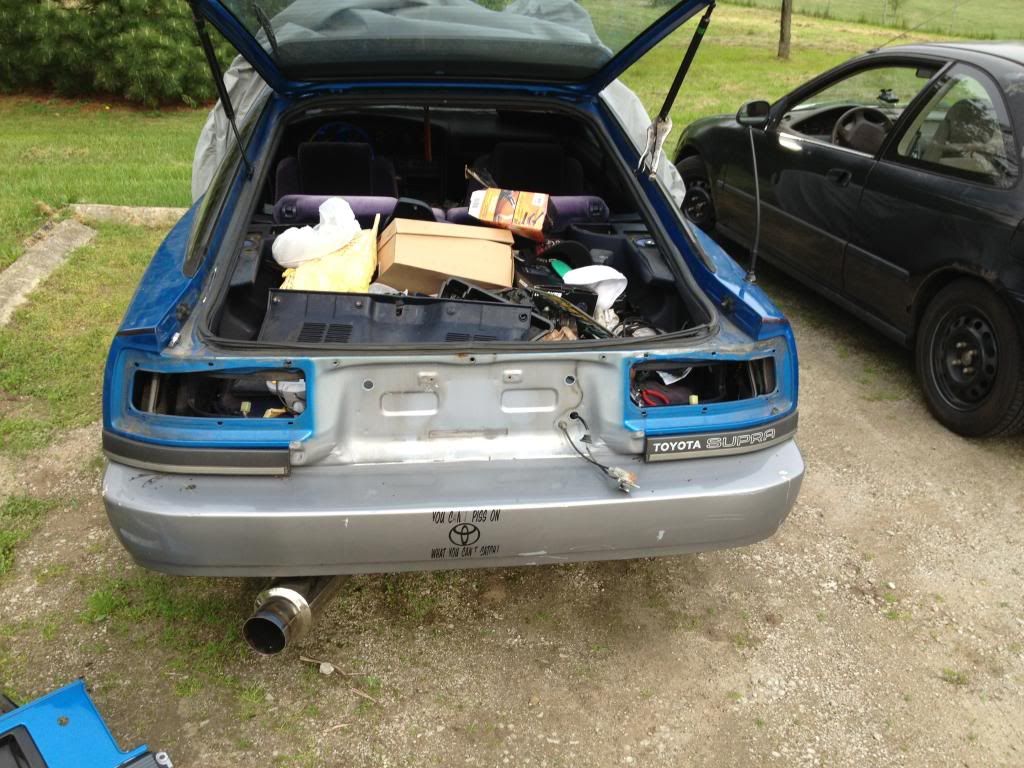
After getting them a nice ruby color, and matching them quite nicely to each other...it was time to install them. Now for the fun part haha.
Before...

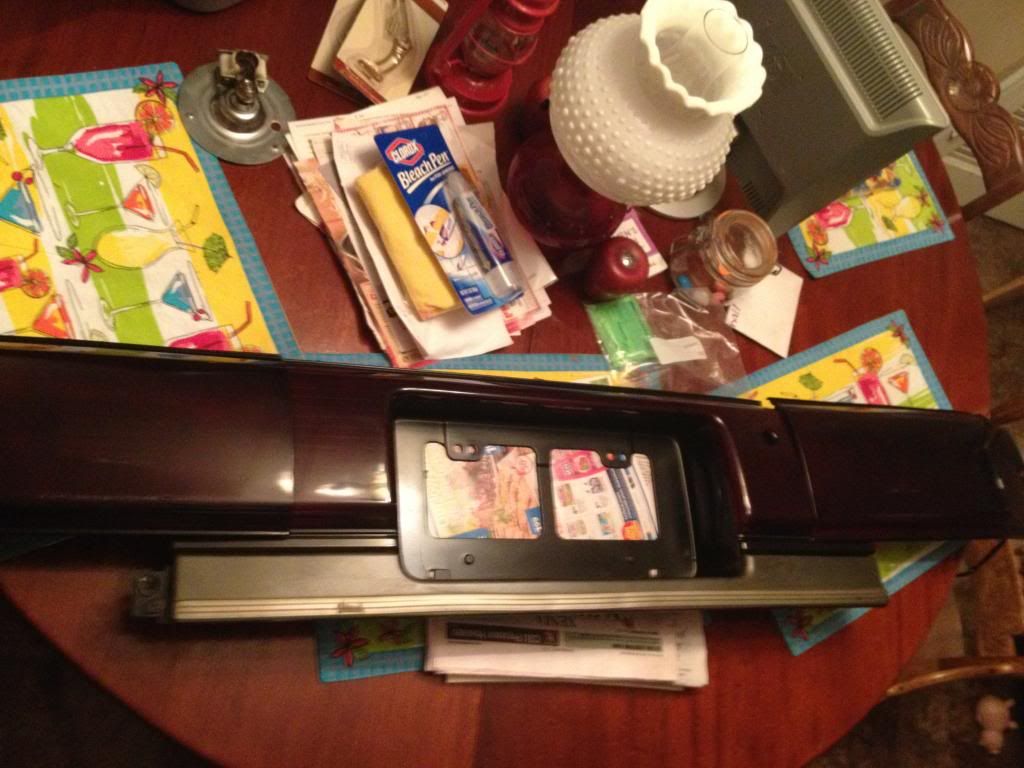
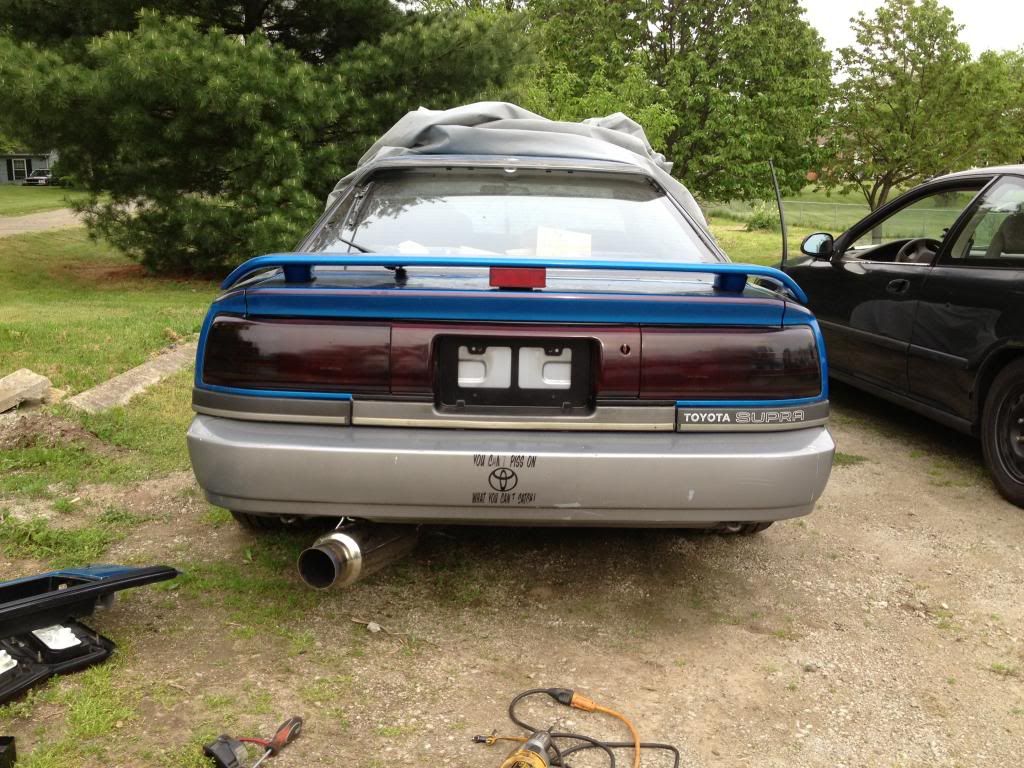
...During...

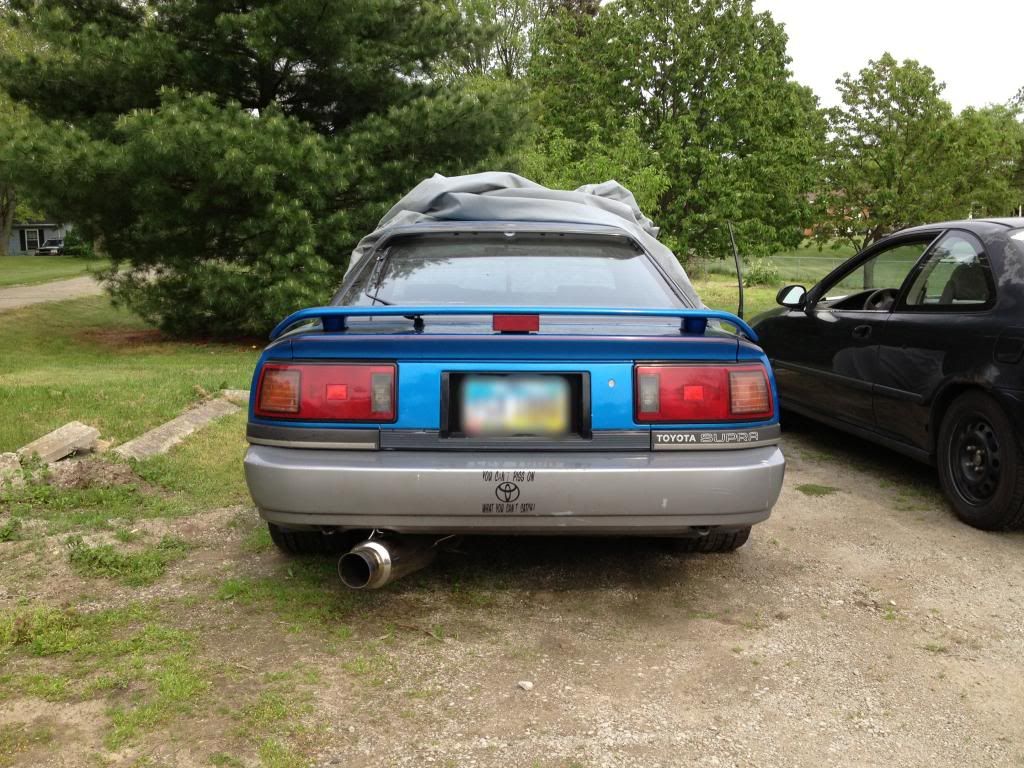
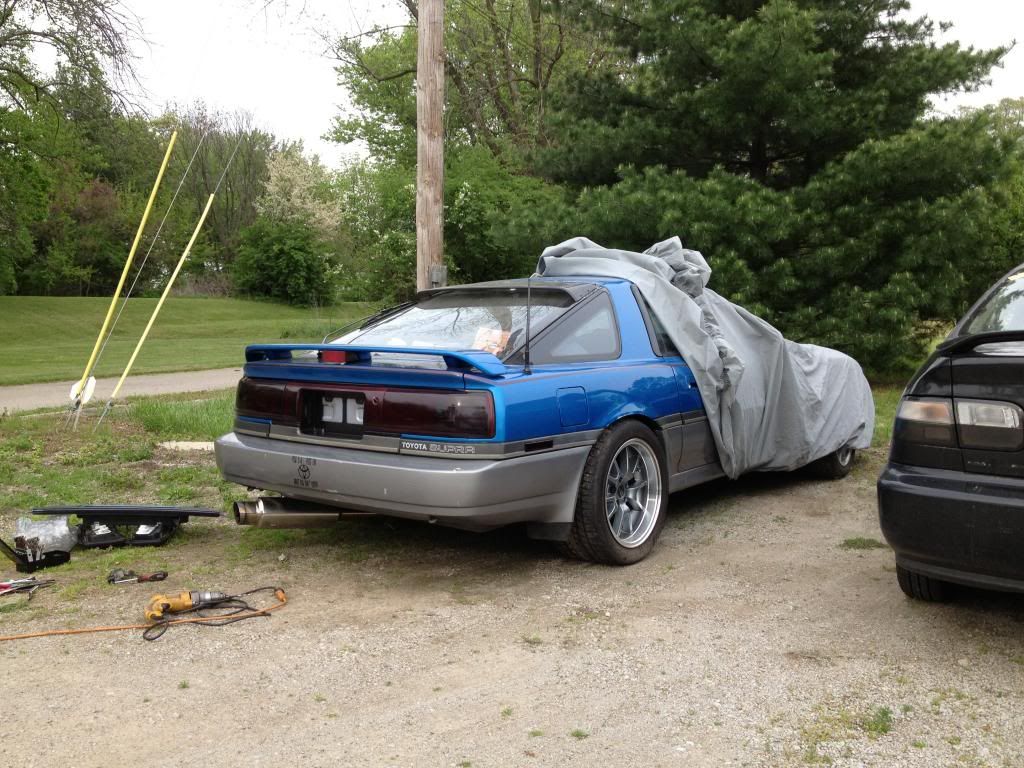
...After


Much better!! And to top off the look the two piece vinyl I ordered for the rear window is finished...now to install
(just to state a reason before judgement...I was going for a 90's throwback look, this is how I feel I would have seen one running around when I was a kid)
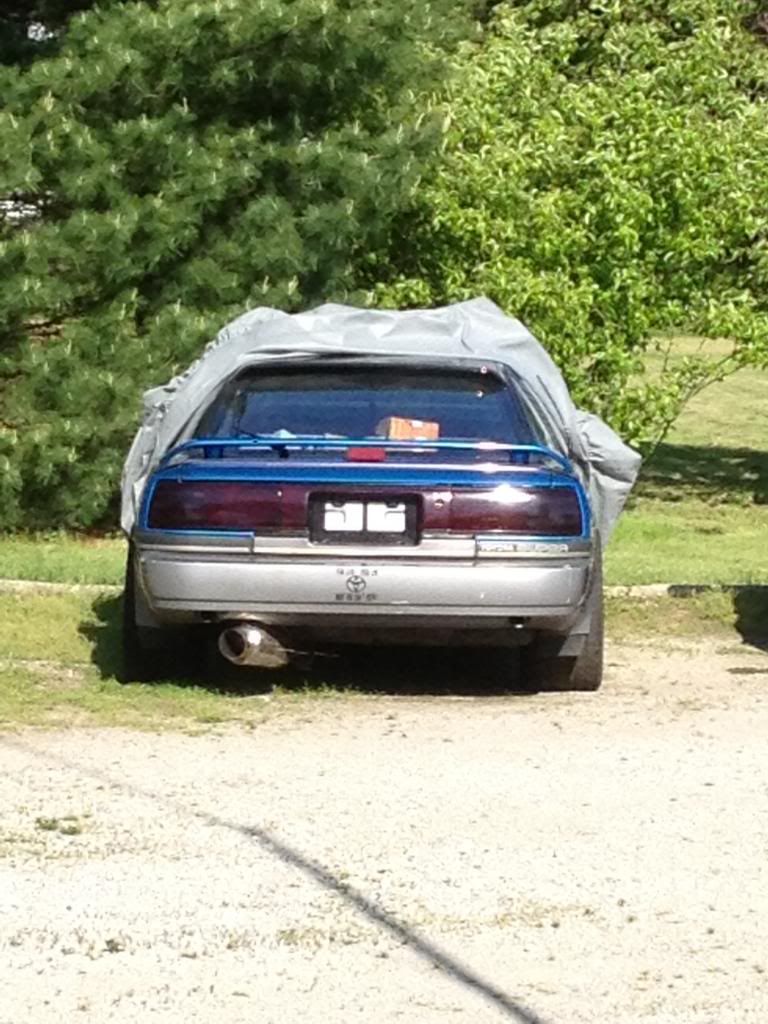
Before...and the first layer.


Anddd the second layer


It was at this point that I realized that the look still wasn't quite was I was going for, but not because of any error...It was the wing, it just didn't fit anymore. So that only leaves one option....delete!


I liked the look of the smoked tail lights so much, that I decided that I would smoke my front ambers, and all 4 side markers. I also decided to retouch the headlight trim pieces with some black. Then the front bumper...it was lacking the factory lip, so I found one and reconditioned it a bit. It made all the difference in the world as far as the front end goes.


Now this next set of pictures was just something I thought up real quick...Thought it'd be a good last touch for the exterior, well till later of course


This isn't all by any means...stay tuned for the interior, and the motor!


