Well, lets get started with this rant.
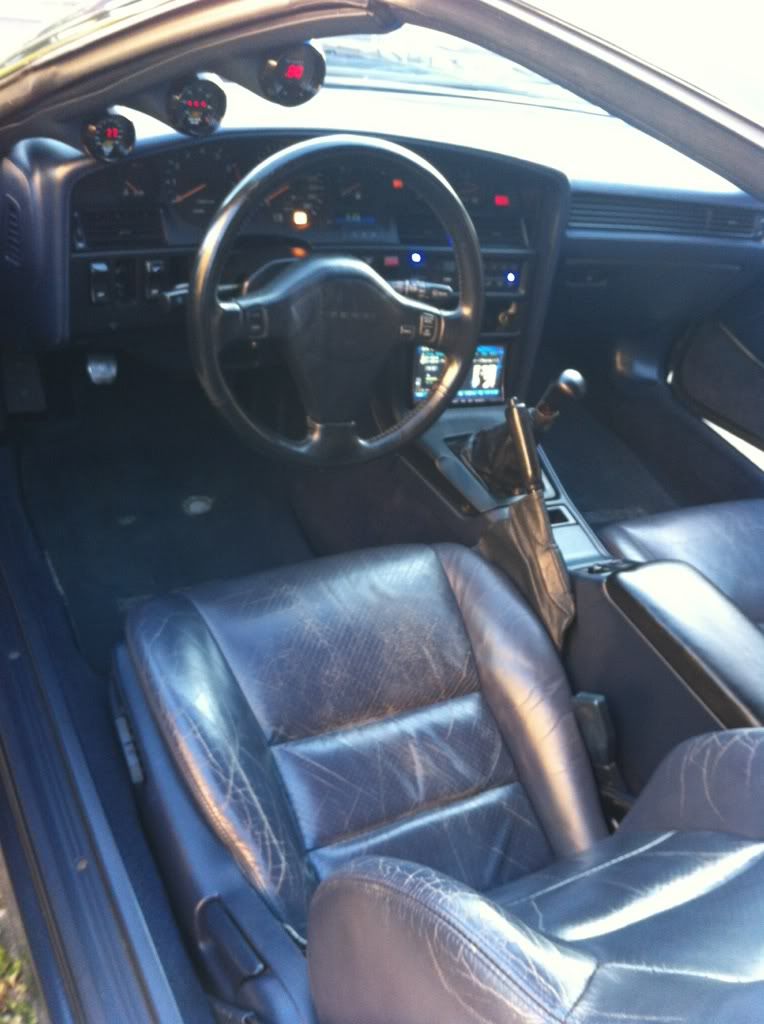
Back in 2007, I bought my first Supra (Red '91 Turbo), and had big plans for it. After having the car for about a year, I decided to take on schooling for Aircraft Maintenance Engineering. I had always seen and heard about people selling their car that they love to pay for school, simply because they cannot afford it anymore. I told myself I would not fall into this category, but unfortunately, it happened. Sold the car to a friend locally (who I was goin to BCIT with at the time) and bought a cheap daily driver. Now fast forward a few years, I was on the lookout for another one, as I had landed a great job (totally different from what I actually went to school for!) and could afford to buy another Supra. Took me about 6 months to find exactly what I wanted (I am very picky). I had looked at multiple Supras (all MK3 of course") ), all of which needed a LOT of work, or were just complete junk in my eyes. Finally, in June 2011 I came across a dark blue 1990 Turbo, Targa, 5spd, leather, with 126,000km!! I immediately ran the VIN, gave the guy a deposit, and did the full transfer the next day.
), all of which needed a LOT of work, or were just complete junk in my eyes. Finally, in June 2011 I came across a dark blue 1990 Turbo, Targa, 5spd, leather, with 126,000km!! I immediately ran the VIN, gave the guy a deposit, and did the full transfer the next day.
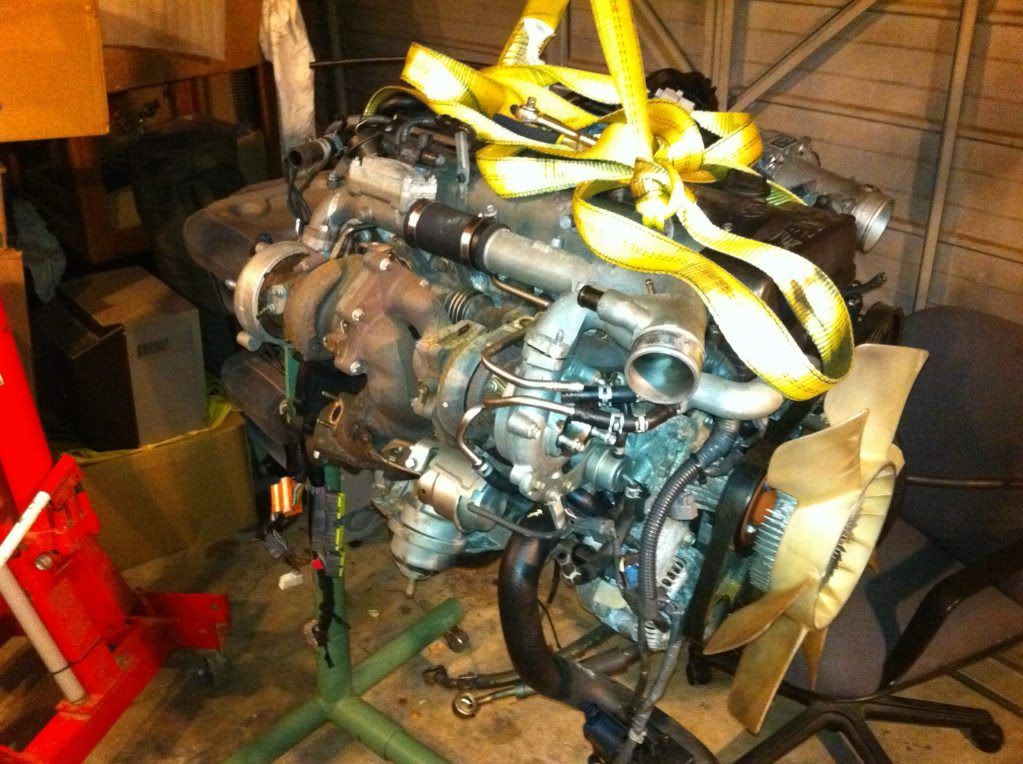
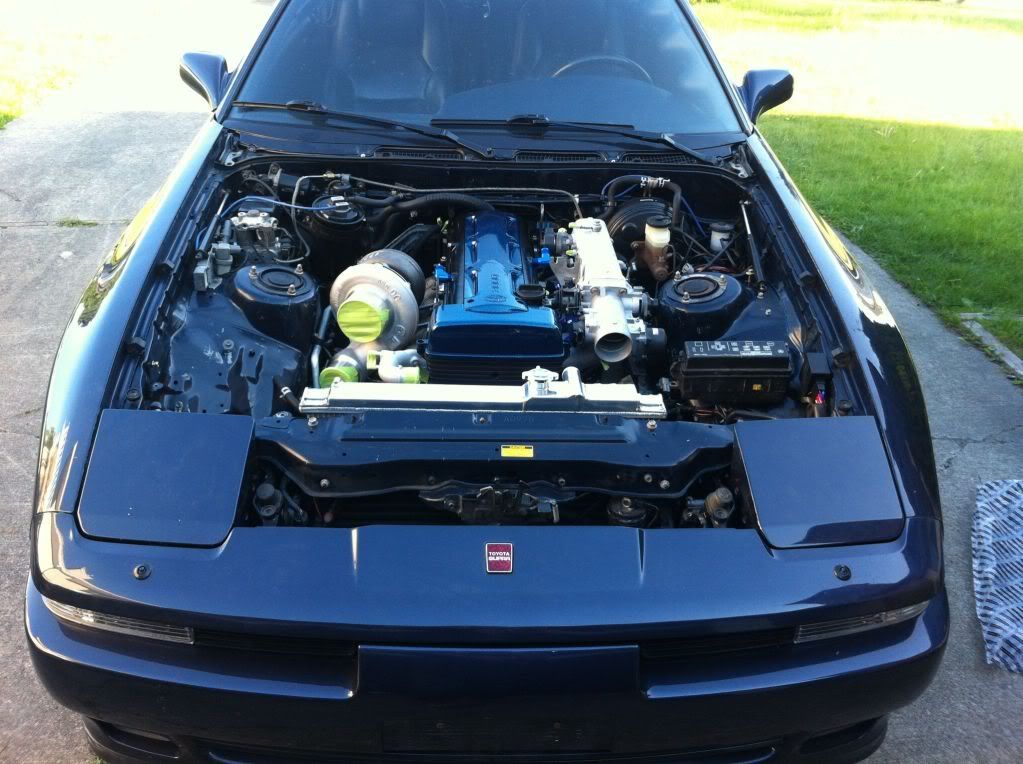
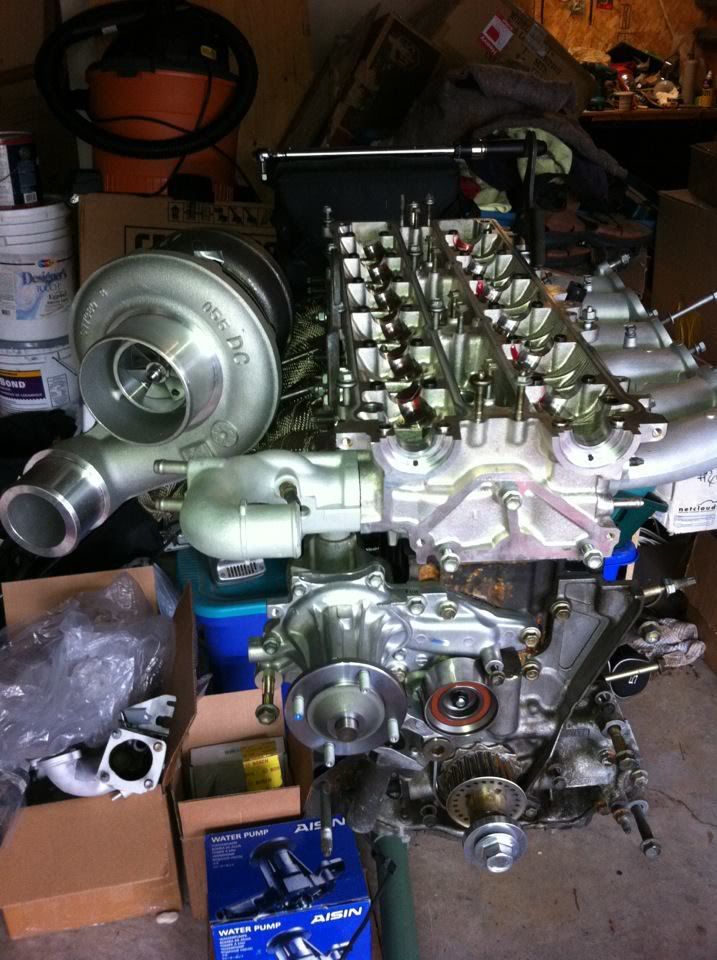
Anyway, 4 months went by owning the car, and I could FINALLY do the 2JZ swap I had wanted to do since 2007. Picked up a mint 2JZ-GTE from a local shop (Force Fed Performance) with supposedly low kms. The engine sat on the engine stand for a while as I gathered parts and researched what I wanted out of all this. Decided that for my power goal of 500rwhp (later was changed to 600rwhp), I might as well pull the head, throw in some ARP studs and new stock head gasket, but keep the stock bottom end. The engine came complete with stock twins, wiring harness, and a whole wack of hoses and clutter that I did not need. Tore all that unnecessary crap off, and painted the block while everything was off.
Had the head machined, new valve seals installed, and stuck on a stock head gasket with ARP studs...and hope the bottom end holds up (as its proven to!).
Installed new gaskets throughout, sandblasted and cleaned parts.
Engine:
-JDM 2JZ-GTE
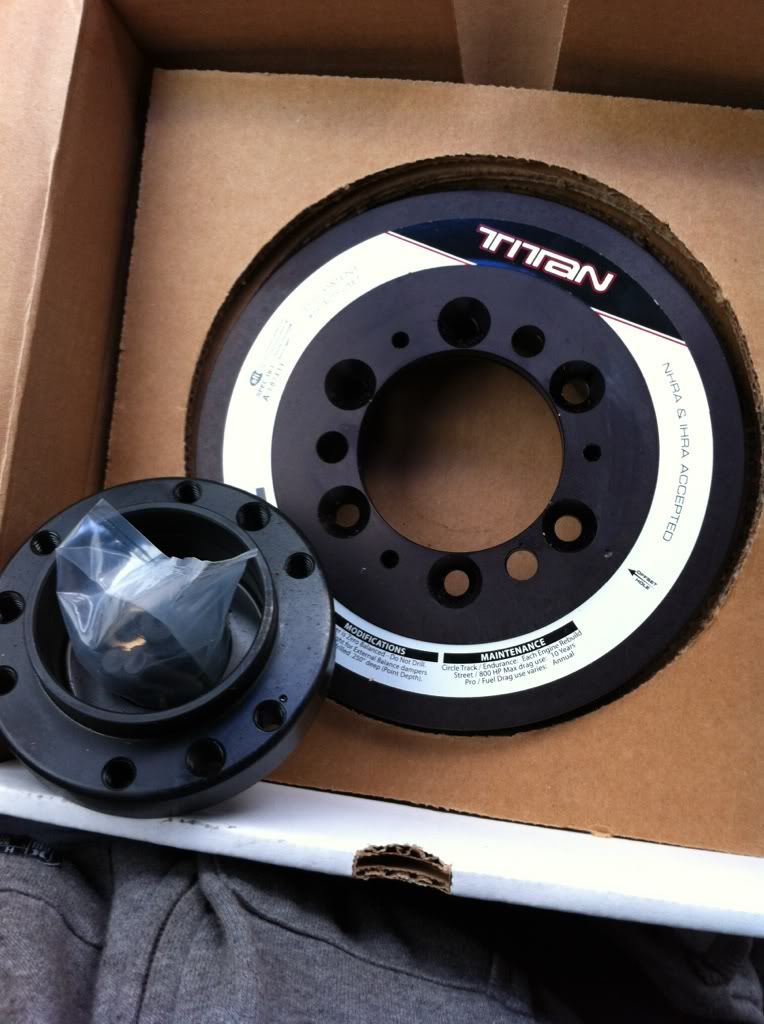
-ATI Crank Pulley
-Stock crank, rods, pistons, cams
-New stock head gasket
-ARP head studs
-Titan adjustable cam gears
-1ZZ Coils
-Gates racing timing belt
-Koyo Radiator
-Stock fan and fan clutch
-200Amp alternator
-Custom oil filter relocation with cooler and thermostat
-Keeping the A/C!
-AN fittings on valve covers with custom made catch can
-BIC engine mount brackets with new engine mounts
-Modified water neck for upper rad hose to clear fan
-Black powdercoated valve covers
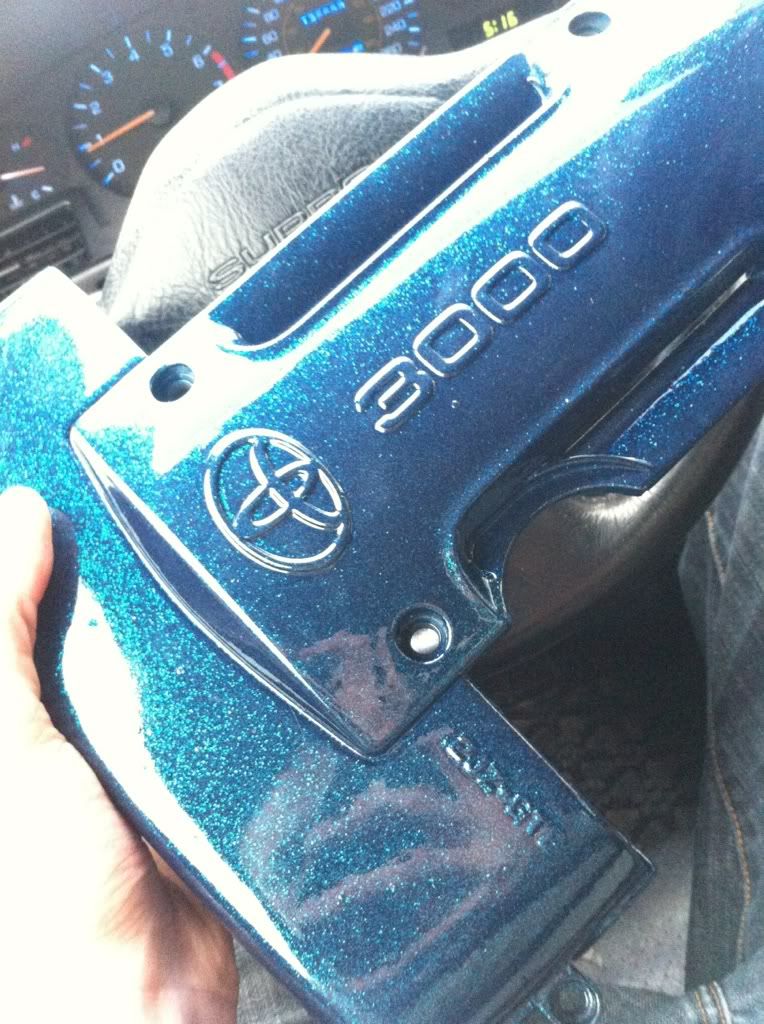
-Custom painted color matched spark plug cover with added metal flake
Fuel:
-Bosch 044 pump with sock (mounted in tank)
-Bosch EV14 775cc injectors
-AEM Water/Meth injection
-Fuel injector clinic fuel rail
-Aeromotive FPR
Turbo/Intake/Exhaust:
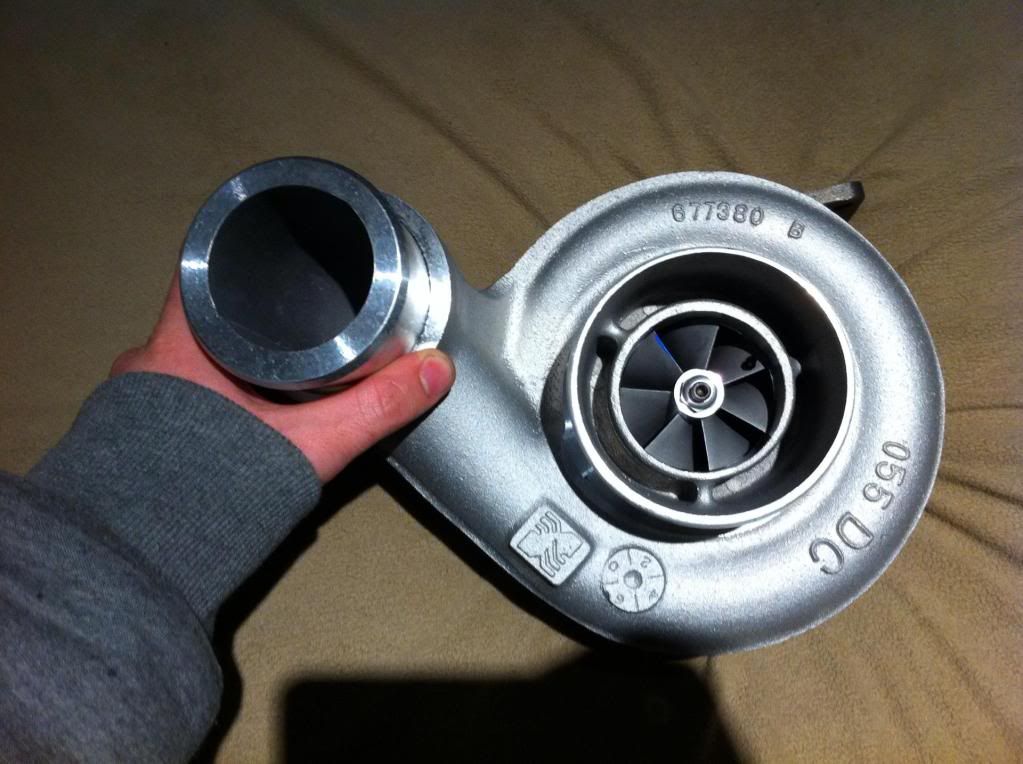
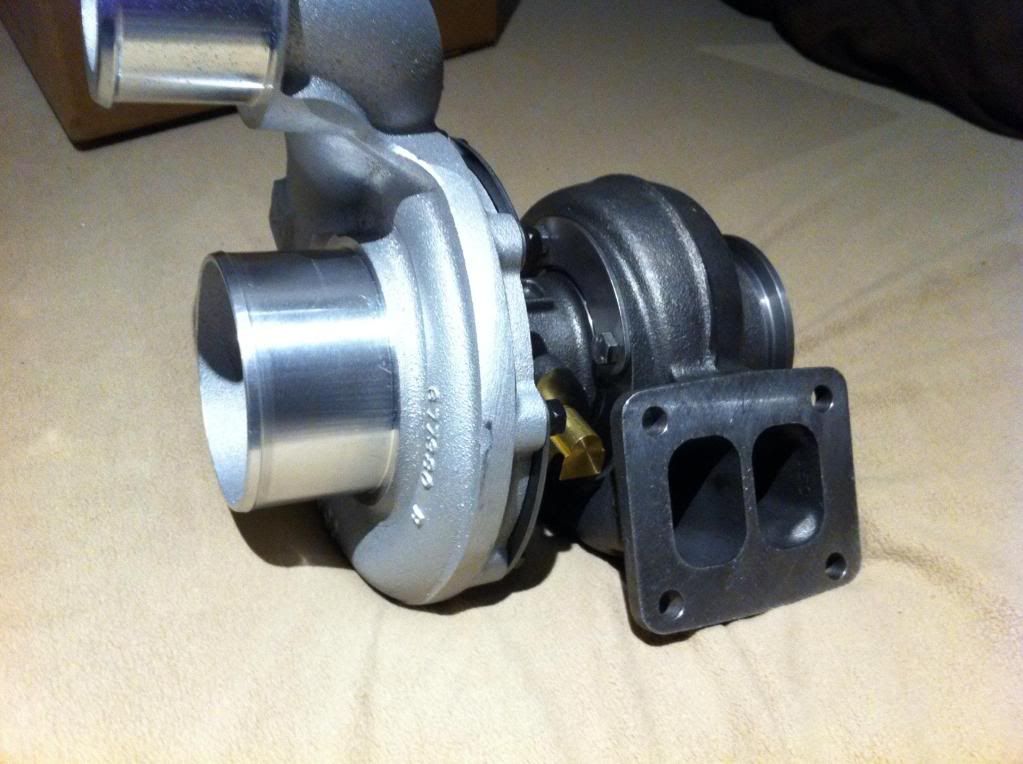
-Borg Warner 88-75 63mm Turbo, .91AR divided hot side with v-band flange
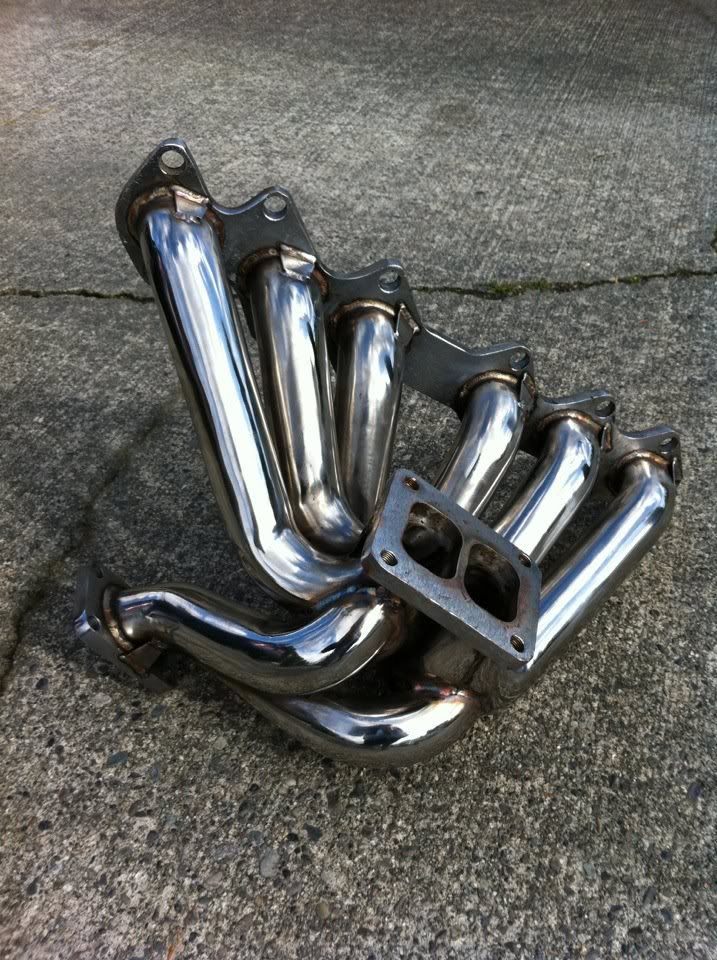
-Ebay tubular divided manifold (modified, with v-band WG flange and reinforced), heat wrapped
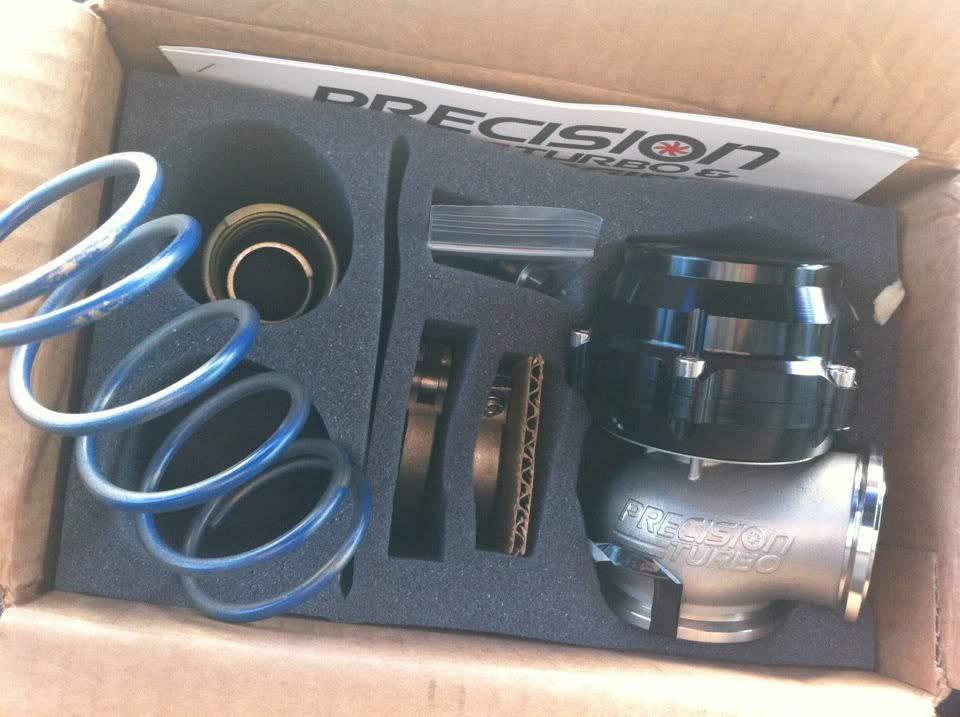
-Precision 46mm wastegate
-Tial 50mm BOV
-3" aluminum intercooler piping
-Driftmotion 24x12x4 intercooler
-3.5" stainless downpipe with WG tube rerouted back into downpipe
-3.5" mild steel exhaust
Drivetrain:
-ACT 6 puck clutch w/ Extreme pressure plate
-Rebuild R154 with all the Marlin Crawler parts I could get
-Polyurethane transmission mount
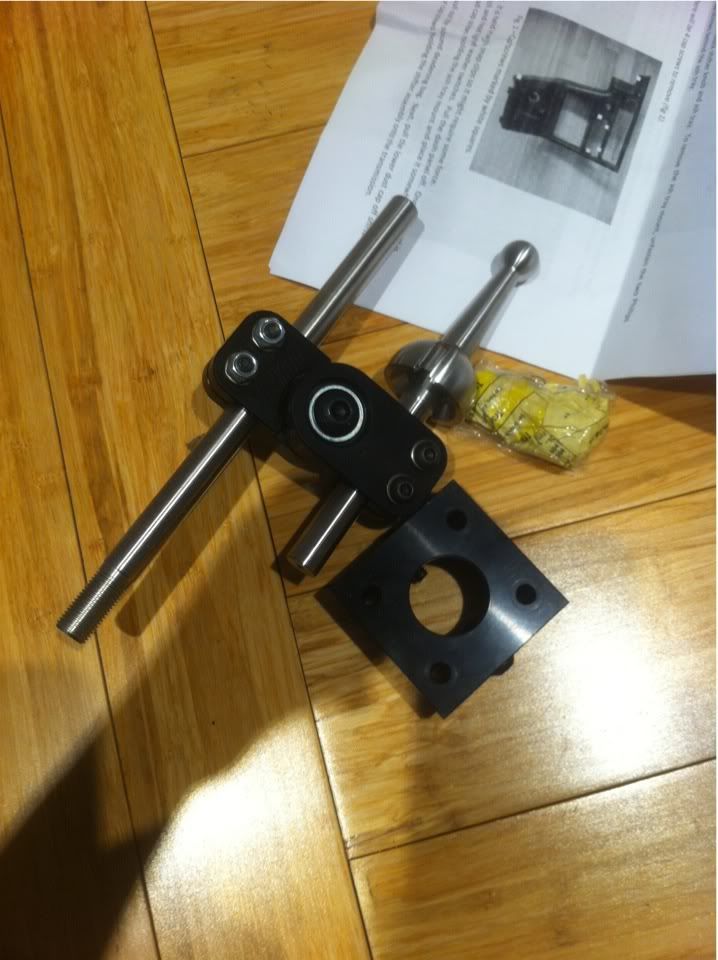
-Nashman adjustable short throw shifter
-H&R Lowering Springs
-Bilstein Shocks
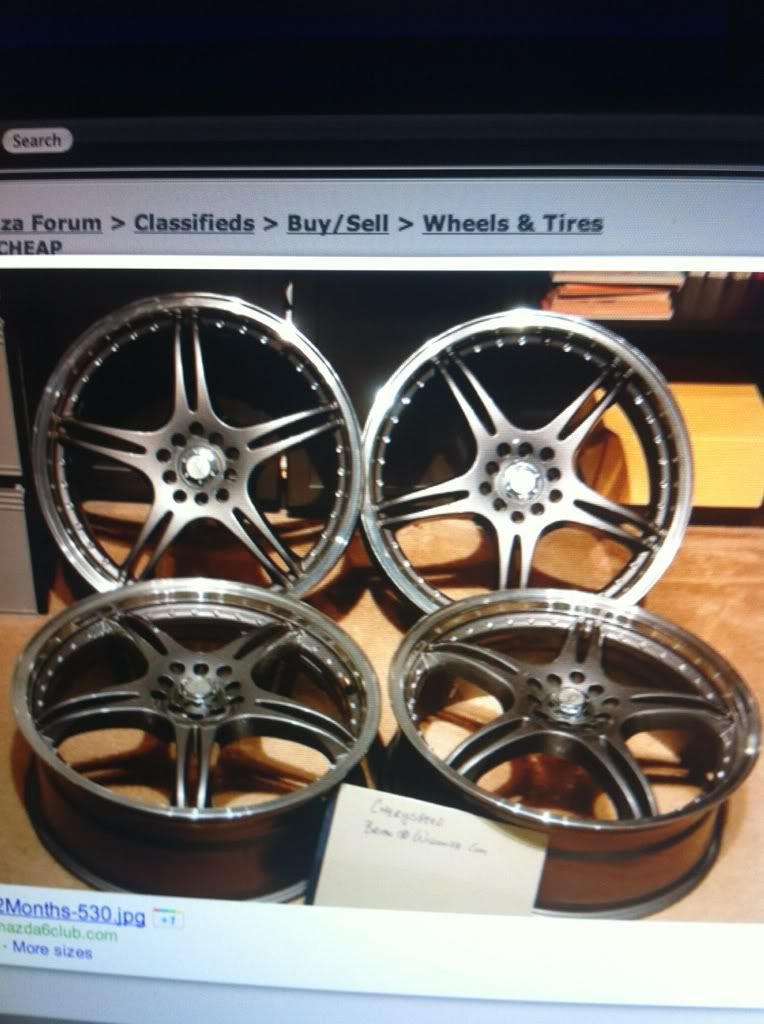
-18" ADR Battle Axe rims (18x8 front, 18x9.5 rear)
-245's up front, 275's in the back (had to roll fenders)
-Removed ABS
-Custom brake lines
-No cruise control
Electrical:
-Haltech Sport 1000 Standalone ECU
-Custom engine harness
-3 Pod A-pillar gauges (AEM Tru-Boost, AEM Wideband, AEM Water Temp)
-7" Alpine INA-W910 Deck w/ backup camera
-6.5" Alpine Type R Component speakers
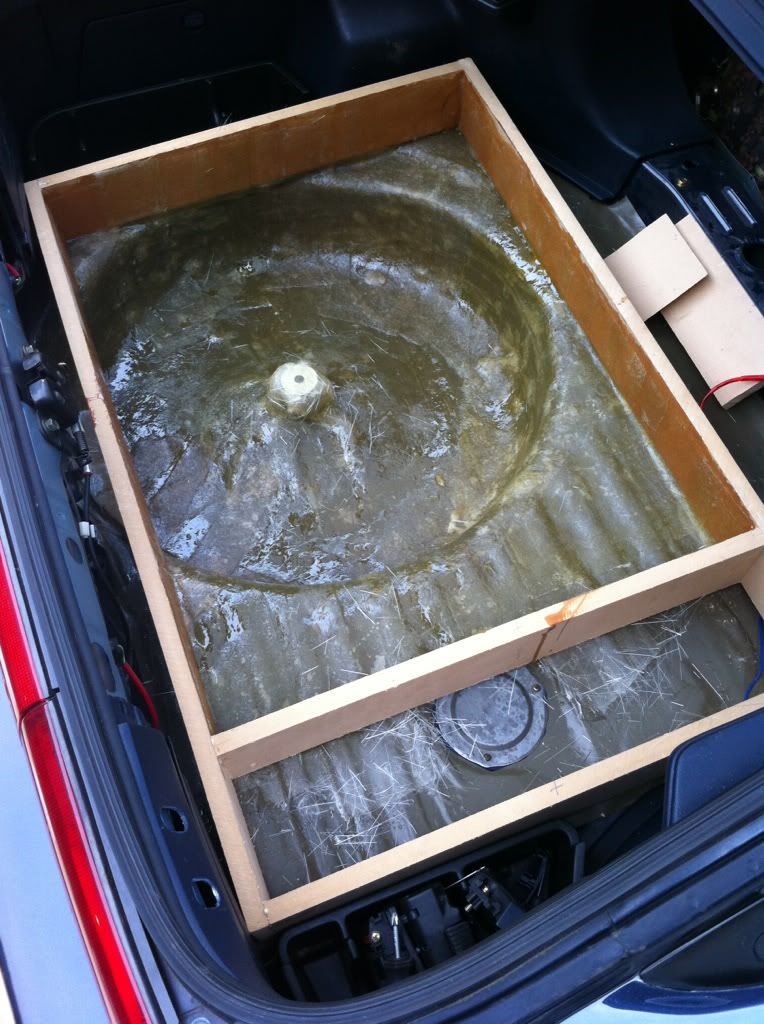
-Custom false floor sub box fiberglassed into spare tire well
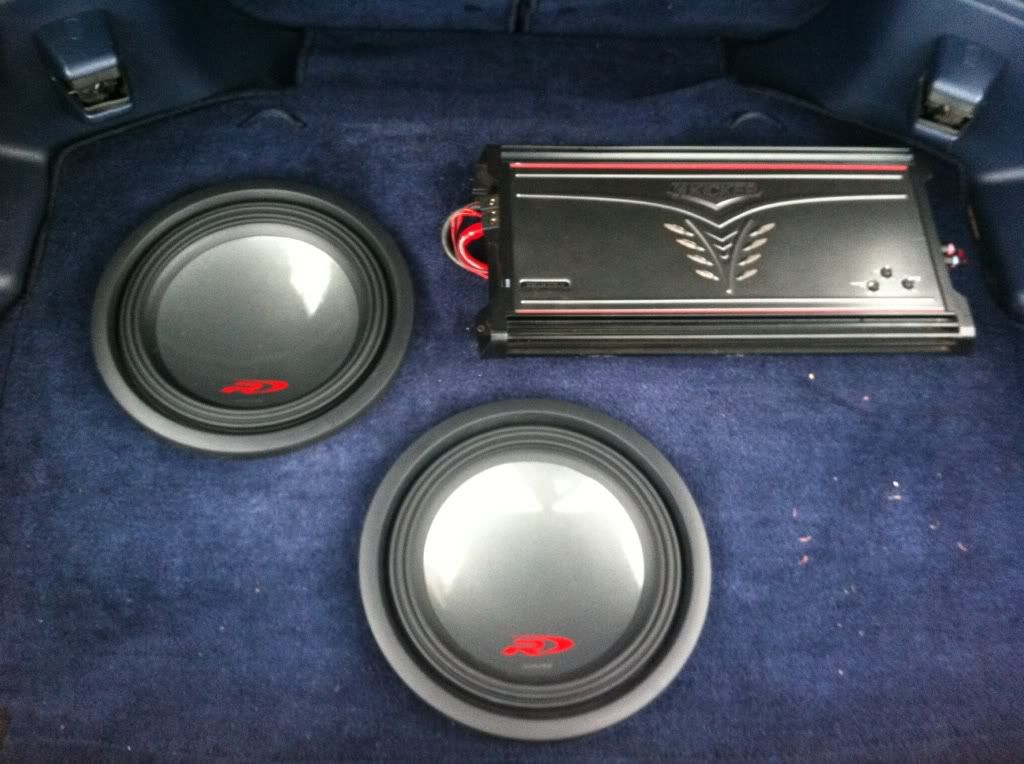
-Two 12" Alpine Type R subwoofers, Kicker ZX1500.1 Mono Amp, Two 1 Farad Capacitors
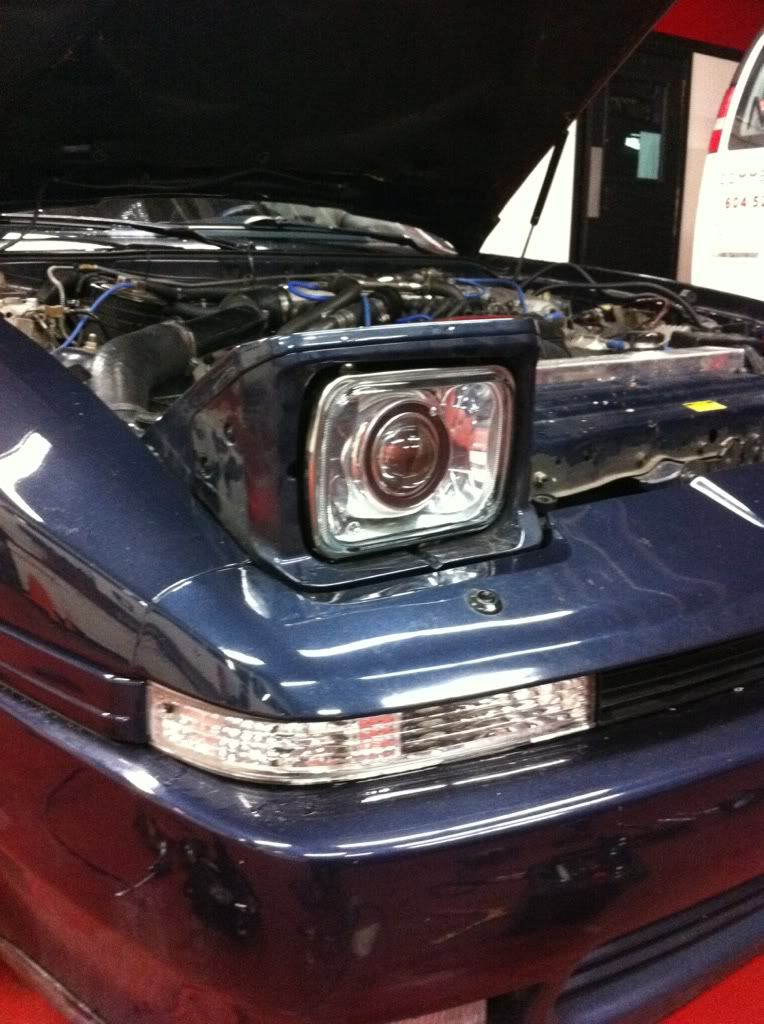
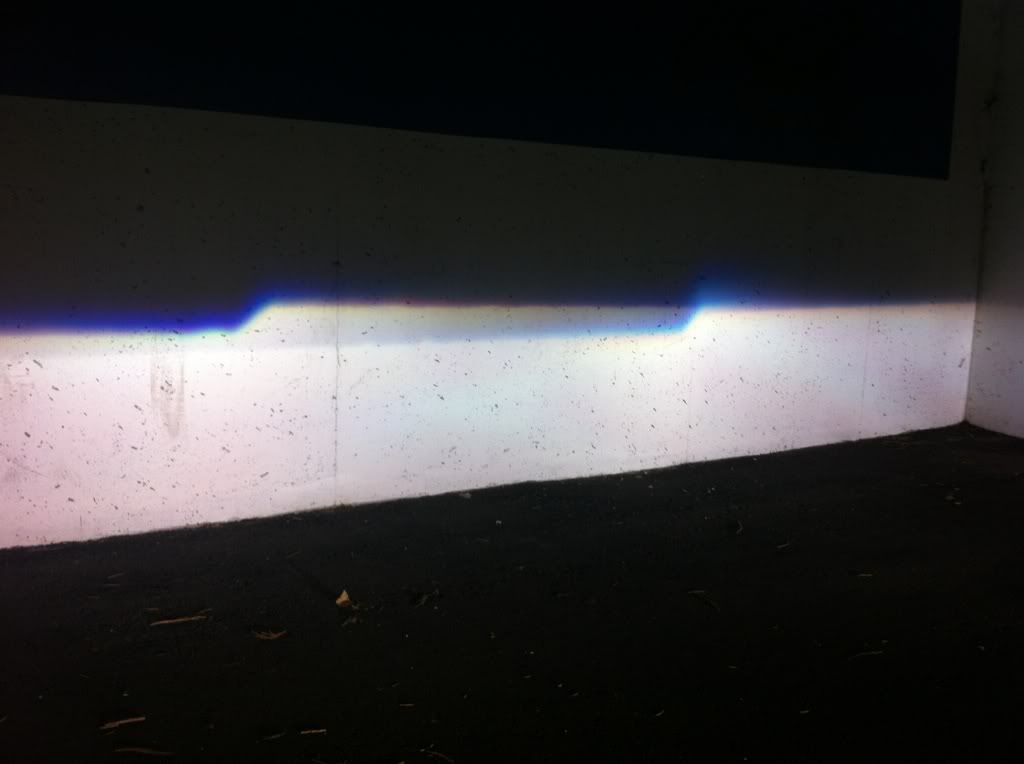
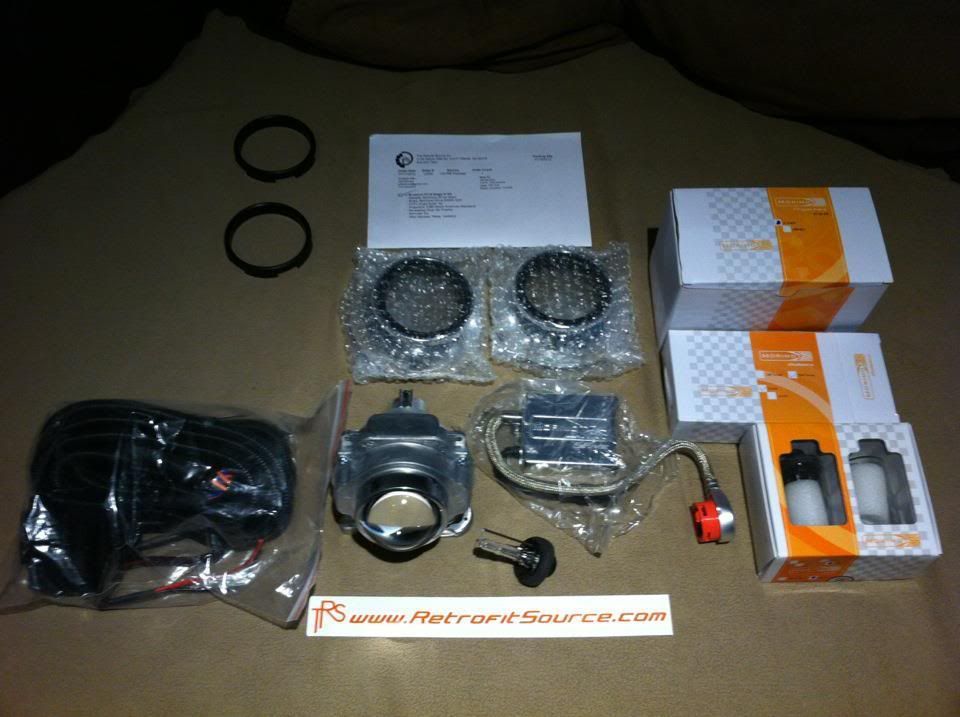
-TheRetrofitSource FX-R Projector Retrofit with 5000k Bi-Xenon HIDs
-LEDs throughout the car (interior & exterior)
Car is currently at Independent Speed Shop in Langley for all the custom finishing touches to get it running
Here are some pics.. sorry they aren't as organized and in order as they could be..
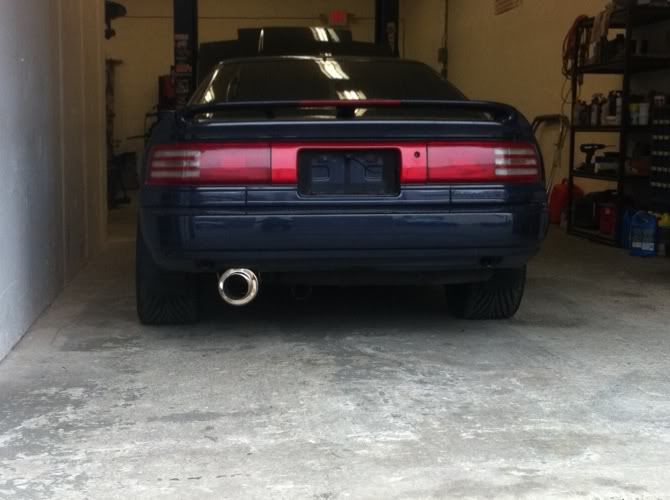
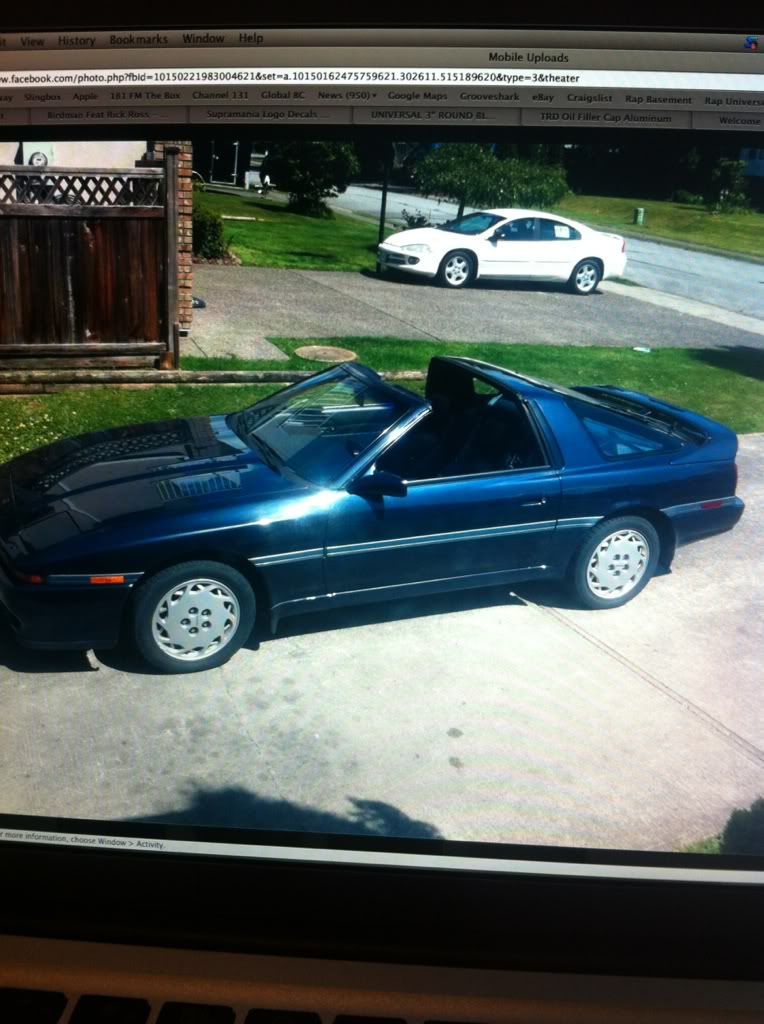
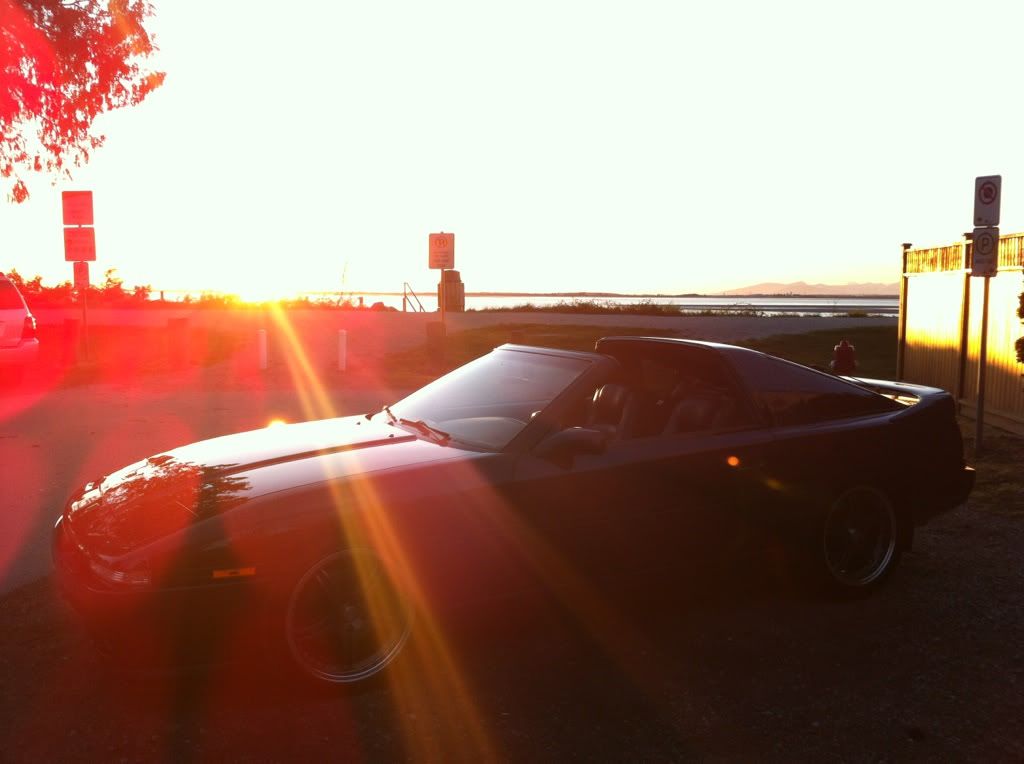
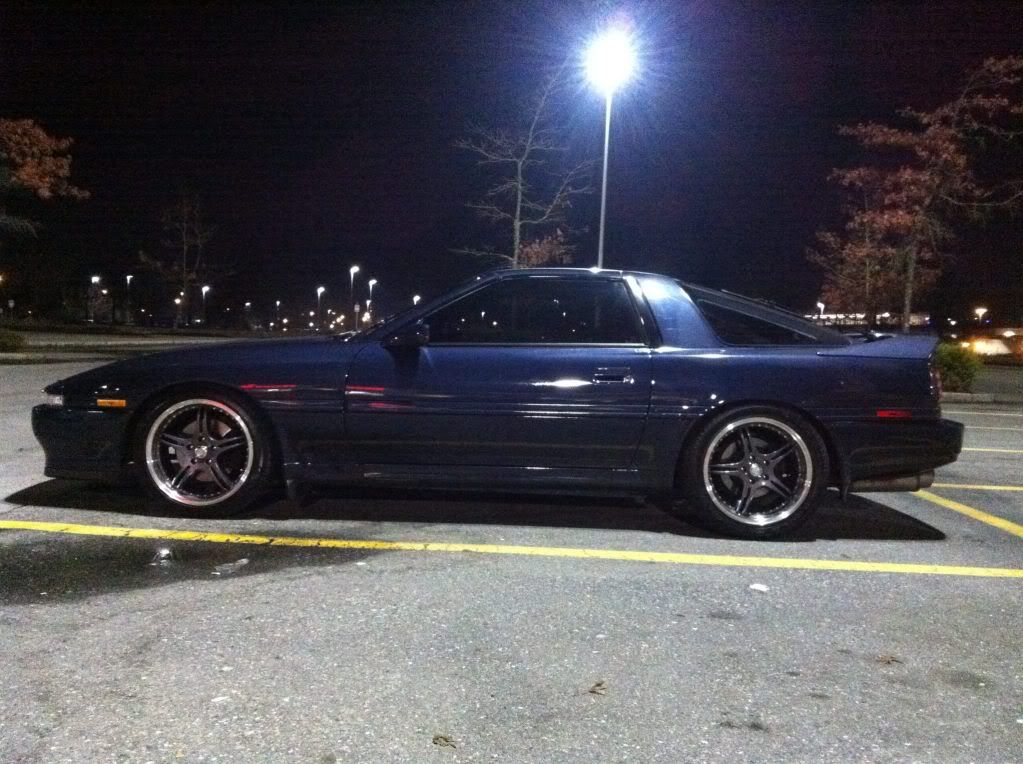
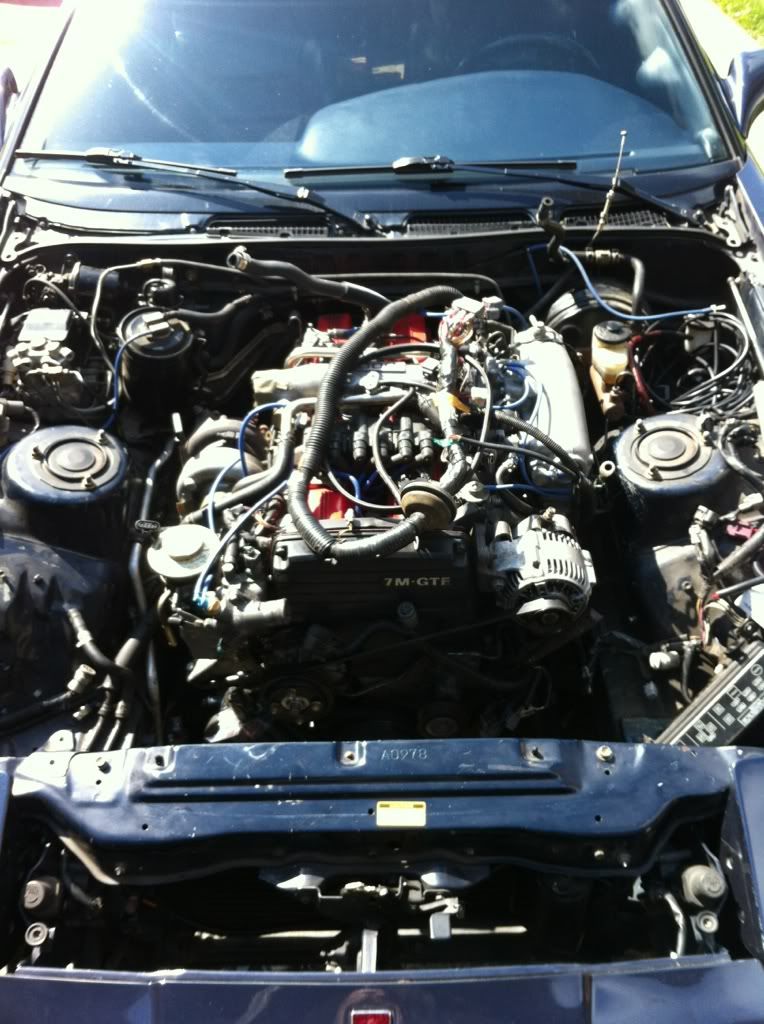
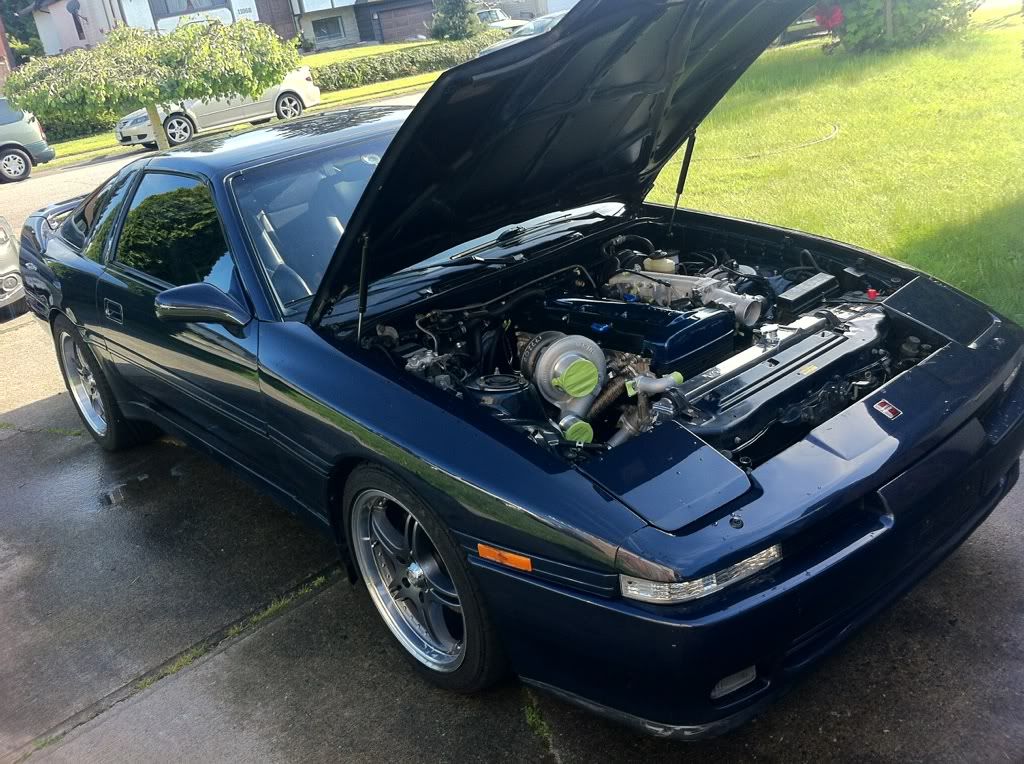
First, here is what the car looked like when I bought it.
And Then...
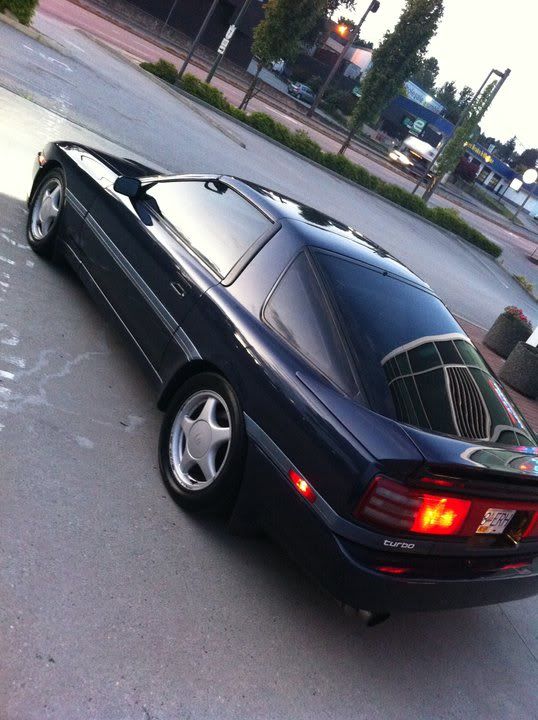
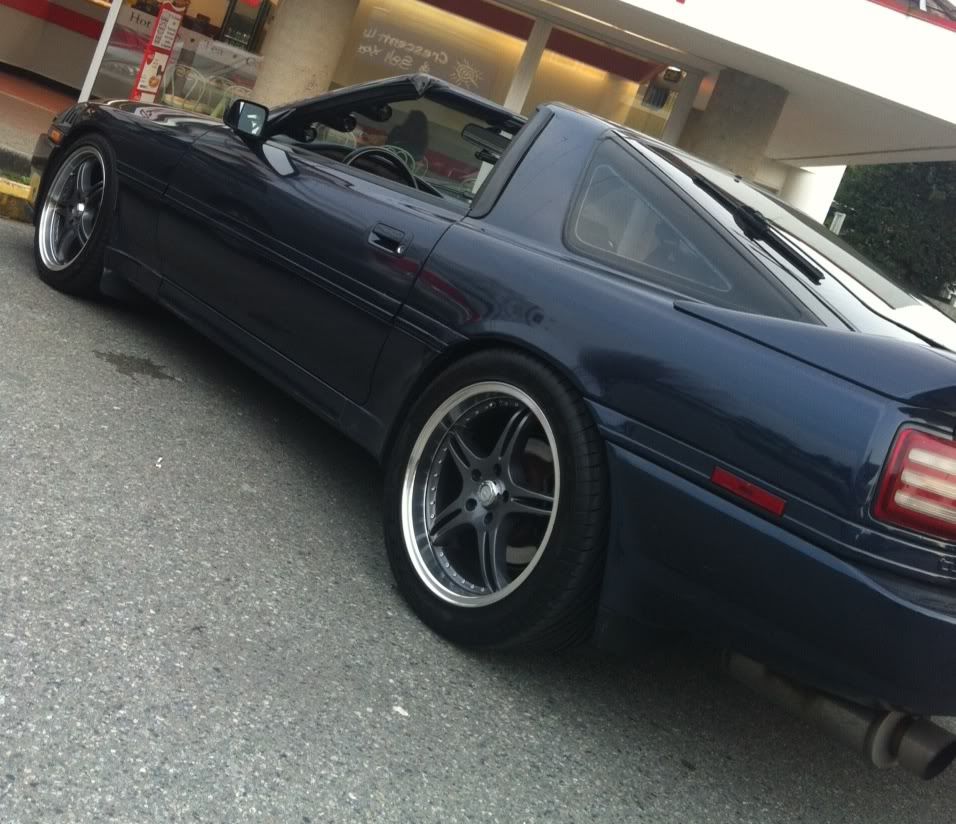

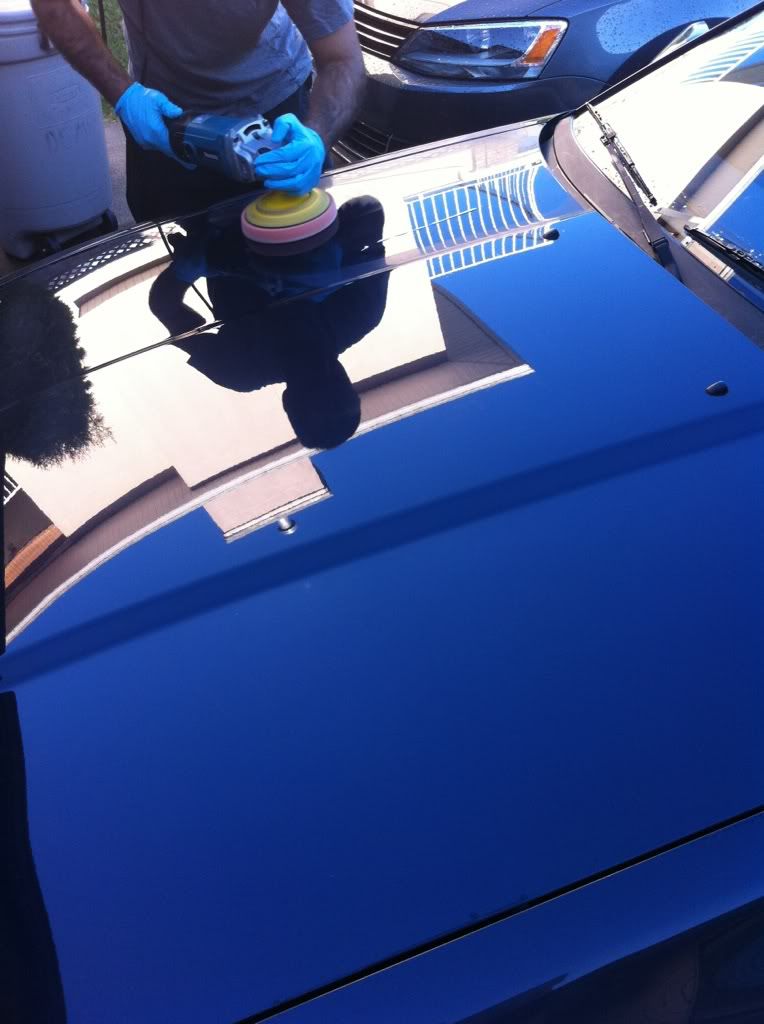
Shining her up!
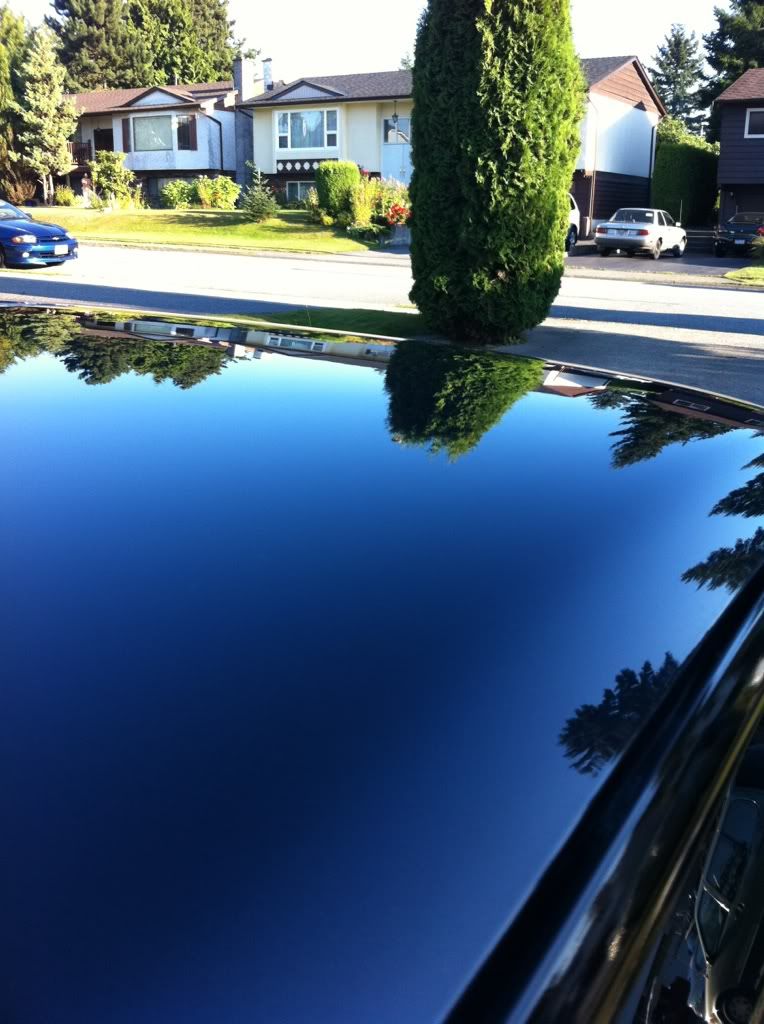
Targa after the polish...
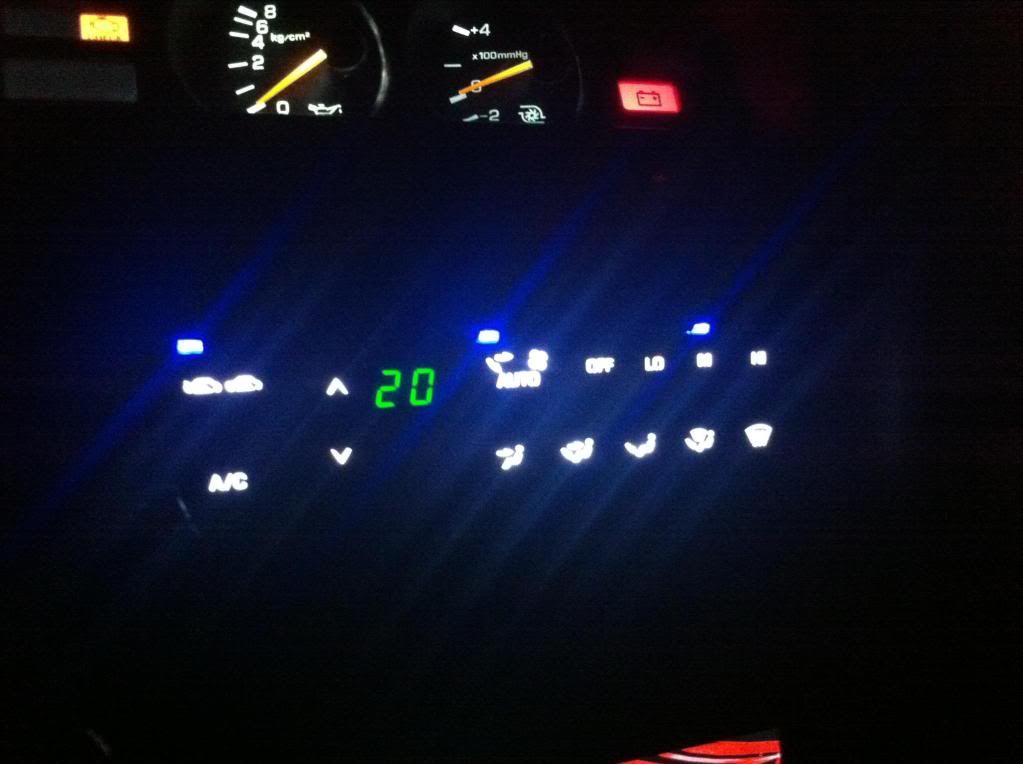
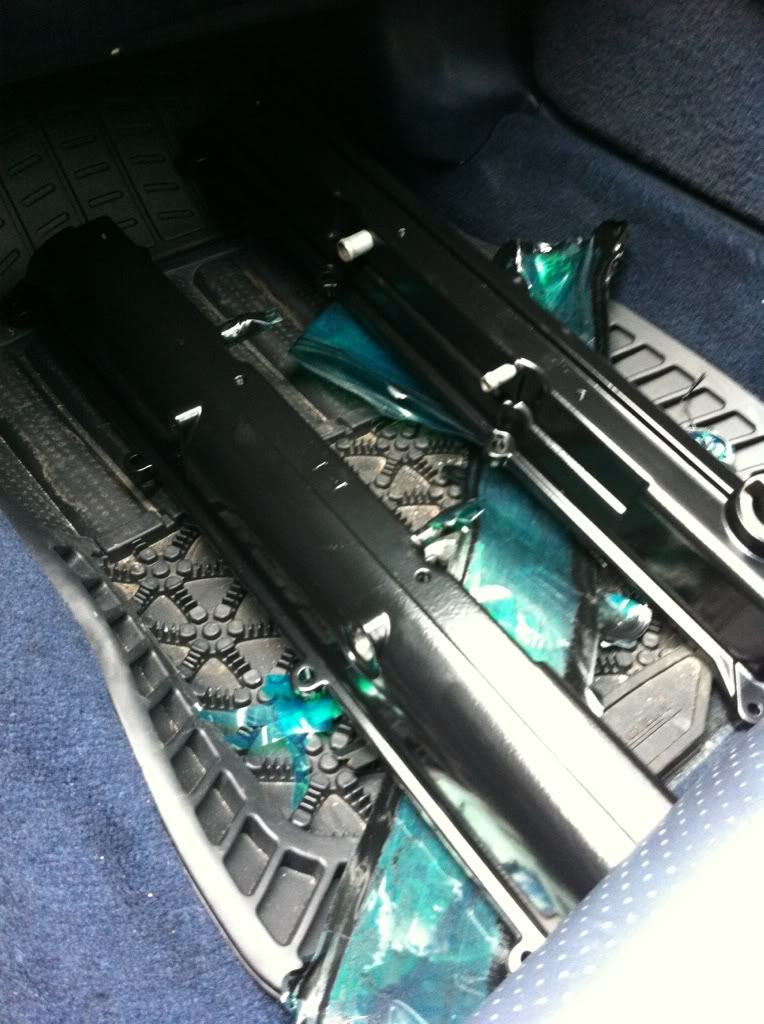
Climate control with LEDS
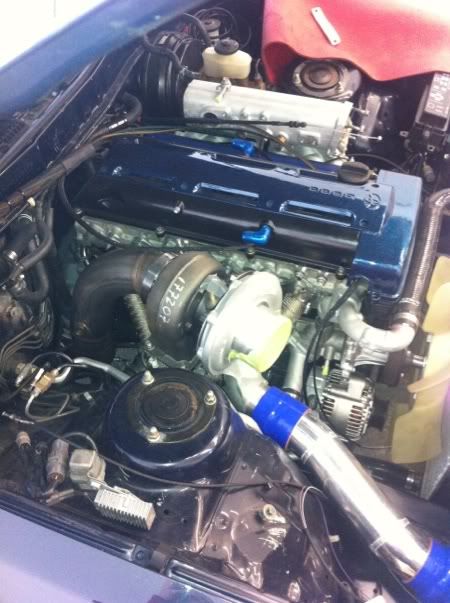
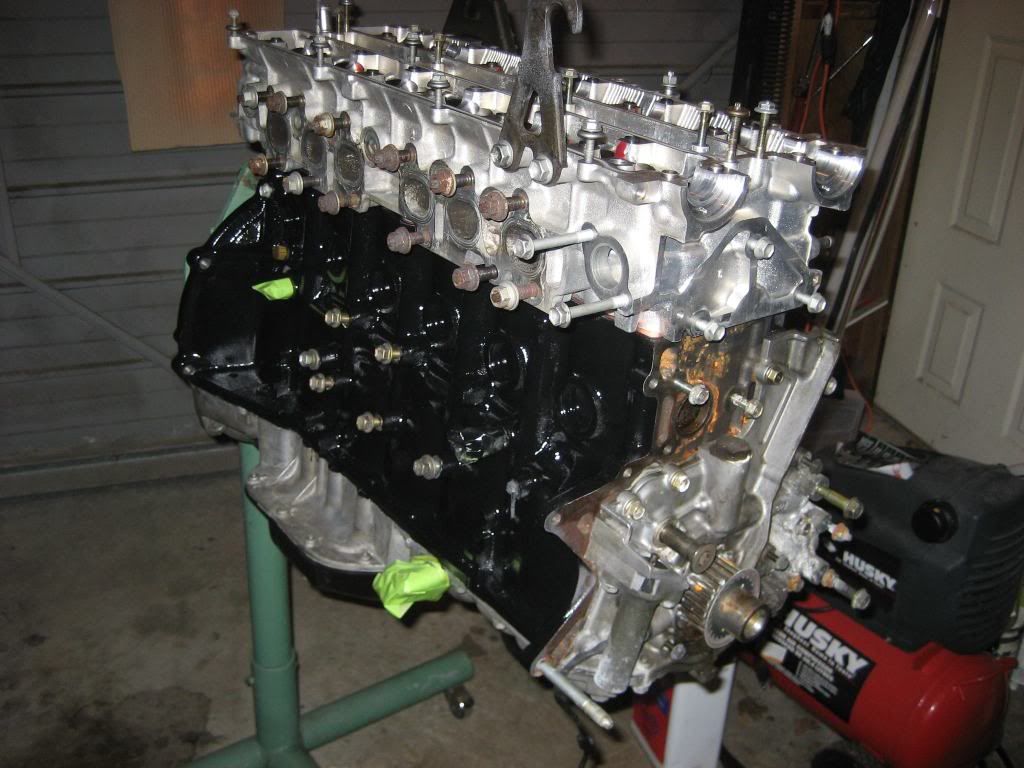
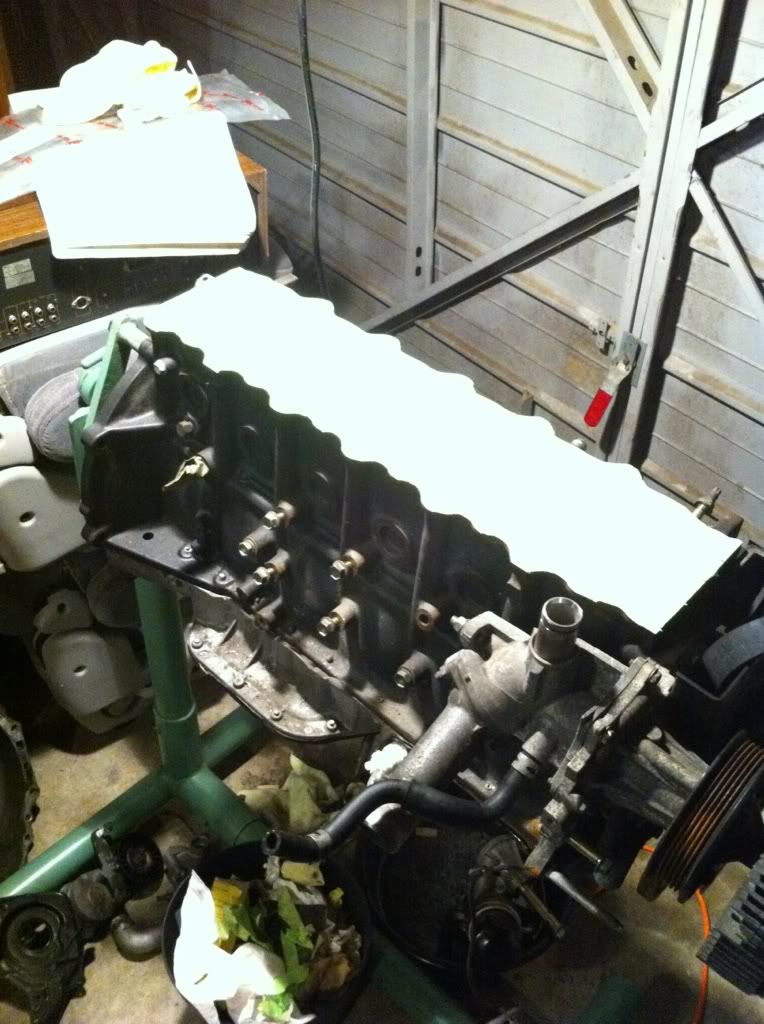
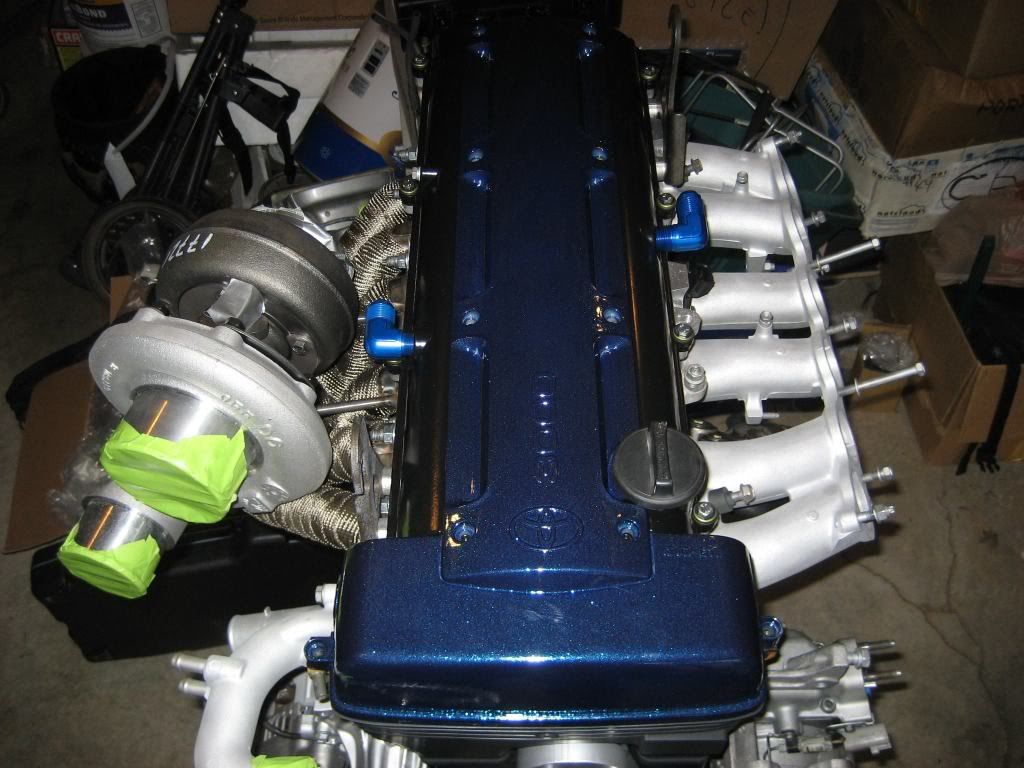
Stock 2JZ before I tore it apart
Turbos off
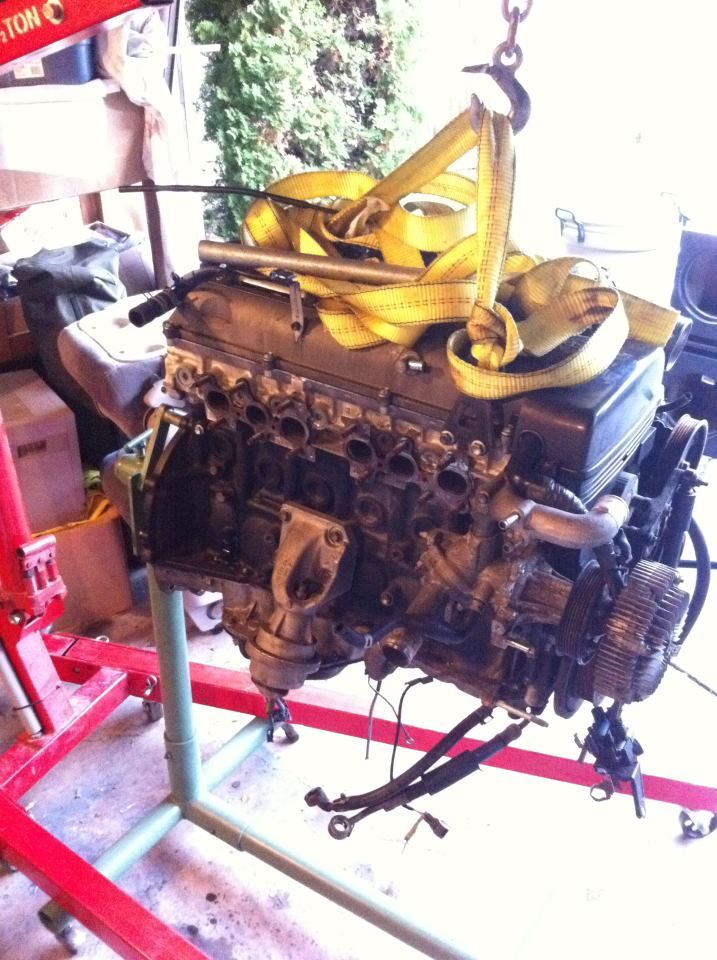
Head off

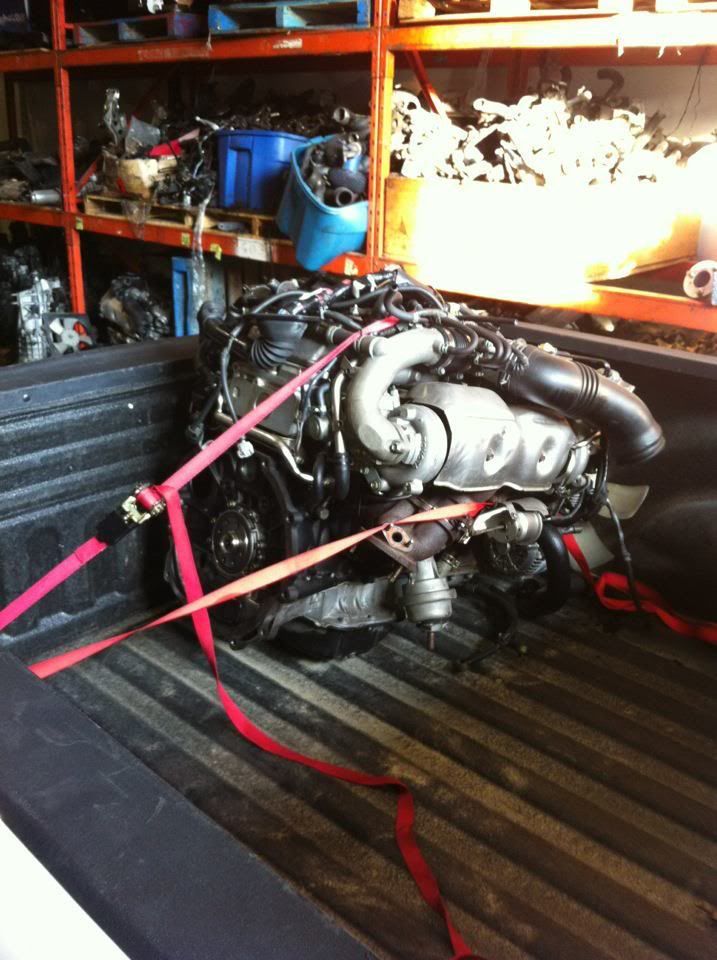
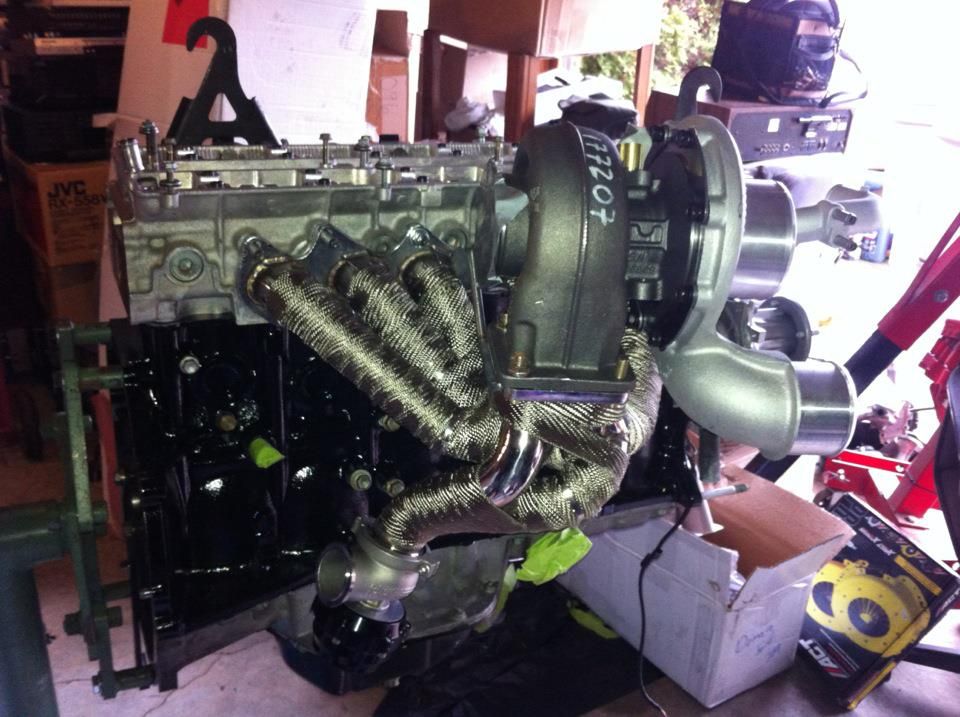
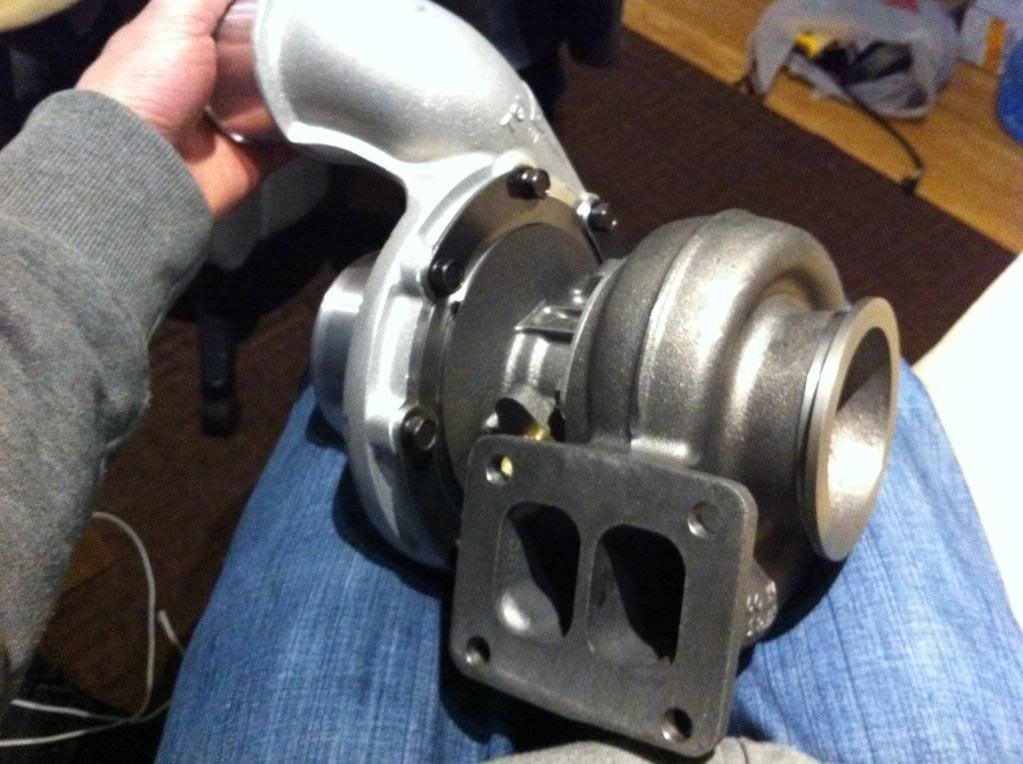
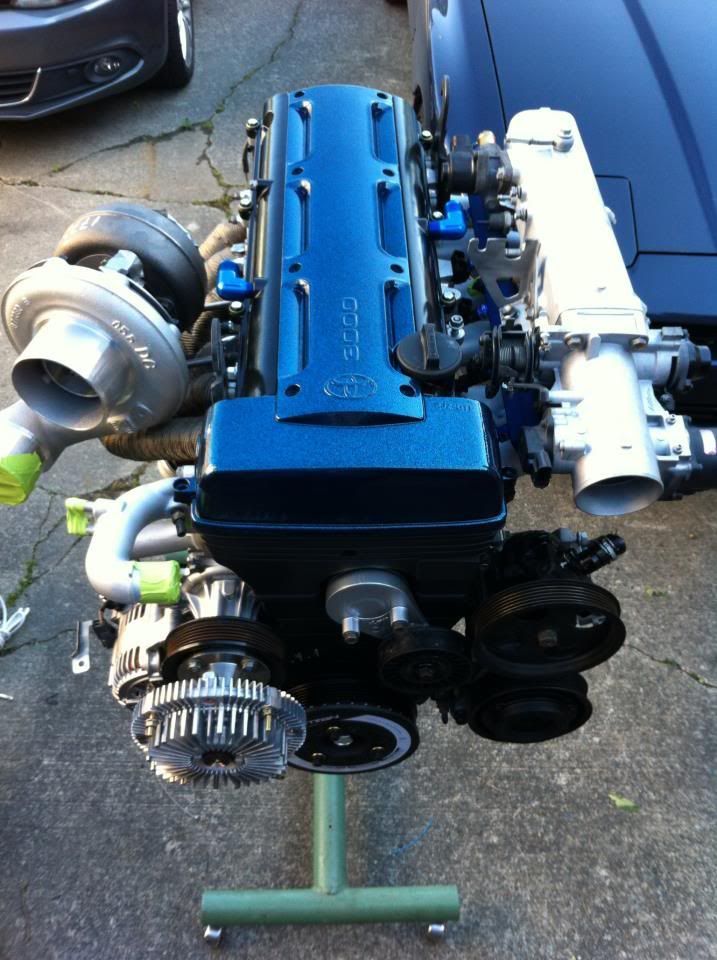
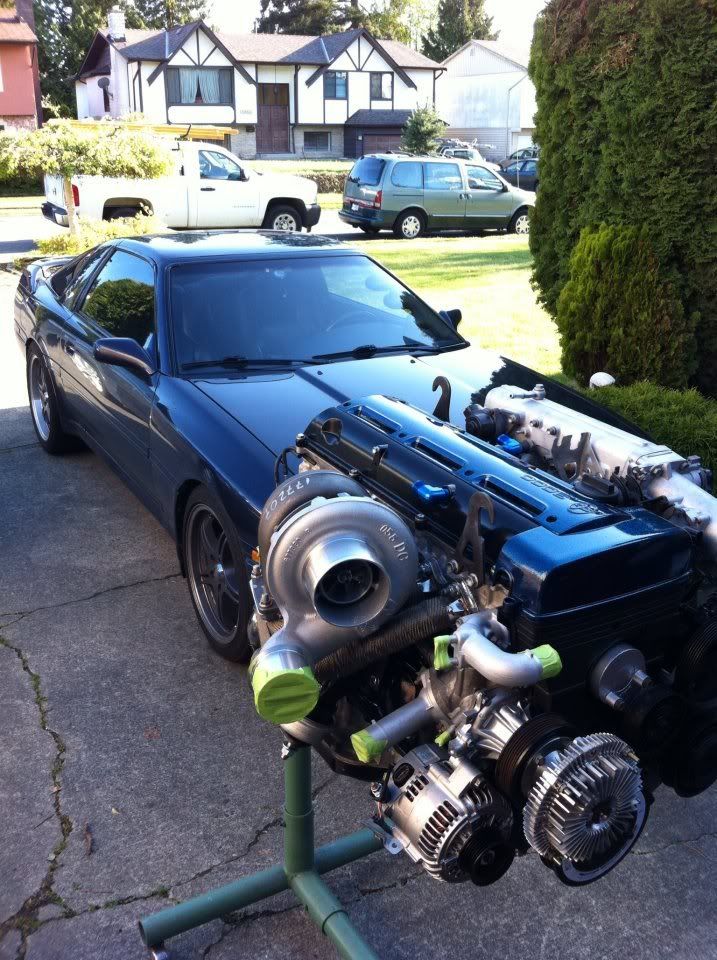
New turbo!
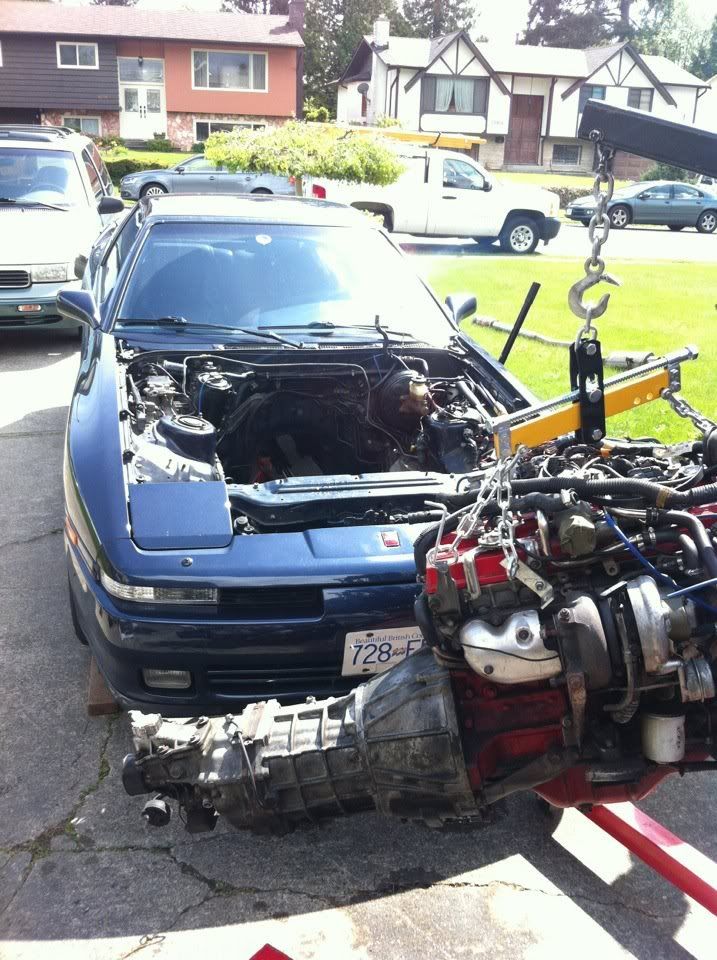
Out with the 7M
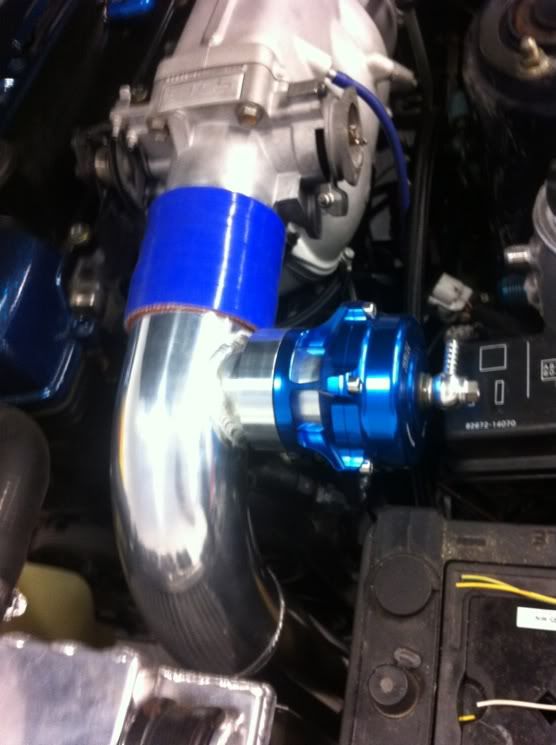
New wastegate
Powdercoated valve covers
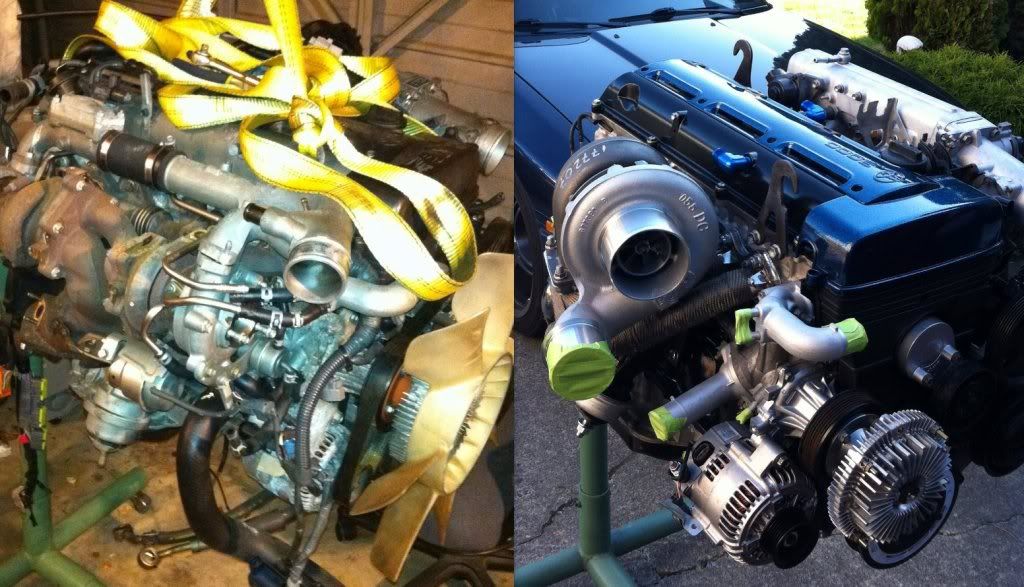
Before/After comparison
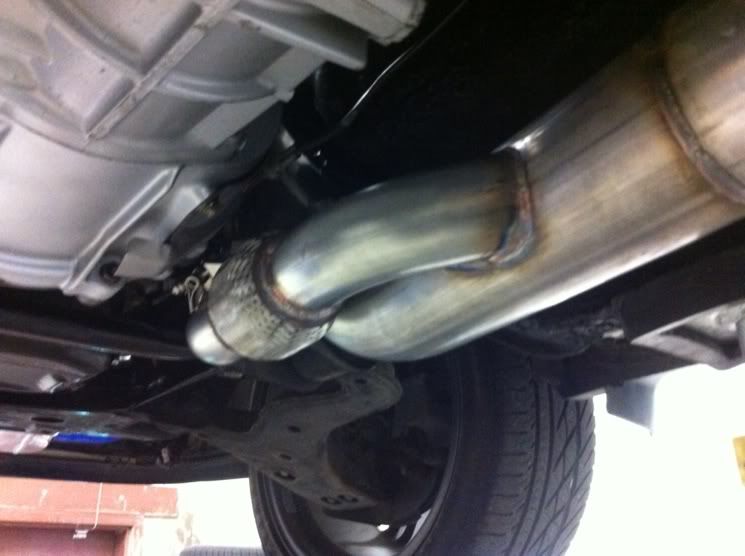
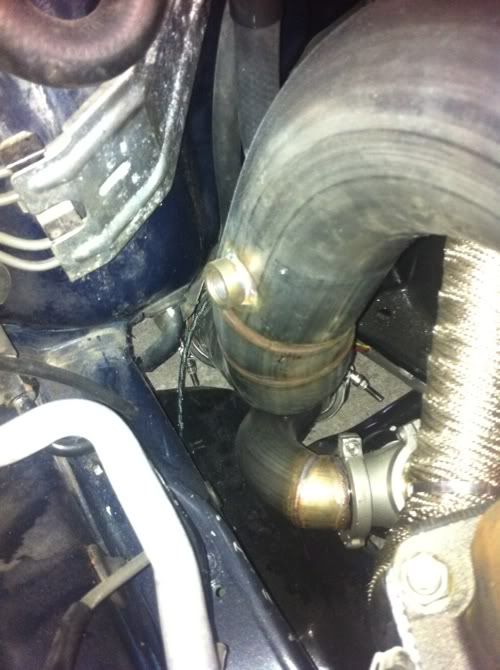
3.5" Downpipe

Rebuilt R154

Color matched with added flake
Gettin towed to the shop for wiring etc

More pics to come!!
Back in 2007, I bought my first Supra (Red '91 Turbo), and had big plans for it. After having the car for about a year, I decided to take on schooling for Aircraft Maintenance Engineering. I had always seen and heard about people selling their car that they love to pay for school, simply because they cannot afford it anymore. I told myself I would not fall into this category, but unfortunately, it happened. Sold the car to a friend locally (who I was goin to BCIT with at the time) and bought a cheap daily driver. Now fast forward a few years, I was on the lookout for another one, as I had landed a great job (totally different from what I actually went to school for!) and could afford to buy another Supra. Took me about 6 months to find exactly what I wanted (I am very picky). I had looked at multiple Supras (all MK3 of course
), all of which needed a LOT of work, or were just complete junk in my eyes. Finally, in June 2011 I came across a dark blue 1990 Turbo, Targa, 5spd, leather, with 126,000km!! I immediately ran the VIN, gave the guy a deposit, and did the full transfer the next day.Anyway, 4 months went by owning the car, and I could FINALLY do the 2JZ swap I had wanted to do since 2007. Picked up a mint 2JZ-GTE from a local shop (Force Fed Performance) with supposedly low kms. The engine sat on the engine stand for a while as I gathered parts and researched what I wanted out of all this. Decided that for my power goal of 500rwhp (later was changed to 600rwhp
), I might as well pull the head, throw in some ARP studs and new stock head gasket, but keep the stock bottom end. The engine came complete with stock twins, wiring harness, and a whole wack of hoses and clutter that I did not need. Tore all that unnecessary crap off, and painted the block while everything was off. Had the head machined, new valve seals installed, and stuck on a stock head gasket with ARP studs...and hope the bottom end holds up (as its proven to!).
Installed new gaskets throughout, sandblasted and cleaned parts.
Engine:
-JDM 2JZ-GTE
-ATI Crank Pulley
-Stock crank, rods, pistons, cams
-New stock head gasket
-ARP head studs
-Titan adjustable cam gears
-1ZZ Coils
-Gates racing timing belt
-Koyo Radiator
-Stock fan and fan clutch
-200Amp alternator
-Custom oil filter relocation with cooler and thermostat
-Keeping the A/C!
-AN fittings on valve covers with custom made catch can
-BIC engine mount brackets with new engine mounts
-Modified water neck for upper rad hose to clear fan
-Black powdercoated valve covers
-Custom painted color matched spark plug cover with added metal flake
Fuel:
-Bosch 044 pump with sock (mounted in tank)
-Bosch EV14 775cc injectors
-AEM Water/Meth injection
-Fuel injector clinic fuel rail
-Aeromotive FPR
Turbo/Intake/Exhaust:
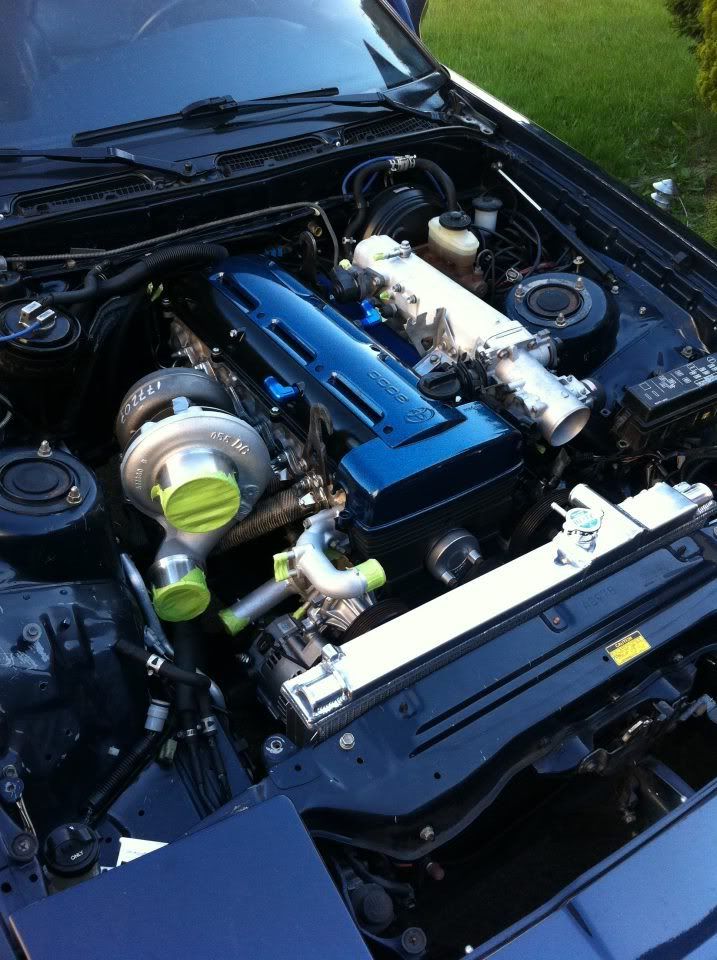
-Borg Warner 88-75 63mm Turbo, .91AR divided hot side with v-band flange
-Ebay tubular divided manifold (modified, with v-band WG flange and reinforced), heat wrapped
-Precision 46mm wastegate
-Tial 50mm BOV
-3" aluminum intercooler piping
-Driftmotion 24x12x4 intercooler
-3.5" stainless downpipe with WG tube rerouted back into downpipe
-3.5" mild steel exhaust
Drivetrain:
-ACT 6 puck clutch w/ Extreme pressure plate
-Rebuild R154 with all the Marlin Crawler parts I could get
-Polyurethane transmission mount
-Nashman adjustable short throw shifter
-H&R Lowering Springs
-Bilstein Shocks
-18" ADR Battle Axe rims (18x8 front, 18x9.5 rear)
-245's up front, 275's in the back (had to roll fenders)
-Removed ABS
-Custom brake lines
-No cruise control
Electrical:
-Haltech Sport 1000 Standalone ECU
-Custom engine harness
-3 Pod A-pillar gauges (AEM Tru-Boost, AEM Wideband, AEM Water Temp)
-7" Alpine INA-W910 Deck w/ backup camera
-6.5" Alpine Type R Component speakers
-Custom false floor sub box fiberglassed into spare tire well
-Two 12" Alpine Type R subwoofers, Kicker ZX1500.1 Mono Amp, Two 1 Farad Capacitors
-TheRetrofitSource FX-R Projector Retrofit with 5000k Bi-Xenon HIDs
-LEDs throughout the car (interior & exterior)
Car is currently at Independent Speed Shop in Langley for all the custom finishing touches to get it running
Here are some pics.. sorry they aren't as organized and in order as they could be..
First, here is what the car looked like when I bought it.
And Then...
Shining her up!
Targa after the polish...
Climate control with LEDS
Stock 2JZ before I tore it apart
Turbos off
Head off
New turbo!
Out with the 7M
New wastegate
Powdercoated valve covers
Before/After comparison
3.5" Downpipe
Rebuilt R154
Color matched with added flake
Gettin towed to the shop for wiring etc
More pics to come!!