This story starts way back in the year 2001 when I purchased my first Toyota Supra. It was a burgundy 1987 Turbo 5 speed model, with about 125k miles on a very clean chassis. I went through a lot with this car while I owned it; repairing, restoring, and modding it along the way. It was a blast to drive whether you were cruising down the interstate, carving through the twisties, or tearing up the drag strip. But, while I loved it very much, it also caused a great deal of stress being my only mode of transportation. I was always worried about something breaking or about it being messed with while on a college campus. I finally got to a point in late 2006 where I felt that I was better off selling it, rather than continuously pouring money into something that I was forced to abuse through daily driving. It was a sad day when it left down the street, being driven by a new owner.


As many of you know, I've been through several different vehicles between then and now, but I always knew that I'd eventually own another Supra. After selling the G8 and finally purchasing a car that I vowed not to touch unless it was for maintenance purposes, I was able to make room for a new toy. Something that could stay in the garage in bad weather and be cared for the way it should. Something that I could take time to build the way I wanted, and not rush to get back on the road for work at the end of the weekend. Something that I would be able to plan for and make into that car I always wanted.
On April 9th, 2011, that something finally came into my life in the form of a 1992 Toyota Supra. Early that warm spring Saturday morning I hopped on a plane down to Fort Smith Arkansas where my new beauty lay wait. While she needed a little bit of TLC, she was still perfect. Her sharp lines and smooth curves glistening in the sun. The soft touch of her smooth, black leather wrapped upholstery firmly gripping my body. I couldn't wait to get her home.


In the first 24 hours of ownership, we drove over 850 miles together; the first night was even spent sleeping inside of her. But, eventually, we made it back to Chicago-land where her new home awaited.


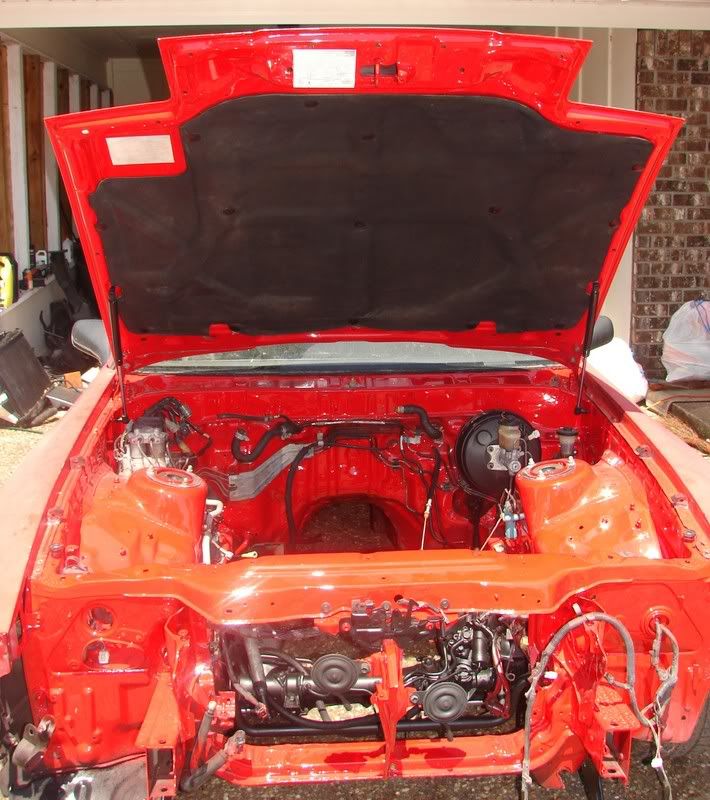
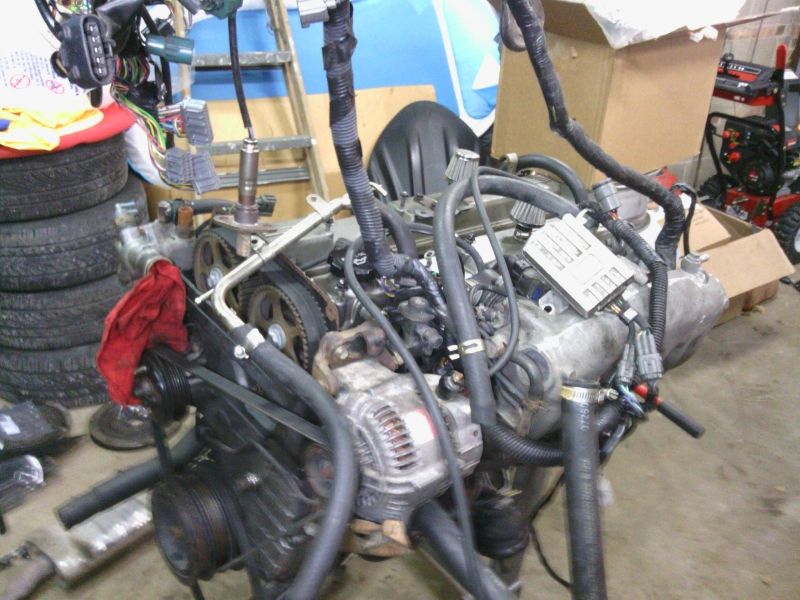
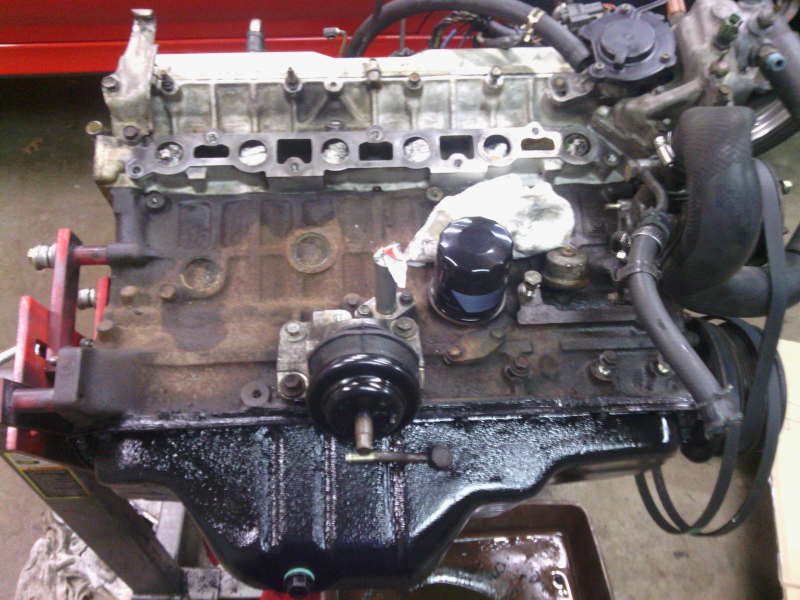
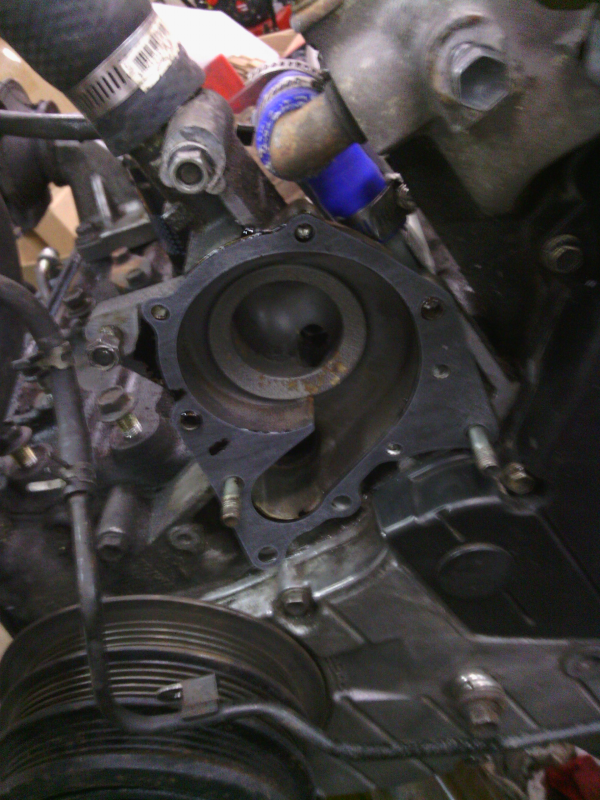
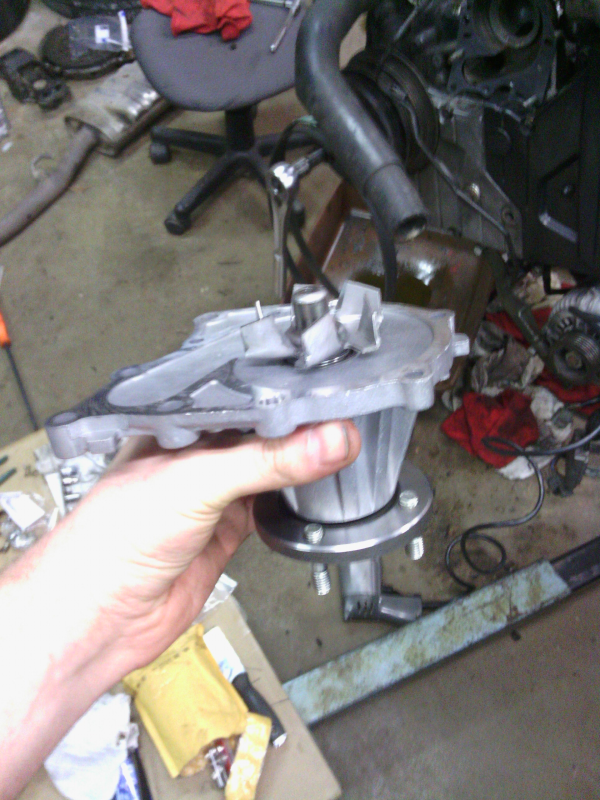
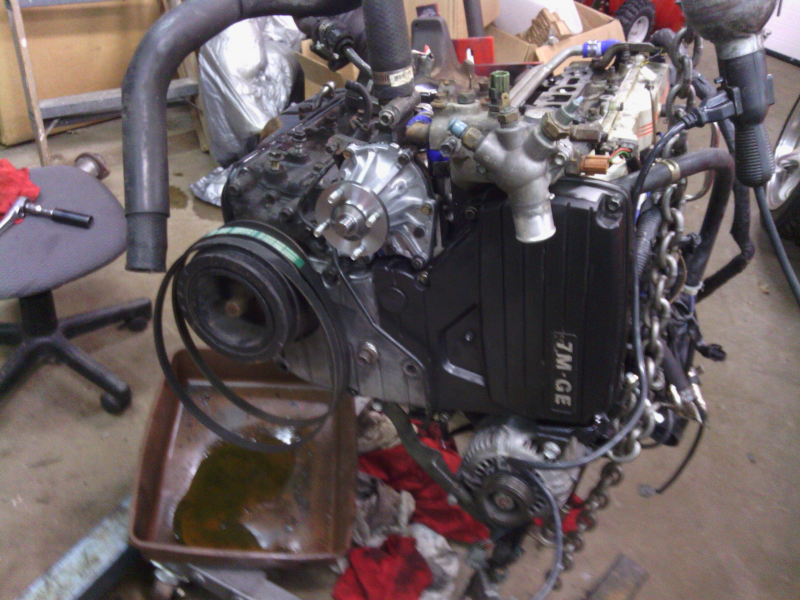
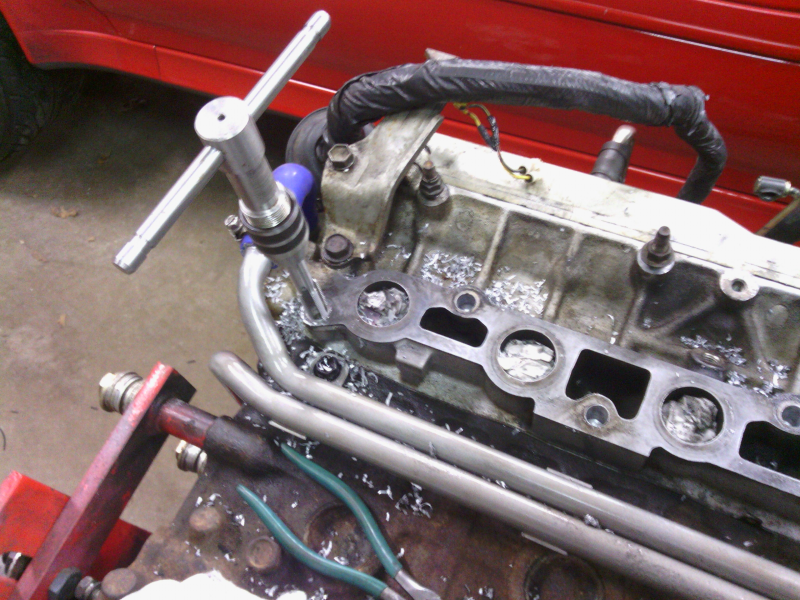
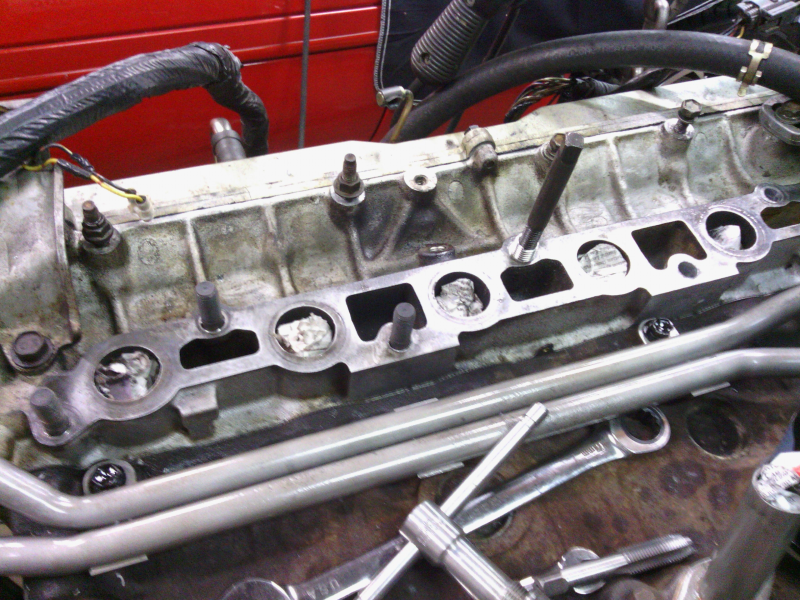
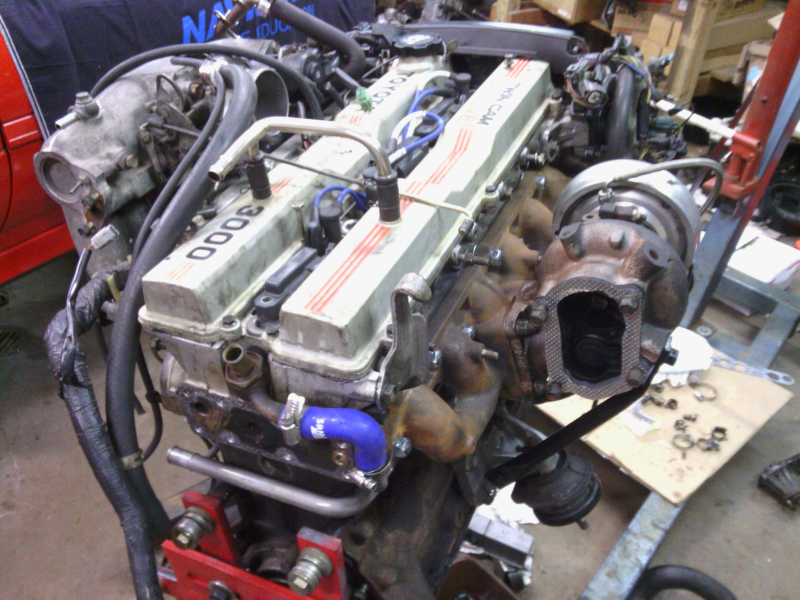
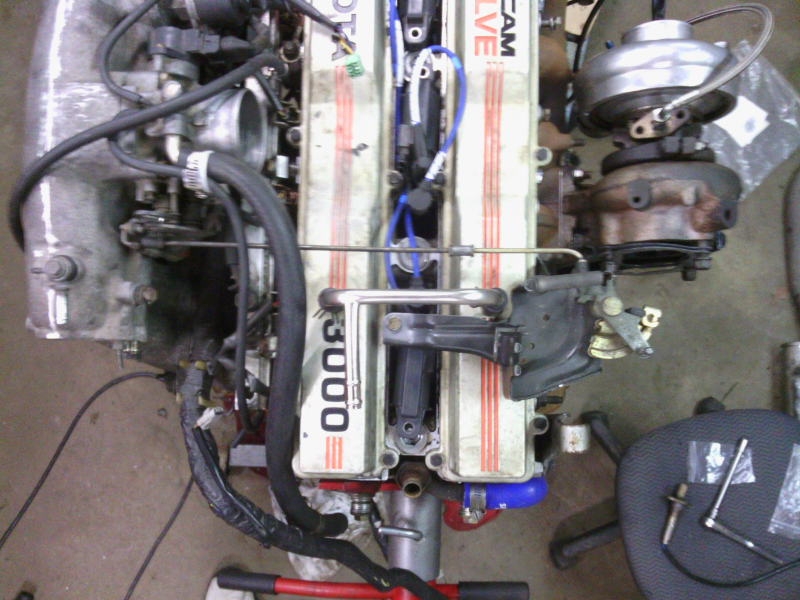
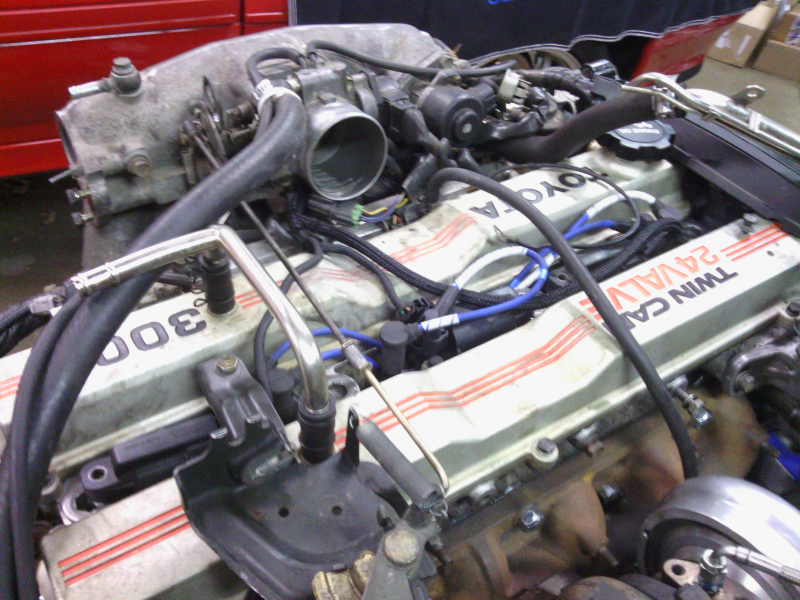
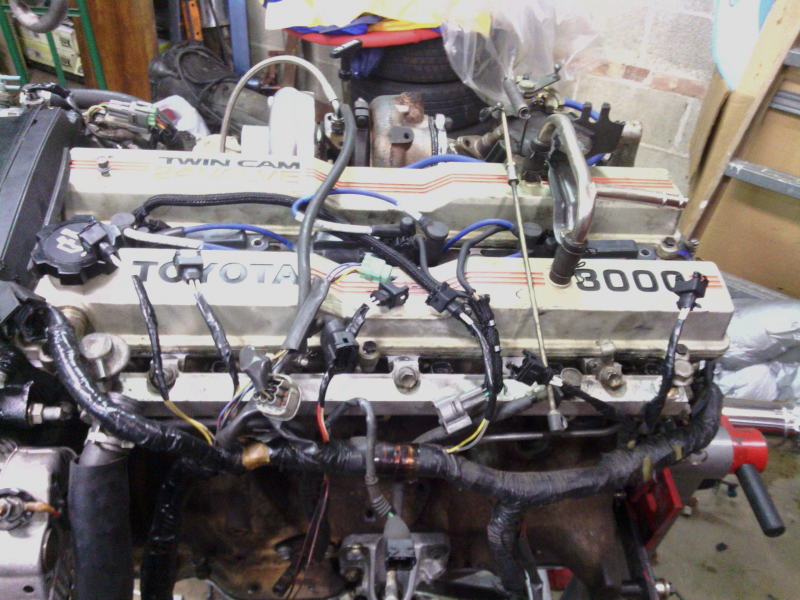
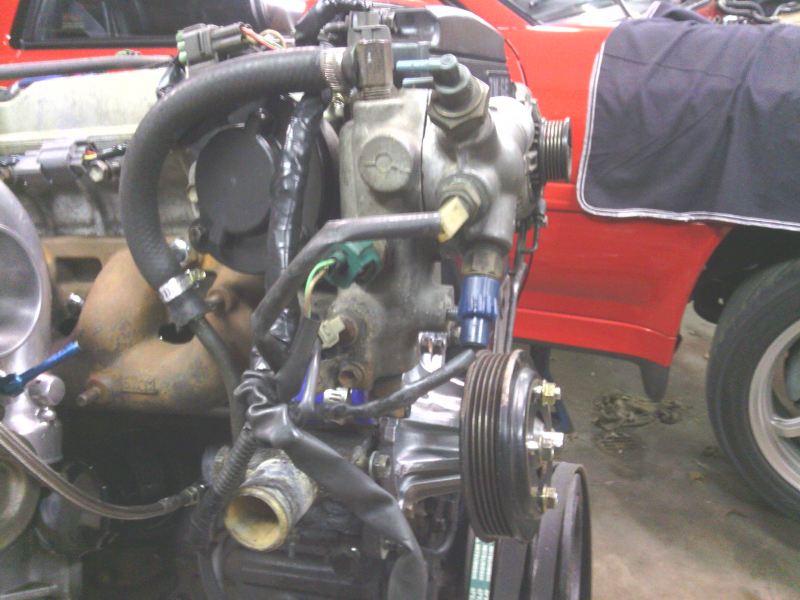
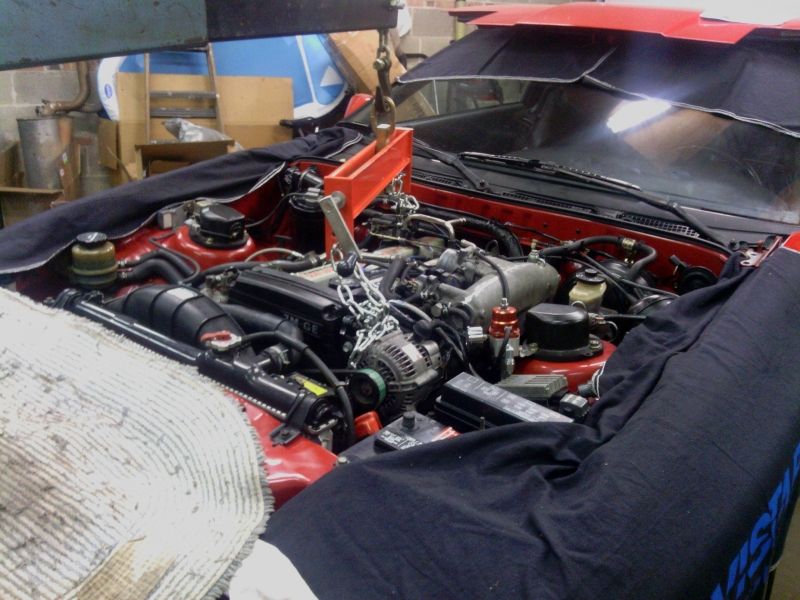
First on the to-do-list was fixing a couple of exhaust leaks that needed some attention to make the car fully drivable for the coming season. I pulled, sand blasted, and painted the manifold, replaced a broken stud, and installed some new factory gaskets and O2 sensor. This engine won't be staying in the bay for very long, but now with only 84,000 miles on the clock, it's still running well and will do just fine to enjoy the car for this season.


Next on the to-do-list was giving her the TLC she had been desperately needing. I touched up several edges of the front fascia, hood, headlight covers, side moldings, fenders, and doors that had been burned by an ignorant detailer with a buffing wheel; as well as a few rock chips and scratches. It still needs some more touch up, but there is a night and day difference from what has been done so far.
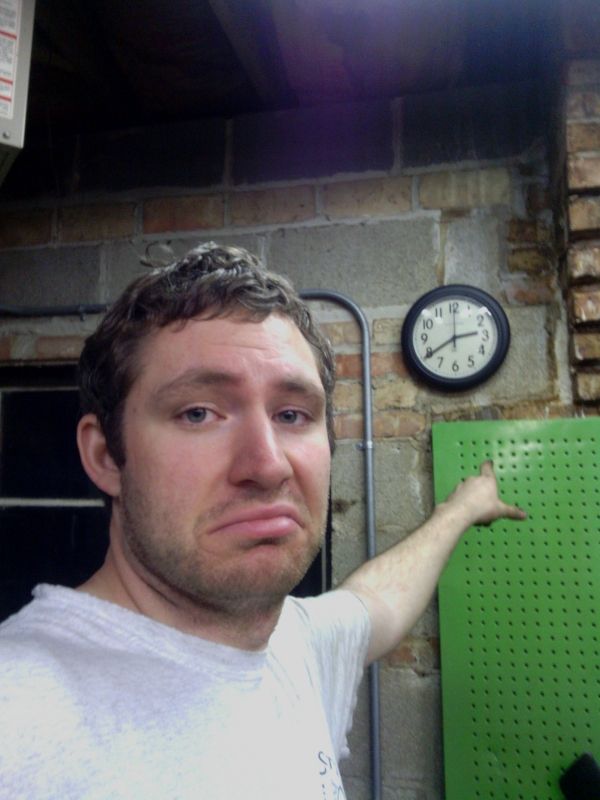
After letting the paint dry for a day, I went ahead and removed the black pin striping from the fenders and doors, and then spent 11.5 hours clay barring and waxing the entire car. Again, it still needs some work, but for 20 year old red paint that spent the majority of its life baking in the Florida sun, I have to say it's looking pretty damn good. While most people thought I was crazy to spend so much time on the car in a single evening only to have to work the next day on one hour of sleep, I can't really disagree. But, the 2011 opening meet at Luke's Beef (rather large local car show/gathering) was the next day so it had to be done!


So now that I finally have another Supra that's clean and has a nice home in a garage, I can start doing some nasty things to her. Most of this won't start to happen until this winter/next year, but I figure now is a good time to plan for the future. The following is a general projection of what I plan to do with the car. As you read through the build, you'll notice that I have a few of these things checked off the list and am continuing on the rest.
The Plan
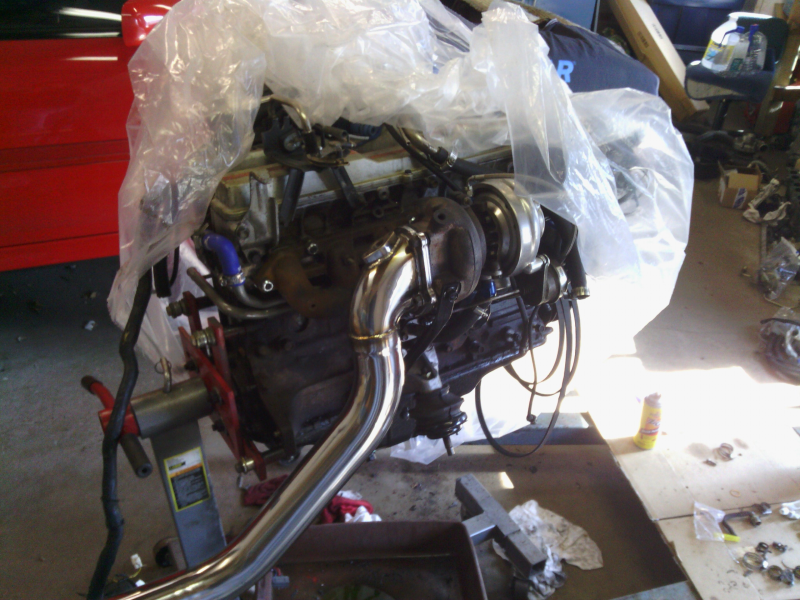
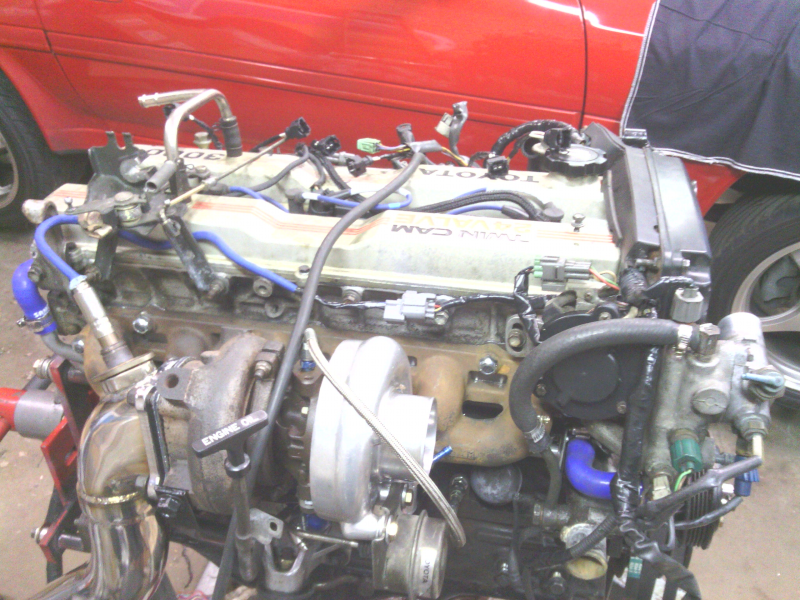
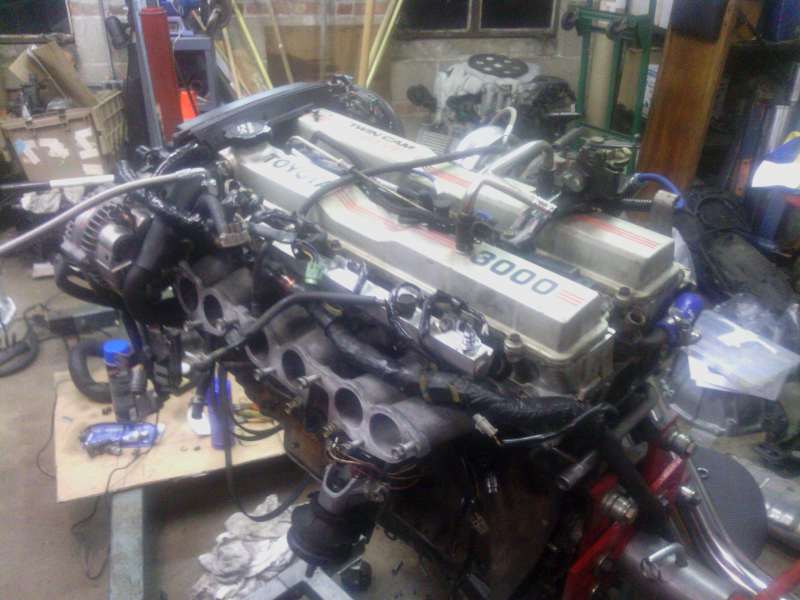
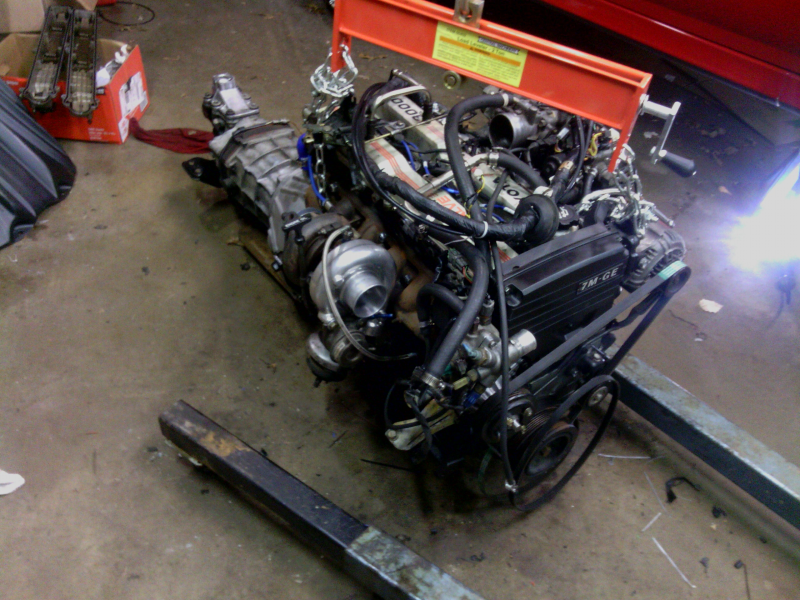
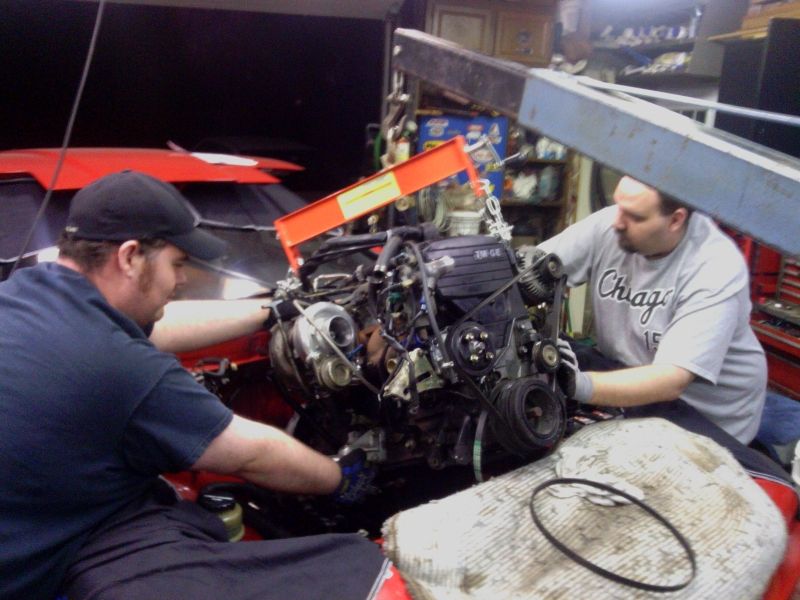
Engine: 7M-GE -> 7M-GTE
Turbo: PT6266
Exhaust: Custom 4 inch turbo-back
Transmission: W58 -> R154 swap
Suspension: Stance GR+
Wheels: 17x8 Front and 17x10 Rear 5Zigen Fn01r-C
Tires: Nitto NT-01 245/45 Front and 275/40 Rear
Body: Continue cleaning up the stock look, add new front lip
Overall goal will be a fun street/road course/strip car in the 6-700whp range. Obviously there is much more than I listed that will be going into the build, such as fuel system and general R&R of the entire car, but those are the main things that are worth mentioning. I apologize for the shitty cell phone pictures (especially the shaky post-wax ones... I couldn't hold my hand steady I was so tired).
1992 Toyota Supra Non-turbo 5 speed manual Hard top with 84k miles. Not a spot of rust anywhere on the car! Original Florida car, bought in Fort Smith, Arkansas. I am the third owner of the vehicle.
As many of you know, I've been through several different vehicles between then and now, but I always knew that I'd eventually own another Supra. After selling the G8 and finally purchasing a car that I vowed not to touch unless it was for maintenance purposes, I was able to make room for a new toy. Something that could stay in the garage in bad weather and be cared for the way it should. Something that I could take time to build the way I wanted, and not rush to get back on the road for work at the end of the weekend. Something that I would be able to plan for and make into that car I always wanted.
On April 9th, 2011, that something finally came into my life in the form of a 1992 Toyota Supra. Early that warm spring Saturday morning I hopped on a plane down to Fort Smith Arkansas where my new beauty lay wait. While she needed a little bit of TLC, she was still perfect. Her sharp lines and smooth curves glistening in the sun. The soft touch of her smooth, black leather wrapped upholstery firmly gripping my body. I couldn't wait to get her home.
In the first 24 hours of ownership, we drove over 850 miles together; the first night was even spent sleeping inside of her. But, eventually, we made it back to Chicago-land where her new home awaited.
First on the to-do-list was fixing a couple of exhaust leaks that needed some attention to make the car fully drivable for the coming season. I pulled, sand blasted, and painted the manifold, replaced a broken stud, and installed some new factory gaskets and O2 sensor. This engine won't be staying in the bay for very long, but now with only 84,000 miles on the clock, it's still running well and will do just fine to enjoy the car for this season.
Next on the to-do-list was giving her the TLC she had been desperately needing. I touched up several edges of the front fascia, hood, headlight covers, side moldings, fenders, and doors that had been burned by an ignorant detailer with a buffing wheel; as well as a few rock chips and scratches. It still needs some more touch up, but there is a night and day difference from what has been done so far.
After letting the paint dry for a day, I went ahead and removed the black pin striping from the fenders and doors, and then spent 11.5 hours clay barring and waxing the entire car. Again, it still needs some work, but for 20 year old red paint that spent the majority of its life baking in the Florida sun, I have to say it's looking pretty damn good. While most people thought I was crazy to spend so much time on the car in a single evening only to have to work the next day on one hour of sleep, I can't really disagree. But, the 2011 opening meet at Luke's Beef (rather large local car show/gathering) was the next day so it had to be done!
So now that I finally have another Supra that's clean and has a nice home in a garage, I can start doing some nasty things to her. Most of this won't start to happen until this winter/next year, but I figure now is a good time to plan for the future. The following is a general projection of what I plan to do with the car. As you read through the build, you'll notice that I have a few of these things checked off the list and am continuing on the rest.
The Plan
Engine: 7M-GE -> 7M-GTE
Turbo: PT6266
Exhaust: Custom 4 inch turbo-back
Transmission: W58 -> R154 swap
Suspension: Stance GR+
Wheels: 17x8 Front and 17x10 Rear 5Zigen Fn01r-C
Tires: Nitto NT-01 245/45 Front and 275/40 Rear
Body: Continue cleaning up the stock look, add new front lip
Overall goal will be a fun street/road course/strip car in the 6-700whp range. Obviously there is much more than I listed that will be going into the build, such as fuel system and general R&R of the entire car, but those are the main things that are worth mentioning. I apologize for the shitty cell phone pictures (especially the shaky post-wax ones... I couldn't hold my hand steady I was so tired).
1992 Toyota Supra Non-turbo 5 speed manual Hard top with 84k miles. Not a spot of rust anywhere on the car! Original Florida car, bought in Fort Smith, Arkansas. I am the third owner of the vehicle.
Last edited:


")