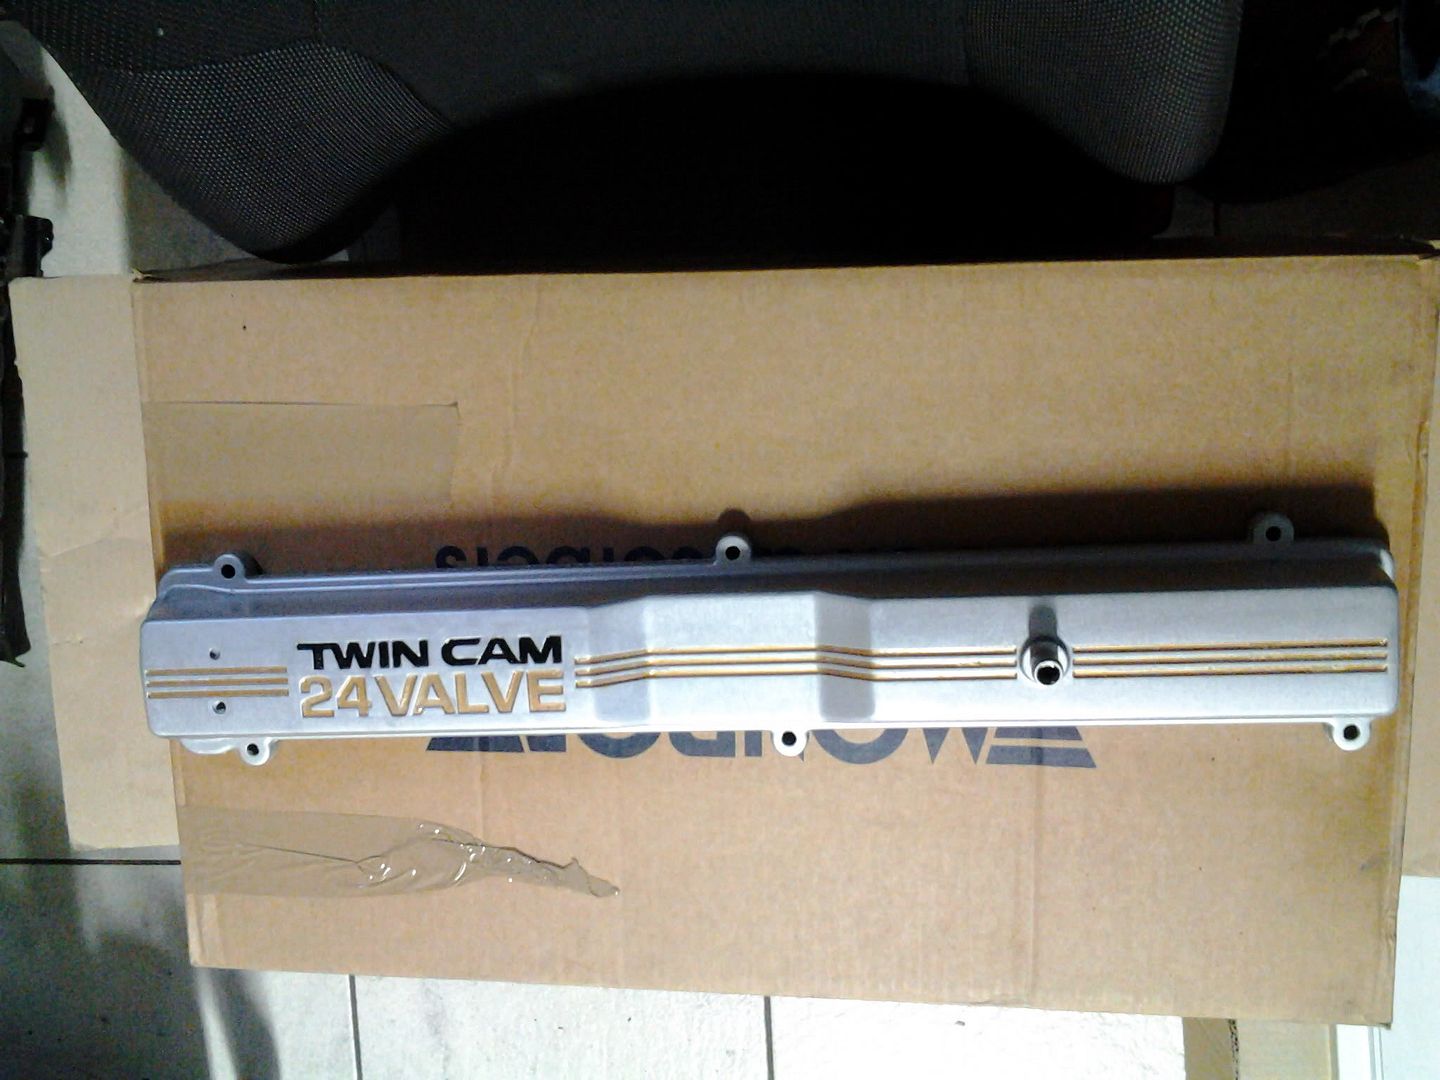
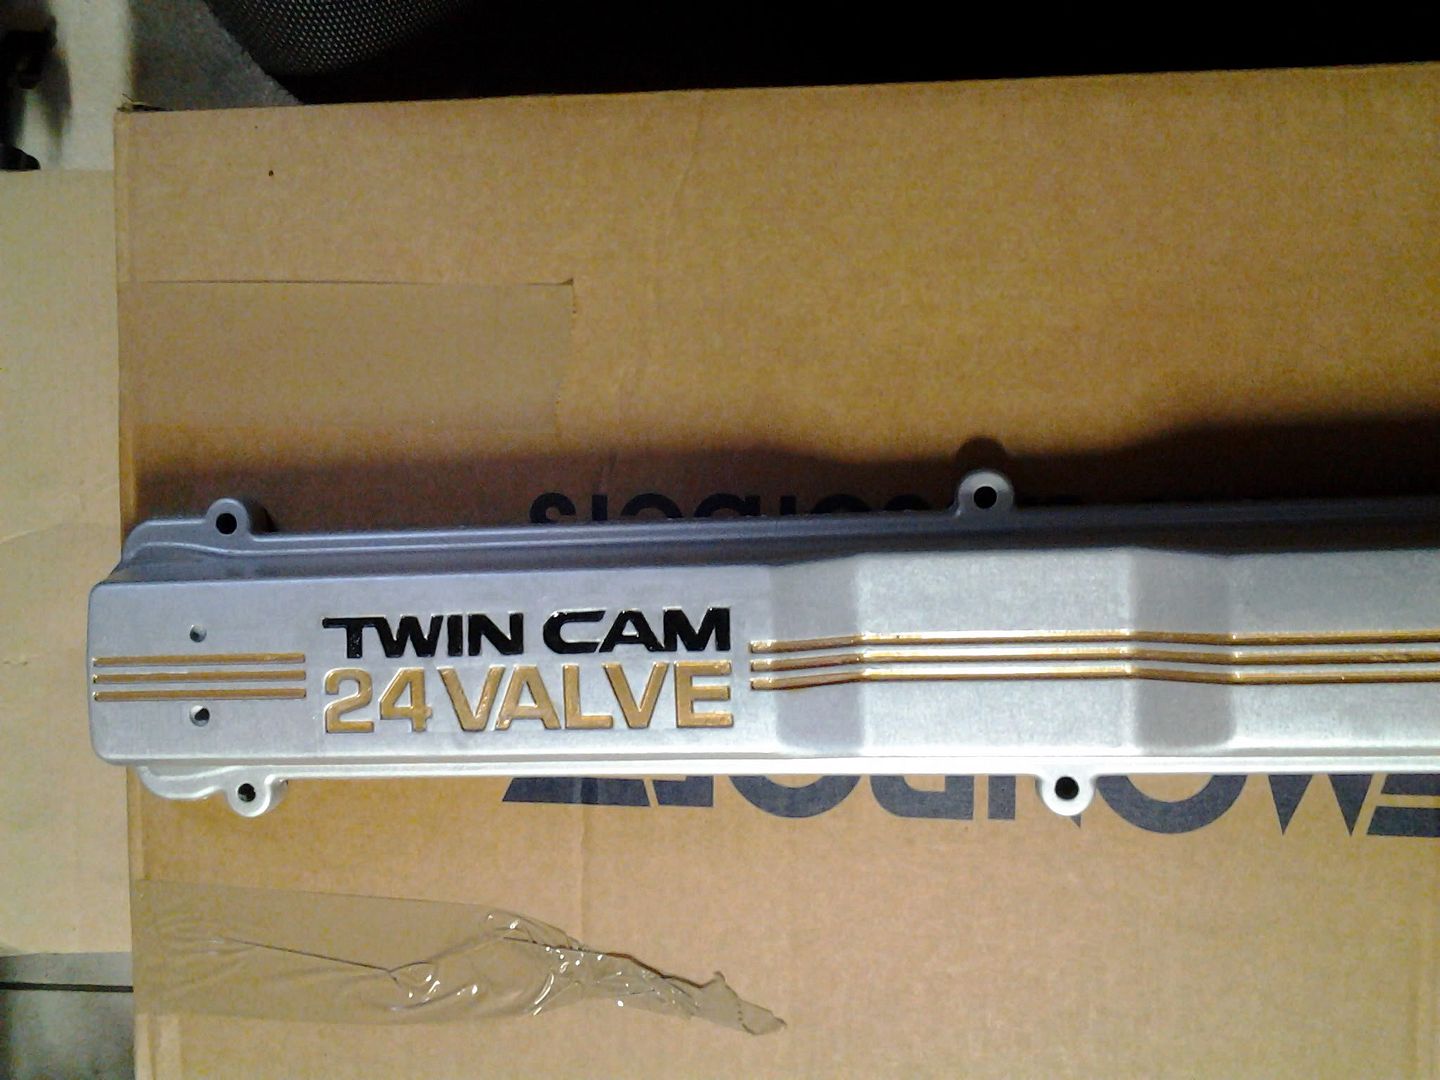
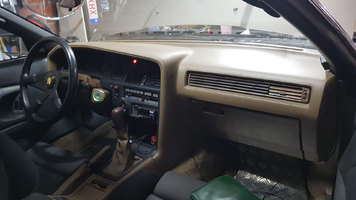
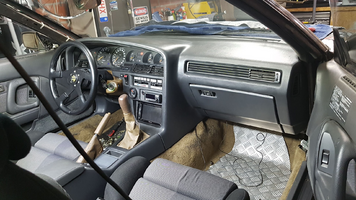
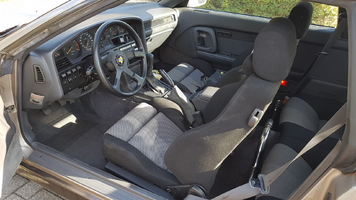
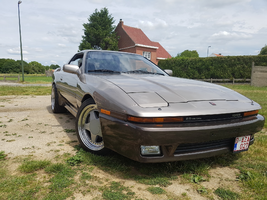
(Sorry if its too many pictures at once)
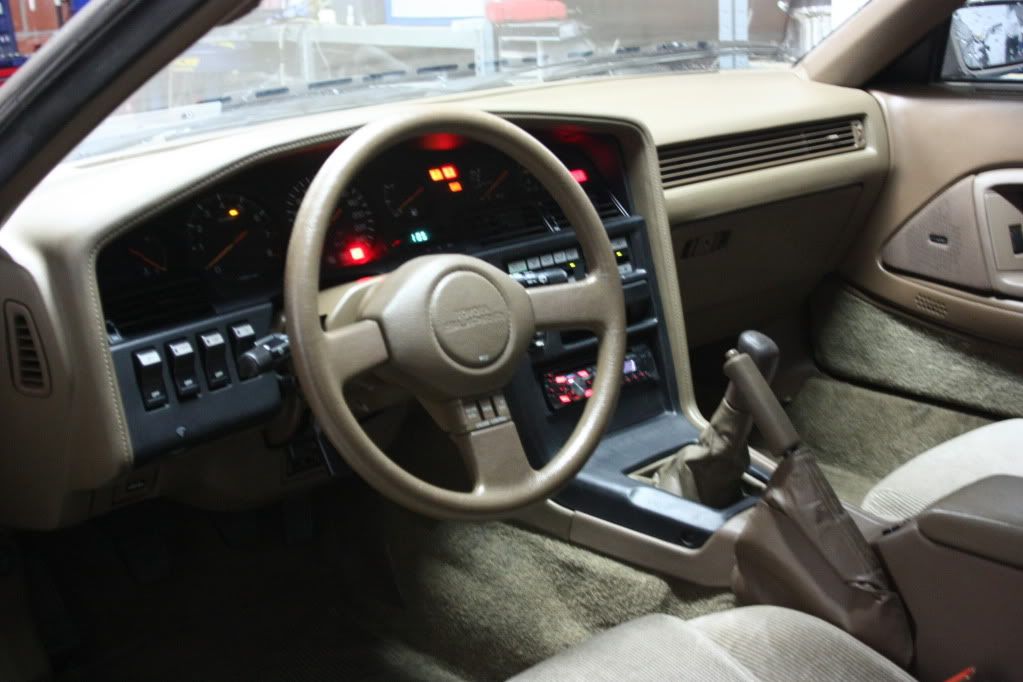
Ok first things first. I got my first supra (an 88 Hardtop manual NA) from a friend because he had to move and didnt have any room for it anymore.
After two weeks one of the shims (not sure its the correct word) somehow got stuck between the exhaustcam and the head (and not in a good way) causing one bent valve and a broken cam belt. Before i diagnosed this correctly i allready bought a second supra for spares. Ended up buying a "new" head, fixing some minor issues and she drove beter then before.
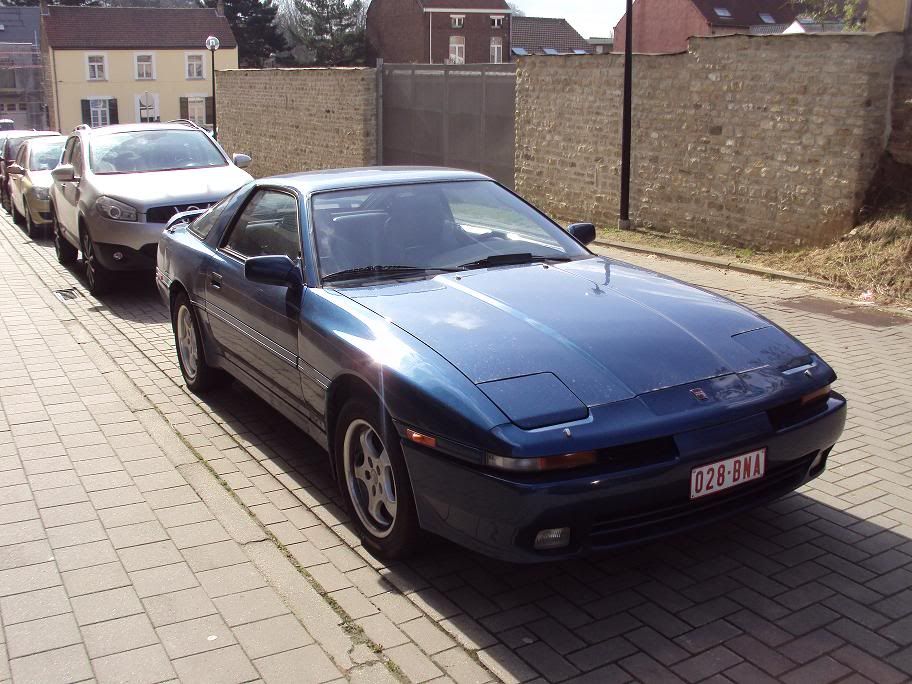
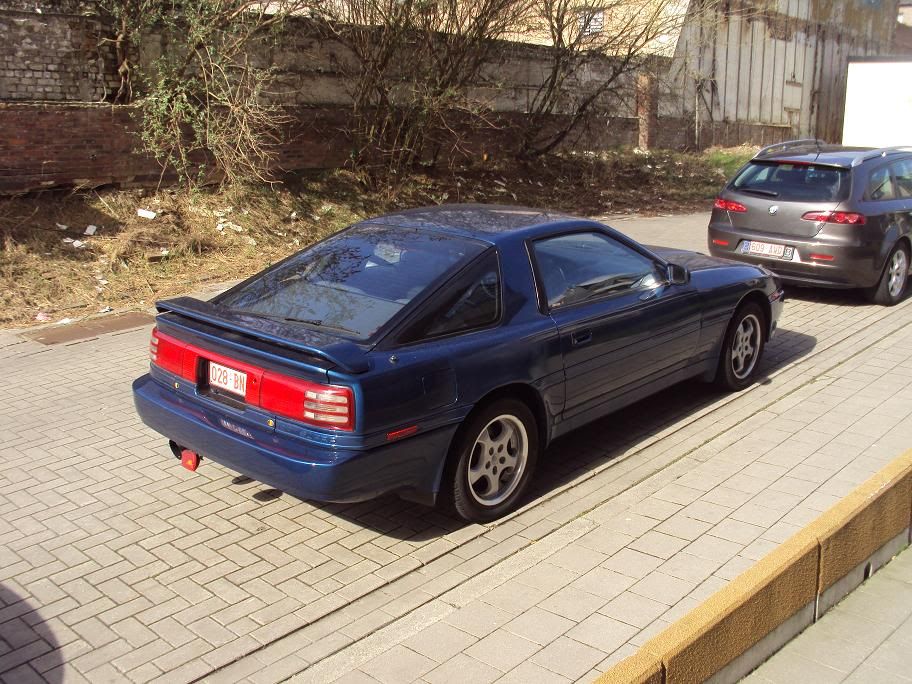
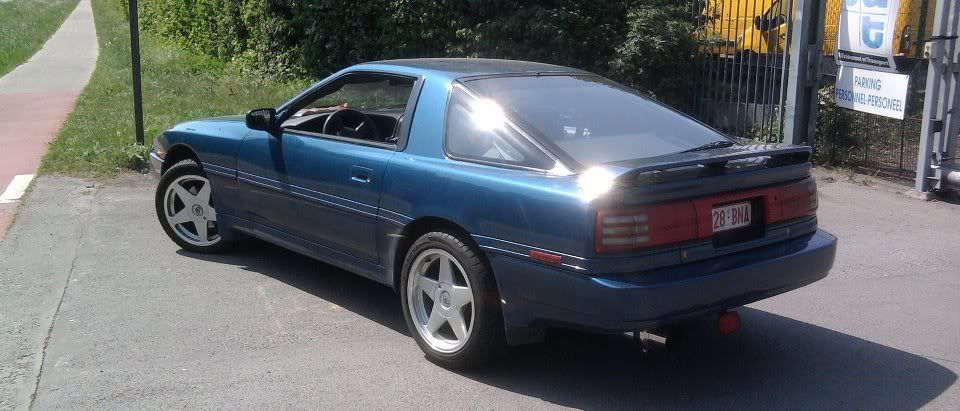
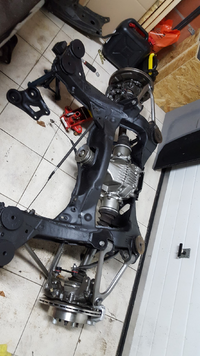
But soon after that we bought a house and i was stuck with 2 supra's (this and the one i bought for spare parts) so i had to make a choice. Since the blue one had almost 250.000km on it and seemed to have had a frontal accident in the past (some poor welding at the front end) i made the choice to keep the other one and break down the blue one for spare parts. The two tone i bought only had 120.000kms but had some bad engine noise (bearings) so i picked up a rebuilt engine and set it aside for later.
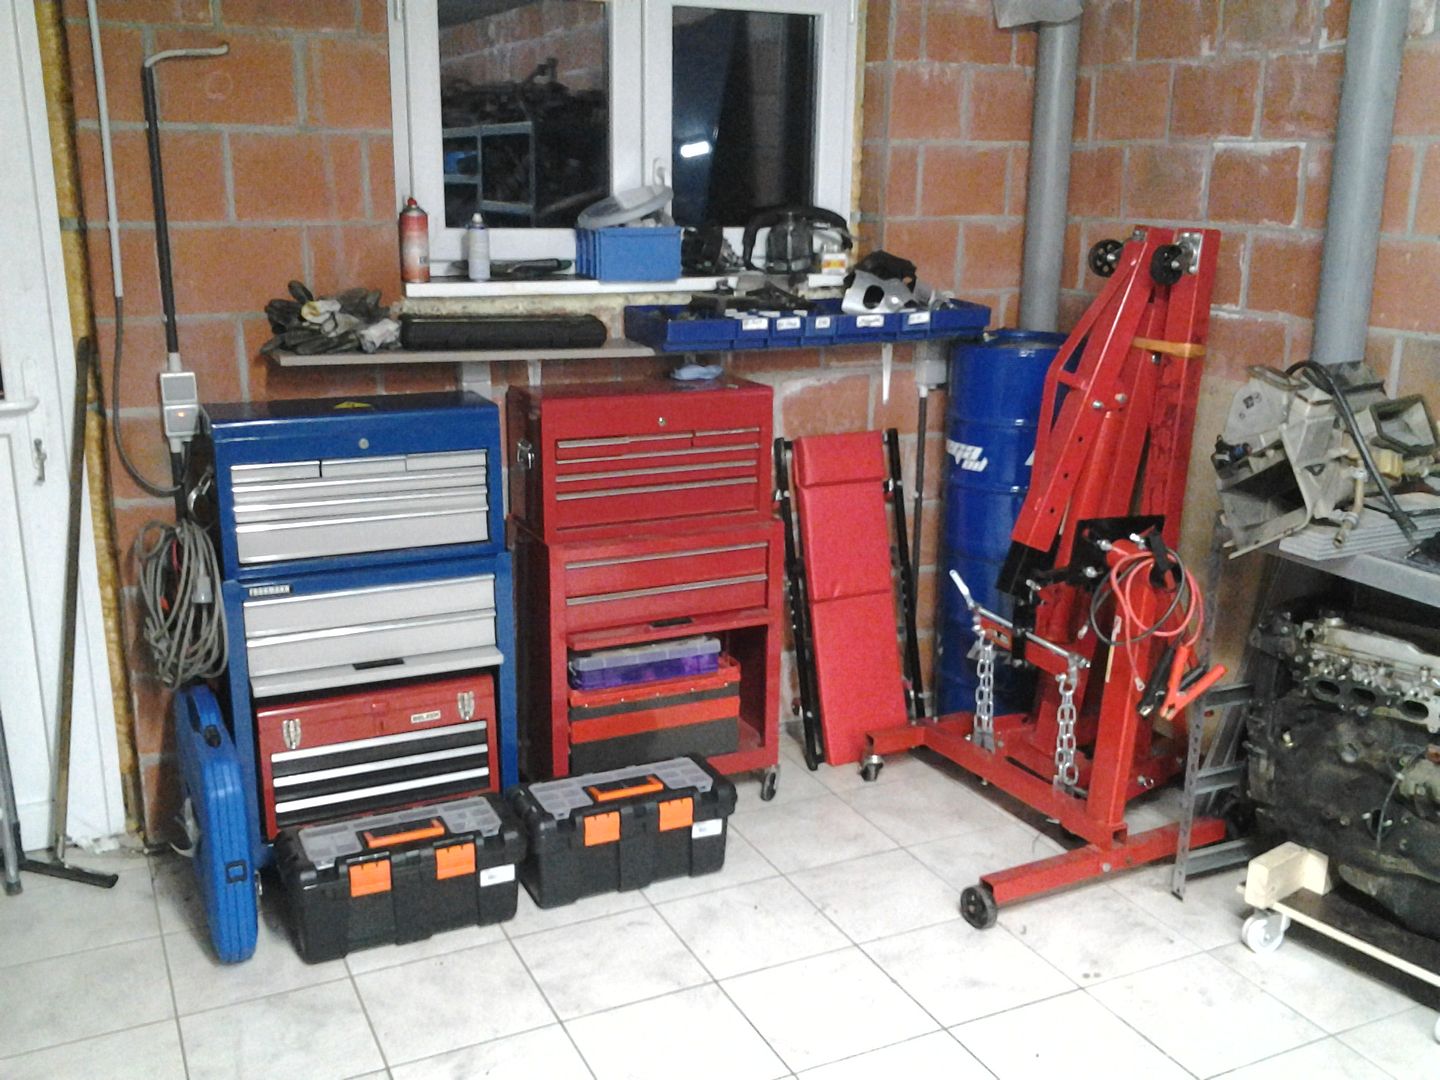
This is when the fun began. Only problem i had to do everything alone, on the floor with only a jack, engine crane and no air tools. To make it even more difficult i have 2 kids and the only time i had to work on it was evenings/nights. Meaning....no noise (well maybe just a little, they sleep 2 floors up )
)
The tools

First up, breaking down the blue one.

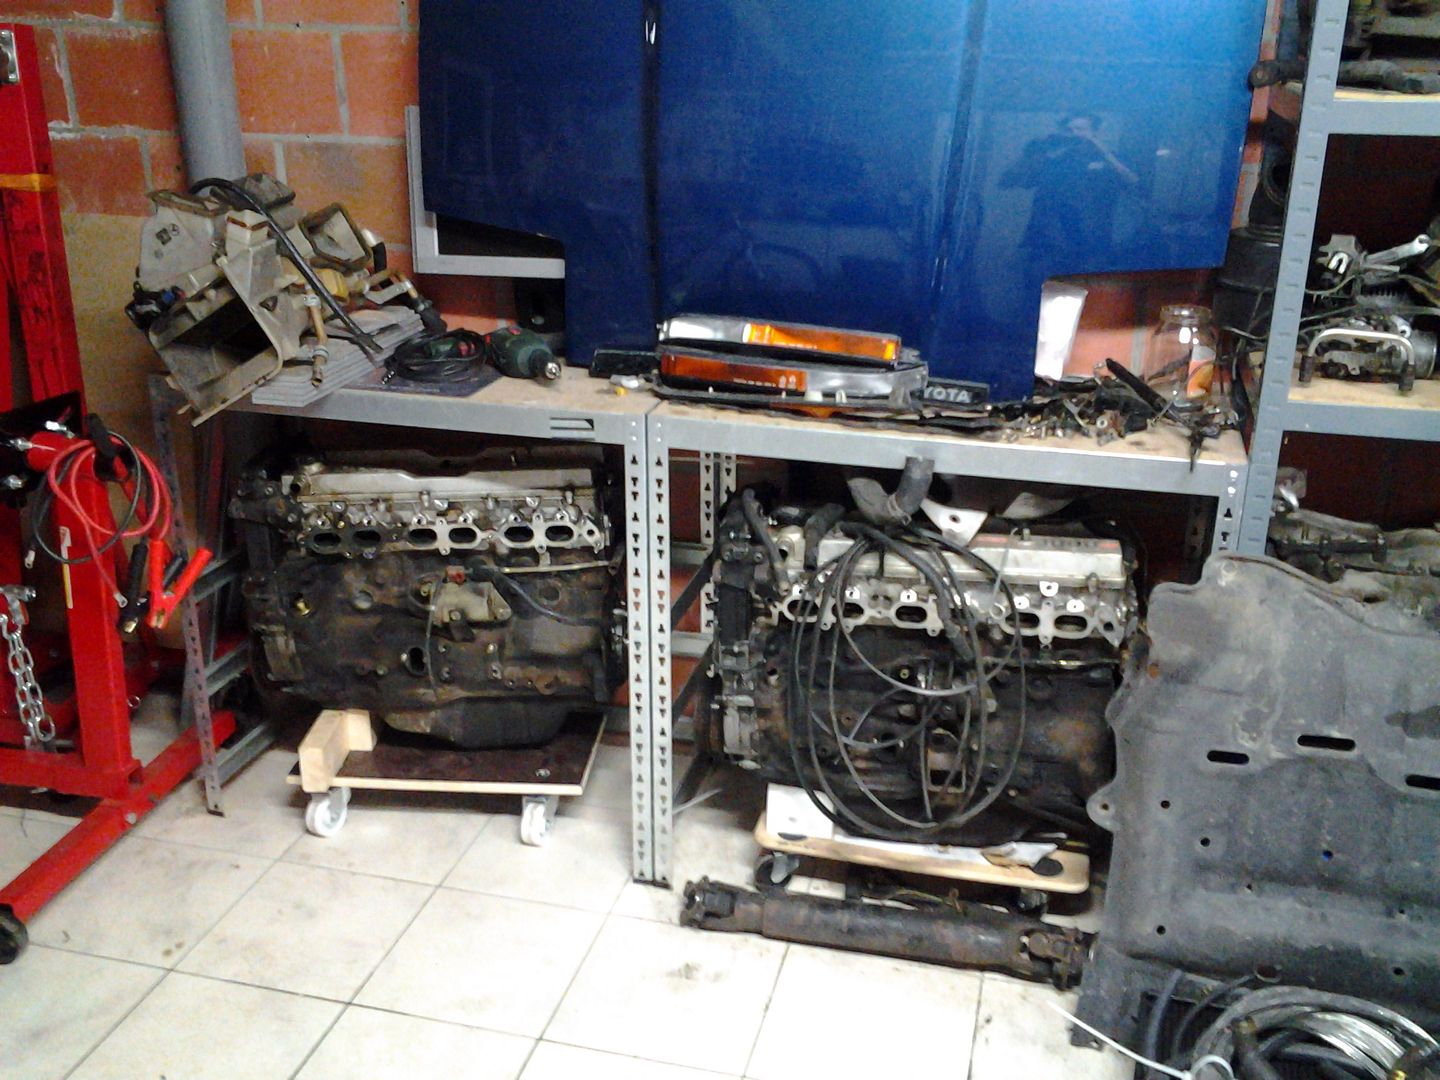
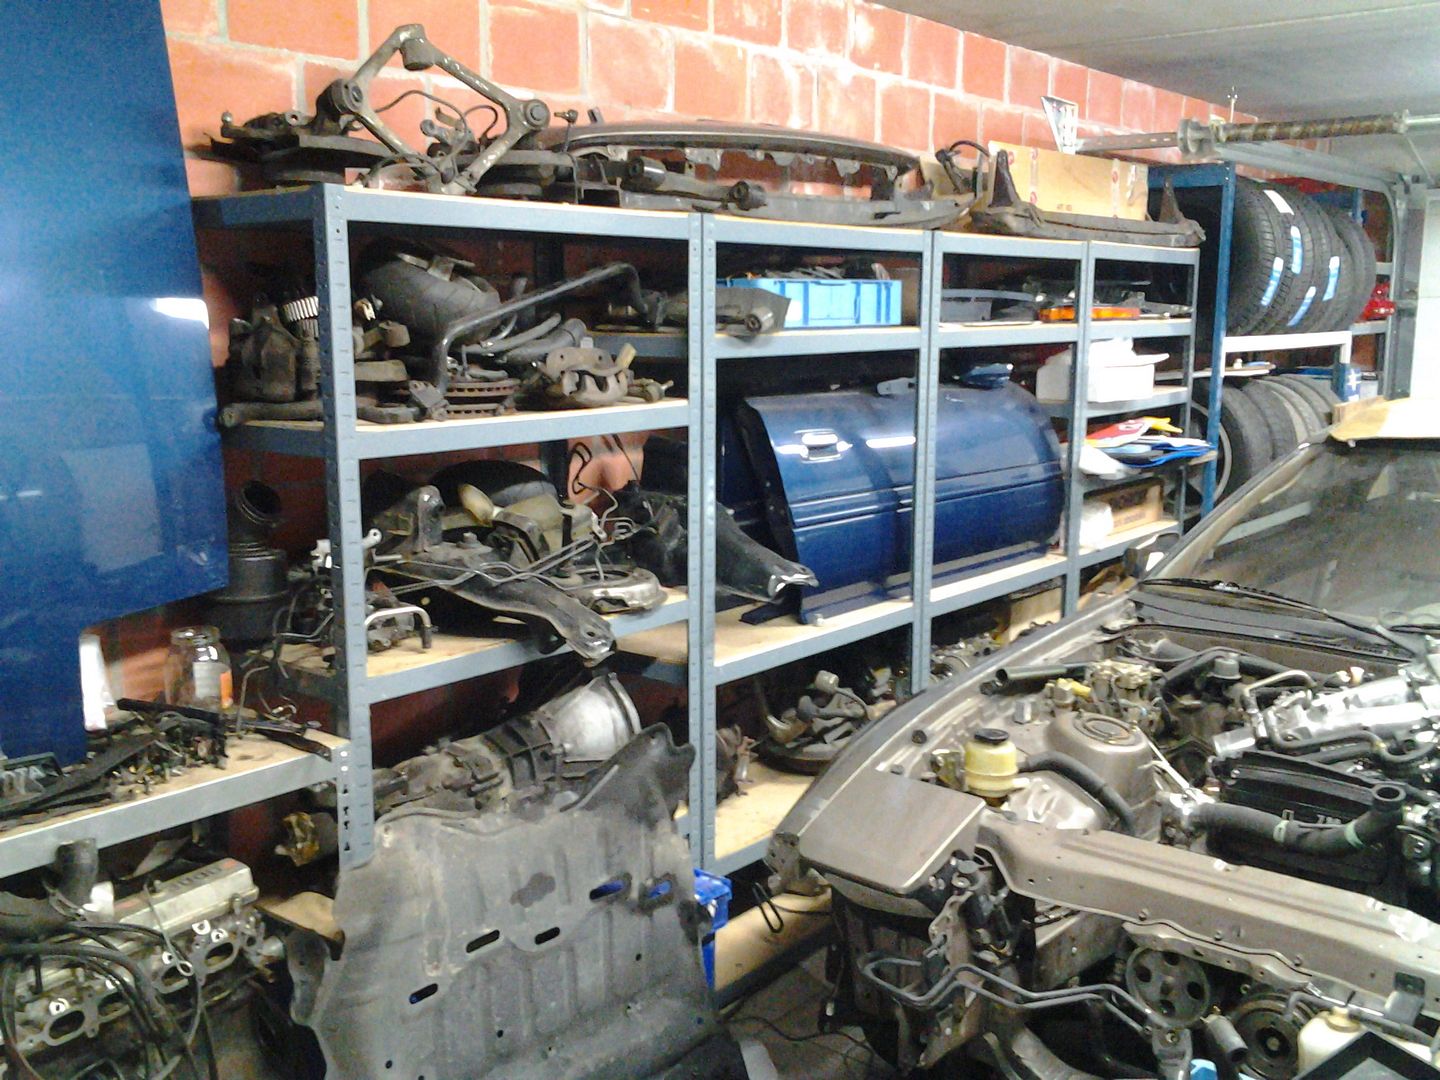
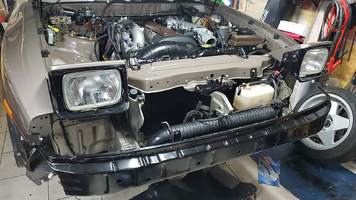
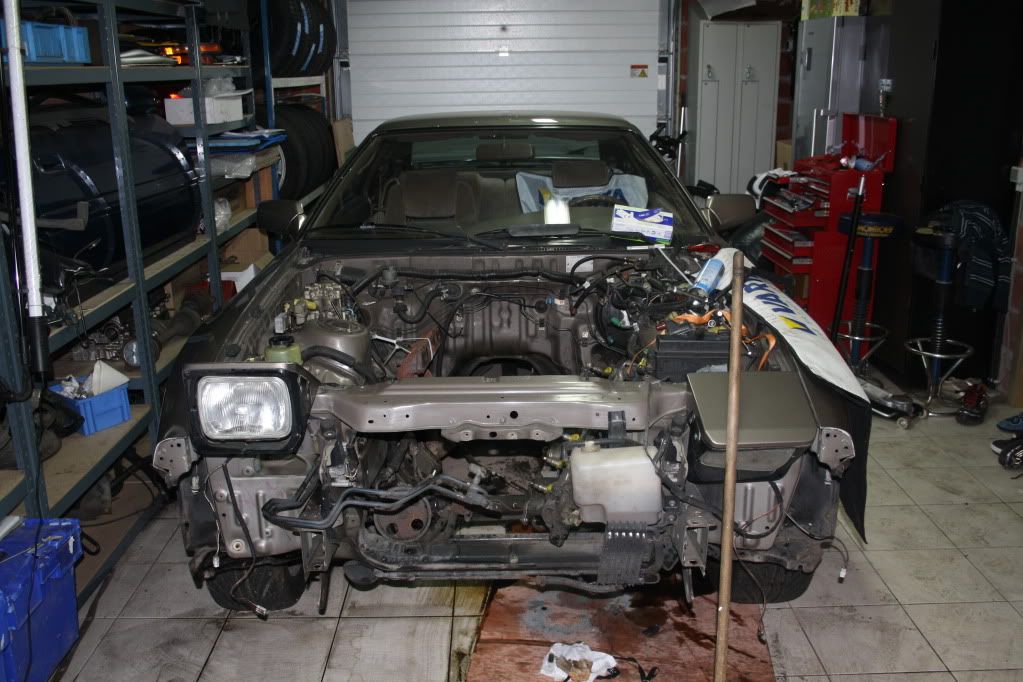
Then the two tone. Removing the bad engine. It seemed my engine crane was too short so i HAD to remove bumper and everything just to get the engine out.
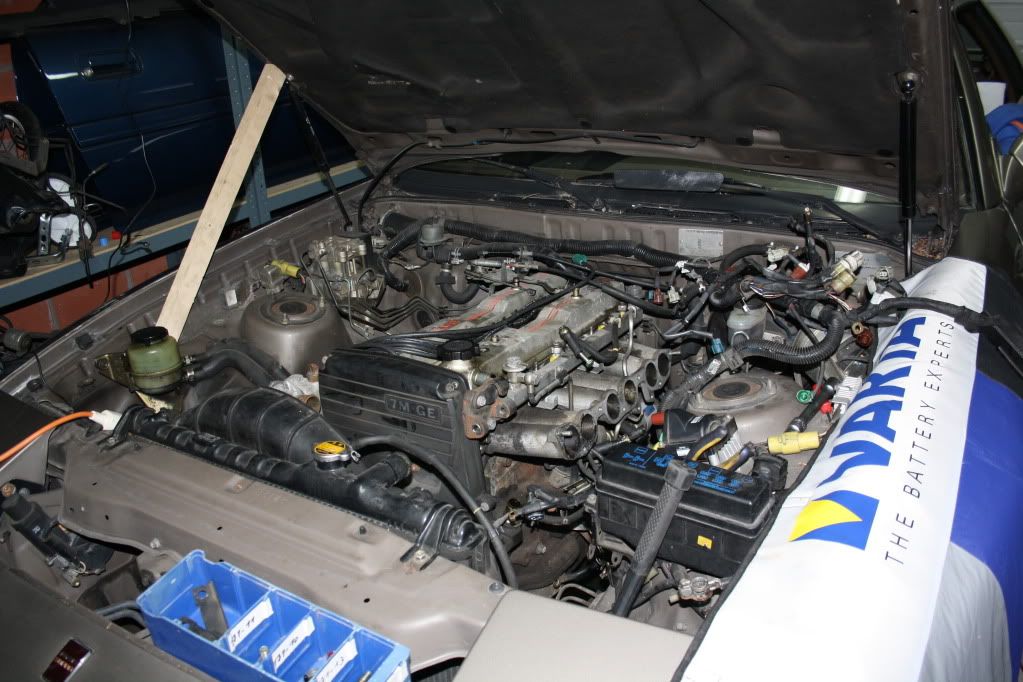
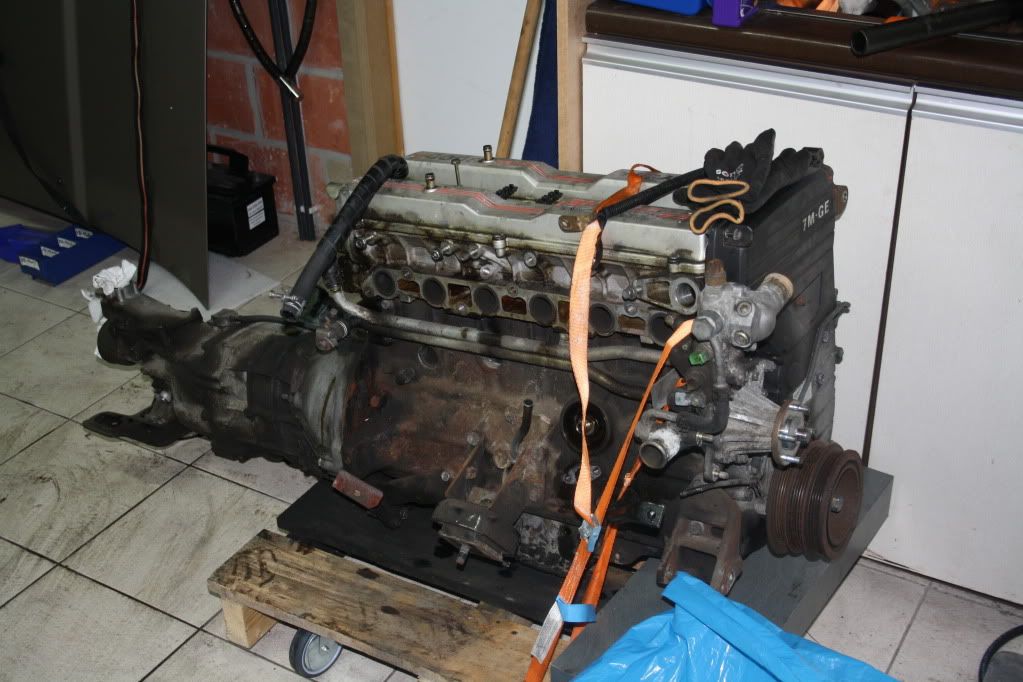
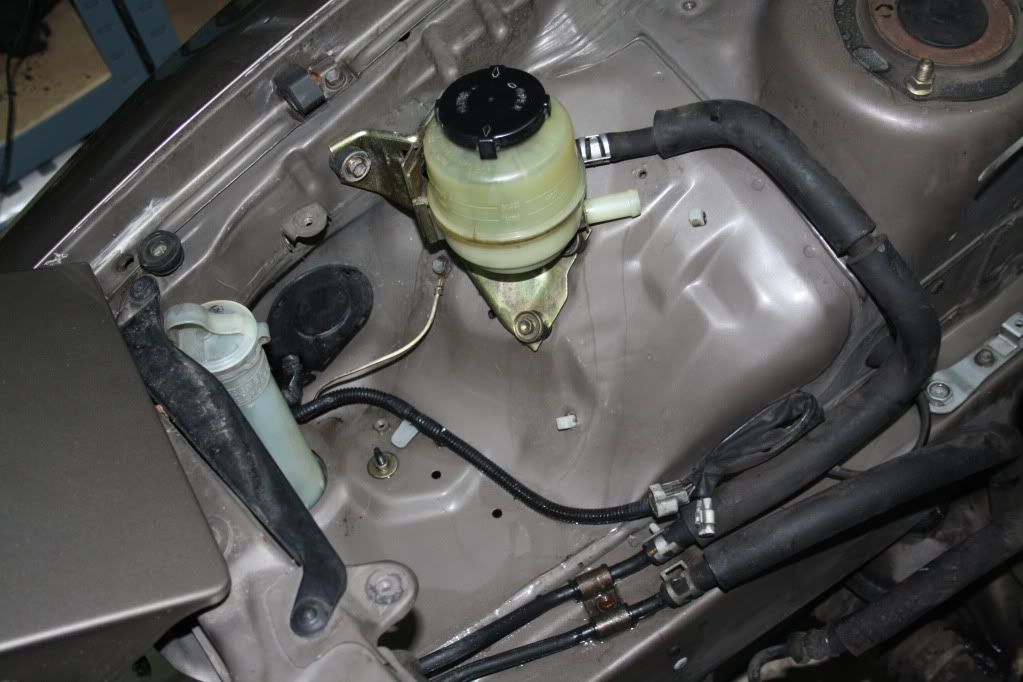
Cleaning and preparing the new engine and gearbox
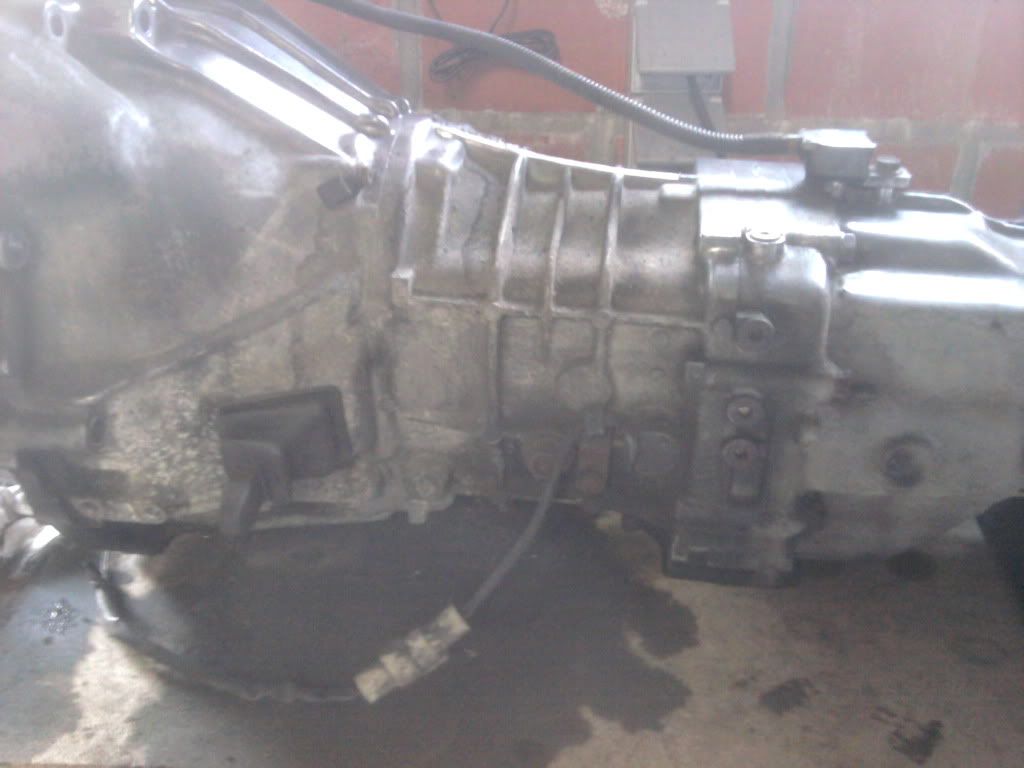
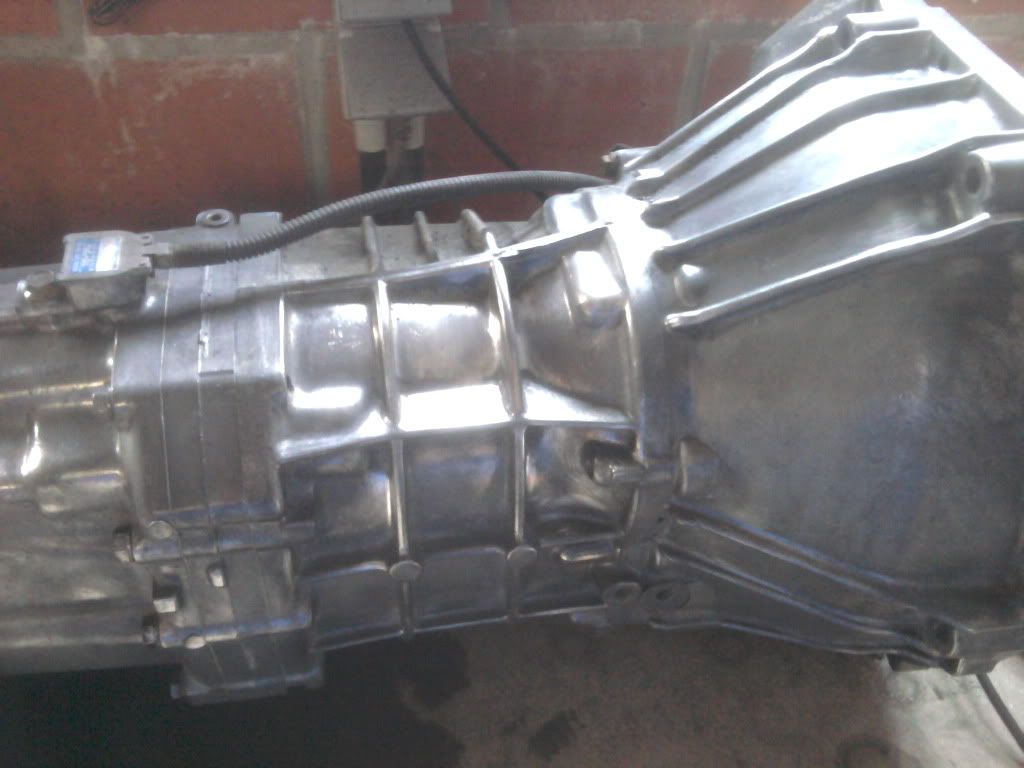
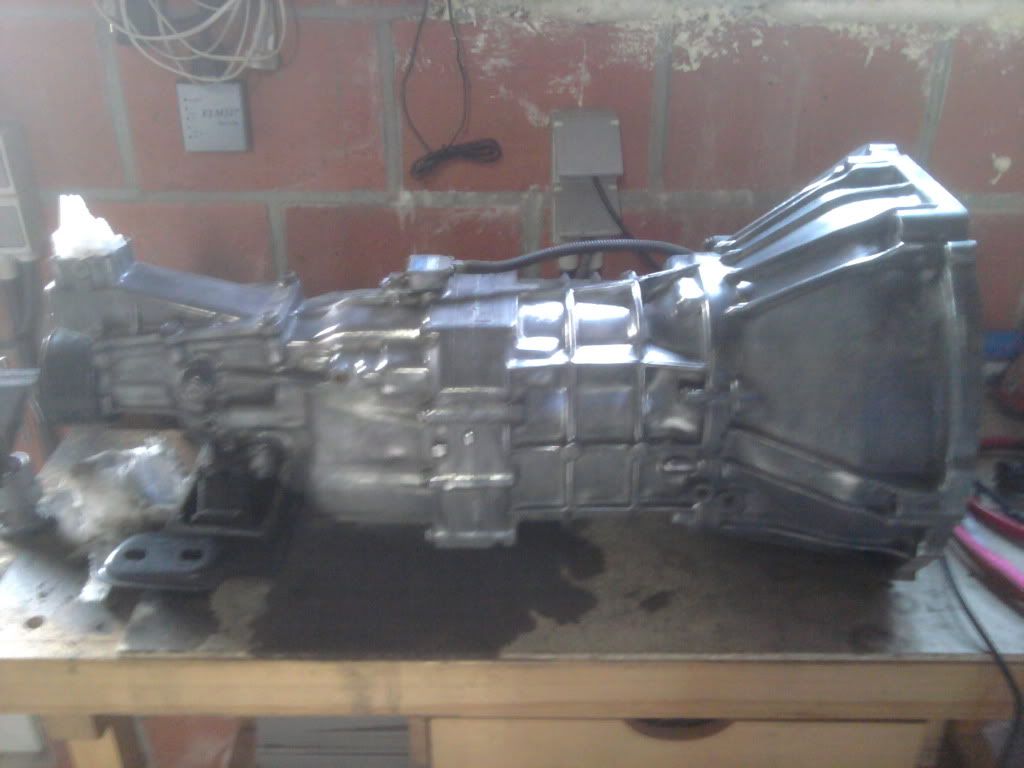
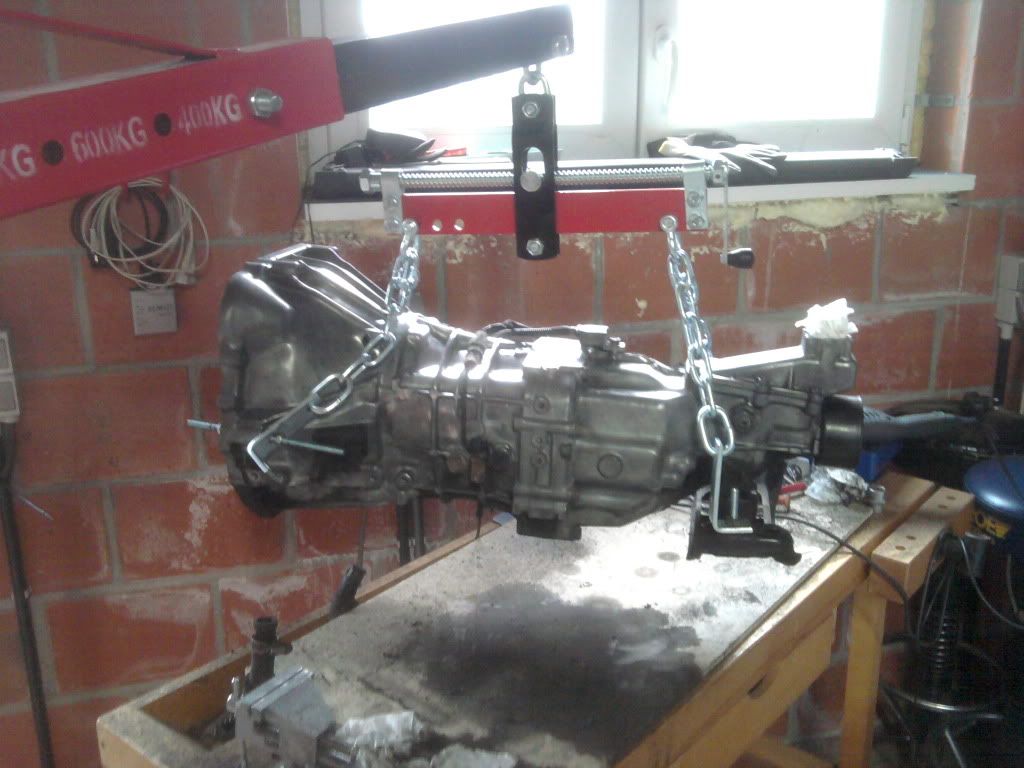
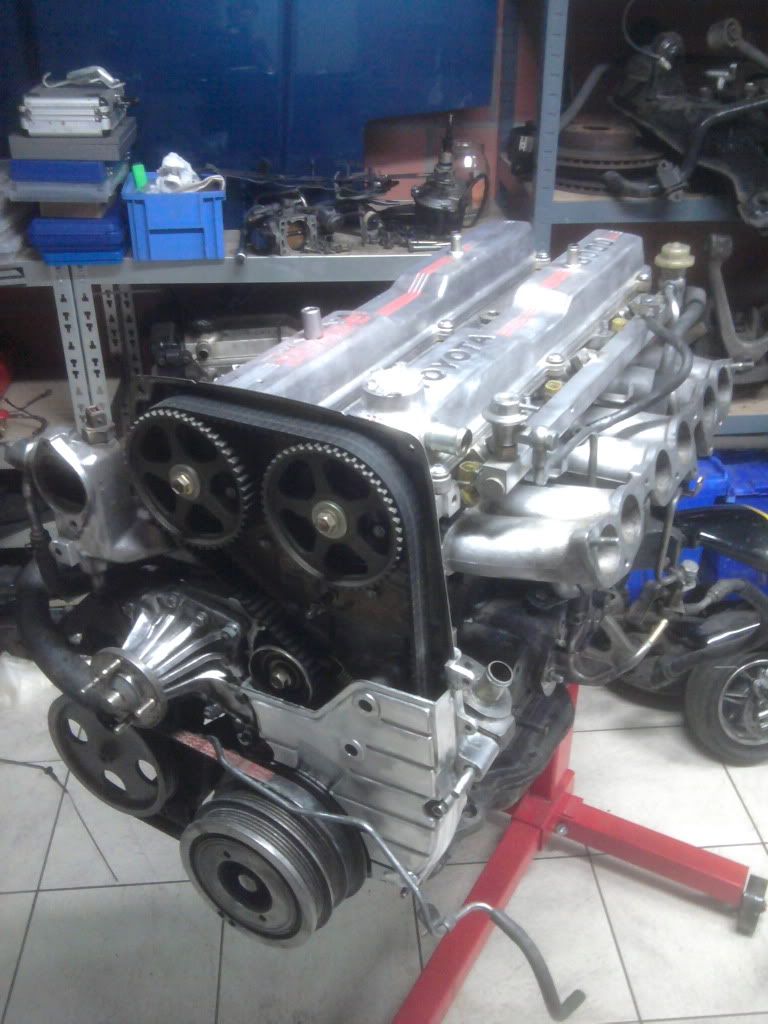
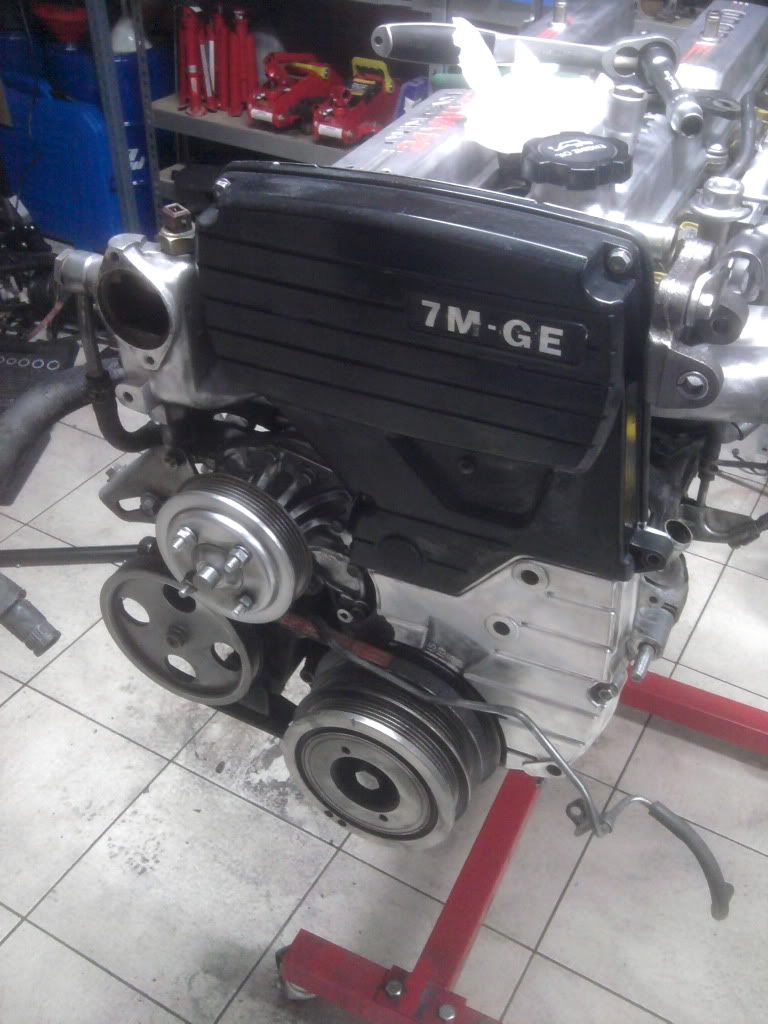
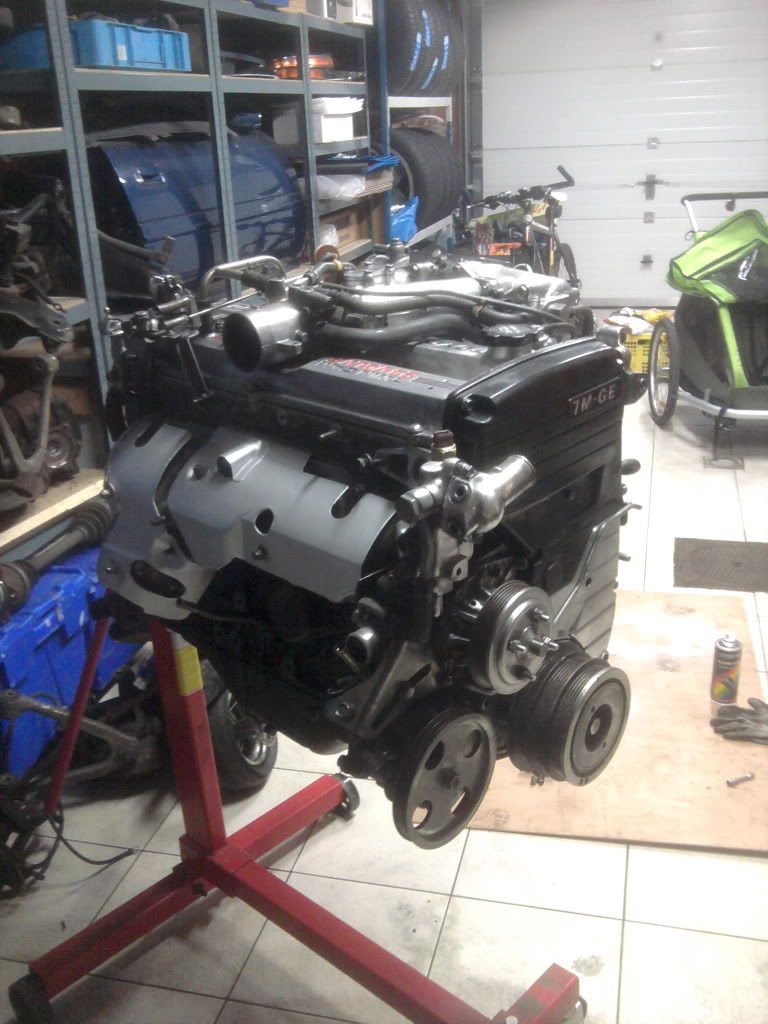
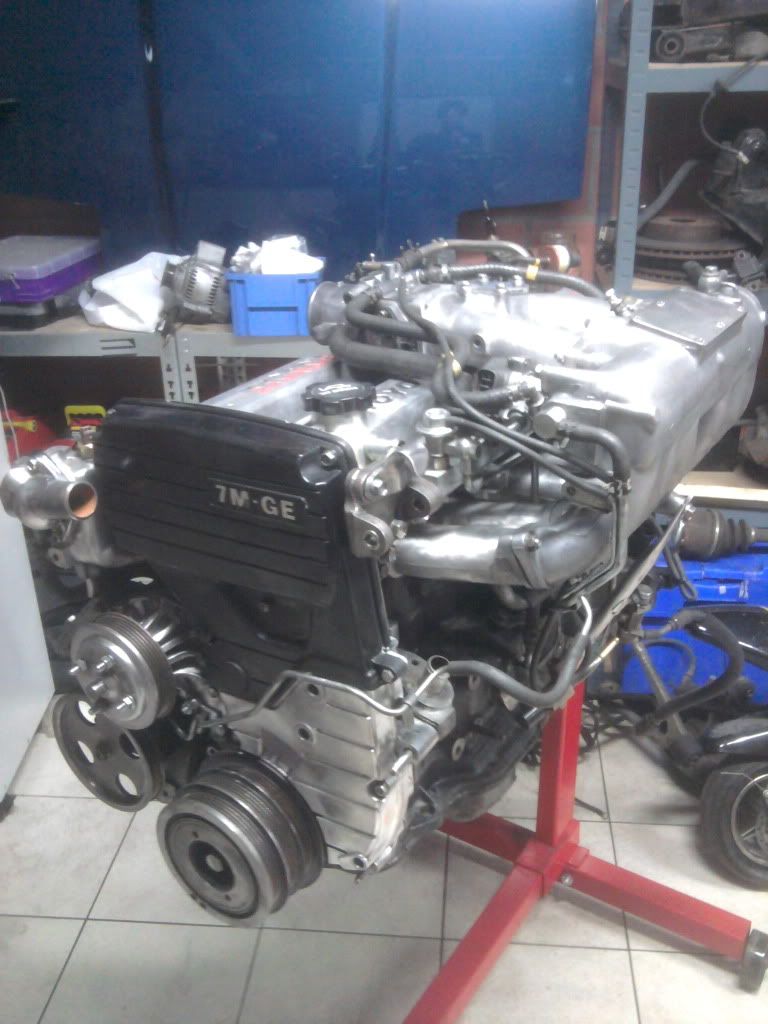
But then, getting the engine in ALONE is not easy!! i had to level the engine, make sure it was in both mounts and the gearbox kept getting stuck below, lower it at the same time. So this took a few hours but eventualy ended up fine
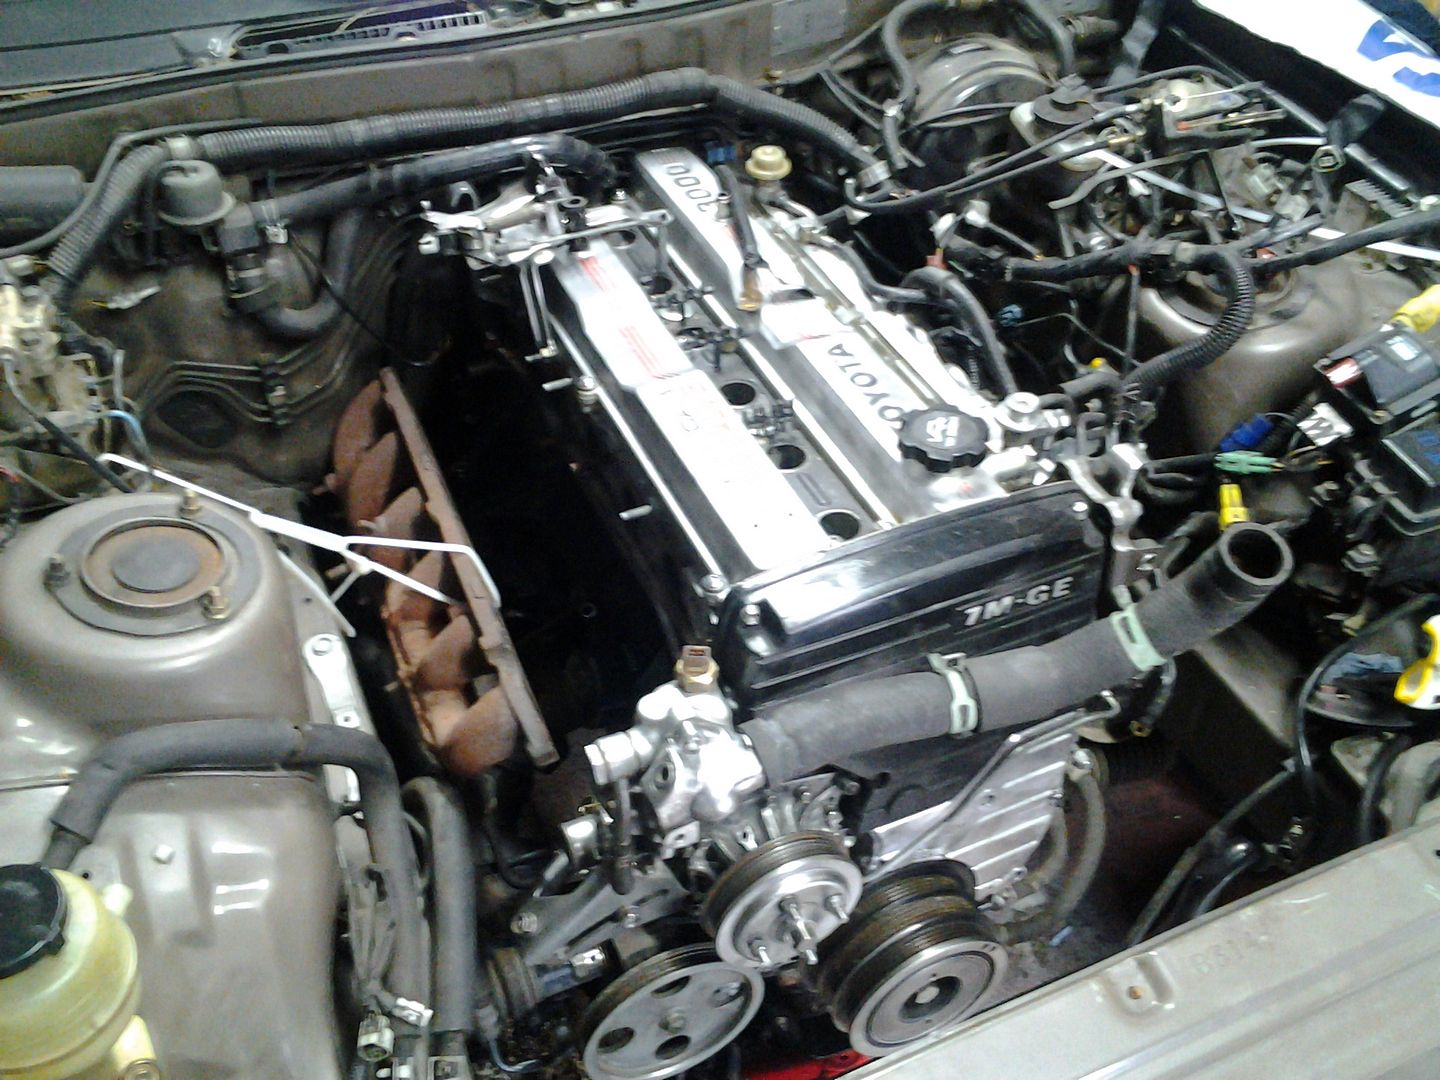
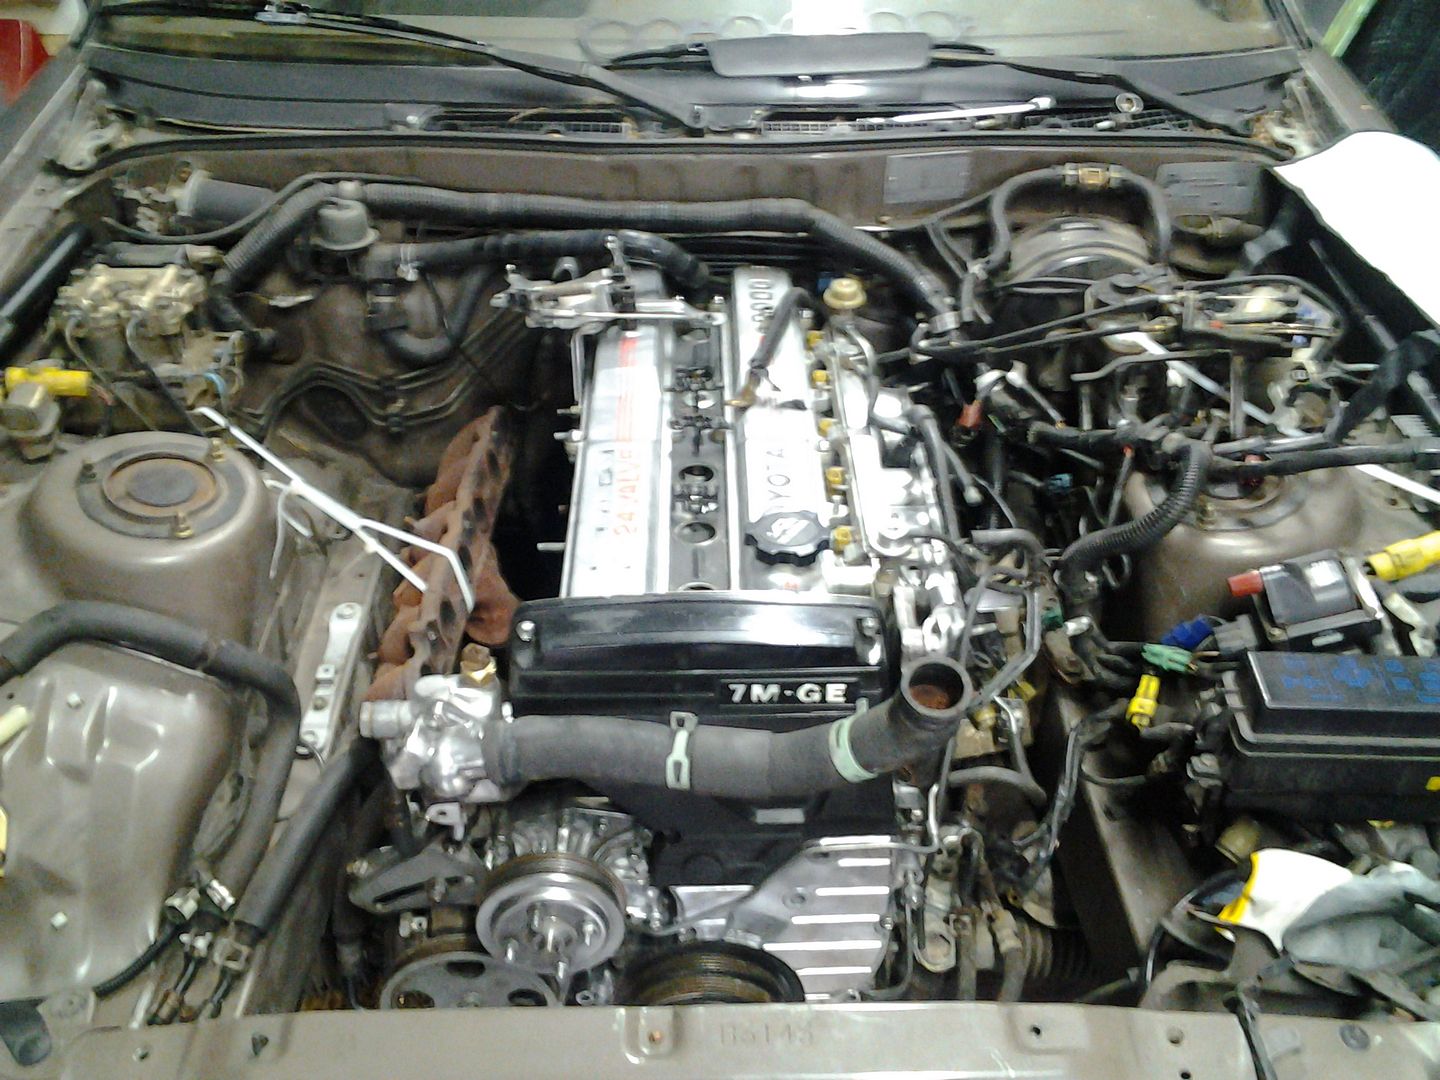
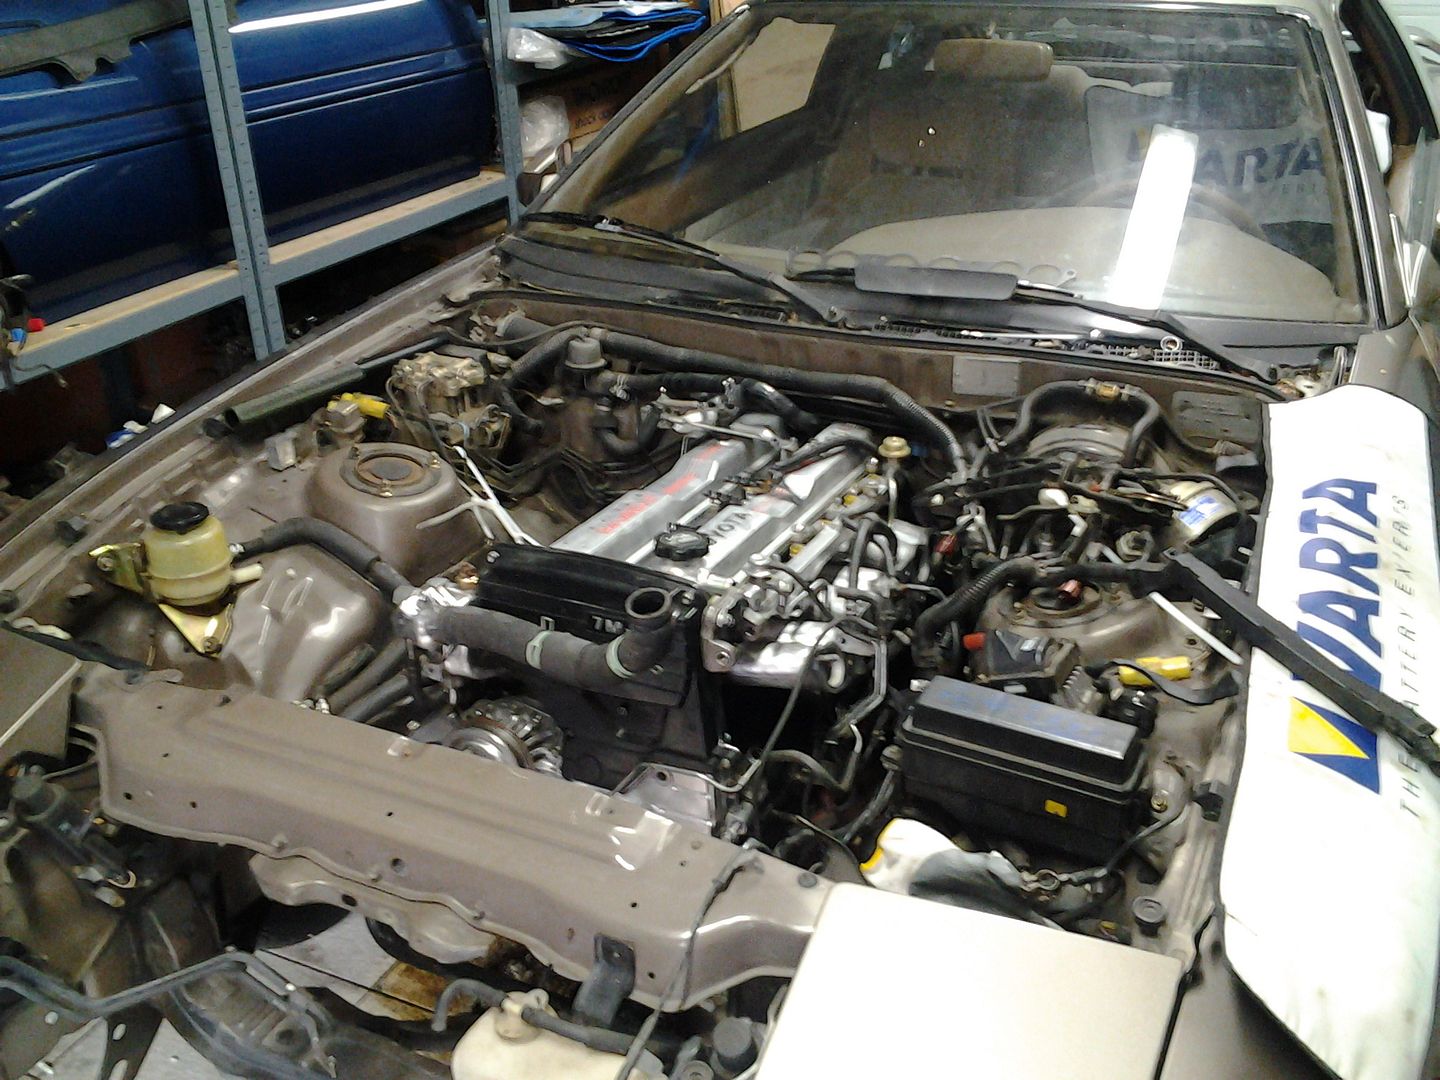
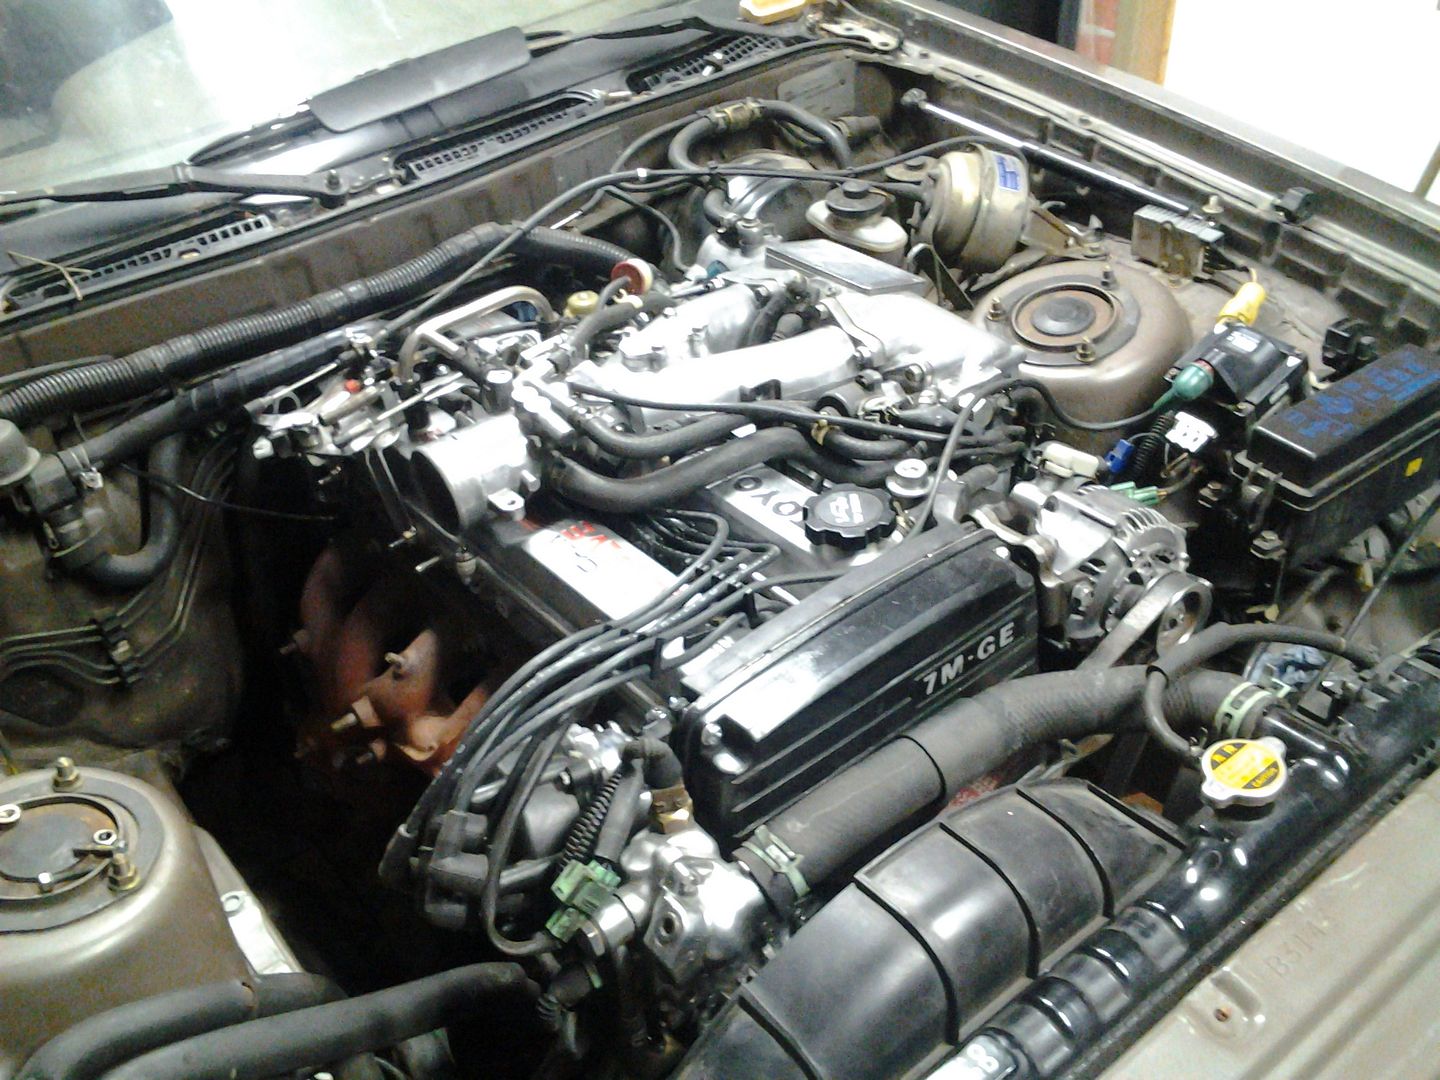
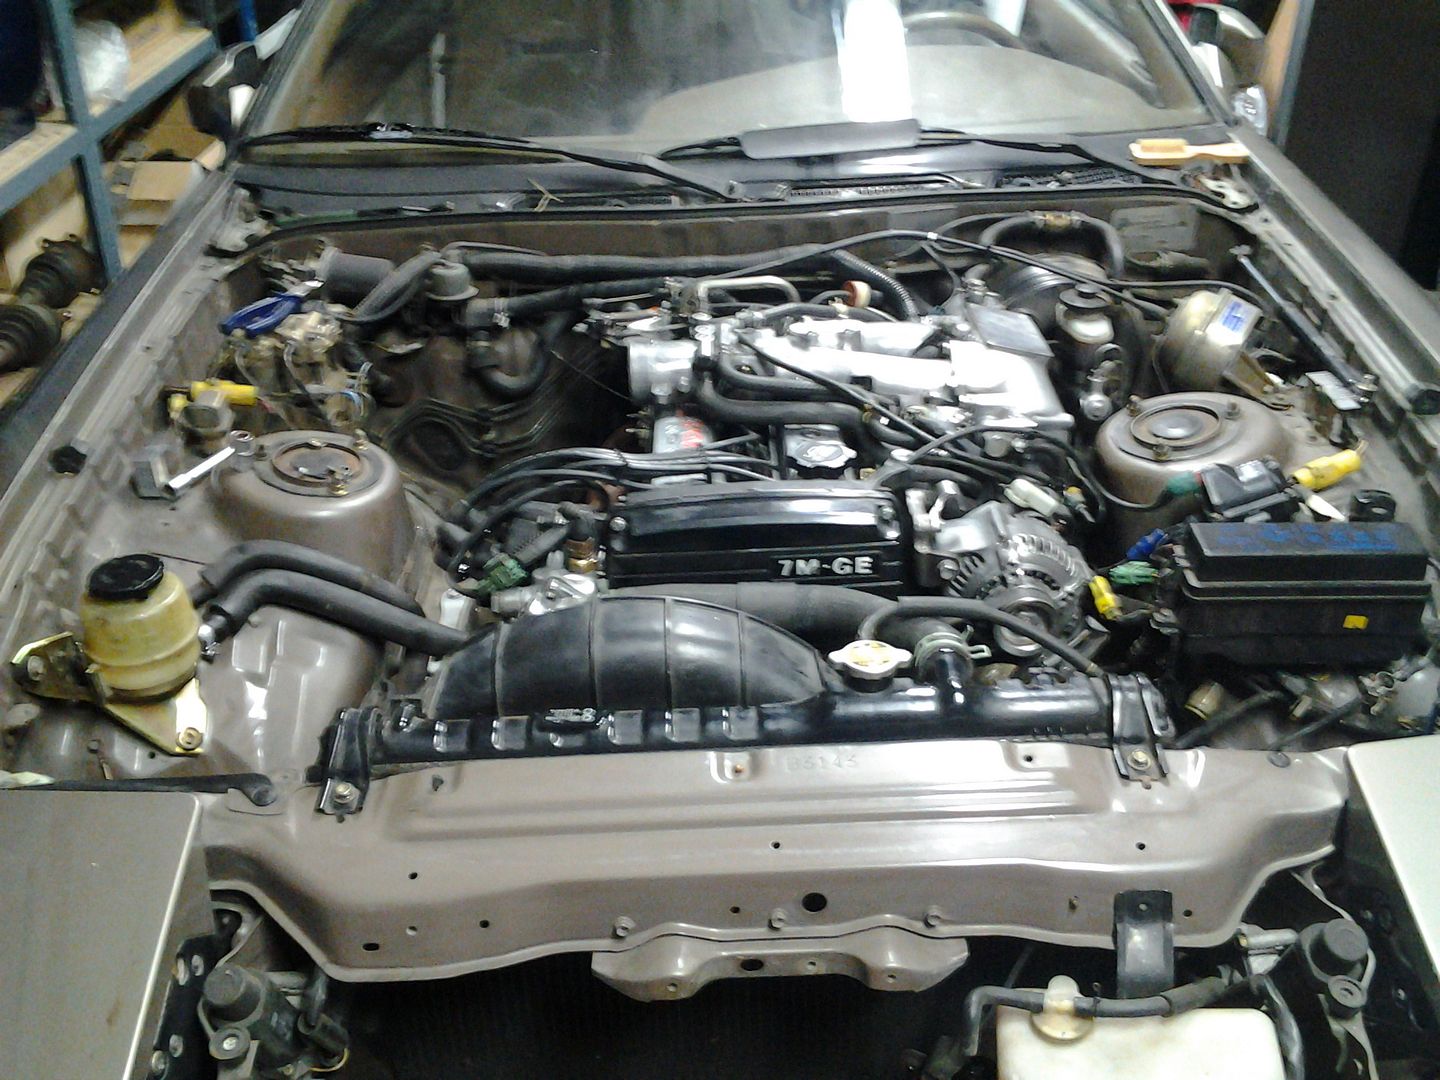
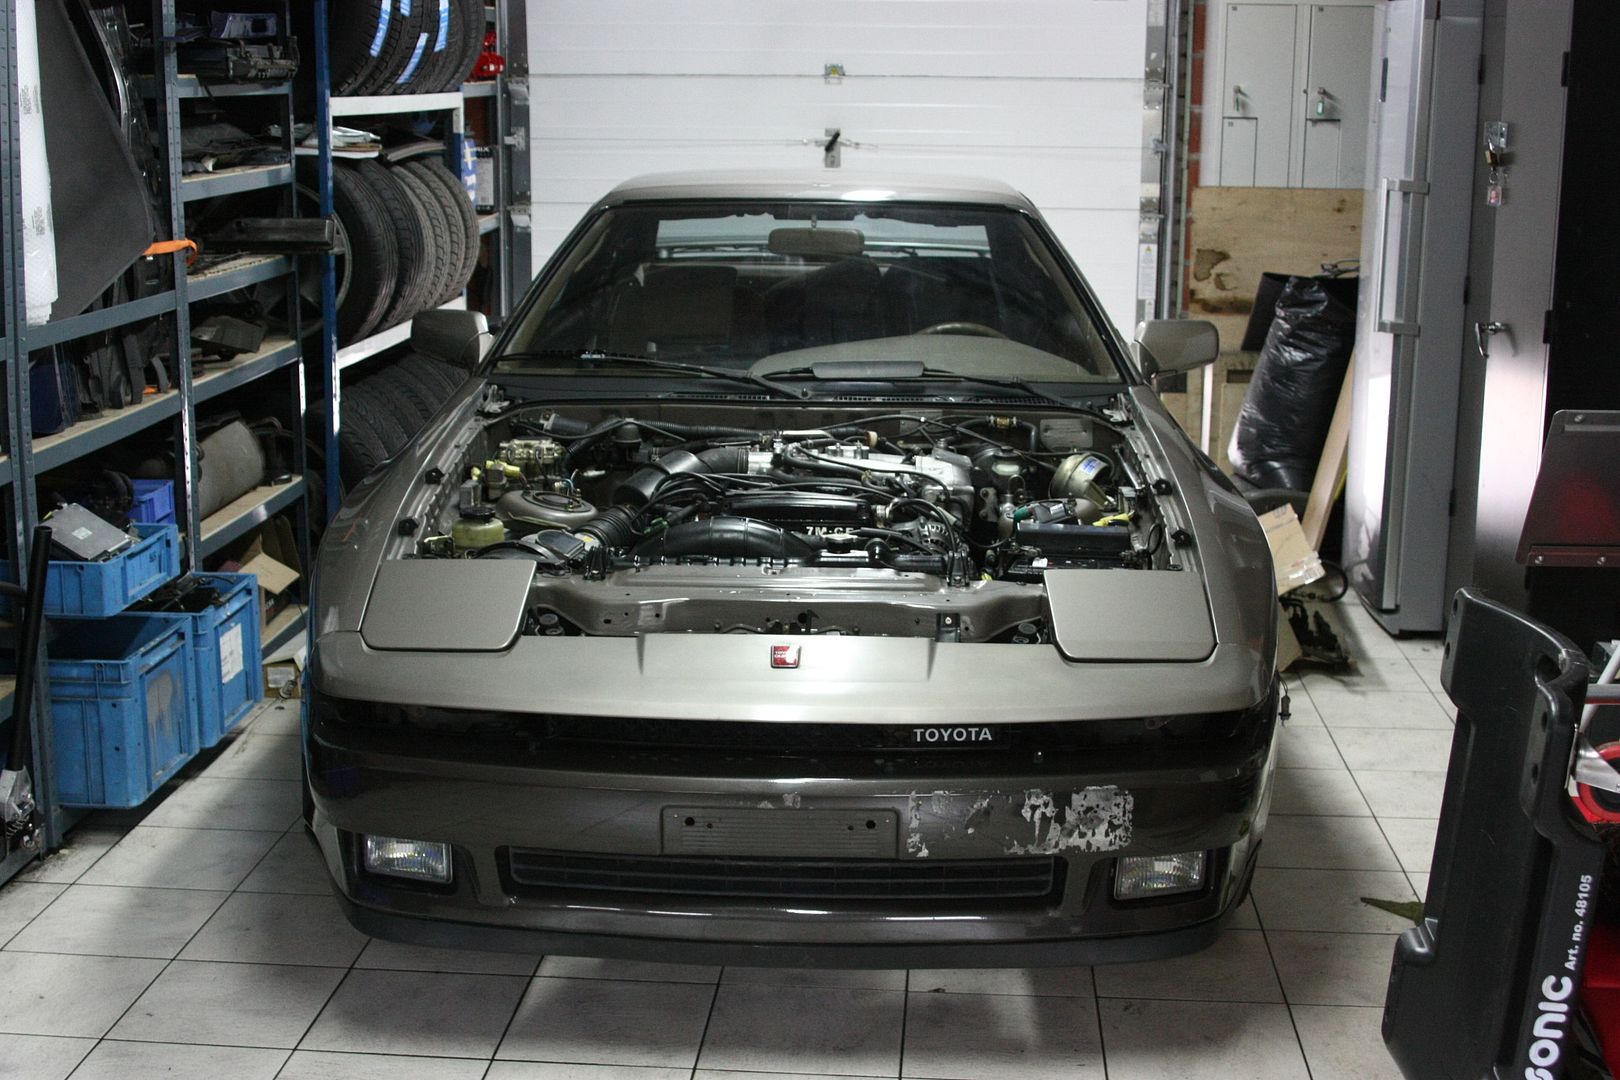
All set, started right up. But the steering rack was leaking and needed replacing (luckely i had a spare laying arround) Would have been much easier if i had know before i put the engine in but after some sweat and grease i got the job done. second problem was the slave cilinder leaking. I opened it up, cleaned everything and some slight sanding with P1200. put it back together and good as new
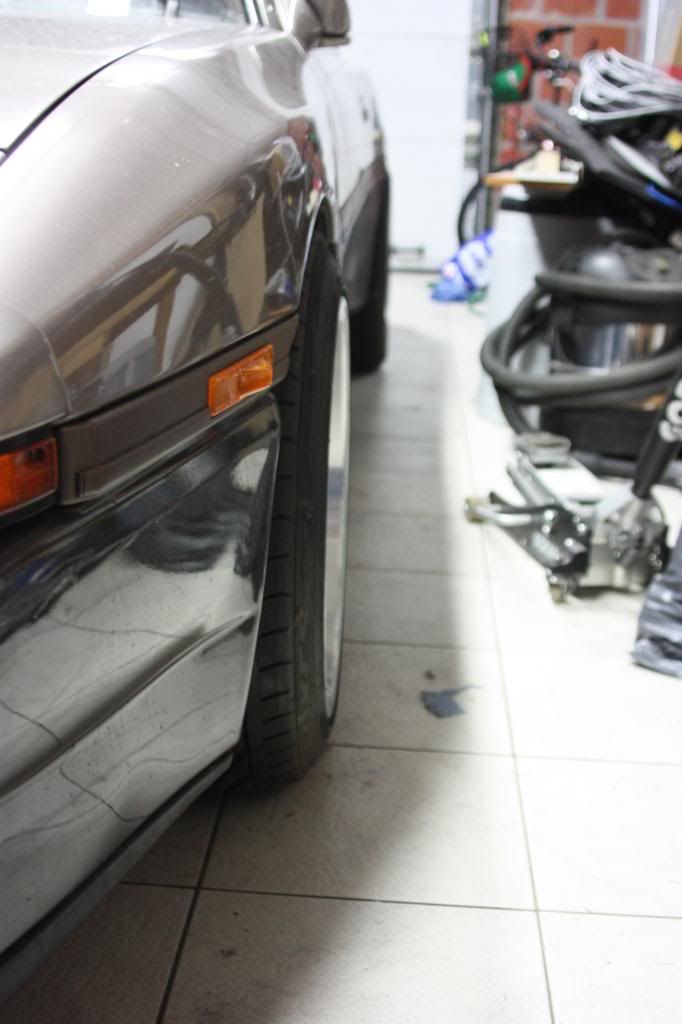
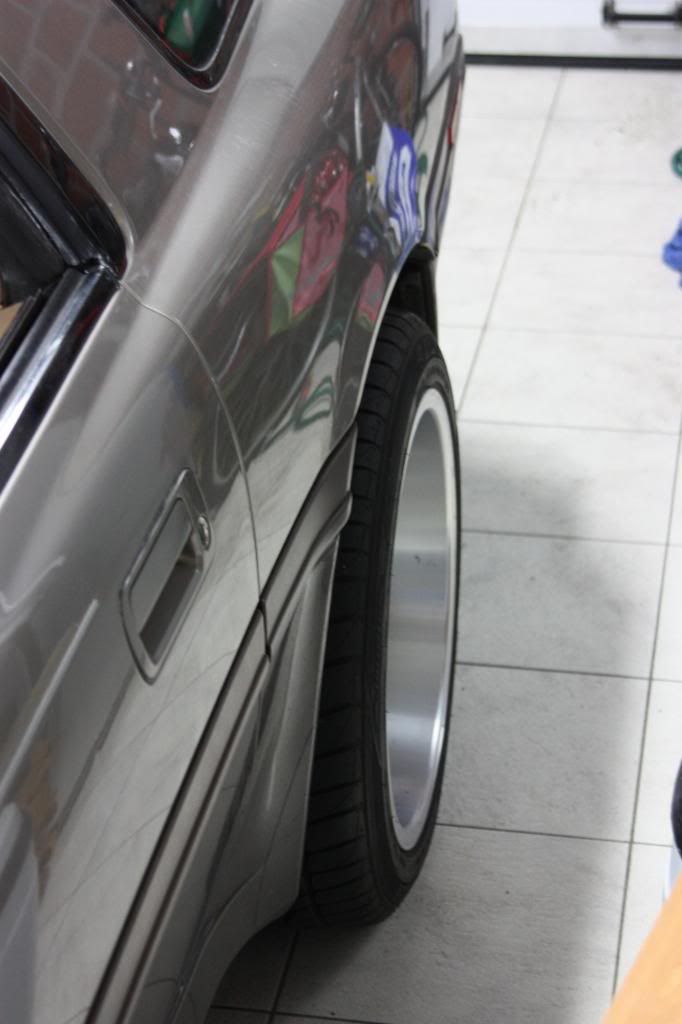
Next up, changing the mouldings allround to 89+ (USDM with the rear side markers)
I had to pick a color to match the rest of the car, but i didnt want to use either colors allready on it.

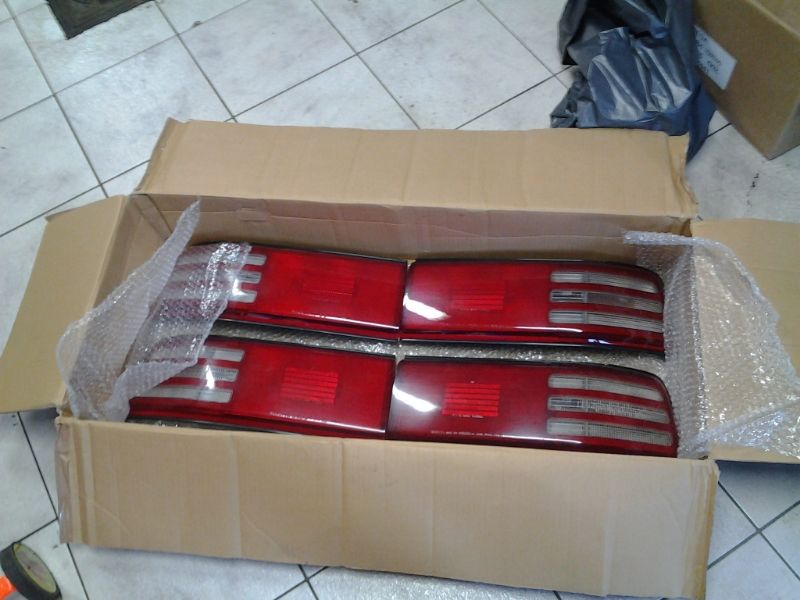
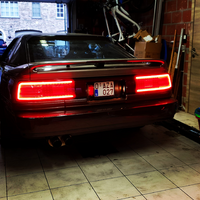
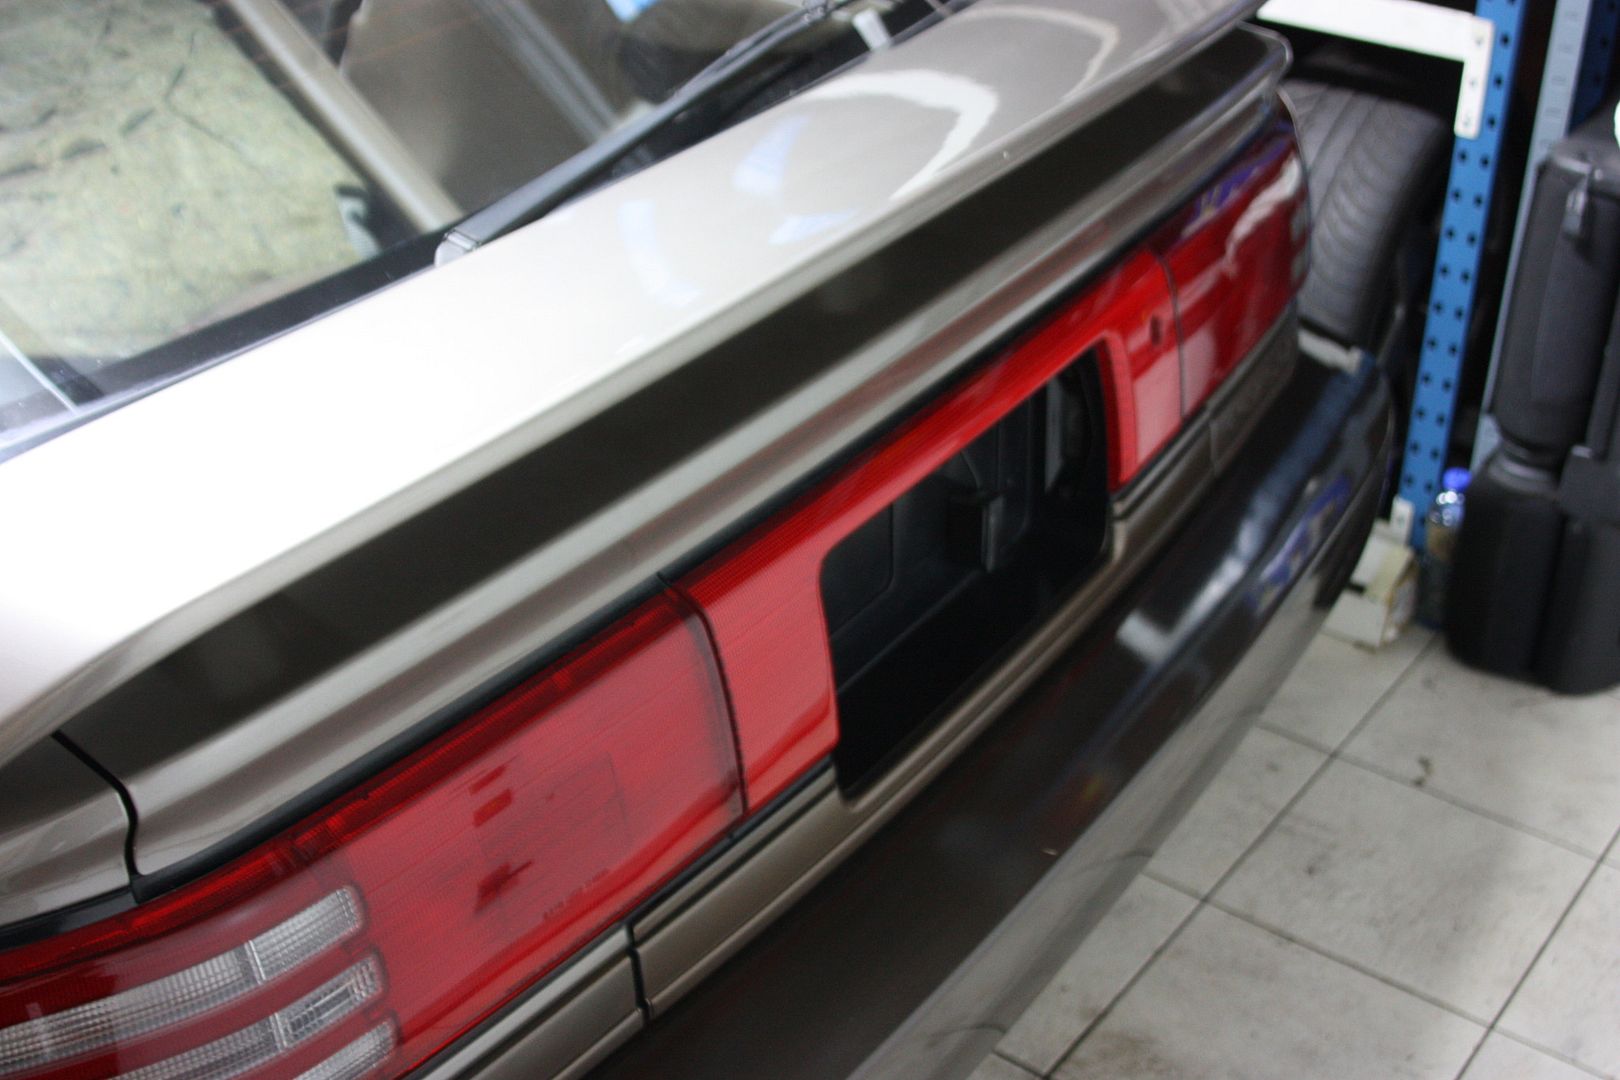
Removing the EU tails, and replacing with my USDM from the blue one (a little later with JDM's i bought on ebay)
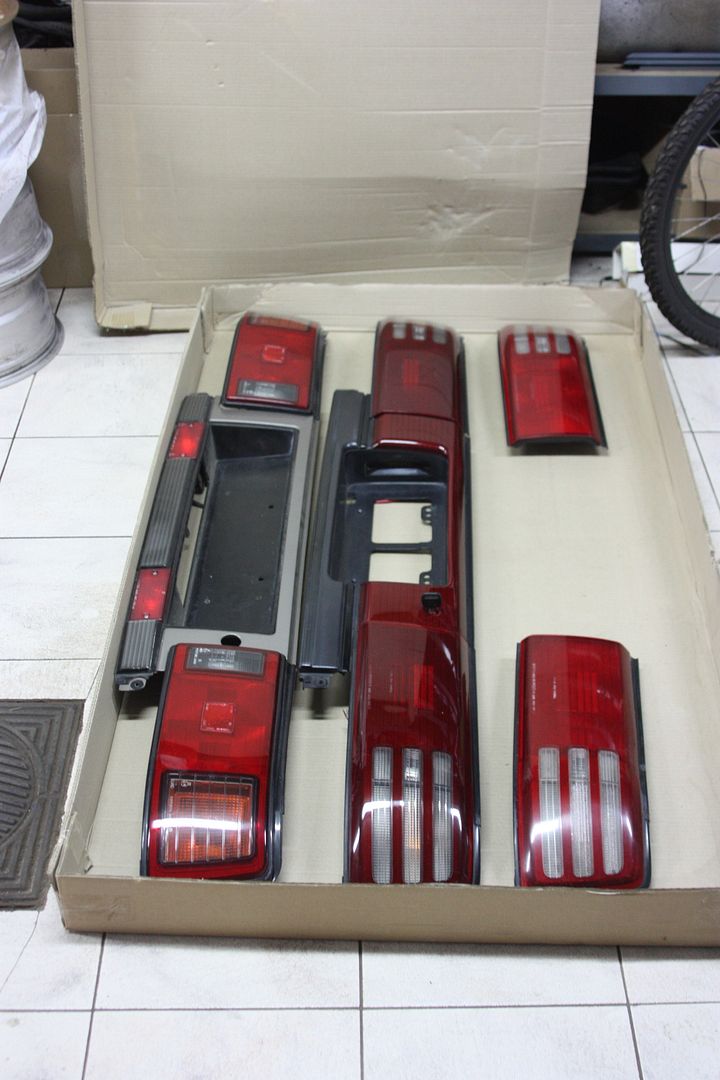
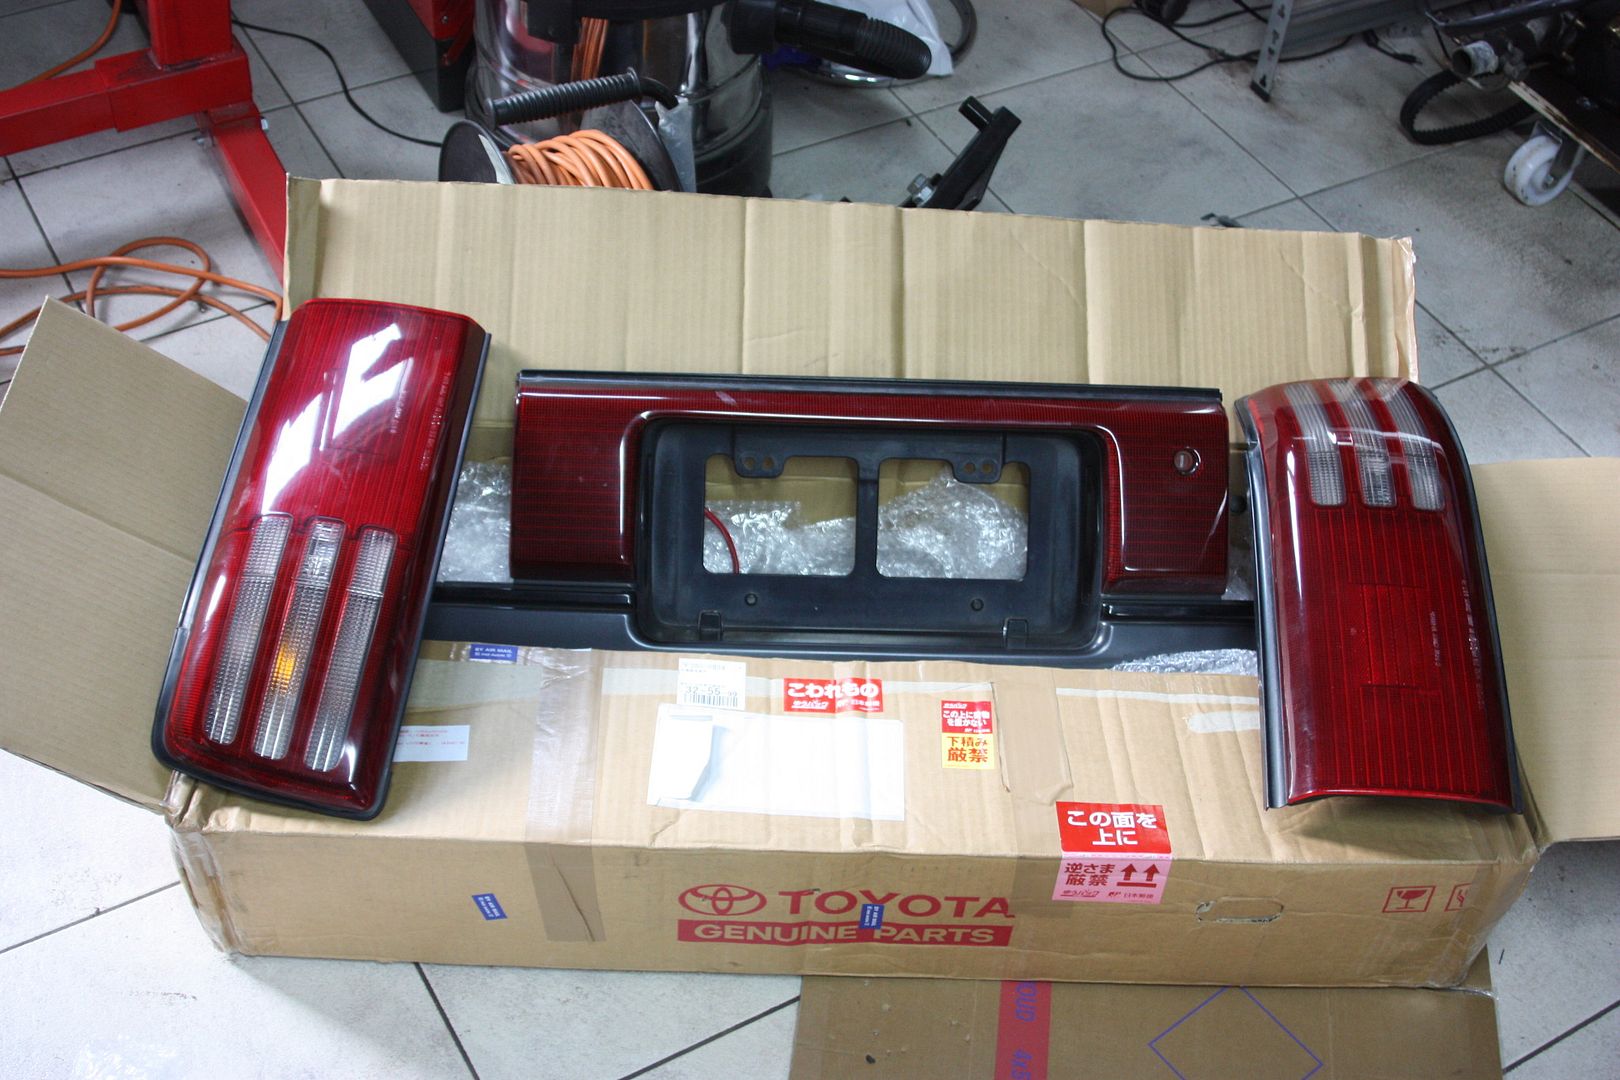
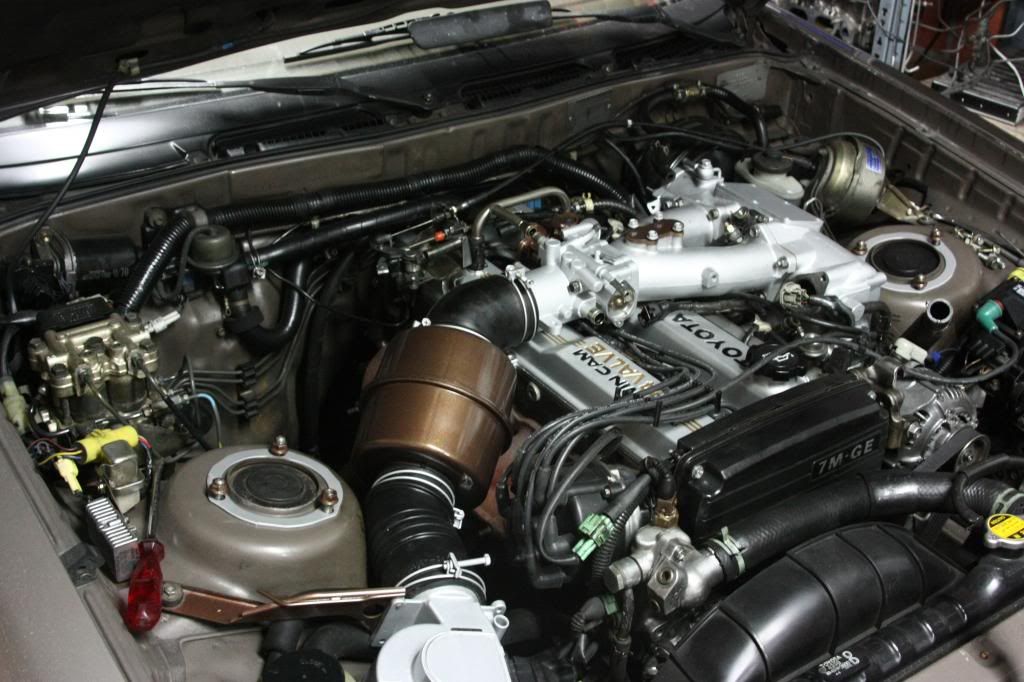
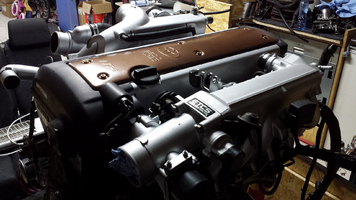
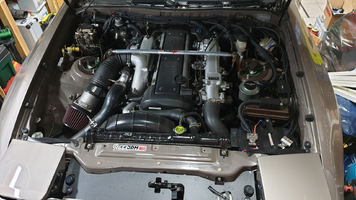
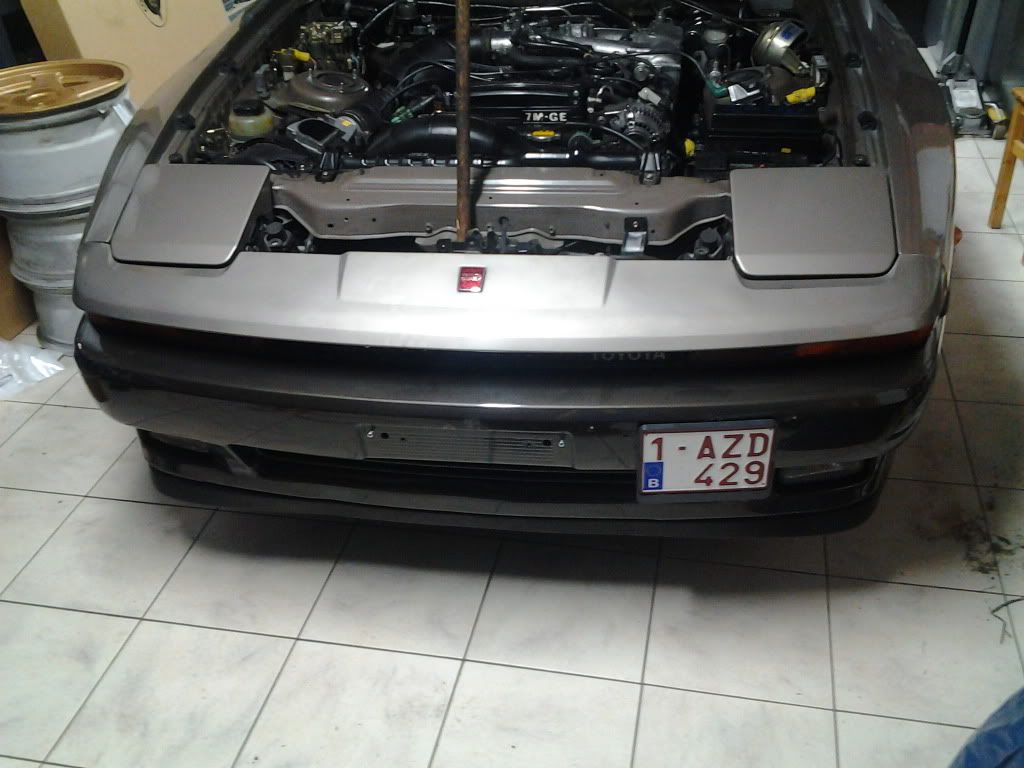
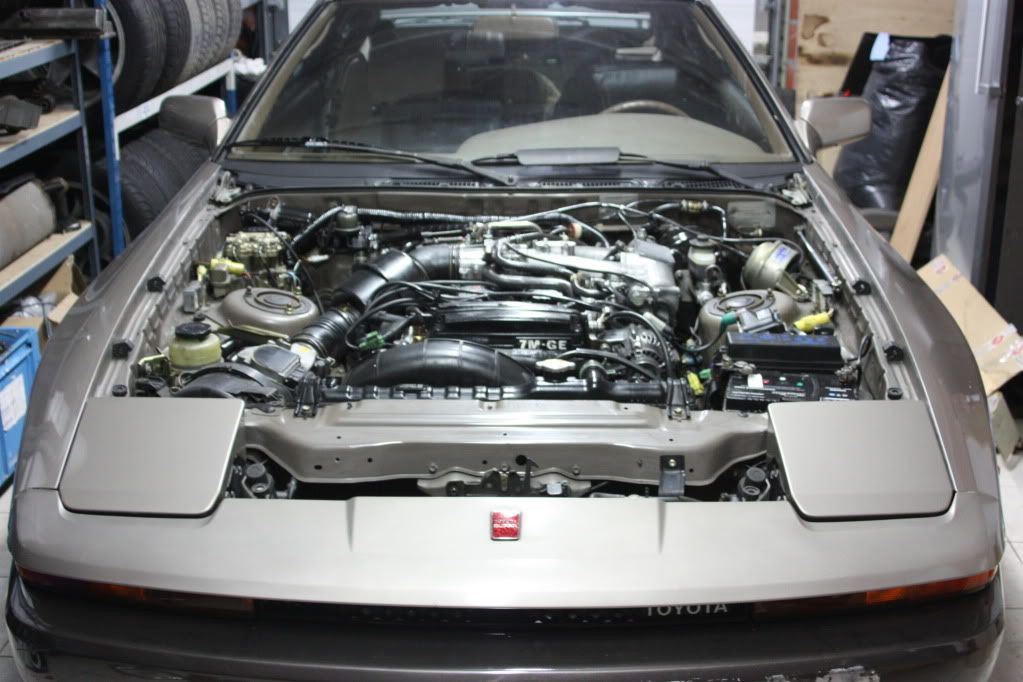
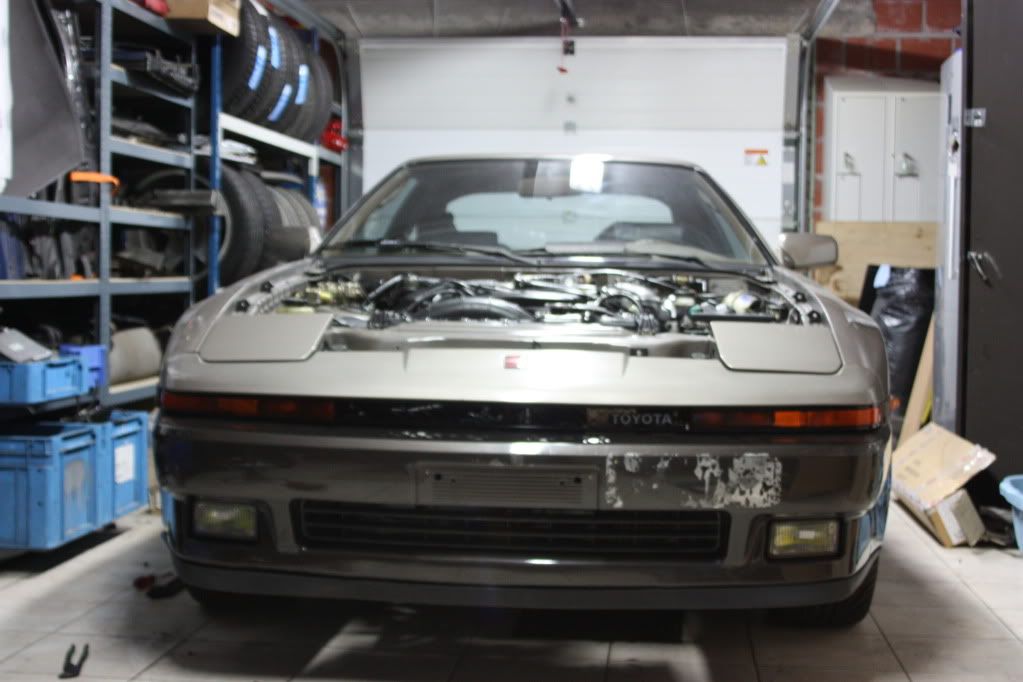
I know i could have made the engine a bit cleaner and all but i had to get the car running and registered (licence plates) End of the month its going back into the garage untill next spring.
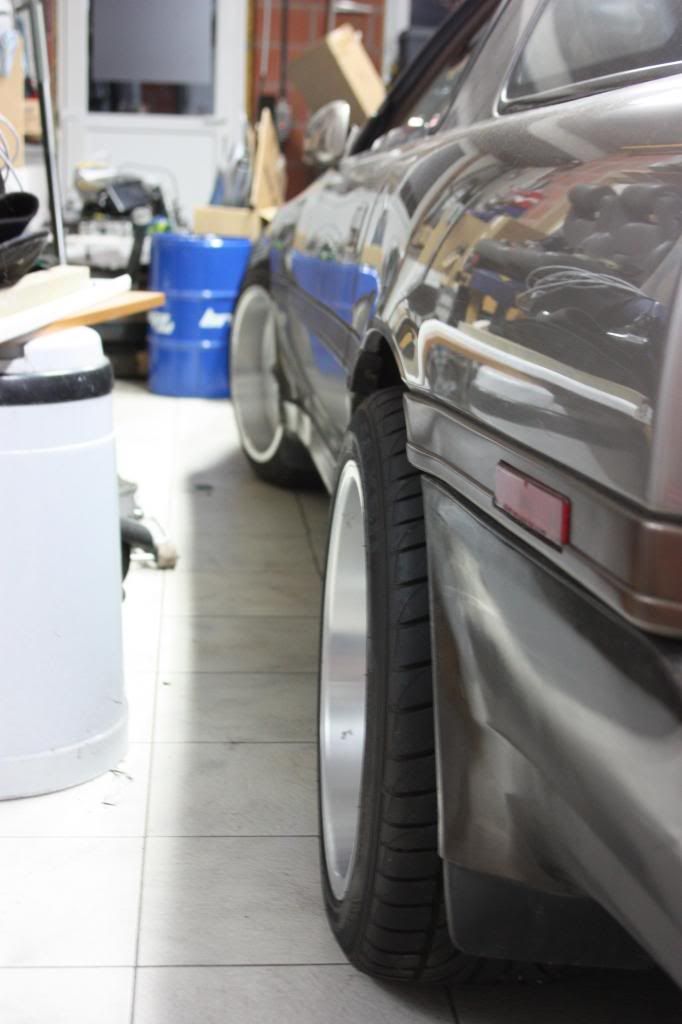
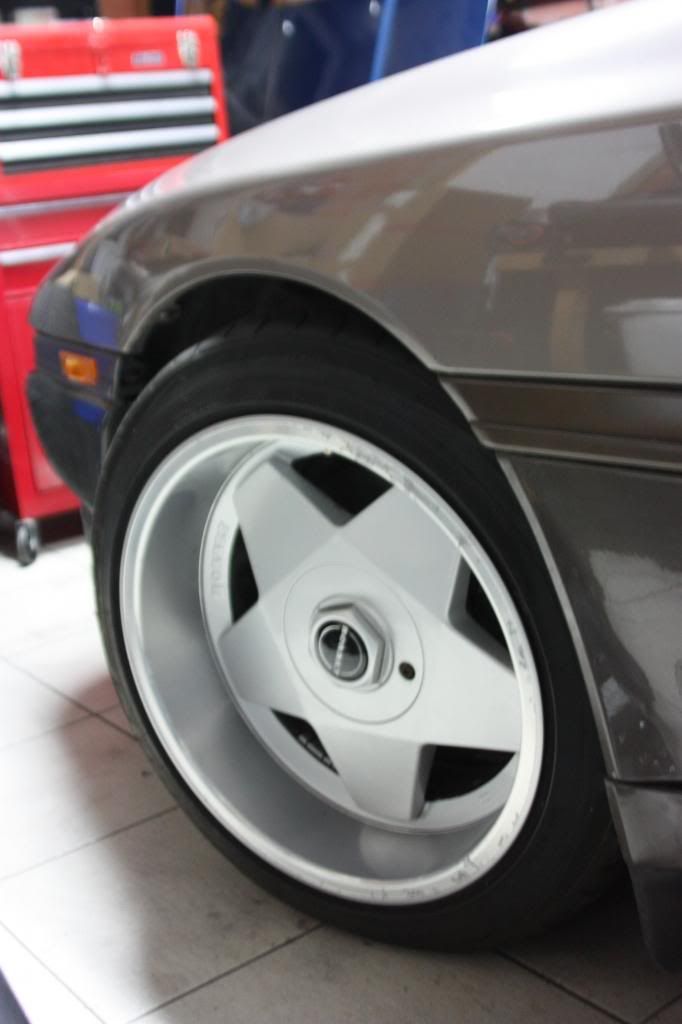
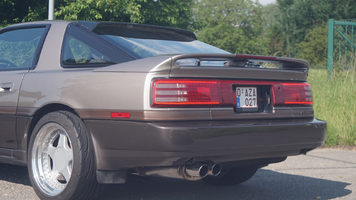
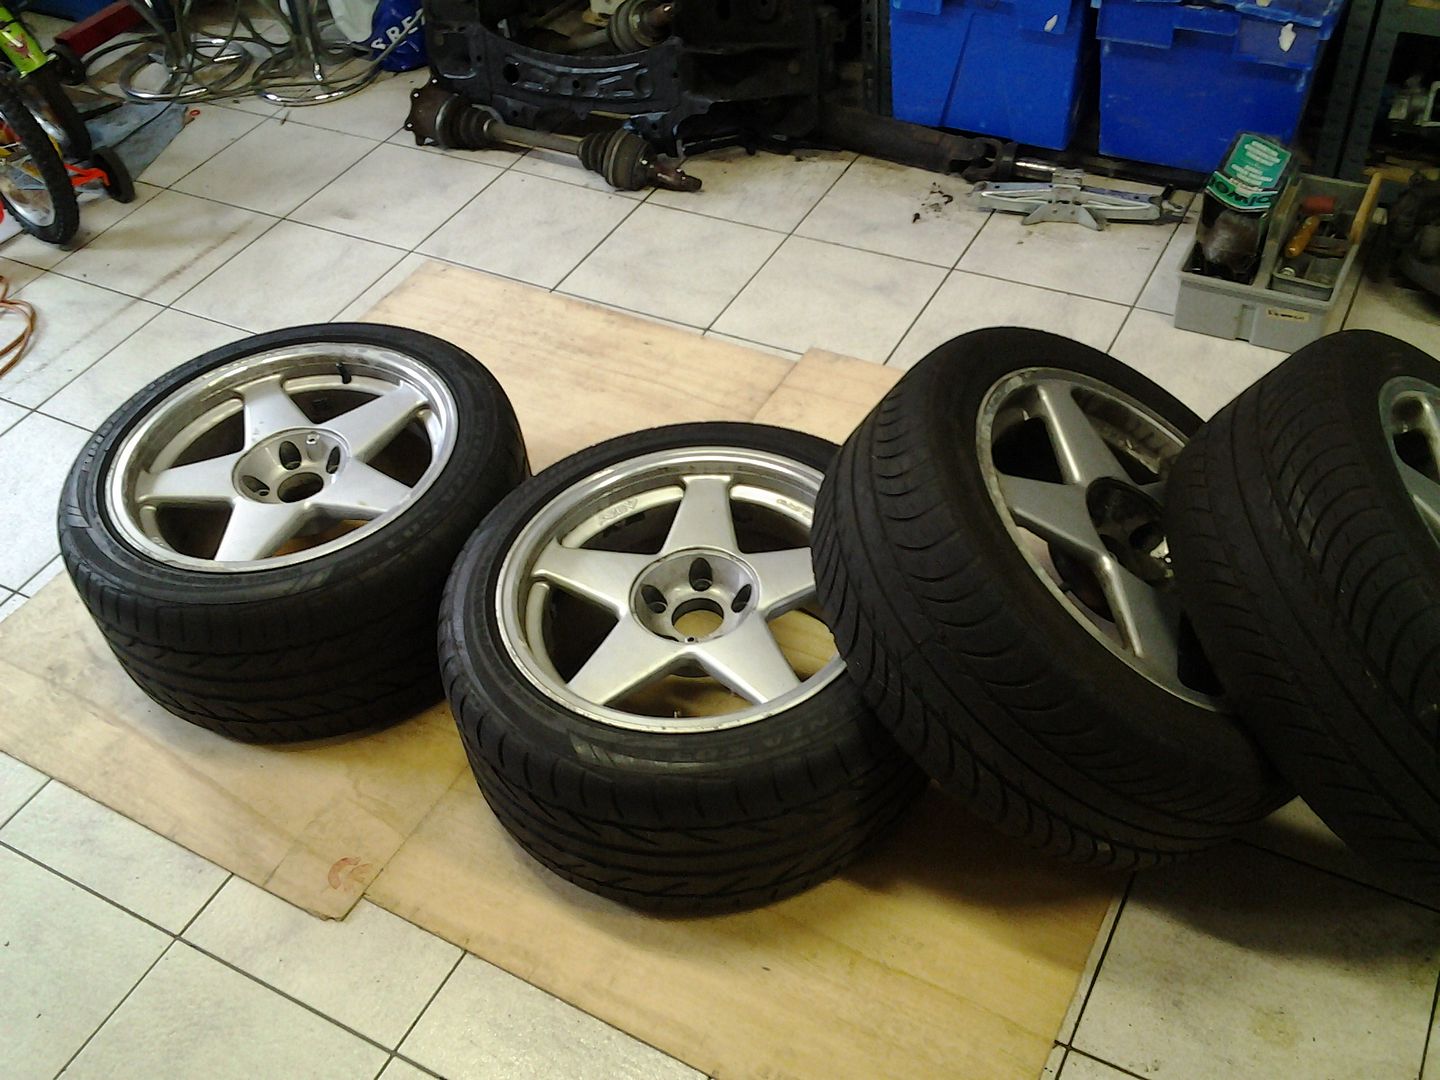
These are the 17" Azev rims ive got laying around
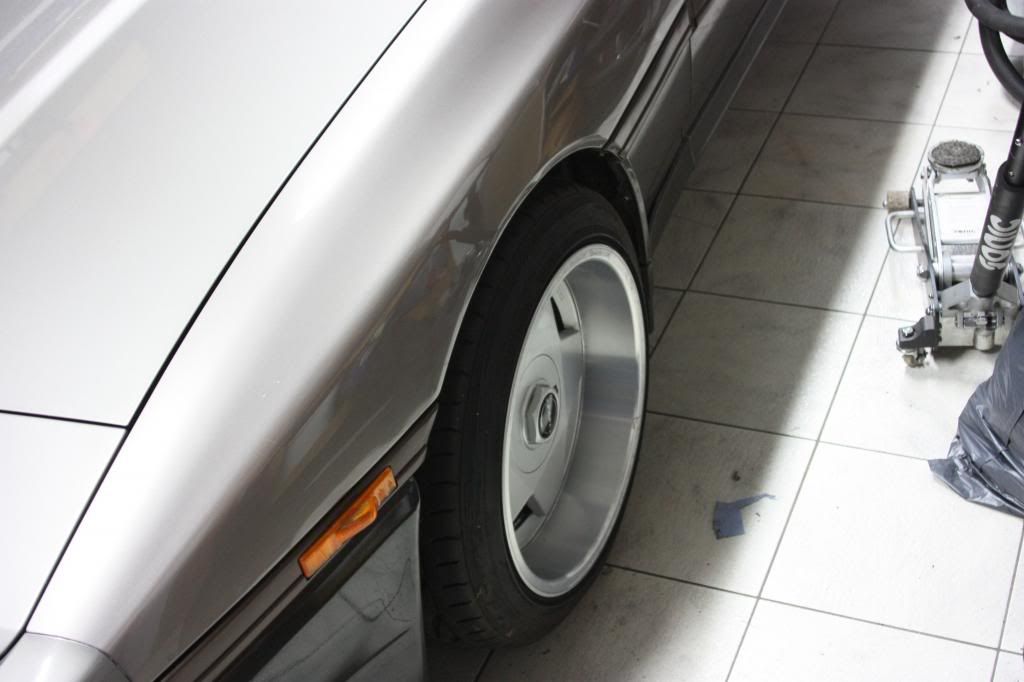
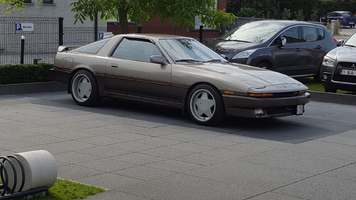
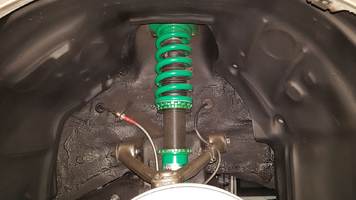
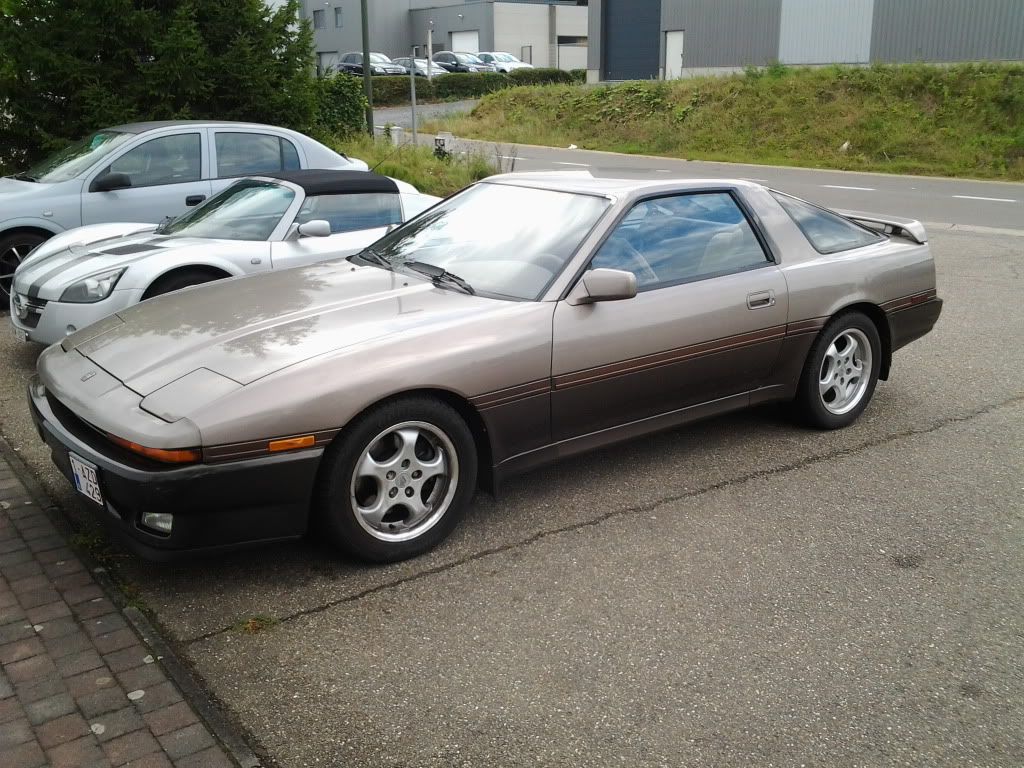
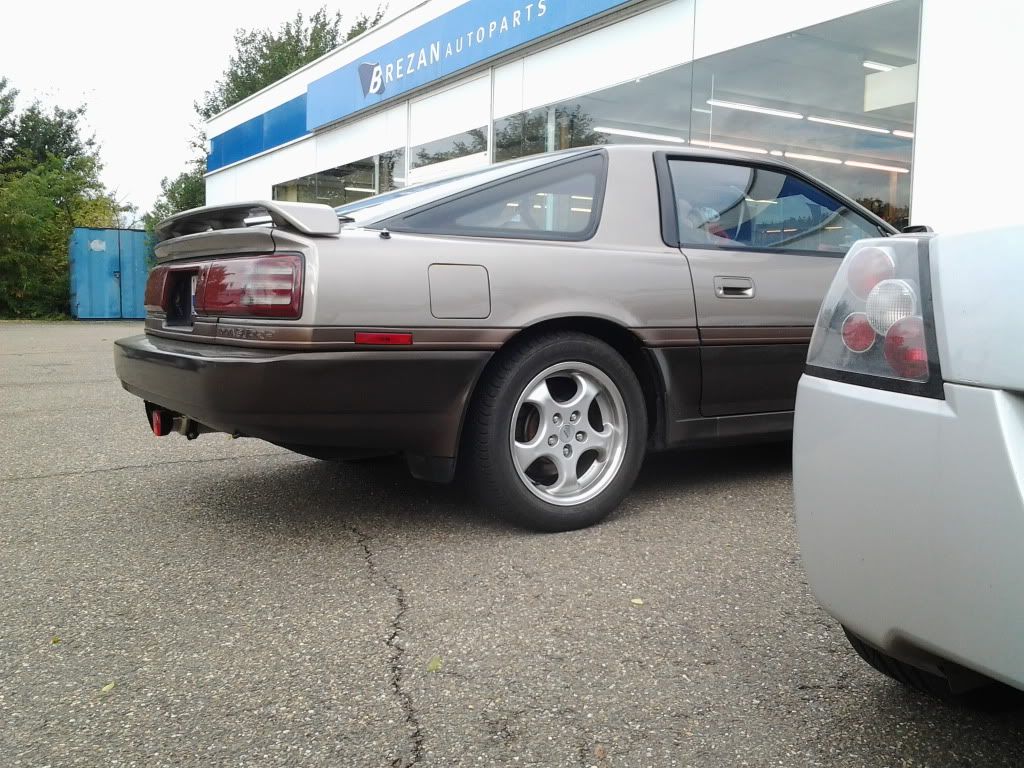
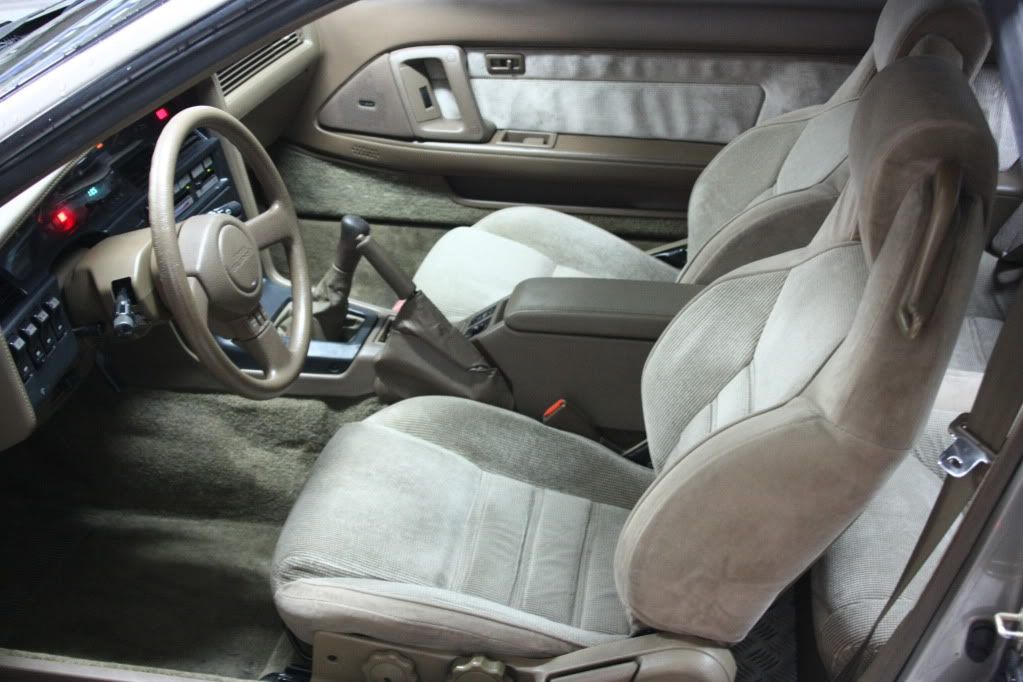
I changed the suspension with Koni+Apex lowering springs. This is how the car is right now
Ok first things first. I got my first supra (an 88 Hardtop manual NA) from a friend because he had to move and didnt have any room for it anymore.
After two weeks one of the shims (not sure its the correct word) somehow got stuck between the exhaustcam and the head (and not in a good way) causing one bent valve and a broken cam belt. Before i diagnosed this correctly i allready bought a second supra for spares. Ended up buying a "new" head, fixing some minor issues and she drove beter then before.


But soon after that we bought a house and i was stuck with 2 supra's (this and the one i bought for spare parts) so i had to make a choice. Since the blue one had almost 250.000km on it and seemed to have had a frontal accident in the past (some poor welding at the front end) i made the choice to keep the other one and break down the blue one for spare parts. The two tone i bought only had 120.000kms but had some bad engine noise (bearings) so i picked up a rebuilt engine and set it aside for later.
This is when the fun began. Only problem i had to do everything alone, on the floor with only a jack, engine crane and no air tools. To make it even more difficult i have 2 kids and the only time i had to work on it was evenings/nights. Meaning....no noise (well maybe just a little, they sleep 2 floors up
The tools


First up, breaking down the blue one.


Then the two tone. Removing the bad engine. It seemed my engine crane was too short so i HAD to remove bumper and everything just to get the engine out.


Cleaning and preparing the new engine and gearbox


But then, getting the engine in ALONE is not easy!! i had to level the engine, make sure it was in both mounts and the gearbox kept getting stuck below, lower it at the same time. So this took a few hours but eventualy ended up fine


All set, started right up. But the steering rack was leaking and needed replacing (luckely i had a spare laying arround) Would have been much easier if i had know before i put the engine in but after some sweat and grease i got the job done. second problem was the slave cilinder leaking. I opened it up, cleaned everything and some slight sanding with P1200. put it back together and good as new
Next up, changing the mouldings allround to 89+ (USDM with the rear side markers)
I had to pick a color to match the rest of the car, but i didnt want to use either colors allready on it.

Removing the EU tails, and replacing with my USDM from the blue one (a little later with JDM's i bought on ebay)


I know i could have made the engine a bit cleaner and all but i had to get the car running and registered (licence plates) End of the month its going back into the garage untill next spring.
These are the 17" Azev rims ive got laying around

I changed the suspension with Koni+Apex lowering springs. This is how the car is right now


